does it make sense the use of a 2s1p protection circuit in a 2s3p circuit? if one or two of the 3 cells in one of the series is damaged, the circuit won’t be able to see it, right? I understand that discharging them is not a problem, because the circuit will trip when the weakest series reaches the minimum voltage, even though the other series will be much higher, but what about charging? it will only balance the voltage among the two series, but not the voltage of each individual cell into each 3 cell group
edit: just asking, I don’t understand it, not questioning your work
Balancing is achieved in two ways - 1) they are named brand matched cells and 2) they are already welded together in parallel which will keep them all equal. I don't think the parallel arrangement would allow you to monitor an individual cell.
-Garry
ok, so it only works ok based on the assumption that neither of the cells is gonna fail; aren’t there on the market circuits that monitor each of the cells? When I parallel cells, I prefer to charge them separately, and in the case of the bike lights just made 2 2s1p packs, and replace when needed. I also changed the power connector to xt60 in the light, so I can direct plug the pack to the hobby charger and to the light, and of course it’s harder to accidentally disconnect it when riding (mu battery packs go in the backpack and disconnected den in bumps accidentally with the old connector)
I believe the setup is the same in laptop battery packs; I don't believe those individual cells are (nor can be) monitored.
-Garry
Individual cells in a parallel set up can not be monitored.
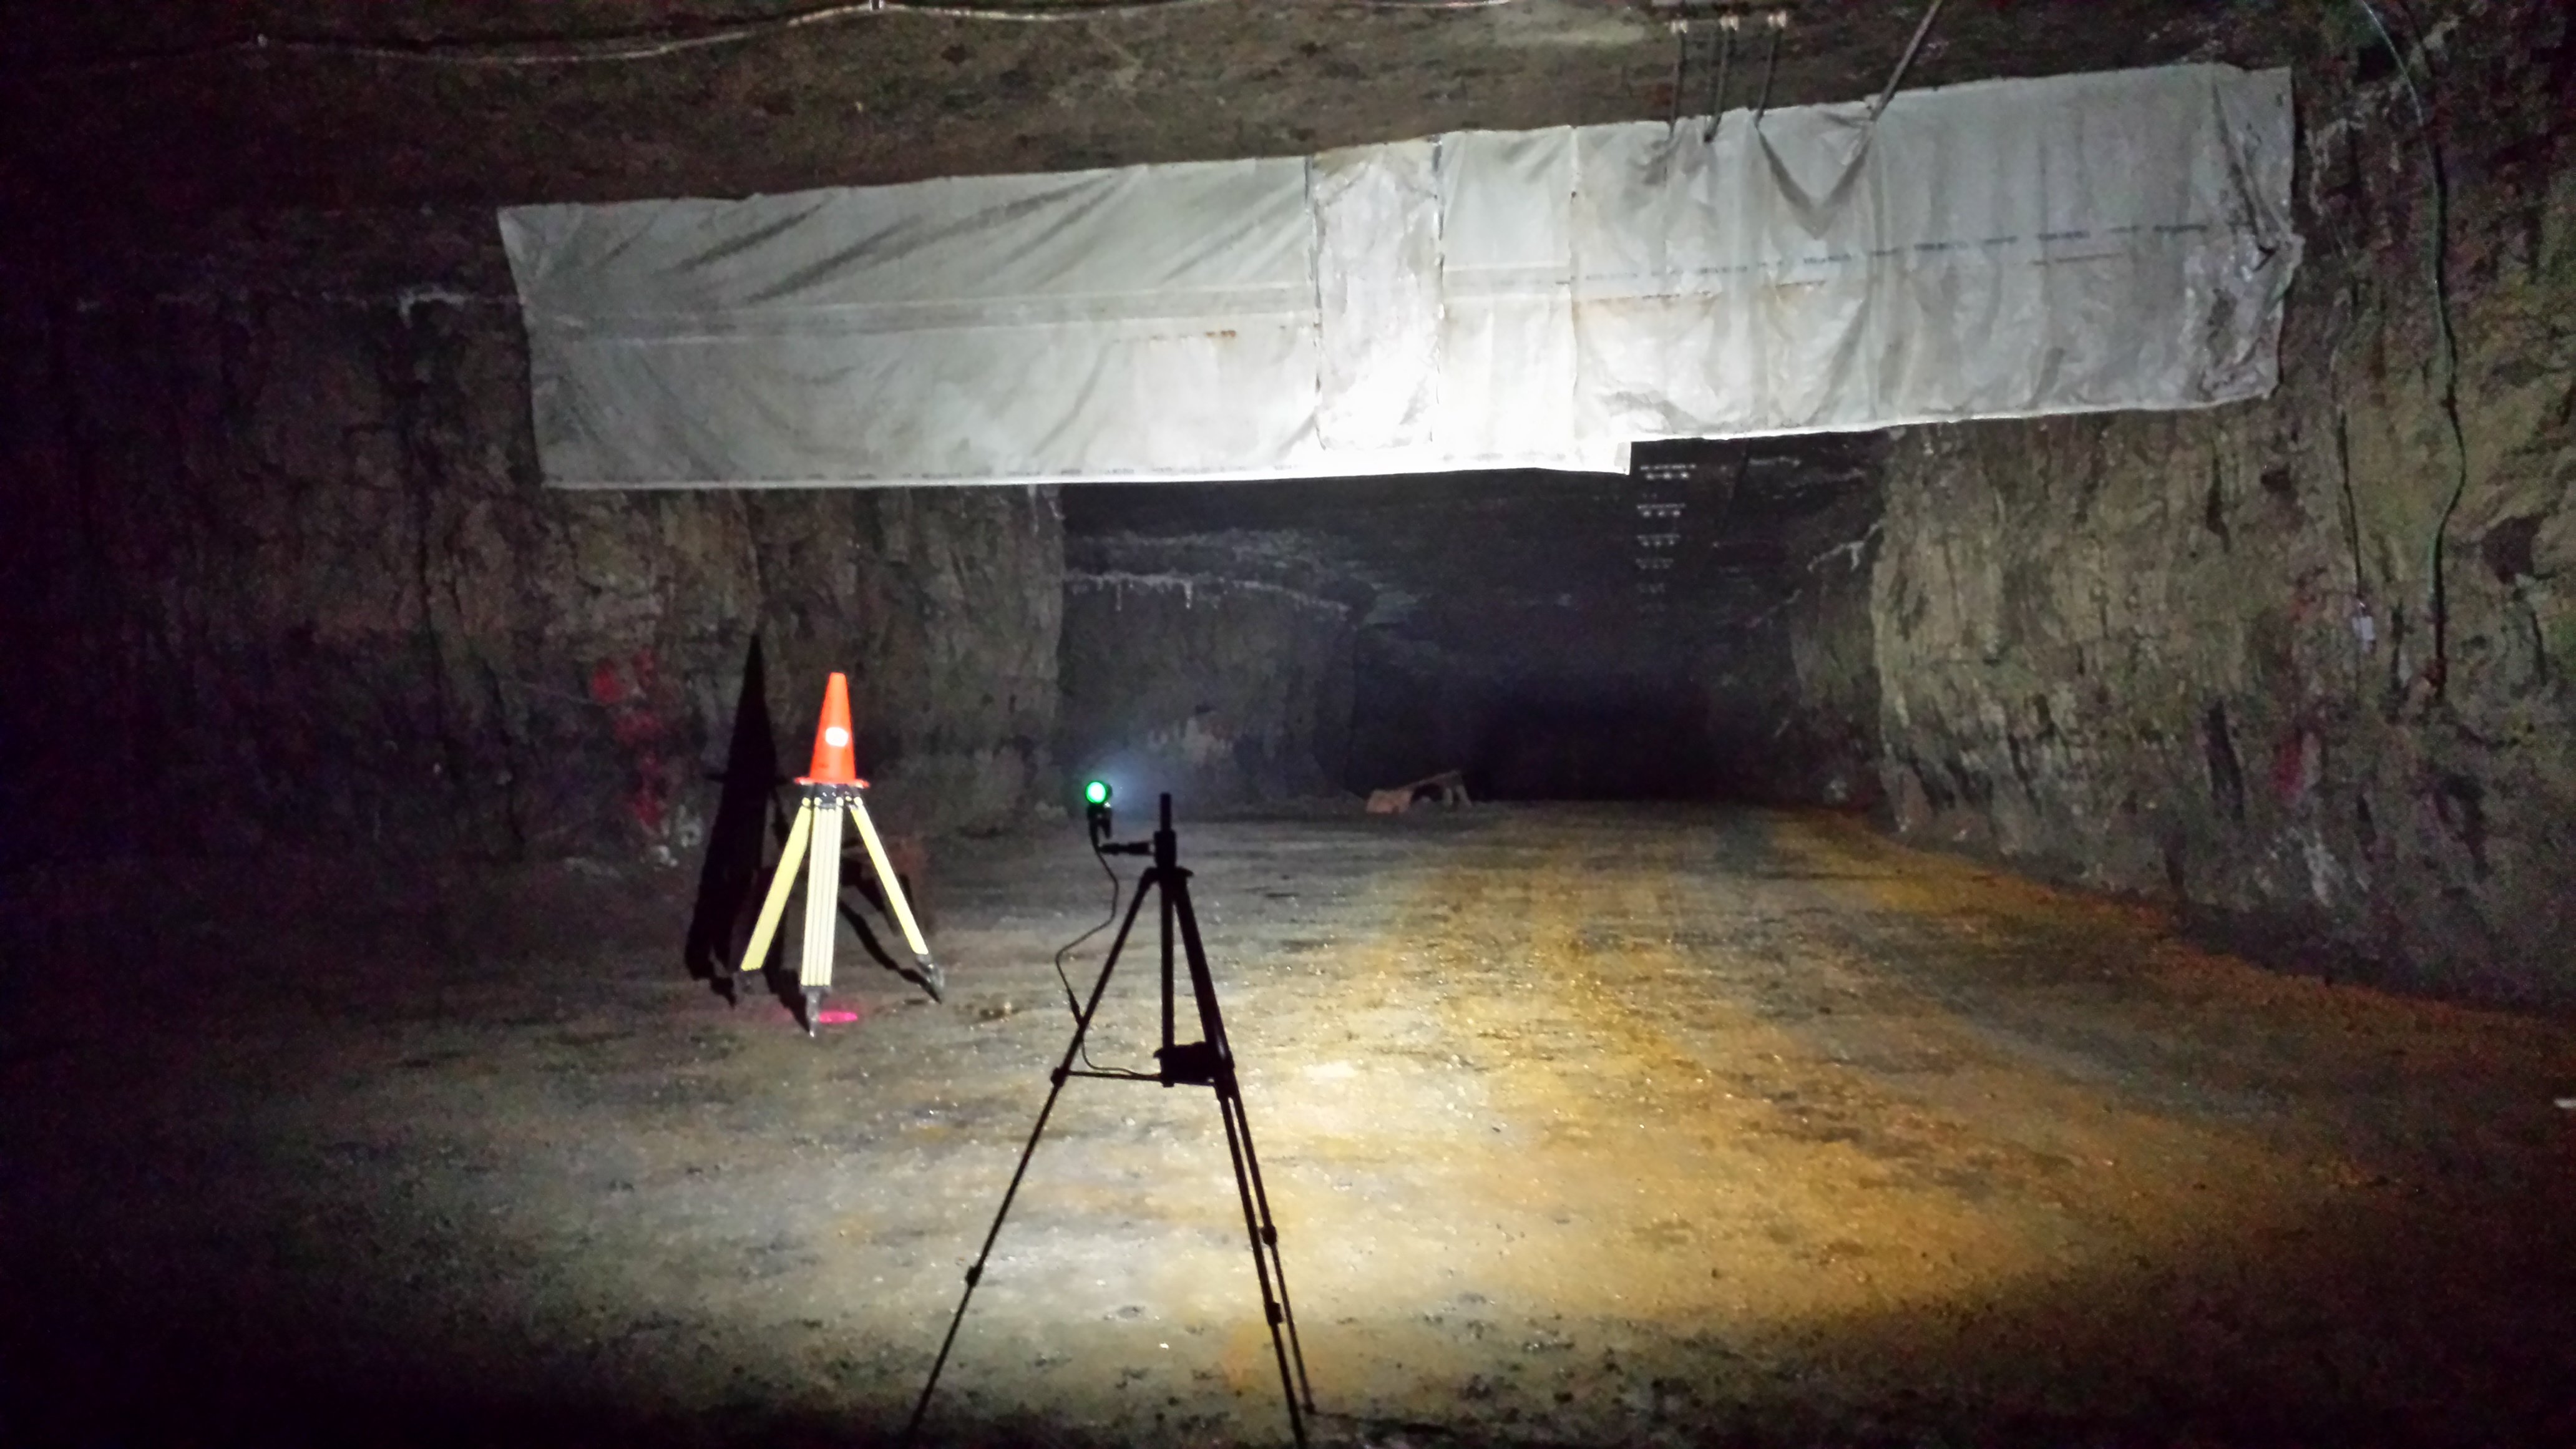
HOLY %$#@!!! Got a rare chance to go into an underground stone mine at work today and so I decided to take my modded BT40S and new battery pack to test it out. WOW! First of all, as I've said before, there is NOTHING like going into an underground mine (or cave) away from all other sources of light and being surrounded by complete darkness! You feel like you don't even know if your eyes are actually open or not. From my past two experiences in this same mine I learned that a 1,000 lumen flashlight is barely enough when you want to light up a large area. (By the same token, a 30 lumen light can be plenty to light up your general work area since your eyes are so adjusted.) Light just seems to be swallowed up by the dirt and stone (i.e. there's no reflection of light). I actually pulled our site "tour guide" (can't think what to call him - the young guy that took us to our destination wearing a +/- 150 lumen XR-E type miner's cap lamp) over and said, "Hey, you wanna see something that'll make you crap your pants?" Afterwards I then explained how I only have about $35 in that light to get that insane output.
(Ignore traffic cone which only served for my partner to be able to see that location during his setup.)
Here's a pic of my BT40S on "Turbo" (+/- 3.8A):
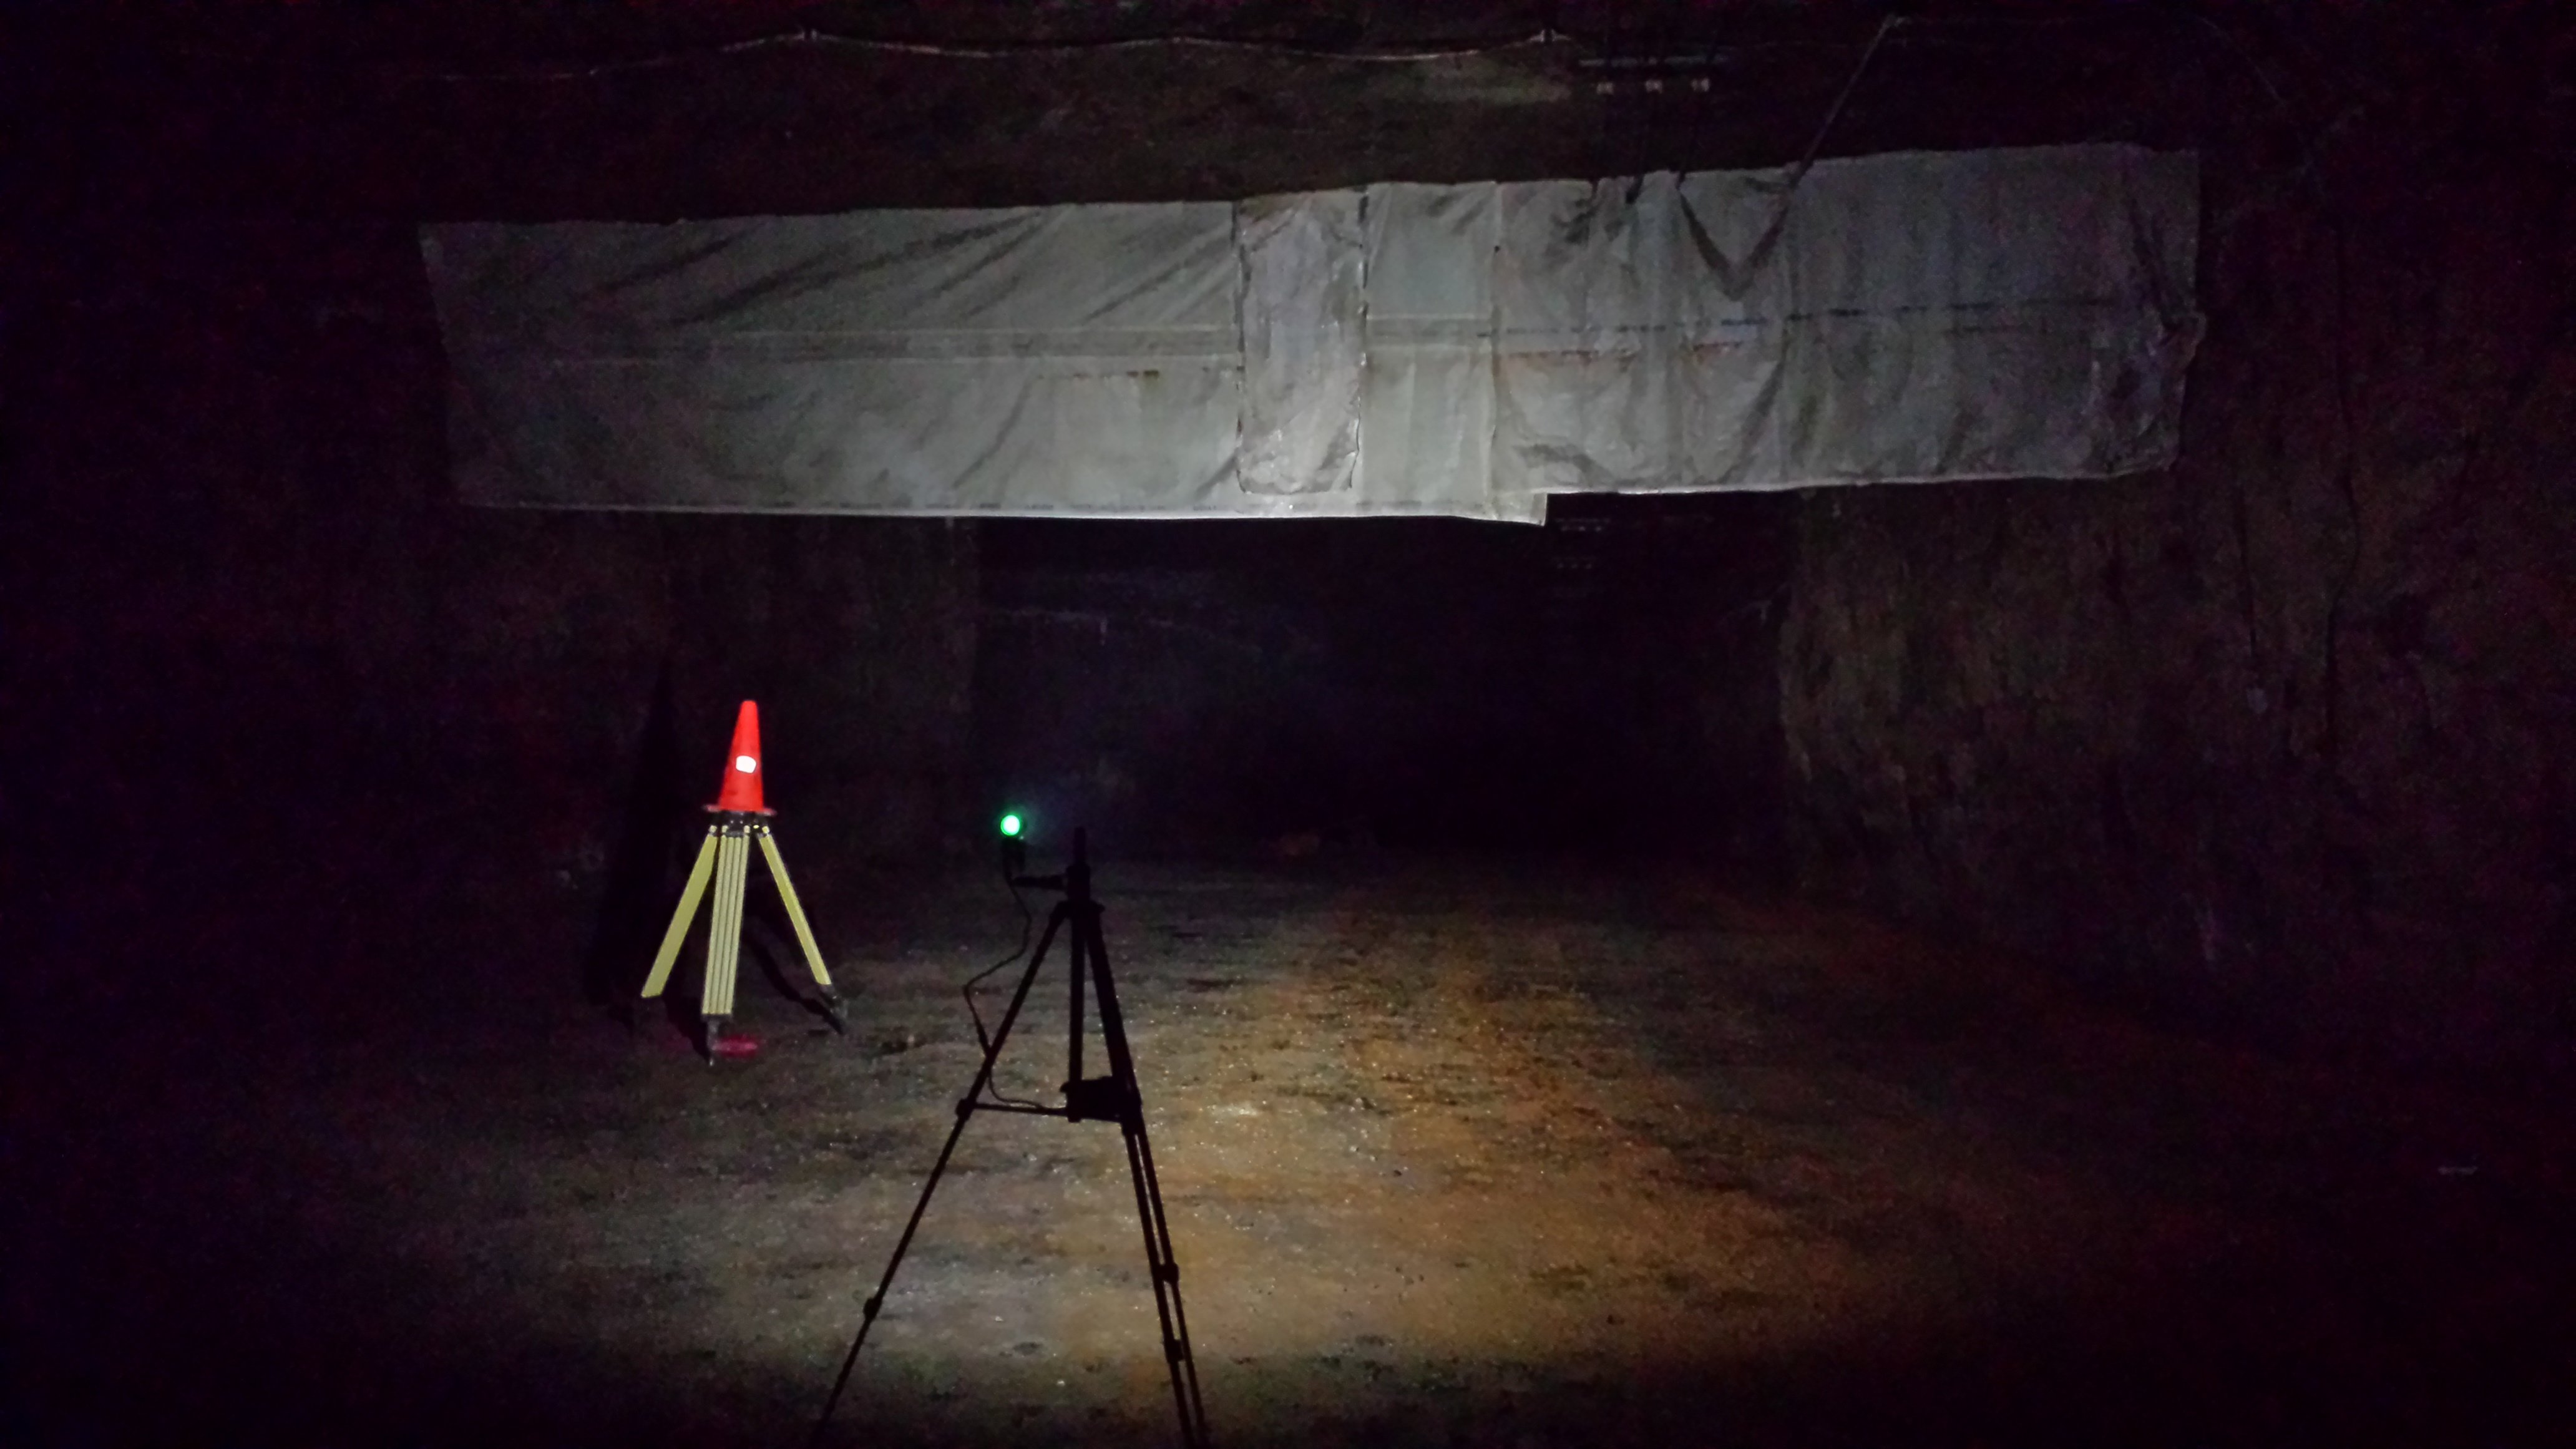
I'll skip the other modes and just show you "Low":
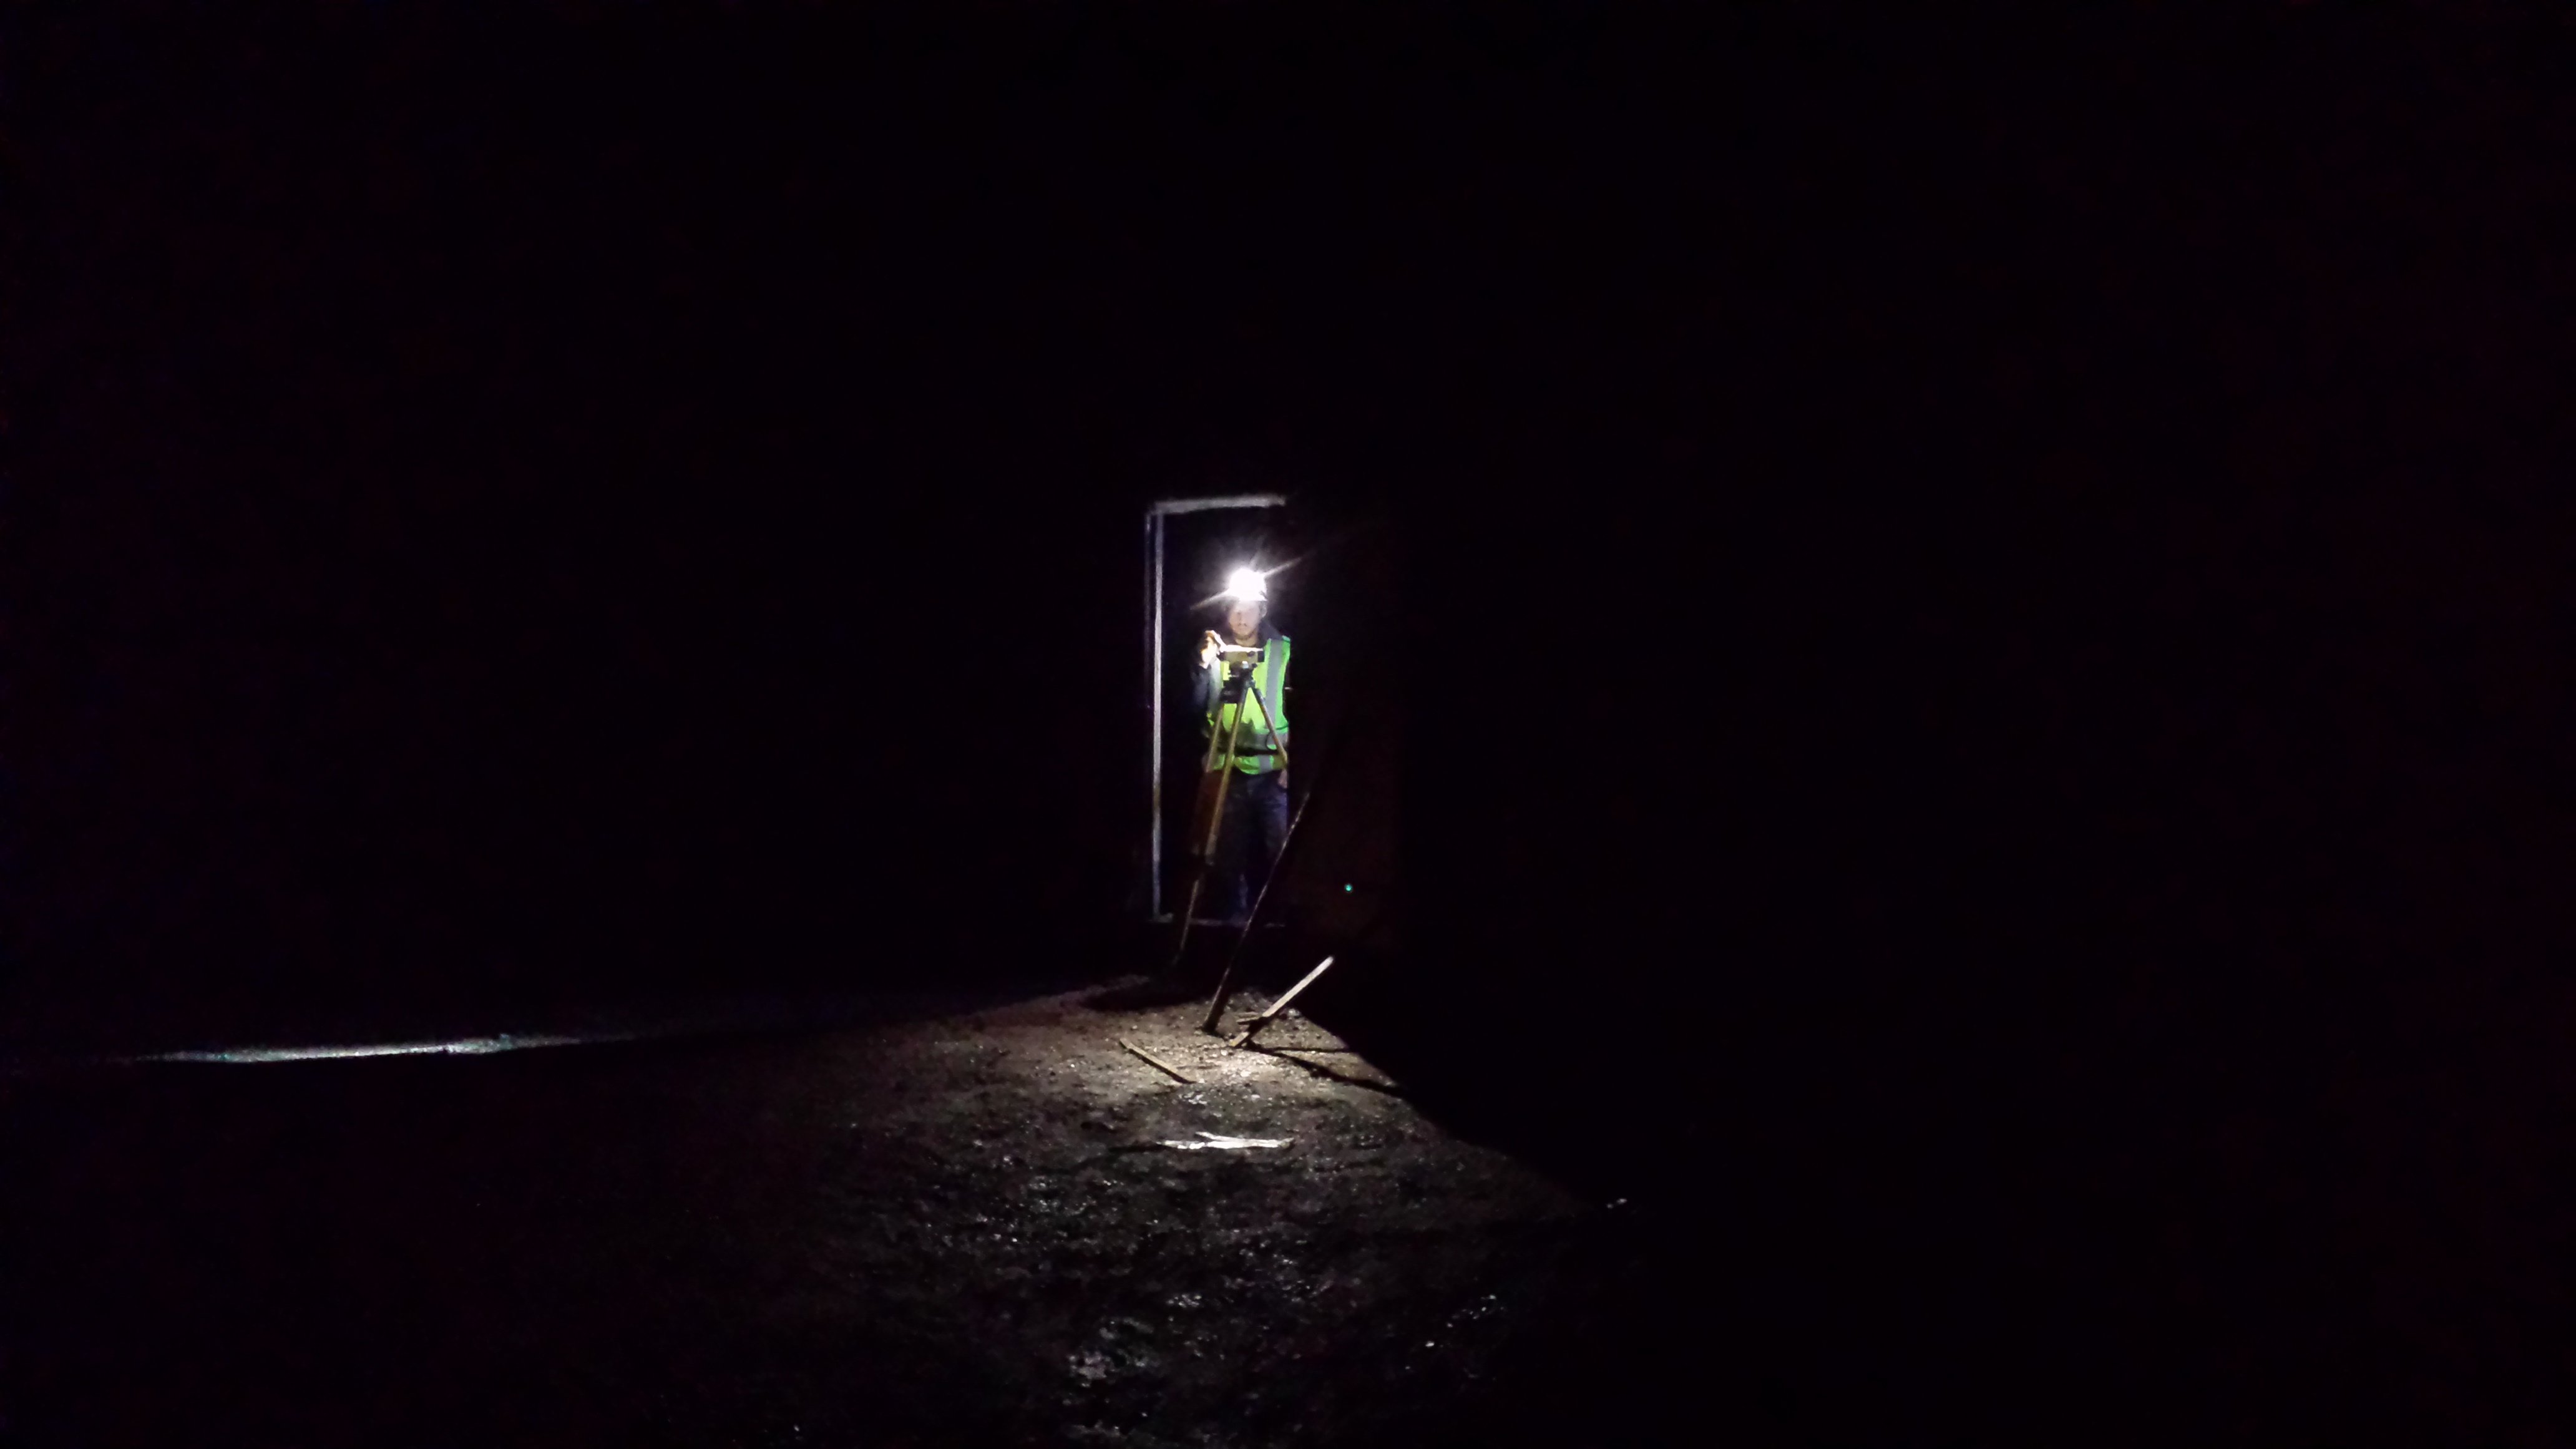
Another random photo looking the other direction at my coworker using one of my headlamps to get setup to work through a doorway.
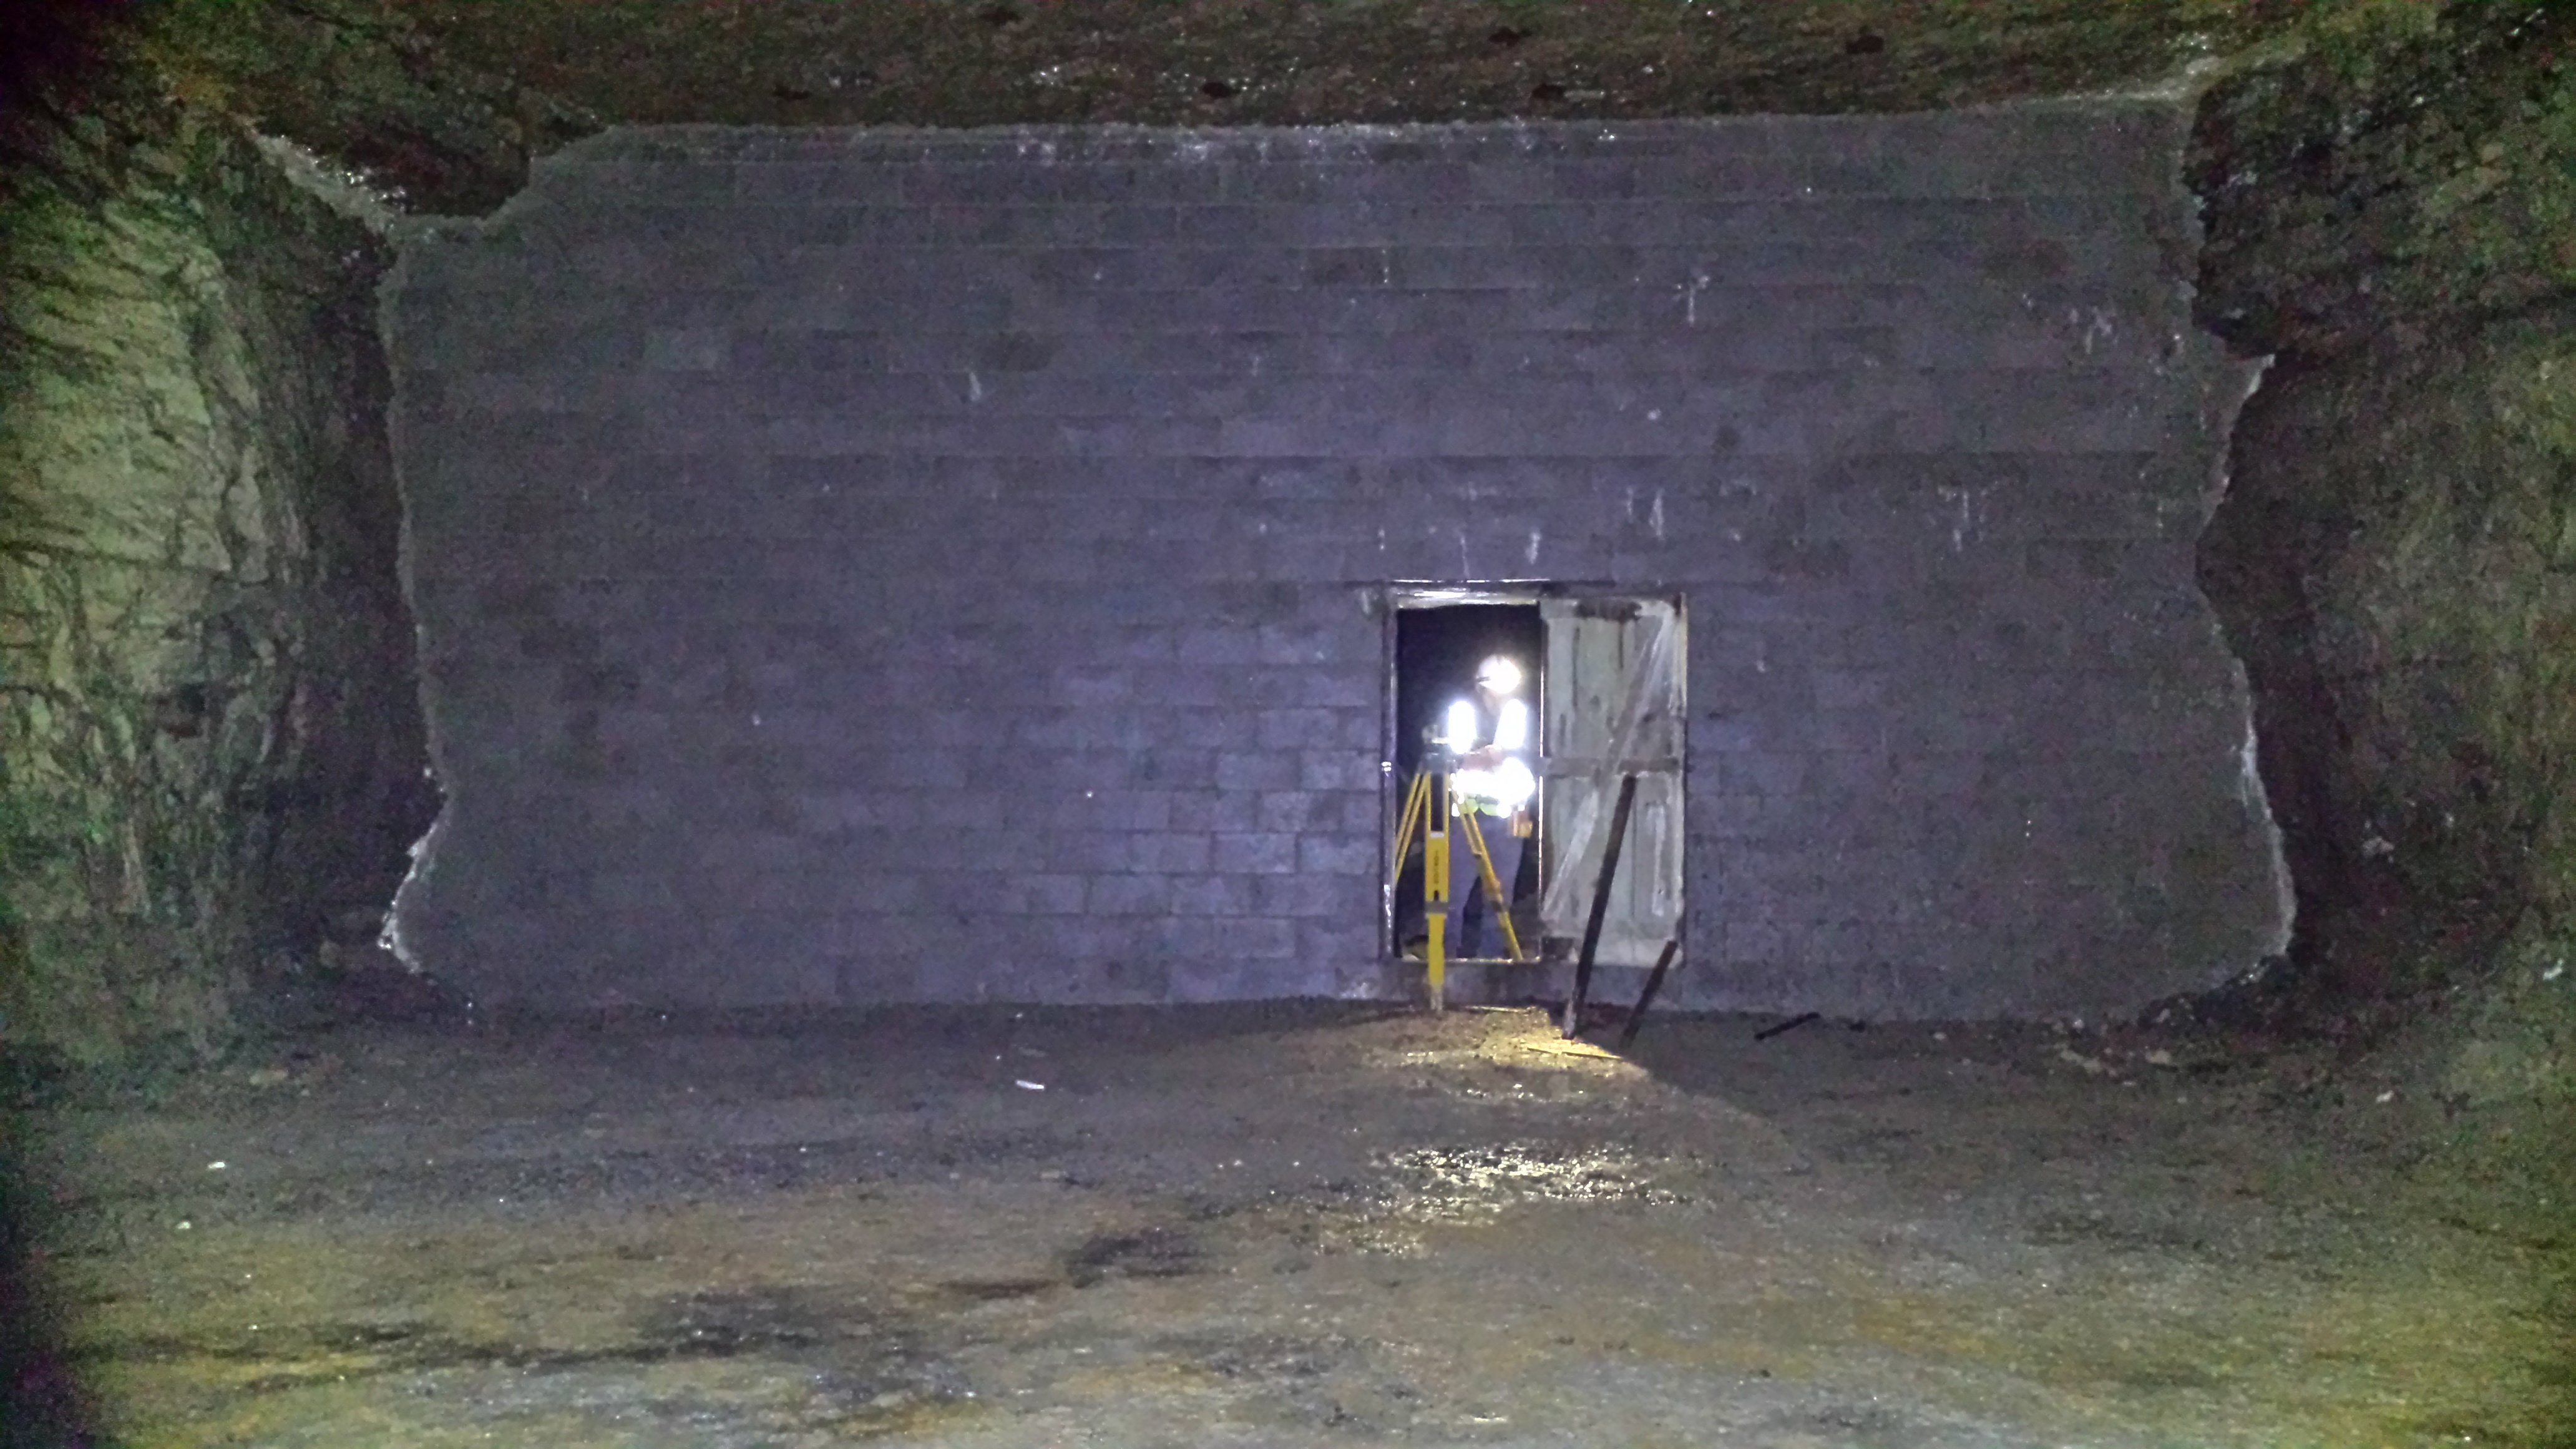
Later on I took a photo using an aspheric flashlight (+/-1,000 lumens) lighting up that whole wall (slightly different angle but same area as above pic).
-Garry
Great pictures!
I want to report that today I received a BT70 from GB and I’m really pleased with the performance. Ceiling test shows it only falls a bit short on output vs the Nitecore EC4S rated 2000 lumens. But it produces a more uniform beam suitable for area illumination. Tint is not that great so I’ll probably replace them all with Nichia 219C.
Disassembled it from the tail and the driver has 2 PCBs with the main part attached to the rear of the LED shelf, which is almost 10mm thick!! When it gets hot the heat is uniform across the entire body.
I don’t have a bike so the BT70 will be used as an area/work light mounted on a tripod using a gopro adapter, or used with a gopro grip. Will try to post some pictures later.
I just read over at MTBR that those BT70's were discontinued due to "lack of interest" (which is B.S.) and high failure rate (which we did see from posts over at MTBR).
Would love to see pics when you're done!
-Garry
Nice pictures Garry, and nice work on the BT40. I’m still waiting for mine to show up (ordered 2, one for me and one for my son). If they show up in time we’ll use them as is for the rest of the riding season, not much time left around here.
I have some plans for my mods but won’t know if possible until I have the lights in my hand. I’ll probably be steeling some of you hard work along the way though.
Thanks for the recommendation.
Matt
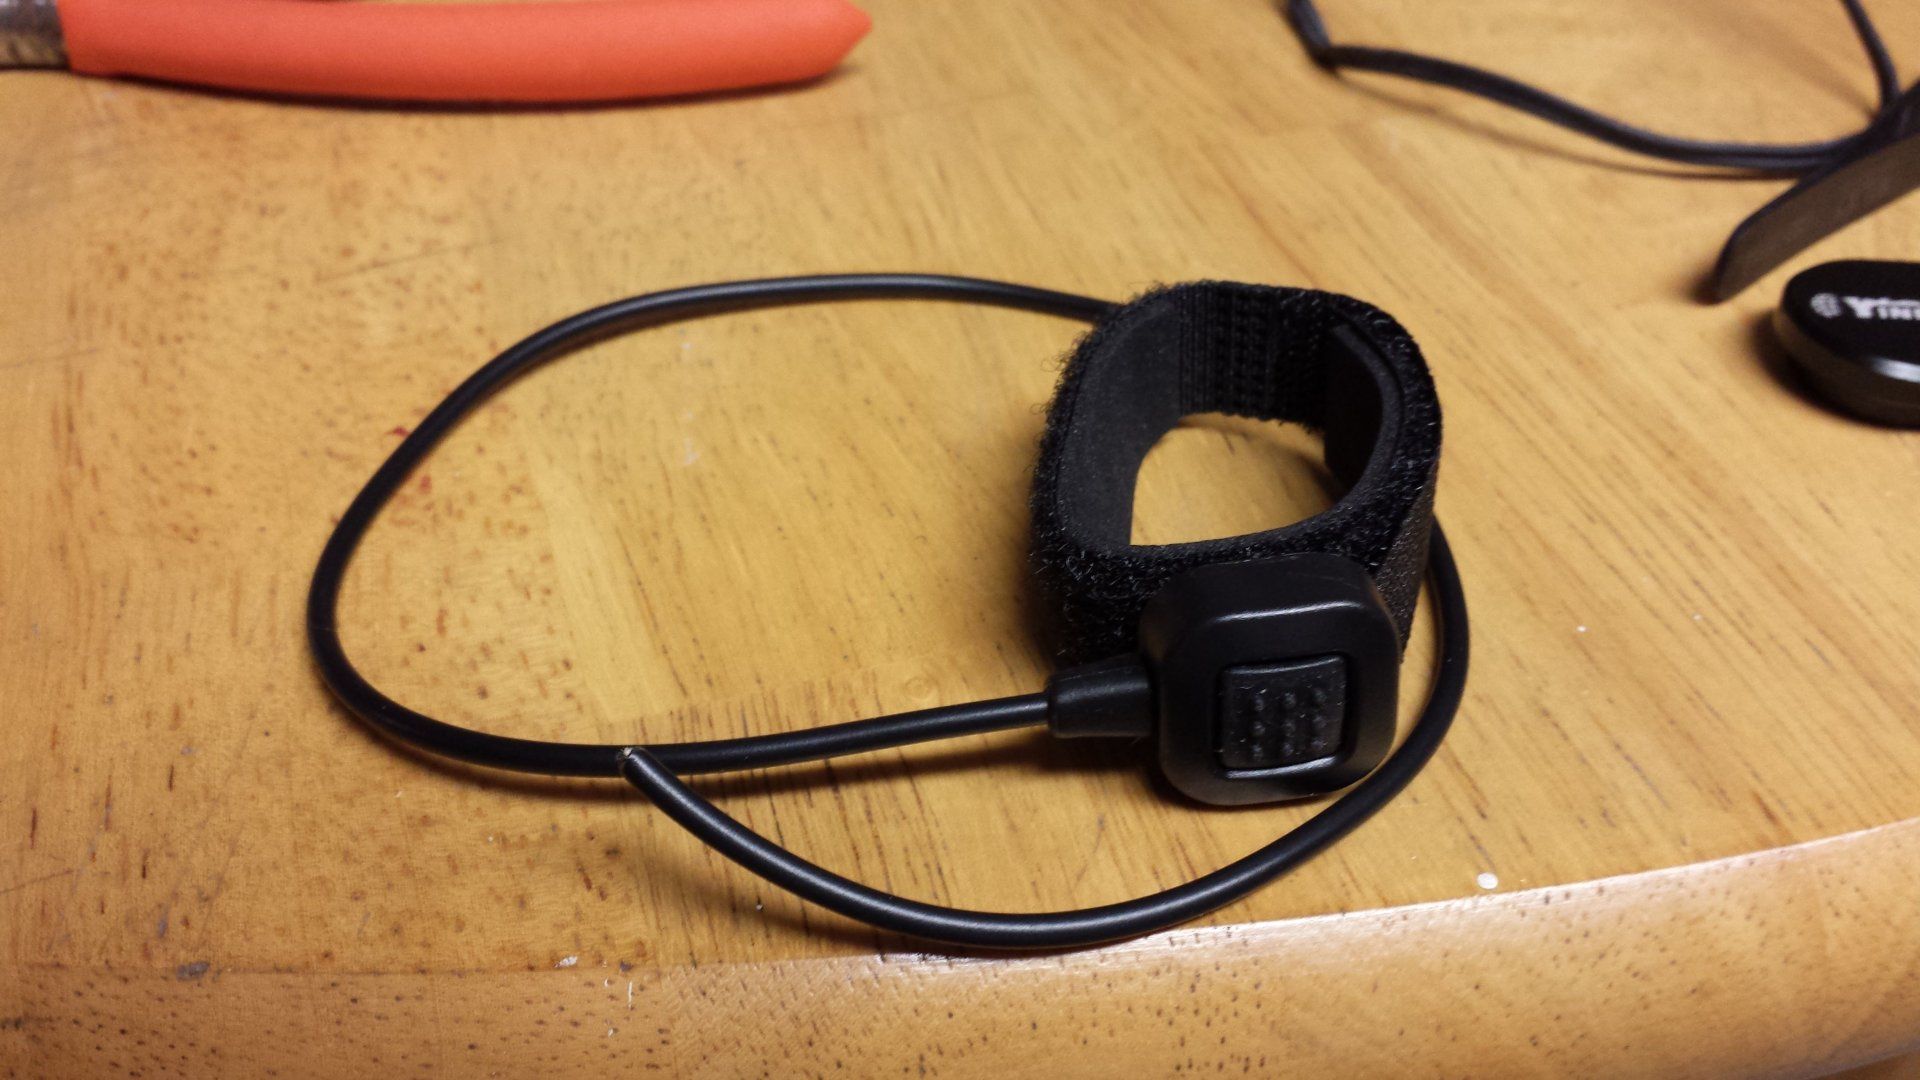
I decided to upgrade my Yinding (Gemini Duo Clone) to XP-L HI V2 3C emitters, 10º LEDDNA optics, and a remote switch. Emitters on 16mm Noctigons from Mountain Electronics, and the remote switch is nothing more than a cheap PTT Remote Mic switch for a 2-way radio (search Ebay for "PTT Remote" and as of this date there is a US Seller to get them for $6.64.)
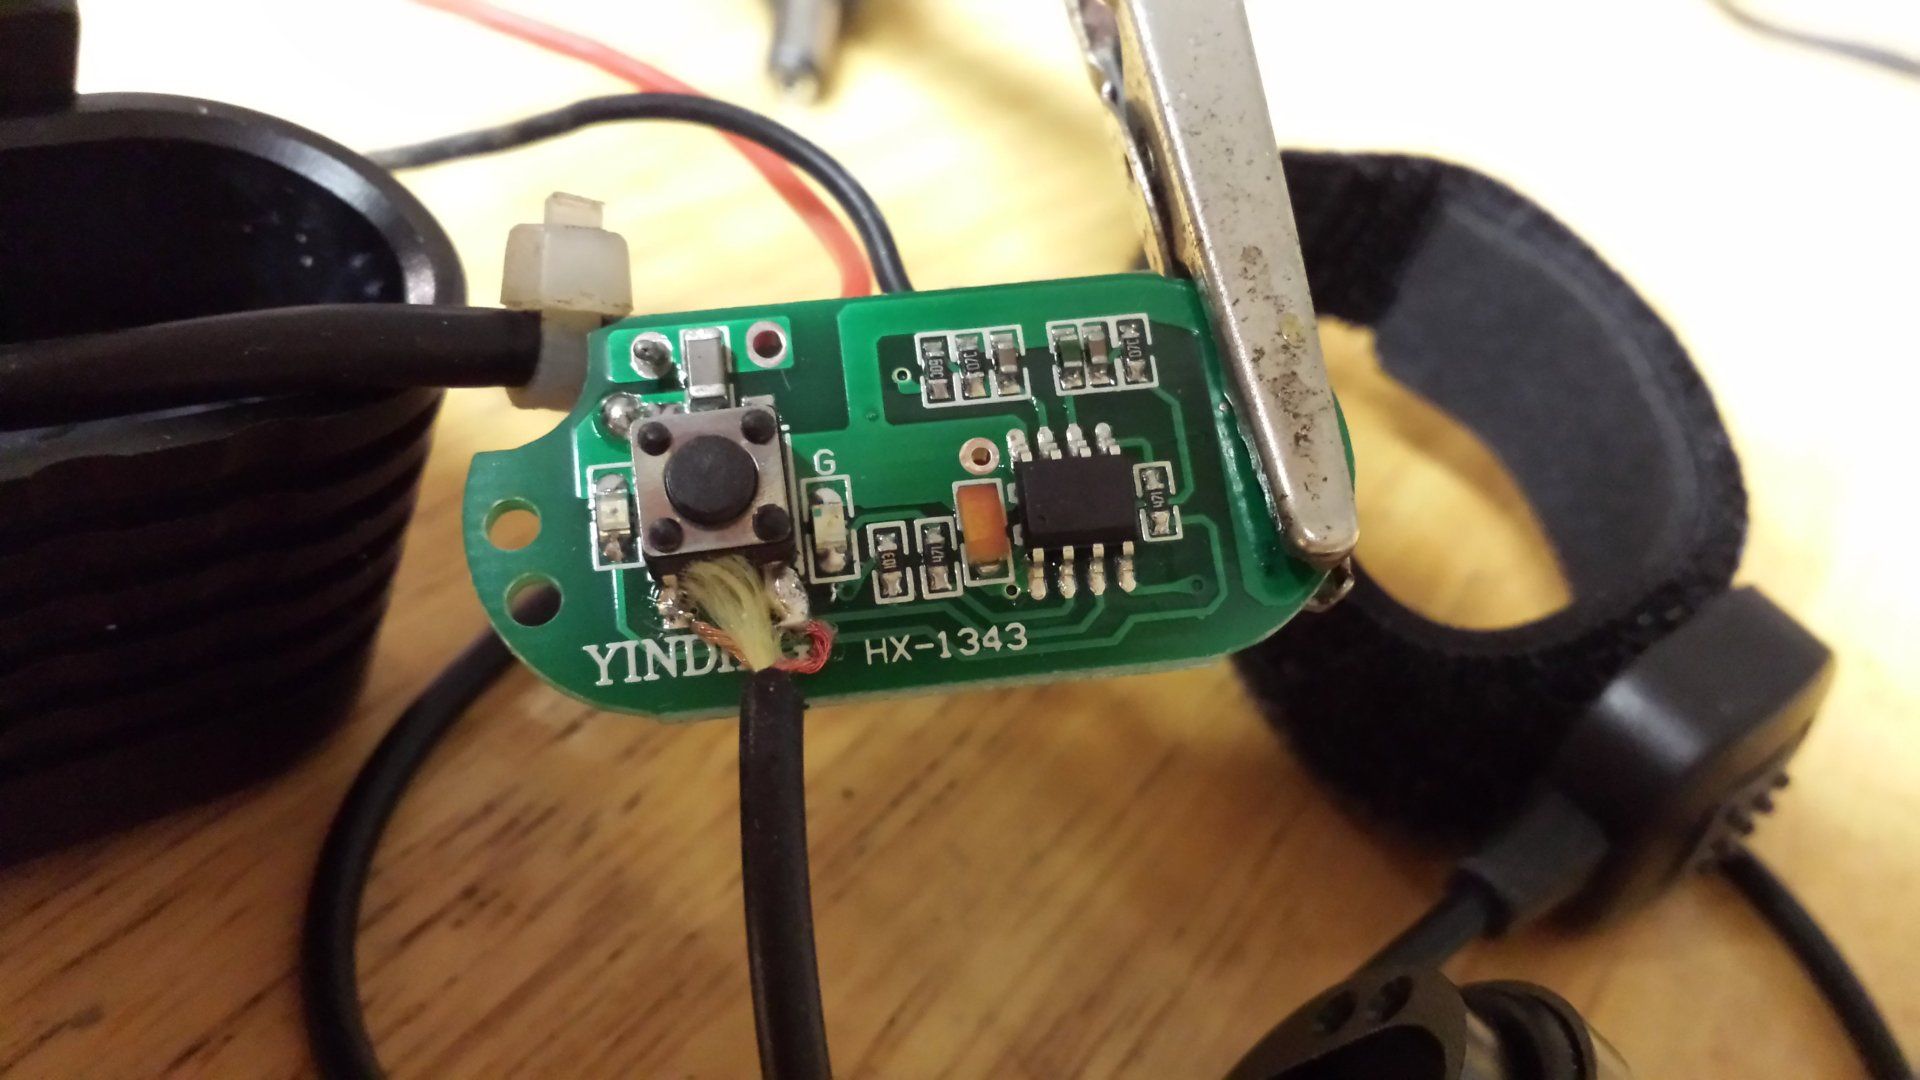
The remote switch was the first step and is quite simple. Disassemble the light, remove driver board from back housing, drill a hole just slightly smaller than the diameter of the wire in an appropriate location, cut remote wire to length, feed through the hole (should be tight fit), and solder across either the top two switch contacts or the bottom two contacts (I chose the bottom two as they are easier to access). Note that the wire is "Litz Wire" and will not conduct electricity until you burn off the coating on the wires (soldering iron will do that for you, but don't be alarmed if you, like me, wonder why your DMM doesn't show continuity right away).
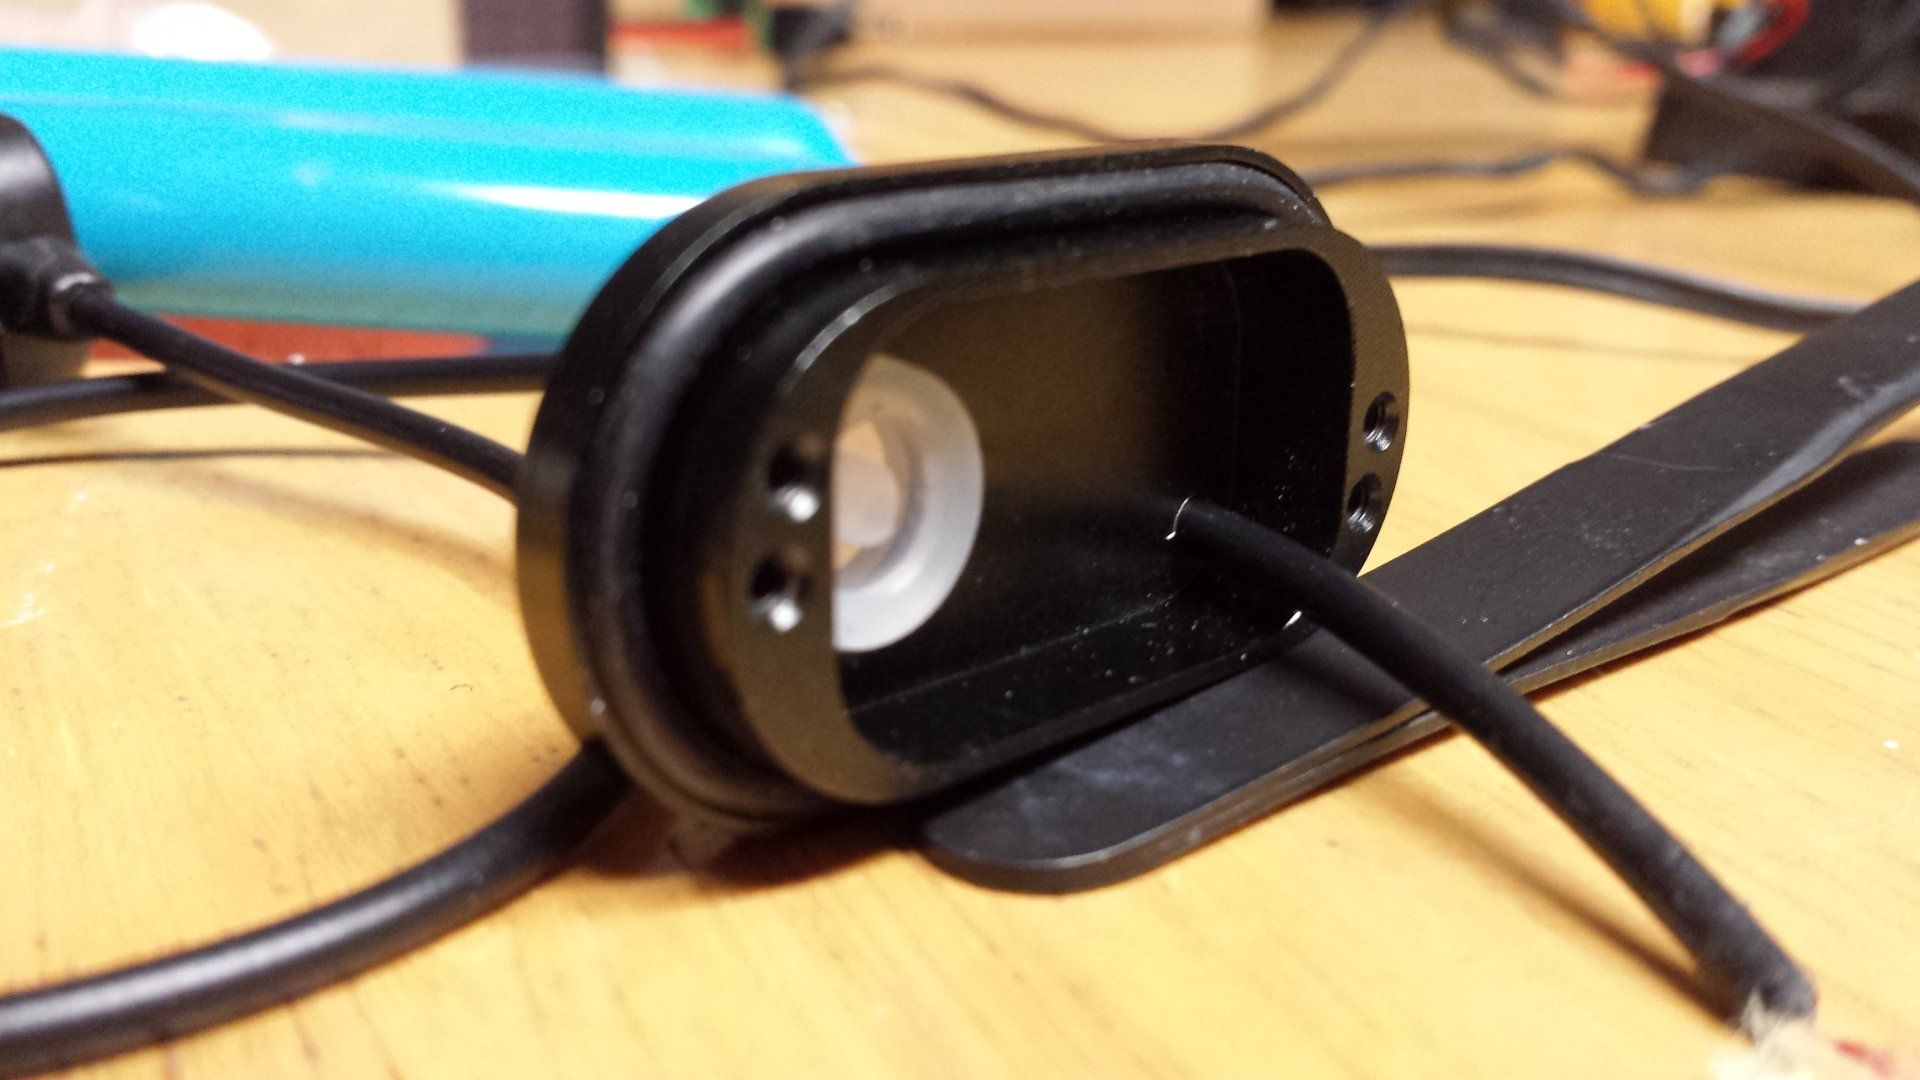
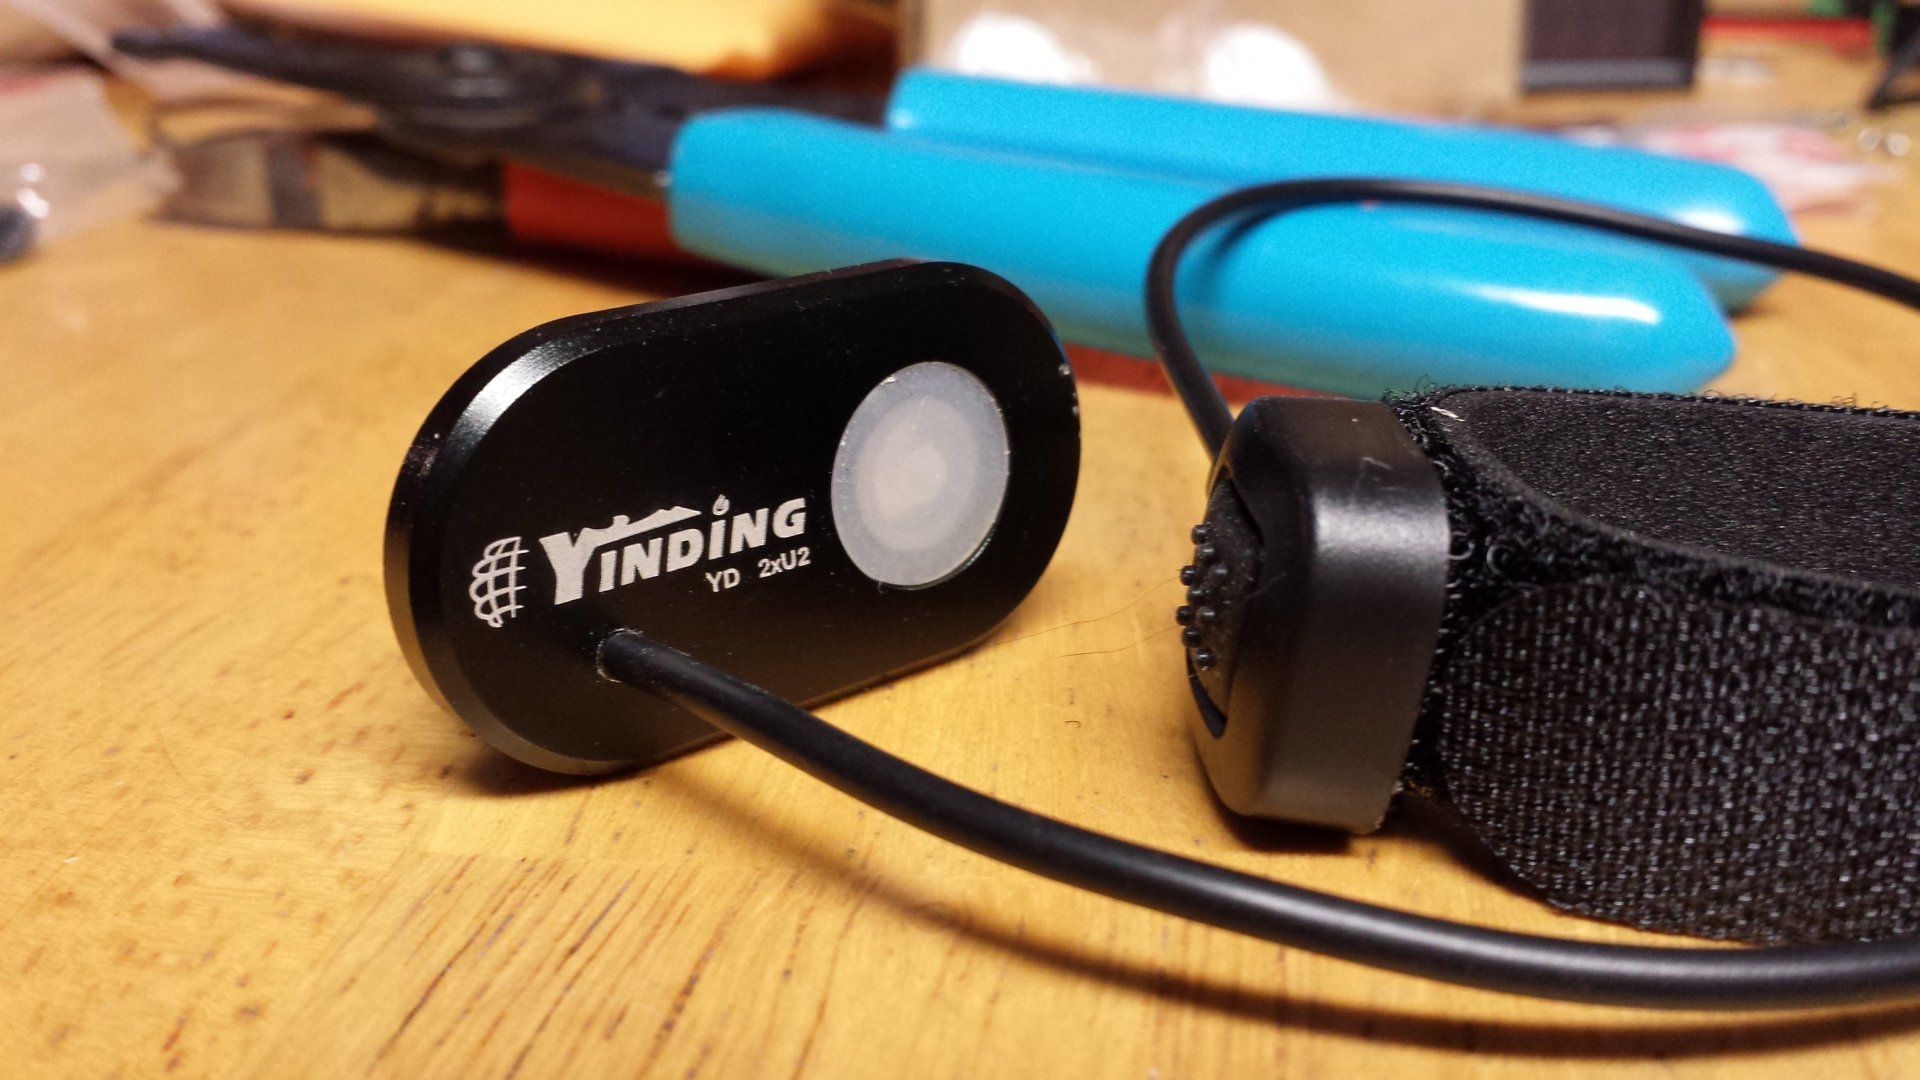
Here are a few pics of the remote installation:
The wiring then gets placed so it runs along the bottom side of the driver board when the board is reattached to the rear body plate.
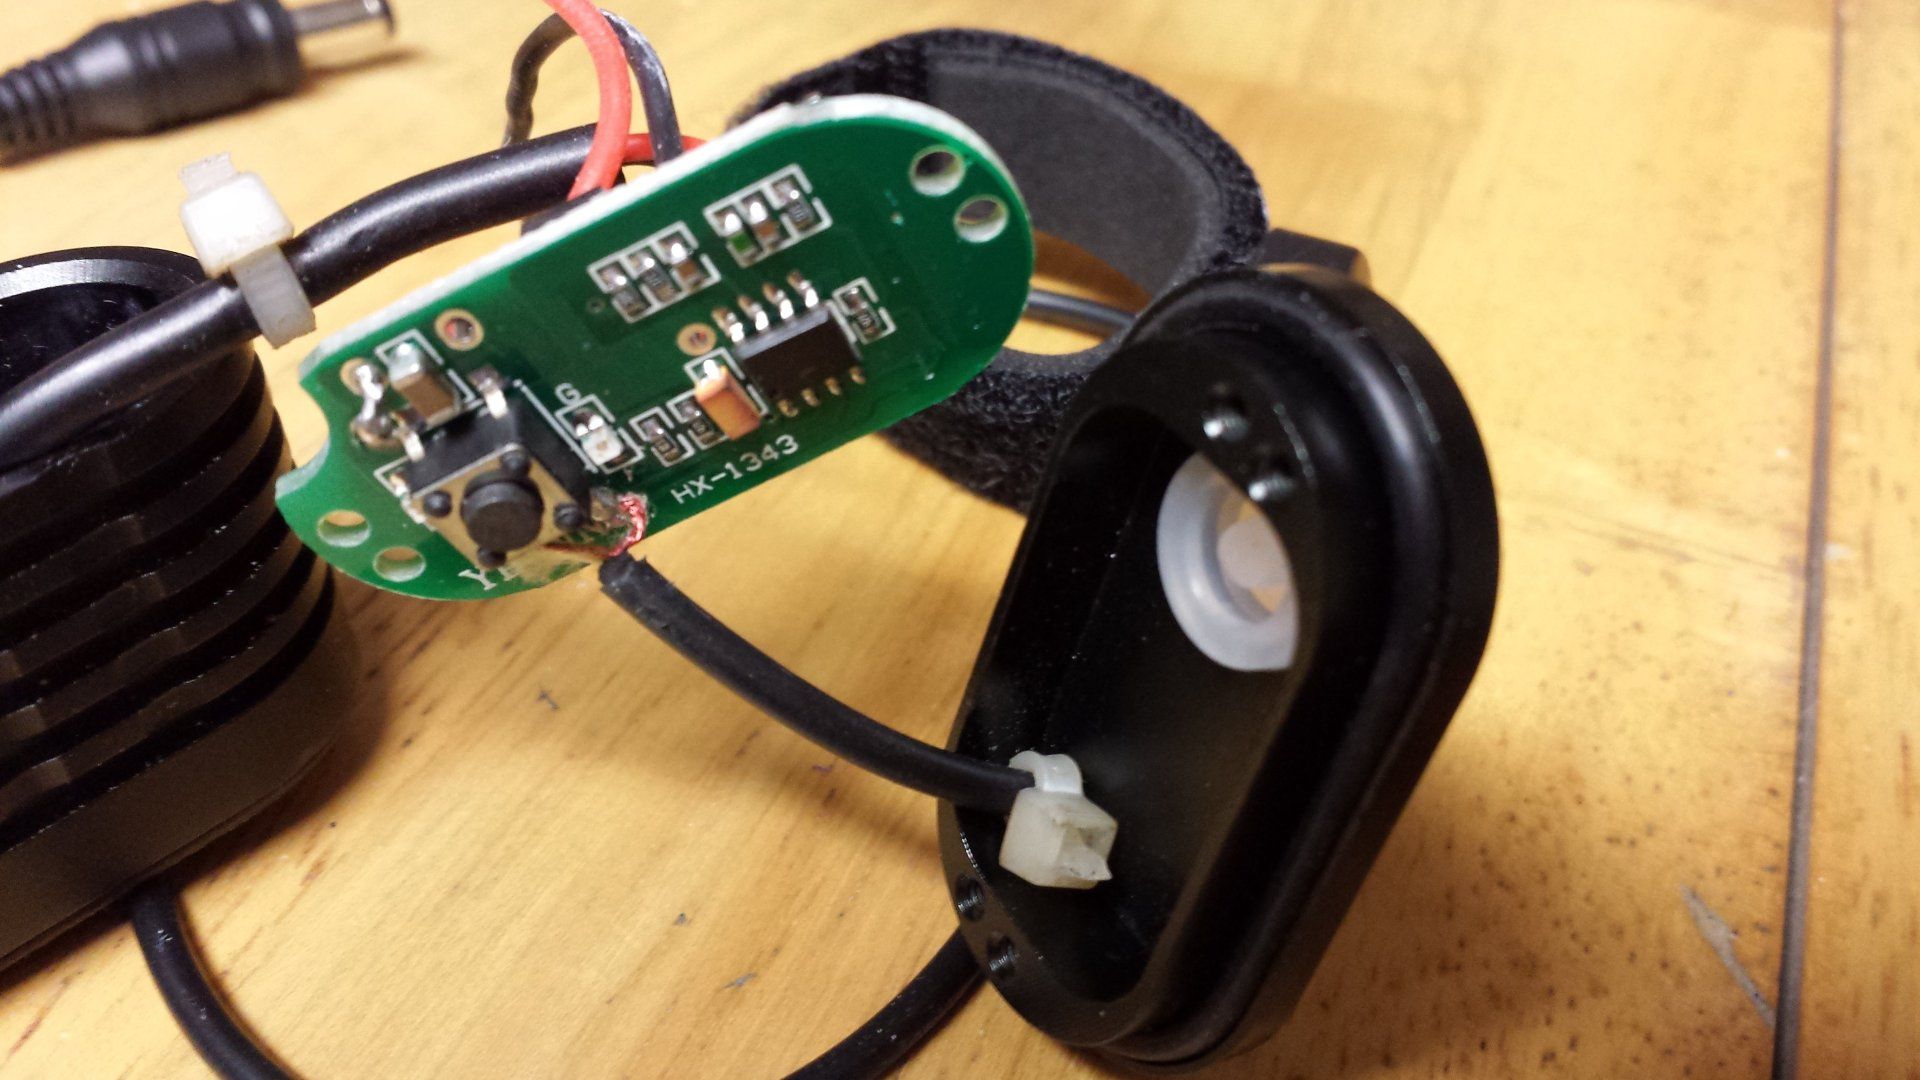
See above, the use of a zip tie to keep the cable from getting yanked out. A zip tie is also placed on the power cord for the same reason. (Note: the zip ties will make it difficult to reassemble because you'll be squishing them in.)
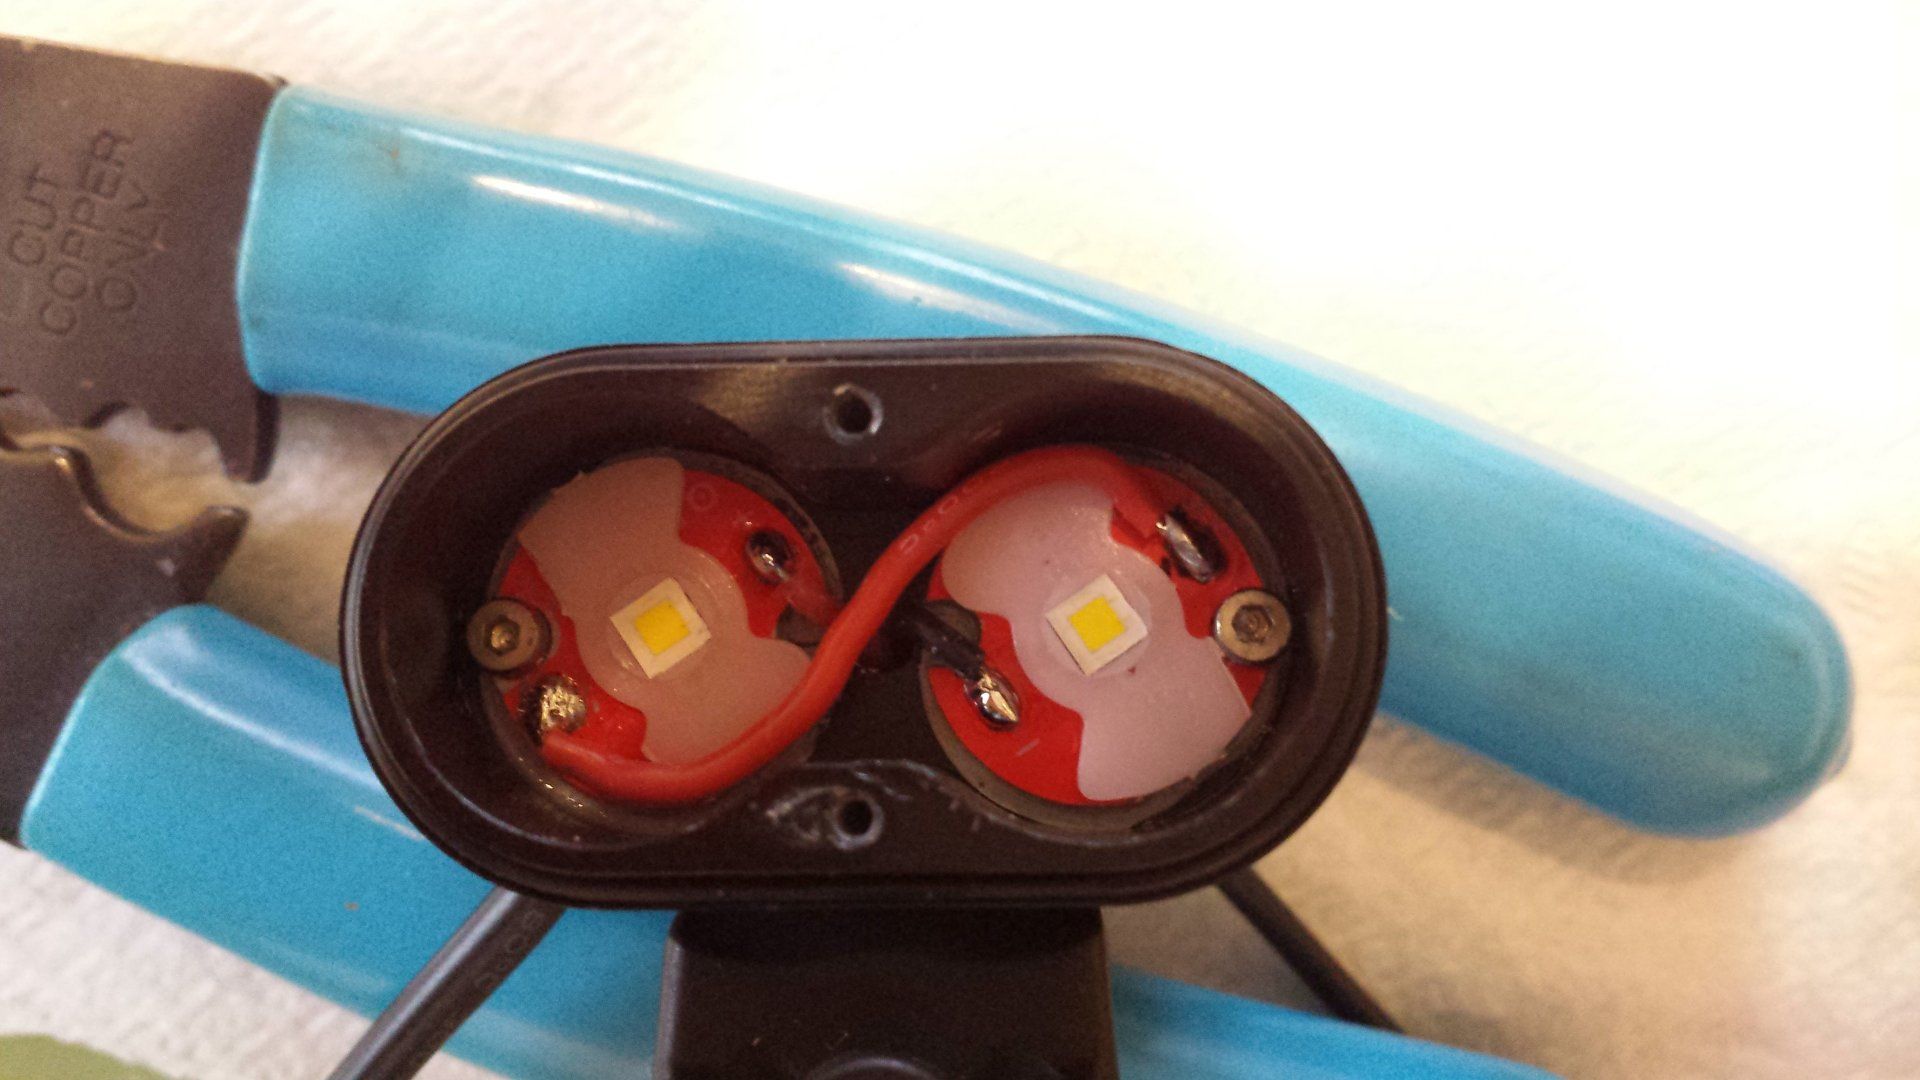
Here are the XP-L on Noctigons installed in series with XP sized butterfly spacers trimmed to fit (needed for correct height for the optics):
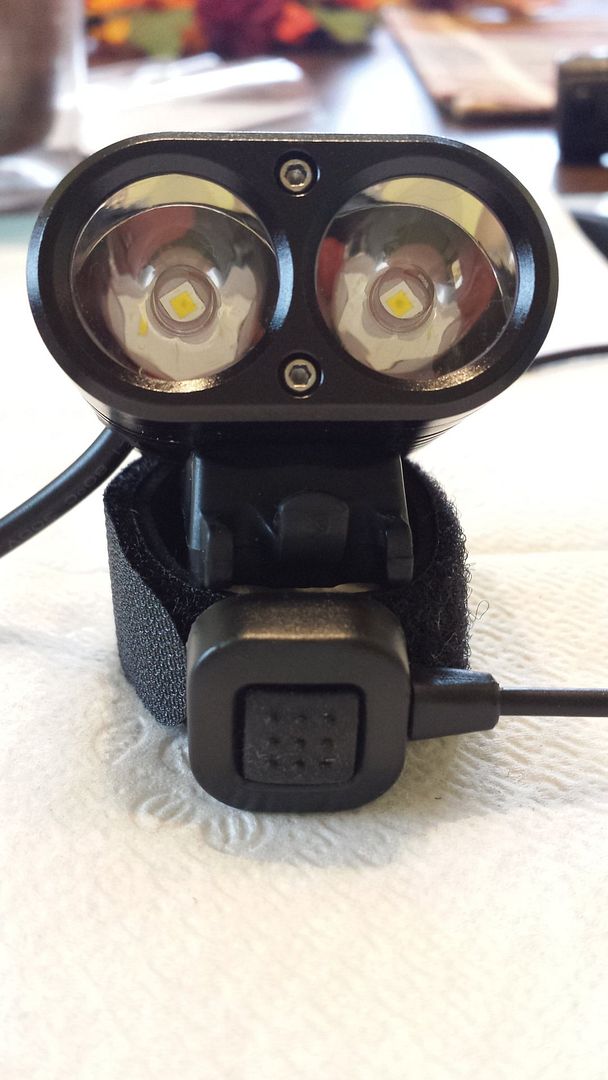
Finished light:
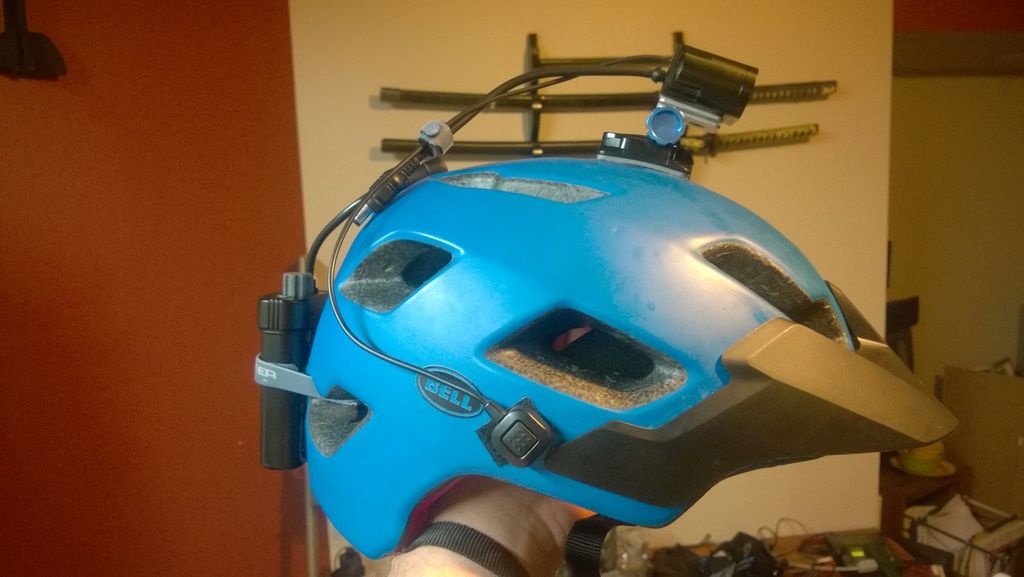
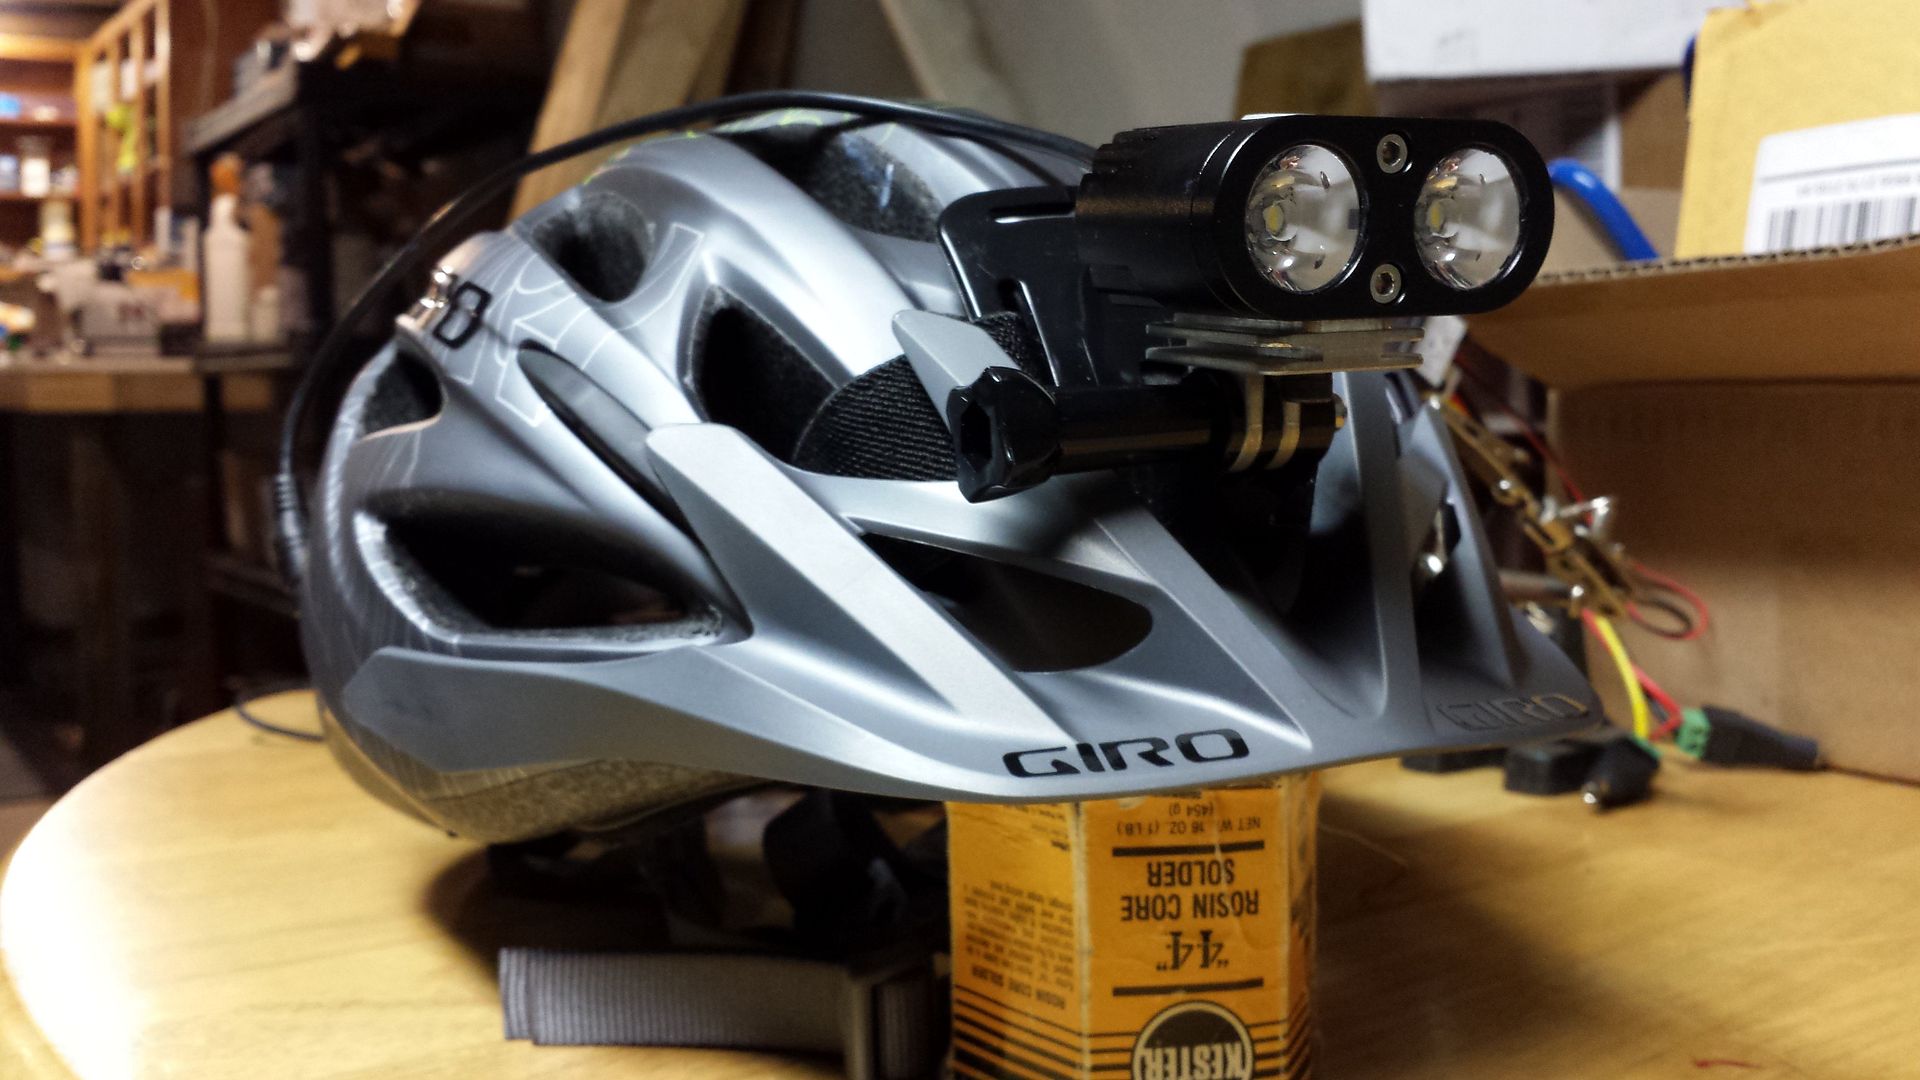
I don't have a pic mounted to a helmet (need an aluminum GoPro adapter with additional heatsinking yet) but here is one I stole from user tigris99 (hope he doesn't mind). (Note the remote switch mounted to the side of the helmet too):
Mine will be mounted lower in the front like my BT21 shown here:
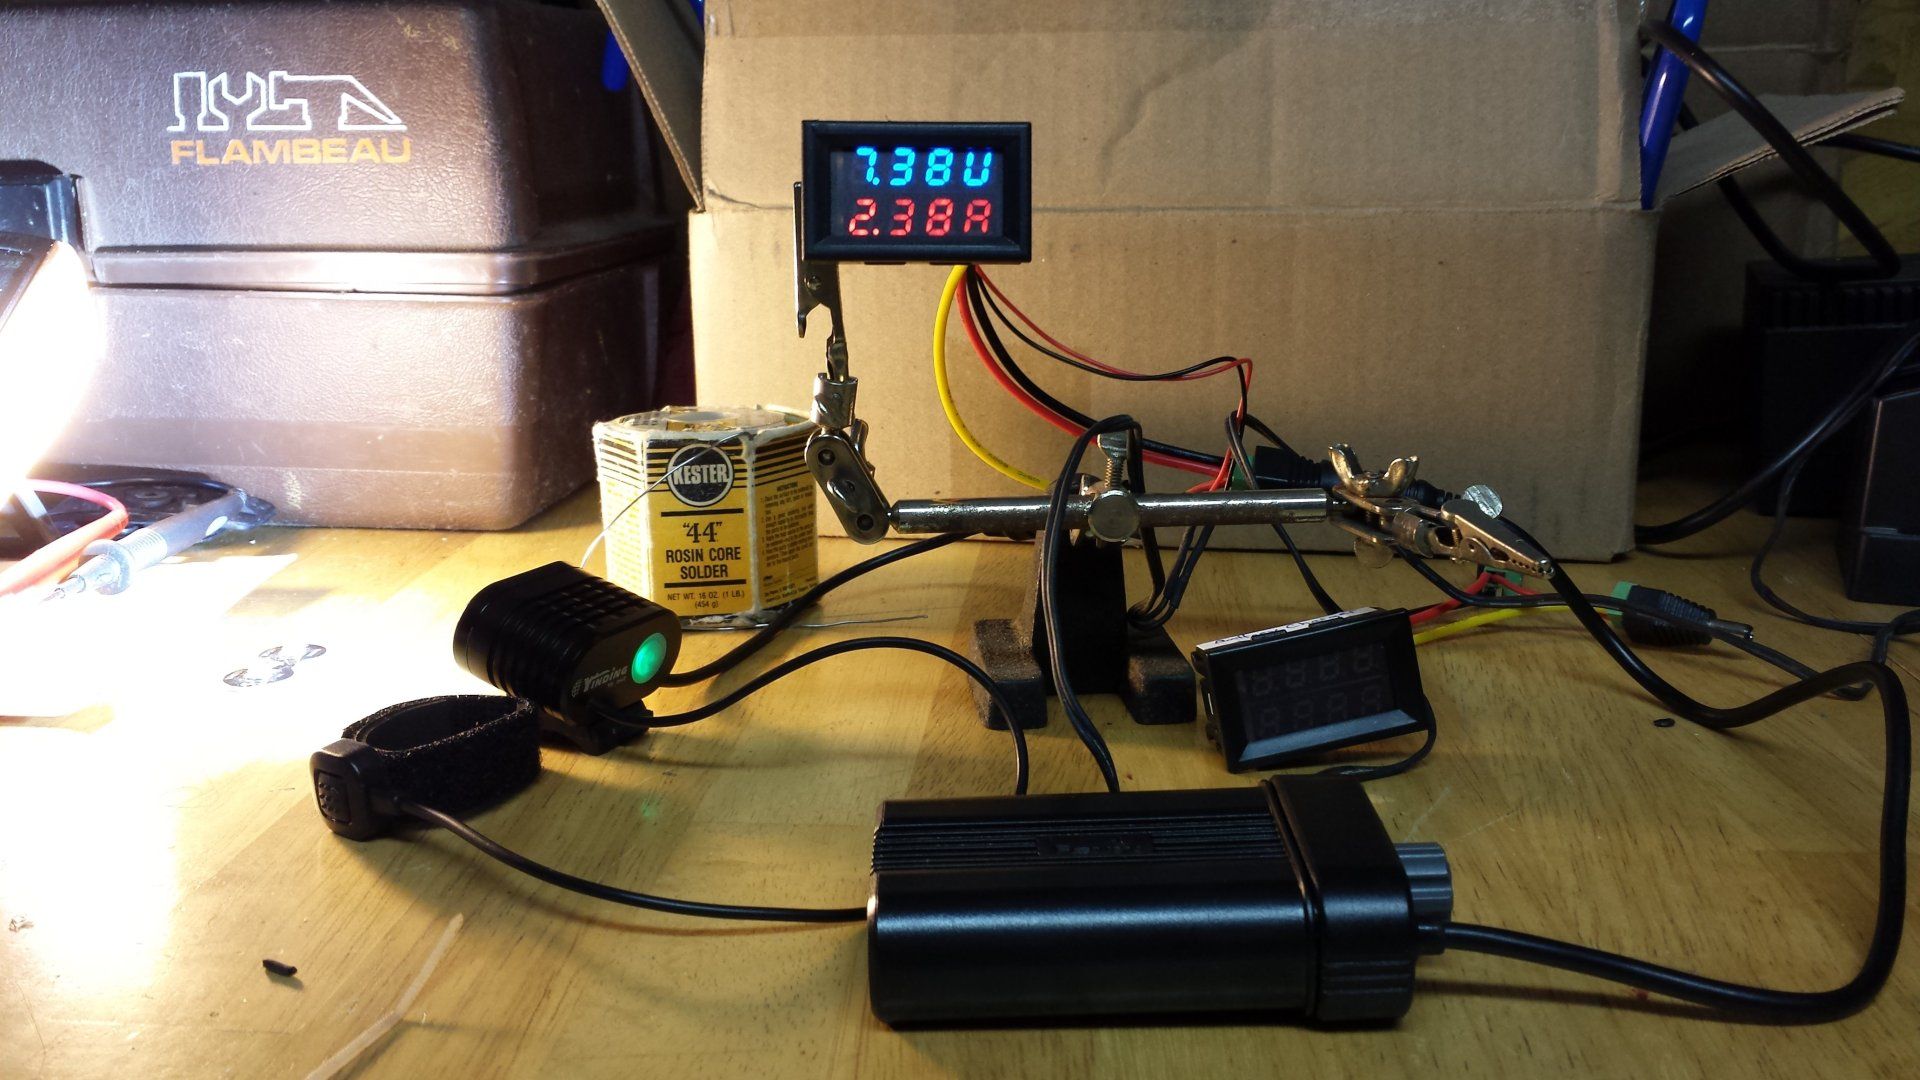
One two nearly full charged protected 2,600 Sanyo cells in a modded Fenix 2-cell case:

Tried two mismatched mostly charged up high-discharge cells and saw slightly higher current:
Beamshots ("High" Mode Only):
Mouseovers - Mouse Out = Stock Form (tint is approx. a 5B1, so you'll see tint difference too), Mouse Over = XP-L HI modded. Approx. 185 feet to the two trees, utility pole in the distance is at approx. another 100 feet away from the trees:
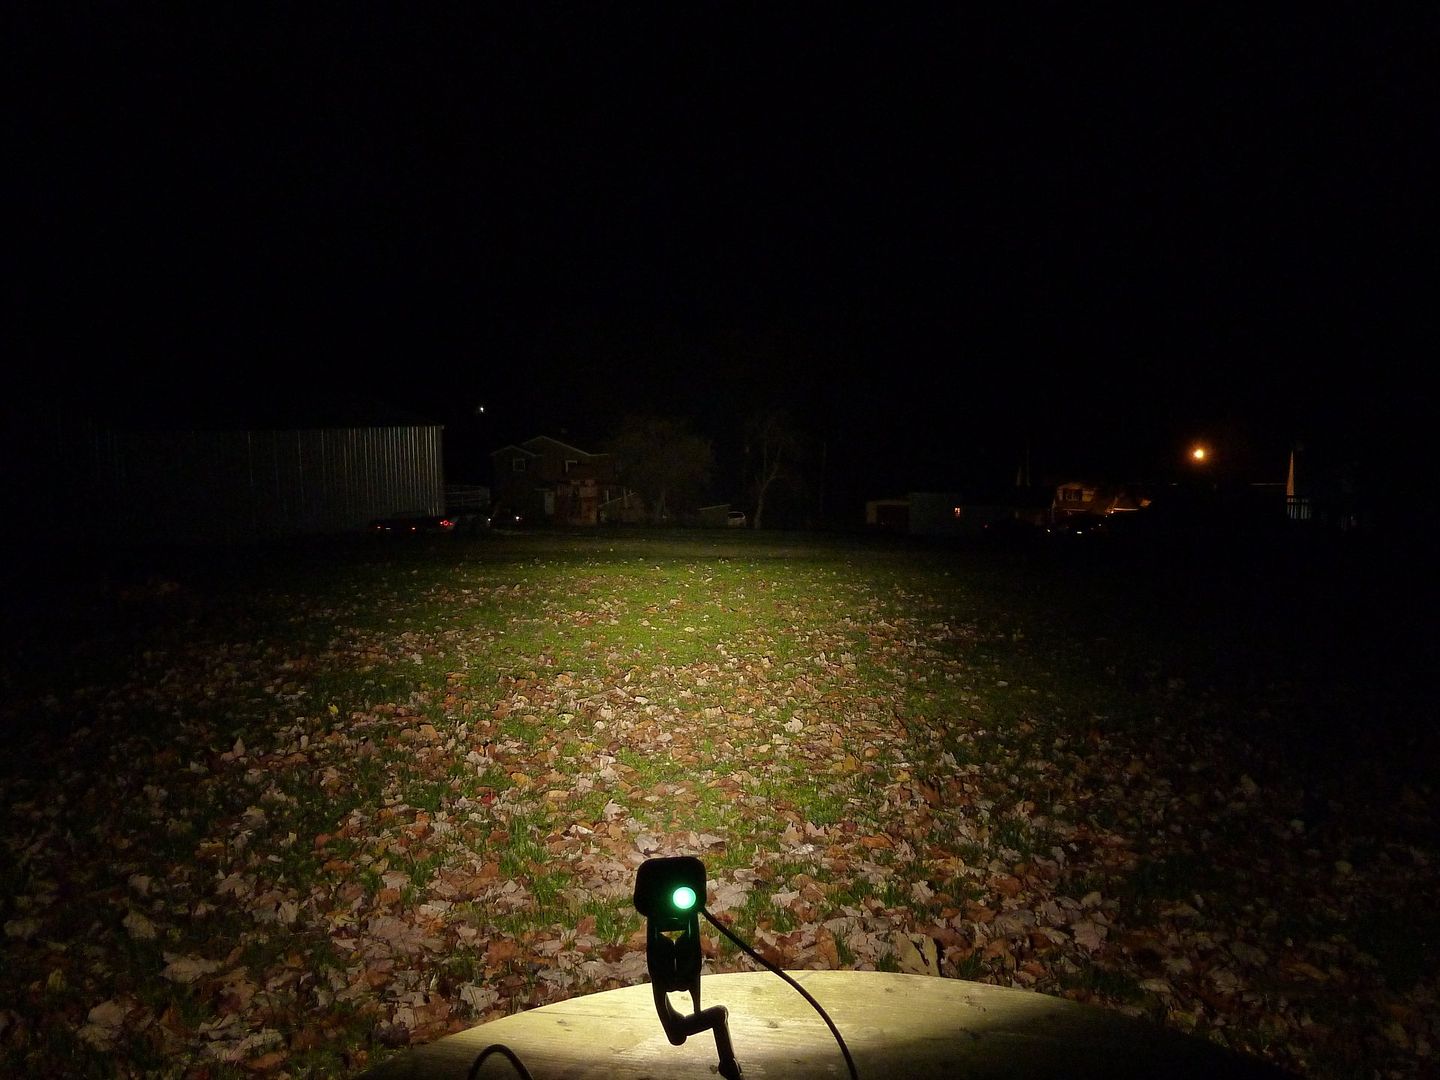
Wooded Setting:
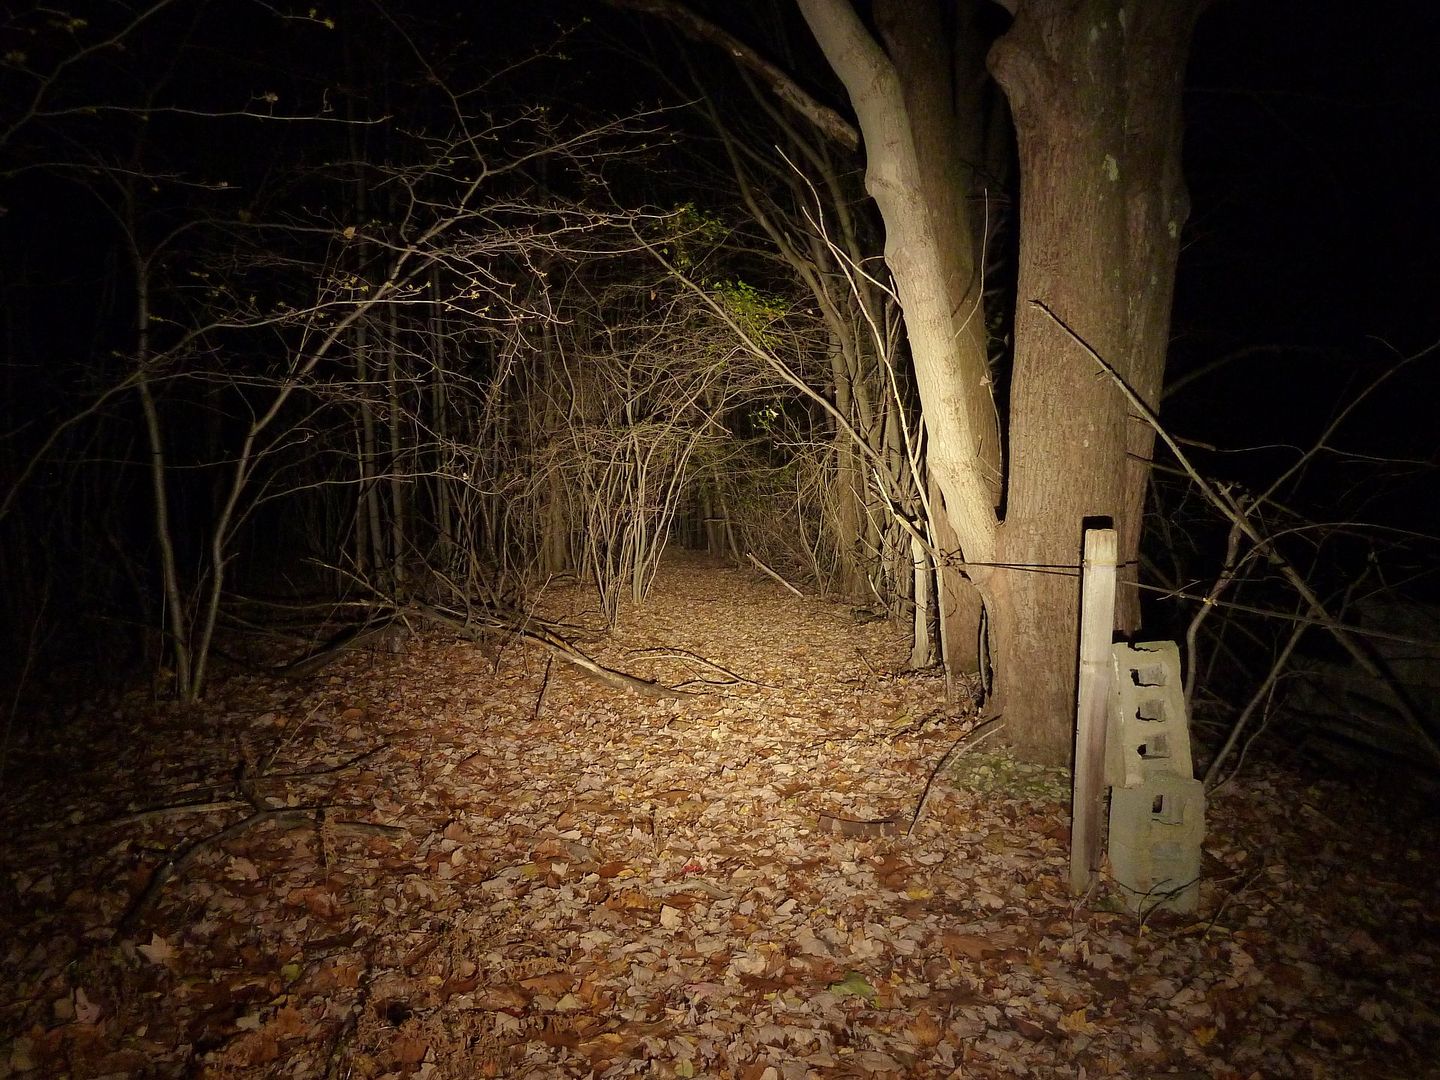
Pretty impressive difference! You'll notice in the yard shot that the XP-L's are lighting up the utility pole in the distance! Interestingly enough the XP-L's (or due to optics change) also light up a slightly wider area up in front of the light! I like it! I lost the more realistic color rendering of the 5B1 tint, but I think the gains were worth it.
Note: Full PhotoBucket gallery with more pics here.
-Garry
Thanks for the pics. Mouseover won’t work here. Loading your gallery ![]()
Only seeing one set of low/med/high mode in gallery…You sure the mouseover works? ![]()
Another nice mod gb. Thanks for sharing.
Really nice mods there in Post 72.
How do you like the Go Pro adapter with the additional heatsinking? Do you think it would transmit too much vibration mounted on a handlebar? Looks so cool on the silver helmet.
I don't know that the vibration is really any worse than using the standard o-ring mounts. I've yet to ride using the GoPro mount though. Work schedule screwed me out of riding last week and this week's ride was cancelled due to rain (local club rides on Tuesday nights). Not sure how much longer I'll have to be able to ride before snow hits (and stays around for the next 4 months).
-Garry
^
All the mounts I have have a cushion pad of some sort on both the handle bar and light side of the mount. I assumed such pads would negate the heat sinking and, therefore, not be used. Just seems like a lot of shock/vibration would be transmitted to the light.
Kind of a bummer you have such a short light riding season.
I love this thread. I’ve recently acquired a bike for commuting, via a friend that managed to almost literally ram into this deal, so I’m looking for a really nice bike light for him. He’s a bike (and bike light) aficionado so I’m thinking he will also love this thread.
Personally, since I’ll mostly be using my bike for commuting and city riding I’m likely to use Astrolux S1 and/or Convoy S2.
Do keep this thread fresh, please. I haven’t found a better bike light thread on BLF than this one.
Thanks for all your effort and extremely nice beamshots!
Thanks viktori! It is my plan to keep updating this thread. It's handy for my own records as well as having a source to link others to for information.
-Garry
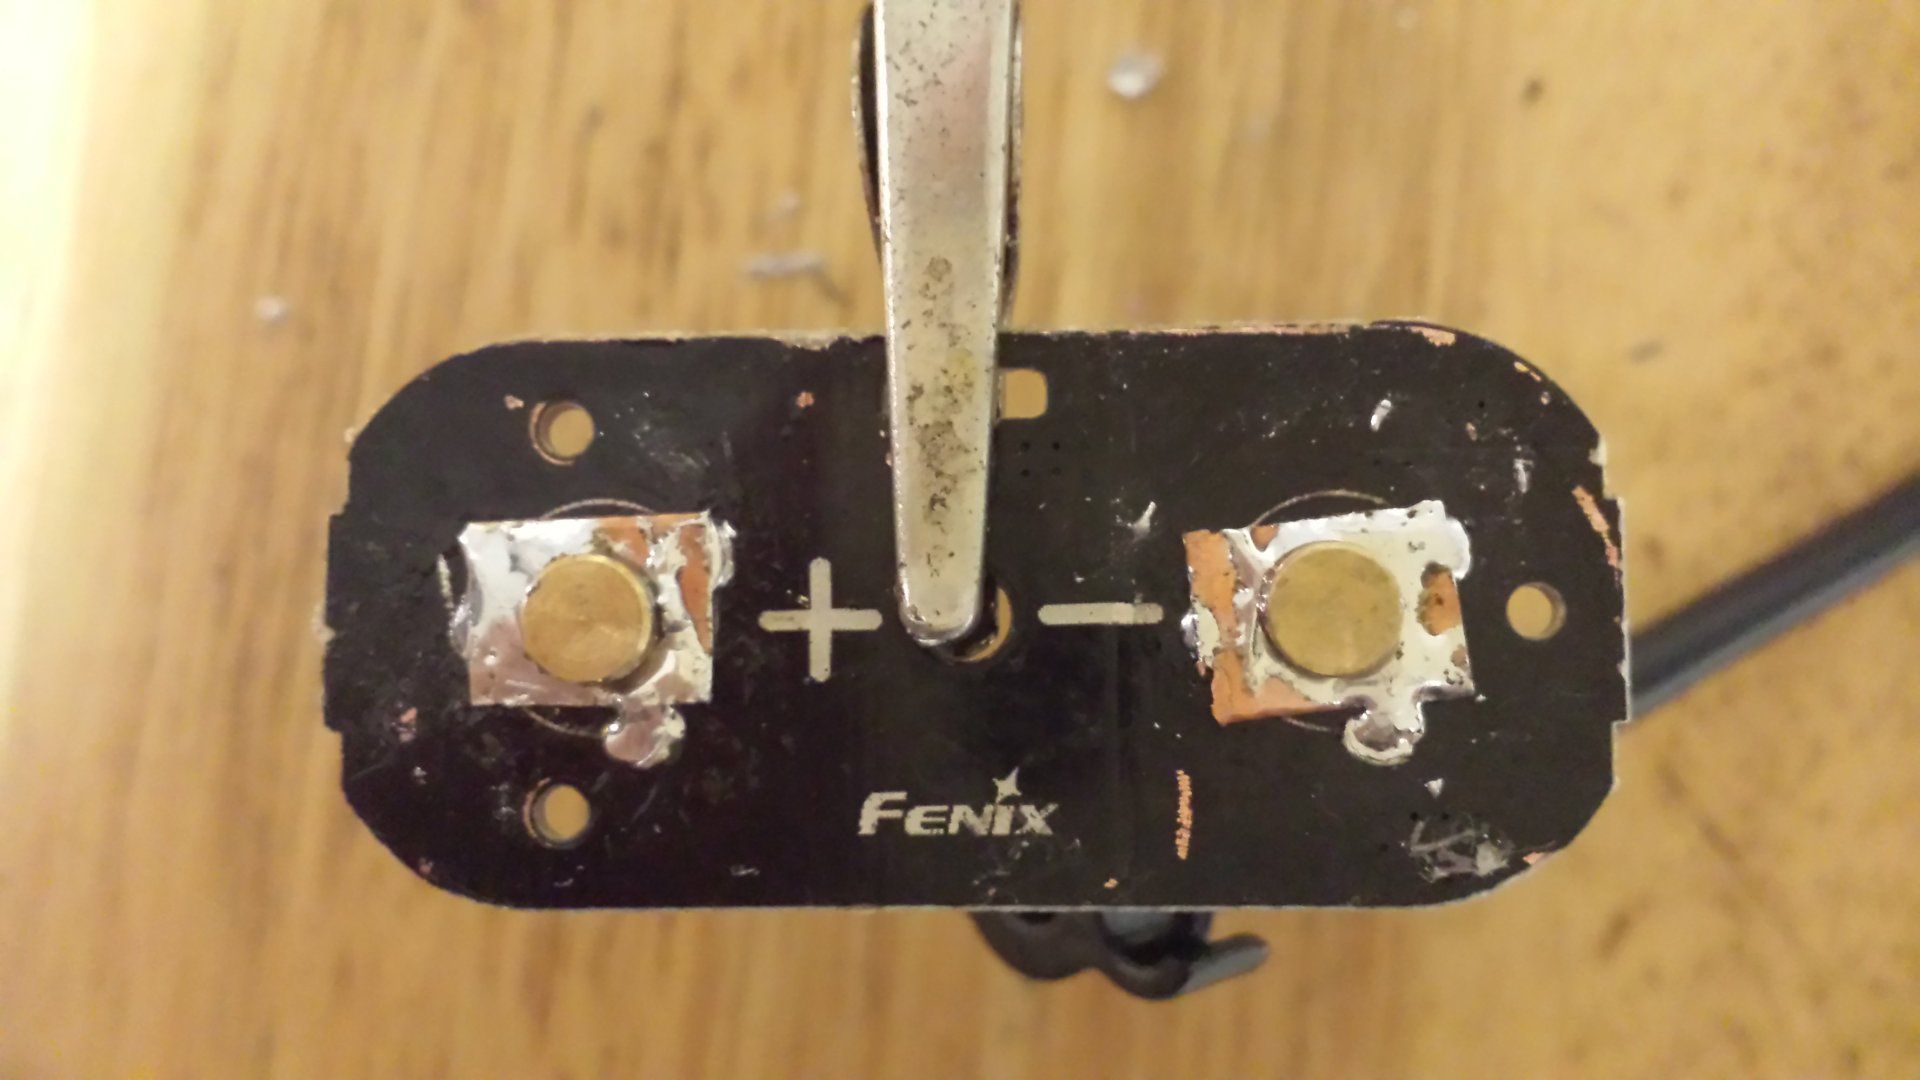
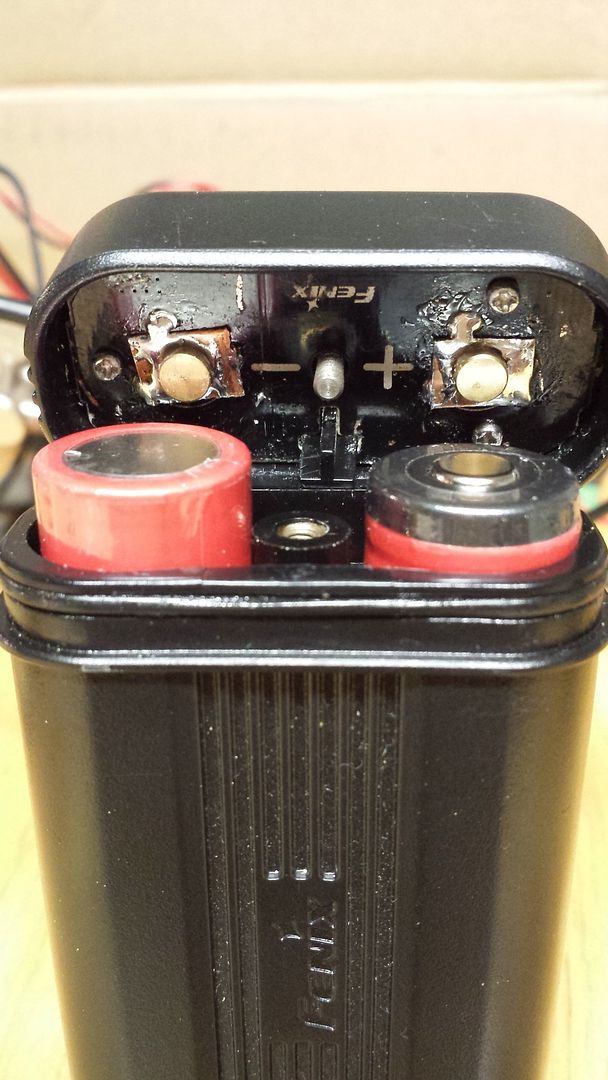
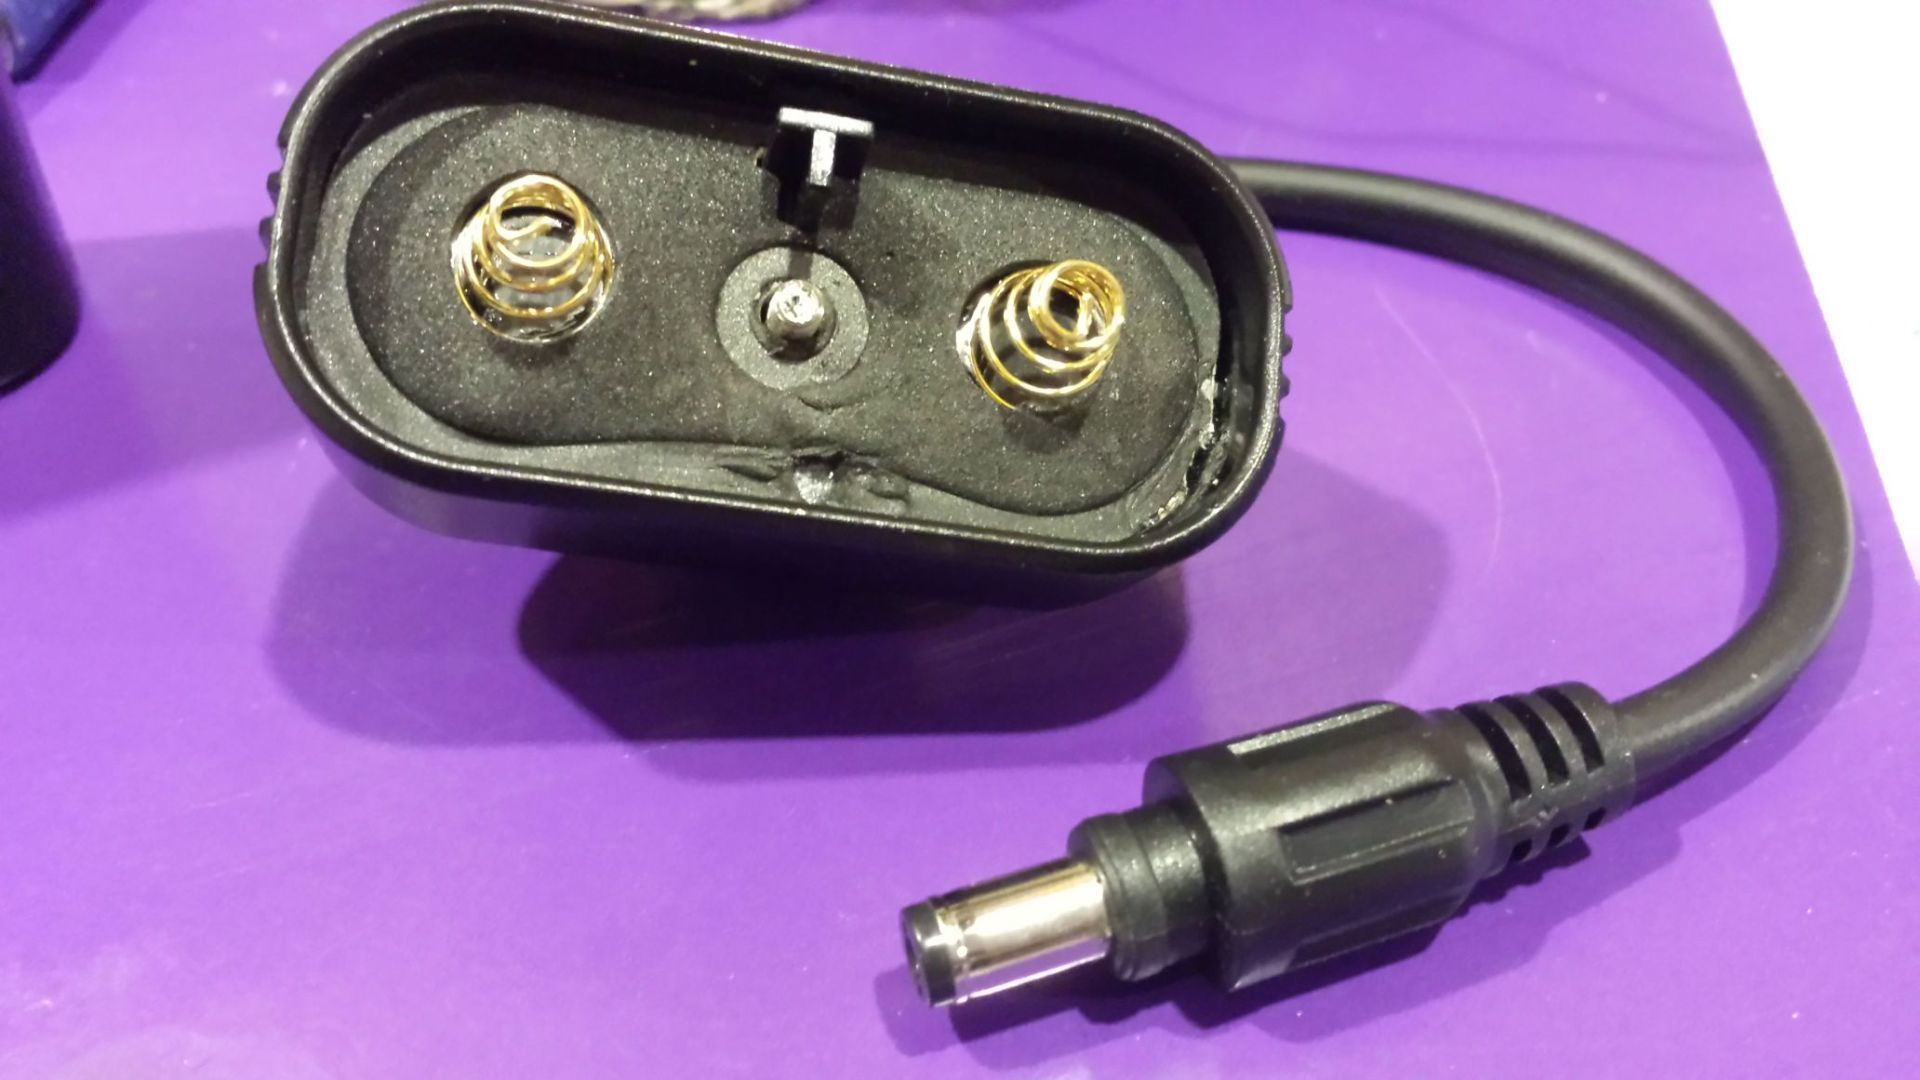
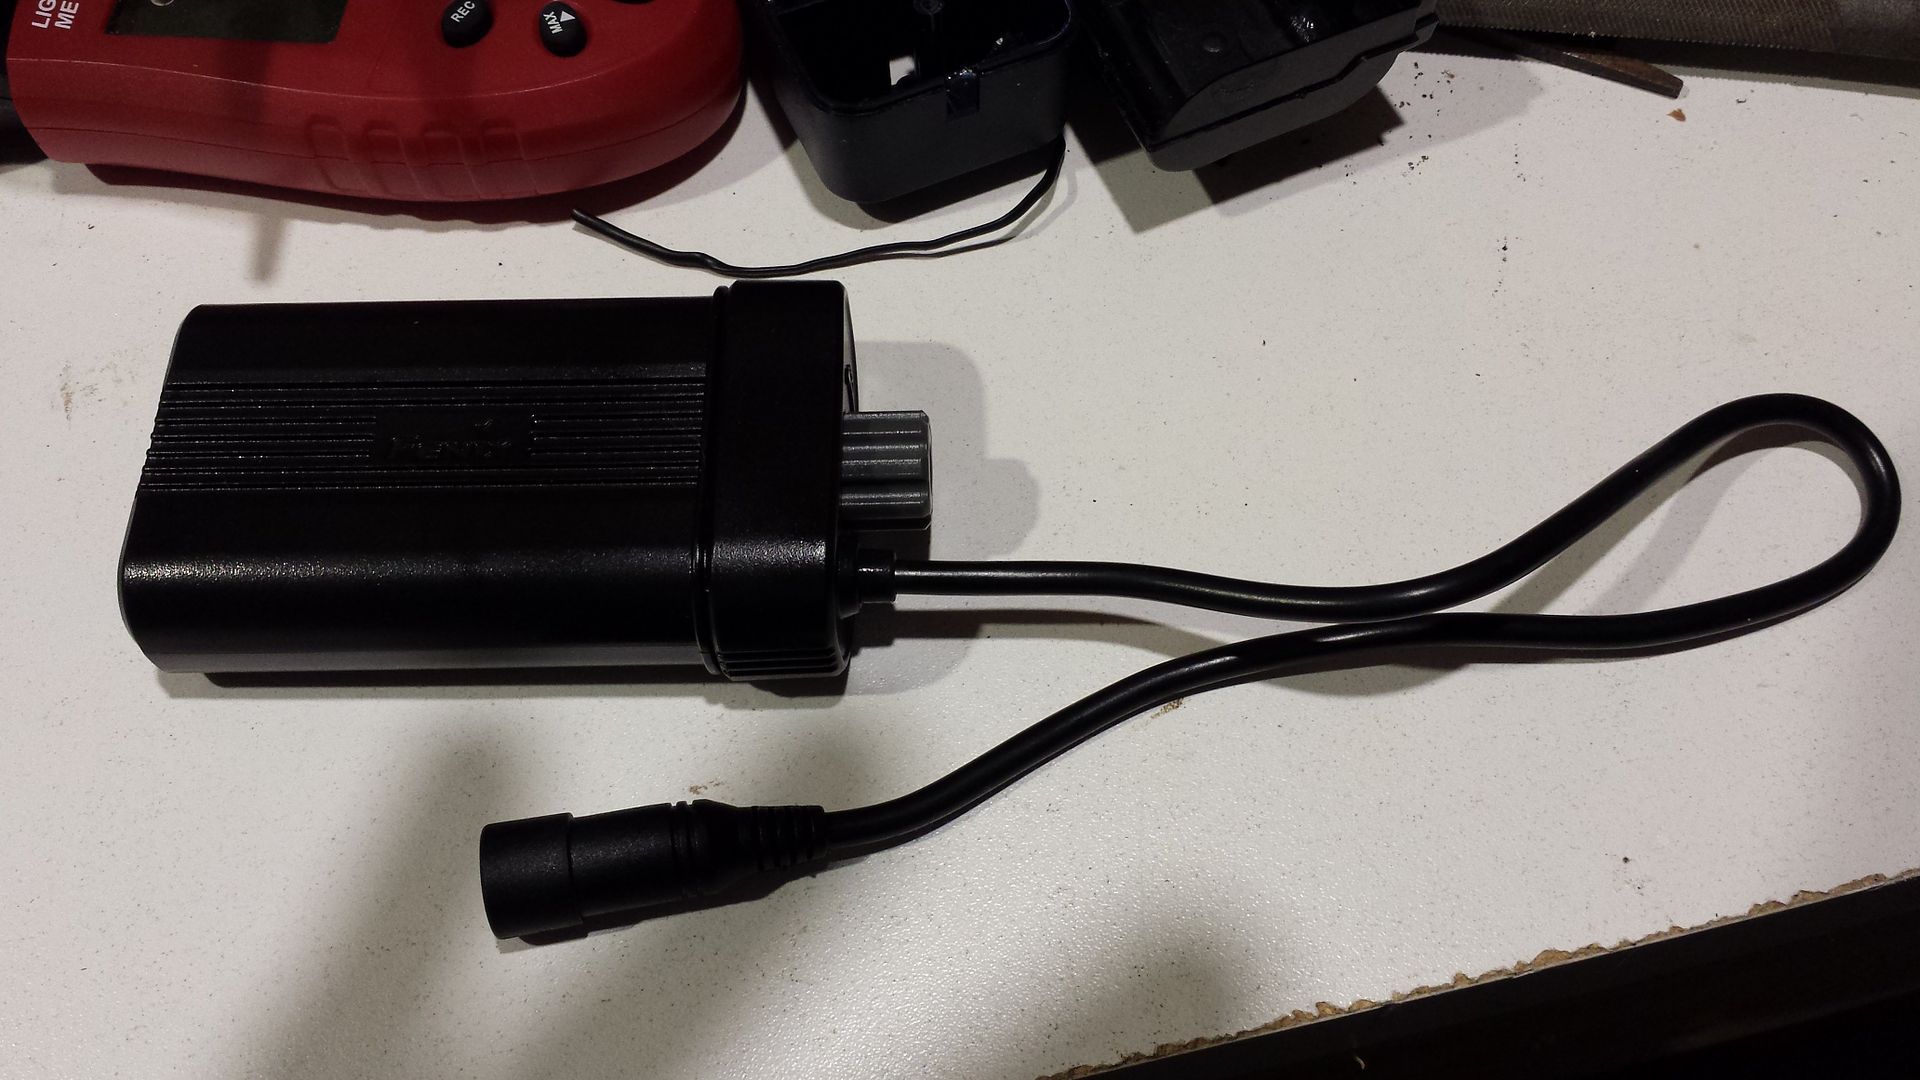
Did a little mod to my 2-cell Fenix Bike Battery Case replacing the top springs with buttons from Mountain Electronics. I have already replaced the stock Fenix cable with the 20ga DX one (the stock Fenix cable has the opposite connector on it anyway). The buttons are too small to reach the pcb contacts (perhaps I could have just scraped away at the pcb), so I used pieces of copper under each button. Fairly easy to do and the bottom springs still provide plenty of tension on the battery (it was quite a bit of tension with both sets of springs).
Pics:
With two protected Sanyo 2,600mAh FM's:
BTW - these cases are no longer available.
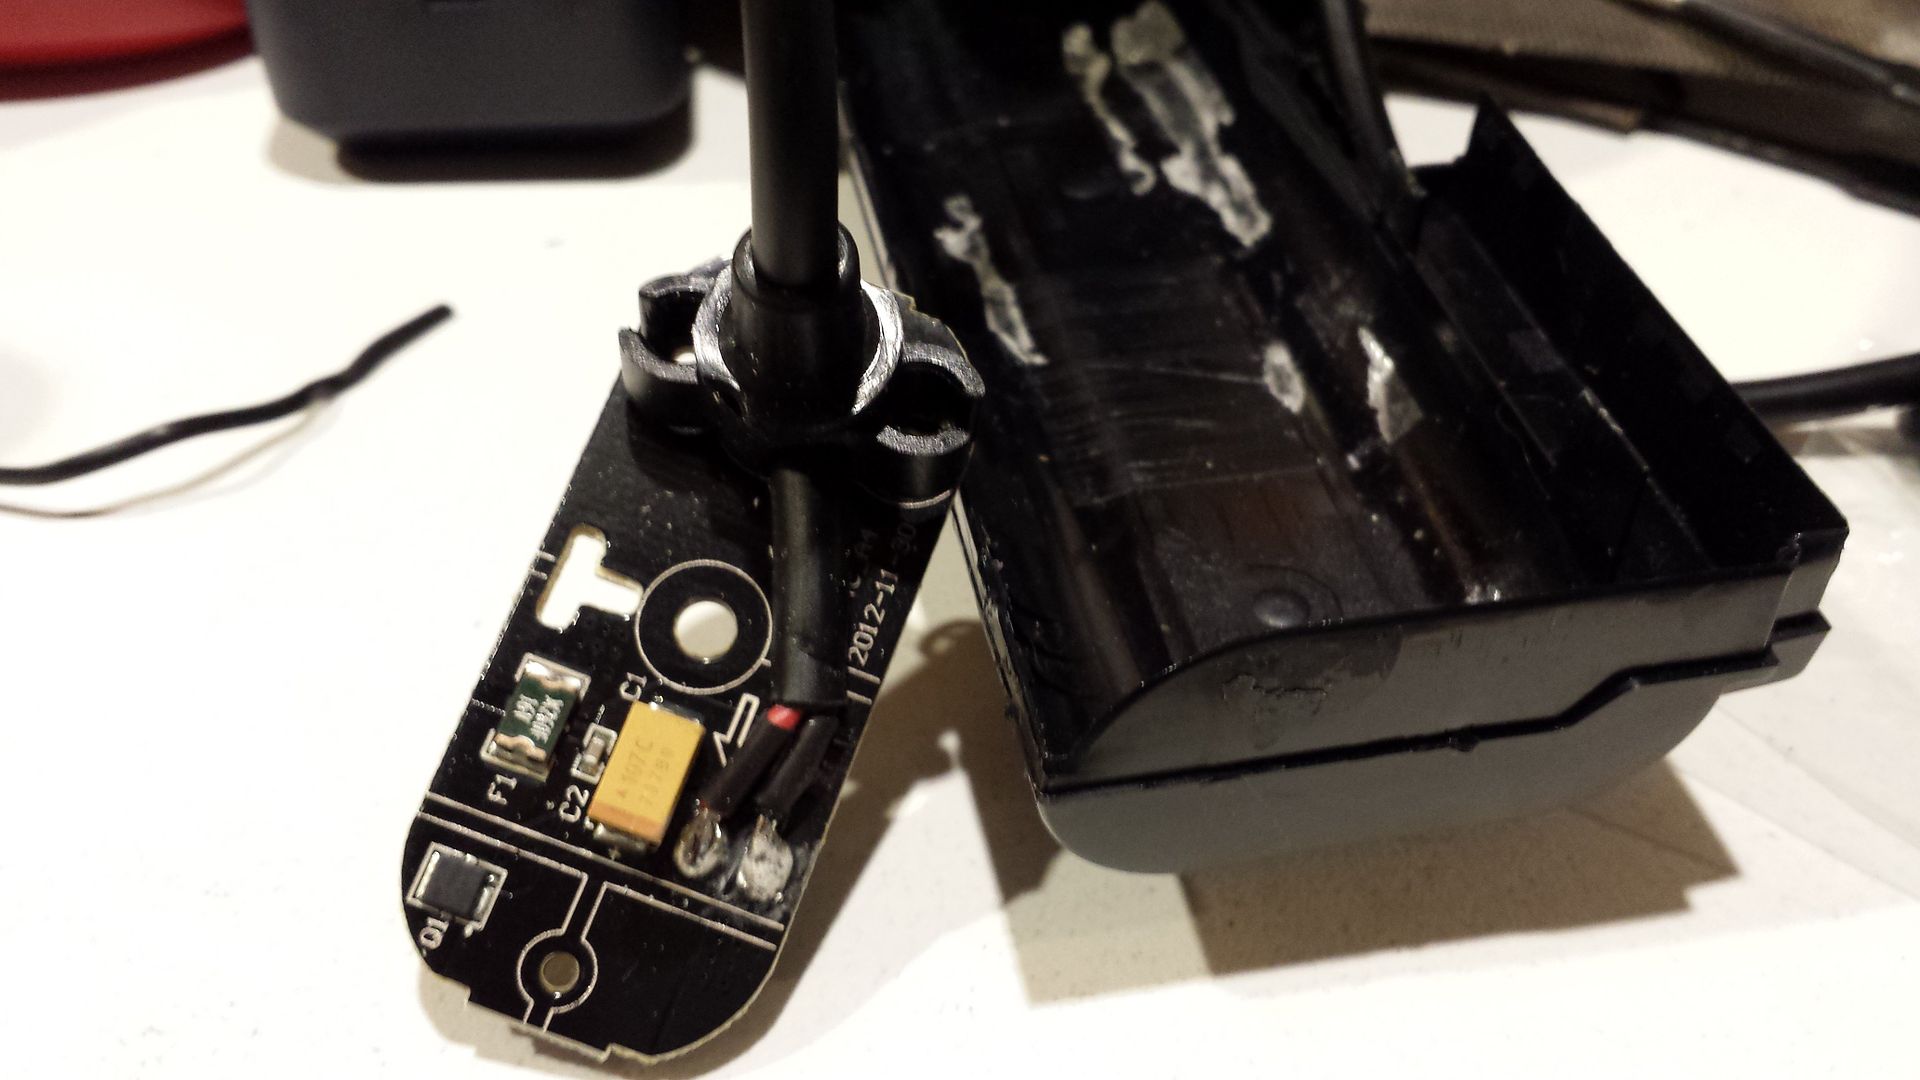
A few more pics showing the other side of the pcb since I didn't post anything on the cable mod:
Stock:
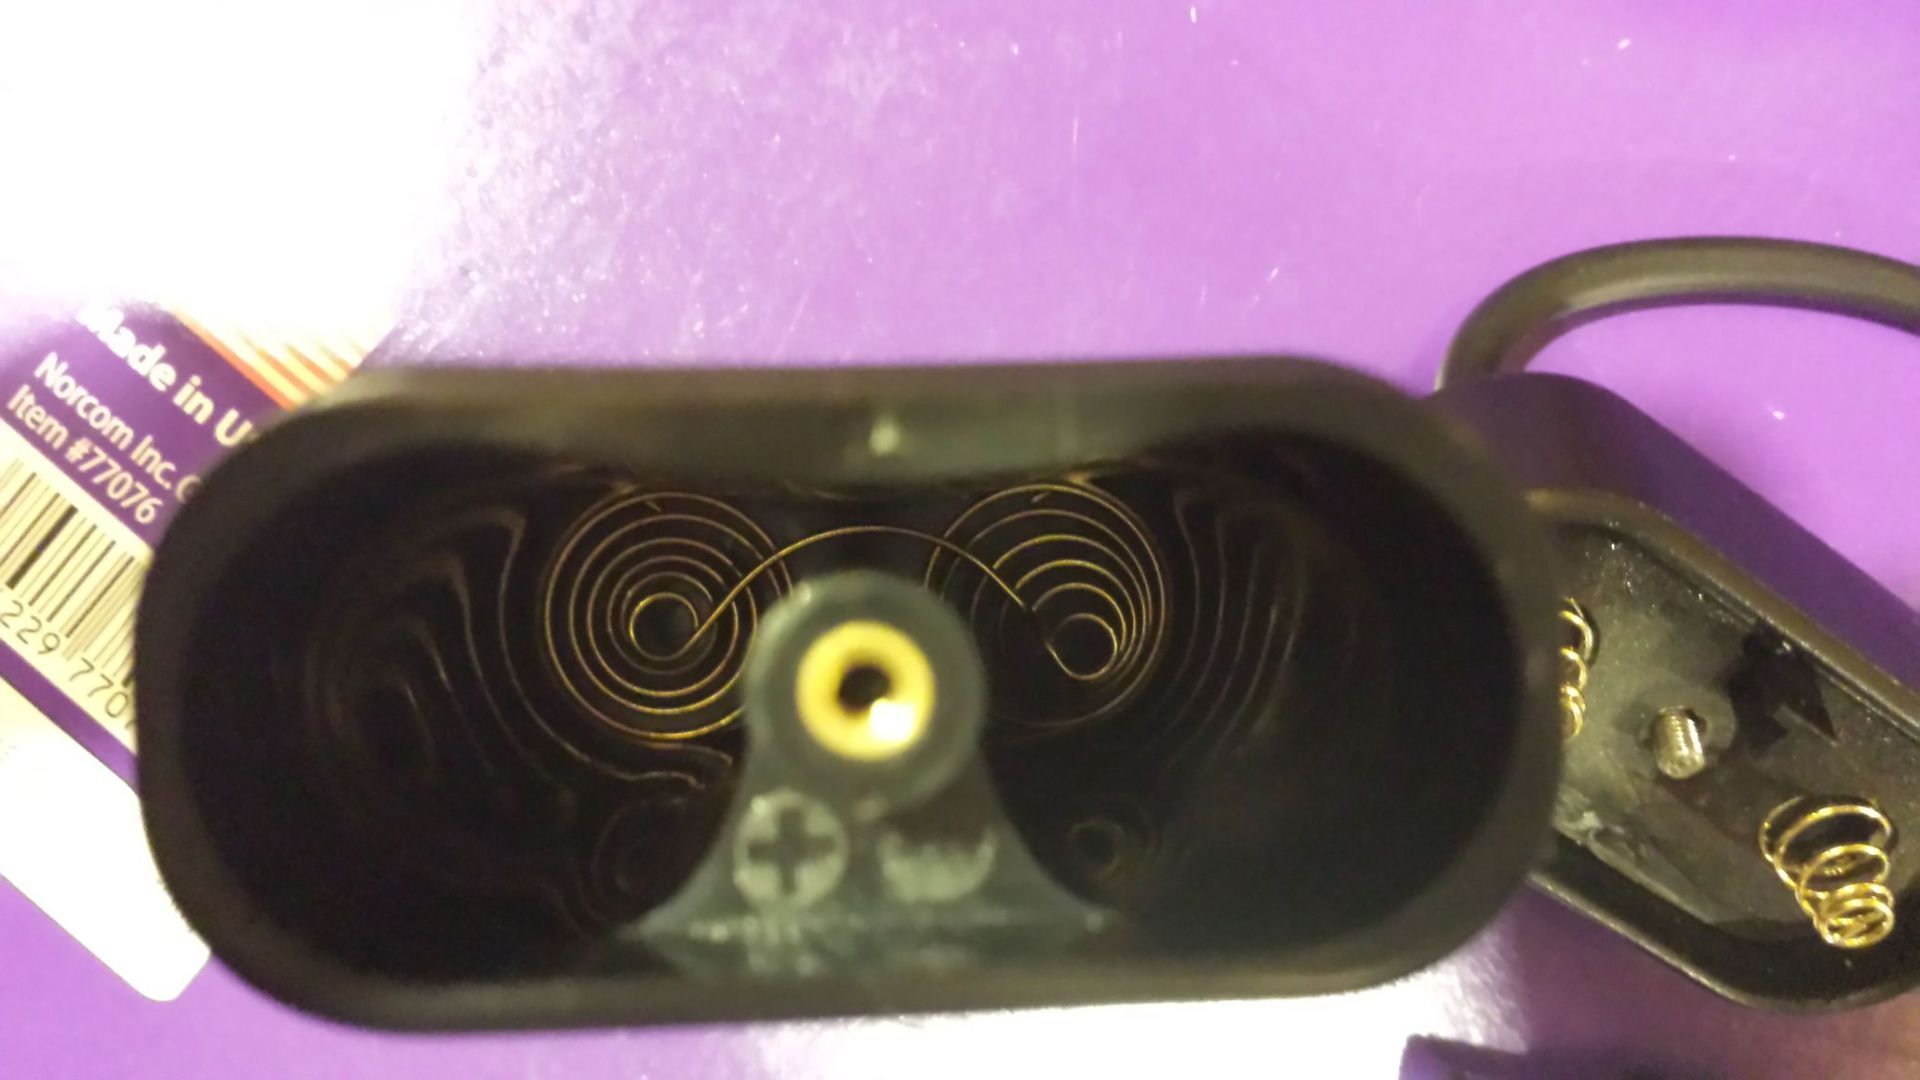
Bottom Springs:

-Garry