Those Romisens look like great throwers, as in: the shape looks perfect for a good grip and fling them a good distance 

Today?
Some minor work on my DQG Tiny IIIs:
- The one with the 3.8 amp driver: Simple emitter swap of the Nichia 219C with triple XPL HI. For these small triples, the XPL HI produces a noticeably brighter and throwier beam.
- The one with the FET driver: Some minor rebuilding of the switch internals. Previous build worked flawlessly except the switch didn’t give a satisfying click when pressed.
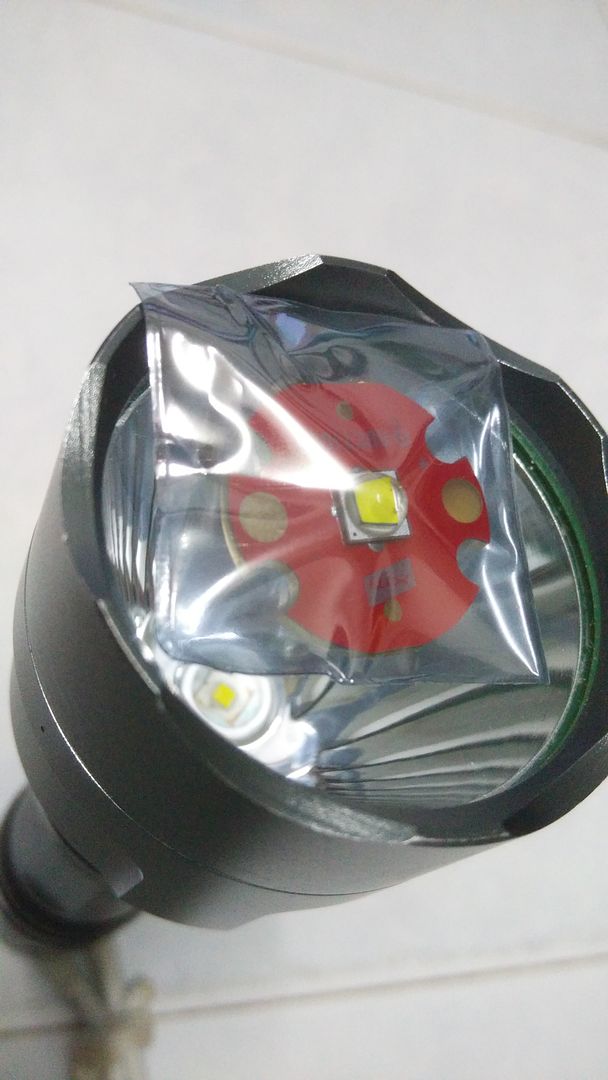
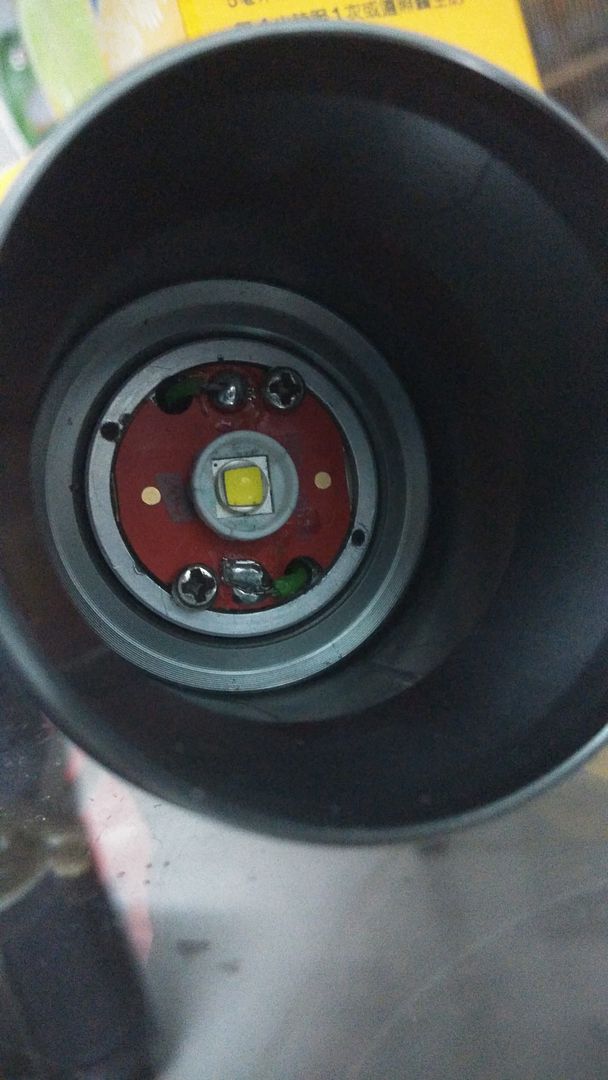
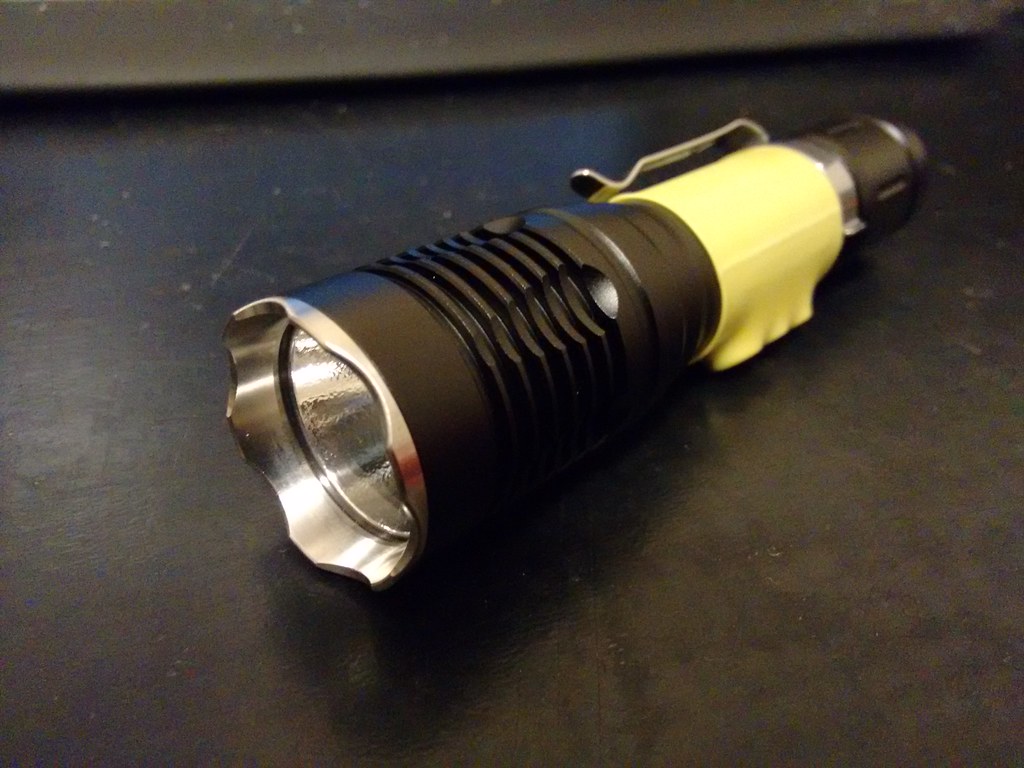
Finished my Brinyte B158 build, 15 min after receiving it i instaled dedomed xp-g2 S2 1D and today exactly one week later drivers arrived so the B158 got its FET driver, it is the BLF FET driver from banggood.
According to my DMM (which is not the best in the world) it pulls 4.5A with fresh Samsung 25R at the tail. I’m happy with the results ![]()

Swapped my Skilhunt H15 NW emitter out for a warm white XP-G2. I need to find a High CRI XM-L2, but figured I would see how easy it was to swap. It is a good light for modding, and the warm white has much less glare up close. The original NW is a good tint too, just wanted something warmer. 16mm star, so no filing for a custom size…
Nice, do you have pictures?
not really much of a mod but I finally upgraded the stock U2 1A to U4 1C
well at least I’m using noctigon instead of stock aluminum ![]()
(notice my poor cold solder joint. I kinda gave up with my dying soldering tip)
Simple mod today, swapped the emitter of my SR mini II to XML2 T6-4C ![]()


The 2 x AAA RC-A6 that I have on order will make an even better javelin:
It now has a reverse clicky and a 17DDm FET +1 driver with BLF A6 firmware. I would put better glass in it, but for the life of me I can't get the head open. I really love this pocket rocket. Getting 4.8 amps out of a 30q. In town I can light houses at 2.5 blocks.
Yesterday I coated the threads of some cheap flashlight ( Ultrafire F13; Small-Sun ZY-R13; and other…), had much tolerance with the tailcap.
I used aluminum adhesive tape (0.12mm thickness.), The work came good, now the tolerance is “free but without tolerance” (roughly). After I recommend using Teflon grease.

In the photo, left without modification; to the right with the change.
Filed some parallel grooves into the external heatsink on my modded 3100 lumen DQG 18650 Tiny III.

The heatsink already had fins. But it still felt a bit slippery to me. I used my checkering file to carve groves on top of the fins for added group. Paint job was quick and dirty and my superglue was starting to gel up so the finish isn’t quite as thin as I’d like. I might redo the finish later. Maybe spend more effort at matching the color with the anodizing on the body tube.
On the upside, the new parallel grooves were successful. They greatly increase grip at the head.
I reflowed a 219C off the cheap star it came on and onto a 16 mm. Noctigon. The first try, it shorted + to ground. I didn’t see any bridge when I took it off, but it worked when I put it on the second time.
A couple of simple de-dome mods here, last night.
First, I dedomed the original XM-L in my TrustFire Z5 zoomie. It made a big difference in the spot intensity for this light, and I ended up with decent tint afterward as well! In this case, I’m happy with the outcome, but this light probably won’t get used any more often than it did before:

Second was a dedomed XP-E2, for use in my UniqueFire HS-802 thrower. In this case, the dedome was a bit more difficult due to the smaller die, and I had trouble getting all of the material off the surface. It turned out okay, but had a bit more tint shift than I liked. Still, made a big difference in output. Using my cheap DX lightmeter, so I consider it to be more of a relative change than anything more definite, but:
With all measurements made at a distance of approximately 6’, with the original domed XP-E2, I noted a peak intensity of 23k lux. With the dedomed emitter, the peak intensity went to 33+k lux! Some of that difference may have been due to my spending more time to find the optical depth in the reflector to maximize intensity. I’m happy with the results! Should currently be the longest range thrower in my arsenal until my 75mm 1508 arrives…

[edit]By my calculations, this turns this light into a 100k@1m thrower! :bigsmile:
Finally got that FX3 in. I’ll post a review/mod thread once I get some more parts in. So far, I’m not 100% thrilled with it, but we’ll see what can be done.
Ok, so I was not happy with this light at all. 1.25 amps at the tail and horrible range. I built a MTN MAX 22mm driver, braided both ends and de-domed the stock XM-L2, did not have copper for it. I will need an XM-L2 on copper to finish this one. OMG this thing is a beast! I can now get light on the next farmhouse almost 1/2 mile away!
I did a total overhaul of my S8 today. Take a gander over here: Transformation T̶u̶e̶s̶d̶a̶y Saturday - Convoy S8 Mod - Updated 1/17/16
I am presently carrying an unanodized BLF A6 with short battery tube.
The tail cap’s o-ring prevented it from screwing all the way on. I checked my smallest chain saw file, but it was too big to make the o-ring groove deeper. I settled for a change of o-ring from my junk bag, maybe from an SK-68.
I haven’t done many but I never know how much solder paste to use, I always think it’s better use too much than too little and the excess beads out. They’ve worked so far which is a relief, one less thing to think about.
I’ve watched a few video’s and it looks like the emitter pulls itself into position on the pads by the solder, so I’ve tried to make sure that the Noctigon is near level before I apply the heat underneath using a small gas torch.
Just finished putting together my Convoy M2 host that arrived today.
The Black Maggot work light is going to take a back seat to this M2.
I put in an XM-L2/Noctigon, with 1.4A Nanjg & 1-mode firmware, installed forward switch, bypassed the spring & finished it off with the Neo magnets on the tube with heat-shrink.
I know it sounds boring, but it's a great configuration for a work/inspection light. Hopefully it can take a knock or two....