GB BLF LuckySun D80-SE Need long tubes? -3/3/16

I got my D80 today, I plopped a battery into it and turned it on. It didn’t work. I did the usual paperclip test, and got some light, so that narrowed the problem down to the tail cap. While I was visually inspecting the tailcap the entire contents of the tailcap fell out into my hand. I figured the retaining ring must not have been screwed in properly. While the tailcap was disassembled I took the oppertunity to clean off all contact points in there using isopropyl alcohol, lube the threads, and put it back together, screwing in the retaining ring properly this time.

I screwed on the tailcap on the body, turned it on, and the flashlight worked. However as I was screwing on the tailcap I heard a popping sound. When I unscrewed it again the retaining ring had came off it’s thread and the tailcap components fell out again. I’ve repeated this process twice more. It only happens when screwing it on with a battery inside. It appears that when I screw the tailcap on the pressure from the battery somehow manages to push the retaining ring loose. I’m not using excessive force when screwing it on. I was using a protected battery, 68mm long. I ordered some unprotected 30Qs around the same time that haven’t arrived yet, so hopefully when I get a shorter one the pressure will be less and the problem will be gone.

But still, what should I do about this? Just live with it and hope the shorter battery works? Try to get a new tailcap from gearbest? If the later, how would I go about doing that?
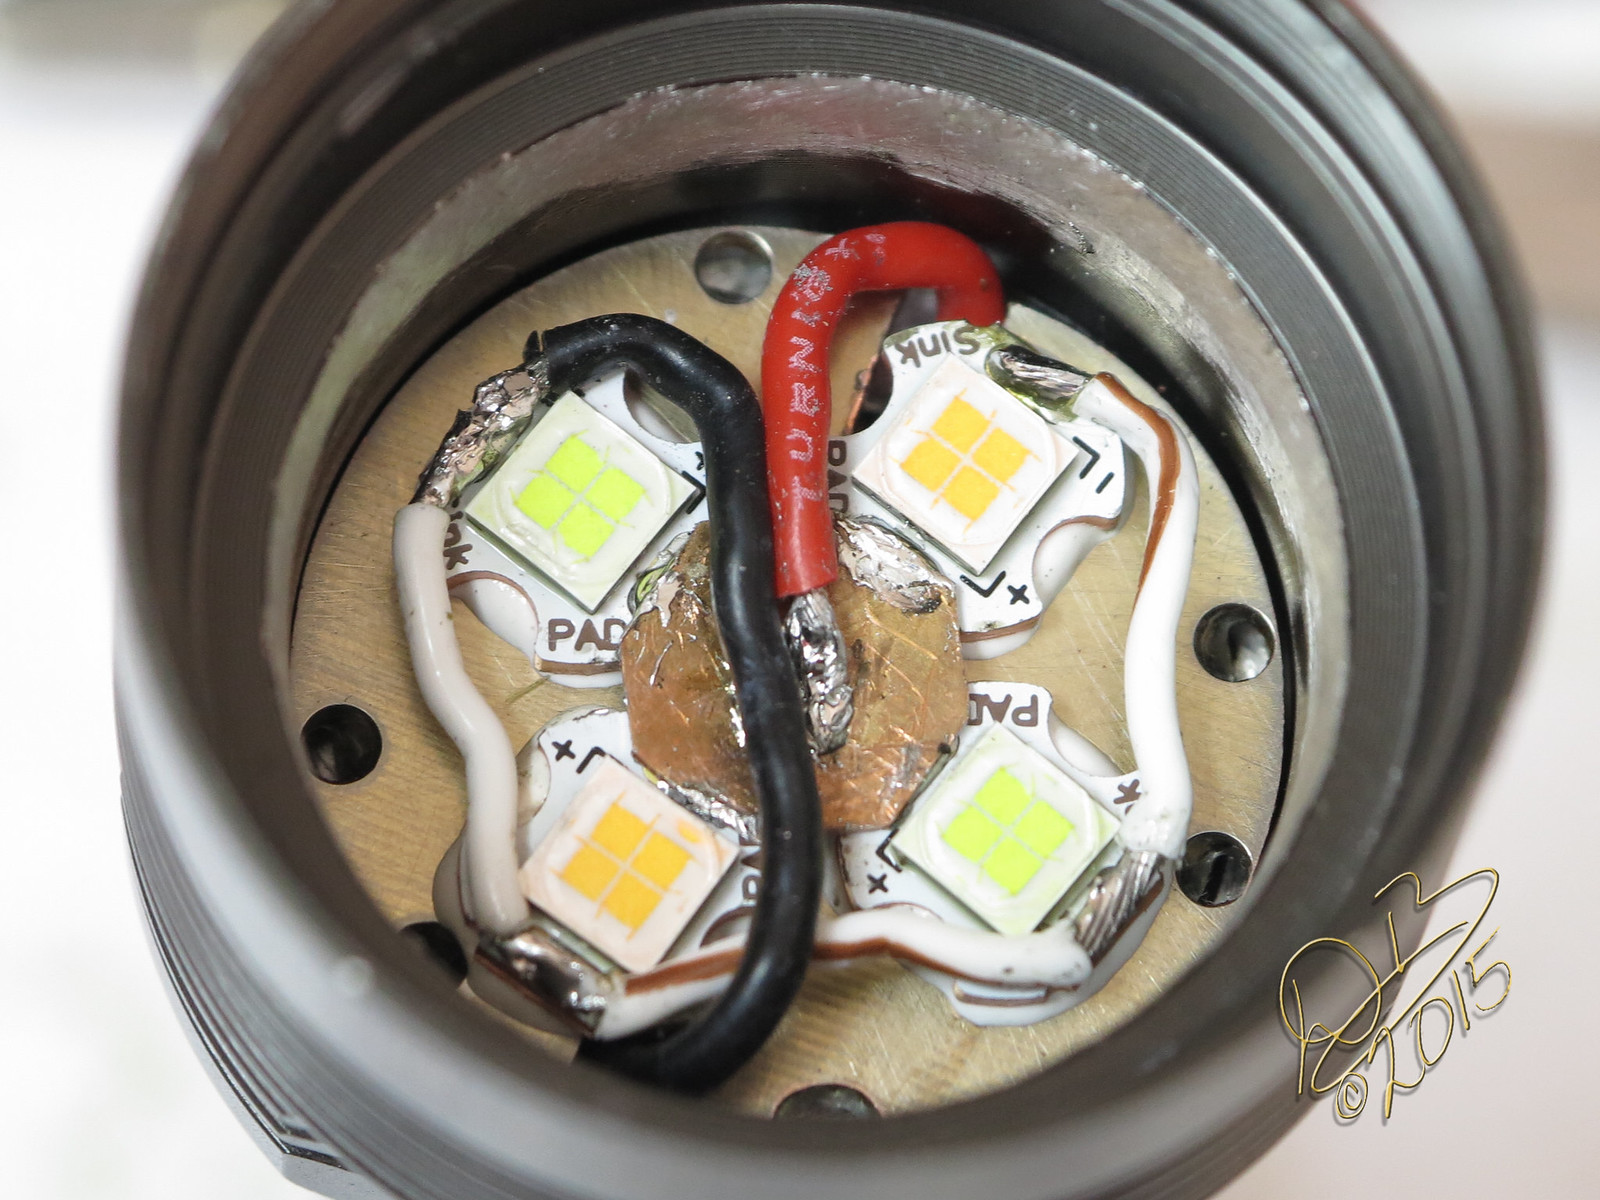
Survey says, it’s the emitter.

I pulled the brass post on the driver, put a solder blob on it and checked it. Marginal gain. So I wired the emitter, in the light, direct drive to the 35A cell. 4.99A. There’s just not much there to be gained if I was getting 4.83A to 4.86A from the driver. This is top end, pure and simple.

So, I pulled an old XM-L2 off an Aluminum star and put it on a SinkPad, put that in this light and put the brass button back on the driver. Bingo! 5.52A in the light. Same driver, same cell, different emitter.

Edit: Oh yeah, the funny thing. The older emitter pulls 5.52A but only makes 1383.45 lumens. So, we were getting top lumens with lower current draw… higher efficiency all along. Funny, huh? We get all caught up chasing the current when the output is right there in front of us all along.

EditII: I did check direct drive with the Star in the light, it hit 6.11A but wasn’t being pressed down against the emitter shelf with no reflector in place, it started to get hot. But that tells me the driver in sheer top end with this old emitter is costing some half an amp, might be in the 22ga wires on the driver or just running through the circuitry, don’t know. (test leads I used were 20 ga. but about 4” long each.) Still, it’s fully capable of making the power given an emitter that will take it. Maybe I’ll check it powering a triple or the SBT-70…

Hi kronos, Dale,

We are still obviously missing something. Problem is we are talking about milli-ohms here and there, it does not take much to move the readings around when driving a diode with voltage source (as opposed to a current source).

Regarding the 15k resistor:

Looking again at the datasheet of the AO3400 FET (this may not be the FETs we actually have, but the numbers are quite typical), we want the 'on' resistance of the FET to be a low as possible. For this we need the FET gate voltage as high as possible. This why only some FETs are suitable for DD drivers - we have limited voltage available.

With the stock driver, best case (FET not heated), we are operating between the two orange dots, gate voltage at 2 V and down to 1.5 V with the cell drained. We are off the trend line, the purple is just my (optimistic) interpolation.

Bypassing the 1st 15k gets us to operate between the two green dots, 4 V to 3 V.

It can only help.

Dale, do you normally wait for the LED to heat up when taking a current reading?

I tend to take it as fast as possible before the cell sags or when the mcpcb is floating. But I know the LED Vf will go down as it heats, pulling more current. Another variable not everyone is considering.

I agree with you chasing amps is somewhat futile. It is like tuning your car for maximum fuel consumption.
At the end of the day we should be measuring lumens.

Even measuring watts is better than measuring amps, W = V x I. Higher Vf lowers the current draw we can get from a single cell, but it does increase watts (and hopefully lumens) at the same time.

Andreas,

-Sorry, can’t help you, but I got 3 D80’s yesterday and I have the same issue.
I was using old 2400mah protected Trustfires, I thought may work to try the light out. I have unprotected cells that are in the mail, I’ve given up until they arrive. I won’t know until then if I’ll need the longer tubes mentioned in this thread.

I take the reading at start, if I take a delayed reading I also report that.

I went back to the bench and soldered a loop between the driver neg and Star, with the light assembled and no spring bypass it ran 4.67A through this new (old) emitter. (At the emitter) With the spring bypassed, it runs 5.21A at the emitter on a 35A. This is with my Vishay MOSFET’s on the driver and the resistor bank bridged and with the 100 ohm resistor in place of the 15K.

Thanks Dale. Also good info on the spring bypass. It is impressive how the steel springs heat up once you get to 5+ A. Not healthy for the switch or the cell. I was doing it with a power supply in constant current mode, in a light it probably self-regulates a little as the spring heats up and its resistance increases.

Re. The brass button and related driver pcb vias, I measured 7 mV across it while running 4.4 A. So as you said, not significant.

A lot of blood, sweat, tears, care and attention has gone into making it and its a shame that the numbers don’t match the prototype’s, but it’s still a nice bright light and can be modified to hit the numbers without a whole lot of effort :slight_smile:

Mine has arrived and the fit and finish are nice! I’ve only been able to measure around 2 amps at the tail end with a cheap multi-meter. With better / unprotected cells and better meter leads I may see more.

Today the D80 5A arrived, ordered on Jan-08. Fast free shipping - this time with Belgium Airmail Registered. No label for tint on box. What i got, as expected:

  • very good overall finish
  • warm tint
  • throw is in the middle of XinTD C8 and BLF X6
  • mode spacing / UI could be better, but Turbo is bright

2,7A, measured with a cheap multimeter with thin leads and a LG INR18650MH1. Some Samsung INR 18650-30Q are on my wish list.

This D80 might be my first modding victim (driver swap). But prior to that i have to extend my equipment and know-how.

The diffuser of an Olight M22 Warrior fits well.

I hope the D80 3C ordered on Jan-01 will arrive soon. Another shipment lottery. :smiley:

Thanks, Kronos.

It’s really a shame that it’s so difficult to measure actual out front lumens, as that’s really what matters. I wish there were a inexpensive light box for the masses so we could all get on the same page, that’d probably help more than anything to get more usable data and improve performance for the bigger picture.

These lights are doing a nice job, especially when you stop and consider they’re purchase price is virtually host price for most any other light. Great entry level purchase for sure. The direct thermal patch copper mcpcb is already there, as is a heavy duty Omten switch. Nice AR lens, some premium assets for a bottom line price.

Yes, I wish y’all were every one getting a 1500 lumen pocket rocket, that would make me feel a lot better as I was really looking forward to seeing your reactions. I think it’d be awesome to win the lotto, buy and set up a CNC system and get real rockets out the door to everybody! lol

Reckon it was missed that I ran it down to 2.65V on a cell…

Wow.

> electronics engineer …. I am one

Please, stick around and keep up the effort to educate us.

The emitter was making ~3 lumens at that point, which would be approx .01A (I was not taking an amperage reading at that time) The exercise was in answer to the question of Low Voltage Protection, which was on the original driver and got lost somewhere in the shuffle while this GB was taking place.

Apparently there were more than one thing lost in the shuffle, and we didn’t have an EE on the sample testing team to verify these things.

Perhaps you would like to volunteer to help us out in future Group Buys? It would be most helpful, as you can see, to ensure we are getting what we are expecting and promised.

Those of us on the testing team had more or less specific duties. I am known for pushing limits. I have a lightbox, so I test top limits and lumens, both of the provided sample as well as it’s capabilities when modified, as many of our members have plans to modify any given light. So my focus is on what a light does at max levels NOW and what it can do when tweaked. Other’s have their specialites, none of which fall in the range of Electrical Engineer. We have lost a few of those in the past months, running low in the specialty at the moment. Our driver board designers have dropped out like crazy and our current code writer is stressed. Lot of work involved in getting these long drawn out Group Buys to go according to plan and even then, well, you know that part already…

The ultimate goal is big picture, we REALLY DO want to get better lights in people’s hands.

I know there is a lot I don’t know. I also know there is a lot I know, but can’t remember. So by all means, feel free to point out where I’m failing and there’s a good chance I can retain that in the near future and do a better job. I mean to, intend to, and will research/learn/strive to that end.

Couple of years ago I couldn’t solder a speaker wire on. Maybe there’s still hope for me yet…

I had the mcpcb out to swap out the driver and emitter wires. While the mcpcb was free, I ran it again on the bench supply to compare numbers.

The mcpcb was sitting on a sheet of aluminum to keep cool. Measurements were taken ~5 s after power-up each time, without waiting for the current to stabilize.

FWIW:

Power supply [V] With stock driver [A] With mod. driver [A] No driver [A]
3.6 2.00 2.36 2.56
3.7 2.44 2.71 2.94
3.8 2.76 3.09 3.41
3.9 3.16 3.47 3.81
4.0 3.52 3.88 4.22
4.1 3.83 4.22 4.52
4.2 4.12 4.62 4.91
4.3 4.47 4.93 -

Column 2 is a repetition of the numbers from yesterday.

Column 3 is with the gate resistor and 000 pack bypassed.

Column 4 is with the power supply directly wired to the emitter.

(And all was done using the stock 3C emitter.)

For the visually inclined:

With the stock driver we are at 81-85% of true direct-drive numbers. The modification takes it to 91-94%. None of this will be very obvious in real use. So stop sweating the numbers and enjoy the light :).

Here’s a thought. Can someone try the pencil lead trick to do a quick mod of the gate resistor? It might help folks that don’t solder.

EDIT: I’m still waiting for my 5C light to arrive.

Thanks Del, nice to see graphs and charts… for me though the power supply ruins it. Kind of irrelevant information as we actually use cells in a flashlight. I understand the need for testing and getting solid evidence of what can be expected on that level though, so it’s nice to see the graphs on it. It would definitely be nice to have been able to test like that during development stage, at this end of it though, I’m not sure what is being accomplished. Not meaning to trash your work, it’s invaluable, just meaning to discover the perspective of how to use it from here.

And yes, the light is really pretty nice… it took me a bit to like the physical nature of it, but the beam profile has always appealed to me.

Which is why I’ve played with the modification of the few I have. :slight_smile:

I might chase my own tail from time to time, but I also probably have the smallest 4900 lumen light out there. Certainly one of the smallest…. and with a 2 cell 18650 tube, it’ll be a 6000+ lumen Il Monstro!

For those new to the game, the Cree XHP-50 is a 6V 4 die emitter, essentially 4 XP-G2 dies on one substrate. I have 4 of those in a D80. Essentially 16 XP-G2 dies in the D80 head with an Ledil CUTE-4 Optic… had to slice the domes to get em under the optic but it works, pretty well actually. The driver is one of Wights FET designs, the A17DD-S08 I believe, with a Zener mod to enable the use of the 2 18350 cells. Efest Purple IMR18350’s allow 13A current draw for 4896 lumens out the front, I tested a pair of 35A’s at 19.1A for 6037 lumens. So now I will endeavor to cut a 2 cell tube for this light and see how it holds up. I’ve also asked GearBest to coerce LuckySun into a run of 2 cell tubes, in case anyone might be interested in any sort of 6V mods to these D80’s. I’ll be sure to start an interest thread if I can get any positive response from Lucky Sun on that. Awaiting an answer…

For those needing visual stimuli…

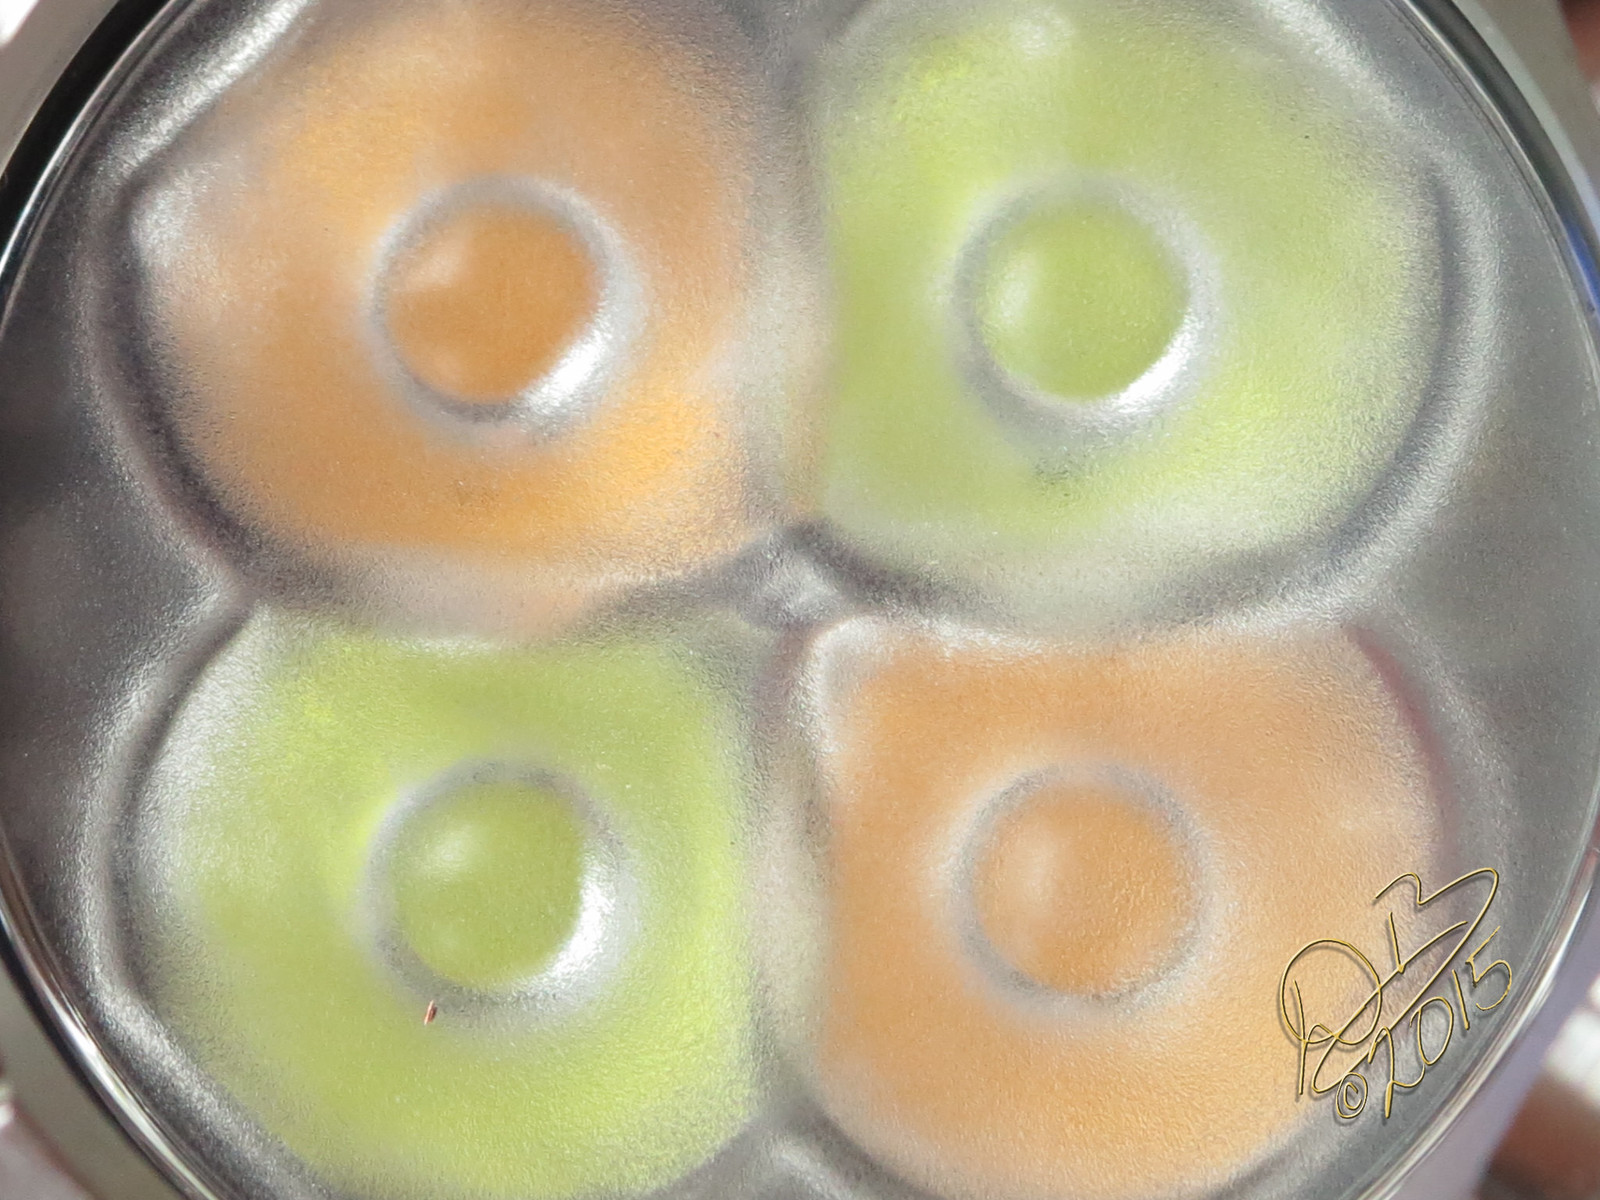
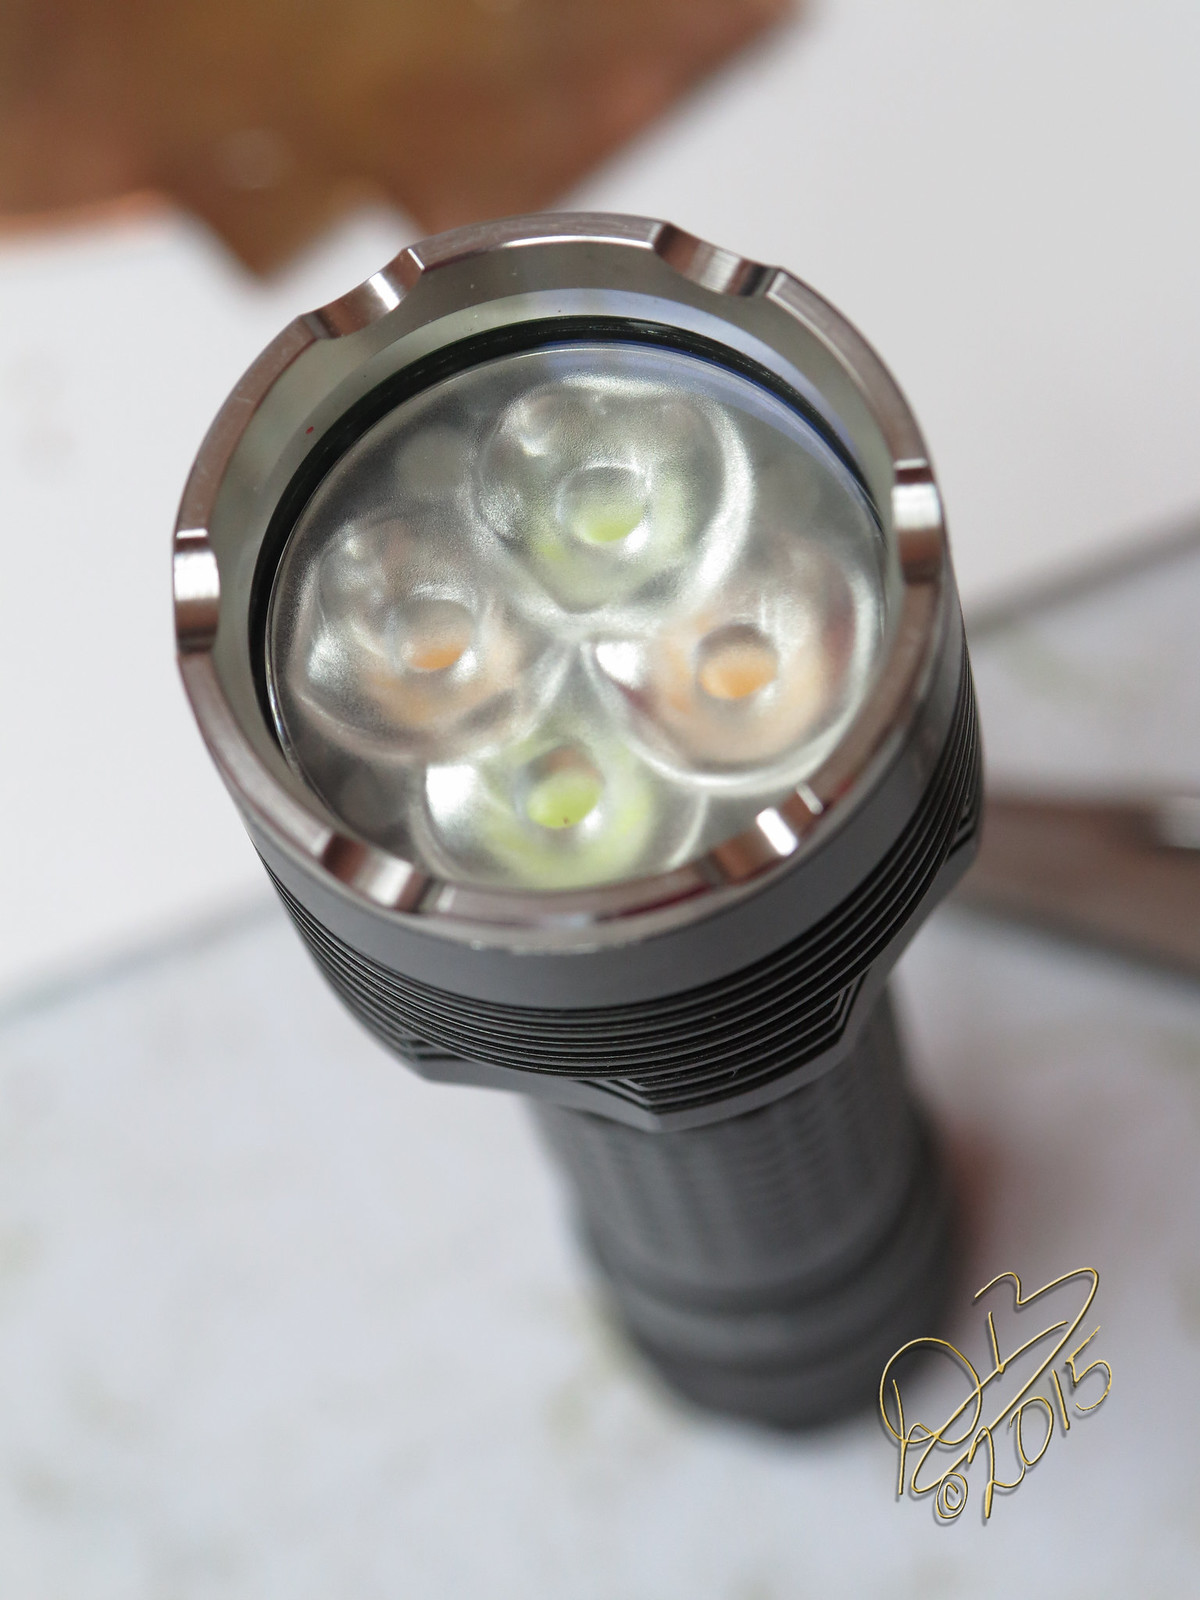
I built this last April using 2 Warm White XHP-50’s and 2 Cool White XHP-50’s. I somehow ended up with those 4 sitting here loose and decided to give tint mixing a go. :wink: The output is still a warm white, but not nearly as warm as had I used 4 of those little orange beastie’s!

I know I posted about this a while back, but we now have a lot more of these lights in some pretty talented peoples hands… looking forward to hearing what some of y’all do with em. :wink:

When I hear something from GearBest or LuckySun, y’all’ll be the first to know. (double contractions, don’t ya just love the South? :slight_smile: [that’s you all will , in case you’re wondering])

[QUOTE=DEL] driver we are at 81-85% of true direct-drive numbers. The modification takes it to 91-94%. None of this will be very obvious in real use. So stop sweating the numbers and enjoy the light :).

[/quote]

I knew this was the case, at least with my lights. It’s not a huge deal. I just knew it could do better. I will try the mods suggested and see what it does for mine.

I’m really liking this light! Dale, I’m sorry I didn’t convey the joy I had when I first held the light. There was a very nice smile on my face. And still is :bigsmile: thanks for your work! And to all the others as well!

My 1A arrived today. I like it a little better than the 3C I got earlier.
I ordered it on 1/7. Can you believe that! I paid for a tracking#.

I also see today that the GB webpage cautions about protected cells now.

So, if there is no LVP on the driver and I only use my light in turbo would it make sense for me just to bypass the driver on this light? What would be the best way to do that without ruining it in case I’d like to go back to using modes in the future? I do have two more lights on the way so I wouldn’t mind tinkering with one.