What did you mod today?

Thanks :slight_smile: , the solder iron is a 80W Antex bought on Ebay, it is so hot that if you melt a blob of solder on the (massive) ā€˜tipā€™, it forms an thick oxide layer over it in a fraction of a second.

I do not have a solder station but have a separate 18W, 25W and now 80W solder iron for different uses.

I might have to pick up a 80W iron, my adjustable canā€™t quite handle 18awg on copper glued to a heatsink. I managed to make it work, but man itā€™s probably the ugliest solder job Iā€™ve done.

I really like the little mini C8, I did mine with an XM-L2 4C and a FET+1!

jhalb, the BTU Shocker really rocks with 3 of the 9V MT-G2 emitters. These run an 11.4+Vf when pushed hard, so 3 18650ā€™s in series is fine. Around 10,000 lumens and they look awesome in the Shocker. :wink:

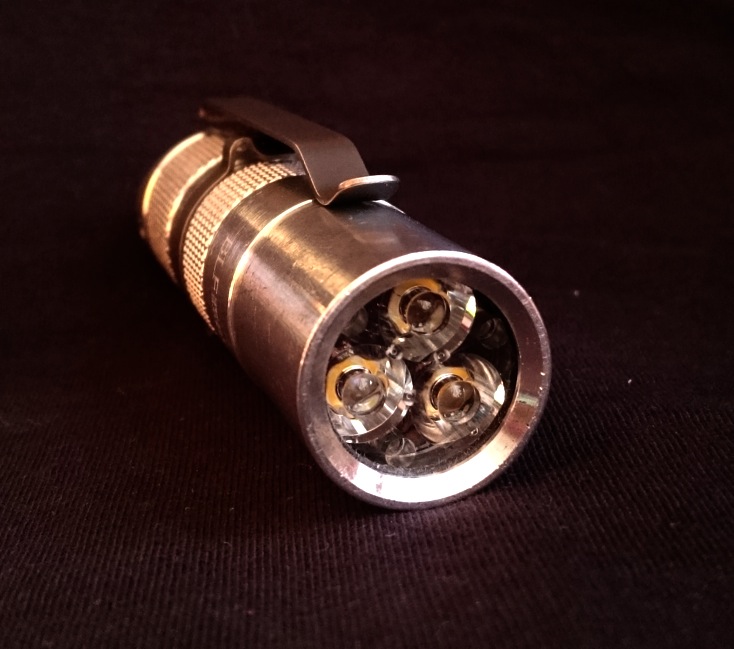
Past few days, I started modding a MecArmy PT-16 by converting it to a quad Nichia 219C. Then I changed the driver to an FET, took a 15mm piggybacked onto the stripped OEM boardā€¦ zip for room in this tiny light! So I carved out the emitter shelf on the lathe, doubled the quad mcpcb with a sanded down 20mm Noctigon, soldered those 2 together and they sit on the fairly wide ledge around the outer walls. Potted the driver and glued in the double copper star with Arctic Alumina Thermal Adhesive. Then removed the built in charger from the top of the 16340 tube, made it work as a stand alone charger complete with red/green charge/finished lights and magnetic leads to use with my power bank. Bored the tube for an 18350, made a delrin outer tube for a brass inner section for a spacer to take up the slack on the 18350.

The end result of all this in the PT-16? Went from 1100 lumens CW Triple XP-G2 to 2187 lumens Quad 219C, from 2.94A to 6.11A. The driver is flashed with TKā€™s ramping firmware, 64 levels, reversing, with last mode memory and instant moon/turbo from off. Way cool little light, or way neutral little light, mucho giggles. :smiley:

Hereā€™s the PT-16 driver, it was the old UI and not really very nice, the newer ones have a much better UI and I knew this from the get go, ordered it knowing I was going to sacrifice the driver.

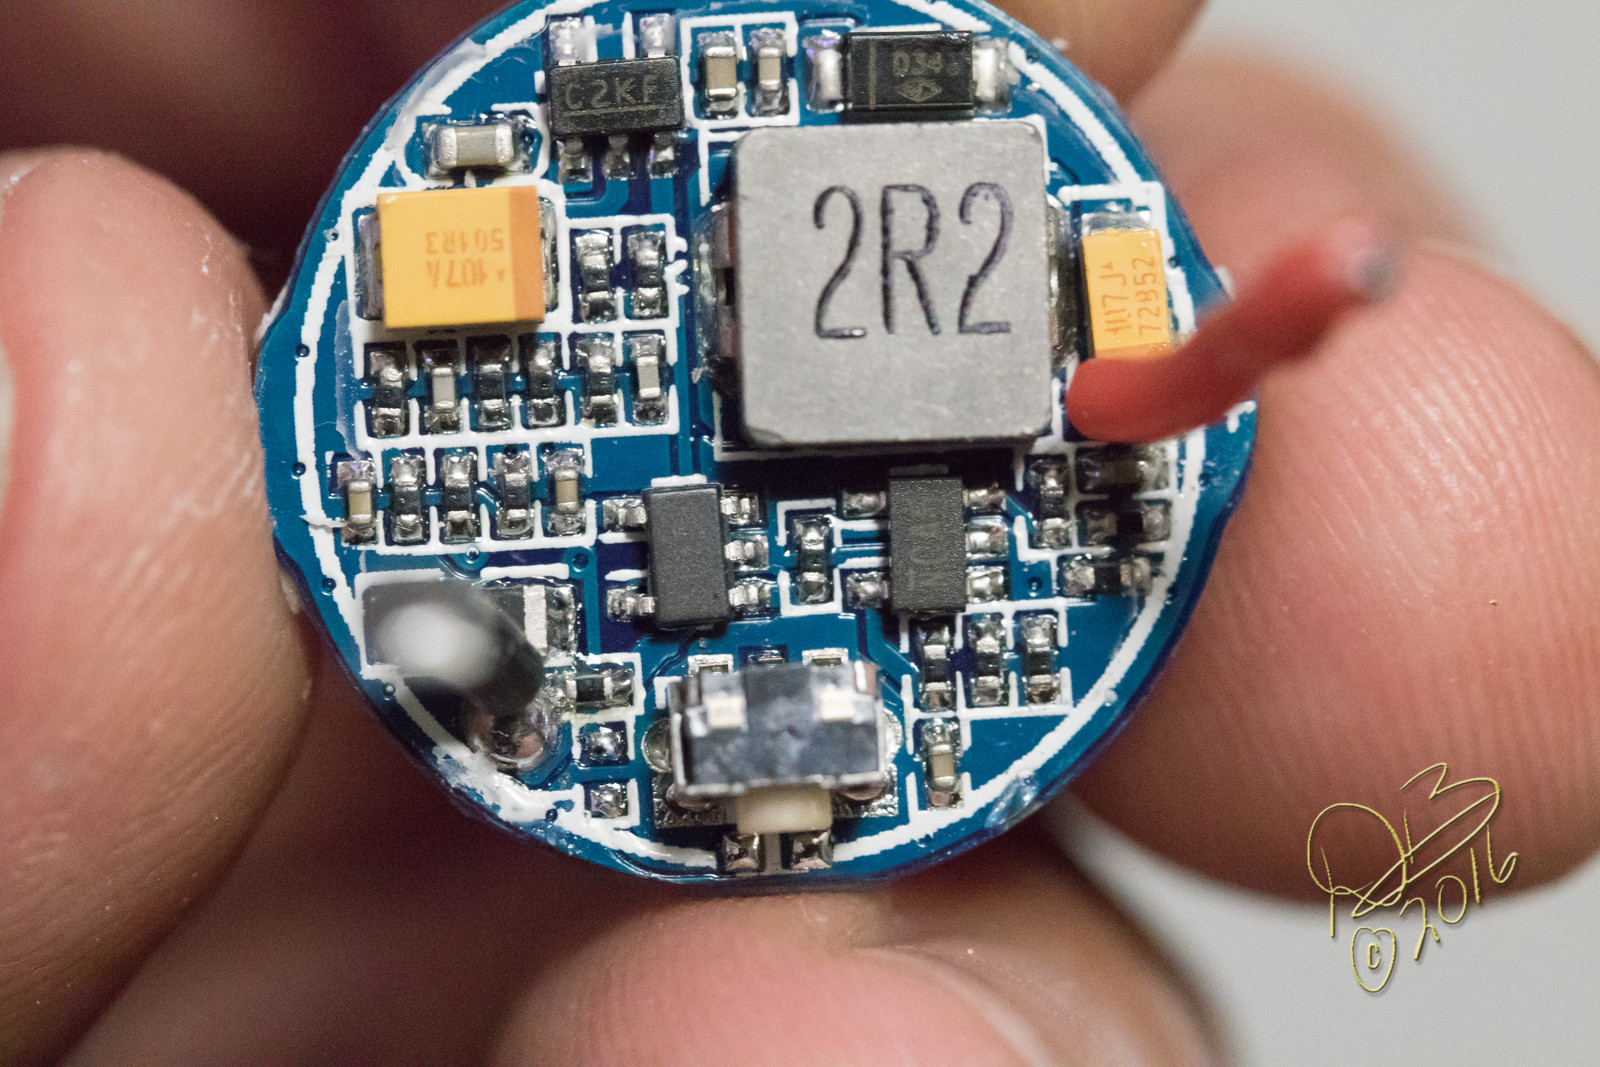
Literally had to file a flat on the side of the 15mm pcb to sit against the switch, mounted it as flat down onto the stripped board as the 20 ga lead wire would allow. Since there wasnā€™t an adequate positive through the board (original power to mcu was on battery side of driver) I drilled through the brass button and soldered the lead wire from through the board. Works fine. :slight_smile: Had to get creative though, tightest fitment Iā€™ve worked on before, and thatā€™s even considering modifying the driver to an FET in a ZL SC52!

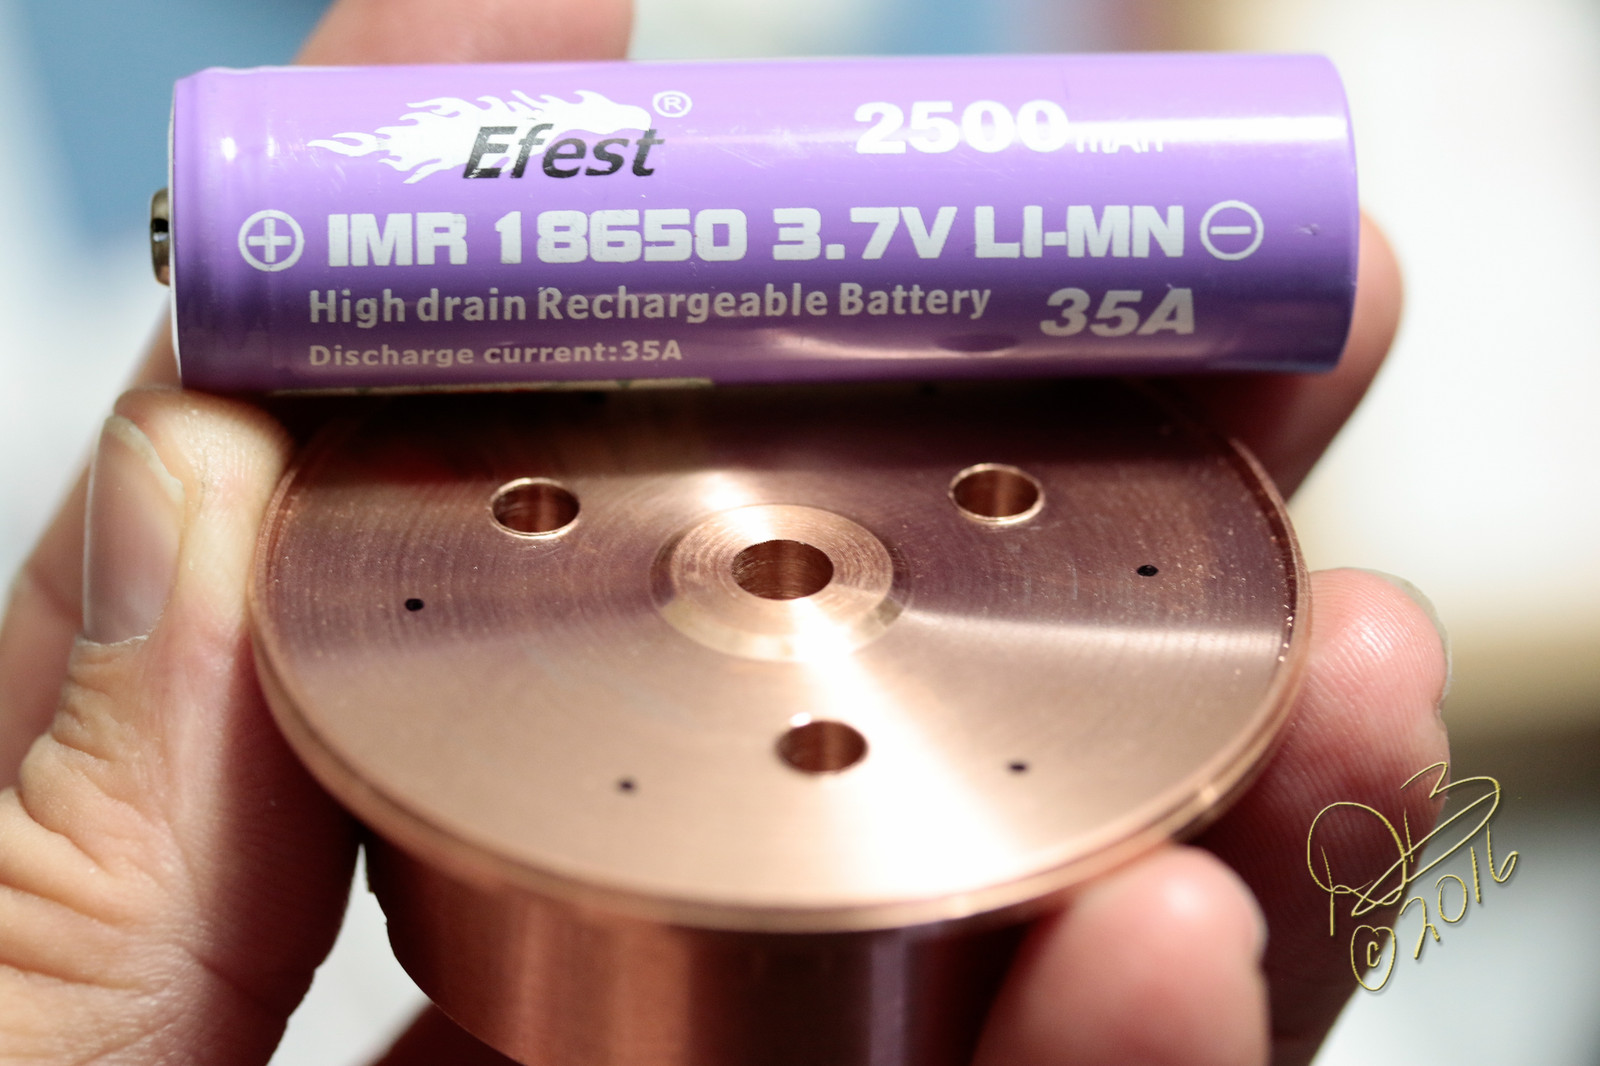
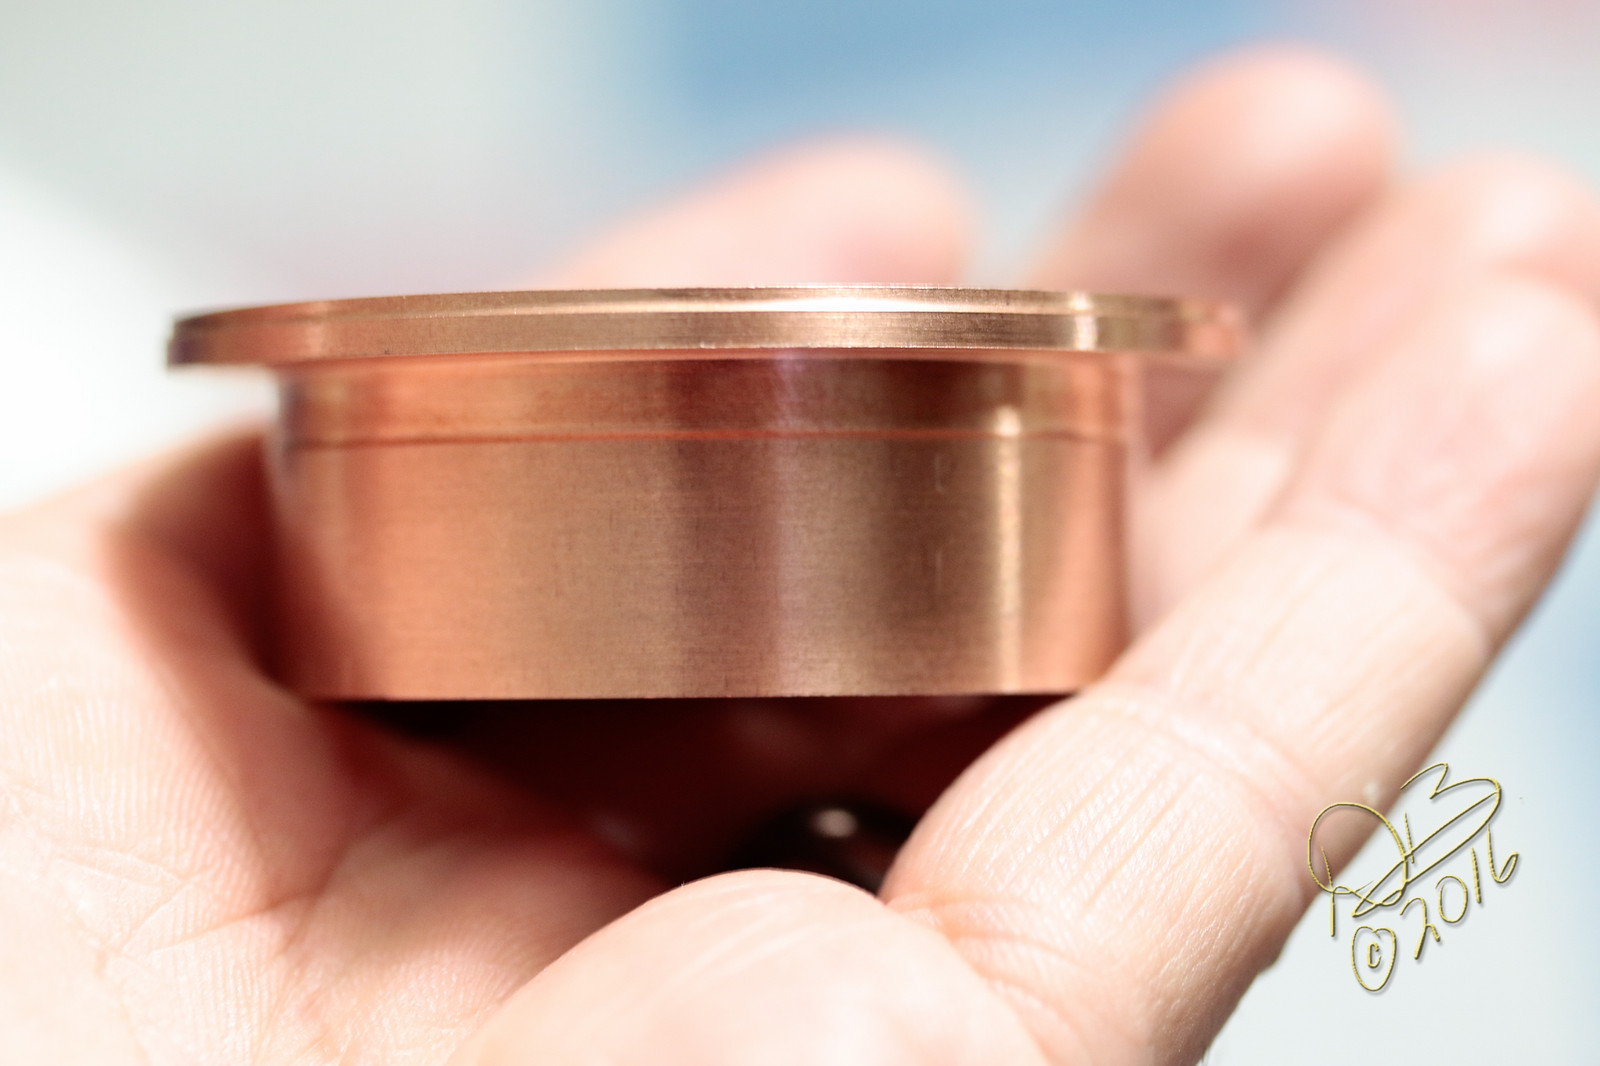
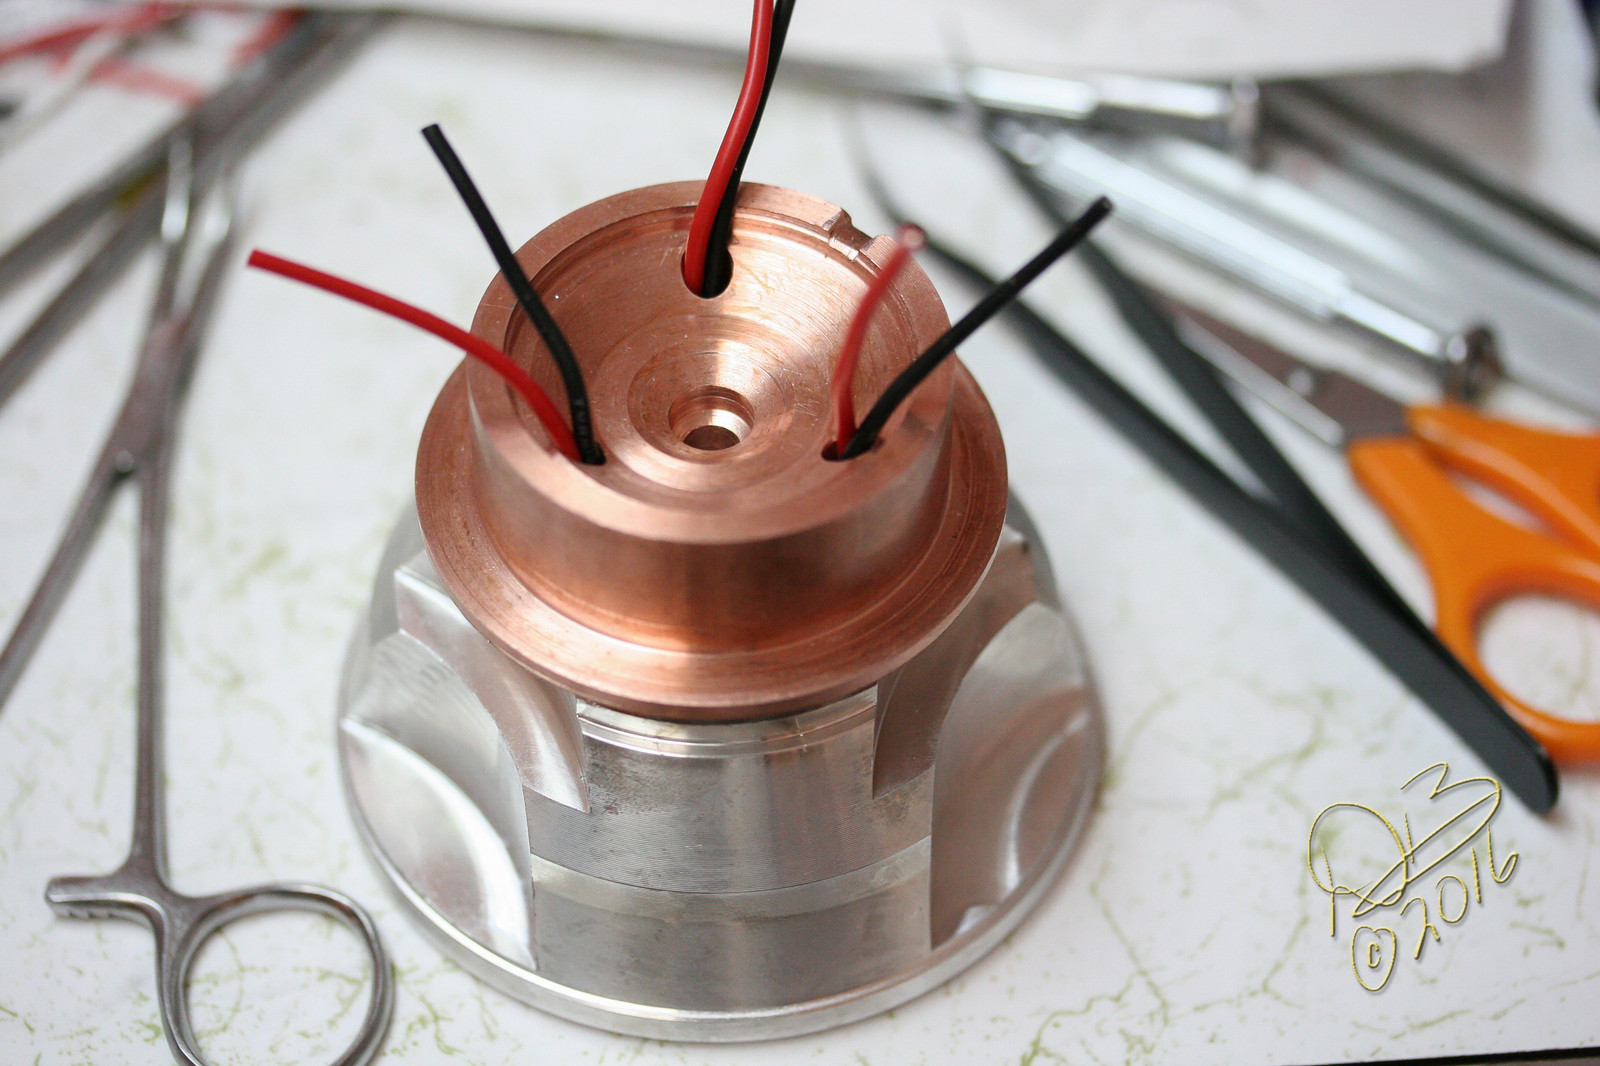
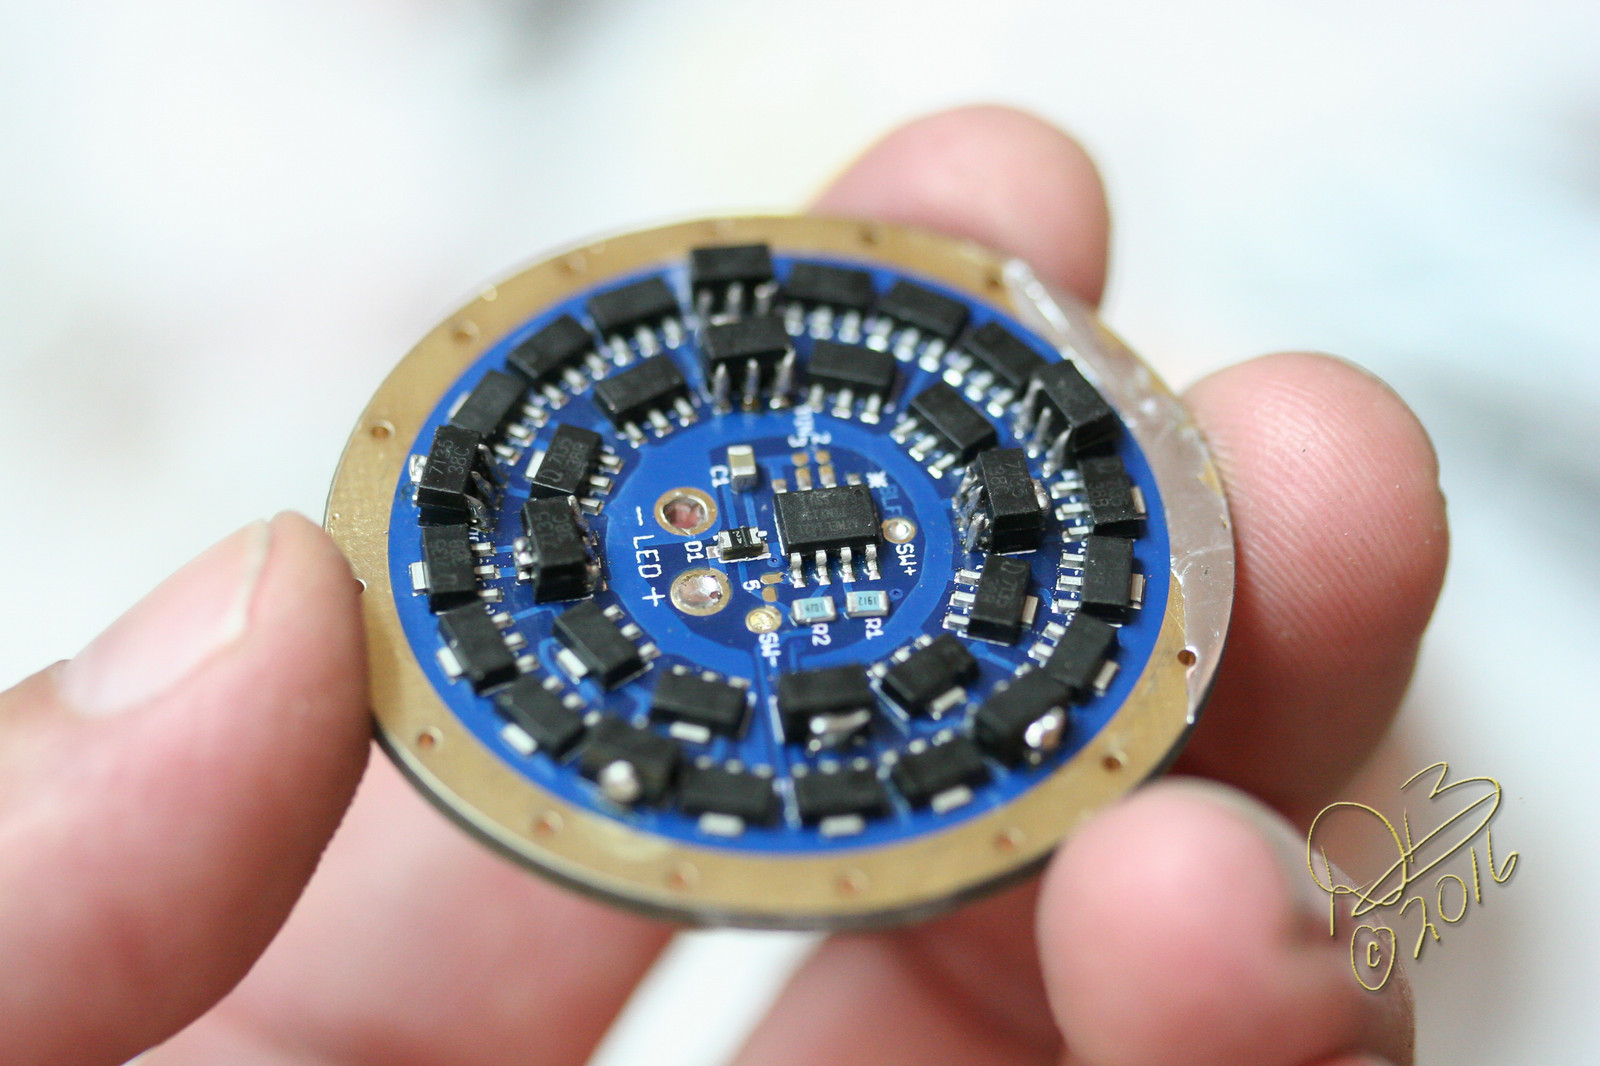
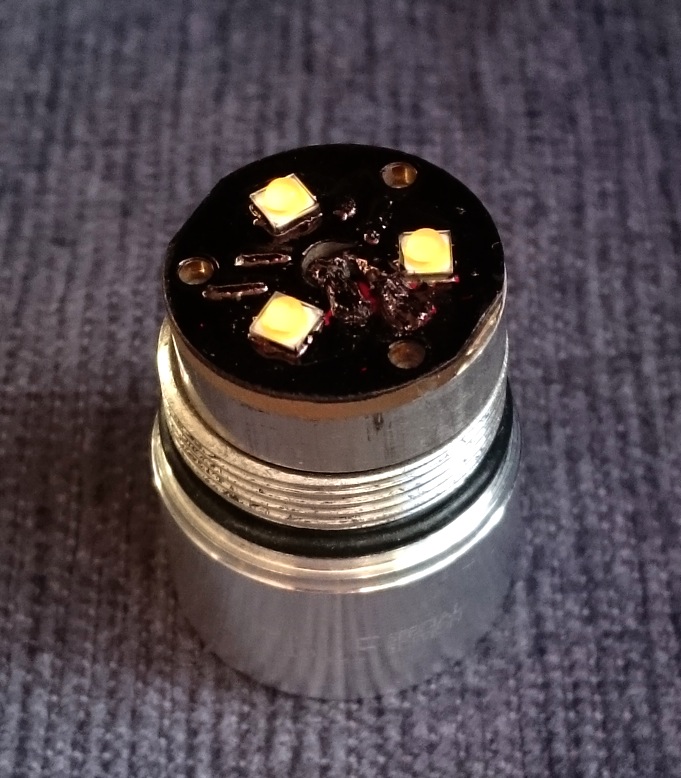
Then, after finishing the Mec-Army on Monday morning, my Solarstorm SP-03 came in for the SRK driver from Richards group buy. So, straight out of the box, I modified it. I made a massive copper pill to attach to the big reflector, de-domed the stock emitters and put them on 20mm SinkPADā€™s, used 20ga leads from the SRK driver and stacked 9 7135 chips for a total of 41. The light now weighs 2.25 lbs with cells, spring bypasses in the tail allow 3726 lumens with in excess of 235Kcd from the triple.

Hereā€™s some of the work on the SP-03

Easy carry D80.

!

!

The day has come, had some sleep and got it done: sanded the spacer to size (1.5mm aluminium is almost an hour sanding) and while the light was open, decided to have a go at the red Noctigon with a black marker, I have enough triples with red front end, and this light is all black and silver so black suits it well. And the head closes perfectly now :heart_eyes:

OK after only removing 2 stars from a flashlight I wanted to bake the X5
The wires to the star need to be desoldered and thus also soldered back on
The space in the X5 is not very large but YAY I am proud of myself, I managed to solder them back on and the light is working while looking different.

Well I thought the Kronos set is HA3 right?
I baked the X5 just now.
It took very long to change color, much much longer then the rest.
It shined bronze/golden very brief (too short for even tone) and well I didnā€™t dare take it further so here is the result:

I didnā€™t bring it up at the time, but I didnā€™t really understand why black HAIII couldnā€™t be baked to a different color. I was under the impression that HAIII has a smaller pore size and thus is unable to be dyed lighter colors. I was also under the impression that HAIII required dye to reach a ā€œblackā€ color rather than the dark ā€œnaturalā€ color. My understanding is that the dye is what changes when baking - why wouldnā€™t this also apply with HAIII?

OTOH baking HAIII to achieve a light color seems pretty questionable and may indicate that itā€™s actually Type-II anodizing.

EDIT: With that said about the ā€œdarkā€ colors, some fairly reputable folks have claimed to sell HAIII in some very light colors. Iā€™m specifically thinking of PhotonFanatic and Fivemega.

It certainly acted different from all the previous baking sessions.
Those were done in a less then 2 minutes, this took longer, as if the alu struggled to make the change.

I cross-posted an edit as you were posting your response The Miller. Iā€™d forgotten about those CPF folks selling brightly colored HAIII.

My God that SolarStorm is entirely off the hook! What talent, Jeeez! I definately need to get a mill and a lathe. :beer:

The X5 looks close to some of the pictures of non dyed HAIII Iā€™ve seen. How hot did you have to get it to have it start changing?

I did my Solarforce M8 in the oven at over 550Āŗ, took FOREVER. lol Same military drab olive green look.

t was on the gasflames and after a mnute of 2 the change started.
The cheaper lights were all changed withn two minutes tops.

Got two finished today.

First my old SRK, now with a 32x 380mA 7135 driver, Noctigons, springs bypass, extra copper heatsink and illuminated aluminium switch.

Second was my Xeno Cube triple, now with 3x XP-L HI on Noctigon, Carlco 10507 TIR optic, handmade 5x19mm copper spacer, spring bypass, trit and 17mm FET driver. 6A startup from a Red Trustfire 14500 IMR cell.

I modified a broken LED Lenser P14 by removing the (mechanical) driver, changing it to one mode direct drive.

That is very nice!

NovaTac with Ti Flame bezel

This one is my favorite! Pulls 1.3 amps with regular cr123s, and 3 amps with IMR123s. Per the Cree product characterization that is good for 1100 lumes and 2300 for this J4 XPH-50. On the IMR batteries it will make you giggle!

Beamshot on low, 2 feet. This has no donut holes, just one sweet smooth beam. Oh, and exposure on phone is ā€“2 for the shots. These are with just cr123 batteries

This one is twelve feet away

Today I decided to mod an old friendā€¦ guess the model and year of this light! :sunglasses:

This pic might give you a hint as to how old is itā€¦

Look at that cutting edge led (Back in the day!)

Had to drill that delrin retention disk to get it out

Yep that is an old led, do you remember what it is? Think hard now!

Now, what to put insideā€¦ Decisions, decisions, decisions!

One thing I never understood is why dafuq did jetbeam think this was a good idea! a frigging HOLE right in the center where the led goes!!! WTF!!!

We have a winner!

Here is the results!
Left is this Jetbeam Jet II IBS on highest setting, at the right is the Manker T01 on turbo, Not bad for an 8 year old flashlight!

Well, I took a Nitecore EA41 Pioneer, removed all the guts, made a custom heatsink from some copper, had Richard over at MtnElectronics make a momentary switch MtnMax driver running 12v at 2 amps, and stuck it all in the housing with an XHP-35 HI and 4x14500ā€™s. Now I have an EA41 with an XHP-35 HI in it!