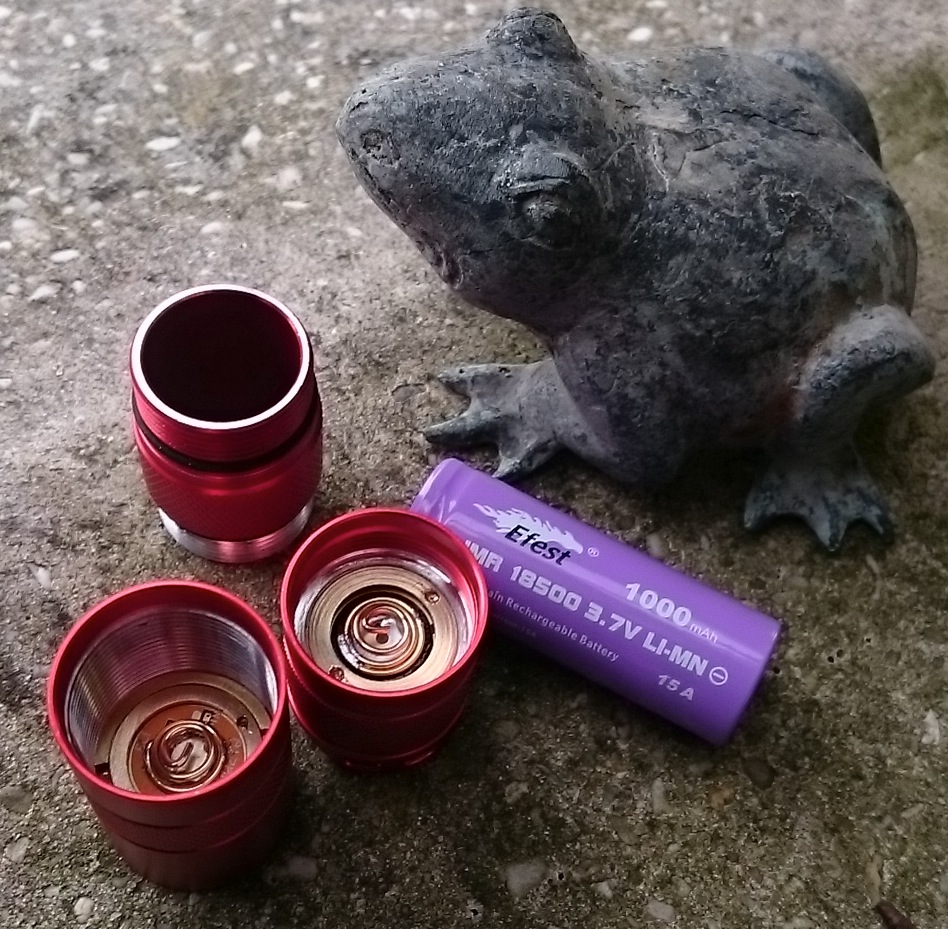
The second red S2+ mod (the first mod is in post#400 in this thread), unrestrained this time, this one is for me! As a few have done before (firelight2 did a very nice S2+ 18500 mod before), I wanted the S2+ shorty to become a 18500 light, for the power and the runtime, and to see if I can do it :-) . I ordered a light purple 18500 for it, and it appeared to be 49.8mm long, I had to find the length for that inside the light! After measuring and calculation this is how the extra length could be created:
*making it a triple
*make springs very short or absent
*shrink the pill
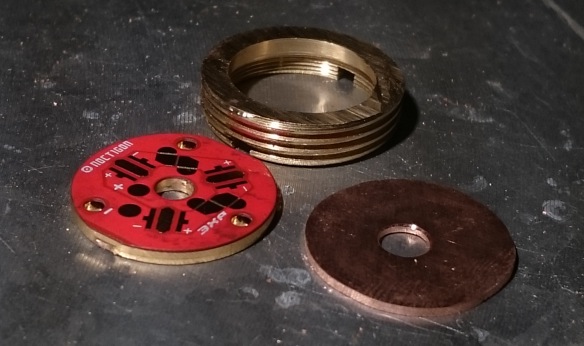
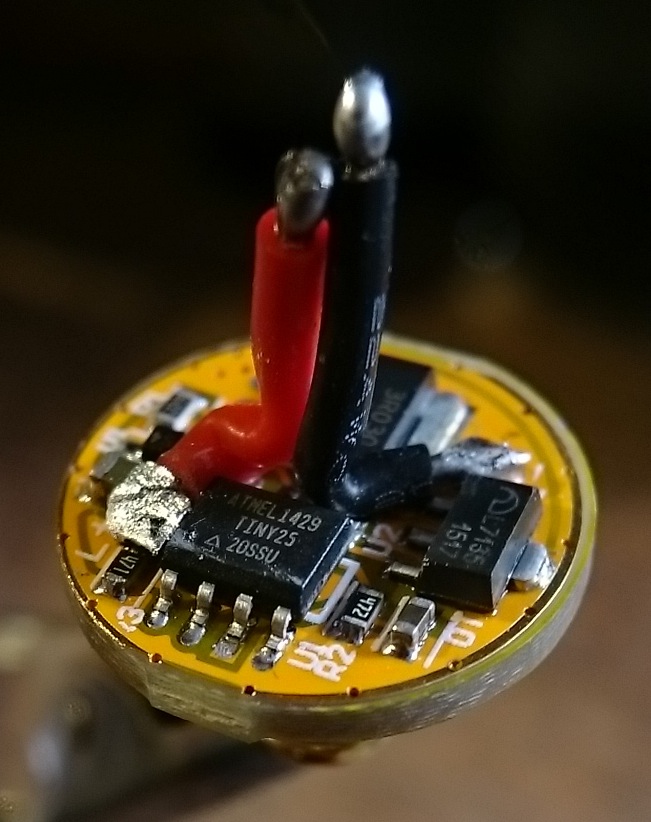
I wanted to be able to close the light fully, as it should, and keep the glass lens before the optic for easy cleaning and waterproofing, and I reckoned if I went for maximum pill chopping I could just do all this. I decided to chop the led-side of the pill and therefore keep the driver slot plus retaining ring, and solder a 1mm thick copper disk between pill and ledboard to keep enough thickness (total 2.7mm copper) under the leds for heat-disposal. So after sawing and sanding, this was leftover of the pill (picture with a BLF-A6 driver to test the maximum component height)
I just clears the Attiny! Also the underside of the pill was slightly shaved off to make another -say- 0.2mm.
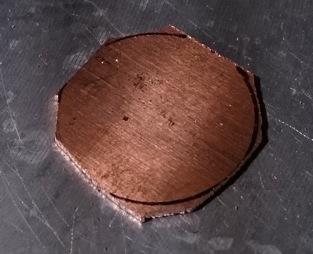
A piece of copper was made to size.
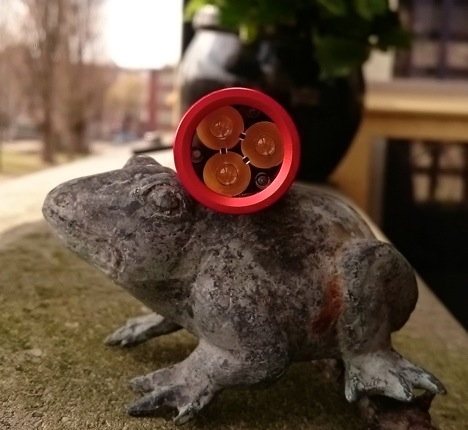
Then everything was reflowed on my heatblock: pill->copper disk->ledboard->leds. I chose Nichia 219C warm white (3000K) for this mod: nice low Vf and good output even at 3000K. I made a video of the reflow to show-off my reflow skills  , but unfortunately I had a more shaky day than usual, and further, despite several times soldering and unsoldering stuff, I got no light when testing, sofar for my skills
  .
.
But after some more fiddling and failures outside the camera, I found that I had rotated one led 90degrees wrong  . It finally worked, and that is what counts
  :
:
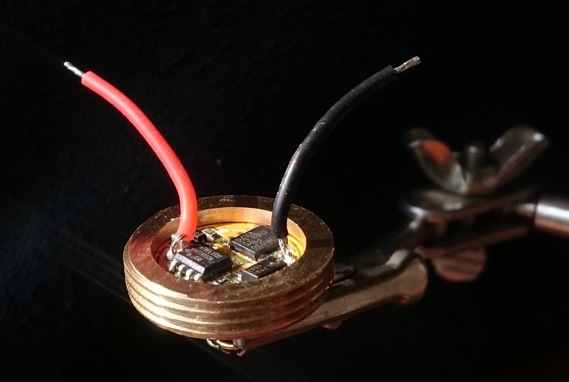
For a driver I scavenged the driver from my aluminium Kronos X6 (that was the one flashlight of the four I bought that I have little love for, I hope that BG will sell this driver sometime to repair it again), it has great output and modes, and the firmware is tuned for the use of tail-lighting. Used very short 22 AWG silicon wires, and after assembly of the pill, I made the ledboard black with a marker to make it better looking through the optic.
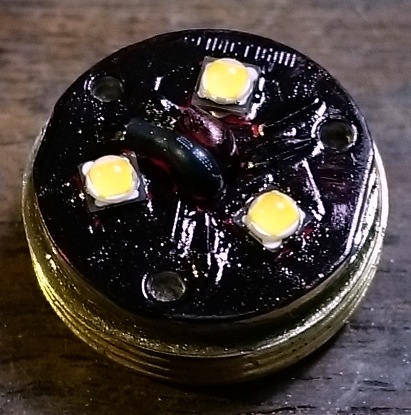
The white balance of the camera makes the leds look like cool white, but they are very warm in real.
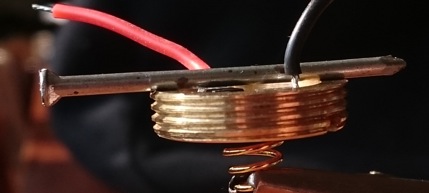
The driver spring was replaced by one of the short Intl-outdoor BE-Cu springs because they do not have to be bypassed and they can be compressed all the way to wire thickness. Still I removed a bit from the spring to make it fit the batt+ pad of the driver.
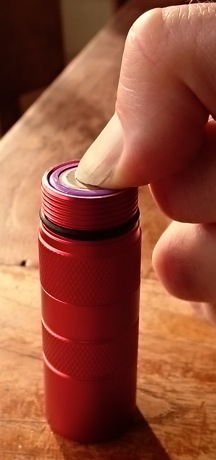
Now the head and battery tube were assembled (a somewhat thinner and clear o-ring was used before the lens to gain an extra fraction of a mm, and I did not like the green o-ring that the light came with). The 18500 was tested for length and when pressed in, and it just came out under the edge of the battery-tube: succes!!
I rebuilt the tail as well but I made no pictures. It still has the stock switch and board but everything better soldered, and it has a lighted washer now with six red leds, the equivalent resistance the same as the Kronos lights. For the time being the black silicon waterproofing insert is still in place so I can not see the red leds at all, I can not even check if they are actually lighted inside there  . I hope to recieive a new transparant insert one of these days to make the lighted tail work! The spring was replaced with another of the BE-Cu intl-outdoor springs that compresses so nicely compact. Now the light closes neatly with the 18500 battery pressed in firmly without crushing it.
I'm glad that this mod went exactly to plan, now did the light work alright? I'm happy that it does, but of course on Turbo it gets hot very fast (it even does not have a chunk of copper to delay the warming up of the shell). I could only check the turbo output up to 20 seconds before the light got too hot to hold. But the X6/X5 driver has all those nice efficient lower modes too :-) . Here's what I measured on the fully charged Efest lila 18500 sofar:
Turbo 2 seconds after switch-on: 2150 lumen, turbo 20 seconds: 1570 lumen, moon: 0.41 lumen, the other 5 modes of the 7+moon mode group resp.: 4.4-41-163-580-1230 lumen. At mode 4 (163 lumen) I measured an efficiency of 74 lumen/Watt which is pretty good.
The UI mode-change times are very sensitive to heating up, like all lights with this driver, but a bit extra because this is a quite over-the-top hotrod build. So turbo is just for showing-off, even one mode down is not sustainable. I get a sustainable (heatsink to my hand) output up to ~500 lumen, which is fine for a small light like this.
I tried to do a current measurement on Turbo, but with the tail removed and the current going trough the small copper loop that I use for clamp meter measurement, the driver immediately drops to moon everytime I start turbo (even mode 5 and 6 do this too). I found this behaviour before with my AK-47 converted FET-drivers and do still not know what happens. With the tail in place everything works fine. Well, judged from the output, the current must be a bit over 10A.
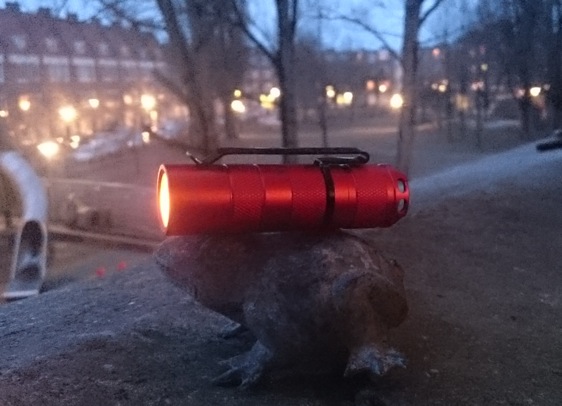
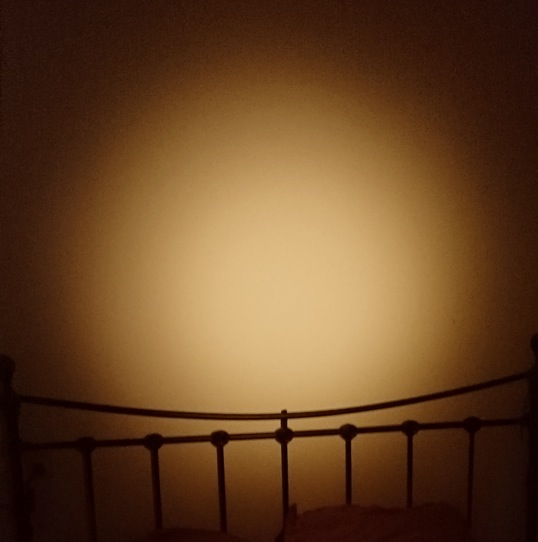
And the beam is great, the Nichia 219C works lovely with this Carclo narrow optic. The tint is rosy, as expected from Nichia, a bit too much to my liking, but it gives a comfy feeling  .
.
I have a couple of Sanyo 1600mAh 18500 cells on order for this light: more runtime and a more sustainable (but lower) turbo.


