Thanks, yes those are magnets.
Haha. Yeah i’m just :smiling_imp: . Do you ever use the AA body for yours?
No. I keep this light in the glove compartement of my car, loaded with a lithium primary.
Really great idea CRX, that’s a very appealing look! I like it!
Hey, thanks.
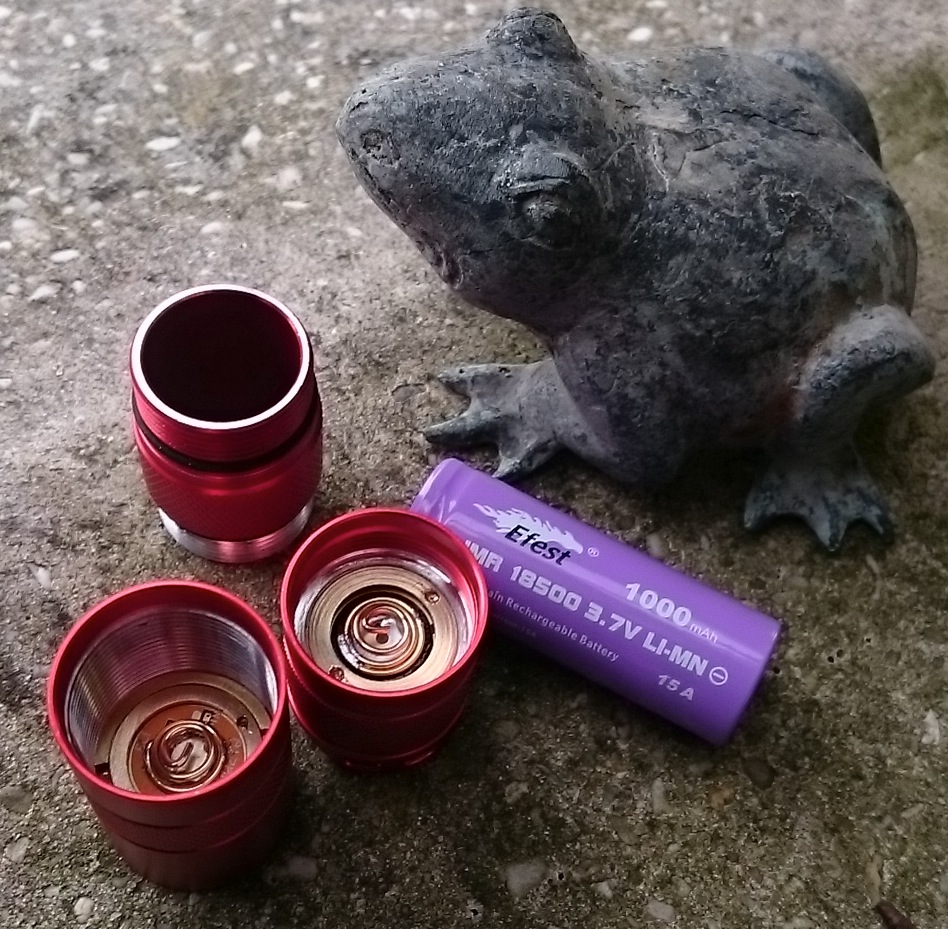
The second red S2+ mod (the first mod is in post#400 in this thread), unrestrained this time, this one is for me! As a few have done before (firelight2 did a very nice S2+ 18500 mod before), I wanted the S2+ shorty to become a 18500 light, for the power and the runtime, and to see if I can do it :-) . I ordered a light purple 18500 for it, and it appeared to be 49.8mm long, I had to find the length for that inside the light! After measuring and calculation this is how the extra length could be created:
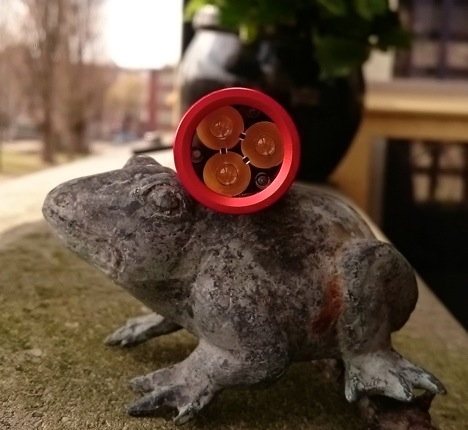
*making it a triple
*make springs very short or absent
*shrink the pill
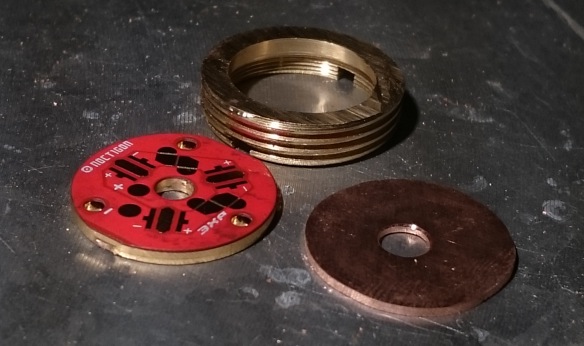
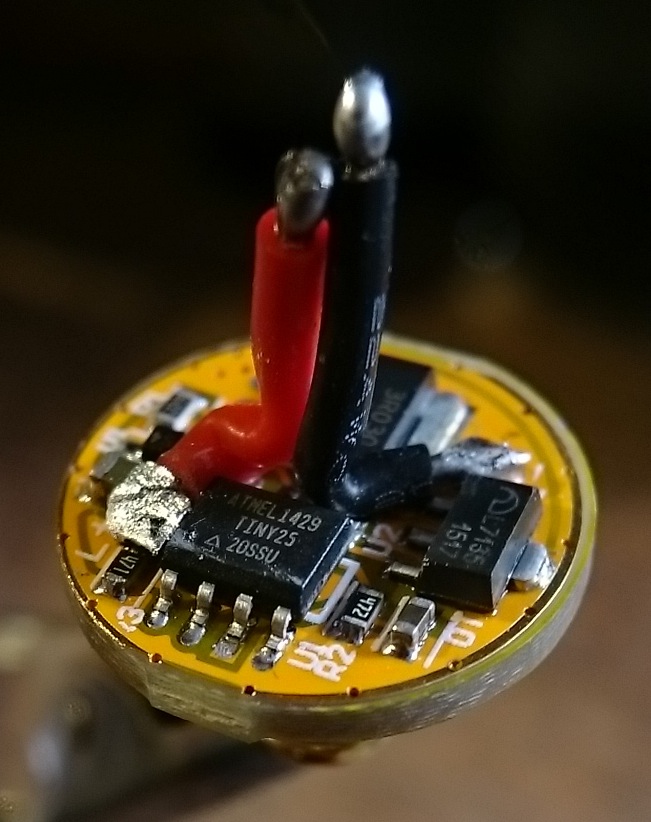
I wanted to be able to close the light fully, as it should, and keep the glass lens before the optic for easy cleaning and waterproofing, and I reckoned if I went for maximum pill chopping I could just do all this. I decided to chop the led-side of the pill and therefore keep the driver slot plus retaining ring, and solder a 1mm thick copper disk between pill and ledboard to keep enough thickness (total 2.7mm copper) under the leds for heat-disposal. So after sawing and sanding, this was leftover of the pill (picture with a BLF-A6 driver to test the maximum component height)
I just clears the Attiny! Also the underside of the pill was slightly shaved off to make another -say- 0.2mm.
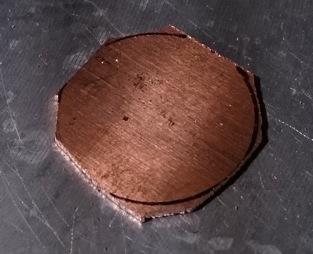
A piece of copper was made to size.
Then everything was reflowed on my heatblock: pill->copper disk->ledboard->leds. I chose Nichia 219C warm white (3000K) for this mod: nice low Vf and good output even at 3000K. I made a video of the reflow to show-off my reflow skills  , but unfortunately I had a more shaky day than usual, and further, despite several times soldering and unsoldering stuff, I got no light when testing, sofar for my skills
  .
.

But after some more fiddling and failures outside the camera, I found that I had rotated one led 90degrees wrong  . It finally worked, and that is what counts
  :
:

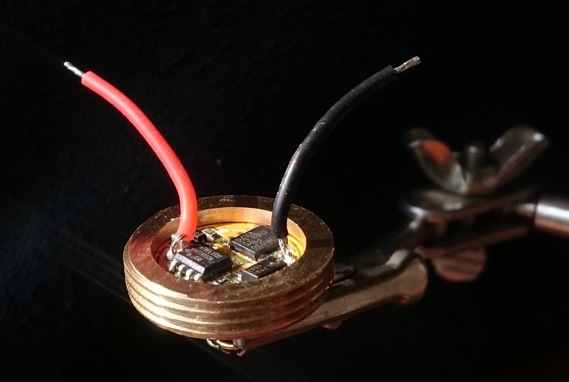
For a driver I scavenged the driver from my aluminium Kronos X6 (that was the one flashlight of the four I bought that I have little love for, I hope that BG will sell this driver sometime to repair it again), it has great output and modes, and the firmware is tuned for the use of tail-lighting. Used very short 22 AWG silicon wires, and after assembly of the pill, I made the ledboard black with a marker to make it better looking through the optic.
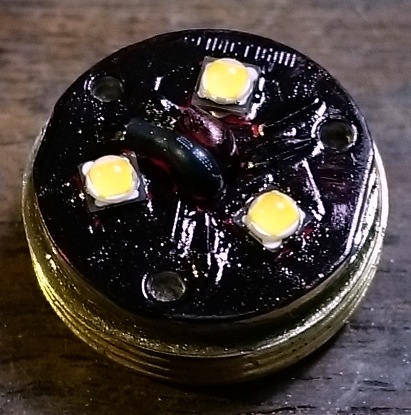
The white balance of the camera makes the leds look like cool white, but they are very warm in real.
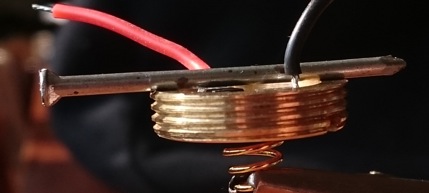
The driver spring was replaced by one of the short Intl-outdoor BE-Cu springs because they do not have to be bypassed and they can be compressed all the way to wire thickness. Still I removed a bit from the spring to make it fit the batt+ pad of the driver.
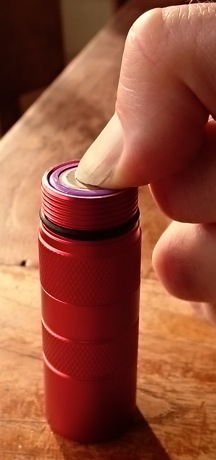
Now the head and battery tube were assembled (a somewhat thinner and clear o-ring was used before the lens to gain an extra fraction of a mm, and I did not like the green o-ring that the light came with). The 18500 was tested for length and when pressed in, and it just came out under the edge of the battery-tube: succes!!
I rebuilt the tail as well but I made no pictures. It still has the stock switch and board but everything better soldered, and it has a lighted washer now with six red leds, the equivalent resistance the same as the Kronos lights. For the time being the black silicon waterproofing insert is still in place so I can not see the red leds at all, I can not even check if they are actually lighted inside there  . I hope to recieive a new transparant insert one of these days to make the lighted tail work! The spring was replaced with another of the BE-Cu intl-outdoor springs that compresses so nicely compact. Now the light closes neatly with the 18500 battery pressed in firmly without crushing it.
I'm glad that this mod went exactly to plan, now did the light work alright? I'm happy that it does, but of course on Turbo it gets hot very fast (it even does not have a chunk of copper to delay the warming up of the shell). I could only check the turbo output up to 20 seconds before the light got too hot to hold. But the X6/X5 driver has all those nice efficient lower modes too :-) . Here's what I measured on the fully charged Efest lila 18500 sofar:
Turbo 2 seconds after switch-on: 2150 lumen, turbo 20 seconds: 1570 lumen, moon: 0.41 lumen, the other 5 modes of the 7+moon mode group resp.: 4.4-41-163-580-1230 lumen. At mode 4 (163 lumen) I measured an efficiency of 74 lumen/Watt which is pretty good.
The UI mode-change times are very sensitive to heating up, like all lights with this driver, but a bit extra because this is a quite over-the-top hotrod build. So turbo is just for showing-off, even one mode down is not sustainable. I get a sustainable (heatsink to my hand) output up to ~500 lumen, which is fine for a small light like this.
I tried to do a current measurement on Turbo, but with the tail removed and the current going trough the small copper loop that I use for clamp meter measurement, the driver immediately drops to moon everytime I start turbo (even mode 5 and 6 do this too). I found this behaviour before with my AK-47 converted FET-drivers and do still not know what happens. With the tail in place everything works fine. Well, judged from the output, the current must be a bit over 10A.
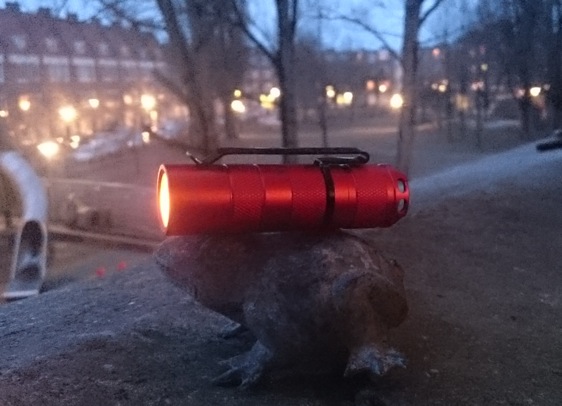
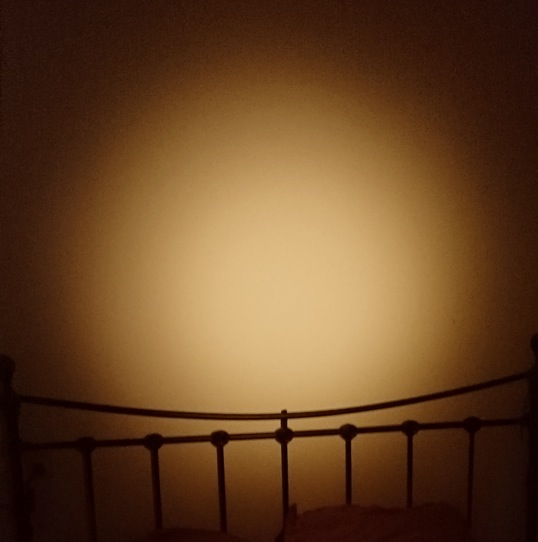
And the beam is great, the Nichia 219C works lovely with this Carclo narrow optic. The tint is rosy, as expected from Nichia, a bit too much to my liking, but it gives a comfy feeling  .
.
I have a couple of Sanyo 1600mAh 18500 cells on order for this light: more runtime and a more sustainable (but lower) turbo.
Sweet mod djozz. I felt your pain in the first video when power was applied and nothing. Nice comeback though and what a pocket warmer.
Wow. Really cool mod djozz.
Thanks for the future modding idea as I have a couple S2 shorty hosts and at least one 18500 laying around. I’d like to ponder the heat sinking a little.
nice work,djozz
the threads in the s2+ must be deeper into the housing than the plain s2
as ive had to remove the threads from pill to do mine and hold in place with a sleeve
under the battery tube .
Great job there.
I always like watching your re-flow videos. It’s like a thriller movie where you are just waiting for something to jump out at you. It must be the shaking ![]()
Yes, the threads go in very deep, with the glass lens before the optic you can keep all the threads on the pill, without the lens the optic only just presses-in the o-ring.
These are my first S2+ lights and I bought them directly from Simon, this deep threading may be a recent change because I have not heard it mentioning before.
I like that you painted the mcpcb black, all of my triples look red. Nice mod!
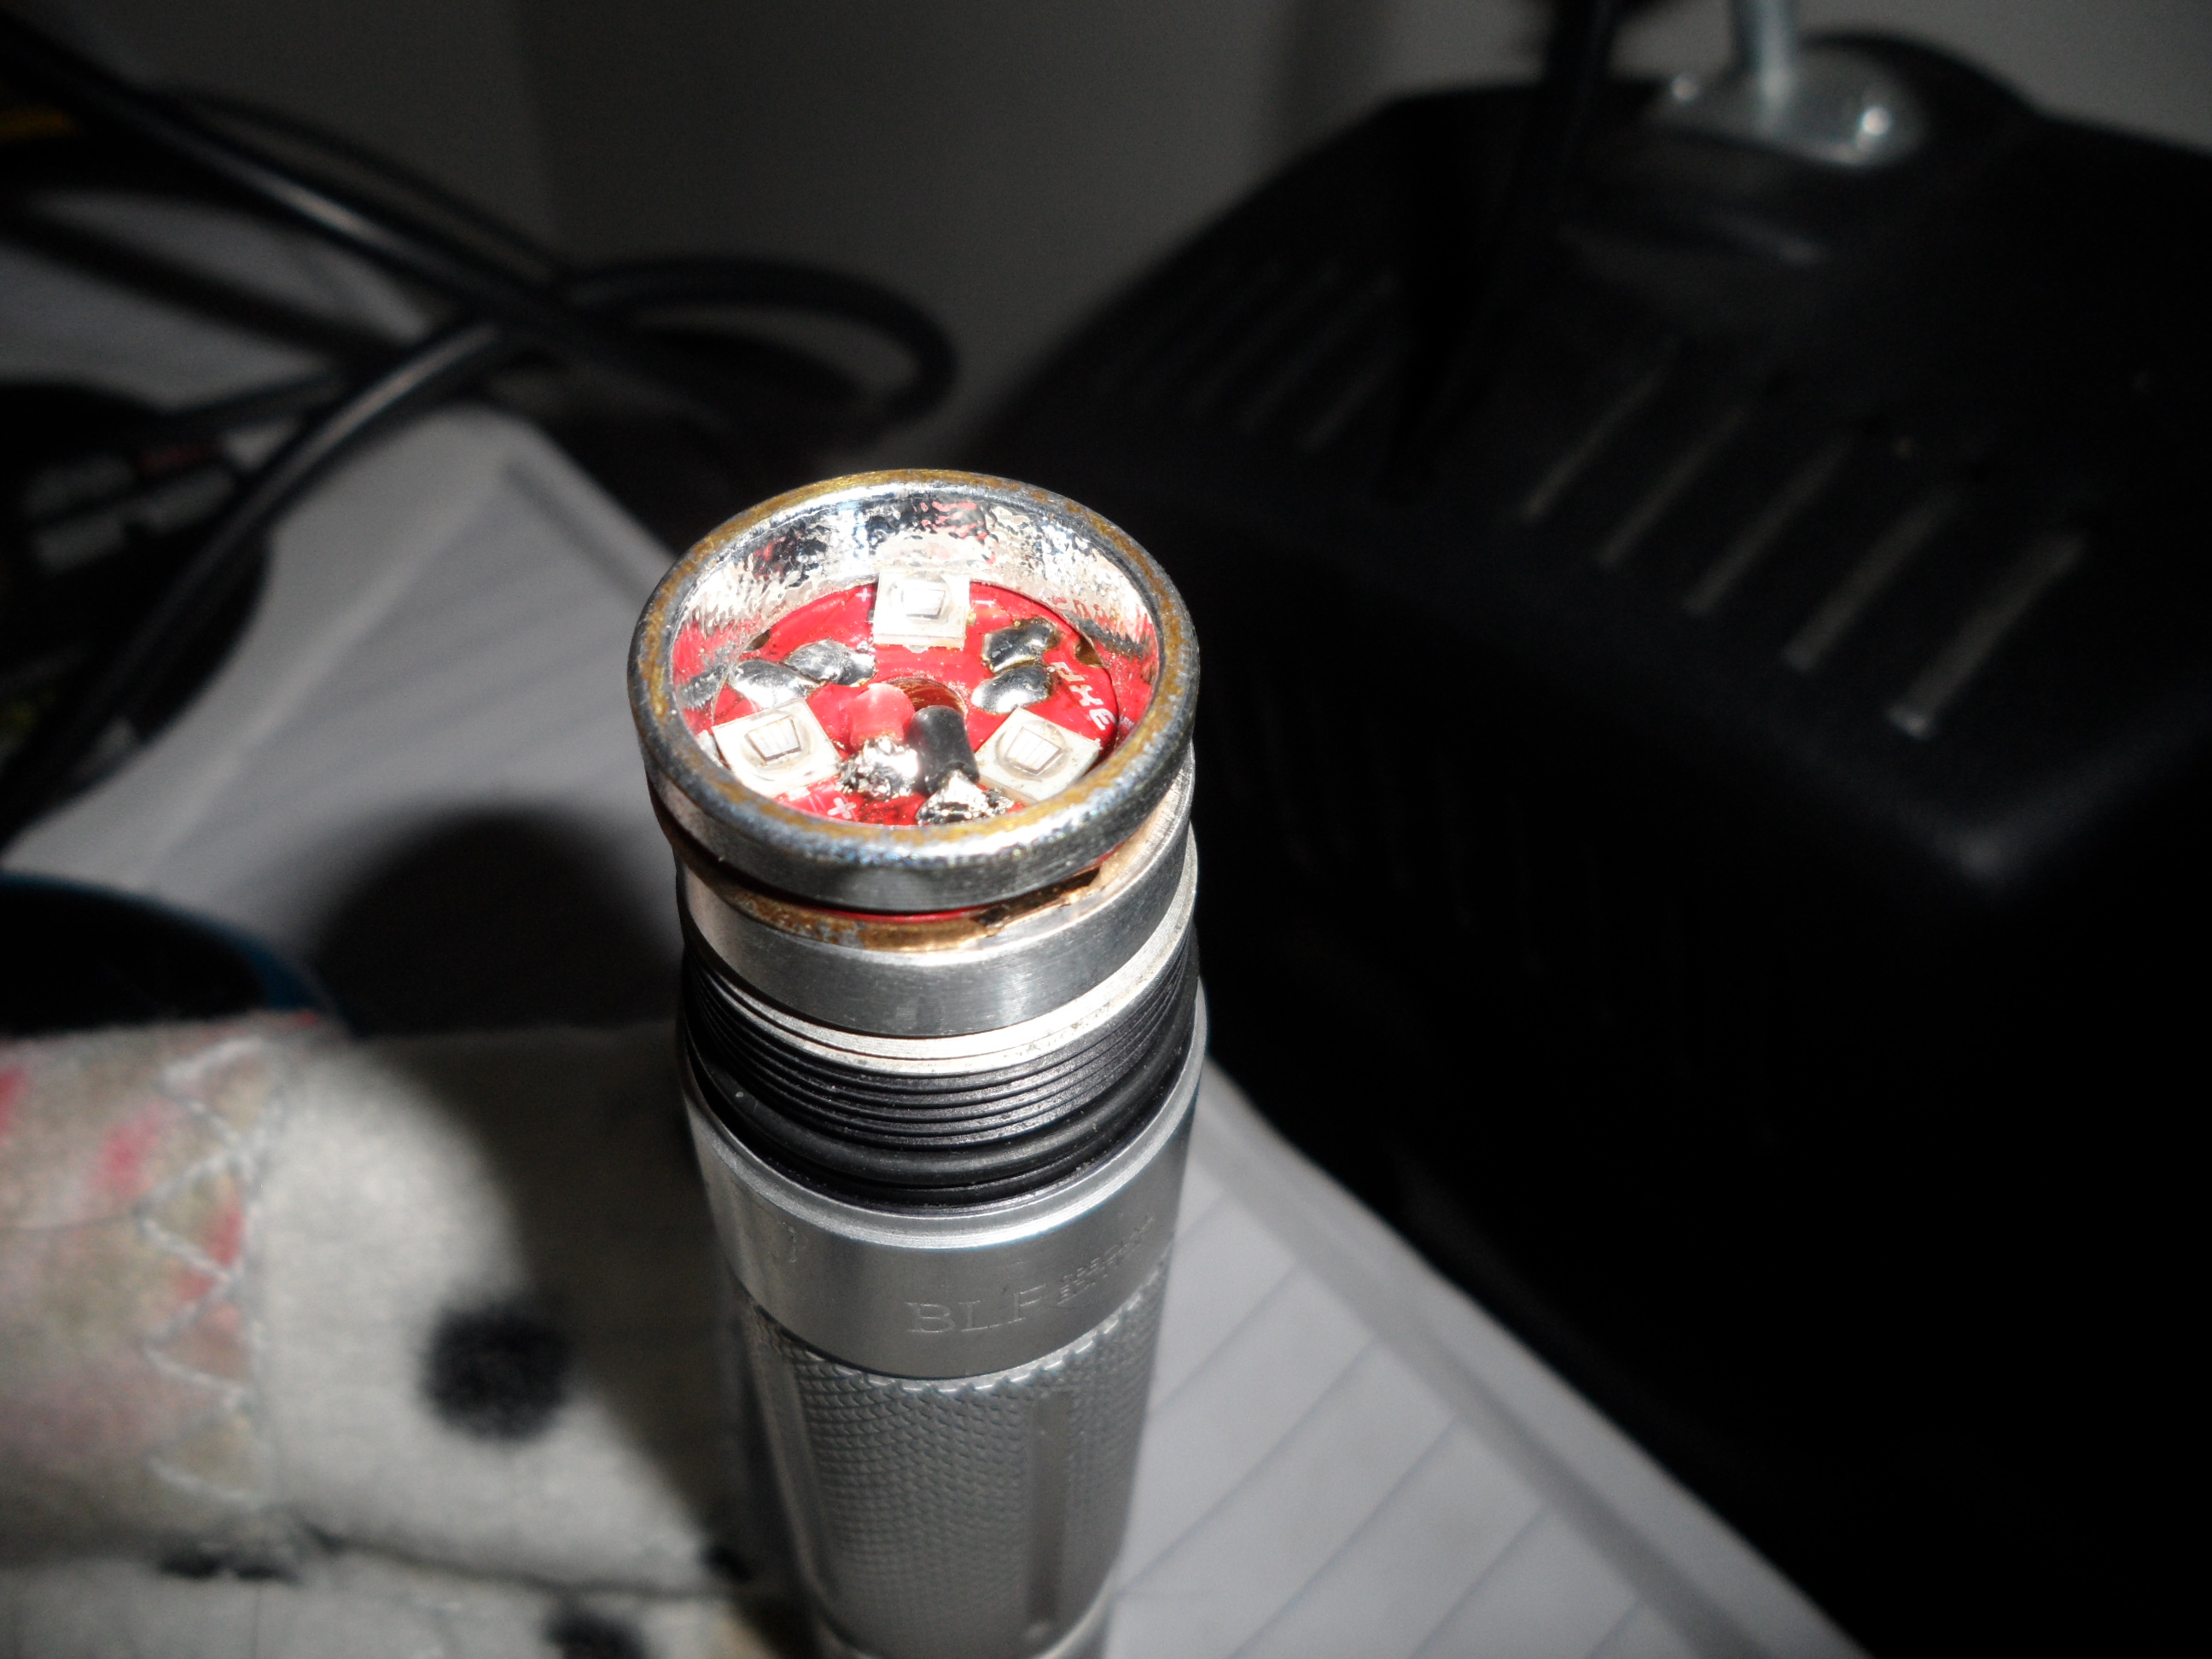
Today I abused The Last Of The Boneycans. Well I copied the the suggestions of ReManG regarding the bullet-proofing of this Cockroach-light. Sanding down the LED, so it would not protrude any longer. It got very opaque so I polished it with Cif, giving it a very matte look. Then drilling a hole in the pill, for filling it up with glue (tonight). And just before assembling everything, adding an O-ring around the base of the emitter.

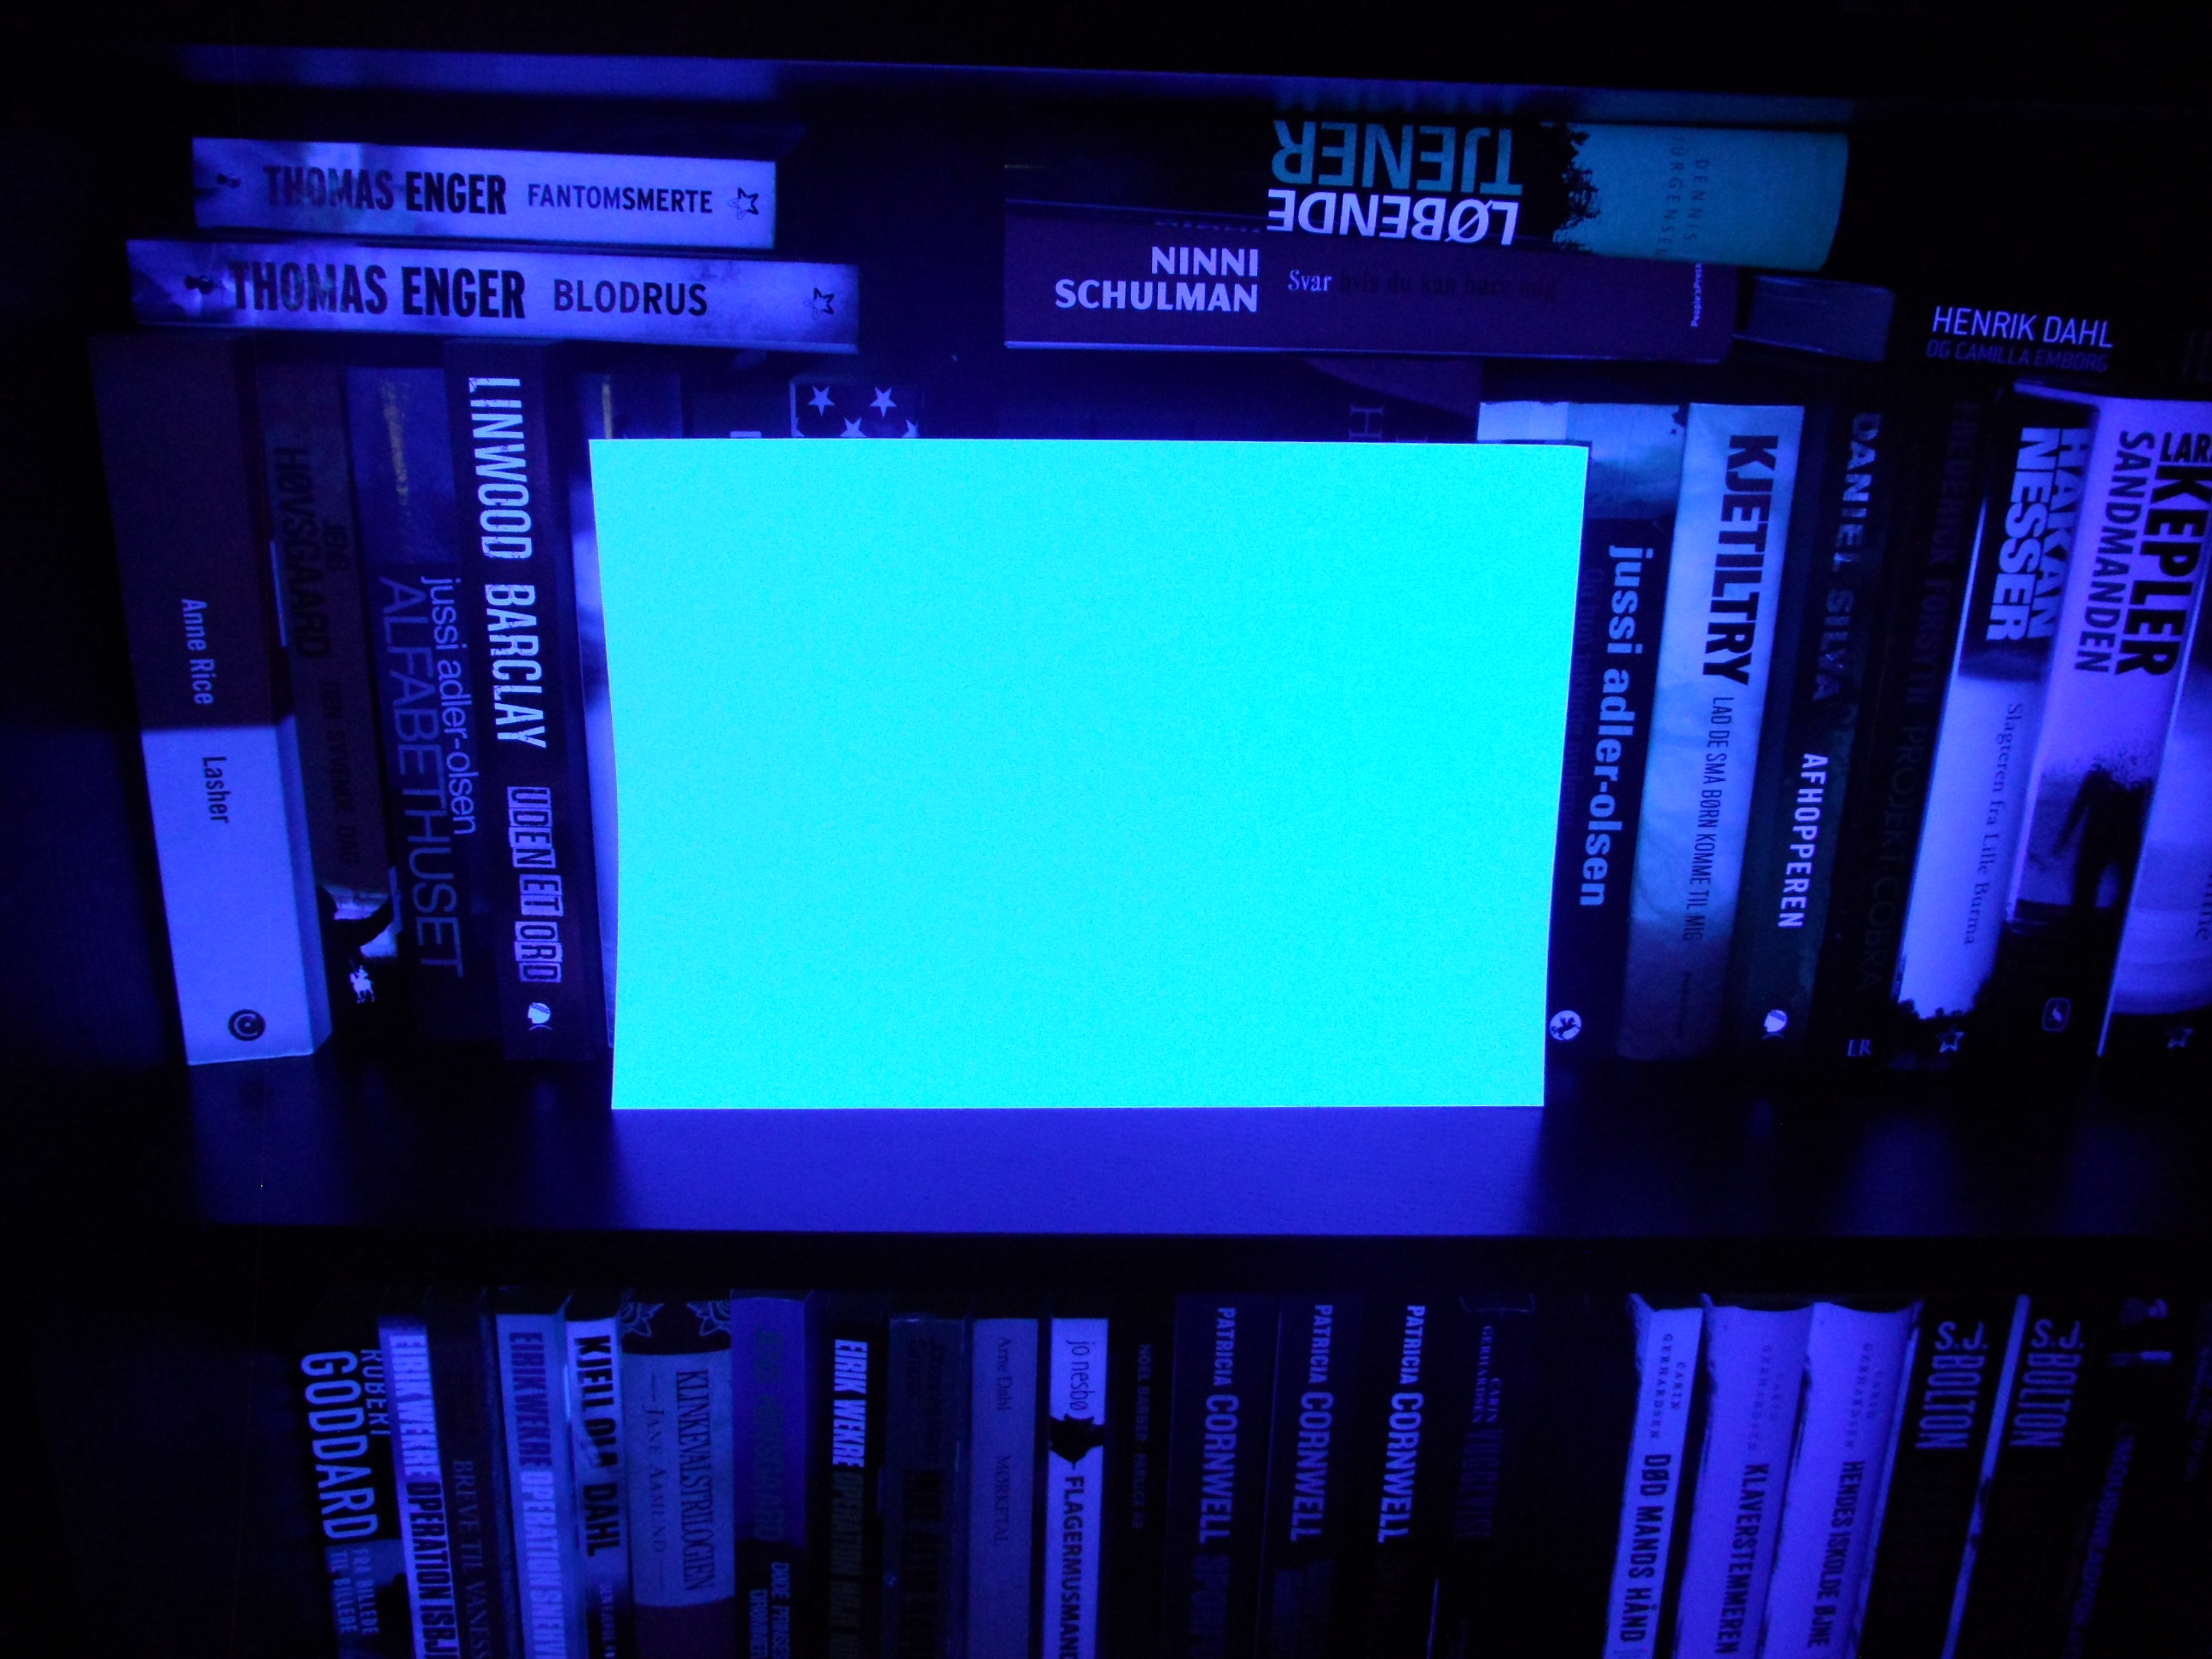
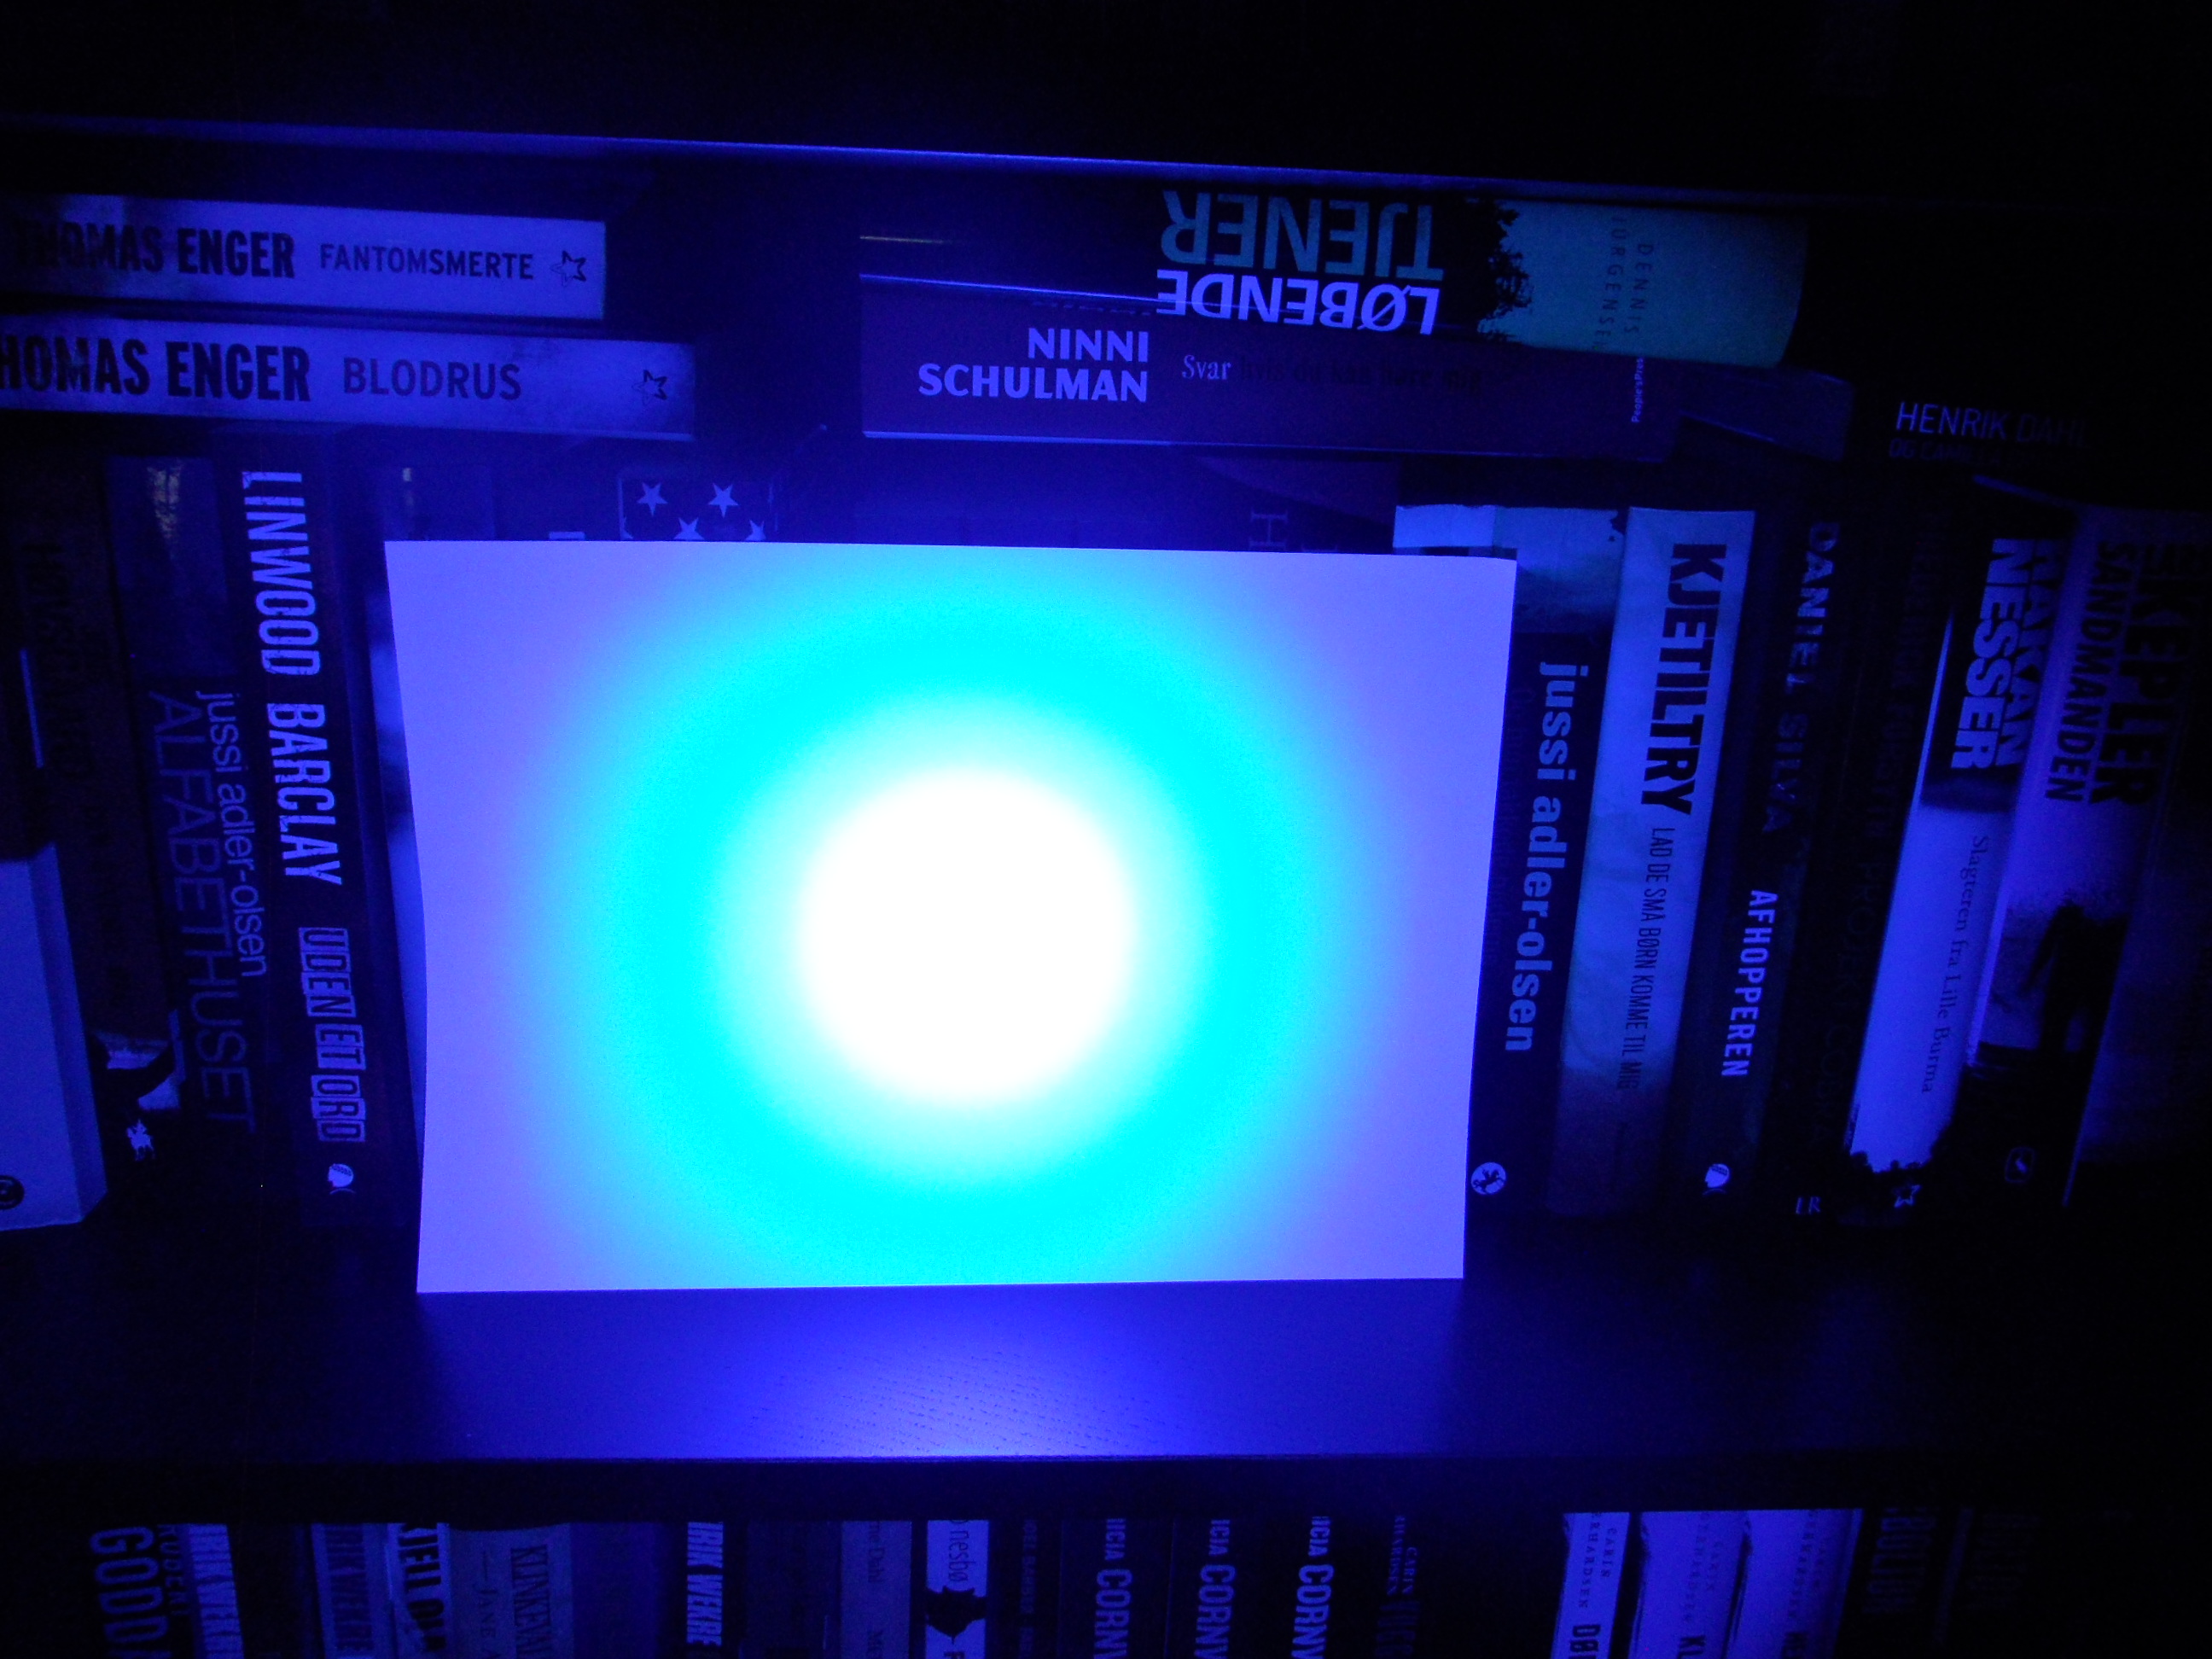
Almost any flashlight shining on a piece of typing paper from behind and held under the camera will provide frontal illumination with minimal shadow for a much better and clearer picture of small subjects. ![]()
Amazes me how many flashaholics, with plenty of lights to choose from, take dark ill-defined pictures unnecessarily.
Changed the driver in my stock L2 to a Fet +1 driver, also changed the led to a XP-L HI on noctigon copper board.
Using a Keeppower 5200mAh 26650 I get 5.6A.
After 12 min it is handwarm. Love this L2!
I modded a UV triple mule in a bare BLF A6 :
Leds and lens from here
3 mode 2100 mA driver, triple alu spacer.
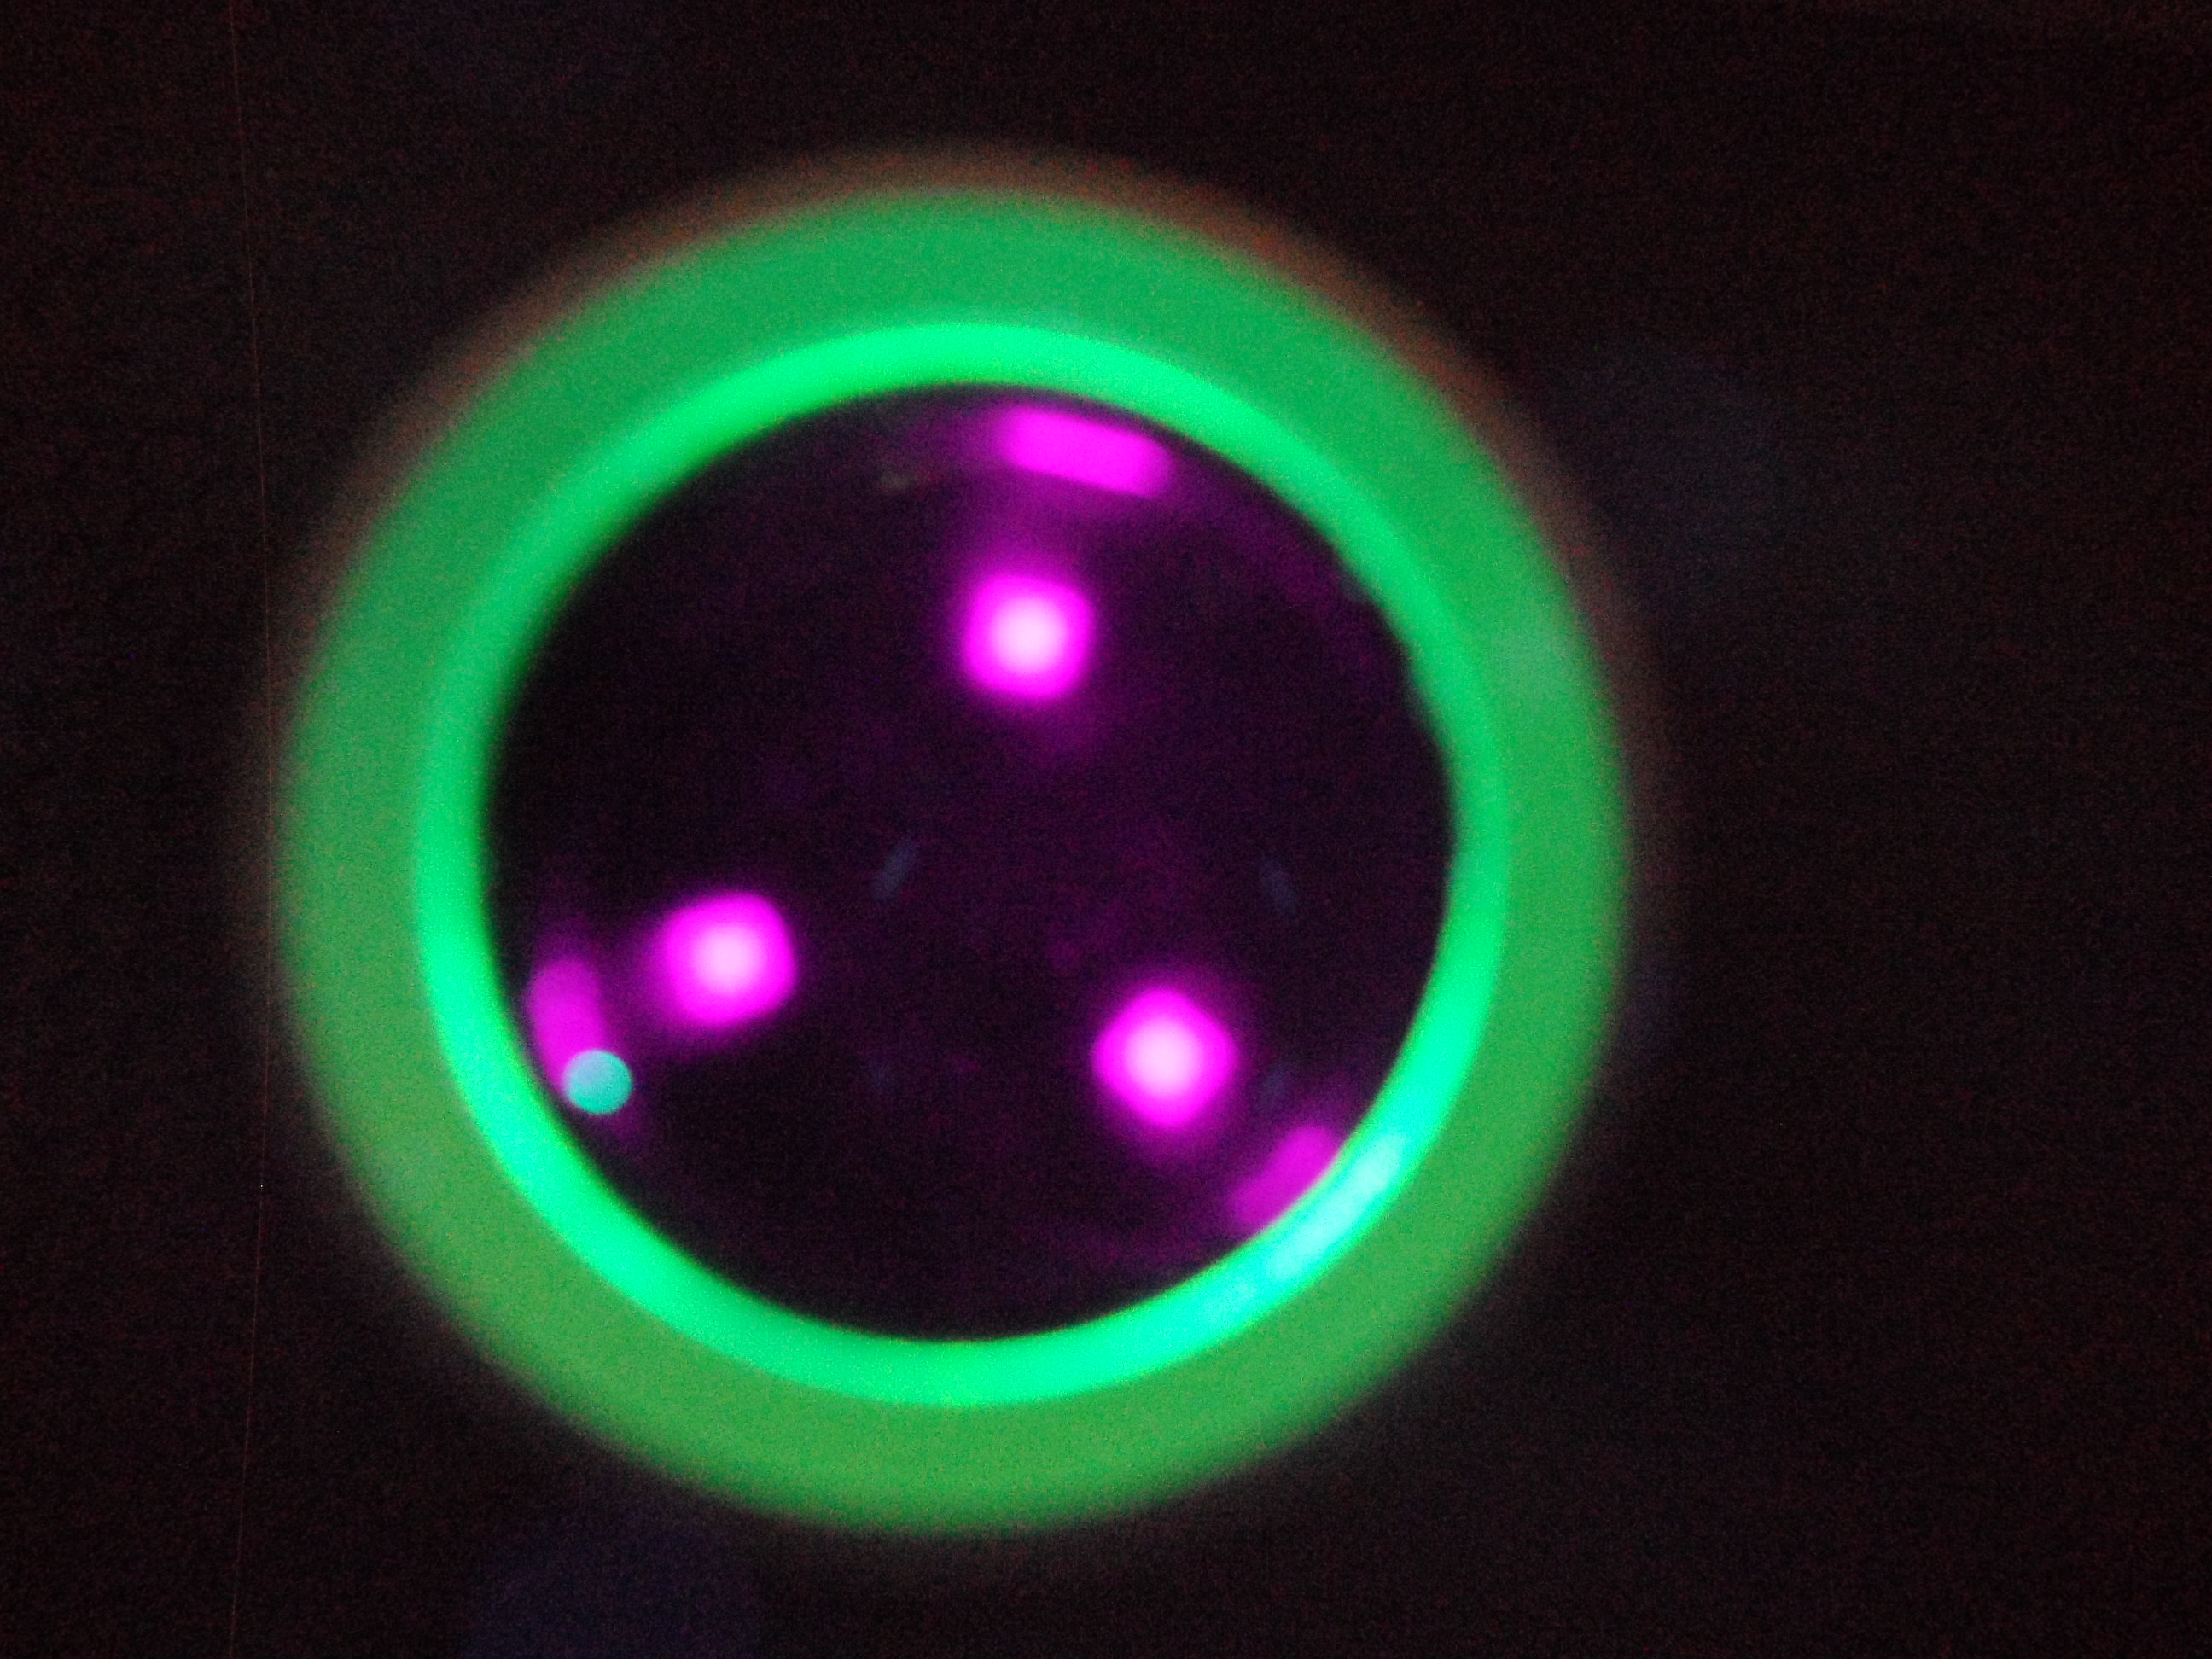
It’s a mule so it’s very floddy :
EE A6 single UV emitter @ 700 mA :
Nice, I was sure someone will made one with those great emitters !
Triple emitter for me too, on my SRmini II :


Stock emitters on the left, 4C on the right.

I fitted a BLF D80 with an MTN-17DDm driver running Bistro UI, using no additional parts.
The original driver PCB is 19mm, so the new 17mm PCB wouldn’t sit nicely on the driver shelf.
I drilled out the retaining ring slightly to allow room for the driver’s components and soldered the driver to the cell’s side.
The result ain’t pretty, but no one can tell while the light is running!


Moving the driver means less space for a cell. A 65mm flat-top HG2 cell now extends 3mm past the tail end of a “long” D80 tube. This setup works fine, but a “short” tube or protected cell will not.

With Bistro UI (my favorite!) and no more PWM, this D80 will get lots more use now!
I have a stack of drivers taken out of Lucky Sun D80 lights. Every single one is 17mm. I don’t understand your 19mm dilemma. I was on the testing team on those BLF Special Edition D80’s, every sample, every light I bought, all 17mm drivers.