Although I have a few parts already this could be a slow build :sunglasses:

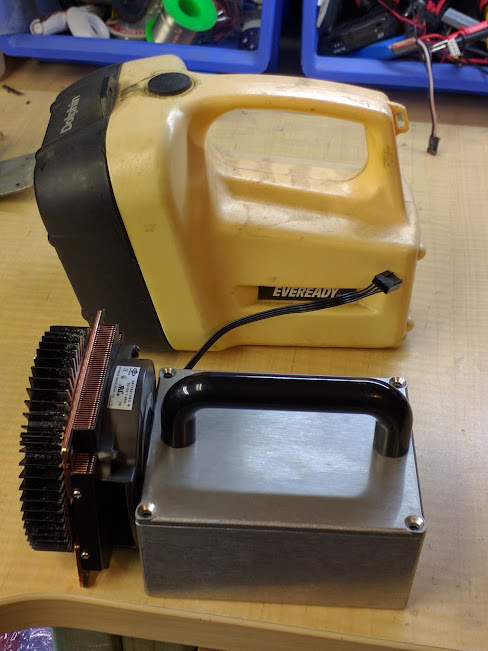
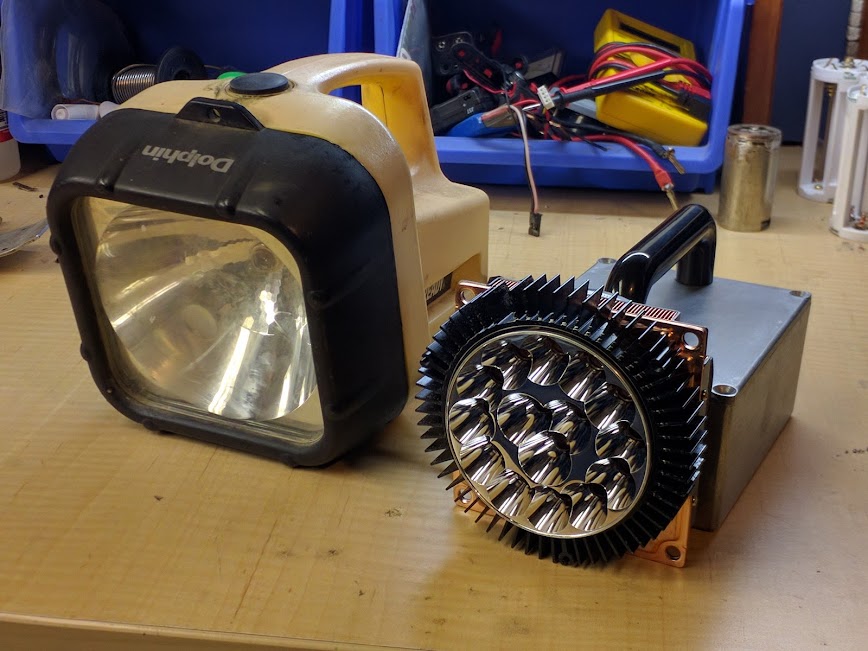
I should really get moving on this eh? What I wanted to achieve here is a 10+ lumen light with better runtime than a 4x cell or even 8x cell light while still not being too huge. Therefore heatsinking will be a priority. I roughly assembled the parts I have to give the general scope/idea/parameter and sat it beside an old dolphin torch. When I was little if your family didn’t have a dolphin they didn’t have ‘the light to have’. And don’t worry about the mixed cells in the pic, they are for clarity purposes only and so is the black heatsink at this stage.

Ingredients -
Heatsink (this one is not entirely necessary but I got it….) Electronic Components and Parts Search | DigiKey Electronics
More heatsink with vapour chamber tech Dynatron R16 1U CPU Cooler w/ Vapor Chamber, Intel LGA 2011, i7, Xeon, Socket R | eBay
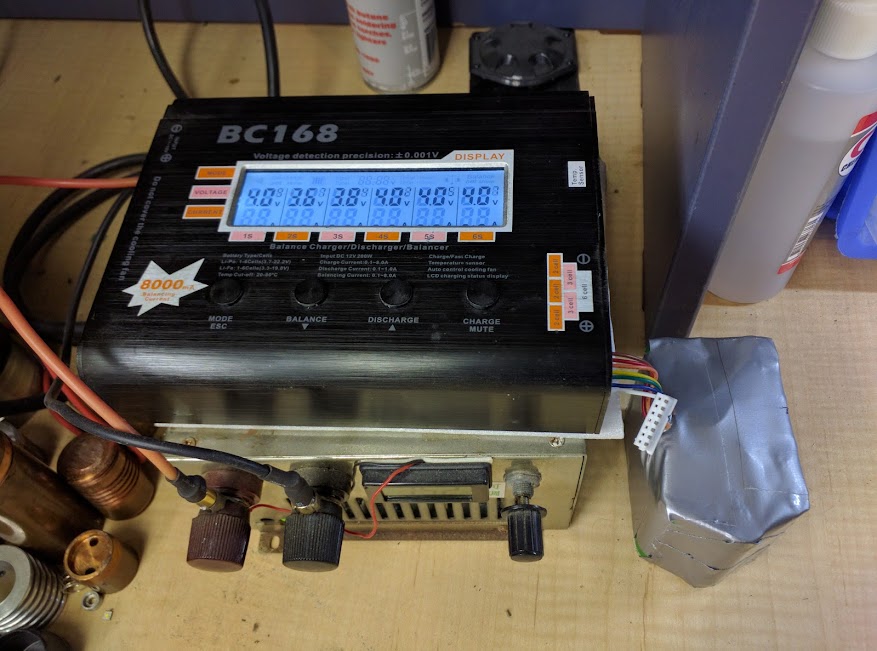
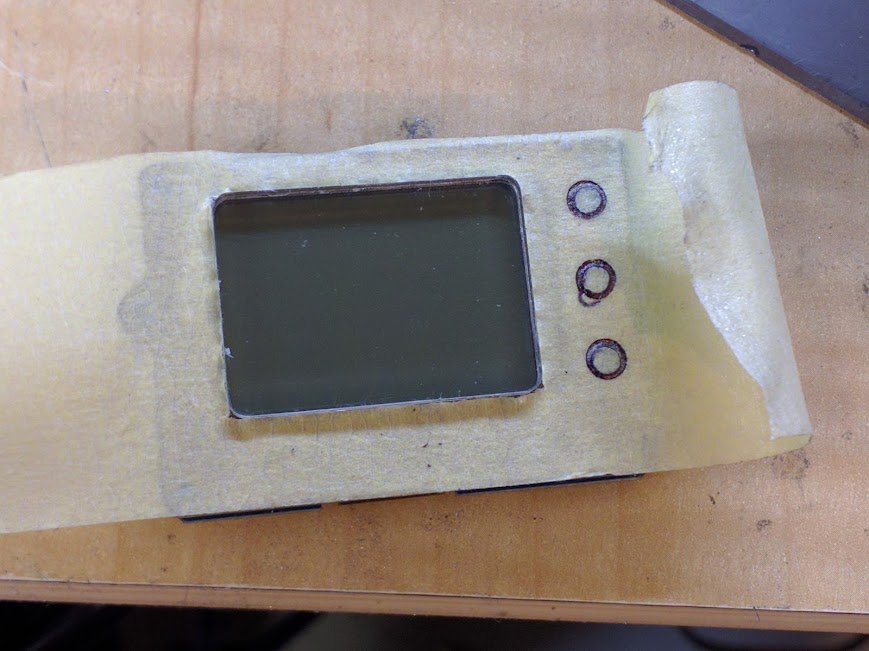
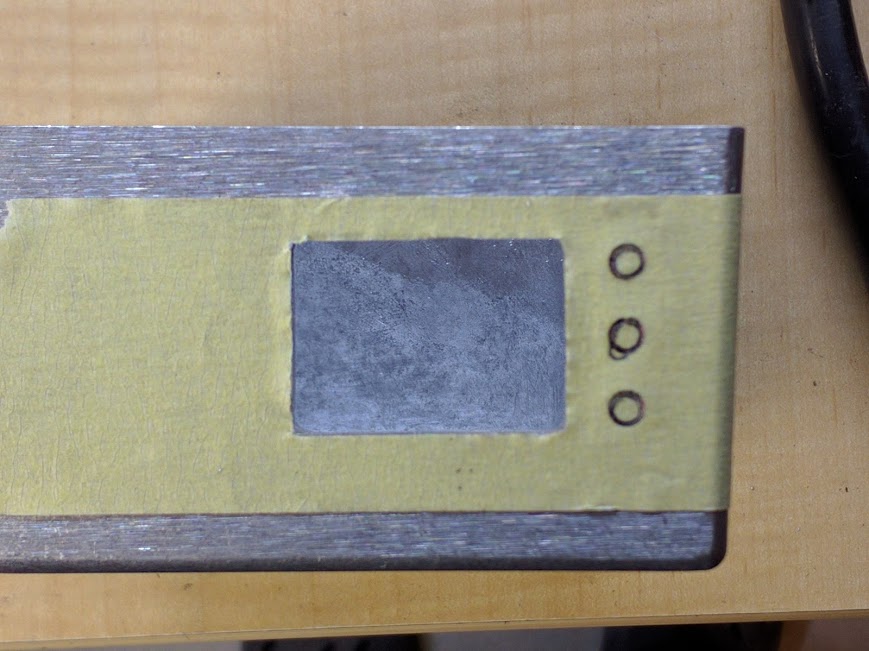
Battery indicator http://www.ebay.com.au/itm/Indicator-Coulometer-Capacity-Tester-8-50V-50A-Lithium-Lead-Acid-Battery-Meter-/381439639268?hash=item58cf92fee4:g:Wb0AAOSwo6lWH3Nf
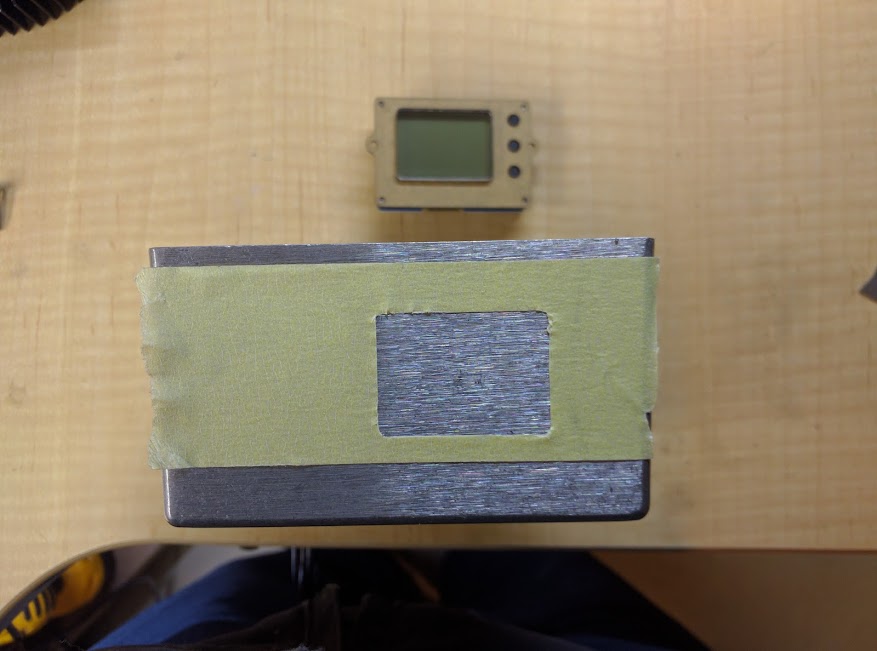
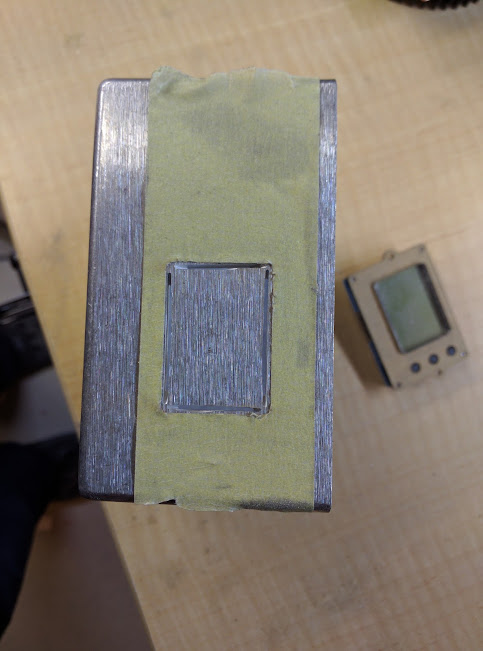
Enclosure box http://www.jaycar.com.au/sealed-diecast-aluminum-enclosure-222-x-146-x-55mm/p/HB5050
15x led reflector left over from some mod I did ages ago.
15x leds (not sure of bin) https://www.cutter.com.au/proddetail.php?prod=cut2534
Cupboard handle from the hardware.
I realised at some point I will need to get a step down module to run the heatsink fan. I will also need to get some switches. Not sure what lens to use yet??
Power 12x 18650 made into a battery pack
Other stuff, battery tabs, thermal adhesive and probably lots of other stuff I didn’t account for.
So, given how much I’ve forked out so far I hope to get this finished and flaming trees one day or i’ll be spewing about it. Maybe not as much of a challenge if it’s just parts assembly but this is my first attempt I guess.
.
.
.
Building -
Hmm… where to start? I thought I’d start at the back. This might be an arse about way of ding things but that’s me
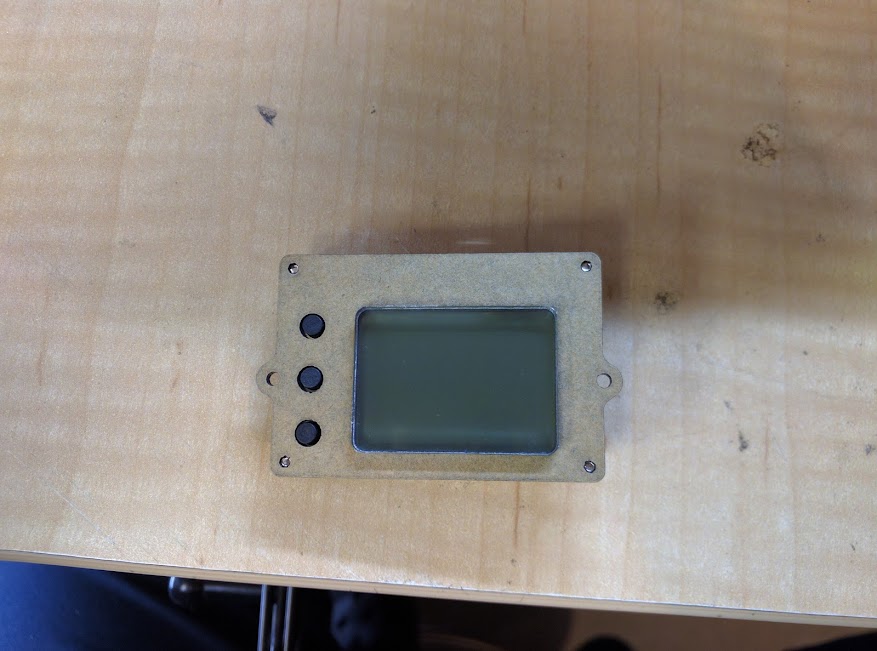

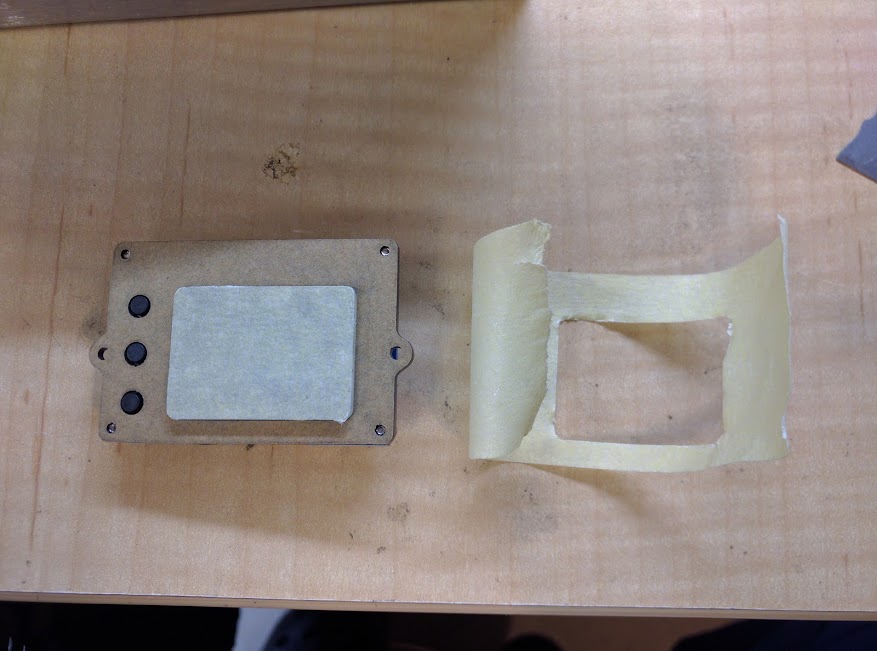

So the very first thing I was getting stuck into I managed to stuff up :person_facepalming: To fix it I filed some of the board on the battery indicator and the end result is a small gap in the top right of the window.
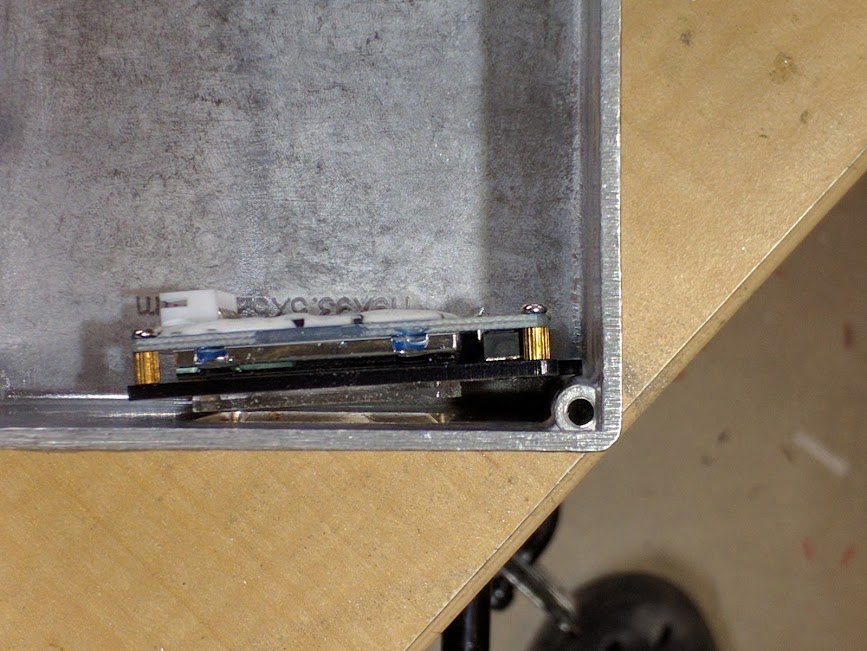


You can see where I filed the edge of the board in this next pic
.
.
.
.
UPDATE 12/8/16
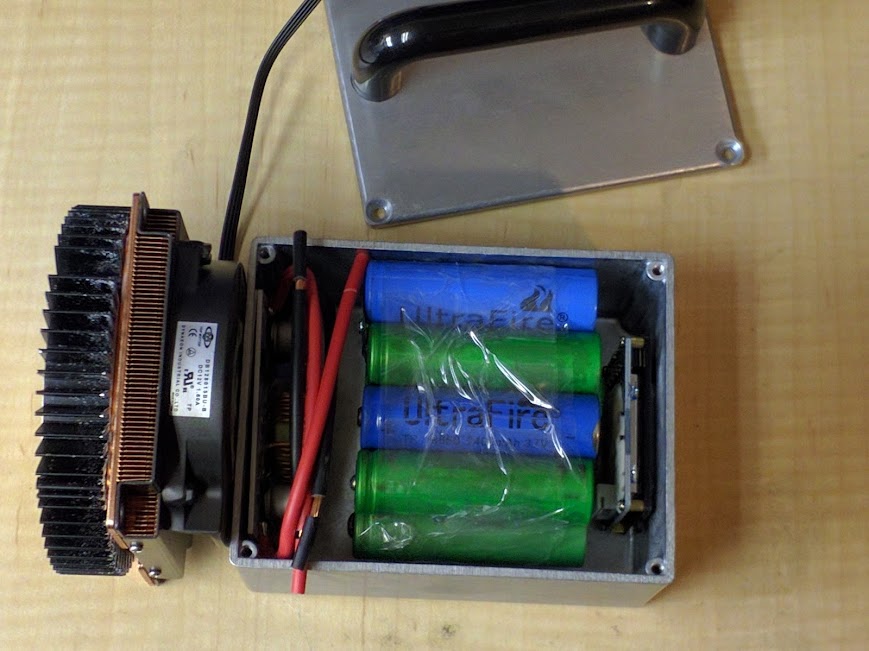
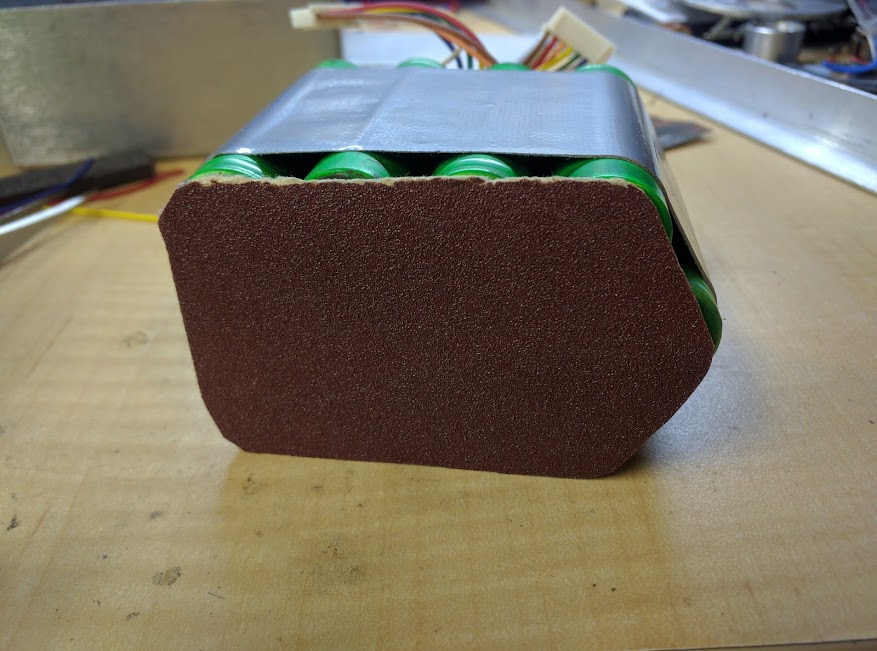
I did some work assembling the battery pack today. It occurred to me that I could’ve used some lipo packs to fit the box shape better but it would’ve been additional cost and it just seems more fitting for the comp this way. I used a spacer from a Makita battery pack to hold the cells while I worked on them.


What’s wrong with this next picture??
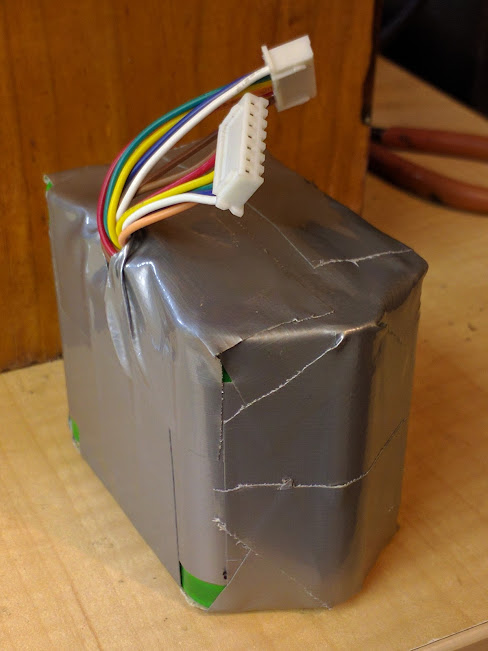
Yeh, I forgot to solder the power leads on :person_facepalming: 2 things I’ve done so far and 2 things I screwed up. I will fit the leads with deans plug (aka T plug) later, luckily I don’t need an adaptor for my charger >