Me too, 13 hrs after two days of 100+ had me flat out. I pay the extra to live here and avoid that kind of heat but at least it was dry rather than humid. The worst part was running out of water before we finished. We get hot spells causing the fog to form offshore but the high pressure inland kept it there. Don’t need a weatherman to tell me which way the wind blows.
Reaming the tube at the end of the op.
You have magical hands :THUMBS-UP: I would have broken the drill bit around ten times :P
Thanks, I used to break more and still do some but like many things it can be a learned skill. Getting it right to begin with isn’t enough though as each larger bit tends to grab and pull its own path through the wood so you have to keep making adjustments with each one. As long as you stay within the bounds of the finished ID the final reaming will CYA.
August stuff moved to page two(post #32).
I would of thought 19.2mm would have been fine for a 20mm thread.
It worked for awhile but only because the copper was squeezing to form the threads rather than cutting. Looking close I can see two separate ridges instead of one. I’d have been ok with it if the tap had stayed true.
It may have stretched the material as well as slightly cut the thread.
Which thread pitch does your tool have? Also copper is a very nasty material. You need sharp tools and lots of lubrication. It certainly helps if you drown everything in rapeseed oil, at least that’s what I noticed when I worked with it on the lathe.
Looking good RBD ![]()
I’ve got a lot of catch-up to do - everyone seems to have got off to a flying start.
An amazing amount of great work is being done here, thanks for posting every detail.
Watching… ![]()
Hi Fritz, it’s a 20 x 1 mm tap. I used it for the first time last year to make to make a copper added 502b. Had more success then. I’m not worried, or surprised really, just have to try again with another idea to make it better.
Steve, I’ll have to check whether it stretched or not when I cut the brass nut free.
Warning! Random post, deletable to get first post of page 3 if needed. Hopefully cuts down on scrolling to new stuff and speed page loading by spreading image heavy posts over several pages.
Impressive stuff there RBD. Kind of turned the drill press into a mini vertical lathe with that hacksaw blade.
Exactly, my dad has an old “kit” lathe/drill press I used to make the cherry handle for last years prize build but that would have been cheating. Somehow the hack saw fits the notion of hack build much better. I remember some discussions of whether it was the tool or how used that determined qualification but it says drill press ok so I’m drill pressing. There’s still more than enough pure hand and eye in this and coaxing any kind of accuracy out of this concatenation isn’t a high probability but it does let me do things I simply couldn’t hang on to do freehand. Just how close I can get to what I want remains to be seen as there are plenty of places to skew the pooch still.
So that’s how it’s done. Nice work & ideas :+1:
Good call, you were absolute correct, it stretched by ~.3 mm, too much to assemble after tapping. This might change the order of fabrication(as if I had a clue in the first place). The fins and spacers should support it enough to prevent this but I’ll need to ponder the consequences. Rats, this mouse’s plans have gone awry. Either I reduce the OD after the fact(safest) or assemble it and then tap it(risky because of the torque needed) I think I’ll go with plan A since the spacer ring material is a bit loose to begin with. And this will allow me to improve that fit as a side benefit. I’ll need to basically do what I did before but better and deal with the consequences.
I wonder if you annealed the material then rolled it, the outer diameter may shrink back to its former size?
The inner piece was annealed when it was fitted and both again during the brazing process. It’s all good now, I made another and the shims made the tap start true and once going it stayed true. Gonna put the update here as it will be easier to move to page 3 when there is one. Here is the next brazed together and soldered into a piece of coupling that in turn is brazed to the nut. The shims take up the extra space around the tap before it engages to get it on axis. 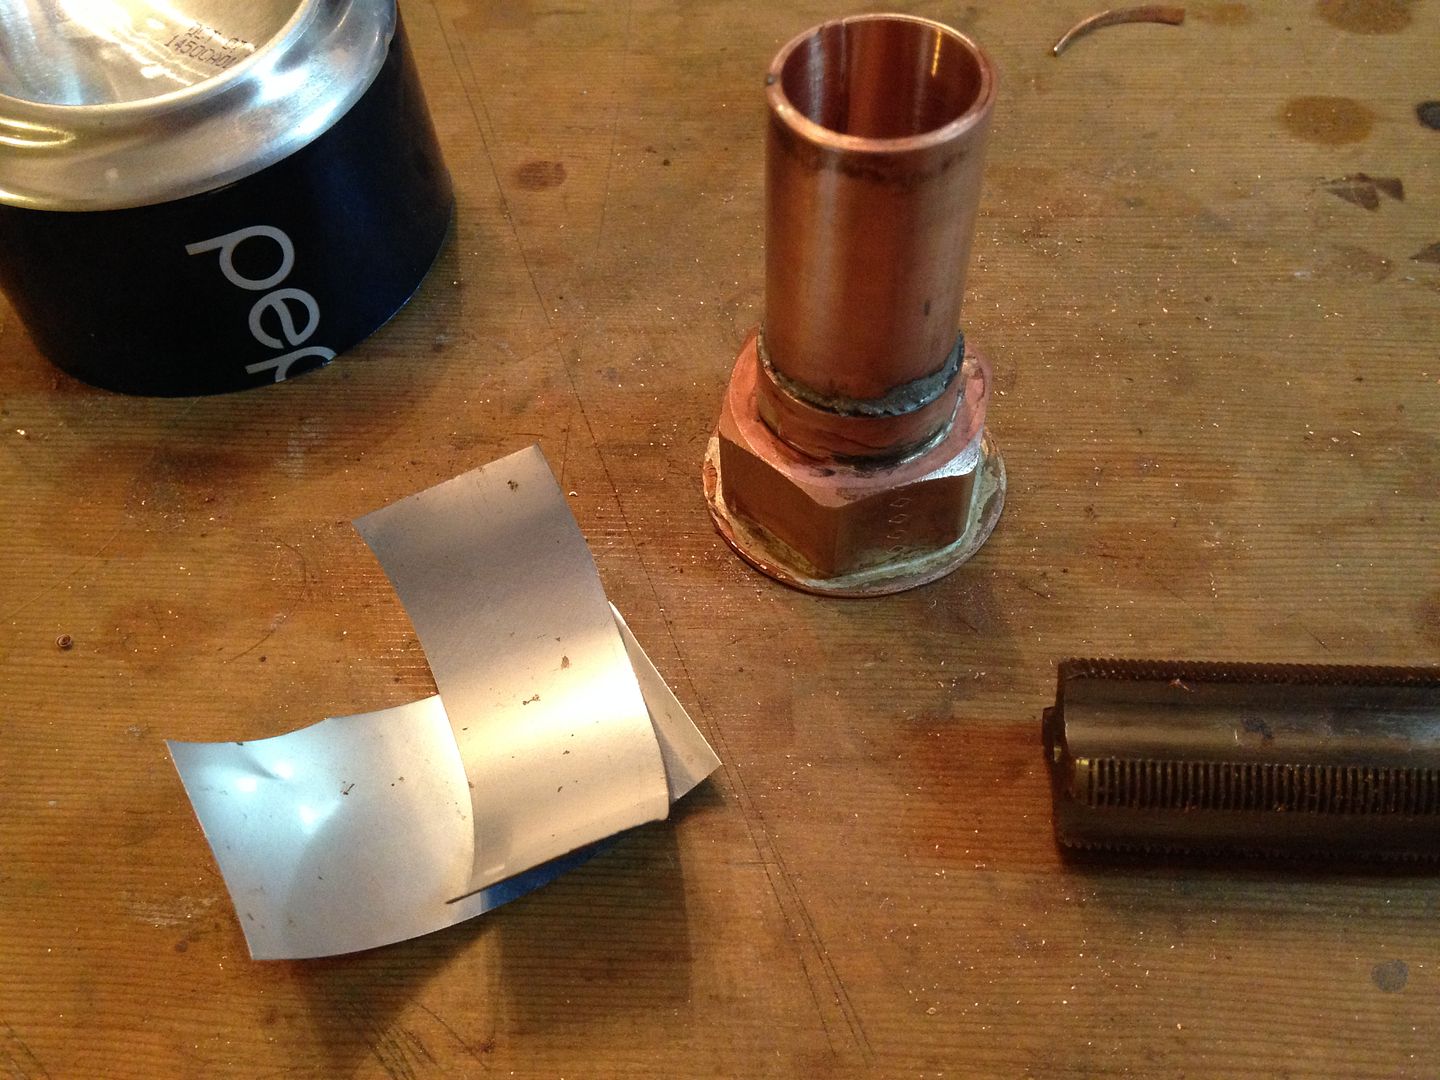 It came out much better this time.
  It did swell a few tenths of a mm so after cutting it free I sanded and filed it back down until it fit my spacer material.
 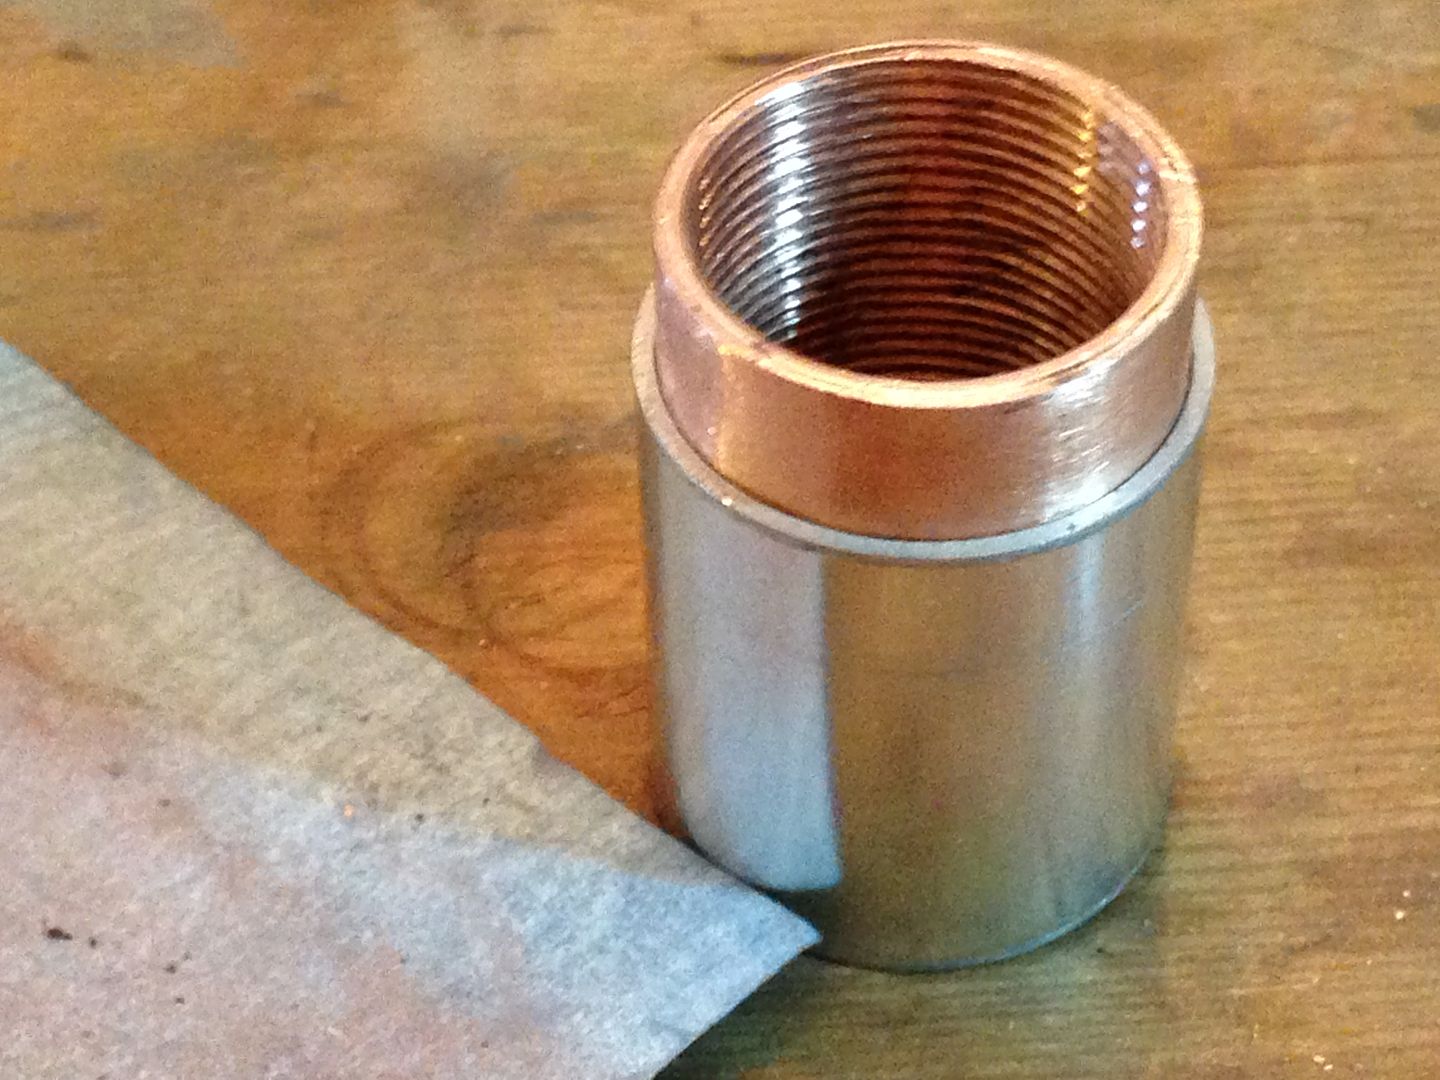 Here it is with a piece of last years leftover pill material.
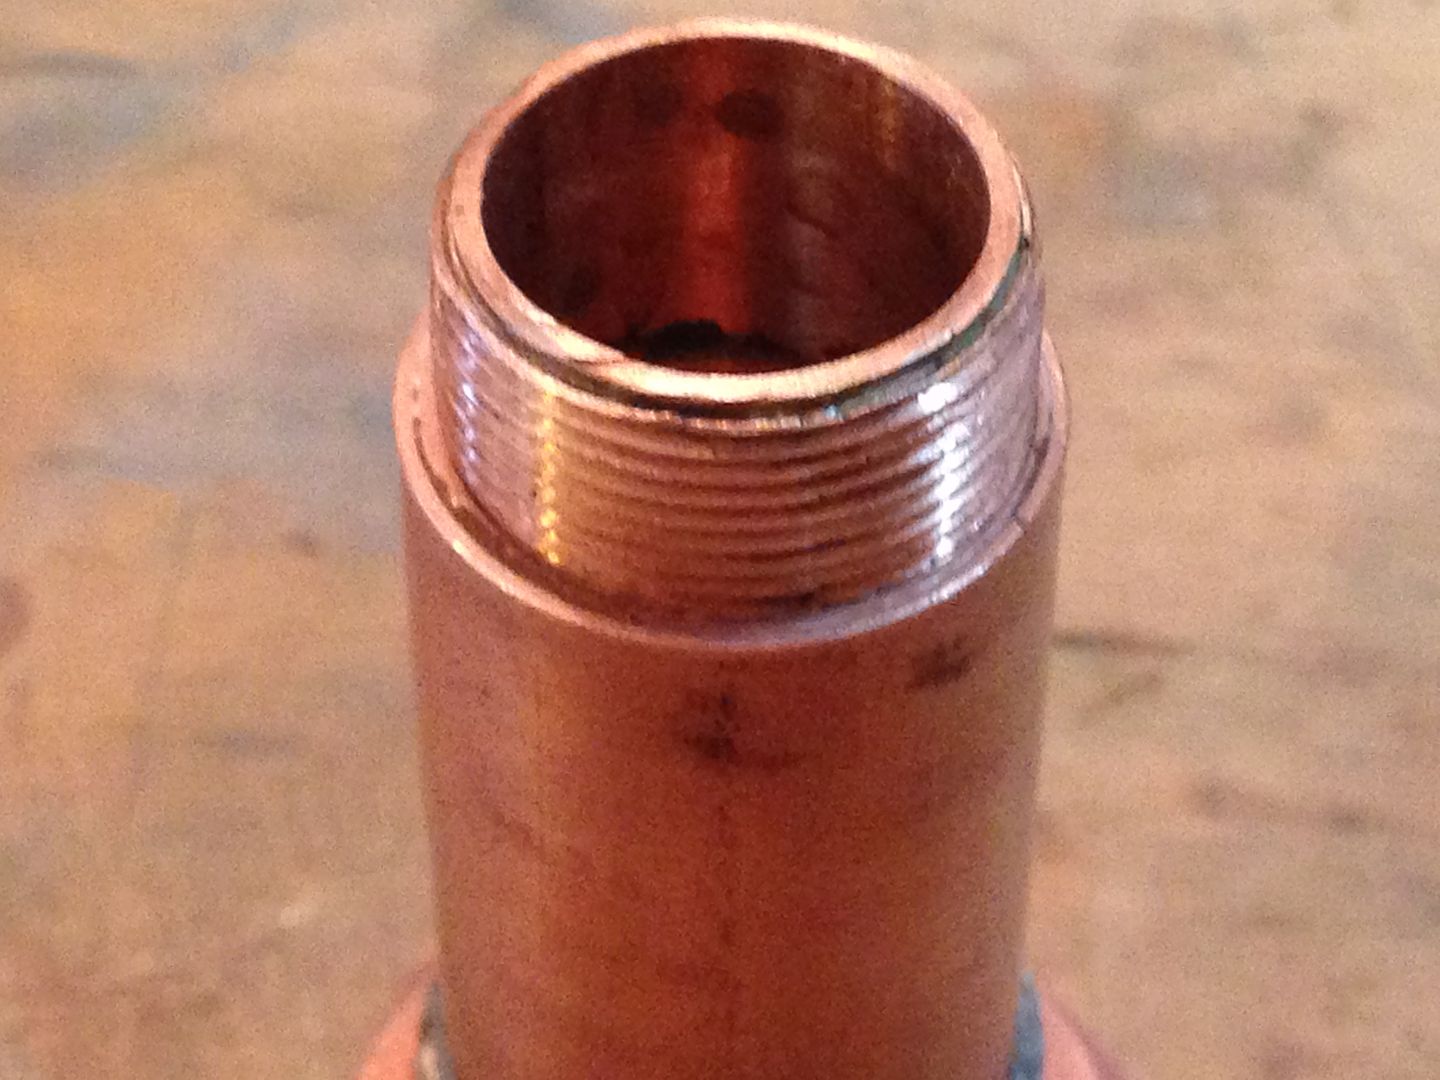 And here’s a view showing the shim material(say “Pepsi please”).
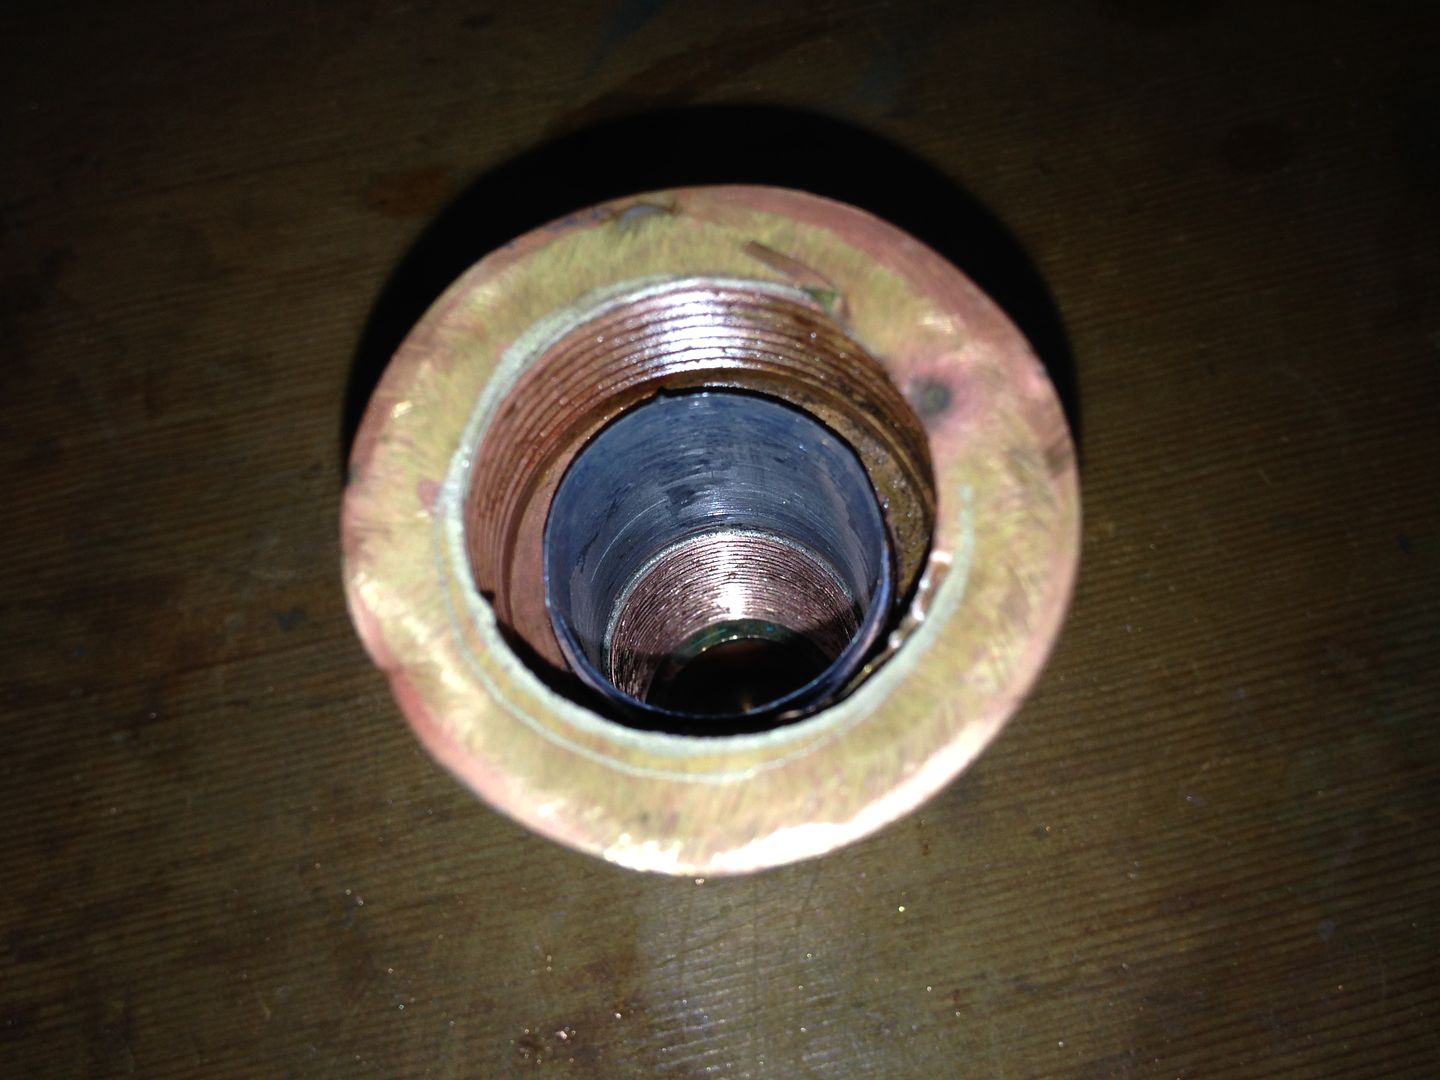 It will need a lip to be brazed on like the failed one had. I also got started making some new pill material. !
{width:100%} http://i1166.photobucket.com/albums/q619/Rufusbduck/72C86505-7A9F-4F46-8D78-0976E5D77F7D_zpssmtprsiw.jpg!  The larger piece gets collapsed around the smaller and the “cap” sits inside the thickness of a sinkpad below the rim. It took two tries to get it right. The first one just wouldn’t close up and though I could have sanded it down to the right size it was less work to do it over.
 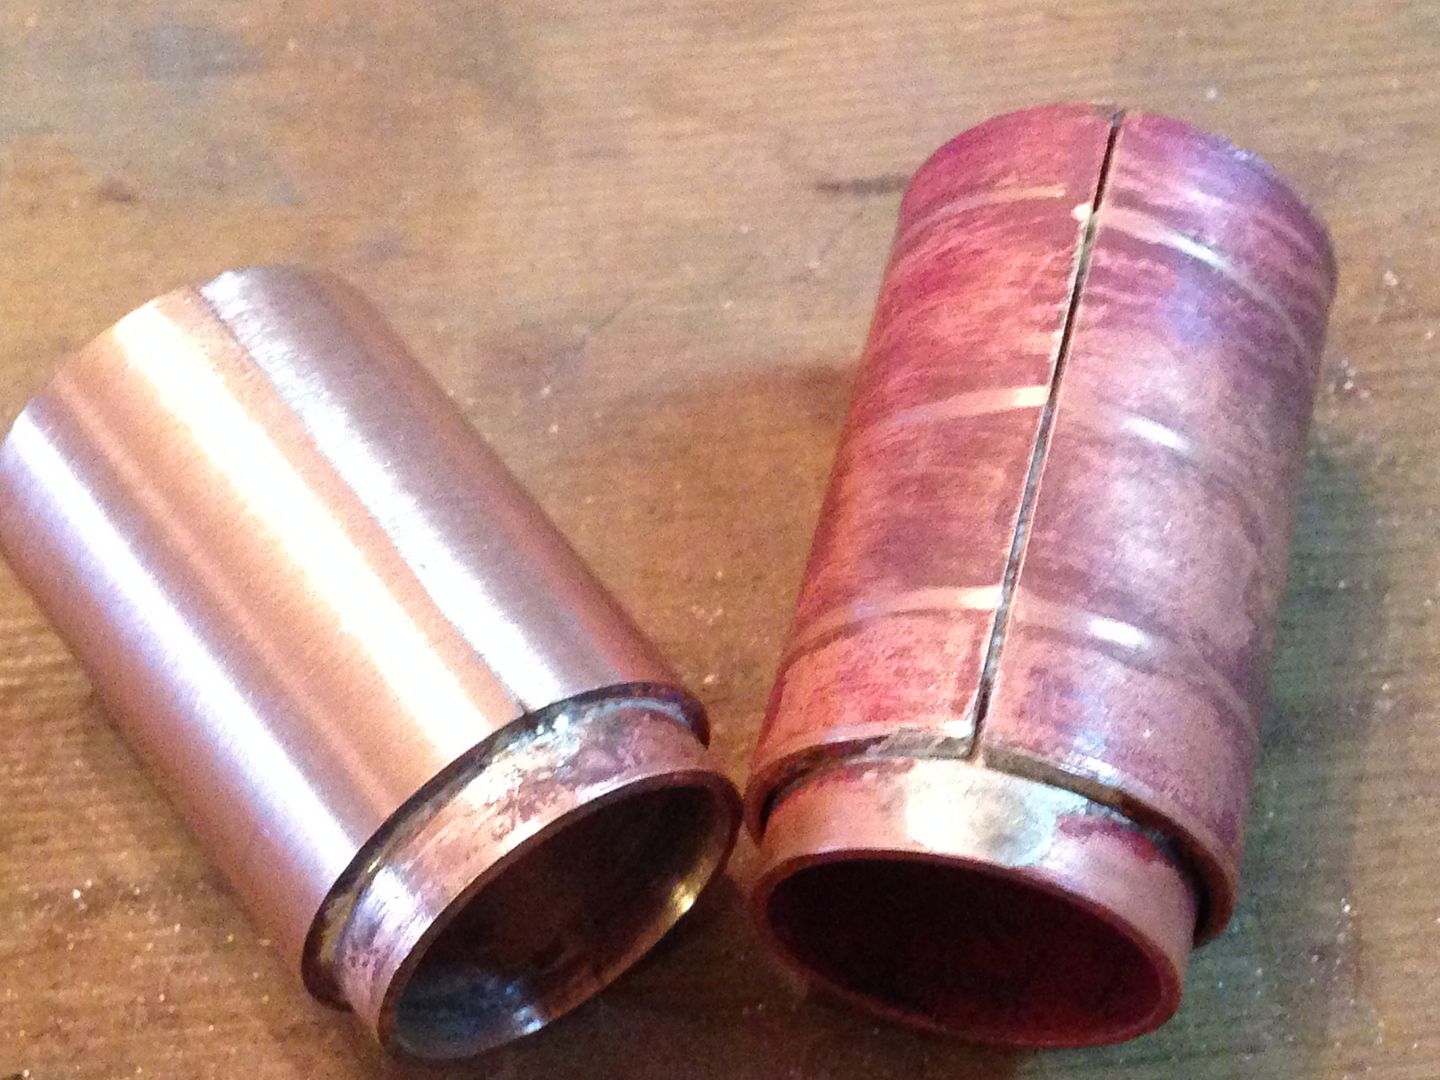 It needs the cap piece to be installed and then similarly soldered to a bolt so I can wrestle the 20x1mm die down the length.
Brass and wood
I’m not sure if you realise this RBD but this build is identical to your others in one respect. I have no idea what your doing. ![]()