Why thank you, I think :zipper_mouth_face: I’ve shown it so far with a P60 reflector but I’m waiting on a different one that’s 1mm wider and 7-8 mm deeper so it would affect the design of the head(mainly the length) which is why I cut fins but went no further with that. Bouncing around may be fun and keep you all confused but it’s not really a goal, just a byproduct of my own disorganized mind and doing what I can when I can. There’s a lot still to come that’s going to be just as confusing. Spoiler tidbits deleted.
Made some good progress today. I started by grinding the corners off of the bezel and then mounting it on a 7/8” hole saw using the rest of the compression fitting core I cut the threads from earlier.  After a couple light passes.
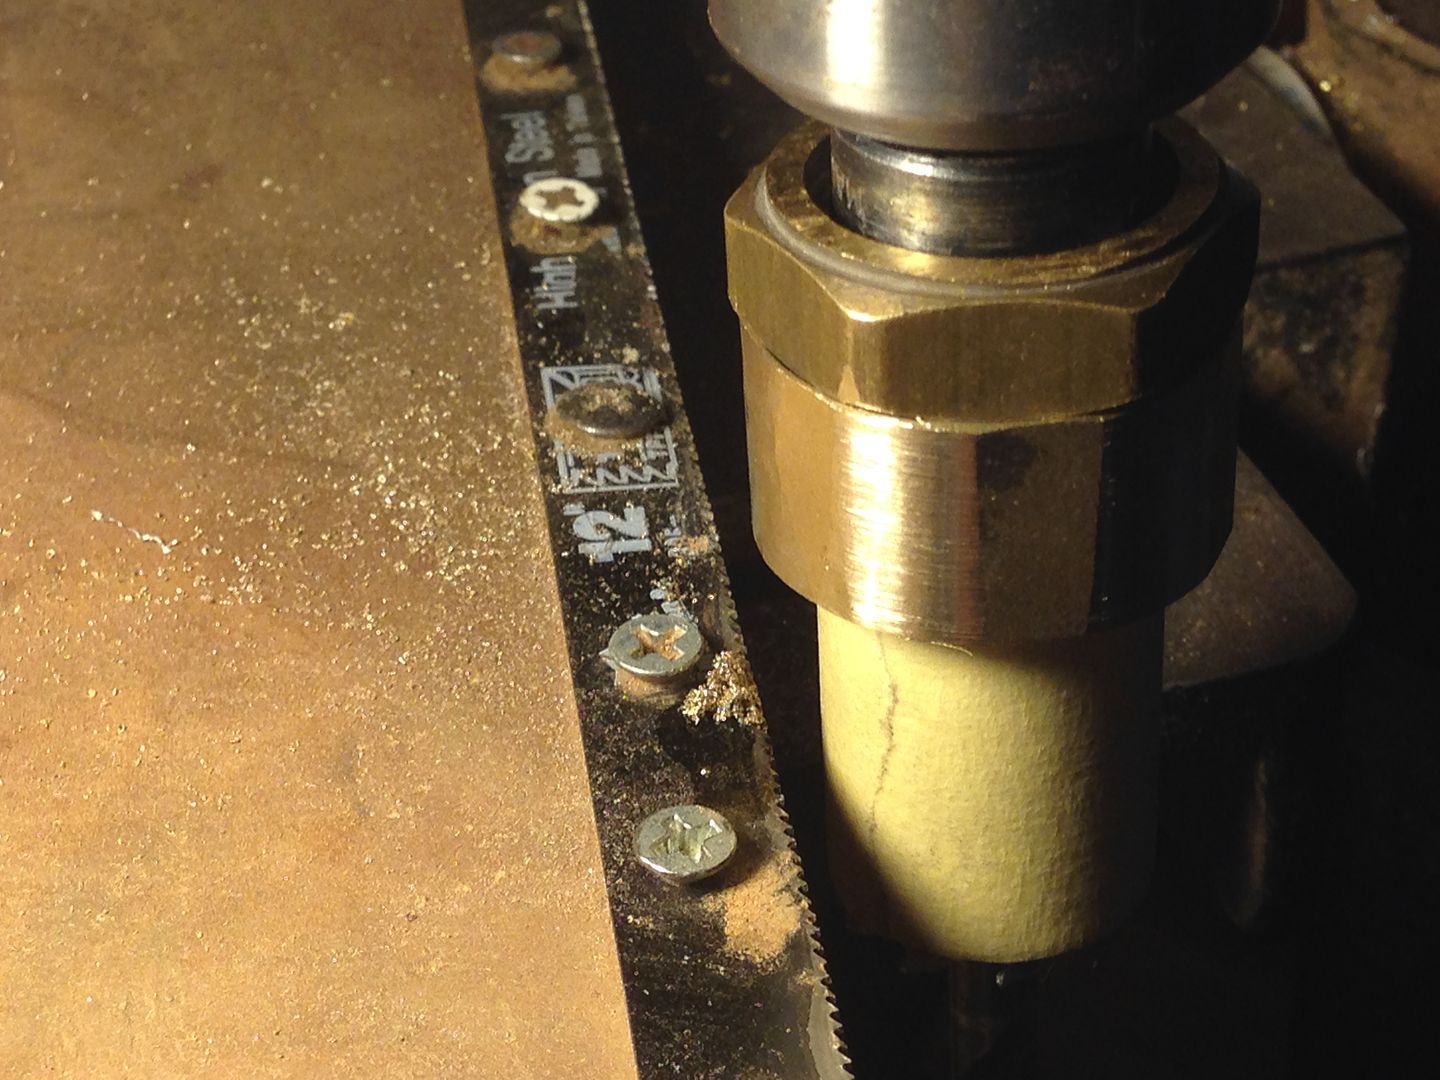 Almost there.
 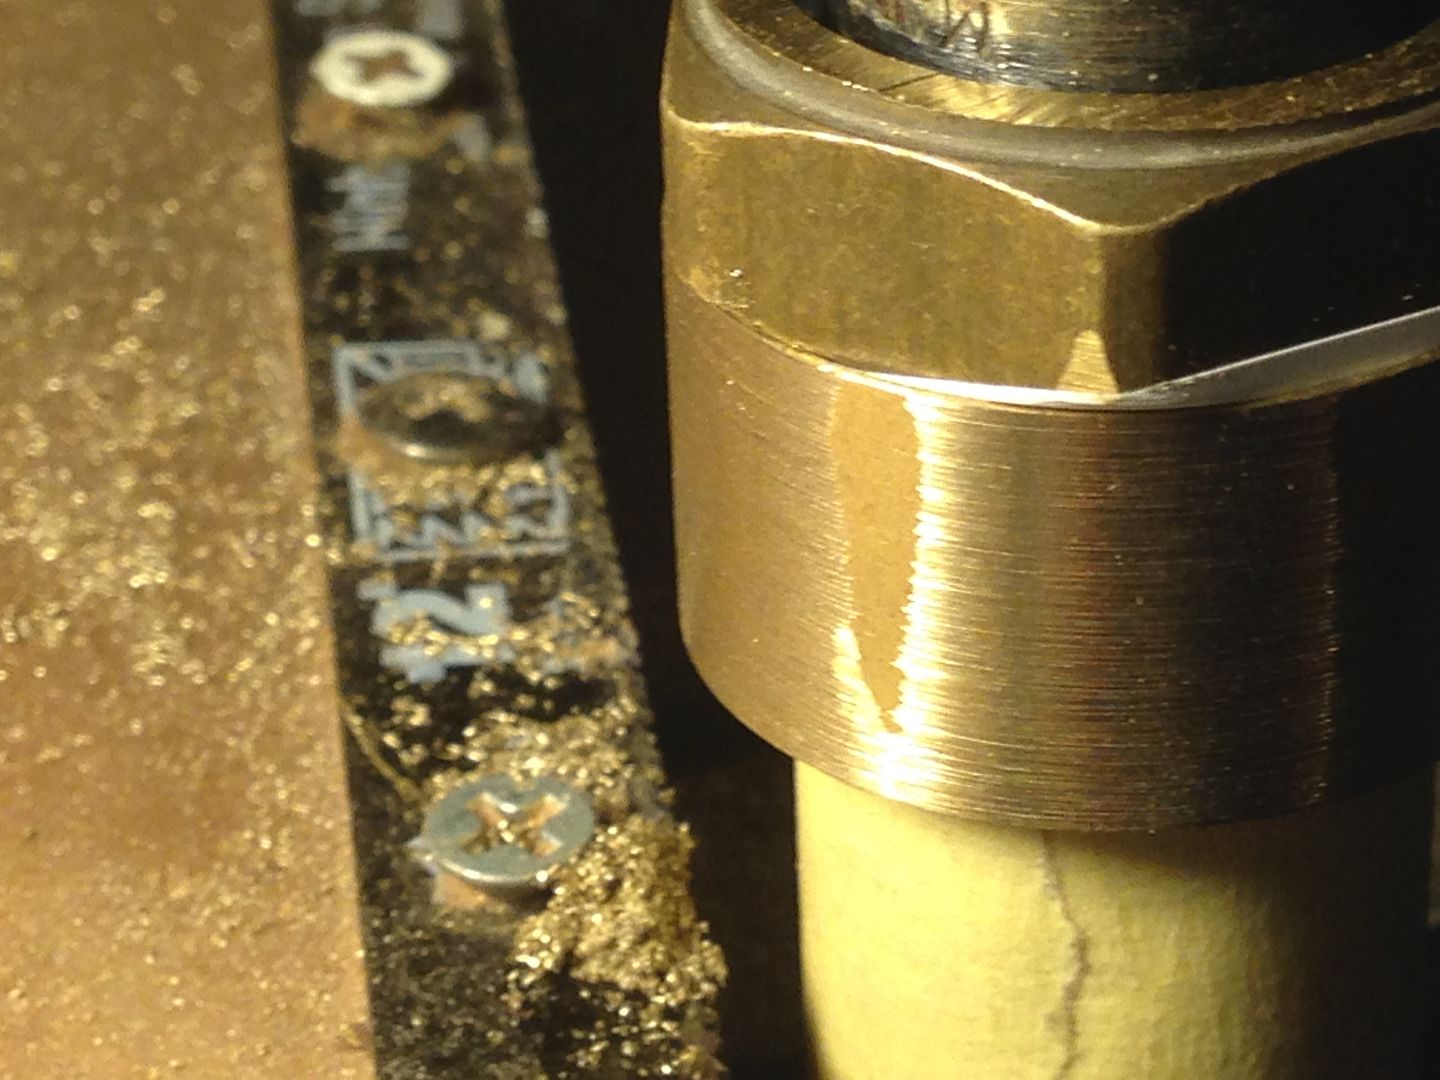 The last passes then a bit of sanding, I added a few wraps of Teflon tape on the threads to remove slop.
 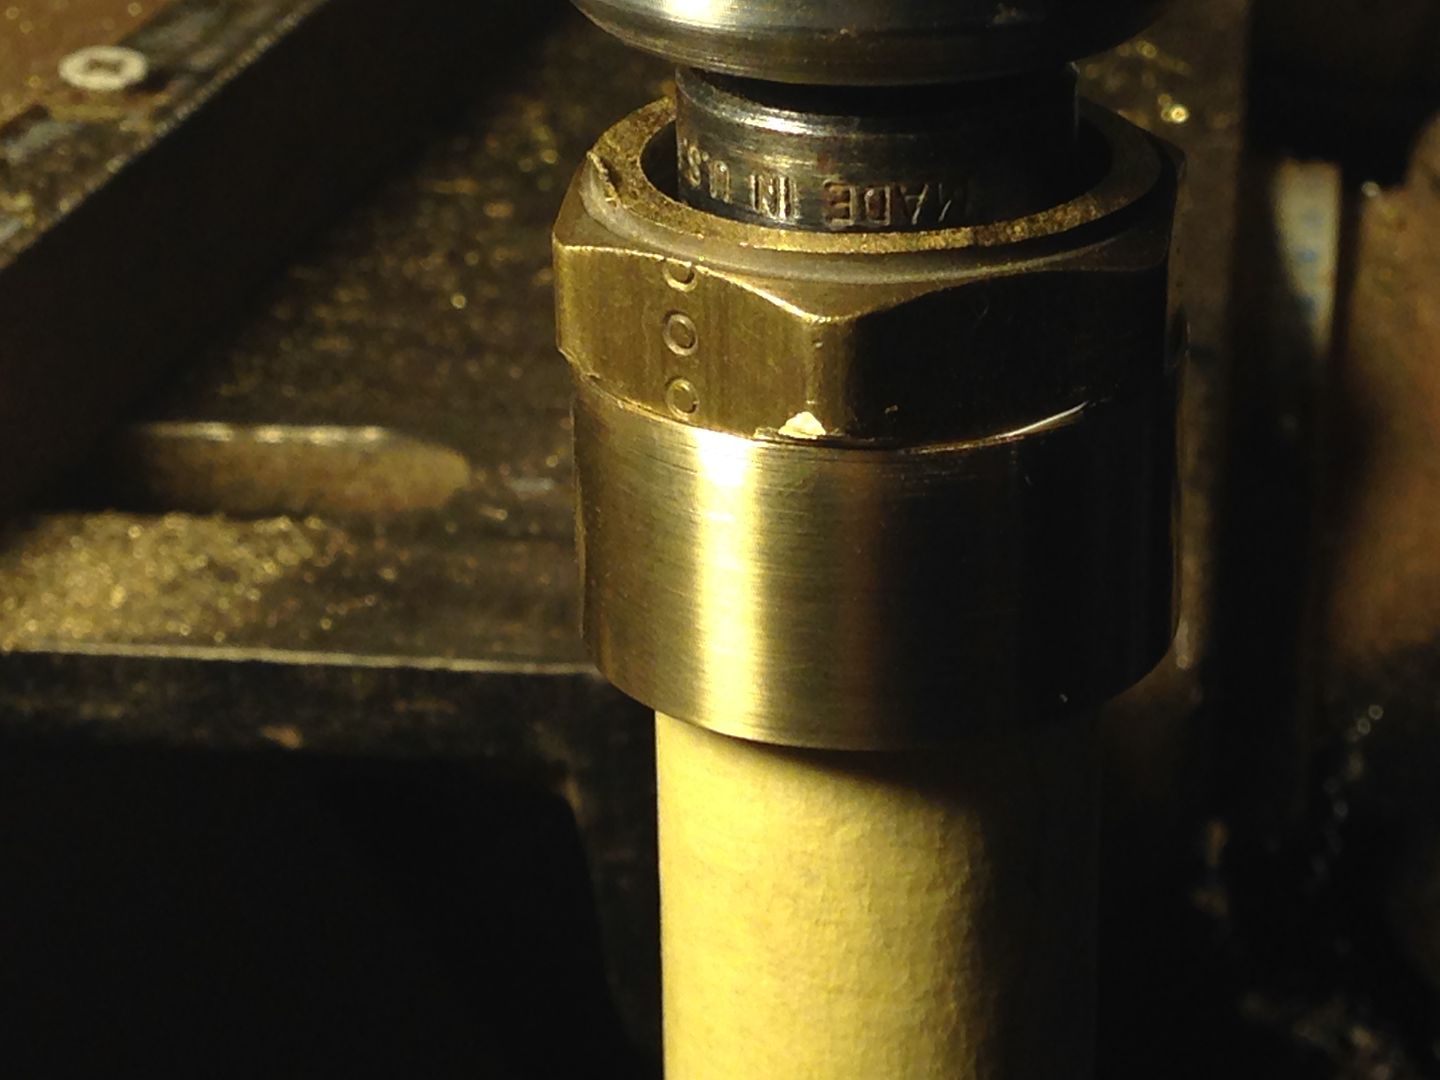 As you can see I need to cut the wood collar down to match.
 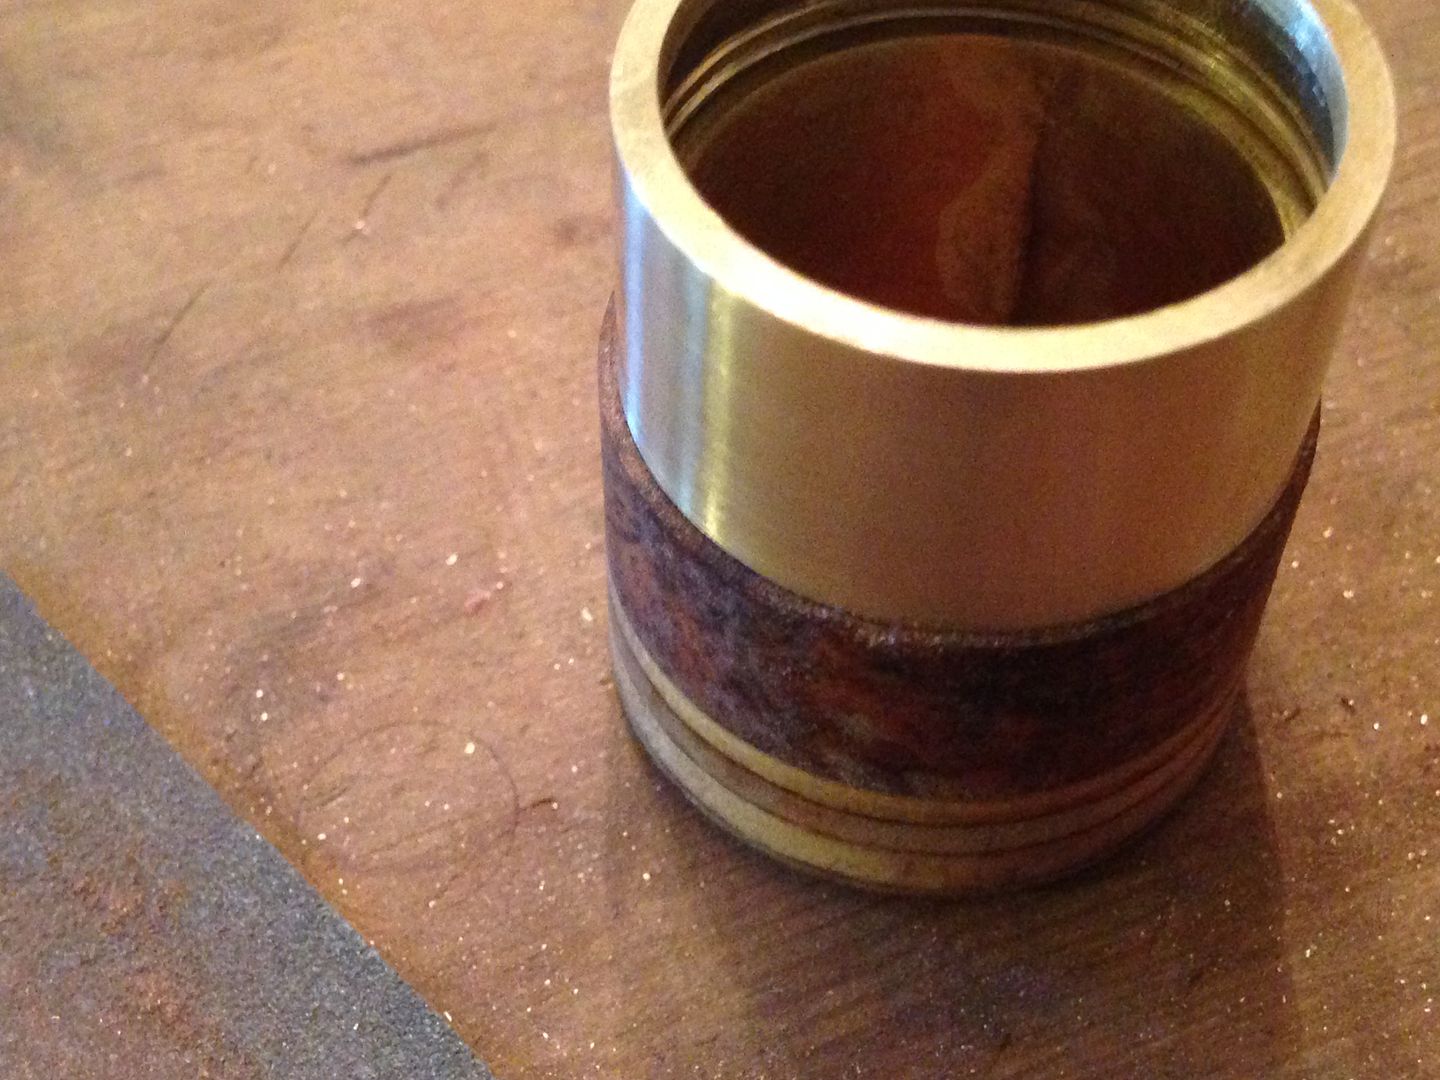 So it goes back on the 1” hole saw with tape. The brass came in ~.03 mm under 30 mm and its ~31.8 mm now. I cut to about 30.2 mm with the hack saw blade and sanded the rest using 320, 400, 600, 1500, and finally 2500 grit.
 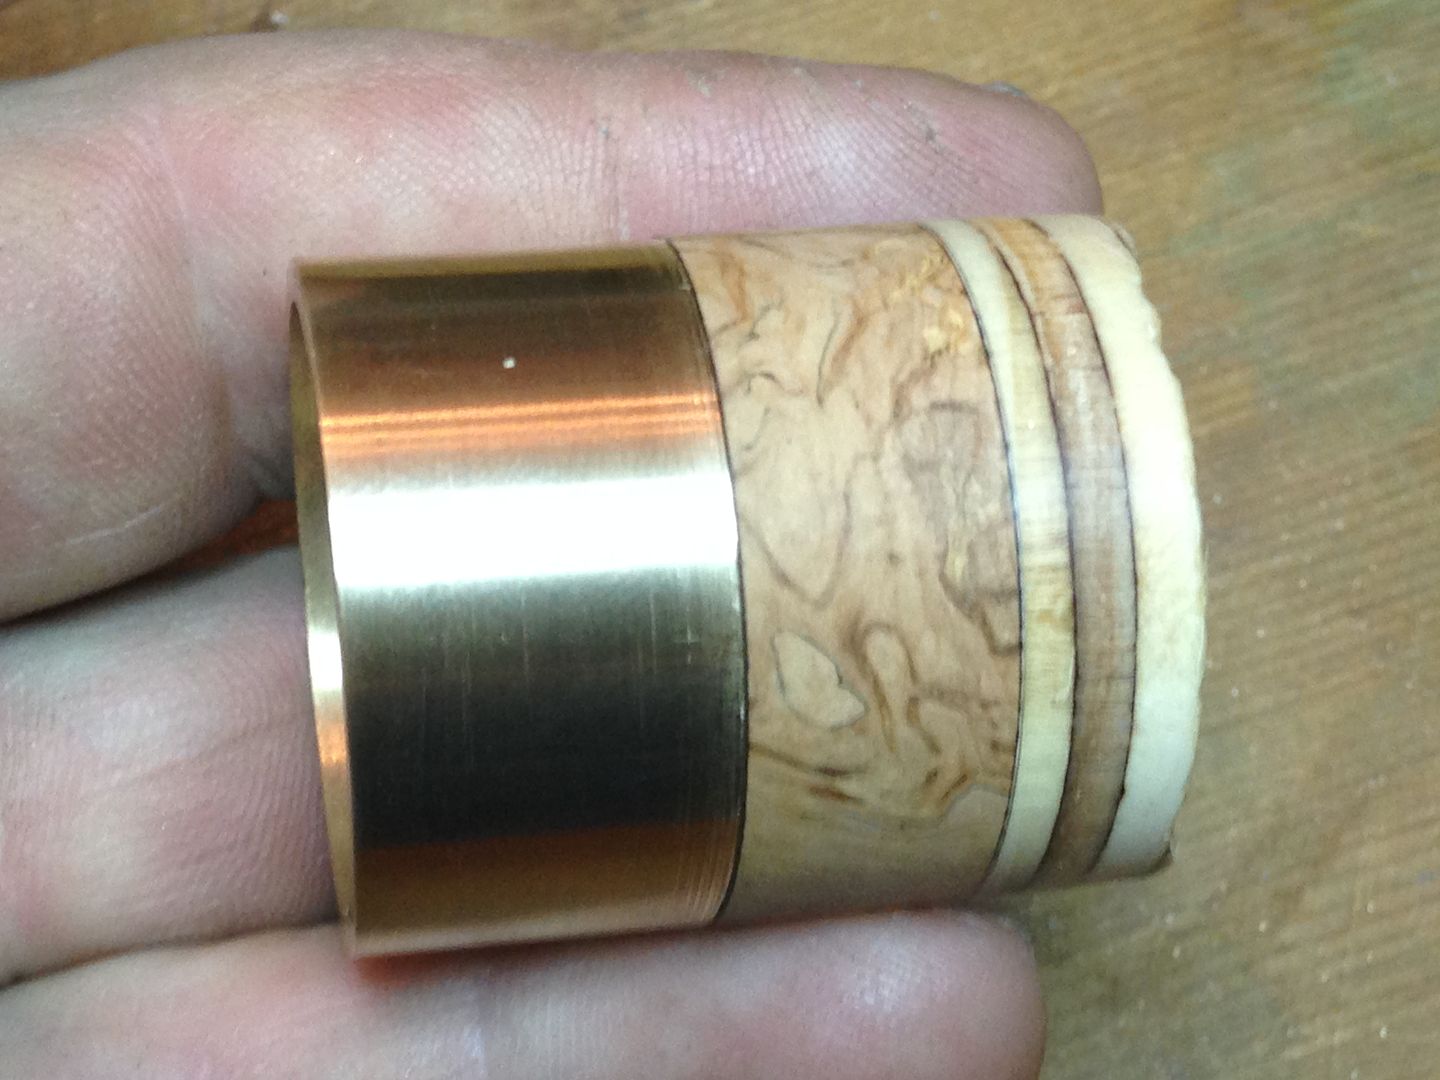 It’s still a bit bigger than the brass by less than .1 mm but I want to get it re impregnated with epoxy and see where it cures to. It such a small piece that it’s hard to make that little a batch of epoxy resin(I’m measuring quarter capfuls already so you guessed it, I’m cutting the tube too. After seeing how Steve’s lathe performed on his pieces I’m a bit embarrassed but here it is.
 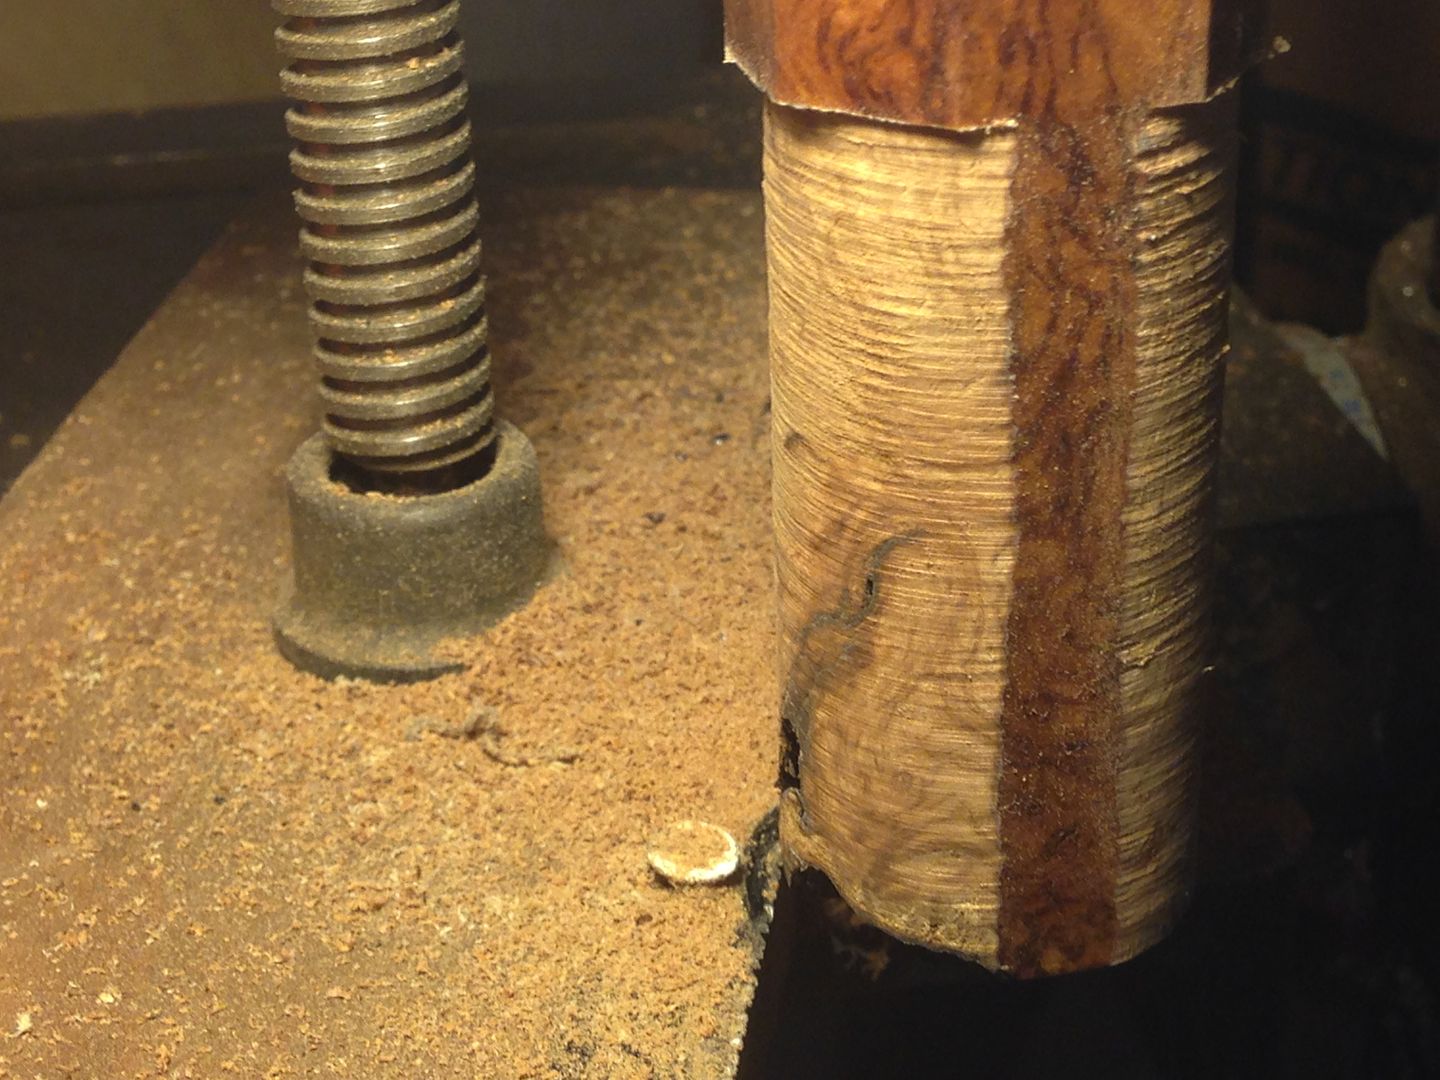 The goal when drilling it was to b equidistant from 3 sides and cutting a but more from the fourth to get to clean wood under a bad bit. The first pic showed the heavy cut on the one side and from this one you can see the matching flats indicating the other three sides should come round at the greatest diameter possible.
 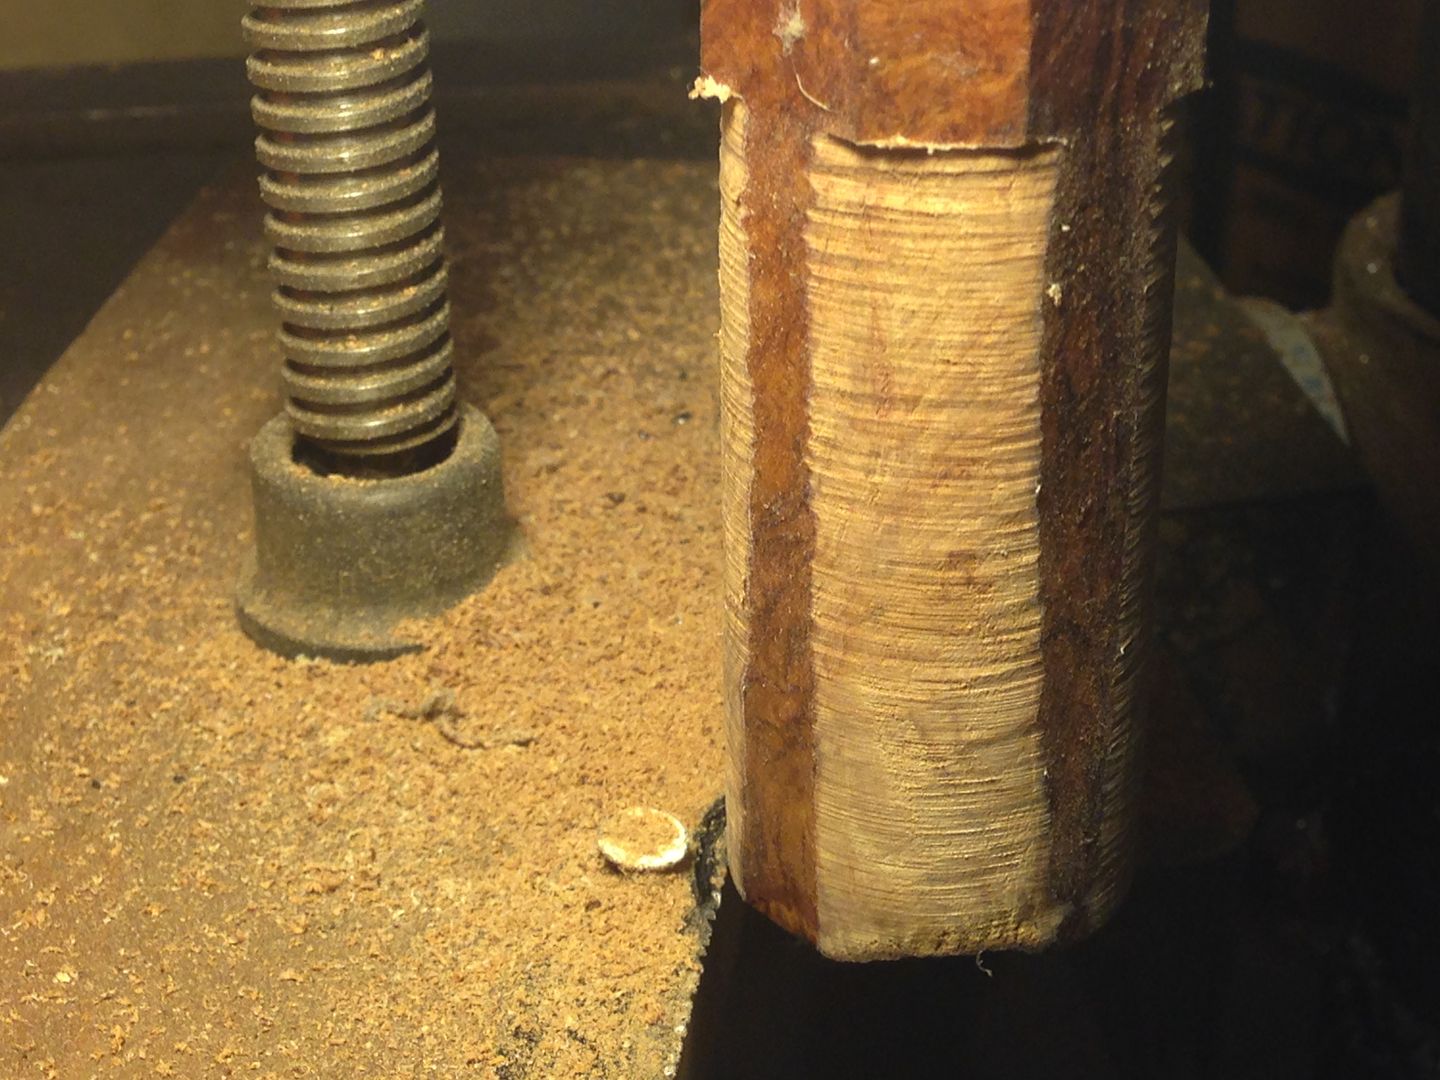 From here on it just keep tapping the hack saw block(can’t see it move but the sound tells me I’m cutting) then adjusting the table up and down to cover the entire length.
 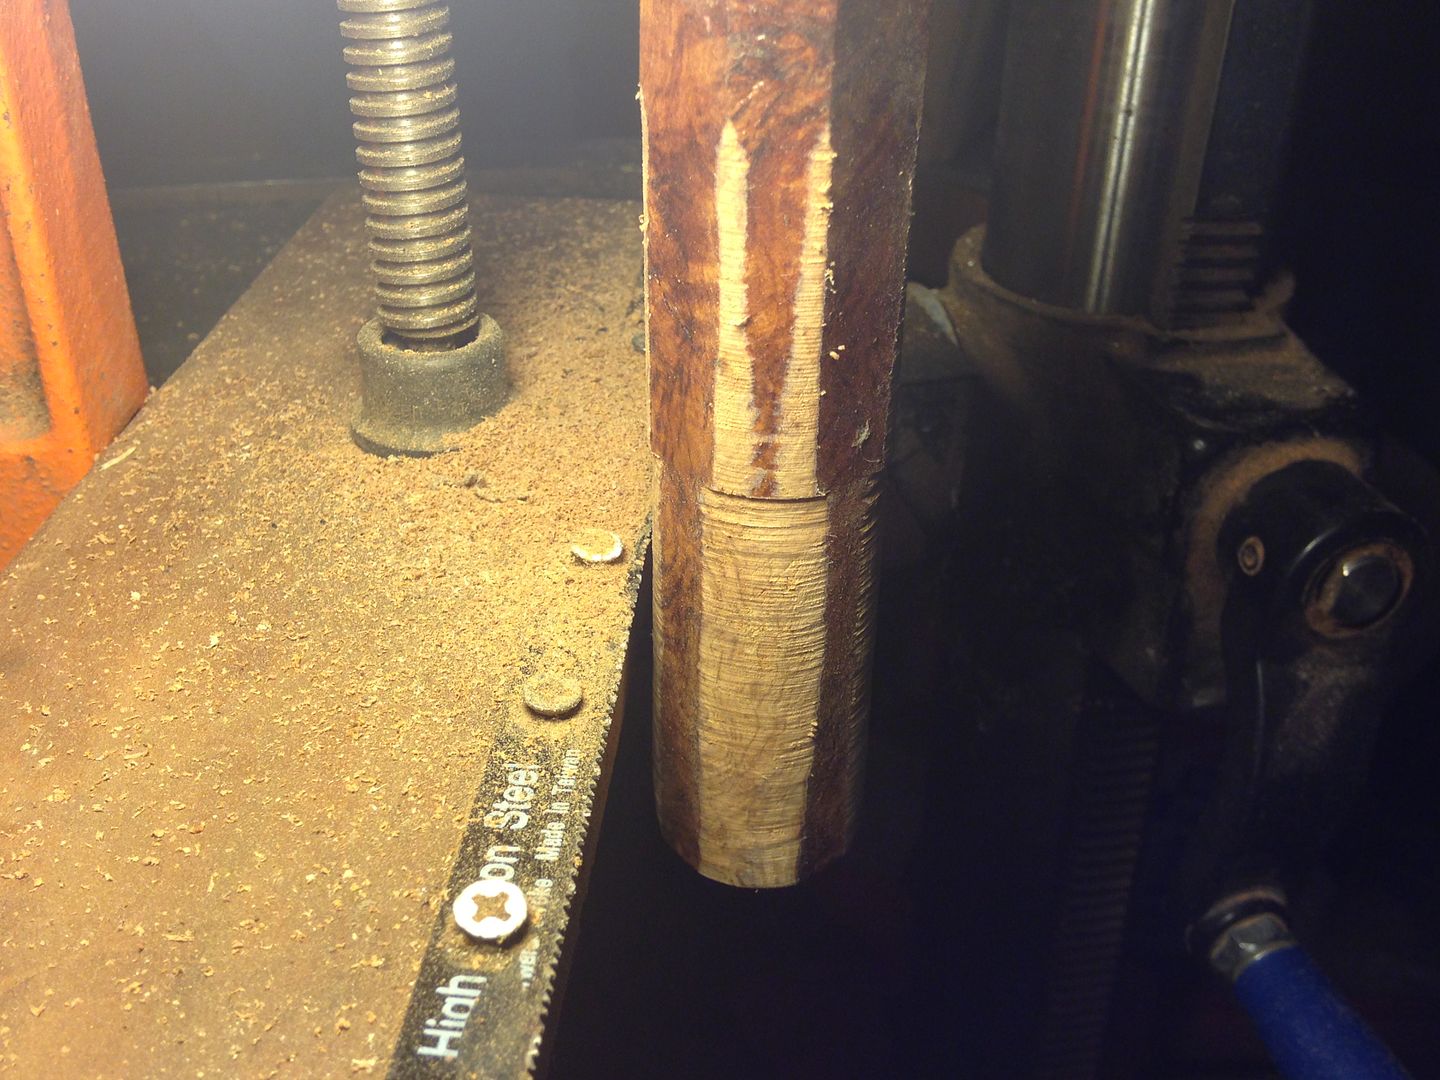 I kinda got lost in the rhythm when it came time to sand and didn’t take any pictures, just started with 220 and proceeded on up to 2500. The difference this time is I raised the grain with a damp cloth from 400 on. Also, after raising the grain I switch to the next grit and hand sanded the long way slowly turning the chuck with the other hand before spinning it and then raising the grain again. There was the dark vestige of one flat side remaining so when it was still there at 2500 I started over at 320 and did I it again. Here are both pieces fully sanded.
 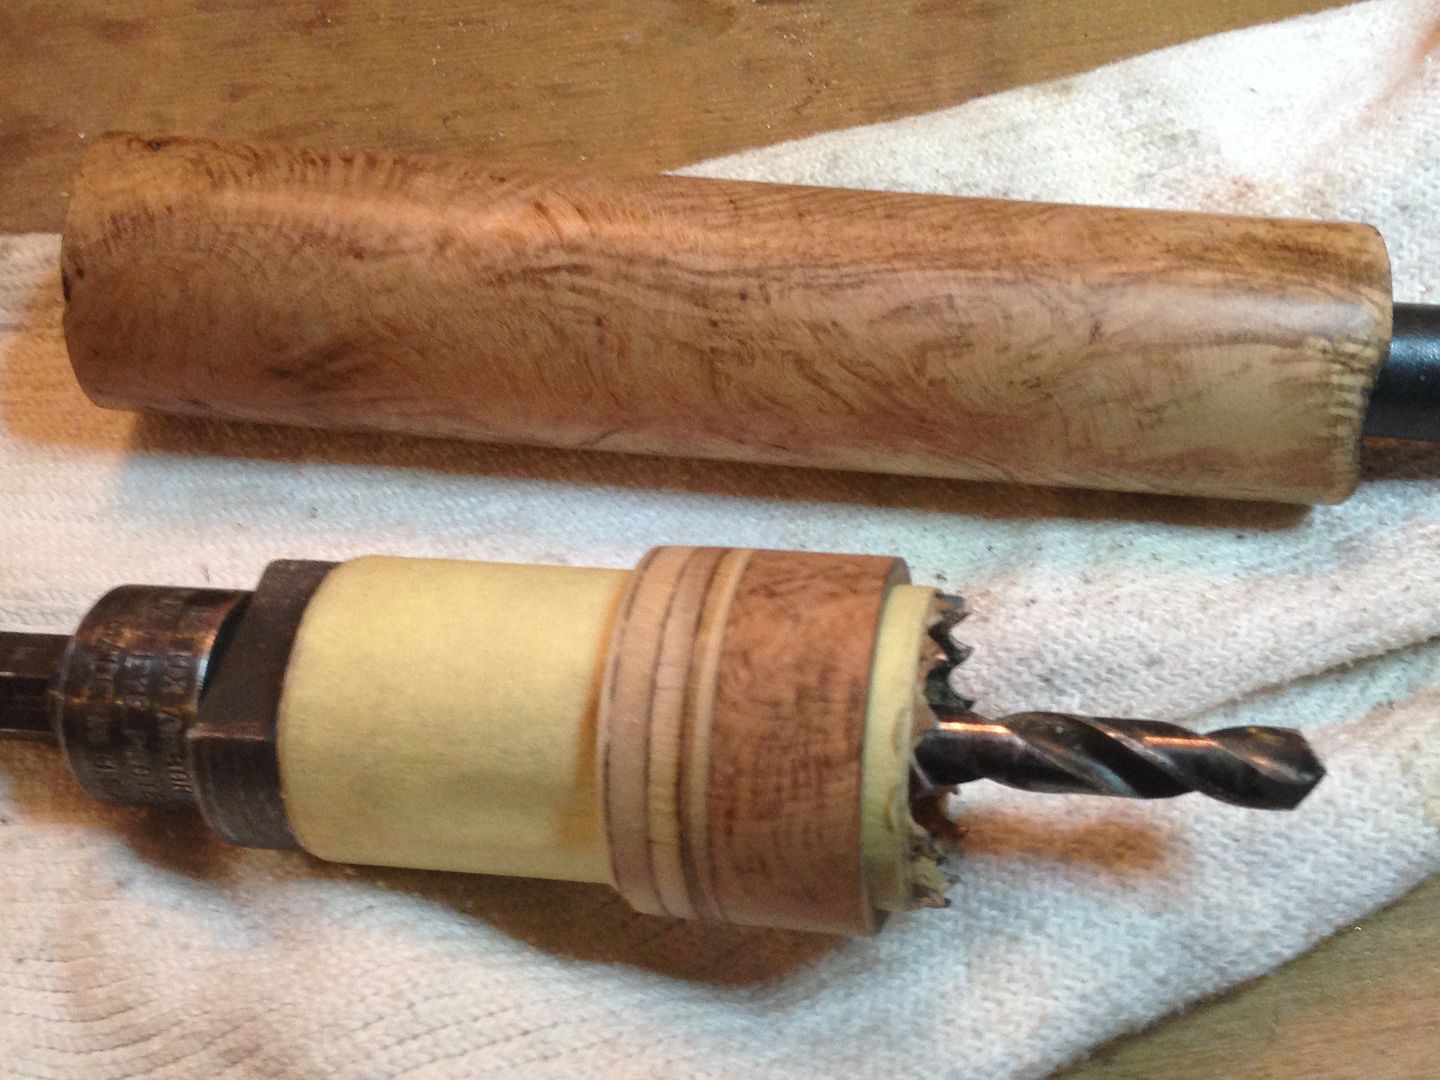 And with some epoxy sealer thinned with alcohol. The dark blemish at the left end is where I hope place the switch hole.
 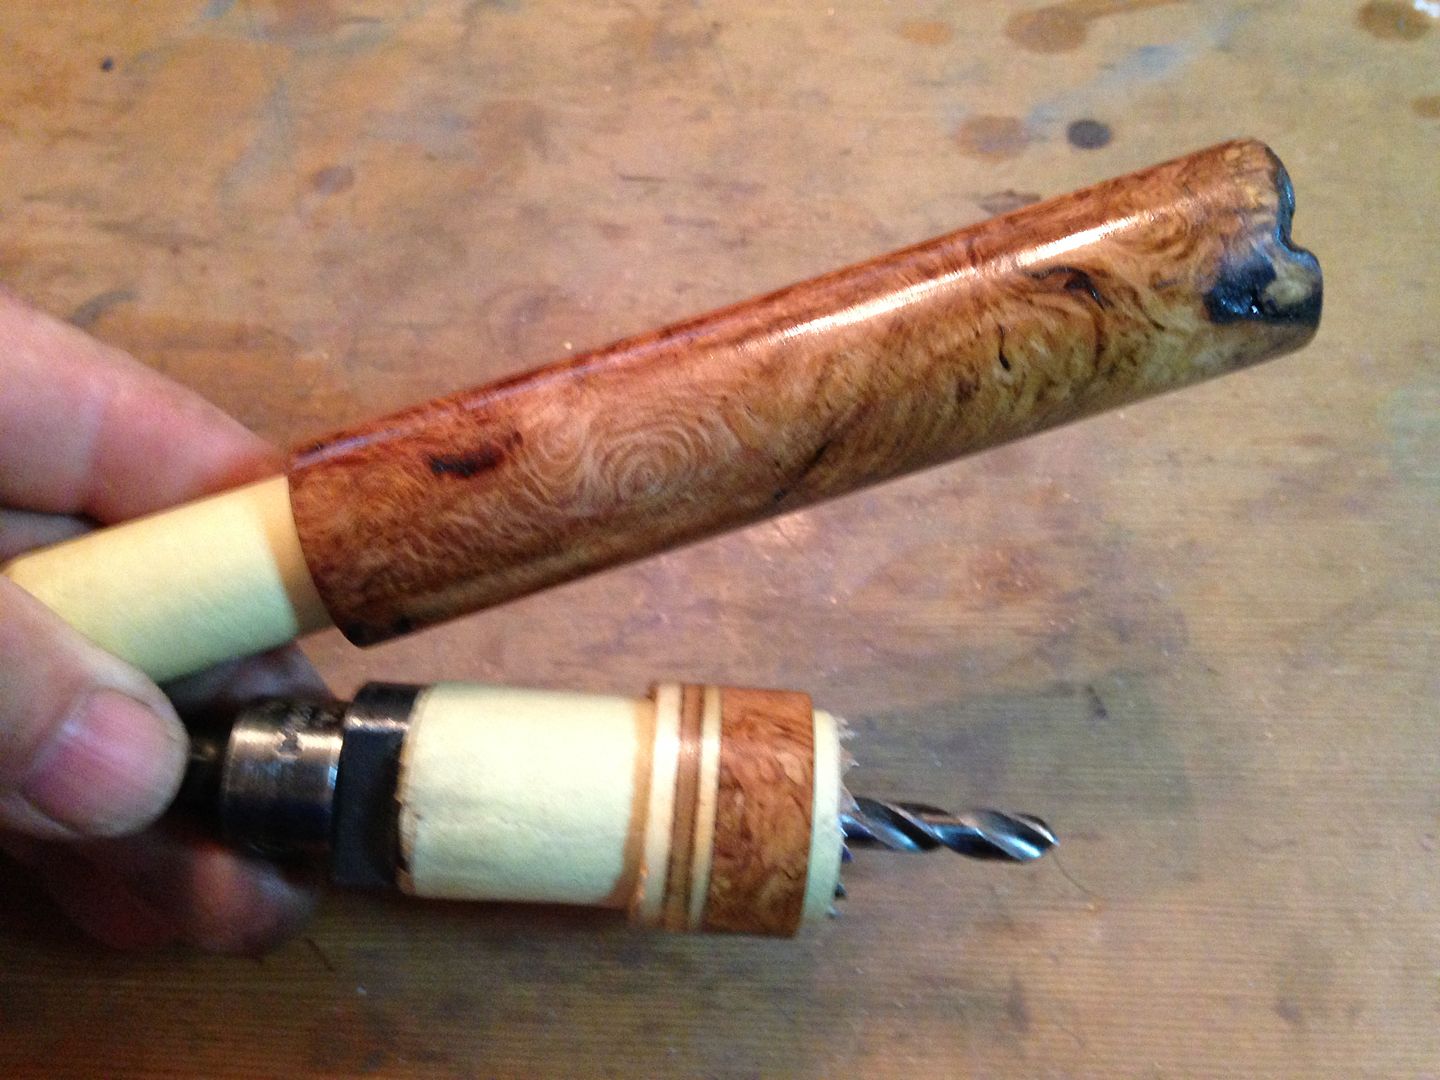 That’s all for now.
You can see the same blemish in this pic and how much more usable length was gained at the other end by slightly offsetting the bore. 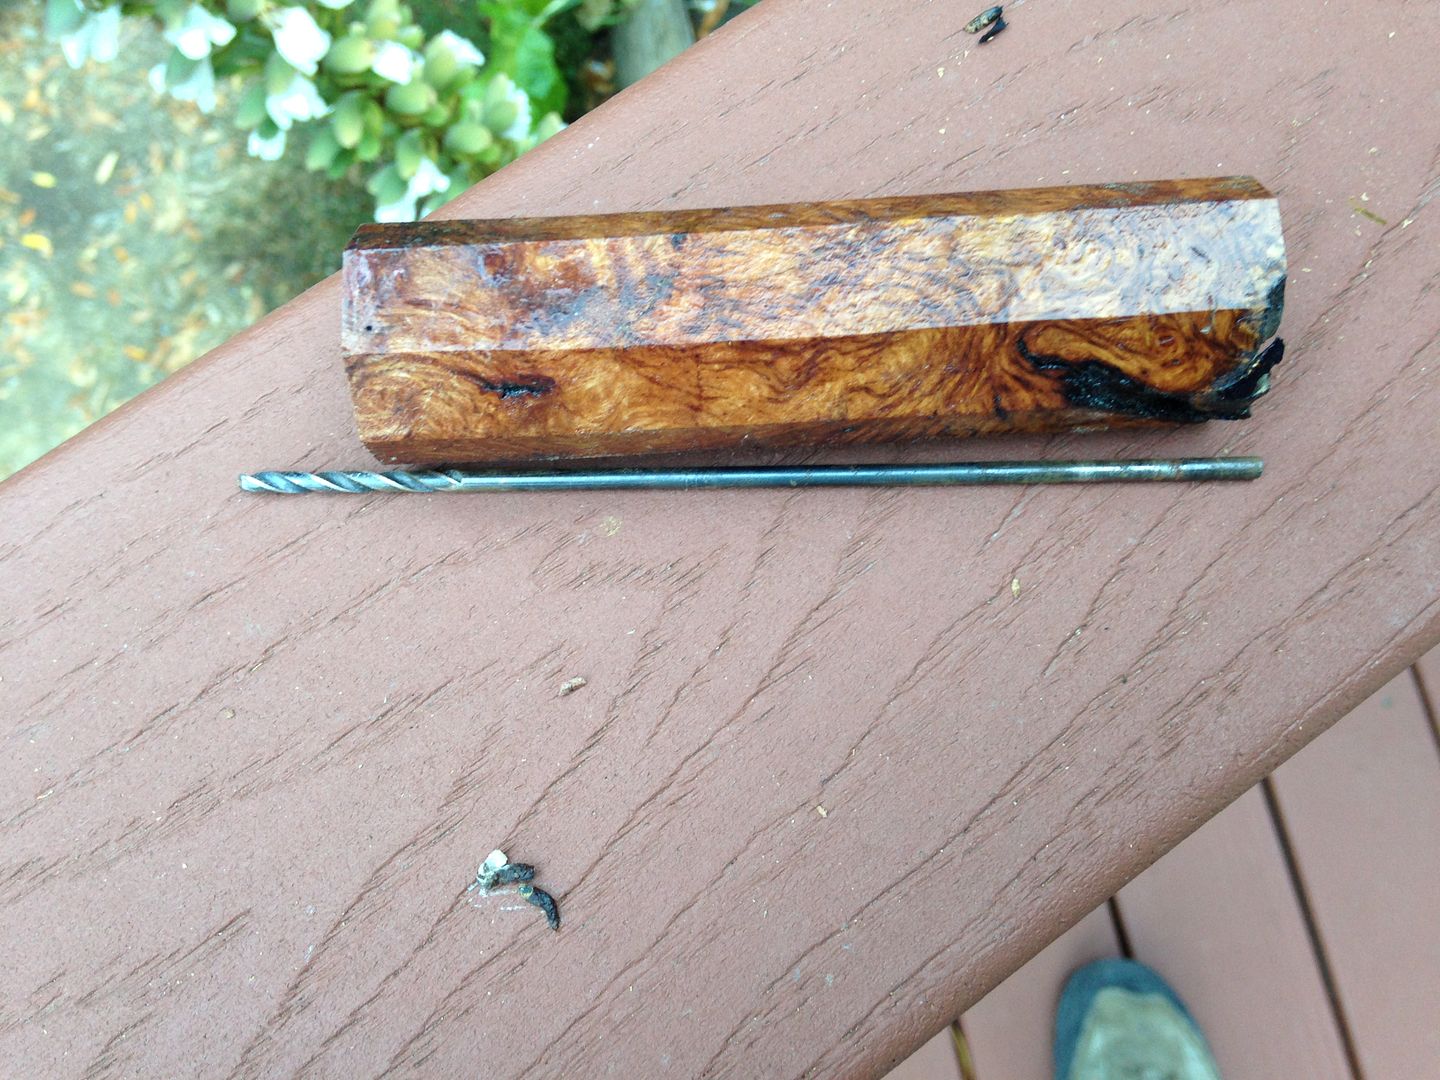
Brass battery tube
I just love the hacksaw blade attached to the drill press - priceless! ![]()
![]()
I kind of wish I was making something round this year, so I could try it out. …yes, I have an idea of what I’m going to attempt to build…. took me some time - hope it’s not indicative of how long it will take to build it!
That’s some beautiful wood! Good job on the ‘machine’ work there.
That is so sweet. I believe I have been owned. ![]()
![]()
Thanks guys, the hacksaw is pretty crude and by itself can’t begin to compare with even wood lathe cuts but the closer you get to round the less wobble there is and the more even it gets. Stopping the drill, rotating the wood on the tape a bit, and spinning it past the blade a few times does a lot to clean it up but it’s the time spent sanding that does the trick. Probably about 6 hours work in that last brass/wood session and two thirds of it sanding. My two alternate reflectors came in the mail yesterday so the timing is good and I can figure out the appropriate head length and number of fins. We can each have our good days, eh Steve? That gum wood looks a lot like teak, very pretty.
I’m not sure if it looks like Teak or not. I will still be crapping myself until its finished in one piece. ![]()
Six hours polishing?
What do you do to get it looking like you have? What sort of finish would you recommend?
6 hours total, I forgot about the grinding on the brass which took a bit more than half an hour before it went on the drill press. About half an hour each for cutting the brass bezel and wood collar and an hour cutting the tube which leaves around 3 1/2 hours sanding the wood parts, mostly the tube as the collar just had much less surface area. I’ll use the same epoxy resin sealer without thinning for several top coats then sand the begesus out of it. I’ve also used lacquer but although it dries quickly it takes a long time time to cure(like a month) before you can polish it. The piece you used looks porous which is what reminded me of teak and you’ll need to decide whether you want to fill those pores with putty, finish, or let them show. Raising the grain is where you lightly moisten the wood with a dampened cloth, cut fibers absorb the water and swell more than uncut ones so the wood next to a scratch puffs up and more easily sands off. Spinning to sand makes removing material easier but it’s cutting across the fibers the hand sanding with the grain that gets the wood smooth without the scratches. So it’s spin sand, hand sand with the grain, raise the grain, change to higher grit and repeat. You can repeat raise the grain/ with the grain sanding. Scratches tend to show more when finish is applied and the damp cloth gives an indication of how it might look. Most finishes add Amber to the look of just damp wood
Thanks. Looks like I have a little more homework to do. :+1:
There are water based polyurethanes that are pretty easy to use and some woods are nice with just oil and /or wax. You’re right though, lacking specific knowledge it’s possible to screw up anything. What else is new. :confounded:
I’m making the sleeve tube for the battery tube and have these two brass tubes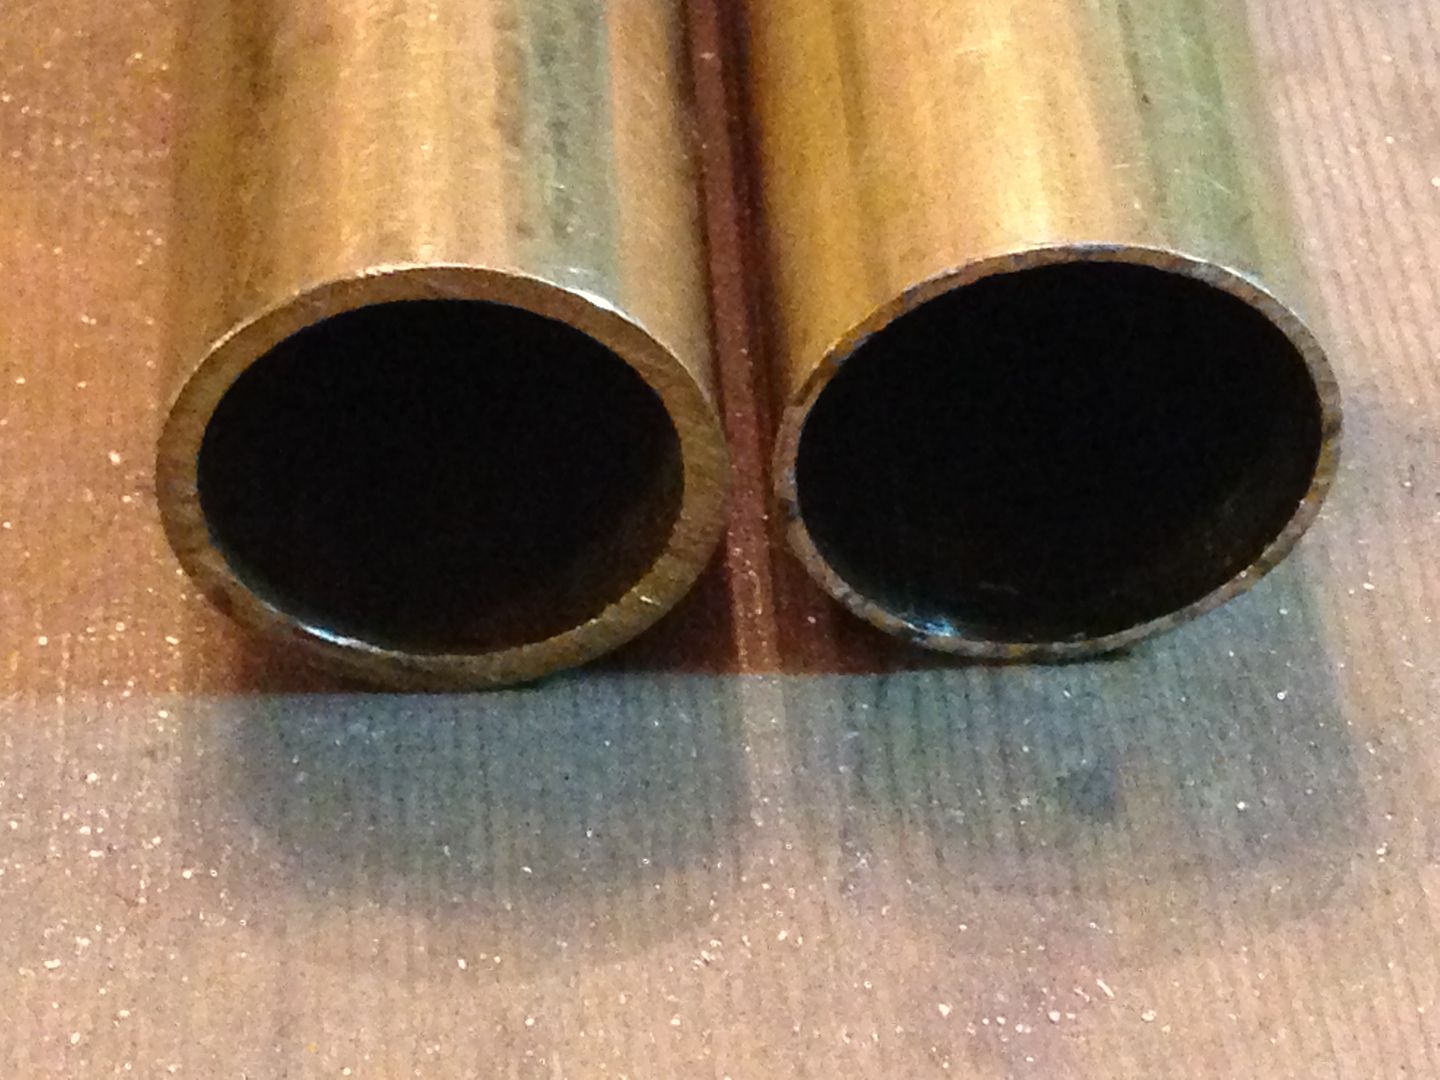 One is the right ID and the other has the wall thickness I want but which do I use? The thick walled one is a perfect fit for an 18650 but weighs too much and I’d need to pare down the wall thickness on the outside and just a little at the ends on the inside so I’ll use the thin walled stock and cut a slice from it and braze it back together.
 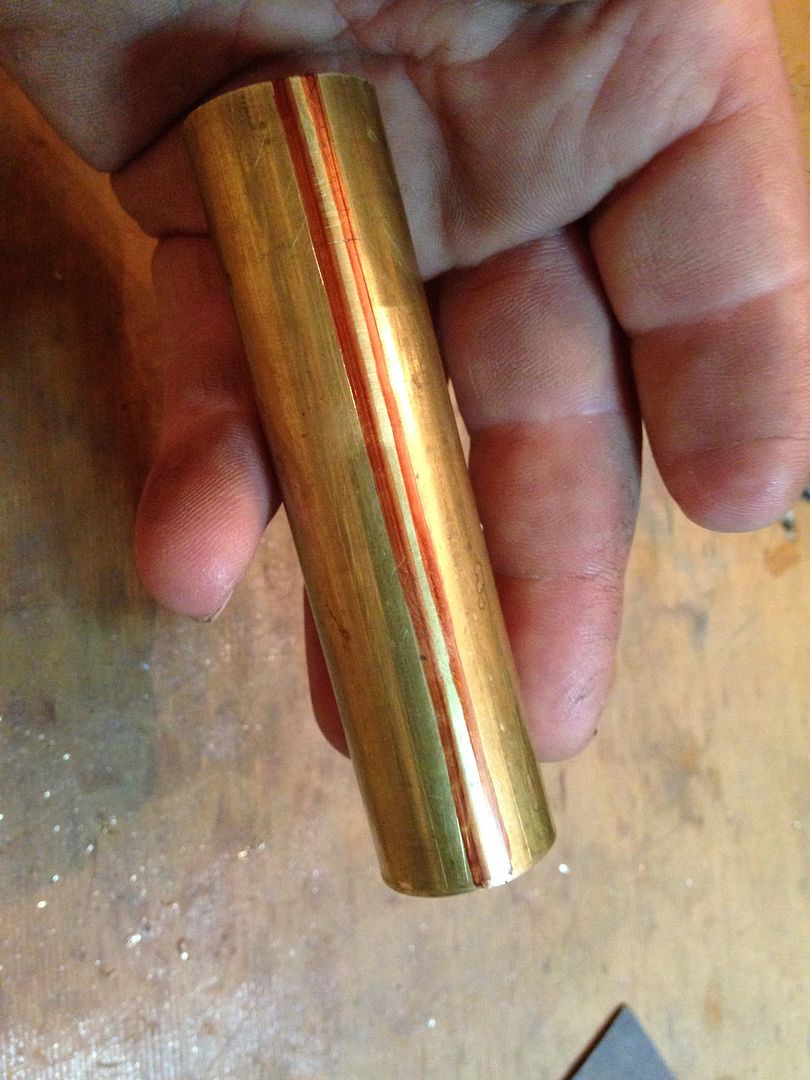 Sometimes you have to use a hack saw as intended.
 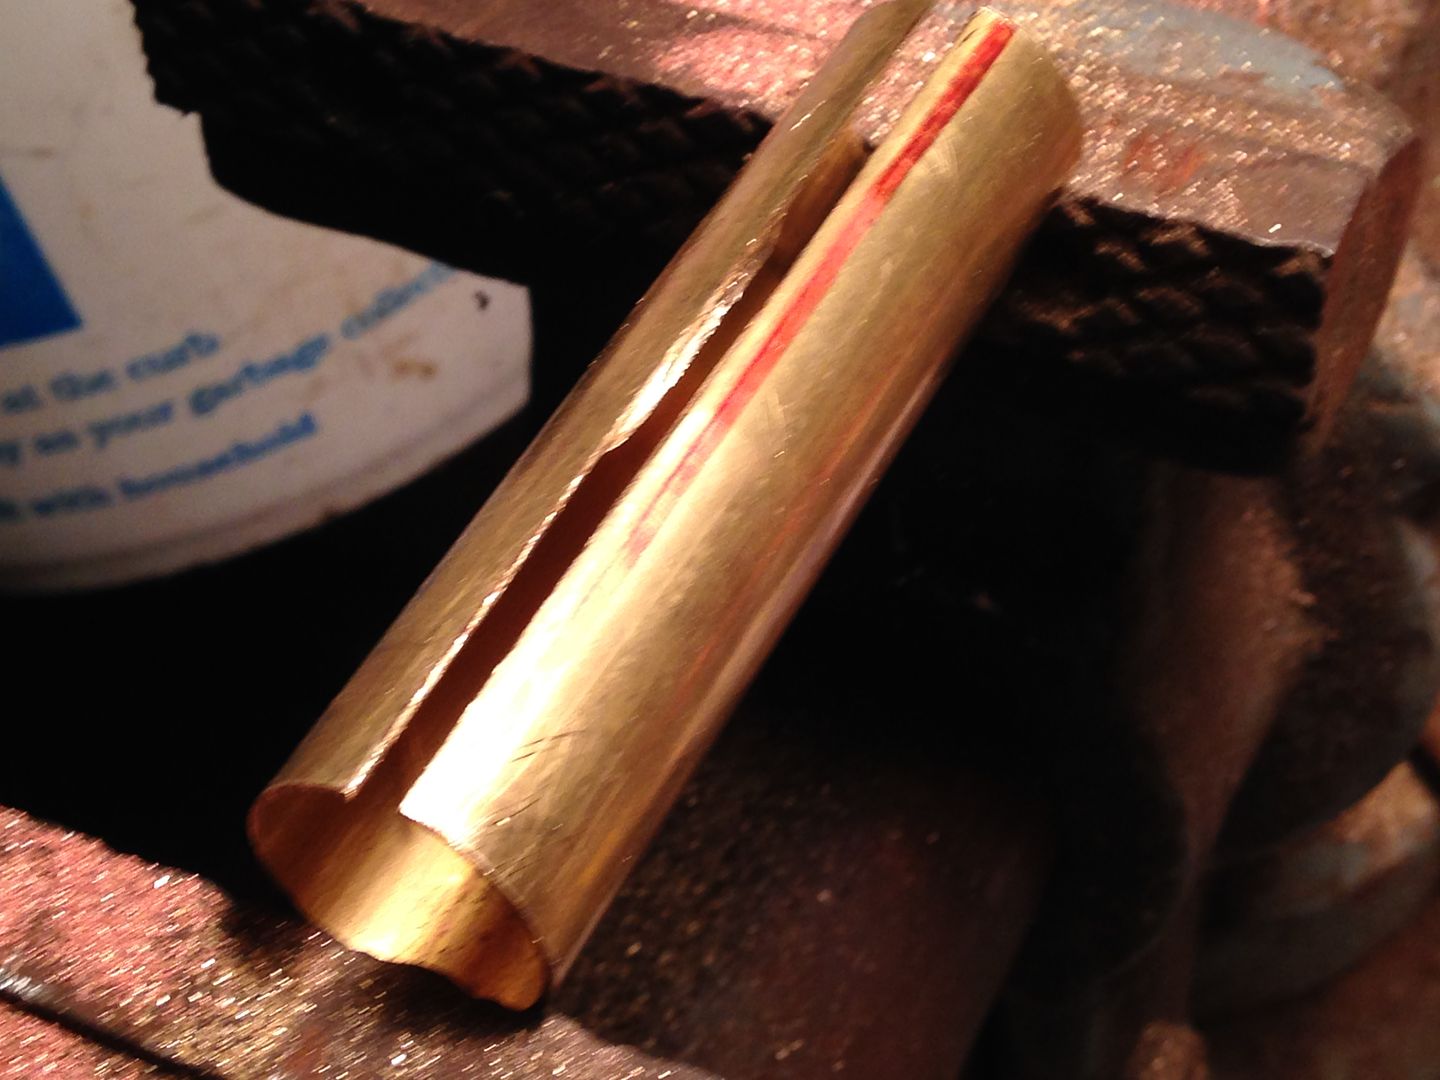 And another cut
 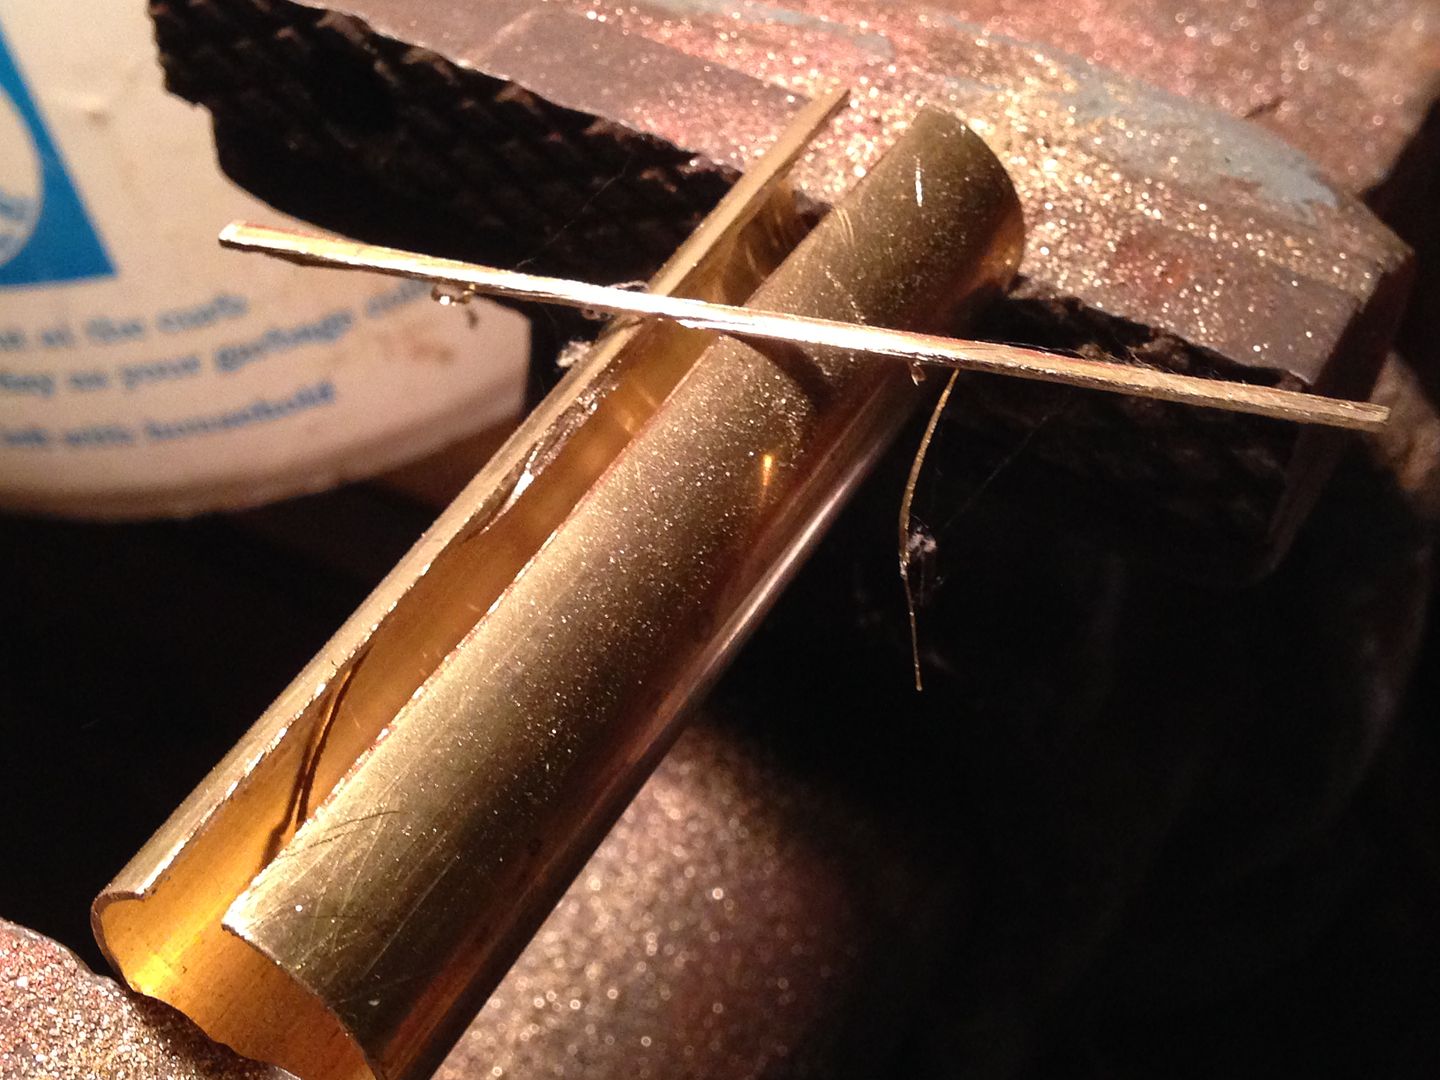 Then annealed so I could squeeze it down and file the cut edges smooth.
 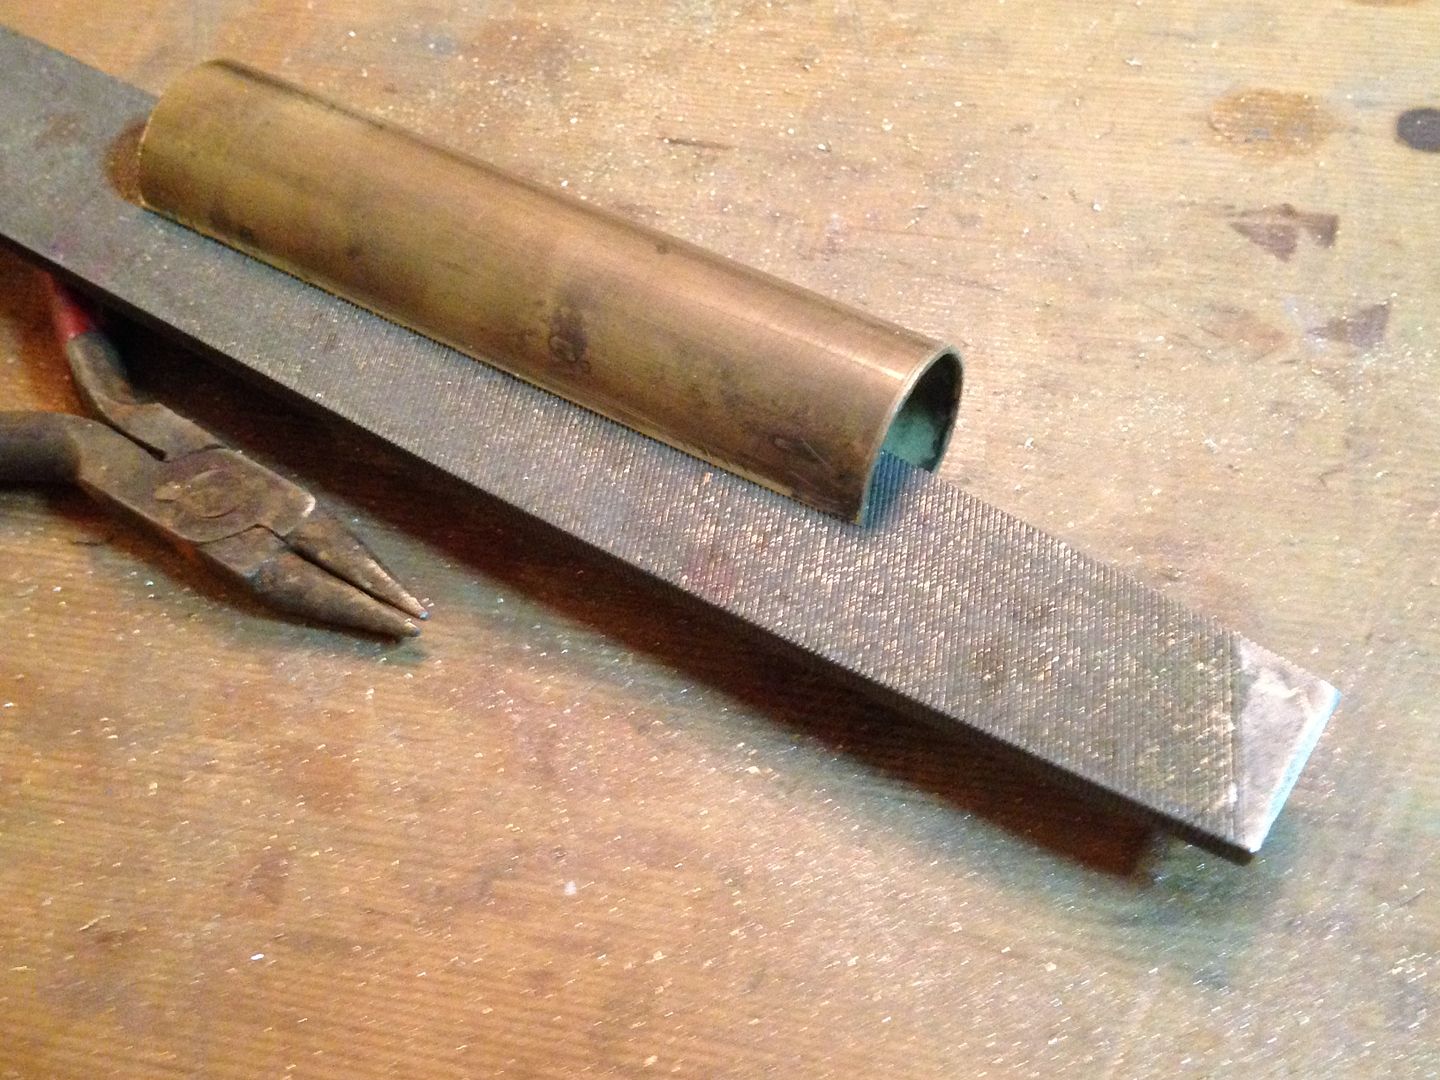 And also take enough of the edges so I could fit the ends inside part of a TP holder I scavanged for the brass several years ago.
  Brass work hardens more quickly than copper and between squeezing it to see if it fit and opening it up to file some more I ended up having to anneal it 3 more times before the fit was right and I could clean it up and cut the end collars which serve to hold the seam as well as reinforce the tube where threads will be cut.
 Finally ready to goop it up with flux and braze the seam and collars
  Good, the seam is closed. Too much brass added but I can grind off excess but can’t rebraze if there’s a void.
  After getting rid of excess brass and squaring up the ends its ready for me to figure out what to do with it.
Oops
awesome work
Amazing! Does the solder actually get everywhere under the surface at the ends or are there spots which are not covered in or connected with solder?
Very very nice! Isn’t it wonderful to have all those odds ‘n’ ends that you saved for so long…? (TP holder).
Capillary action draws the melted brazing wire wetting any pair of closely mated surfaces that have been cleaned well and fluxed. Gaps generally aren’t bridged and poor cleaning or if not enough flux or not enough wire is used then even well fitting joints can have voids which is why I used more than probably necessary. It’s similar to a plumbing solder joint in how the solder instantly flows through the joint but wetting happens at a much higher temperature(glowing hot)and is much stronger than tin solder, more expensive too… With small or thin parts it’s easily possible to melt them into slag. I’m still not very good or consistent at it since I don’t do it much.
The penalty is having too much clutter but it’s nice when you find the perfect bit not for sale anywhere.
I’m with ya. :+1:
I am sooo smart. At least some people tell me so but sometimes I’m not so sure. Read on if you want to bask in my blazing intellect. :person_facepalming:
I decided to use a different method to tap the battery tube threads than the big brass nut I used on the copper threads so I cut a piece of 1” PVC and cut a slice from it so that it would fit inside another section. 
 I needed to ream the inside of the inner piece so the brass battery tube would also fit. Once that was done there was a gap at the ends because the PVC is thicker than the brass collar pieces.
  So I cut a ring to fill the gap and keep it all centered in the outer PVC tube.
 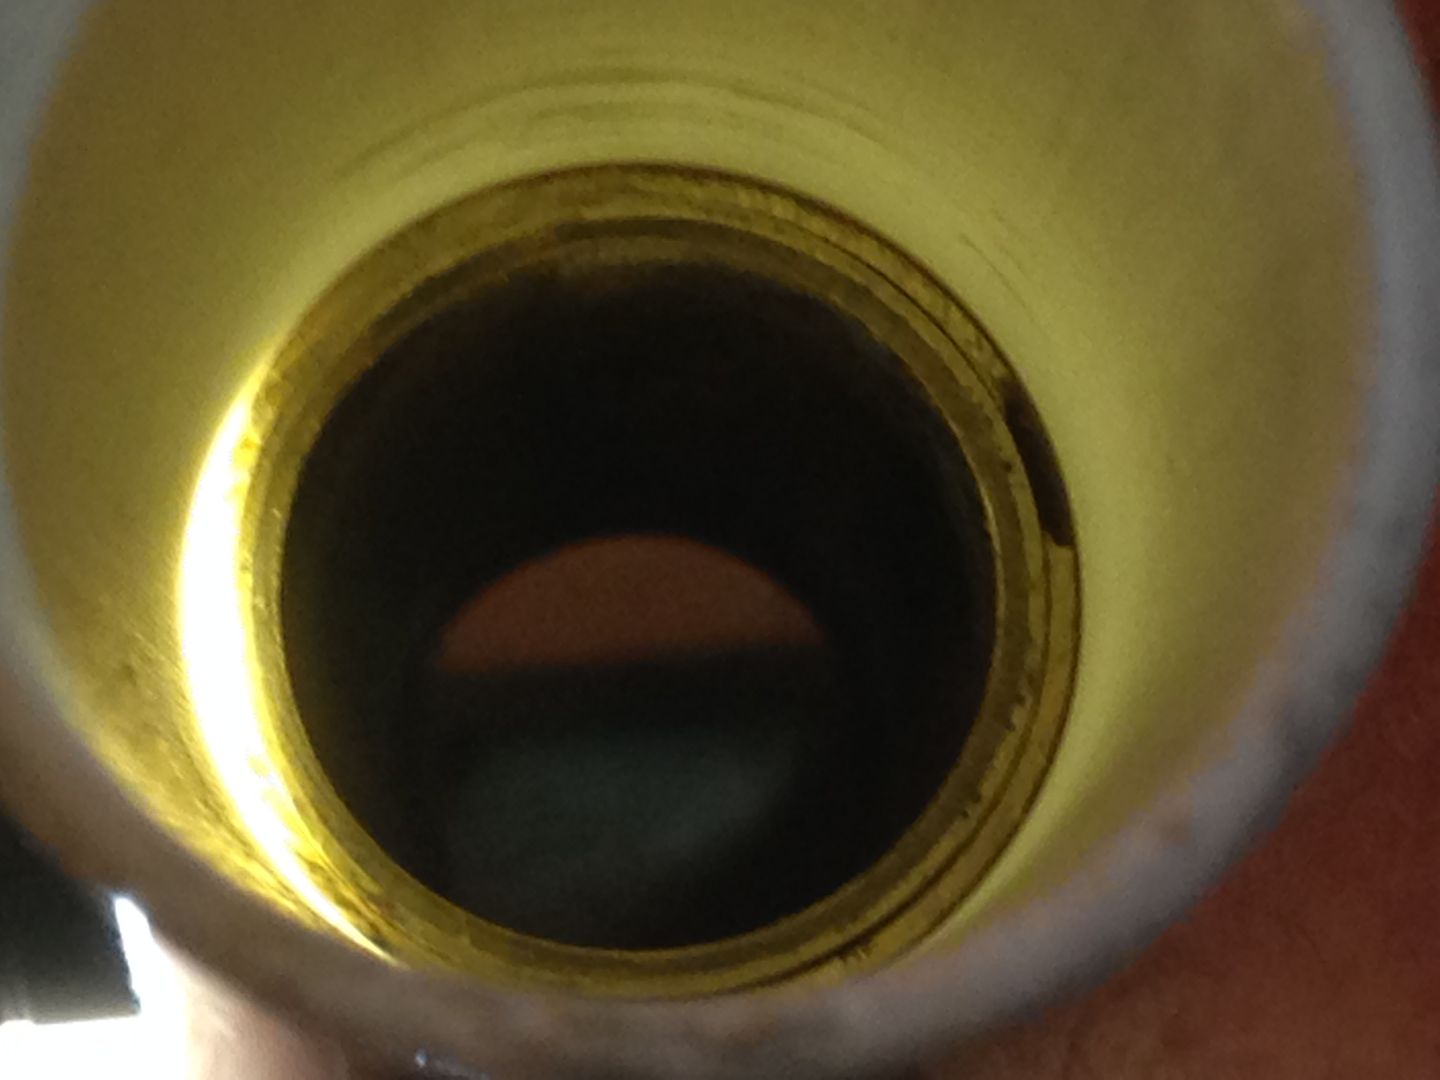 Then I tapped and taped a short piece of aluminum tube to also center the tap in the PVC tube.
 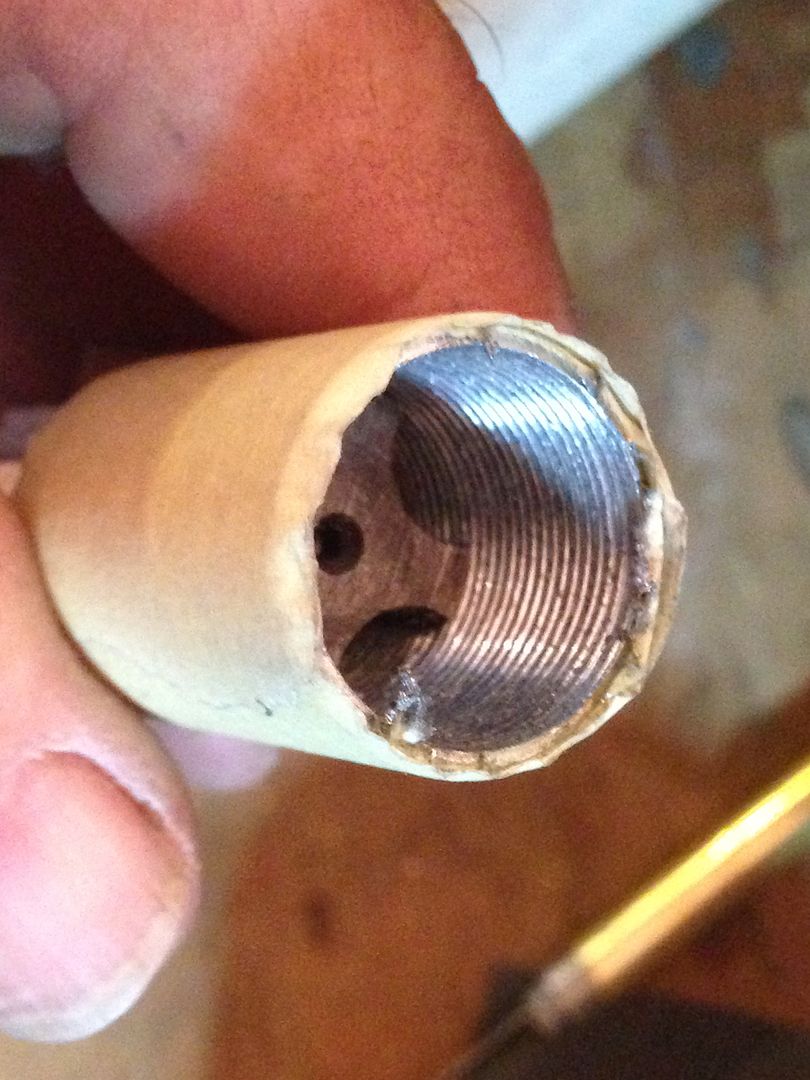 Here it is all put together.
 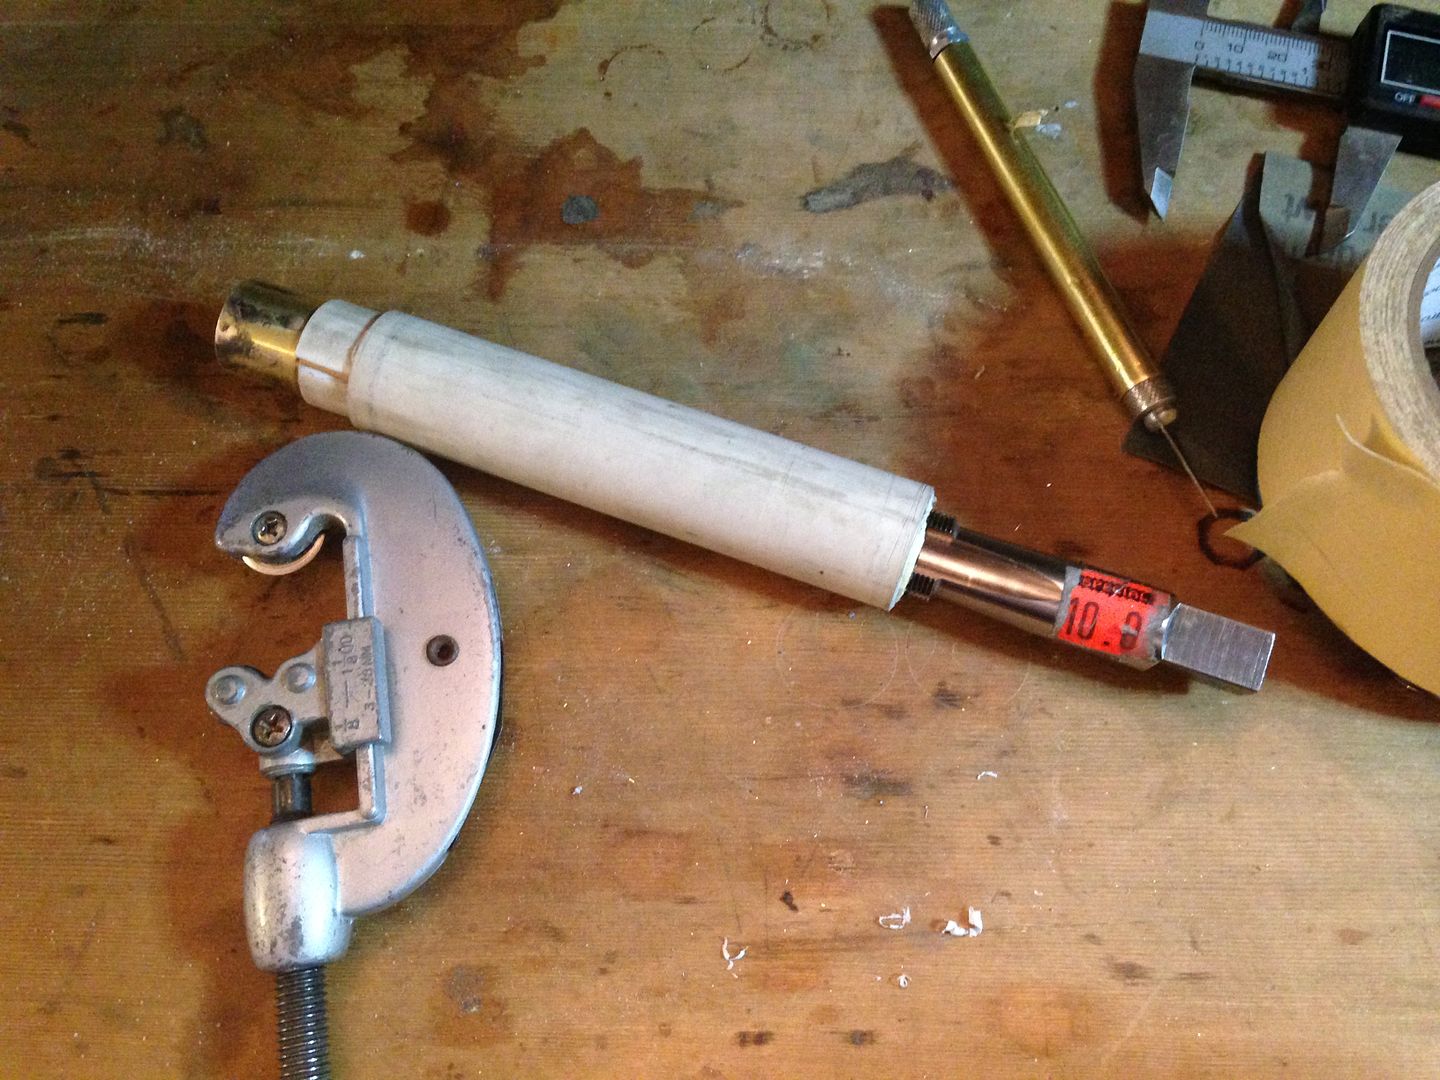 Now I just need to grab it somehow.
 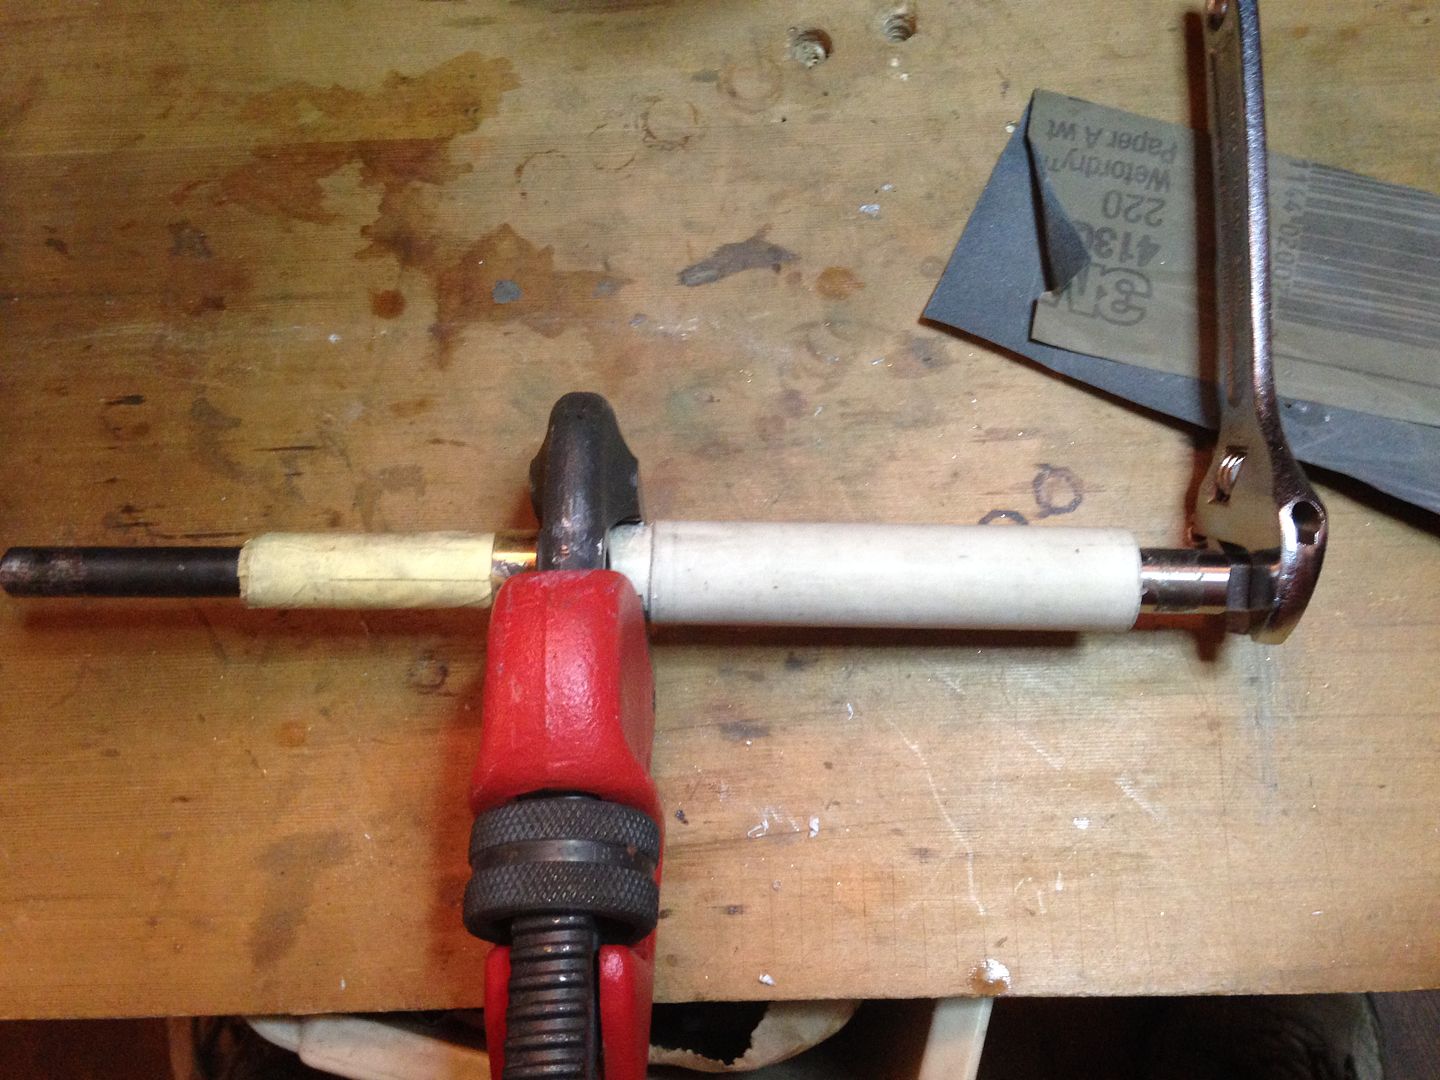 I did the tail end first since the threads are shallower at that end. There’s a 5/8” bit wrapped in tape shoved inside to prevent it from crushing. So far so good.
 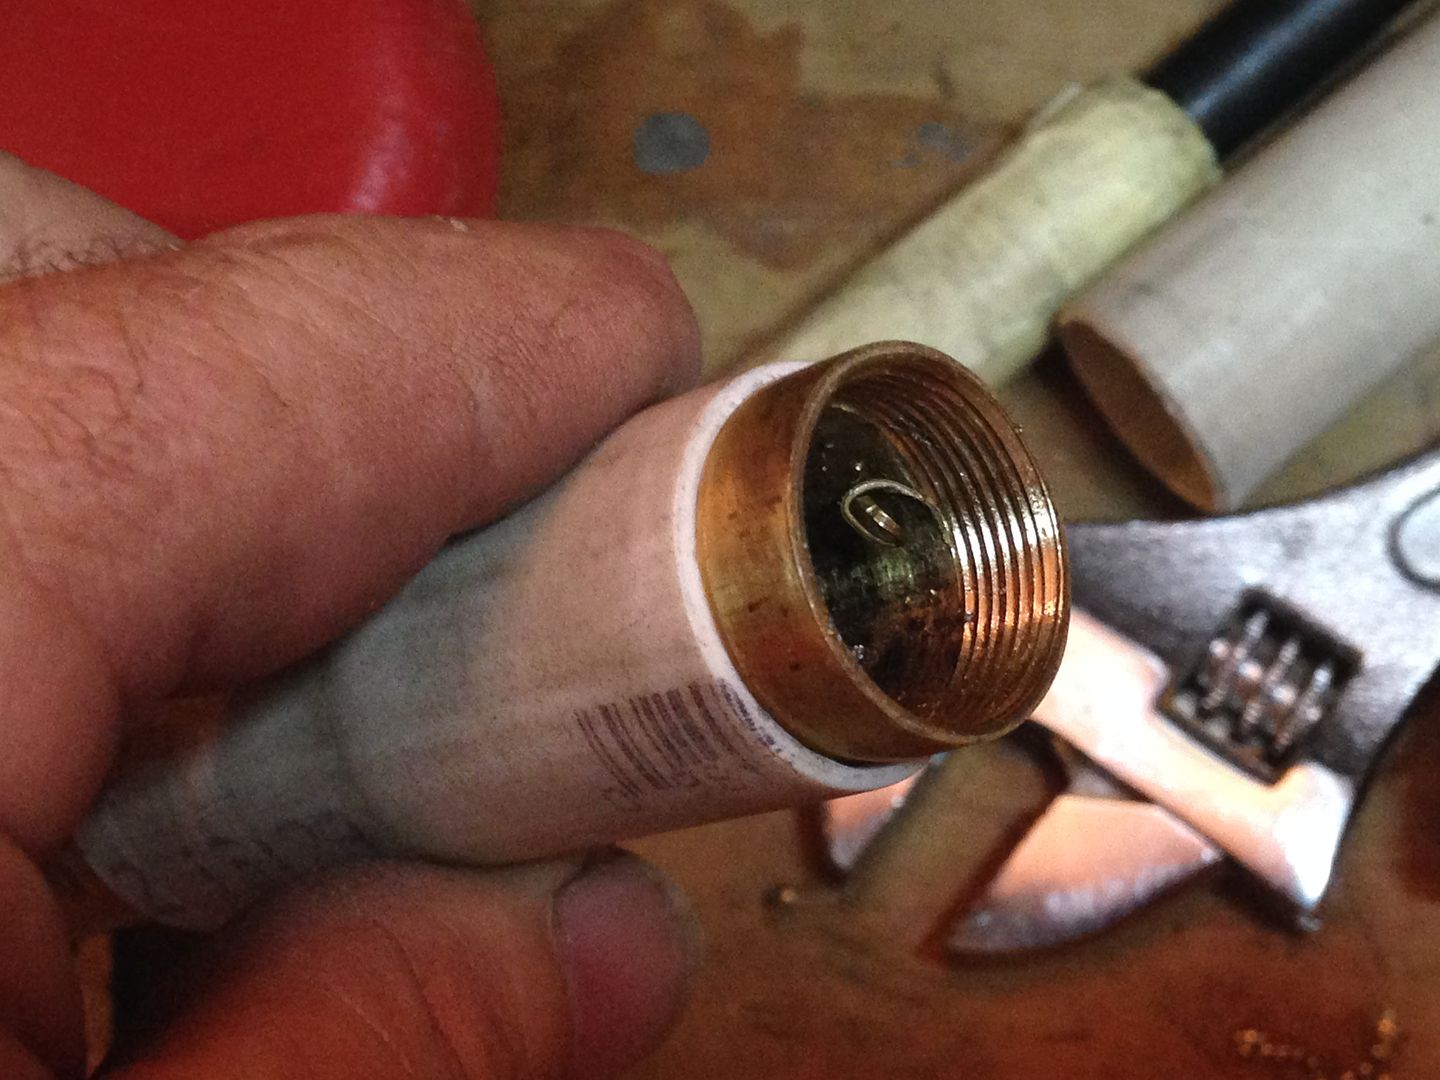 Then I switched it around to do the other end which gets ~20 mm of threading. For awhile it went just fine but then the brass began to slip inside the PVC so I put the whole thing in the pipe jaws of the 5” bench vise. It still slipped some and each time it did I tightened the vise a bit more. All good right ?
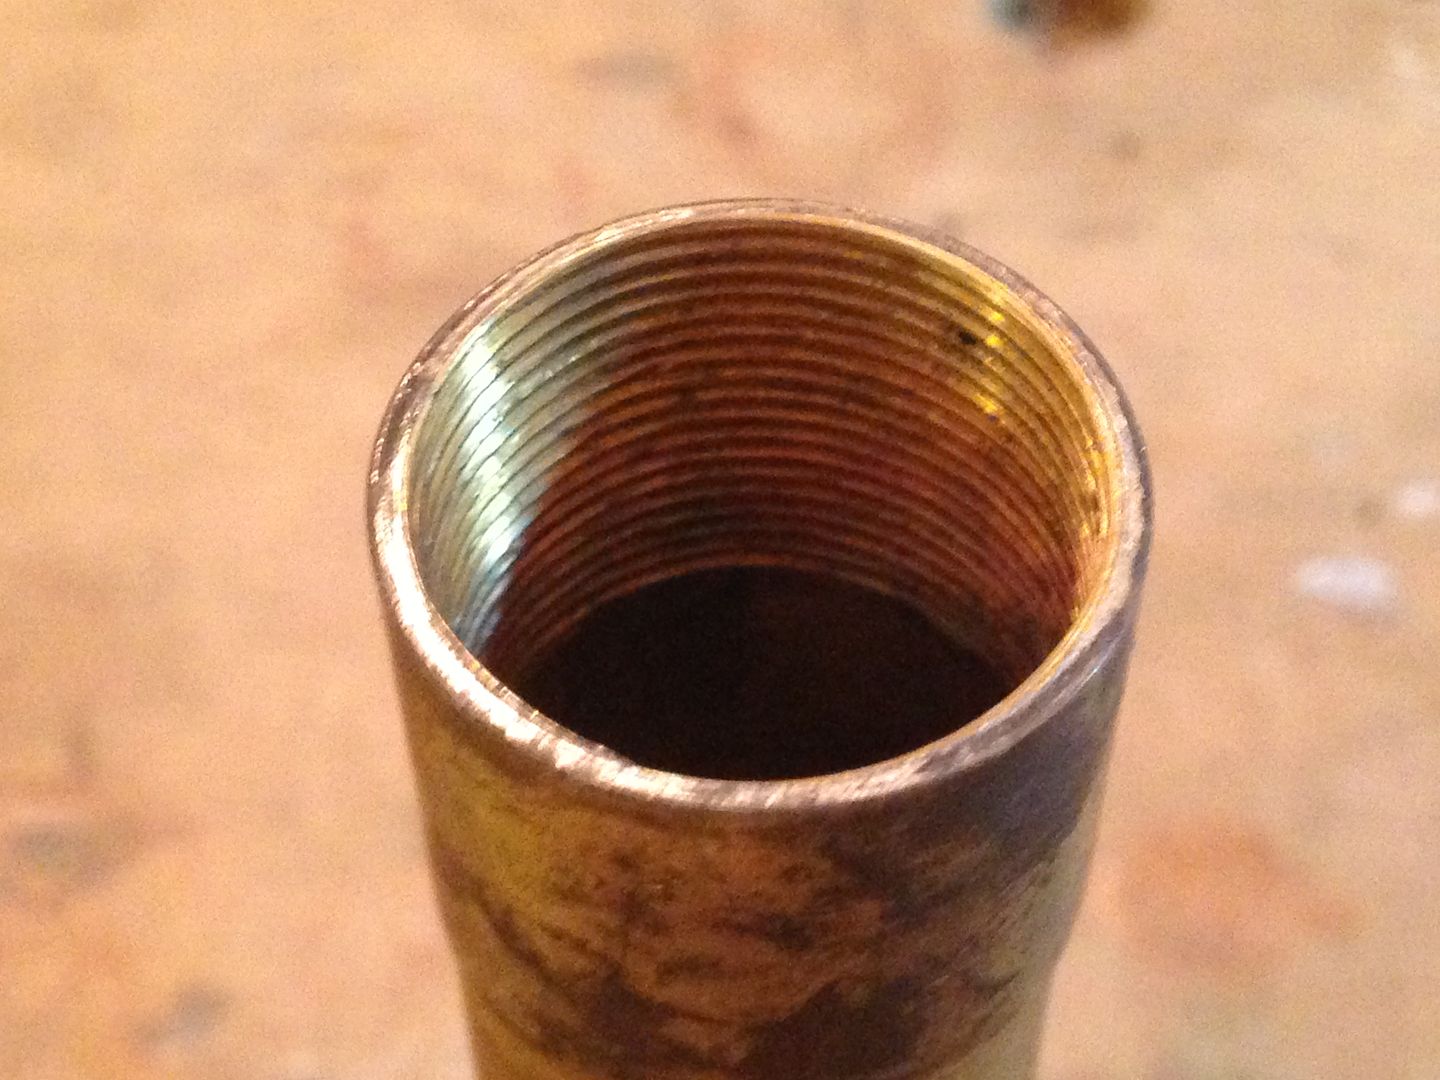 Wrong! The pipe jaws corrugated the brass.
 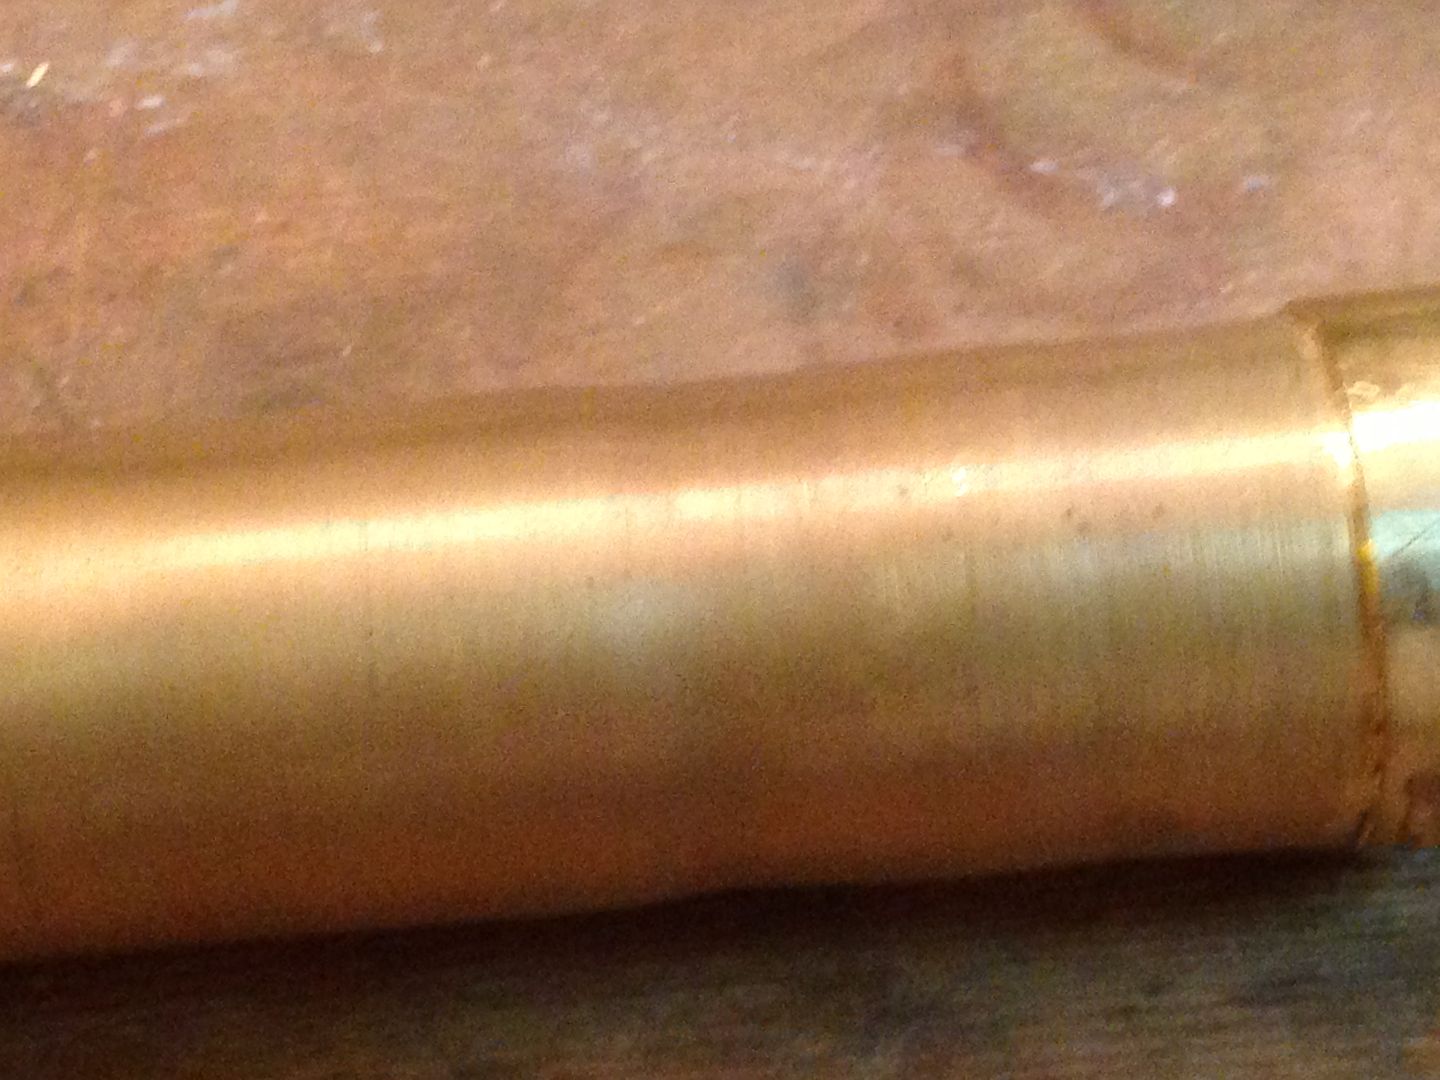 I tried annealing it and rolling it, annealing it and pressing another pipe through it. Finally annealed it one too many times just a bit too hot and effed up the seam and rippled the tube.
 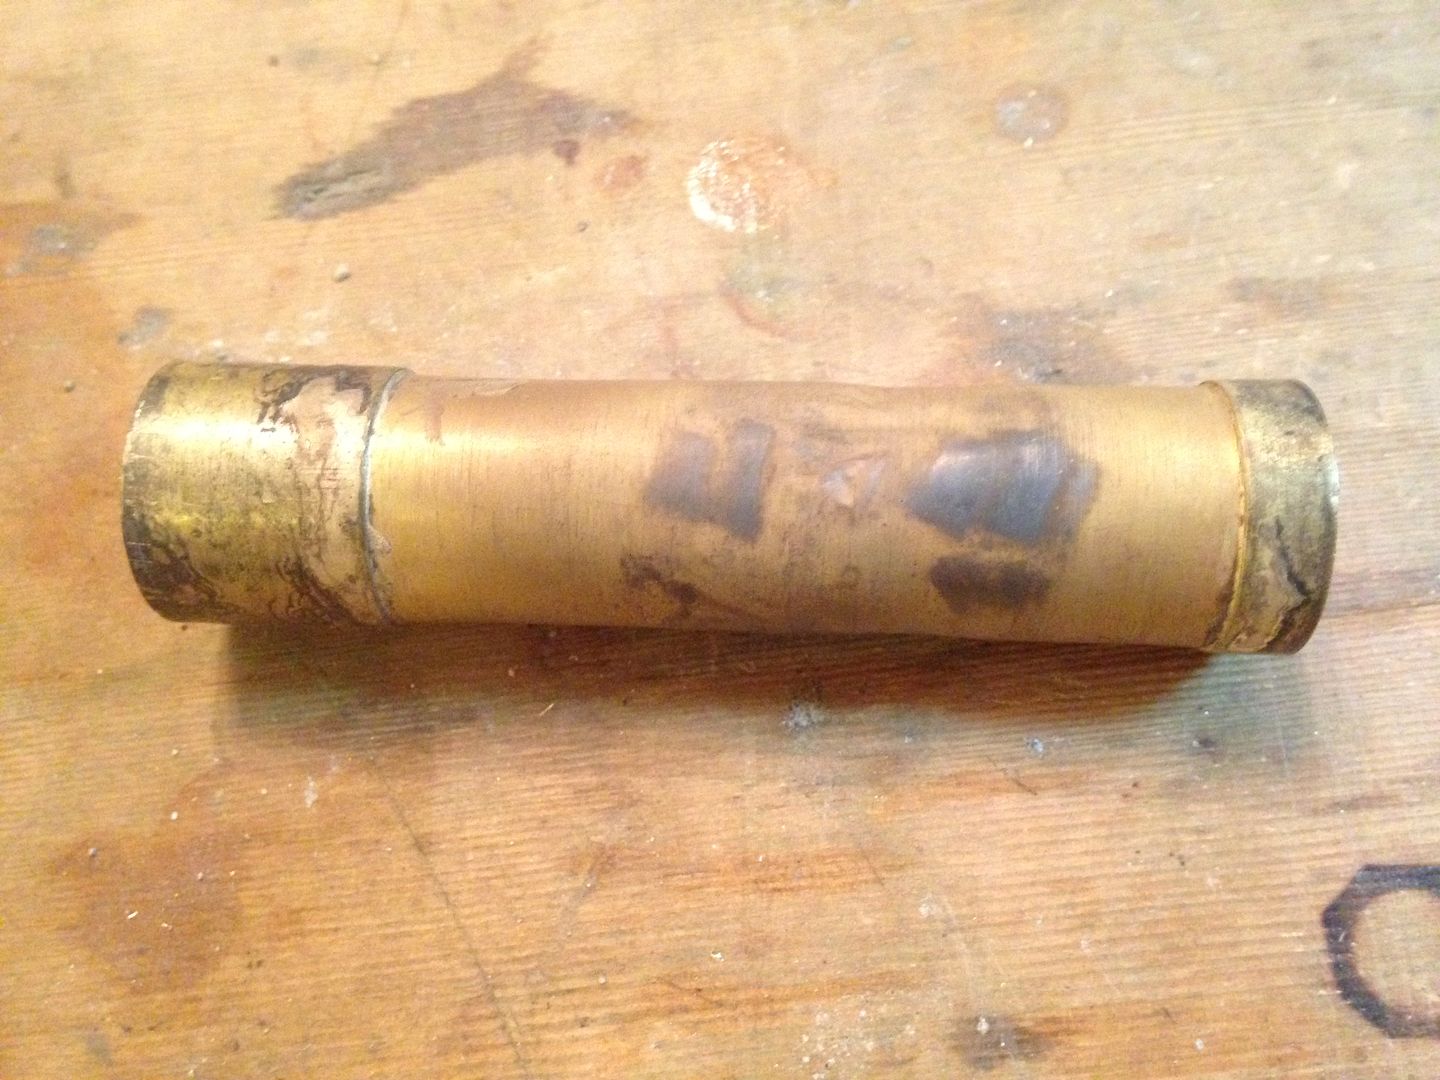 Trashed two days work with my smarts. I already have replacement parts started and an idea how to prevent a reoccurrence but this sucks the big one.
Small update
Sorry about the good idea not working. I guess you were screwed from the start. :person_facepalming:
There must be more of that Humpty Dumpty getting around the traps than just in my shed. ![]()
Looking forward to see how MK2 is achieved. ![]()
So many details of construction to work out and it is a real bummer when something goes wrong after so much time being invested. Good luck with V.2 :+1: