awesome work
Amazing! Does the solder actually get everywhere under the surface at the ends or are there spots which are not covered in or connected with solder?
Very very nice! Isn’t it wonderful to have all those odds ‘n’ ends that you saved for so long…? (TP holder).
Capillary action draws the melted brazing wire wetting any pair of closely mated surfaces that have been cleaned well and fluxed. Gaps generally aren’t bridged and poor cleaning or if not enough flux or not enough wire is used then even well fitting joints can have voids which is why I used more than probably necessary. It’s similar to a plumbing solder joint in how the solder instantly flows through the joint but wetting happens at a much higher temperature(glowing hot)and is much stronger than tin solder, more expensive too… With small or thin parts it’s easily possible to melt them into slag. I’m still not very good or consistent at it since I don’t do it much.
The penalty is having too much clutter but it’s nice when you find the perfect bit not for sale anywhere.
I’m with ya. :+1:
I am sooo smart. At least some people tell me so but sometimes I’m not so sure. Read on if you want to bask in my blazing intellect. :person_facepalming:
I decided to use a different method to tap the battery tube threads than the big brass nut I used on the copper threads so I cut a piece of 1” PVC and cut a slice from it so that it would fit inside another section. 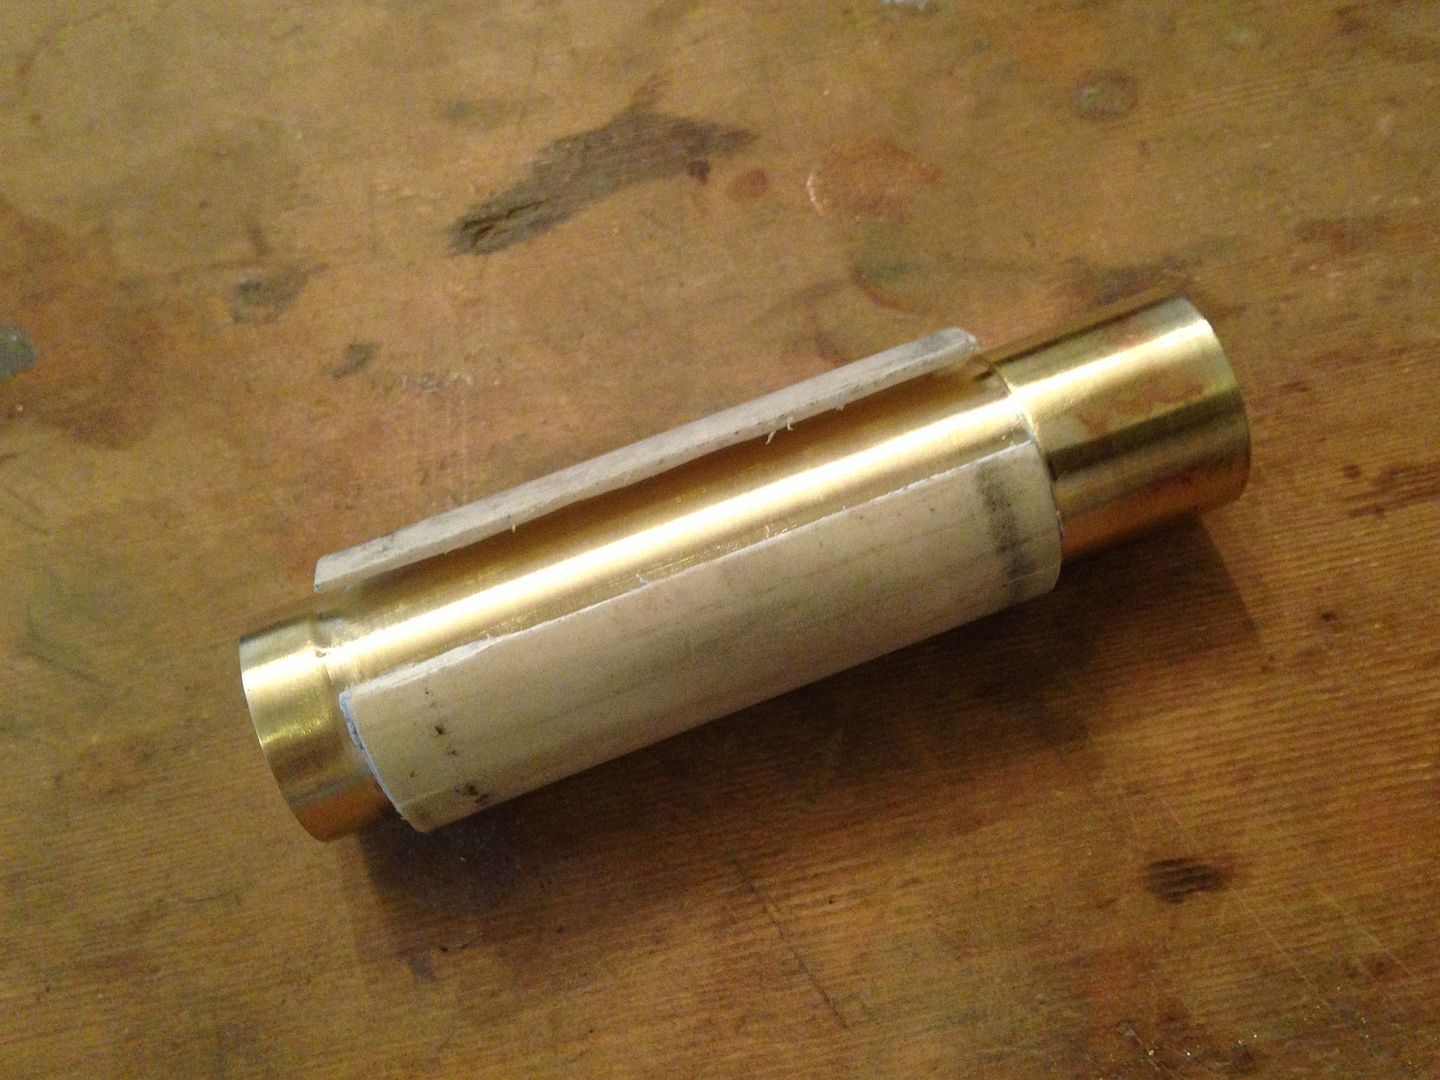
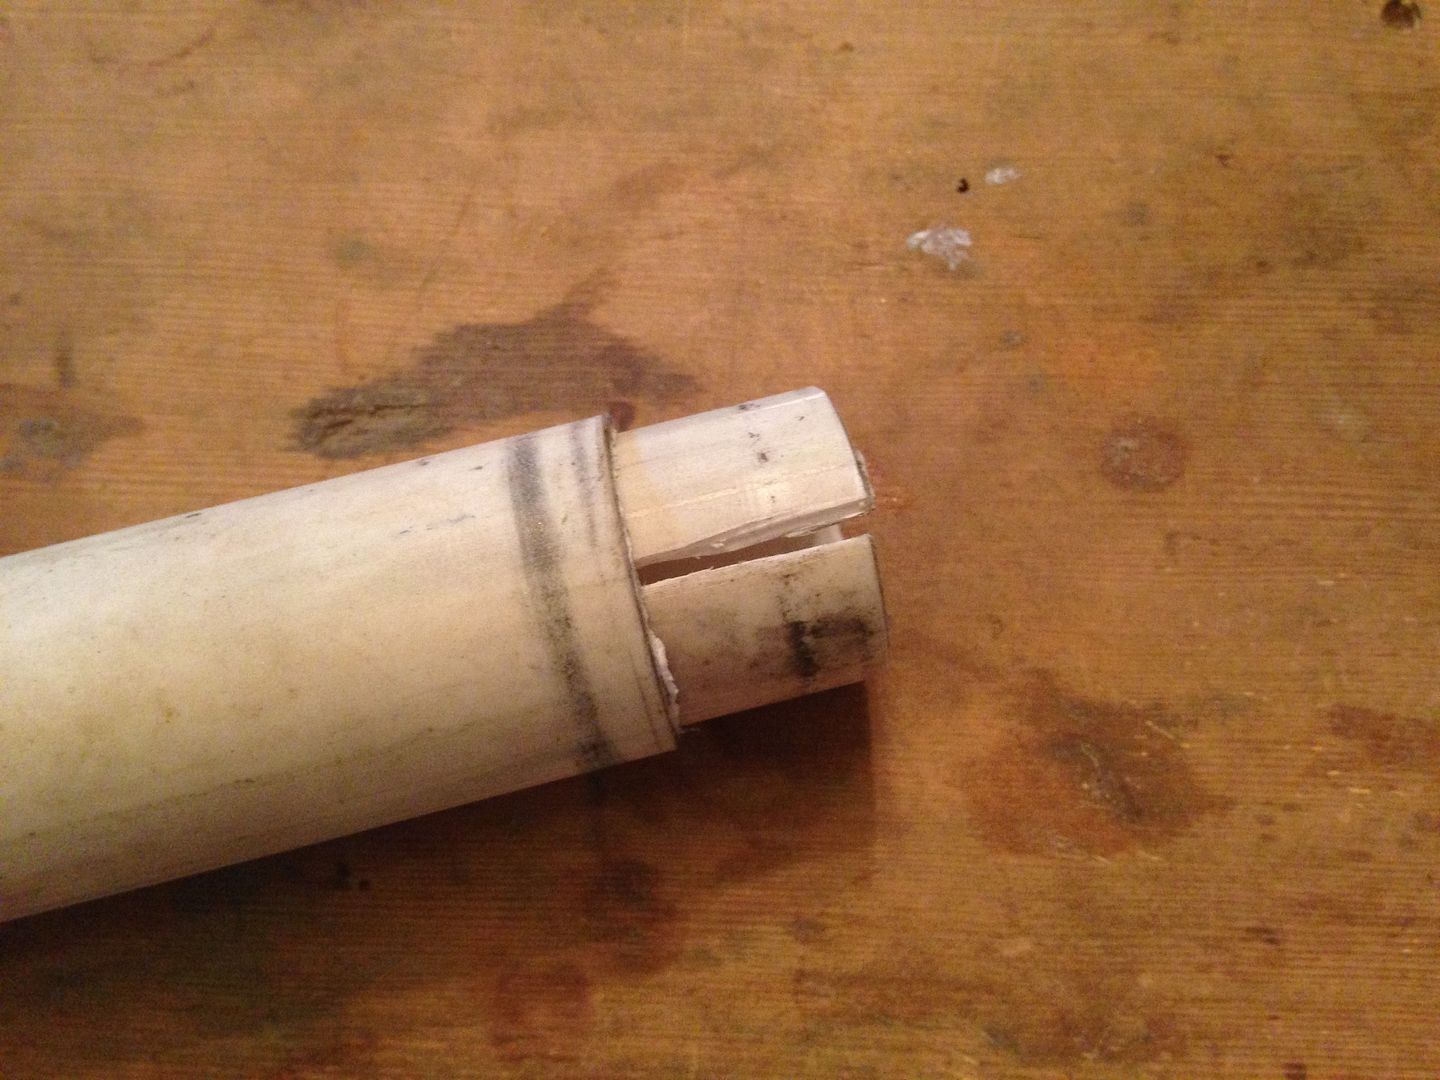 I needed to ream the inside of the inner piece so the brass battery tube would also fit. Once that was done there was a gap at the ends because the PVC is thicker than the brass collar pieces.
 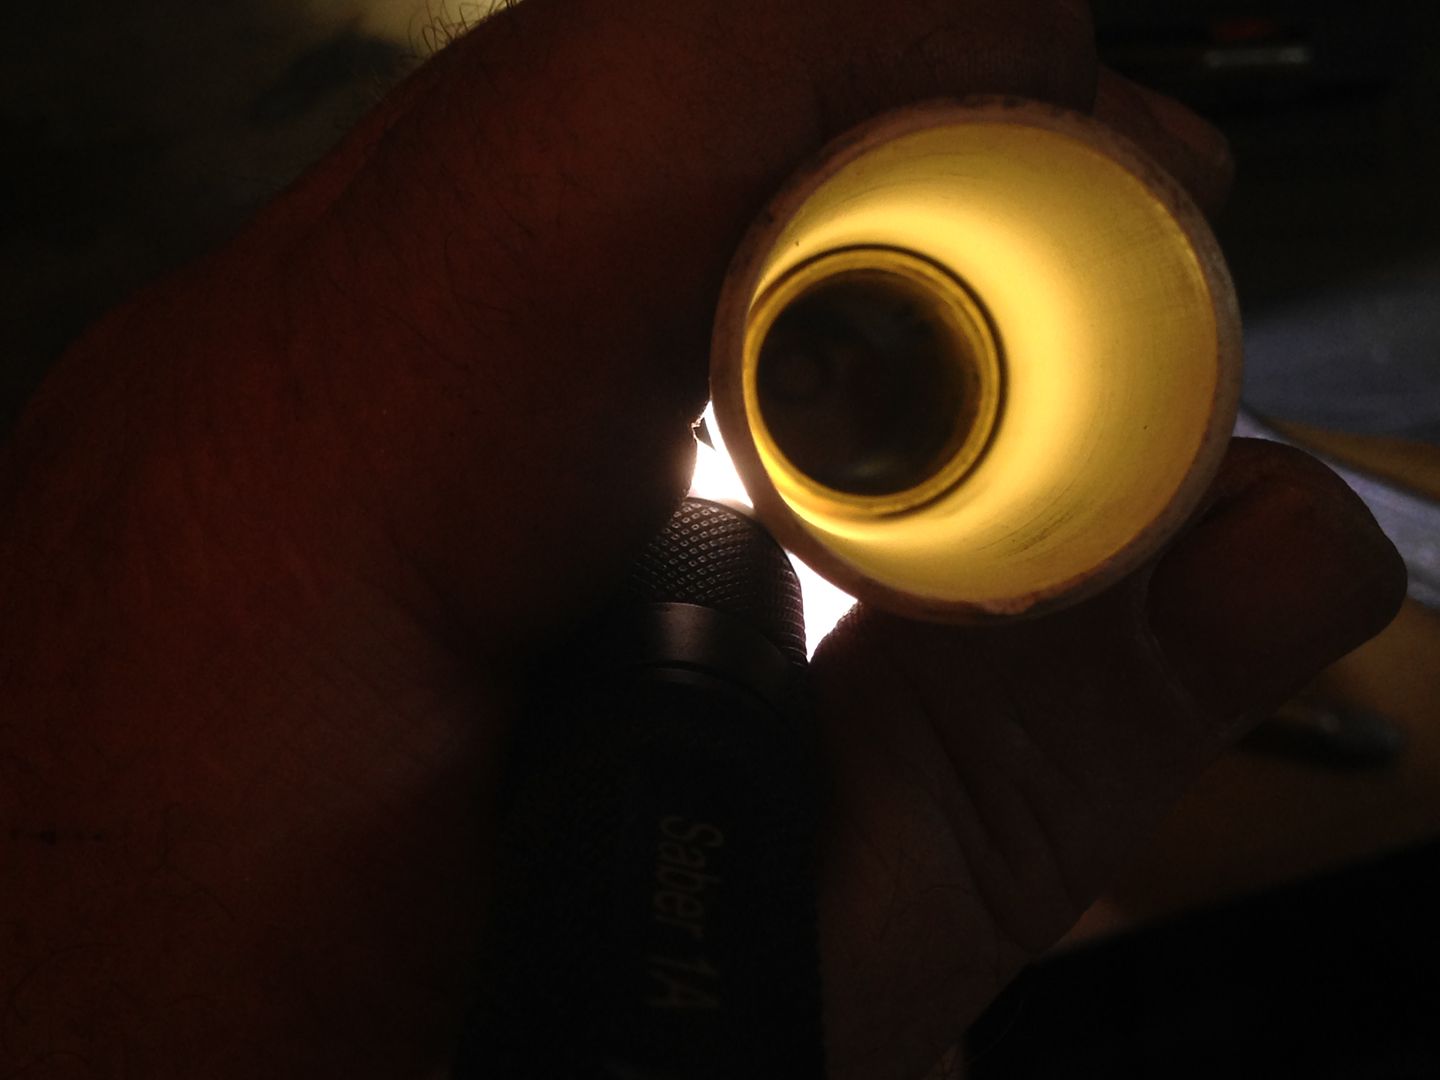 So I cut a ring to fill the gap and keep it all centered in the outer PVC tube.
 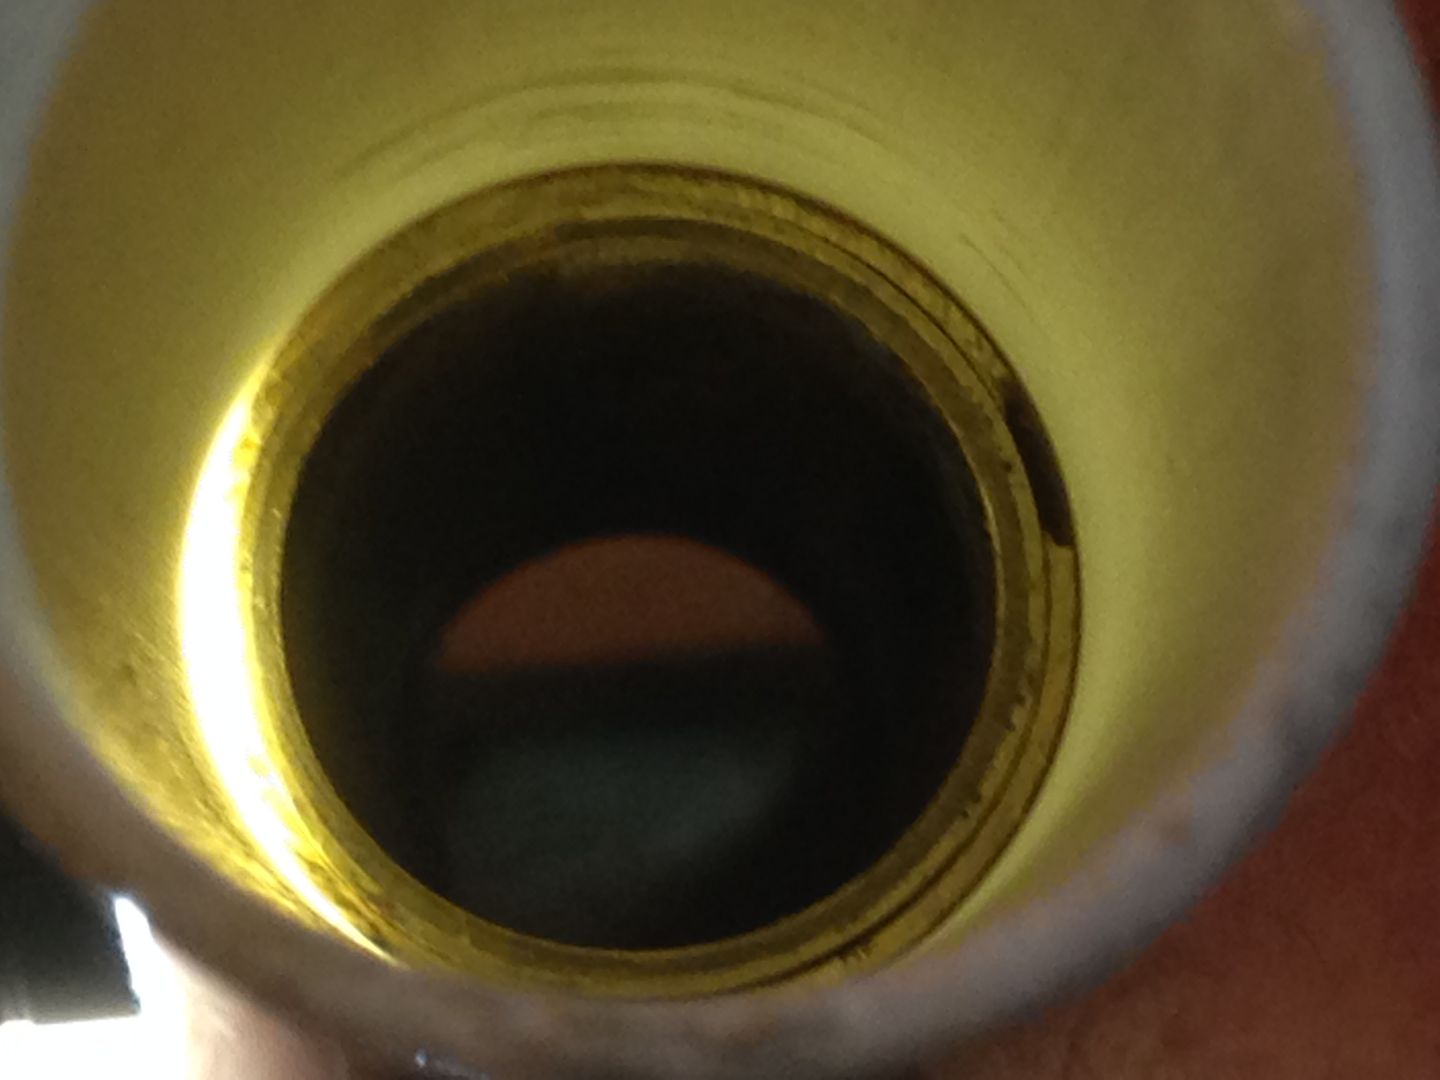 Then I tapped and taped a short piece of aluminum tube to also center the tap in the PVC tube.
  Here it is all put together.
  Now I just need to grab it somehow.
  I did the tail end first since the threads are shallower at that end. There’s a 5/8” bit wrapped in tape shoved inside to prevent it from crushing. So far so good.
  Then I switched it around to do the other end which gets ~20 mm of threading. For awhile it went just fine but then the brass began to slip inside the PVC so I put the whole thing in the pipe jaws of the 5” bench vise. It still slipped some and each time it did I tightened the vise a bit more. All good right ?
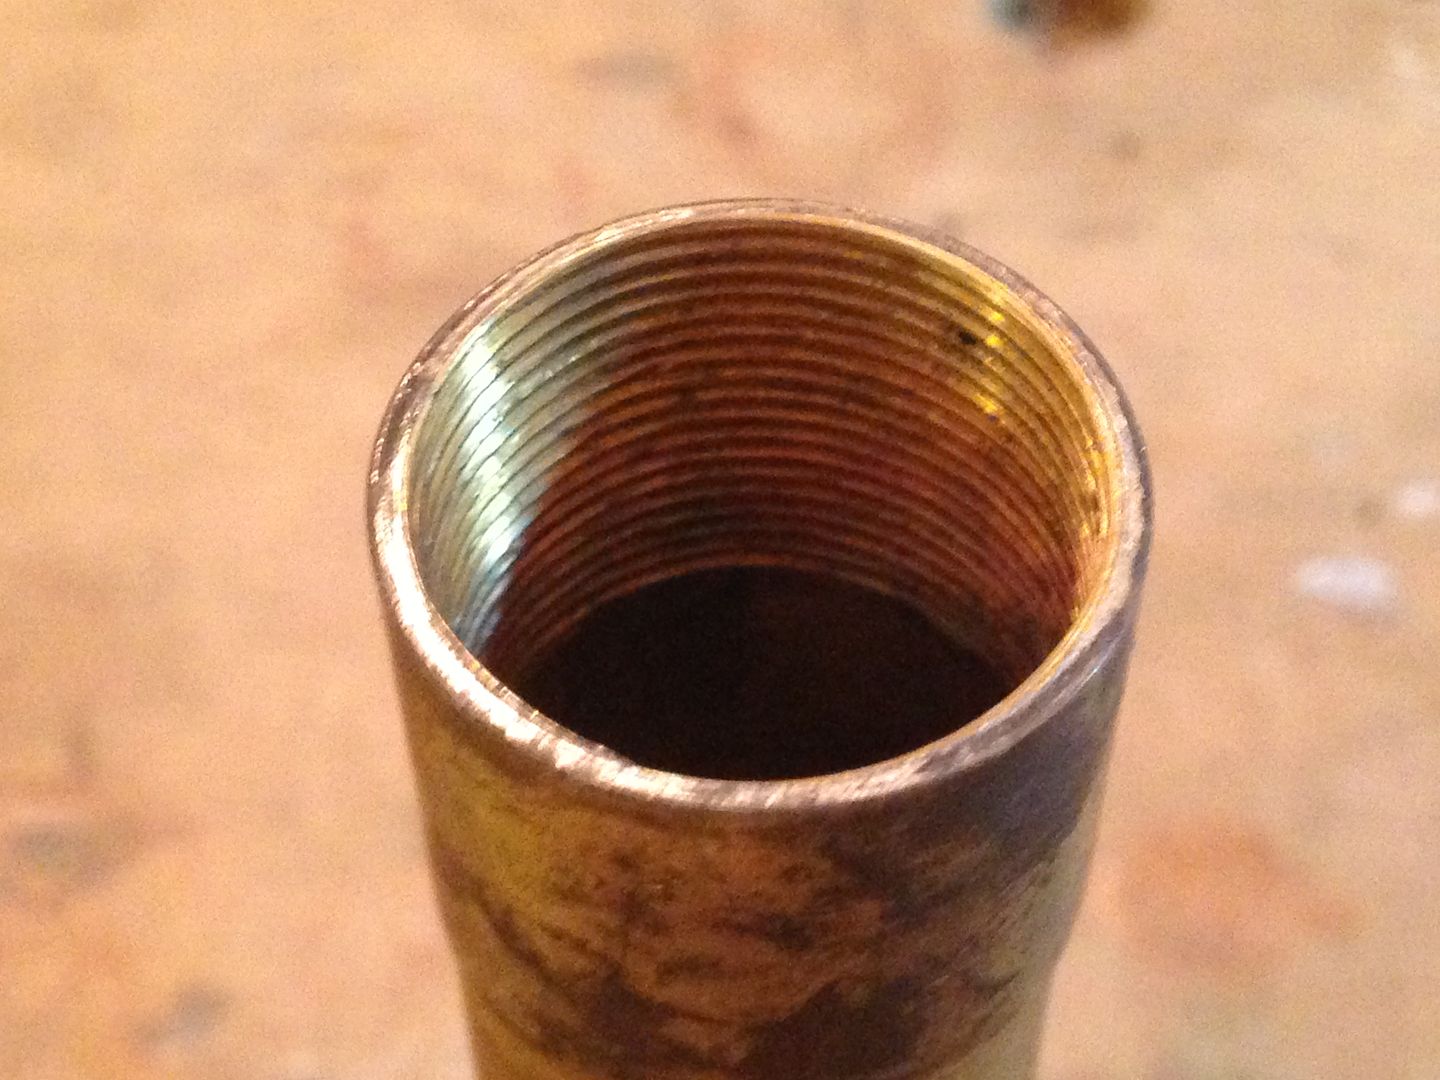 Wrong! The pipe jaws corrugated the brass.
 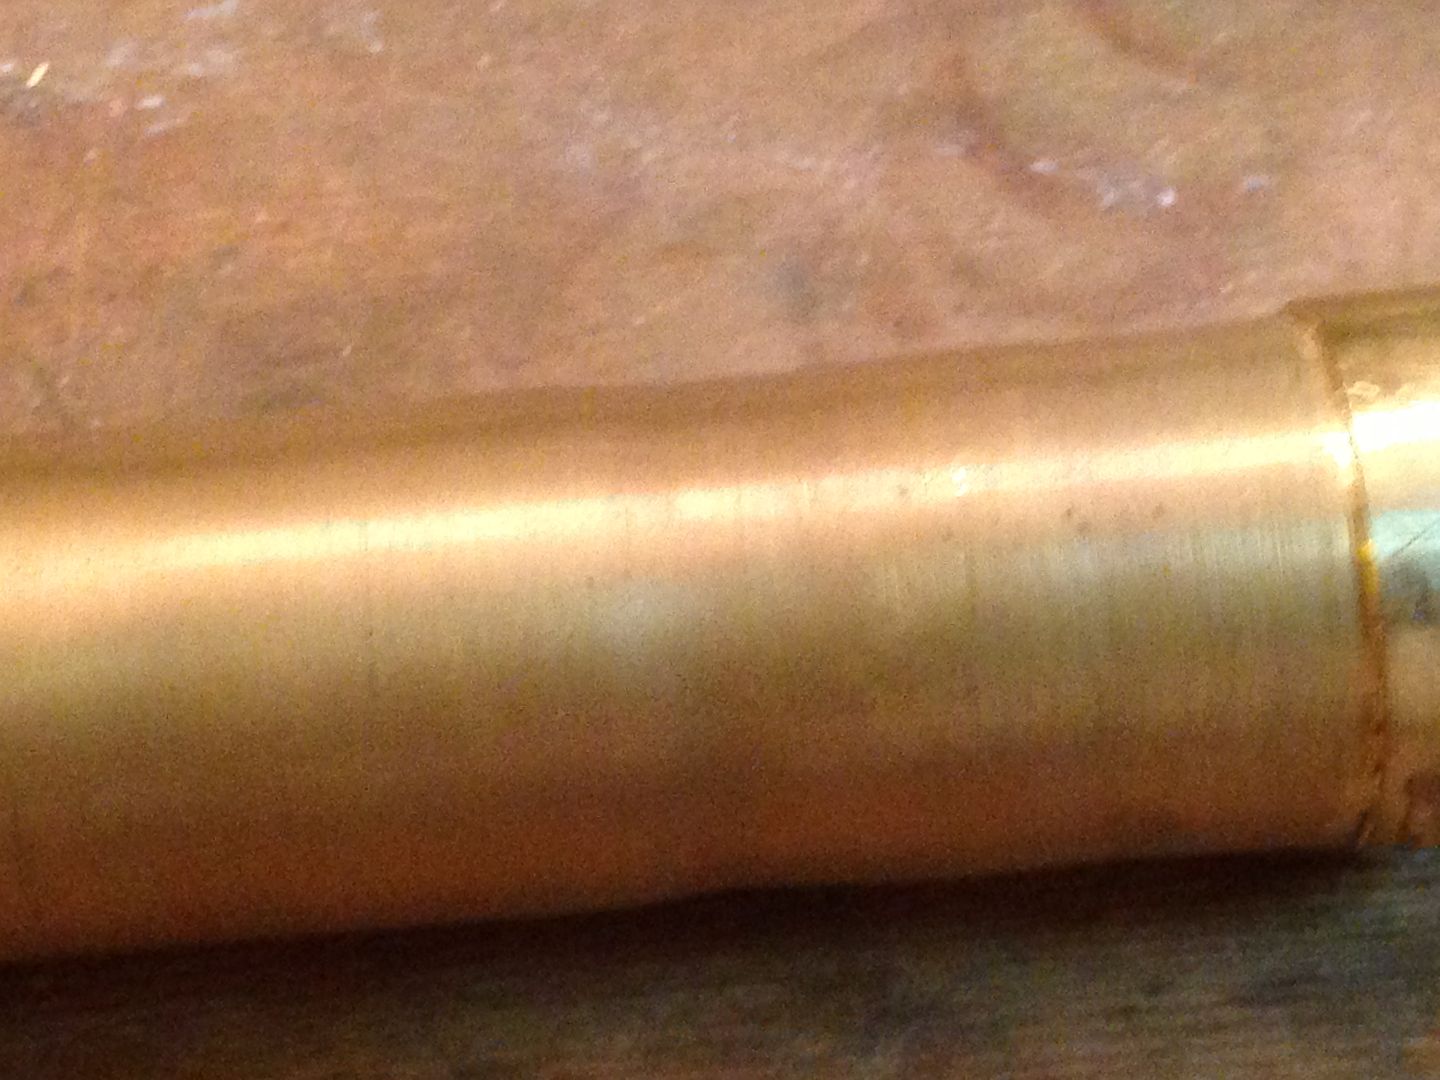 I tried annealing it and rolling it, annealing it and pressing another pipe through it. Finally annealed it one too many times just a bit too hot and effed up the seam and rippled the tube.
 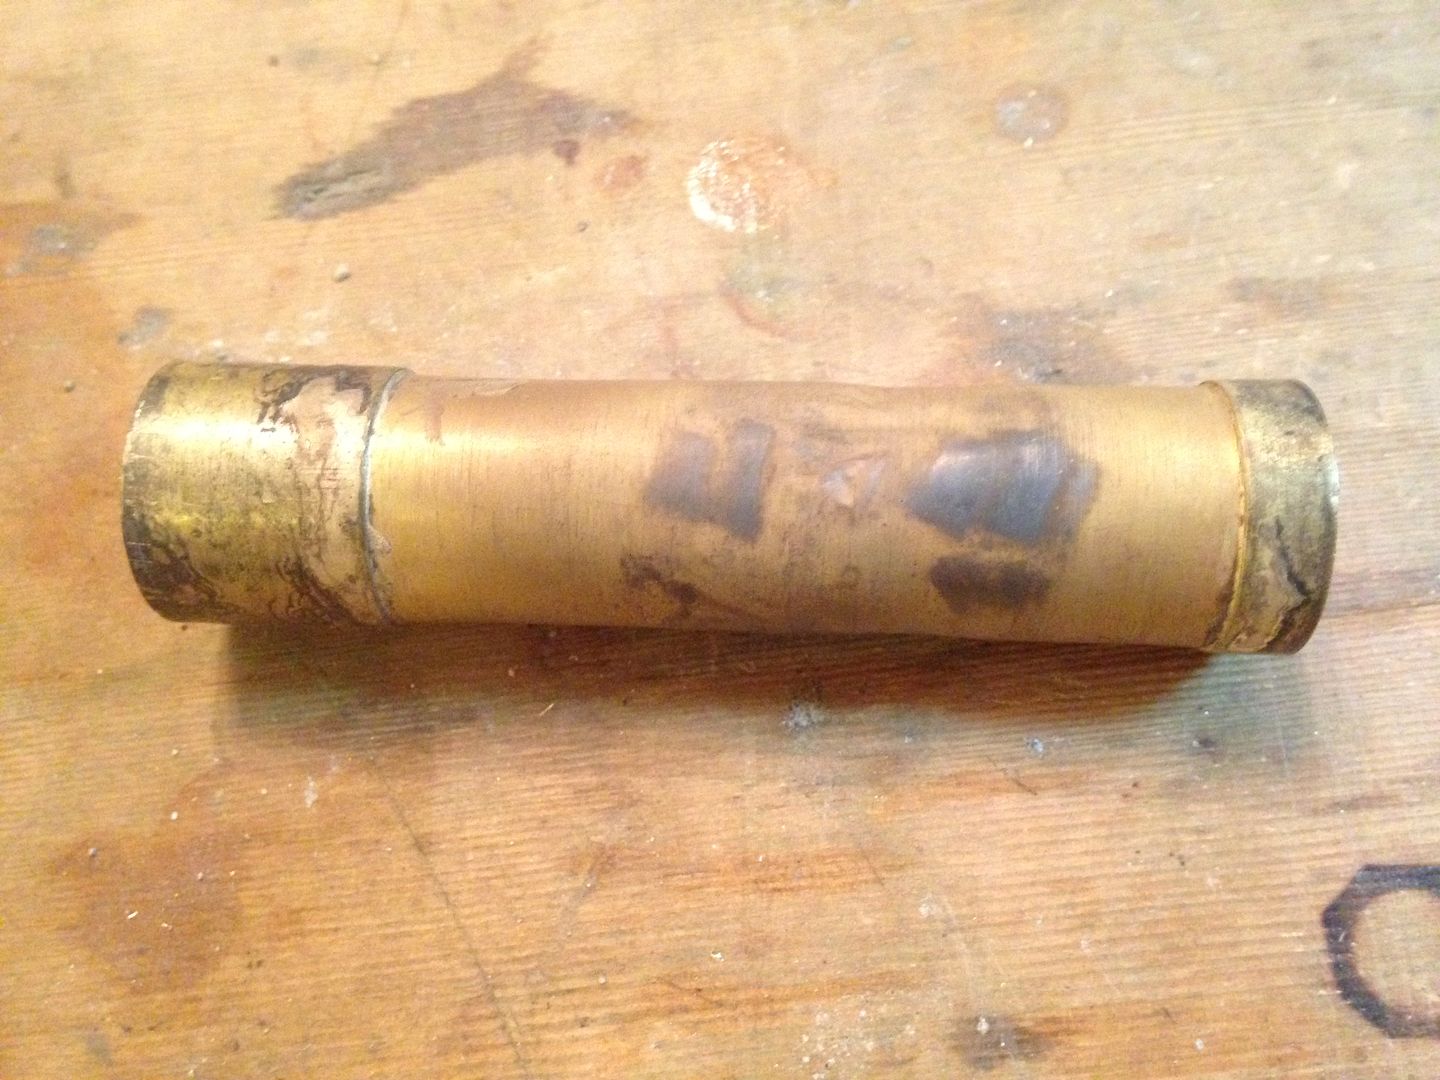 Trashed two days work with my smarts. I already have replacement parts started and an idea how to prevent a reoccurrence but this sucks the big one.
Small update
Sorry about the good idea not working. I guess you were screwed from the start. :person_facepalming:
There must be more of that Humpty Dumpty getting around the traps than just in my shed. ![]()
Looking forward to see how MK2 is achieved. ![]()
So many details of construction to work out and it is a real bummer when something goes wrong after so much time being invested. Good luck with V.2 :+1:
I think I spent as much of the evening trying to fix it as it took to mess it up in the first place. Fortunately it’s not a case of something I can’t do just something I did wrong. An epic fail would involve harder to replace items like the wood. With any luck I’ll be able to improve MkII.
Were you using anything as a thread cutting fluid?
Ouch… I’ve used the nut guide method in the past on a pontiac engine build tapping to replace push-in rocker arm studs with screw-in studs intended for a big block chevy (after adding helicoils). After damage from a saboteur (one of my brothers) a big block chevy rocker arm broke but the studs held. 700+ hp engine. 1958-1963 big block pontiac engine converted to hei and coupled to a 400 turbo trans in a 77 firebird formula. It produced enough torque you could feel the car twist.
Yes, some light oil.
I am sorry, such things are always annoying. But that’s the right attitude, if you have to do it again then at least it’ll be an improved version
Out of action for a bit. See op.
Sorry to hear that. Get well soon, take care of it and do what the docs/therapists say
Thats no good at all RBD. It looks like you have a bit of carnage to your thumb as well with the big groove in it. Get well soon. ![]()
Very nice project you have going. I hope you heal up quick.
Ouch! Best wishes for fast healing!
Thumbs fine, that’s just the elastic bandage wadding me up. After the first 24 hours the wrist is pretty stiff and ~50% oversized. Feels like a stubbed toe right in the joint. Another day and it will be more colorful, already showing a bit yellow.
Any sympathy from the better half?