This is more unseen miniaturization work. Looks good RBD, the recovery that is. ![]()
My wrist was bugging me so I did something a bit more fixed. These are the spacers that go between the fins.  They’re a bit uneven in width but this is how they work with the fins.
  To get the spacers the right size I made up a jig with the cut out from one of the fins and a fender washer.
  I’ll put a piece of tape on the smaller disc, the spacer fits around it and when I’ve sanded through the tape the spacer will be just the same thickness as the fins (1.5mm). The fins also need some work. The center hole is just a tad small and not well centered on all of them.
  First I’ll Dremel the hole a bit in favor of center and then ream it out to a snug fit on the copper core. After that I’ll polish the flat sides. The edges will get evened up after it’s assembled.
Polishing and sizing
Its good to see you back at it RBD. I love your creativity with the cutting of the fins. ![]()
Wrist is improving slowly now which is a change from the first week but still have a difficult time turning my hand with only about 45 degrees without pain vs 180 for the left. To sand I’ll have to hold the plywood and sandpaper up on edge nice I can’t turn my hand palm down. That or do it left handed. Probably both.
I’ll send you some pain killers if you like. They are working wonders for me at the moment. ![]()
There are times when I’d like nothing better but it’s manageable and tells me when I’ve gone too far. When I’m late with the ibuprofen the ache is tiresome though. Slept through the night for the first time so even that is getting better.
Yup, went too far and was late self medicating but I get OCD when I’m working so at least there’s something to show for it. Started out with lots and lots of wet sanding with 400, 600, 1500, and 2000. Both sides of the 4 discs for about 2 hrs total. 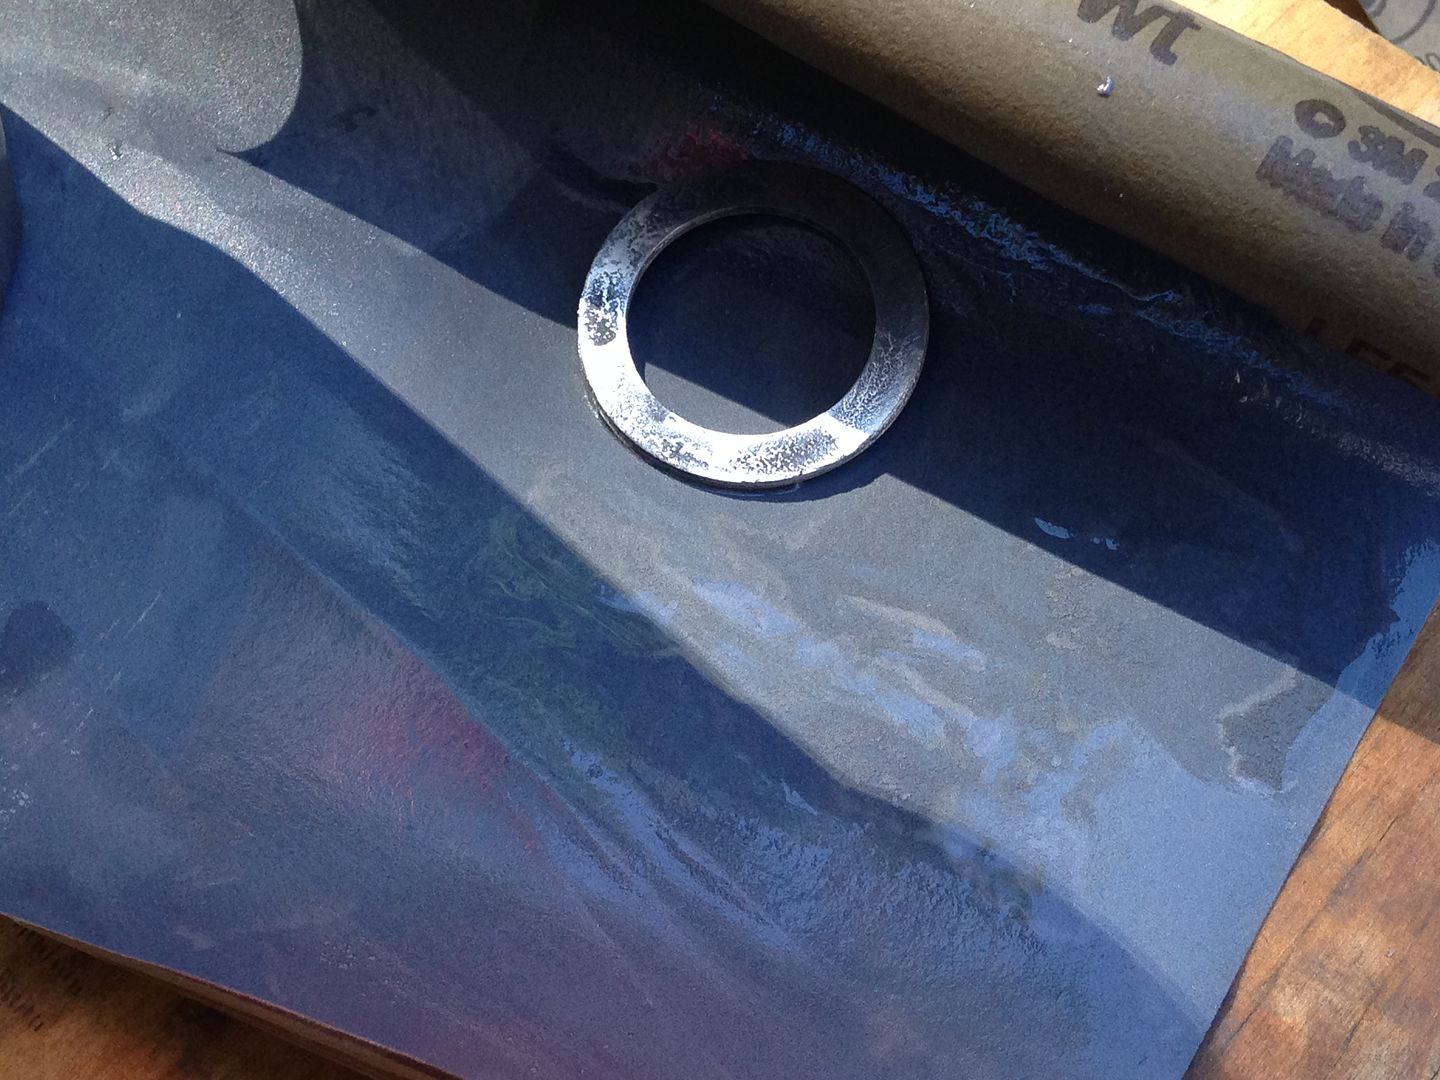 Then I loaded the spacer rings onto a hole saw wrapped in tape and chucked into a hand drill and spun it past 220 dry, then the same wet 400, 600, 1500, and 2000. Here it is after the 600.
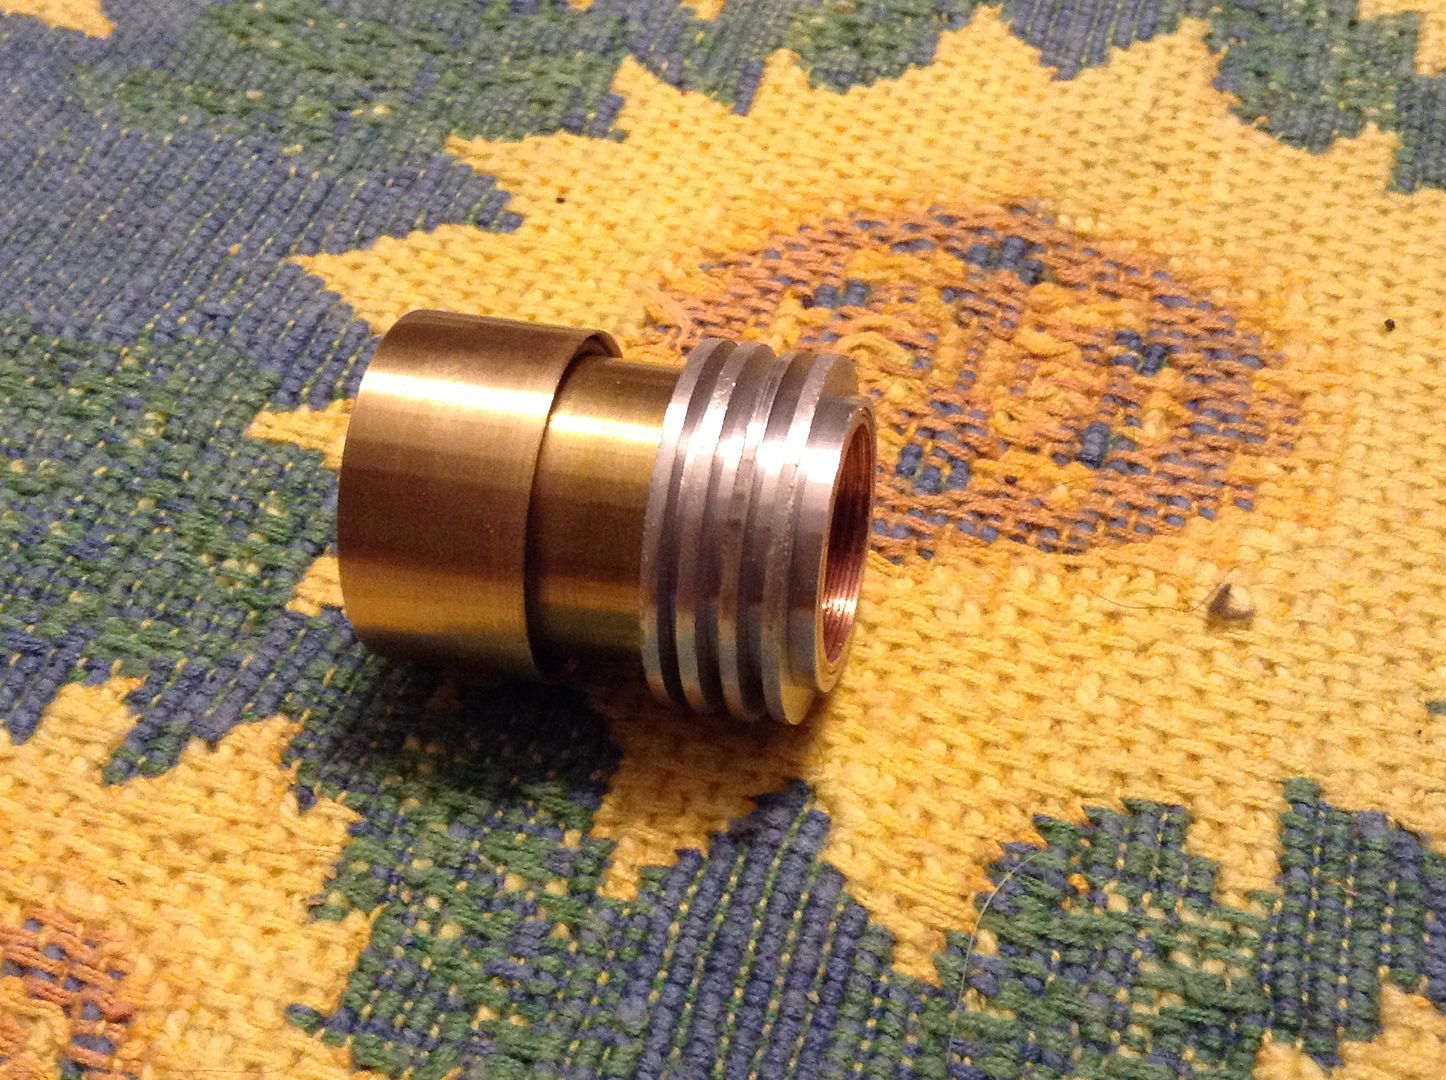
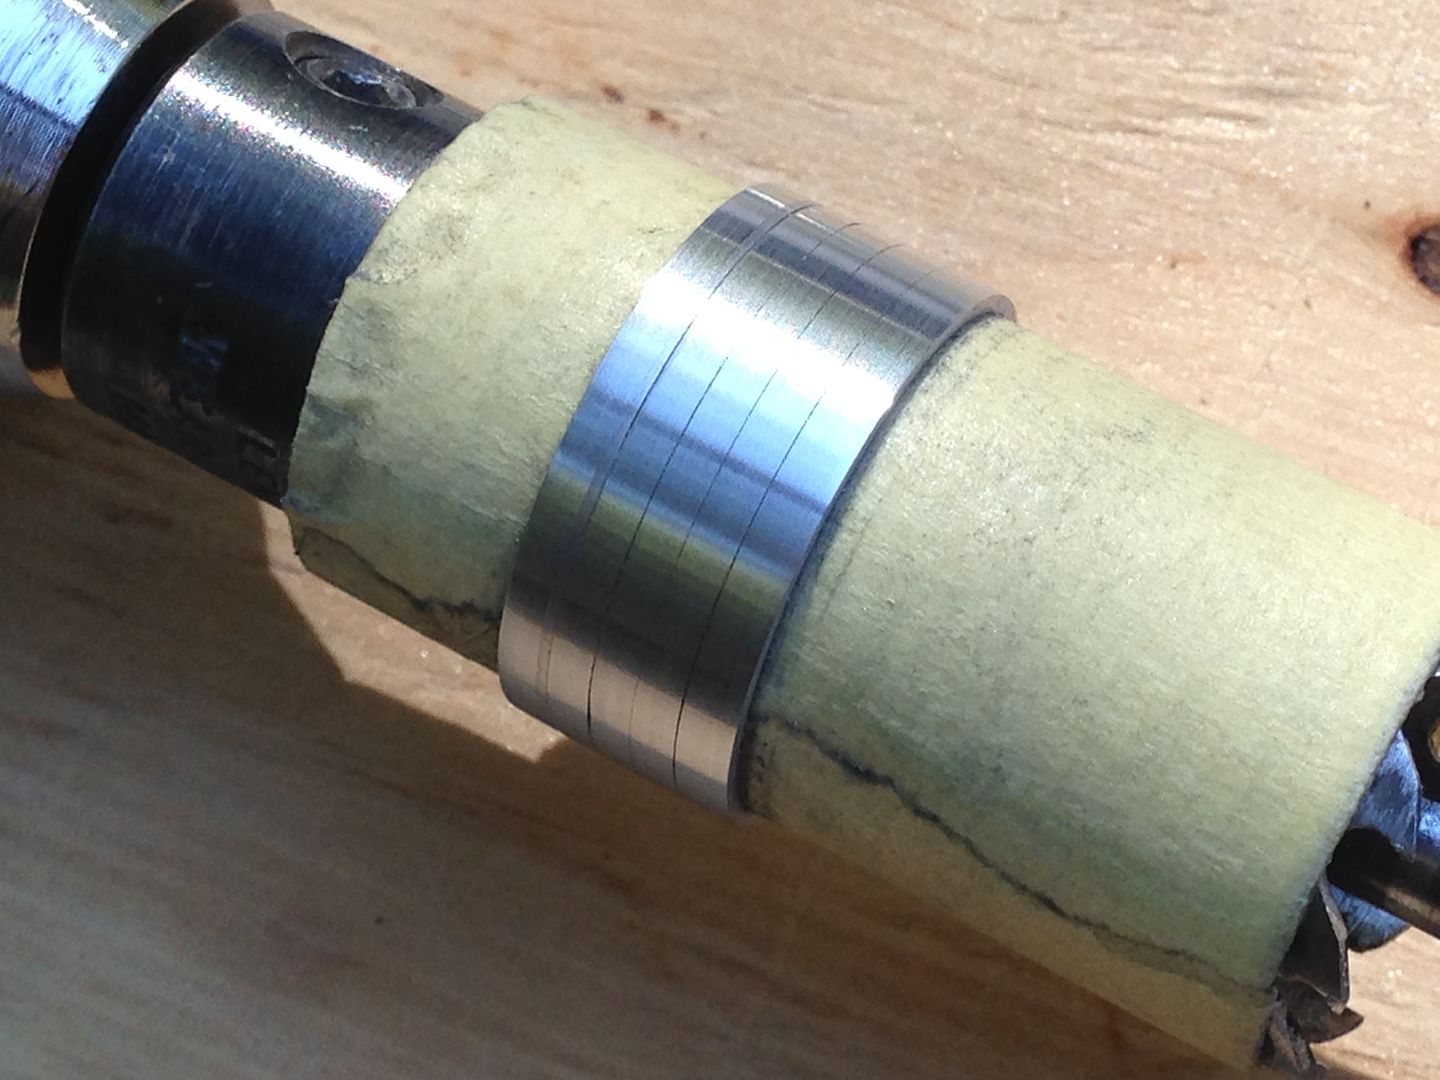 And again after the 2000.
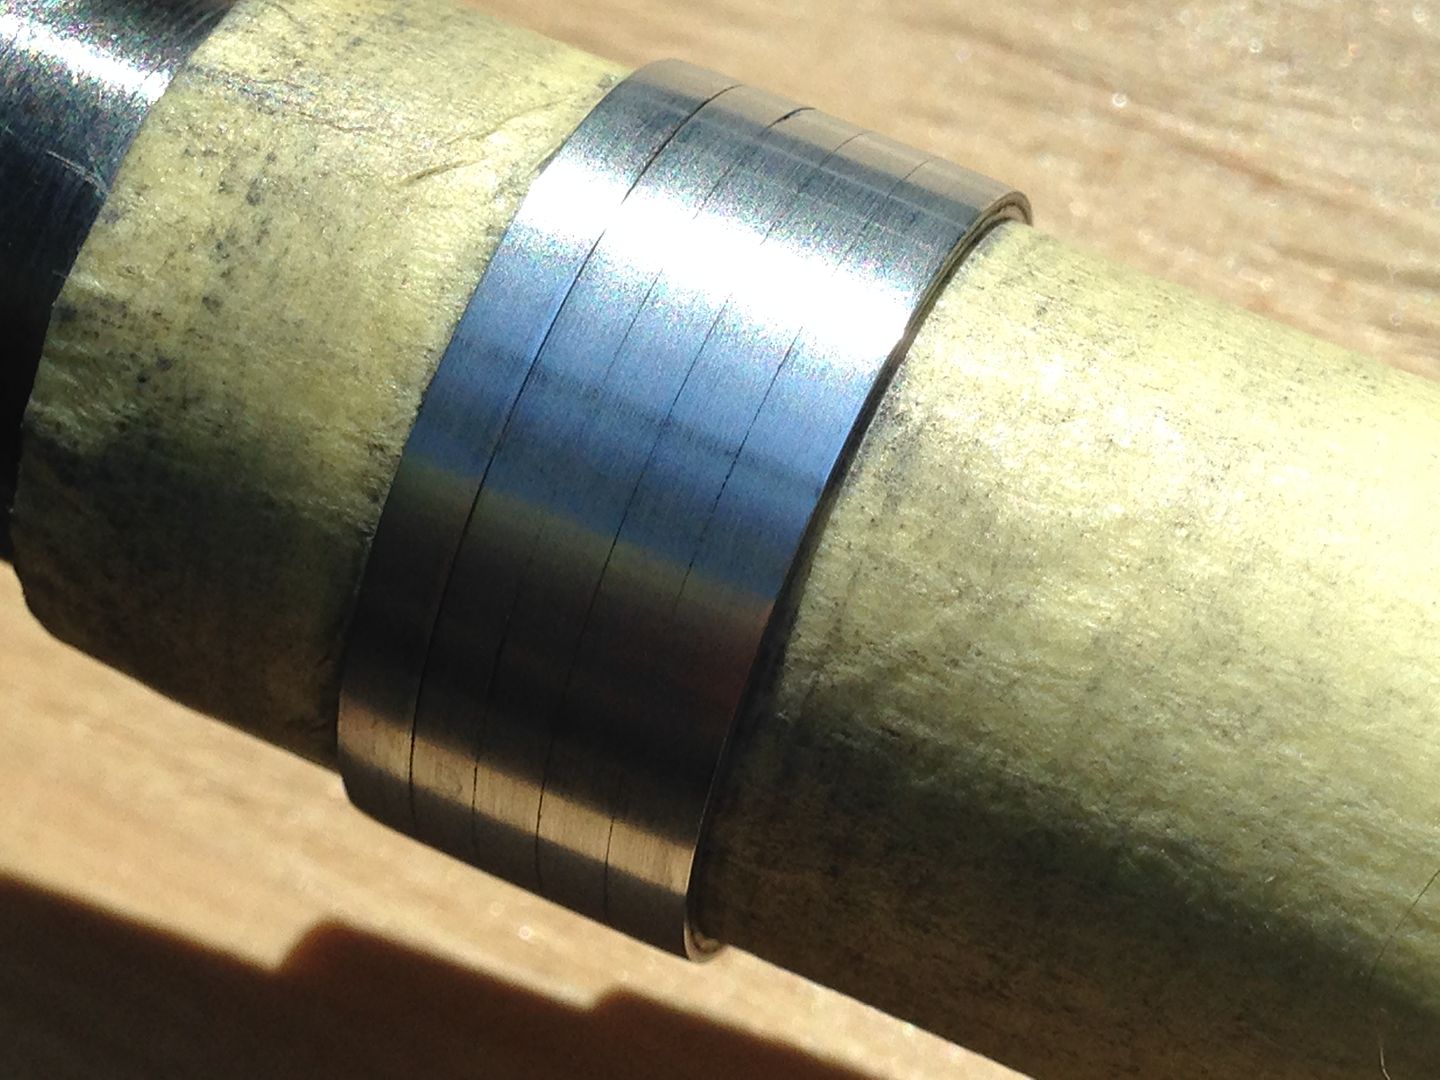 The difference will be more apparent after the polishing that comes later. In any case the next thing to do was to sand them closer to size with the jig I made the other day. Here they are slipped onto the copper core.
 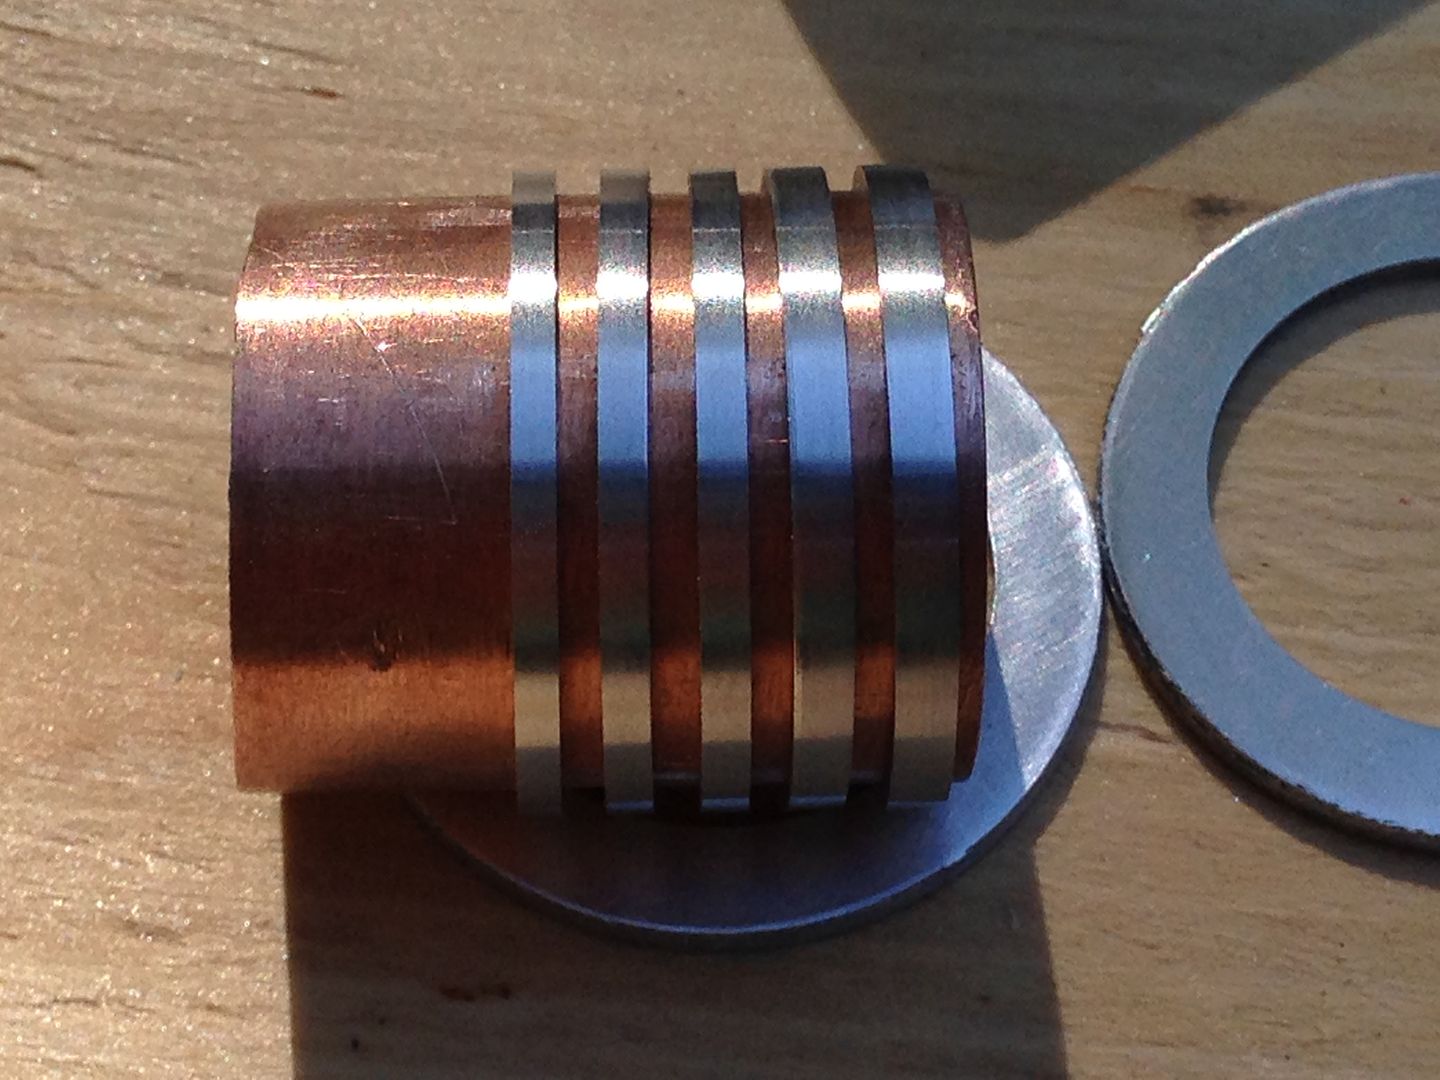 This next pic was taken earlier but is here to show the rings, discs, and sanding jig.
 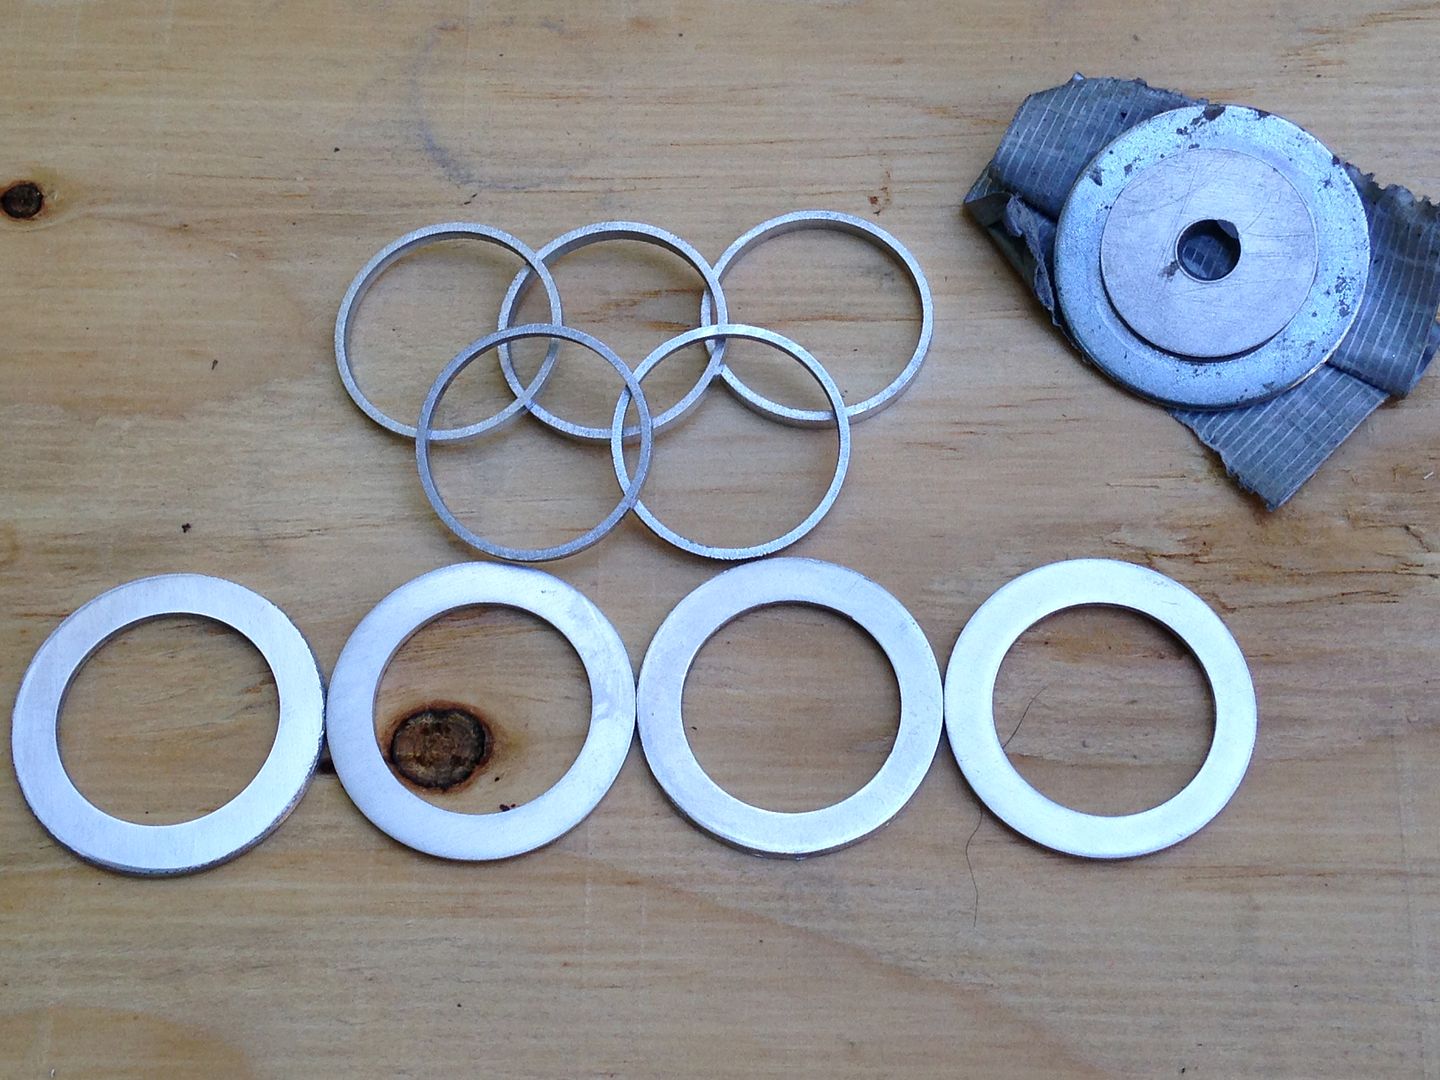 Everything will get at least one more round of wet sanding before assembly. Next up will be reaming the discs so they fit over the core.
Reaming the discs
Rings look good
Yeah, glad your wrist is doing better, and you’re able to do a little bit!
Thanks, I’m glad it’s getting better too. Just finished reaming the discs to fit. They still need truing up to the outside but here’s how they fit minus the wood collar. 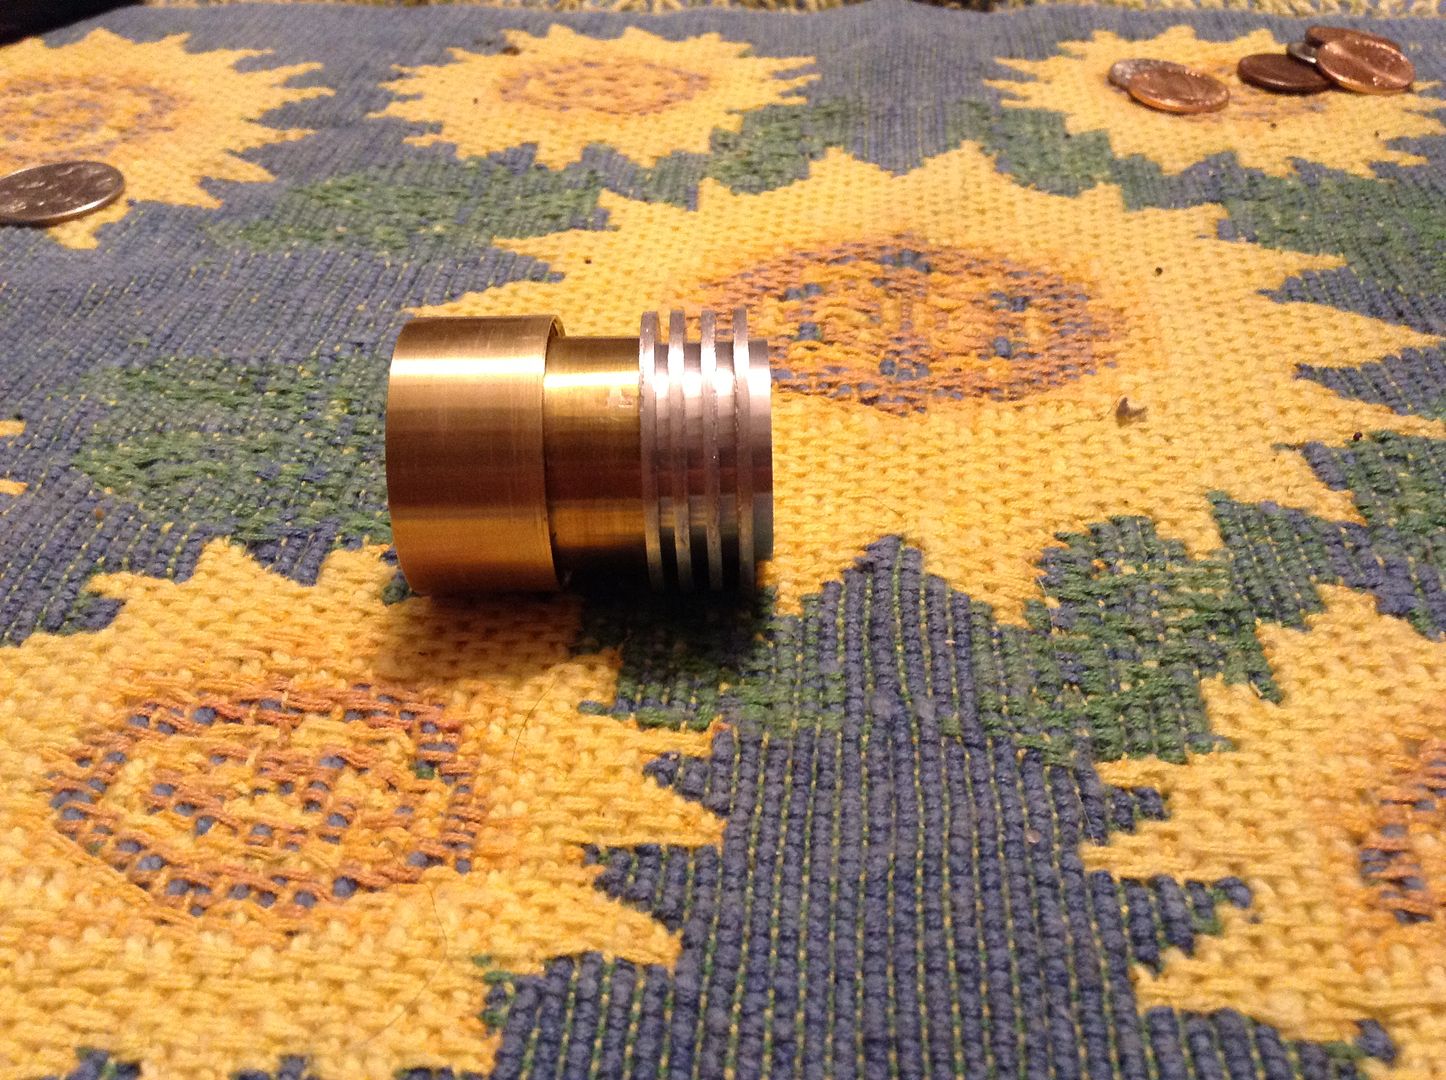
Parting is such sweet sorrow
Man, you still got the touch!
Really love your work!
I never understood and dont understand the patience you guys have. ![]()
nice workmanship
Parting is such sweet sorrow.
Shucks. Ask anyone, I’m not patient, just OCD.
So I’m dog sitting Frances, the cattle dog and brought some things to play with while I’m there, among other things, the wood collar piece. And proceeded to cut off the plywood section with my little Vaughan mini bear saw. 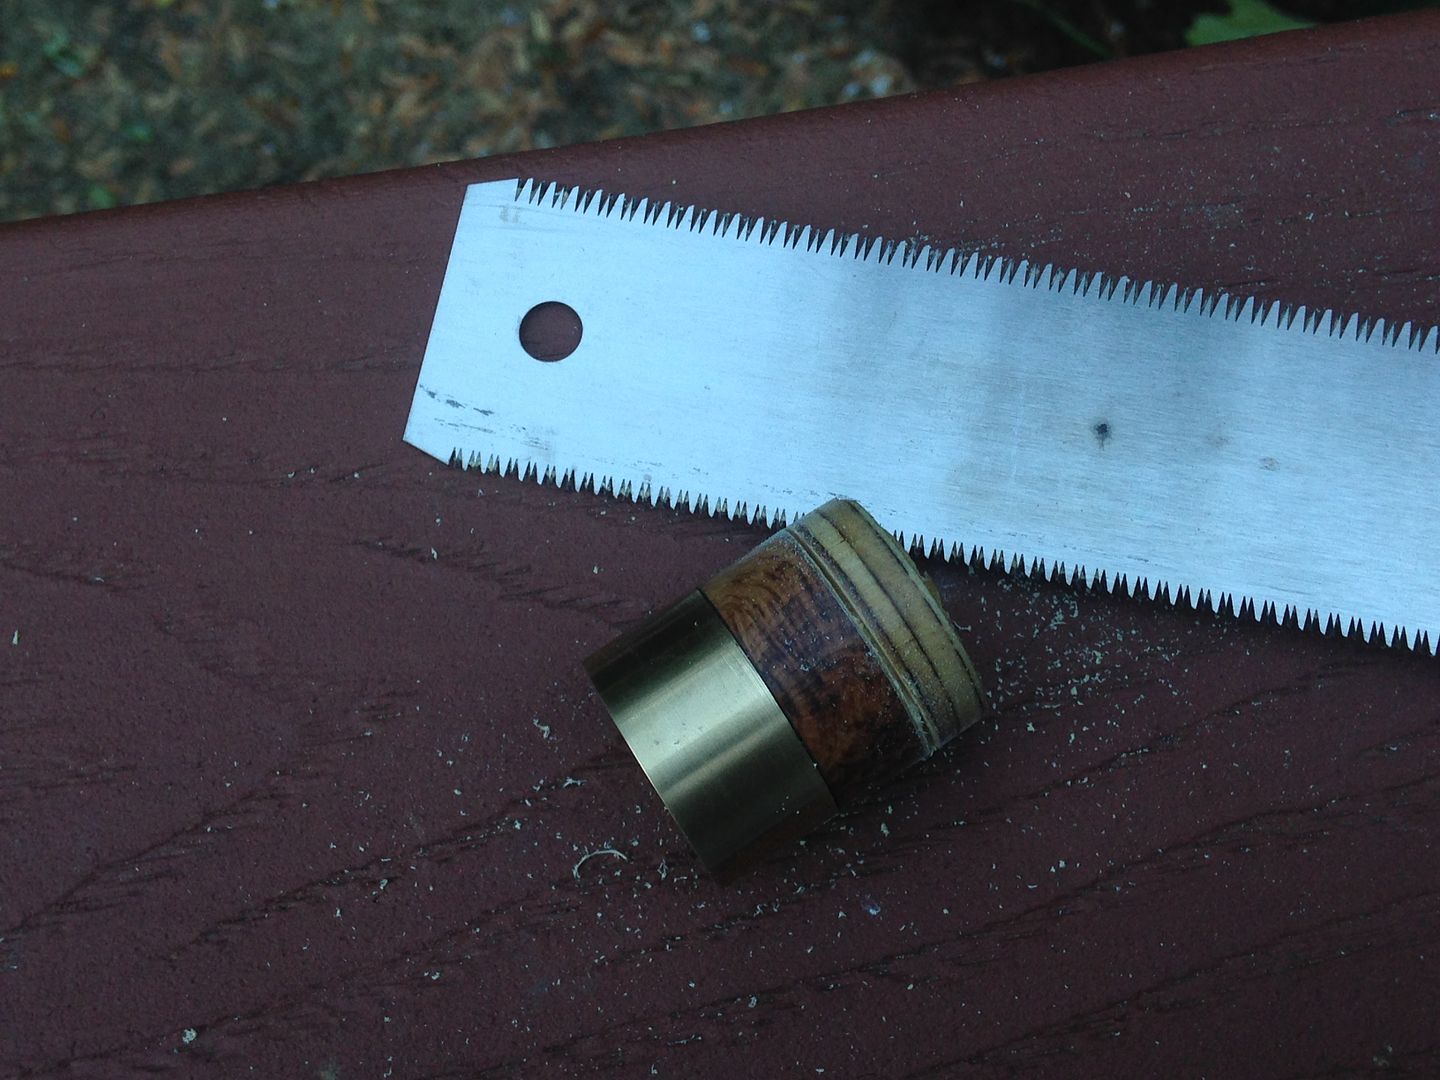
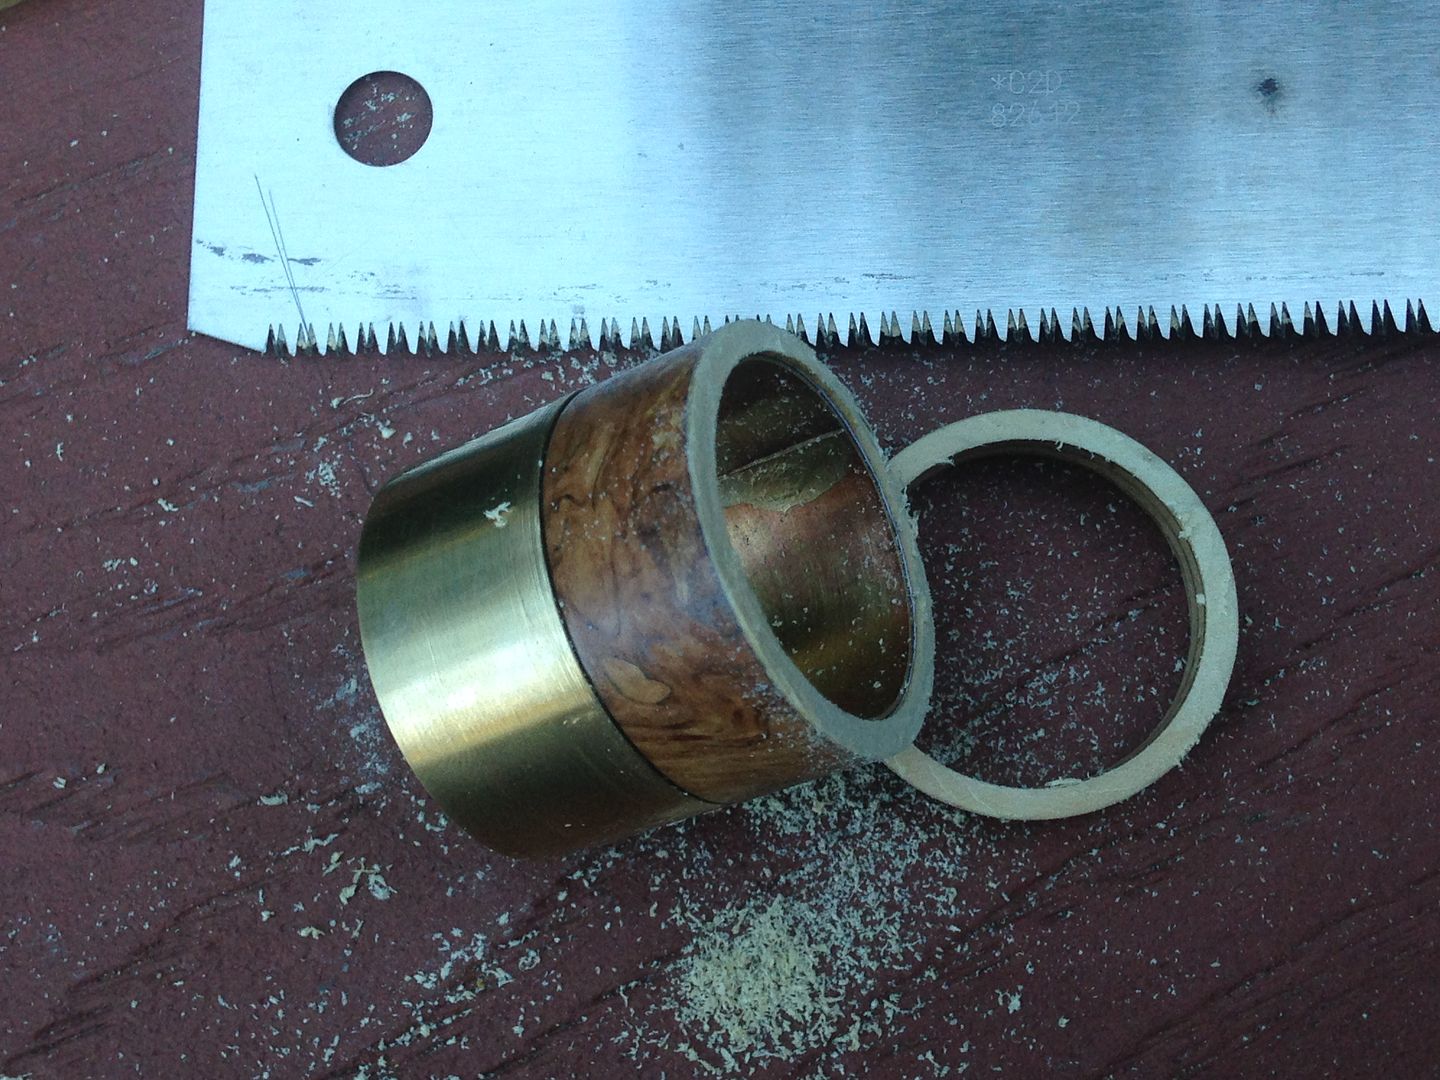 Remember the paper between the pieces of wood? This is where I comes in handy.
 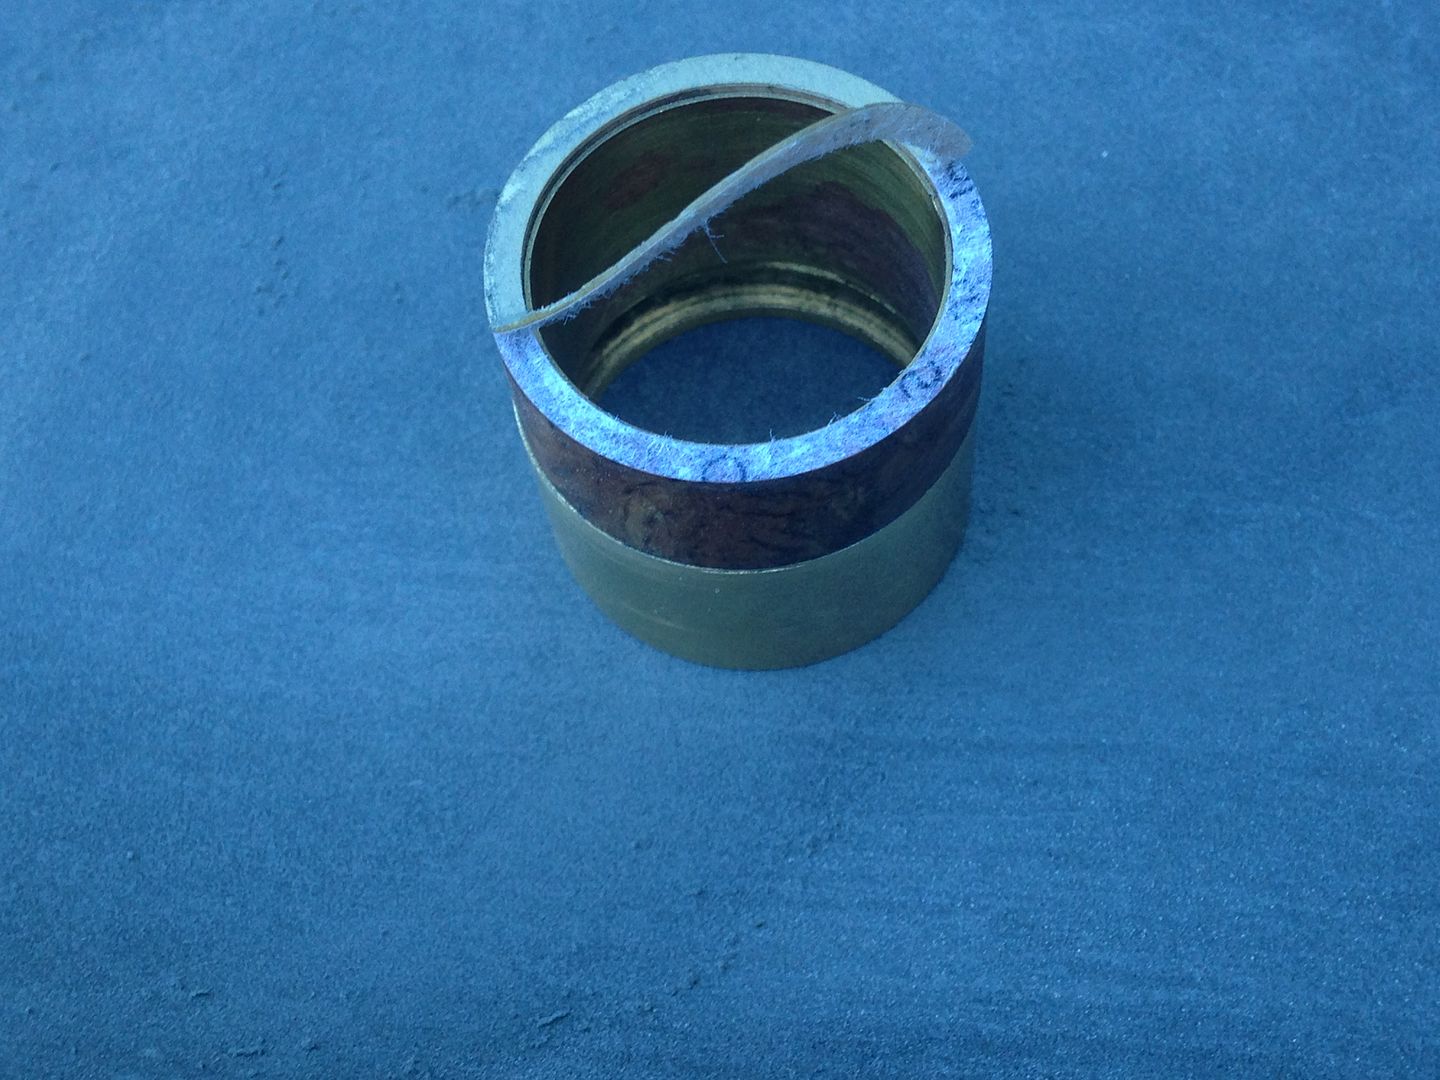 After that it took only seconds to sand down to clean wood.
 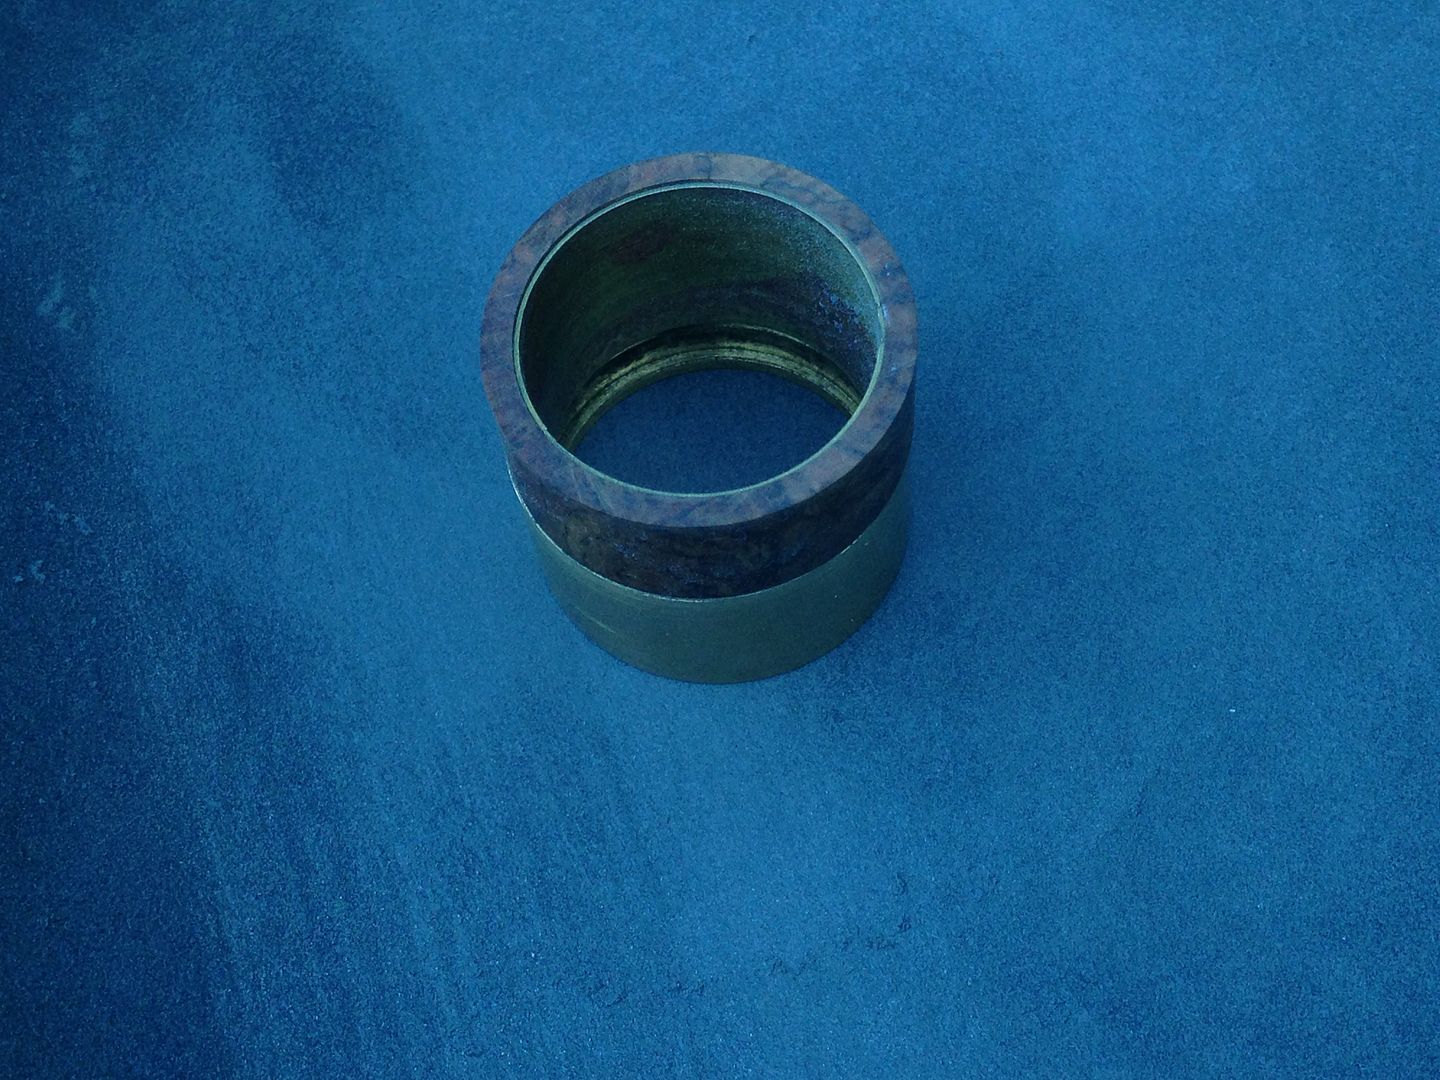 I think the grey w/d sandpaper skews the white balance a bit. I went home earlier today and cut a fifth disc and fitted it as well(all still just loose parts).
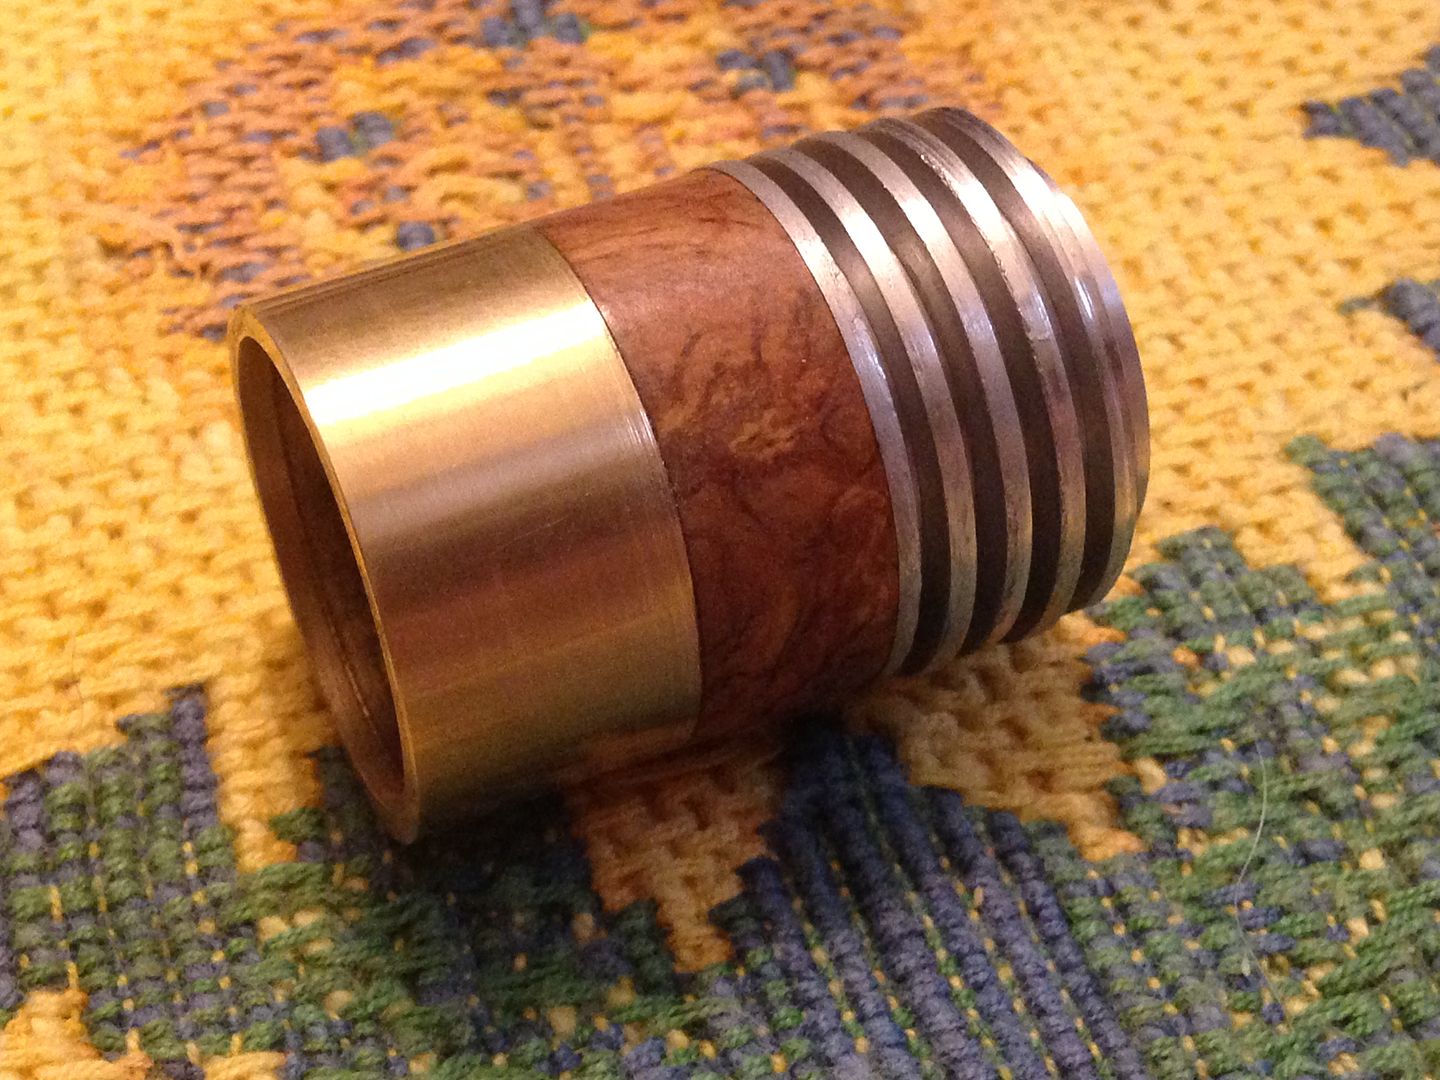 And here showing more or less the depth of the reflector.
  If I use this one then all of the copper pill is in the finned area whereas with a p60 reflector part of the pill extends into the hollow under the wood. I’m not really sold on these fins, they seem too thick and chunky to me at 1.5mm thickness. I’d like to have the same mass in the same length with more surface area so on the way back this evening I stopped by the salvage yard and found some more aluminum sheet. $1.50 for both of these. One’s 1.4mm thick and the round one is 1.25mm and about 12” in length.
  First I’ll see how I like the 1.25mm stuff but it’ll be a few days before that. Other things will happen first when your modding with ADD.
Some prep and a reflector mod
OCD aye. I’m not sure about that but anyway. ![]() That piece of timber just looks better with age. As far as the fins look though, mine are from memory 1.25 and I reckoned they looked thick. Must be a trick of the eyes.
That piece of timber just looks better with age. As far as the fins look though, mine are from memory 1.25 and I reckoned they looked thick. Must be a trick of the eyes.
On a bigger host or maybe with black ano they’d look thinner but I want it to look slimmer. With the copper core and pill there will still be plenty of weight to it and the tube will necessarily be a bit thicker than the average 18650 tube which seems to be around 24mm. 25-26 mm would be nice but leave only 2-2.5 mm wood thickness. For one thing the spacer rings are more than 24 mm OD and the tube won’t be thinner than that.
Some prep and a reflector mod. Warning, image heavy
Of course I didn’t bring everything I needed for all of the work I could have done and still can’t use the hand for much(shouldn’t as much as can’t) but there’s some prep to do first anyway. I need to join the threaded copper core to the front of the head using brass sheet brazed to both.  I need to somehow ensure that the two pieces will end up axially aligned and not skewed or off center. The first thing to do is square the ends of each piece. For the copper I laid the piece on a square to find the short side and put some tape there.
  Then sanded until the tape had worn through.
  This removed a bit more from the longer edge and after repeating 8-10 times the piece was as square as I could make it. The brass piece was likewise taped and sanded but to find some semblance of square I used the wood collar moving the collar all the way around and marking the low point to find the average. The brass sheet will be brazed to this piece first then a 1/8” hole drill as close to center as I can and widened to ~3/16” adjusting to center as needed. This part I can’t do as I forgot the hack saw and screwed up one piece trying to cut it with the recip saw(just can’t hold it well enough yet). I could however make the jig that will hold the copper piece centered on the brass hole. I purchased a couple 1/8” fender washers and reamed the center hole to just barely fit a 10-32 machine screw then filed and sanded the outside to just fit into the threaded copper core.
  The nut will space the washer above the brass sheet so that the washer isn’t brazed as well. The gap between the nut and the copper should be sufficient to prevent even the nut but especially the washer from being brazed but won’t be a serious issue even if it does, we’ll just have to wait and see on that though.
On to more stuff. I like this reflector, it’s nice and deep, more so than a P60 reflector that fits a bit loosely. The problem is it doesn’t fit into the bezel.  Or into the head.
 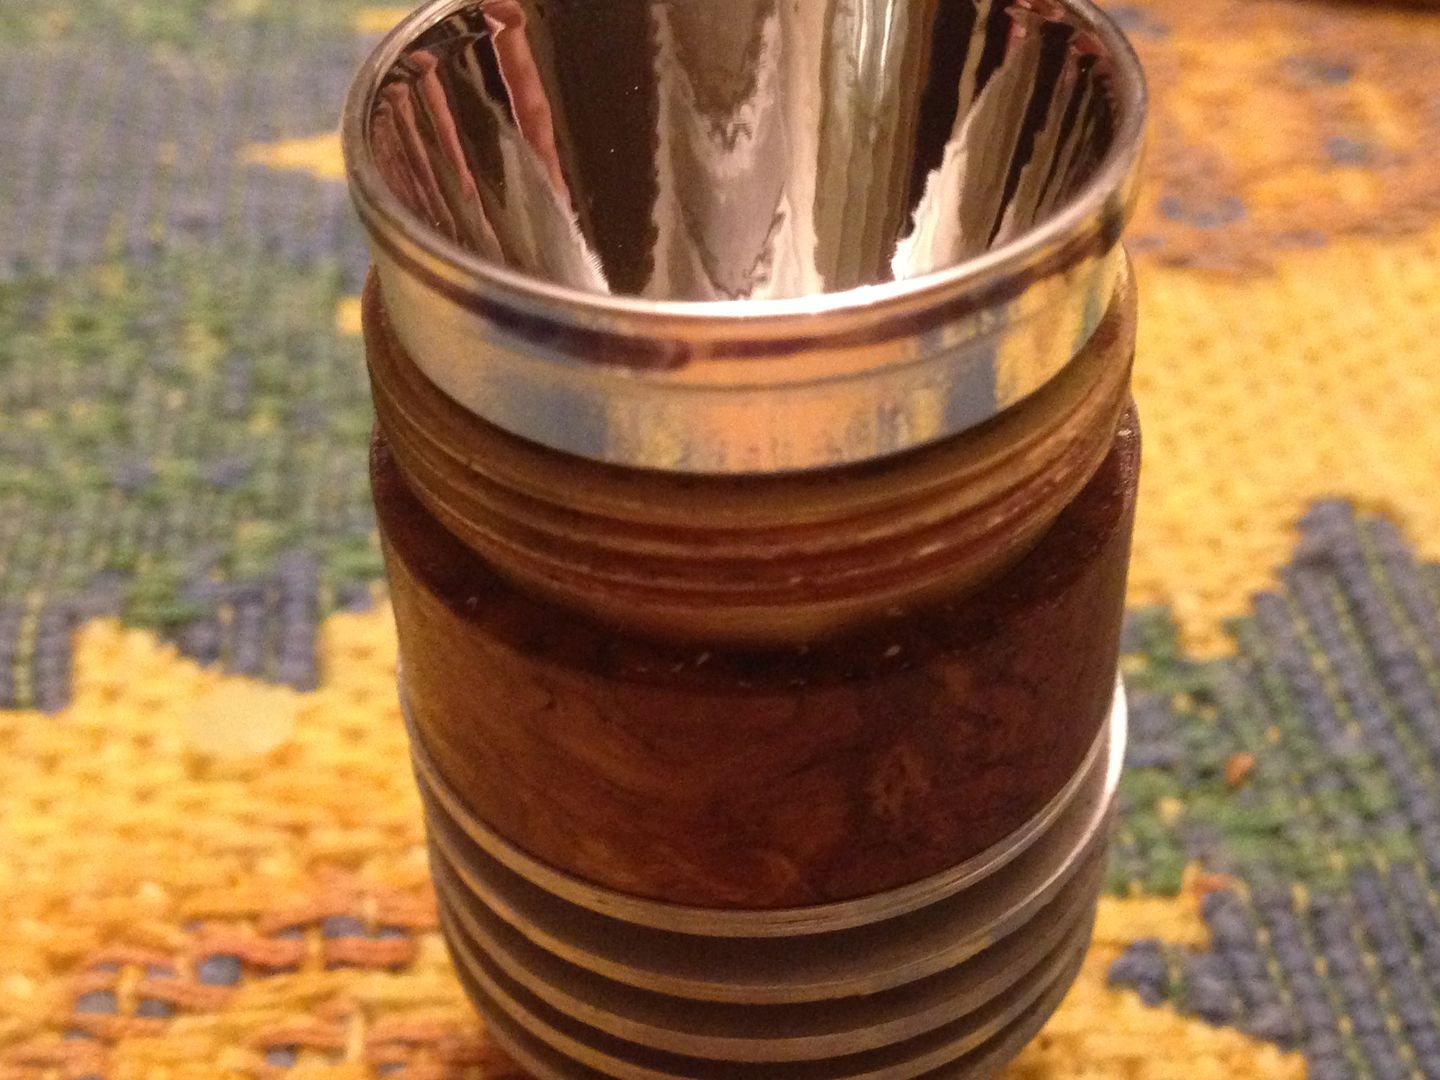 So I need to file/sand about .5 mm from the lip and make the second step disappear into the taper of the sides. I’ll also have to bevel the inside of the head to match. Just covering the openings with tape would be easy and keep debris out of the reflector but would also pull the coating from the leading edge. Instead I used a rubber washer, a machine screw and acorn nut(all I had that fit) and a few extra metal washers to both take up the slack and compress the rubber one against the reflector.
 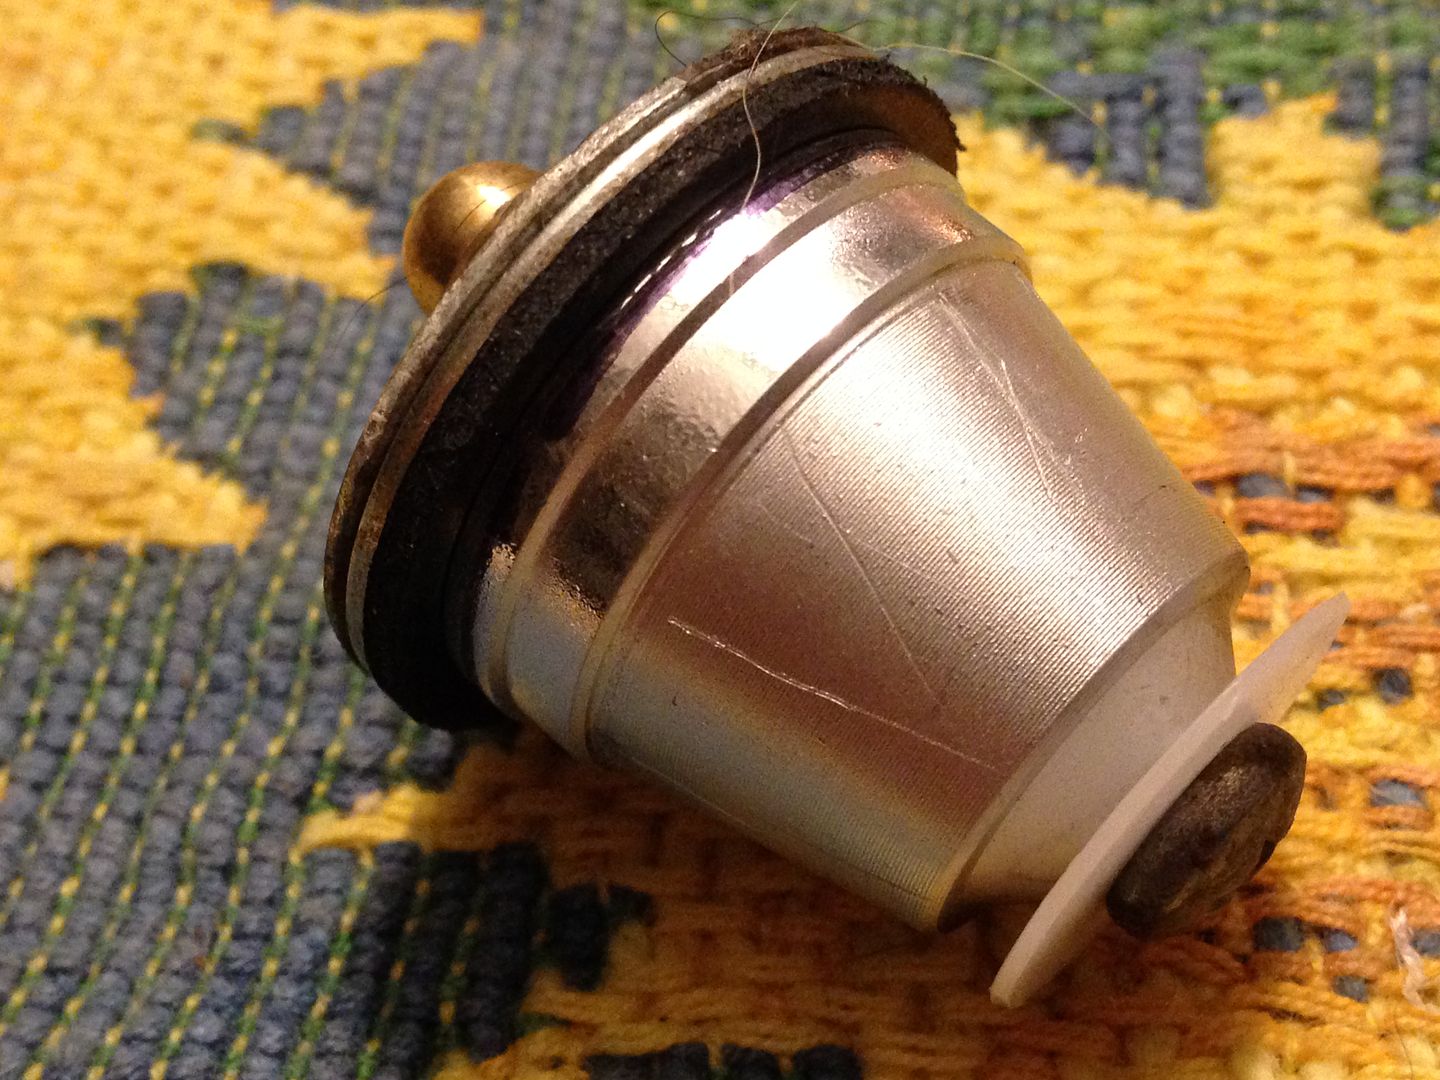 I used an exacto knife to trim the rubber flush to the edge.
 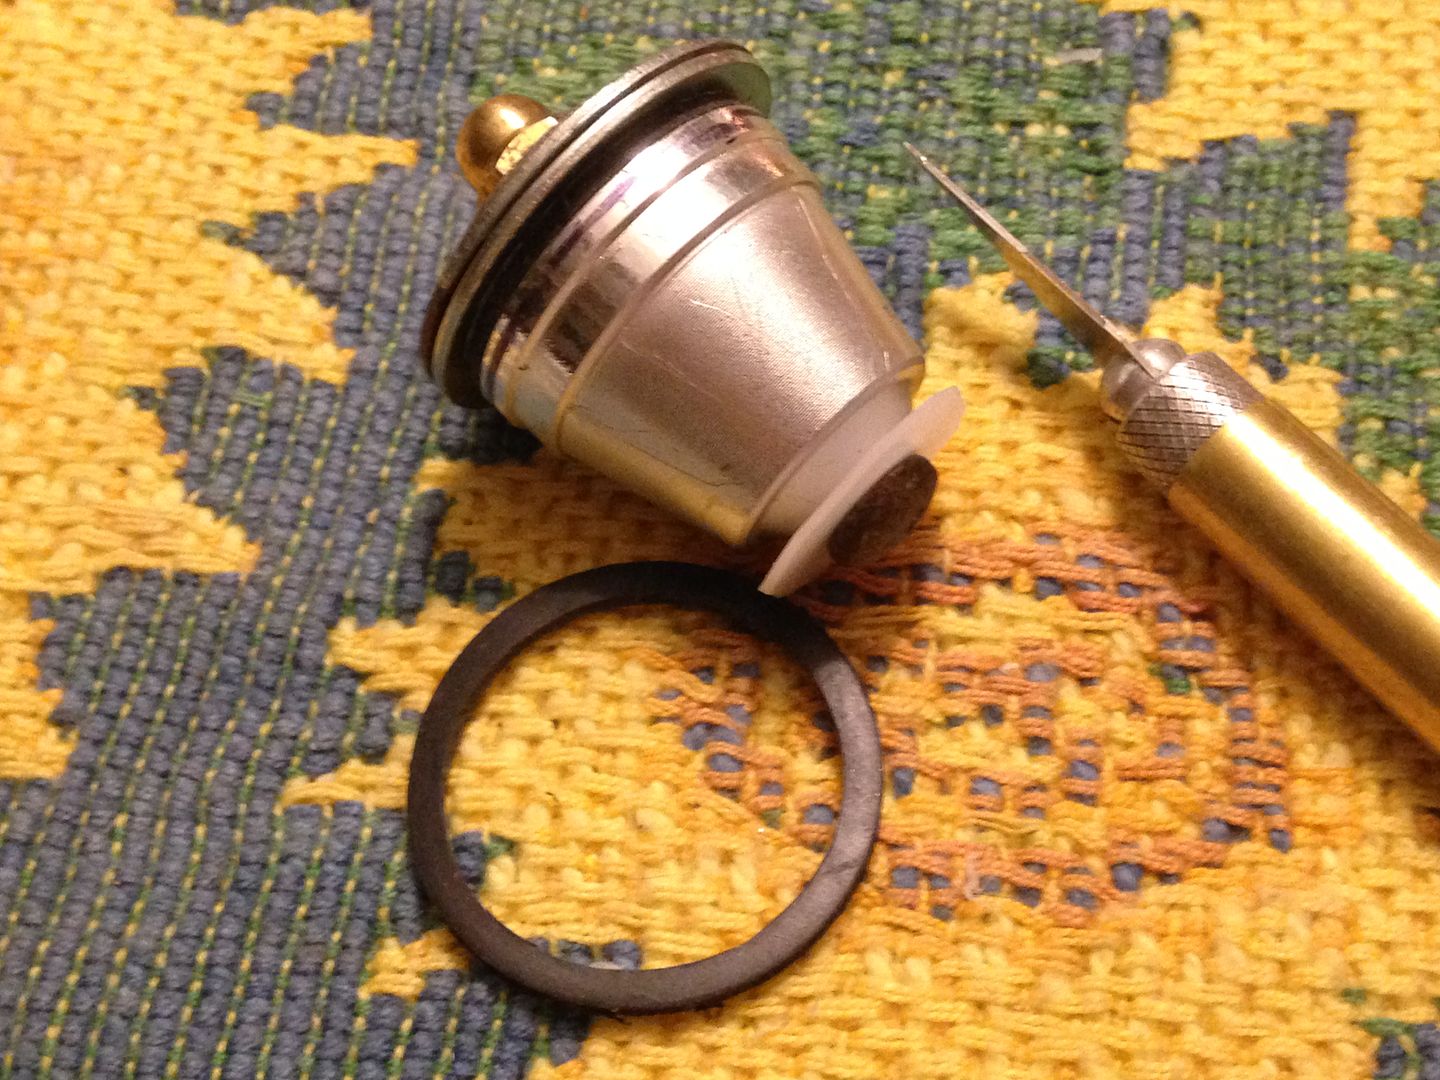 After that I traded the larger washers for ones a tad smaller than the reflector but still big enough to compress the rubber and started filing. It took several sessions because of the wrist but first I got the lip to fit into the bezel.
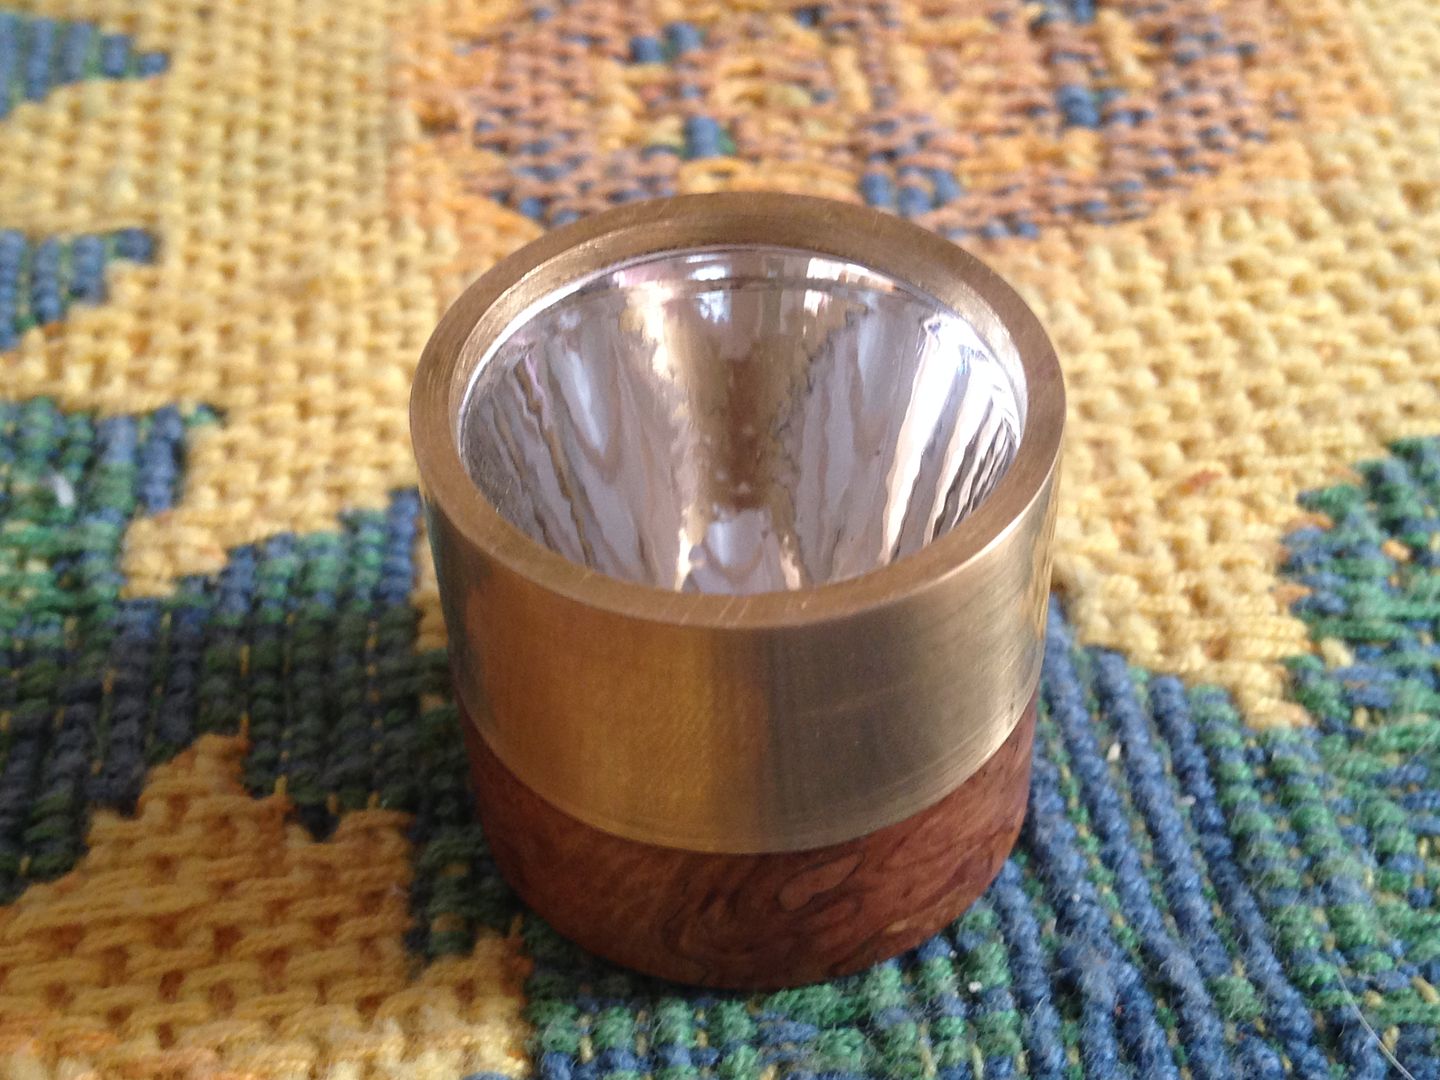
 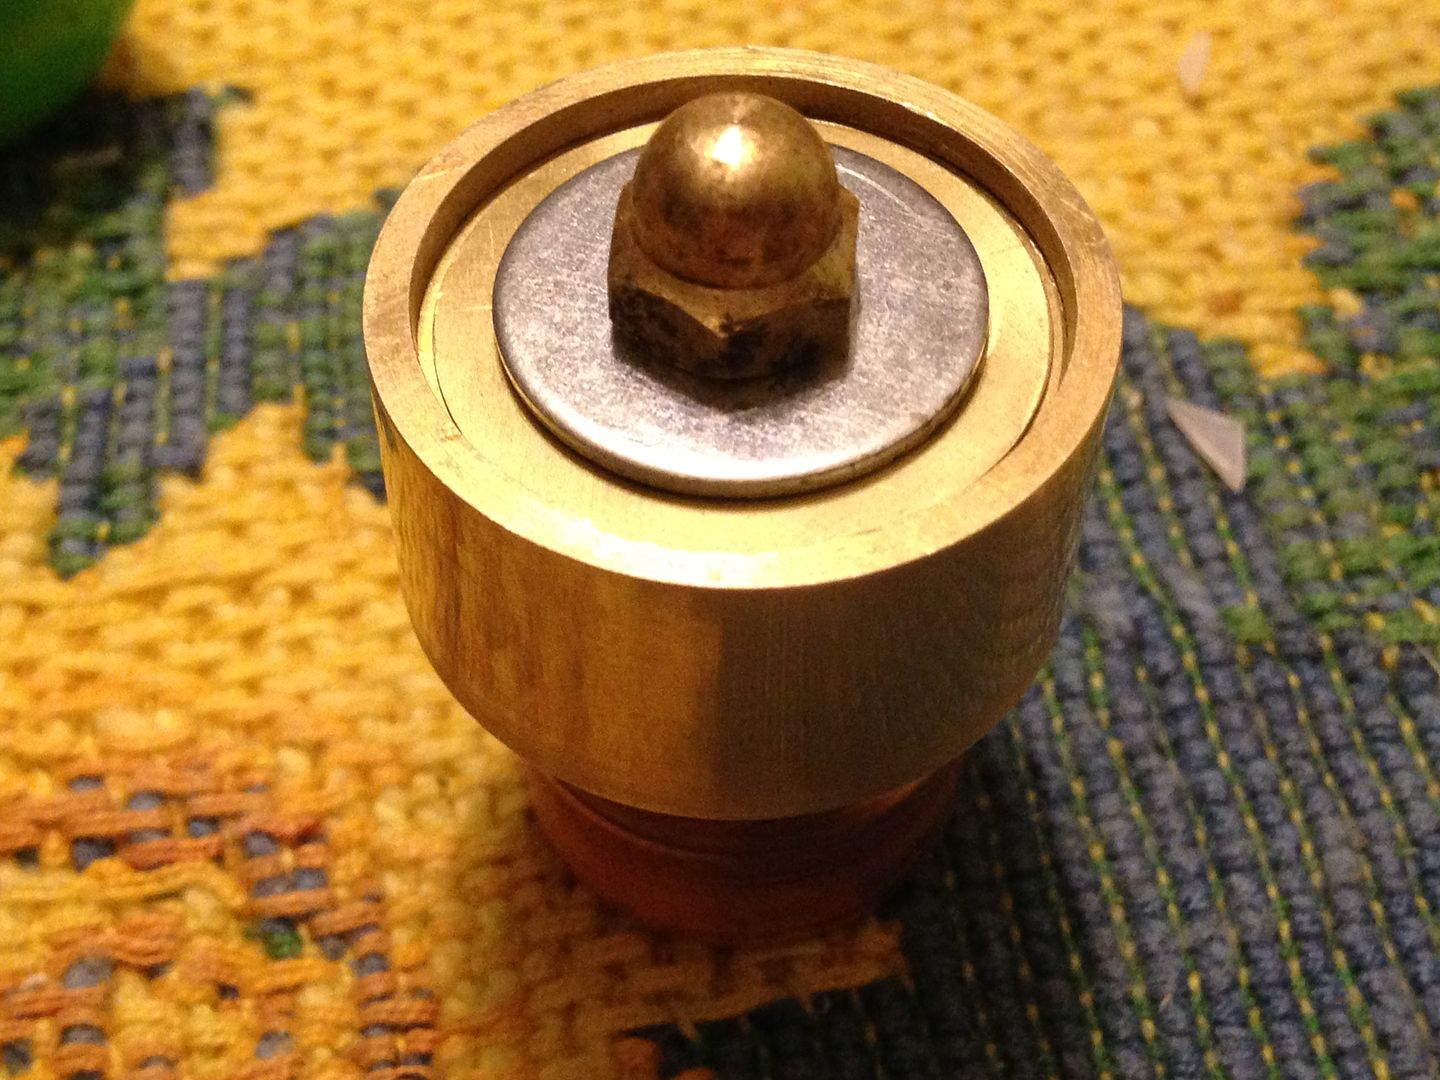 And then the second step filed and sanded to match the tapered sides.
 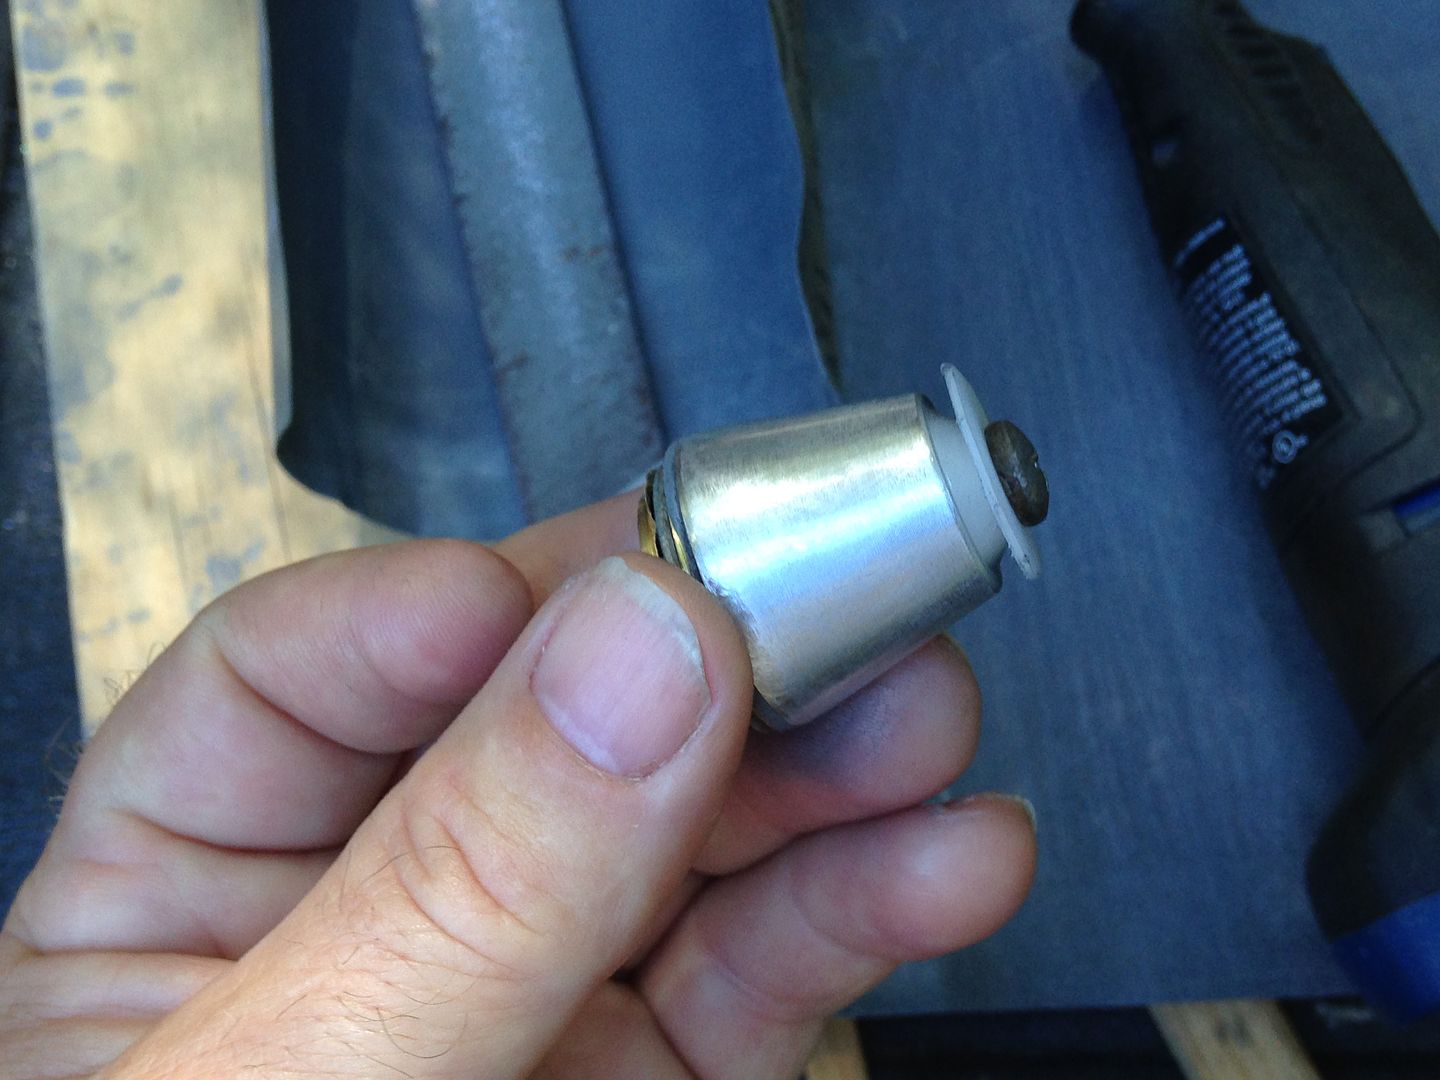 It won’t fit any deeper into the head until I bevel that
 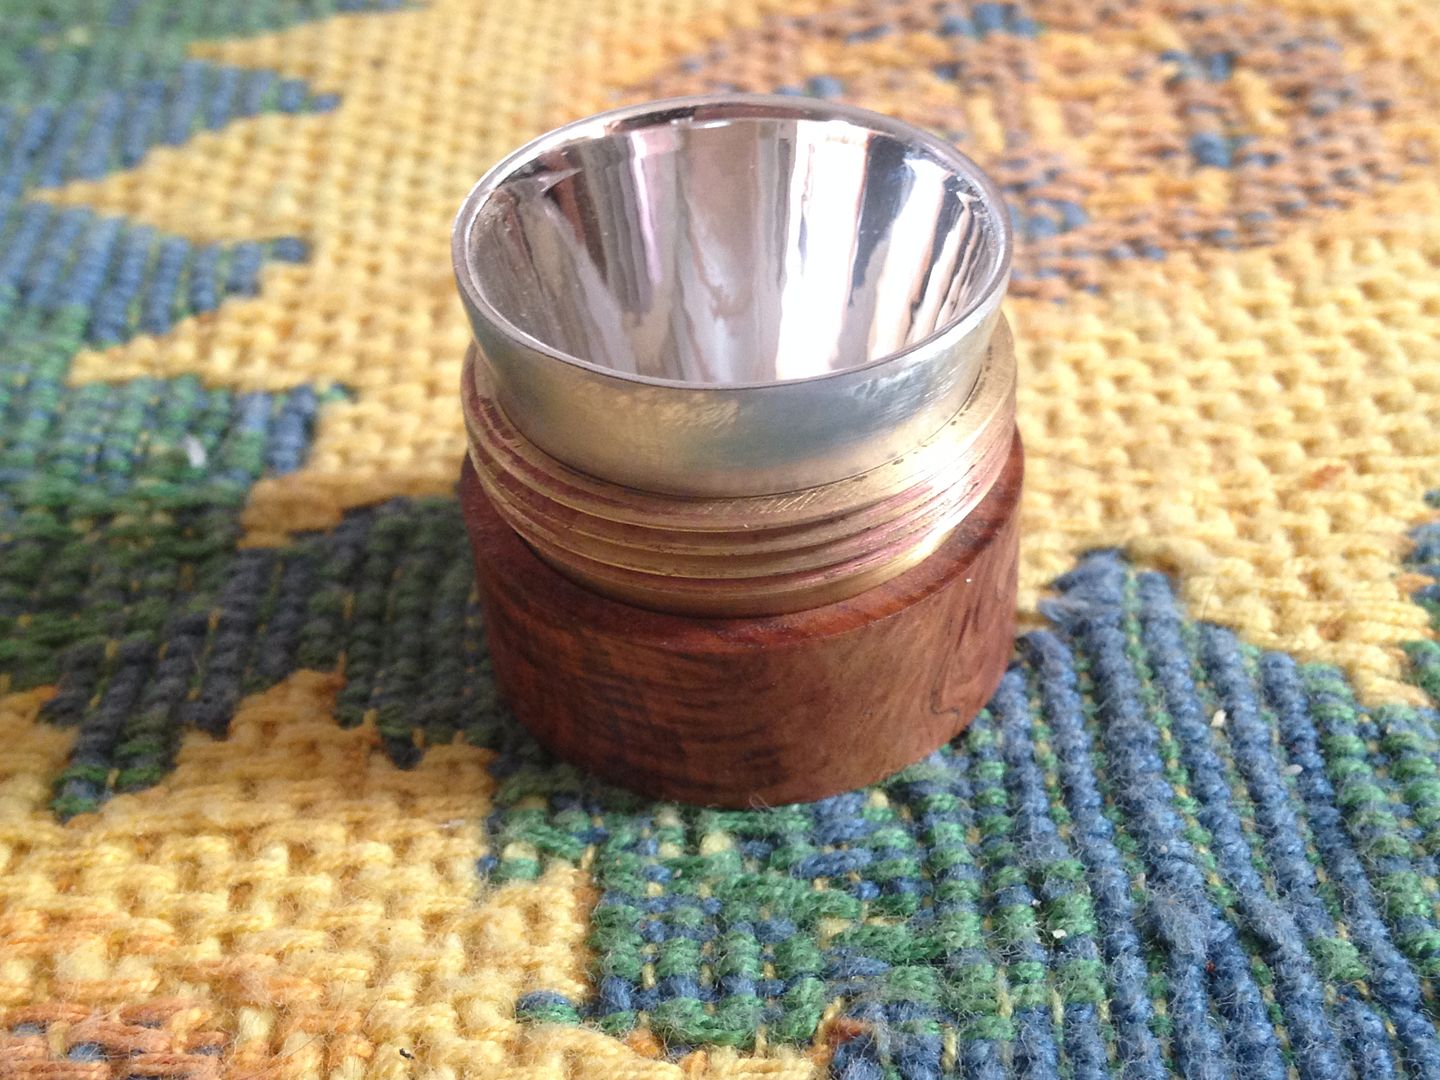 but the bezel is just about perfect. :+1:
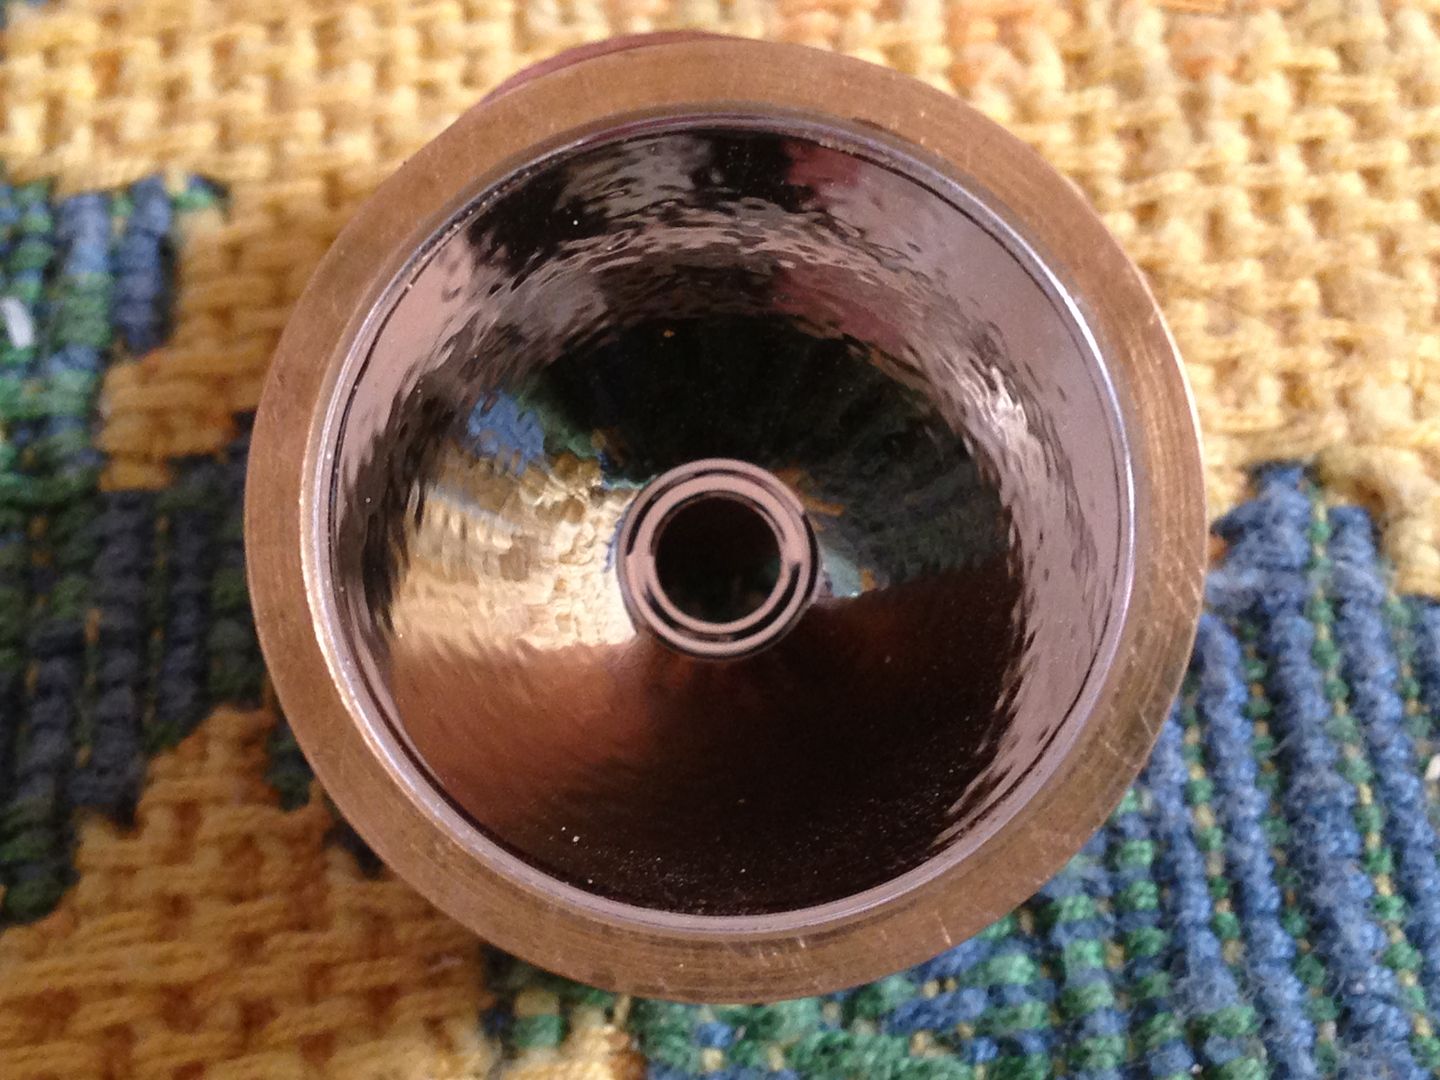
Thanks for checking in. Feedback keeps me going.
Brazing the head
You’ll have to get onto YouTube and look up a few old music clips to get really orsm feedback. :person_facepalming:
Its good to see you soldering on here with the injury. The light is really starting to take shape.
I may have missed something but your not working from home?
Also would a strong alcoholic beverage act as a pain killer to help you with the light build? ![]()
Still no soldering or brazing. I might have tried but couldn’t make the cut. The sniveling coward Doesn’t like to travel so I brought down a bag of bits to play with while I dog sit(not working either). A beer a day and all he couch I can potato. Nicer place with an excellent couch.
Looking so good! Great job on the reflector filing. It looks like it was meant to be that way!