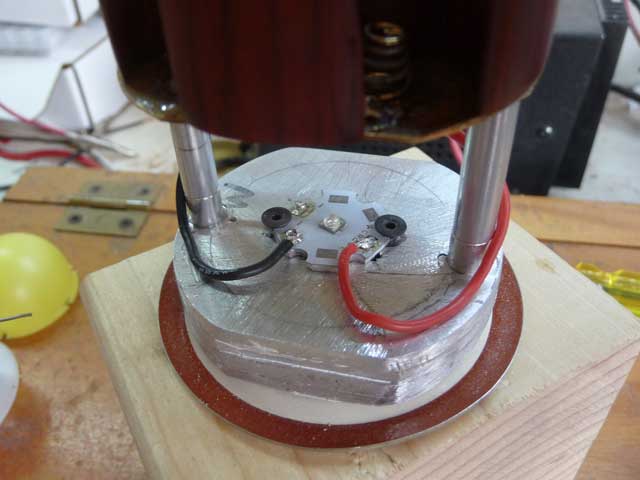
The 22 gauge wires were trimmed and soldered to the MCPCB
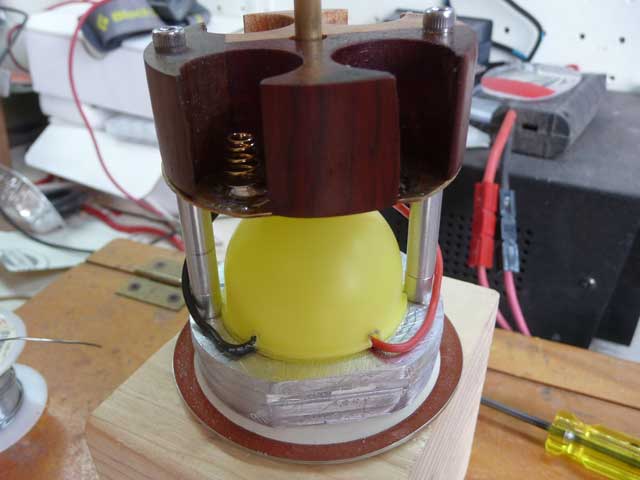
The test fitting of the remote phosphor dome. Two small notches were made to clear the spacer posts and another two notches to clear the LED wires. I used a hot soldering iron tip.
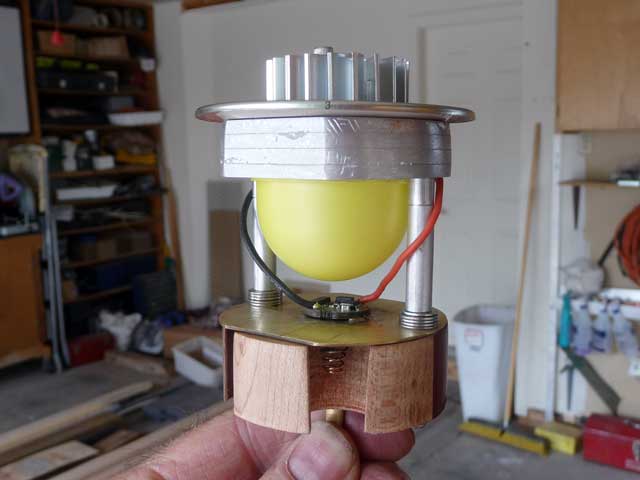
The completed upper module in the correct orientation…
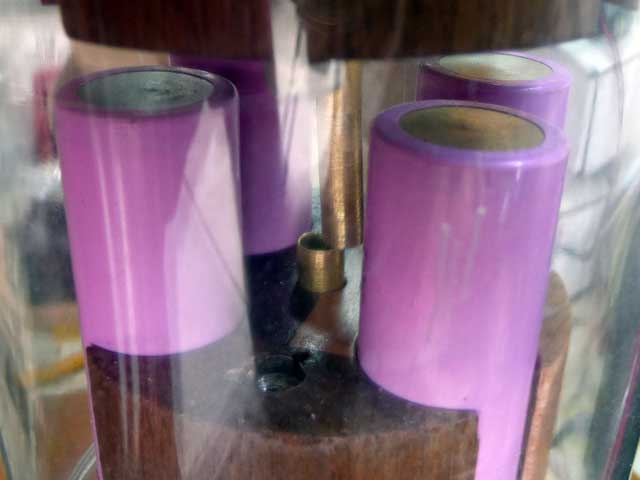
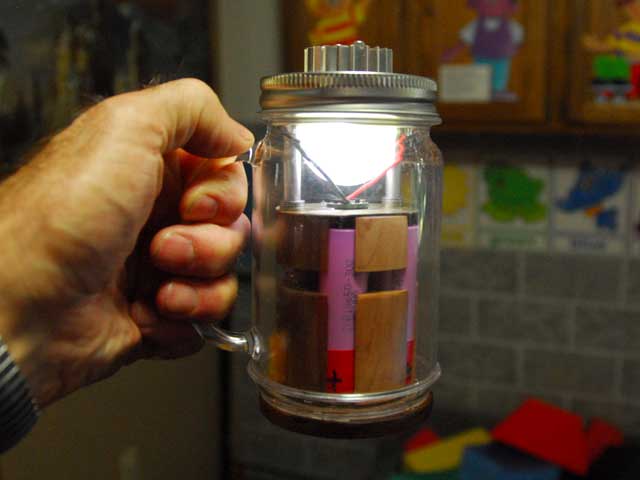
Kind of a difficult shot with glare on the mug. This one shows the upper module half being inserted The brass tube of the upper must be inserted into the lower brass tube.
There! Success; upper tube inside lower tube… To properly fit the upper module the colors of the wood used for the two halves must be matched. I use the walnut segment as my guide. The “handmadeness” is revealed by the slightly different spacing of the cell holes around the circumference.
Next we can see when the contact springs are just barely touching the cell ends there is approximately a 1/4” gap between the lid and the rim of the mug. This can be adjusted by removing or installing washers between the aluminum spacer posts of the upper module. This will permit changing to a longer cell at anytime in the future. The lower surface of the lid has a rubber sealing ring. That combined with the heat transfer compound used between the heat sink and the lid should make it safe to have at least light rain fall on the light.
The insert assembly is pushed down and the band tightened to secure the lid.
All set to go now !!!
It does light and moves upwards through the 6 levels of, 2% 6% 15% 25% 50% 100% with 100% being 1.4 amps.
Tonight I’ll try some dark room shots with the camera on manual settings. I haven’t pursued beam shots yet so some experimentation will be required. I complicated things by leaving the tripod out of town…
Light / brightness shots. These are harder to do than one might think. Our eyes are too darn accomodating in changing what we can see in different levels of light. If the first picture is a more or less accurate rendition of how the light illuminates on level 6, the highest level using 1.4 amps then the depicted brightness of level 3 (15% or 210 mA) or level 4 (25% or 350 mA) are not bright enough.
For the record my 70 year old eyes have no problem reading normal book size print on level 3 210 mA). Level 4 is better, but in the space I was using level 5 (50% or 700 mA) is not needed.
Level 1 (28 mA) is of limited use I suppose, but thows enough light to keep me from tripping over the chair by the door way.
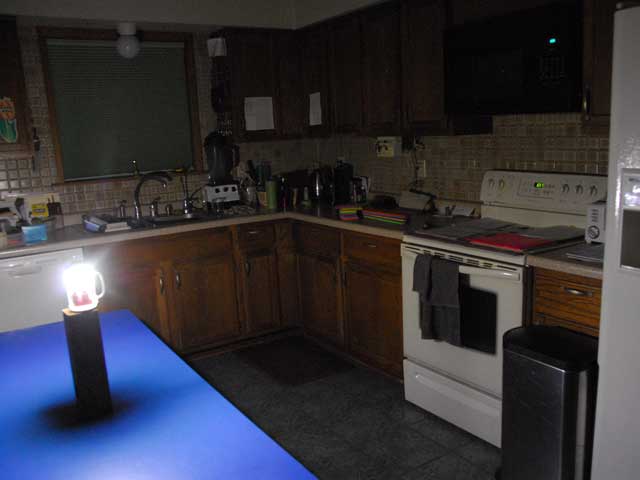
Anyhow, FWIW, here we go from highest level down. What the camera recorded….
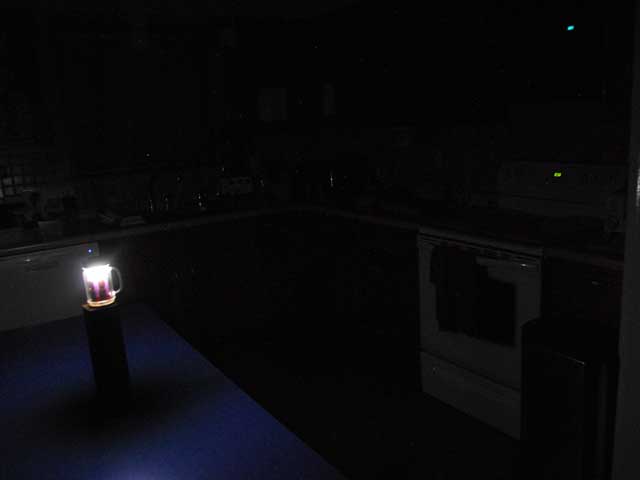
First level 6 (bright, 1.4 amps)
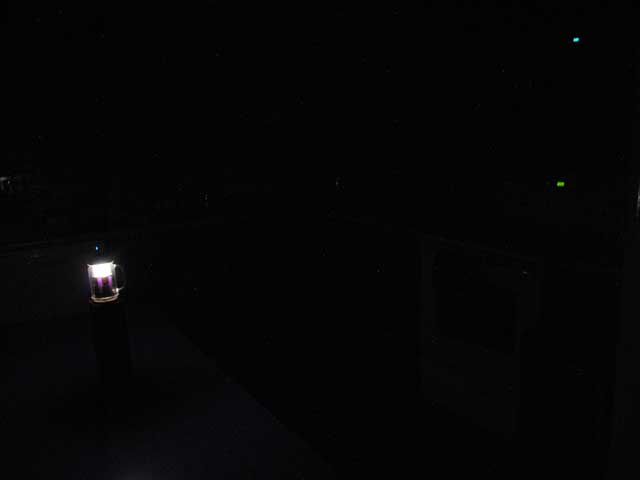
level 5, 700 mA
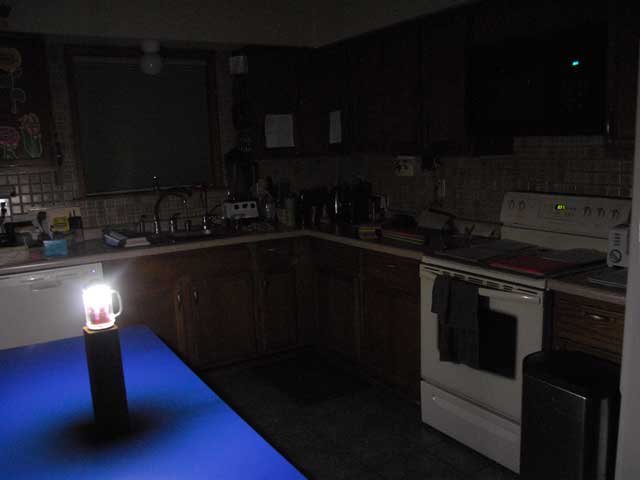
level 4, 350 mA
level 3, 210 mA
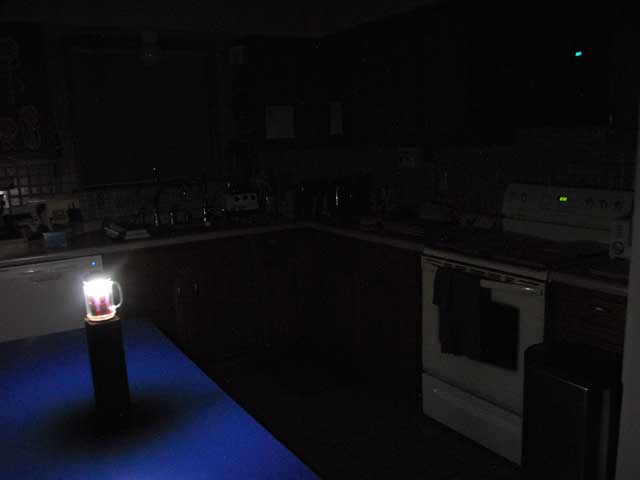
level 2, 85 mA
level one, 28 mA
On level 1 my eyes can still make out the counters and items on them. So it’s not as dark as the camera makes it to appear.
I think I am going to get myself a meter, something like the LX1330B. Then I can at least make some measurements and see some figures I can maybe relate to better.
Of course that will mean another project… an integrating sphere of some kind in order to add to the usefulness and add meaning to the numbers.
With the camera looking at the light it tends to see the light instead of the subject. It might be more accurate to shoot with the light offset behind the camera so the camera reads the subject instead. I’m not big on beam shots anyway since, as you say, they can be misleading. It works and has the right number of modes. Well done sir!
The camera was on manual and the ISO was NOT on auto.
Maybe I’ll try repeating the set of images but move the lantern out of the frame as suggested. I like it. Makes me really want to find a polycarbonate mug instead of the acrylic. I actually did find a couple of sellers of polycarbonate jar top 16 ounce mugs. But the minimum order quantity is 24 mugs; $68 plus shipping. I don’t need 24….
I must thank DBSAR for inspiration. It was his lantern project with the downfire LED that helped me formulate this plan. The vessel, well that was purely from my own weird thoughts.
I do find the phosphor dome illumination to be pleasant. The dome does not have that annoying pin prick effect that many commercially made lanterns have. I do prefer lights in the 4500 –5000 K range over the warmer tones. I’m different that way. So this suits me fine. The phosphors are available in some warmer temperatures but in smaller cone / elliptical shapes. This dome was easy to fit over a standard LED star. A cone shaped phosphor with a diameter of around 15 mm and smaller would make for a more difficult mount. Just another challenge though!
I am thinking about incorporating a micro LED voltmeter, but space is a bit tight inside the mug. … thinking cap is still on…. I think it would be cool to be able to monitor the battery voltage without having to access the cells. Maybe a momentary contact switch to activate for the reading? But I also don’t want to make it more difficult to access the cells. Easy changing of the cells was a prime goal of mine. And switches mean perforations and more wires……
By micro LED Voltmeter, are you thinking of one of these ? Perhaps you could simply set it up so that the battery voltage is always displayed when the light is on. The listing claims it uses less than 30ma, but I will measure one tonight. It seems like you could mortise the meter into the battery block without too much trouble.
I had and lost a couple of these meters, ordered a 10 pack to replace them, and promptly found the lost ones once the new ones came in. PM me your address and I’ll send you one if you would like.
Yes that is the meter type. It may be possible to mortise one into the cell block. Would be cool. With a very low draw having it only on with the light on would likely be hardly noticeable. Thanks for the offer.
:laughing: They make double walled mugs. The space between the two walls is supposed to be insulation. I had the crazy idea that it would be cool to use that space to hold the beverage and have the light works inside as I have done. Some kind of a “sippy cup” mouthpiece feature for drinking from would need to be implemented / invented. :person_facepalming:
I decided to do some run time tests. The first one was perhaps ill planned. Running at level 4, approximately a 25% power setting of around 350 mA, according to theory. The run began with all 4 cells at 4.1 volts. Twelve (12) hours later the voltage, after a short rest, was reading 4.03 volts. I’m thinking I should have used a single cell to spped it up, although drawing 4x the current from a single cell may not correlate exactly to the lower draw on multiple cells. I don’t know; I am guessing and extrapolating from lead acid experience.
Anyhow I stopped that test and am recharging. At that rate level 4 should last a few days. I may run this again when I don’t feel so impatient.
My second bout will be on level 5, approximately 50% power, or 700 mA. Four cells or a single? Have yet to decide.
I should also do some “tailcap” current readings to see how close the actual flow is to the theoretical programmed levels. I’ll do that after the 50% run time test.