On a bigger host or maybe with black ano they’d look thinner but I want it to look slimmer. With the copper core and pill there will still be plenty of weight to it and the tube will necessarily be a bit thicker than the average 18650 tube which seems to be around 24mm. 25-26 mm would be nice but leave only 2-2.5 mm wood thickness. For one thing the spacer rings are more than 24 mm OD and the tube won’t be thinner than that.
Some prep and a reflector mod. Warning, image heavy
Of course I didn’t bring everything I needed for all of the work I could have done and still can’t use the hand for much(shouldn’t as much as can’t) but there’s some prep to do first anyway. I need to join the threaded copper core to the front of the head using brass sheet brazed to both. 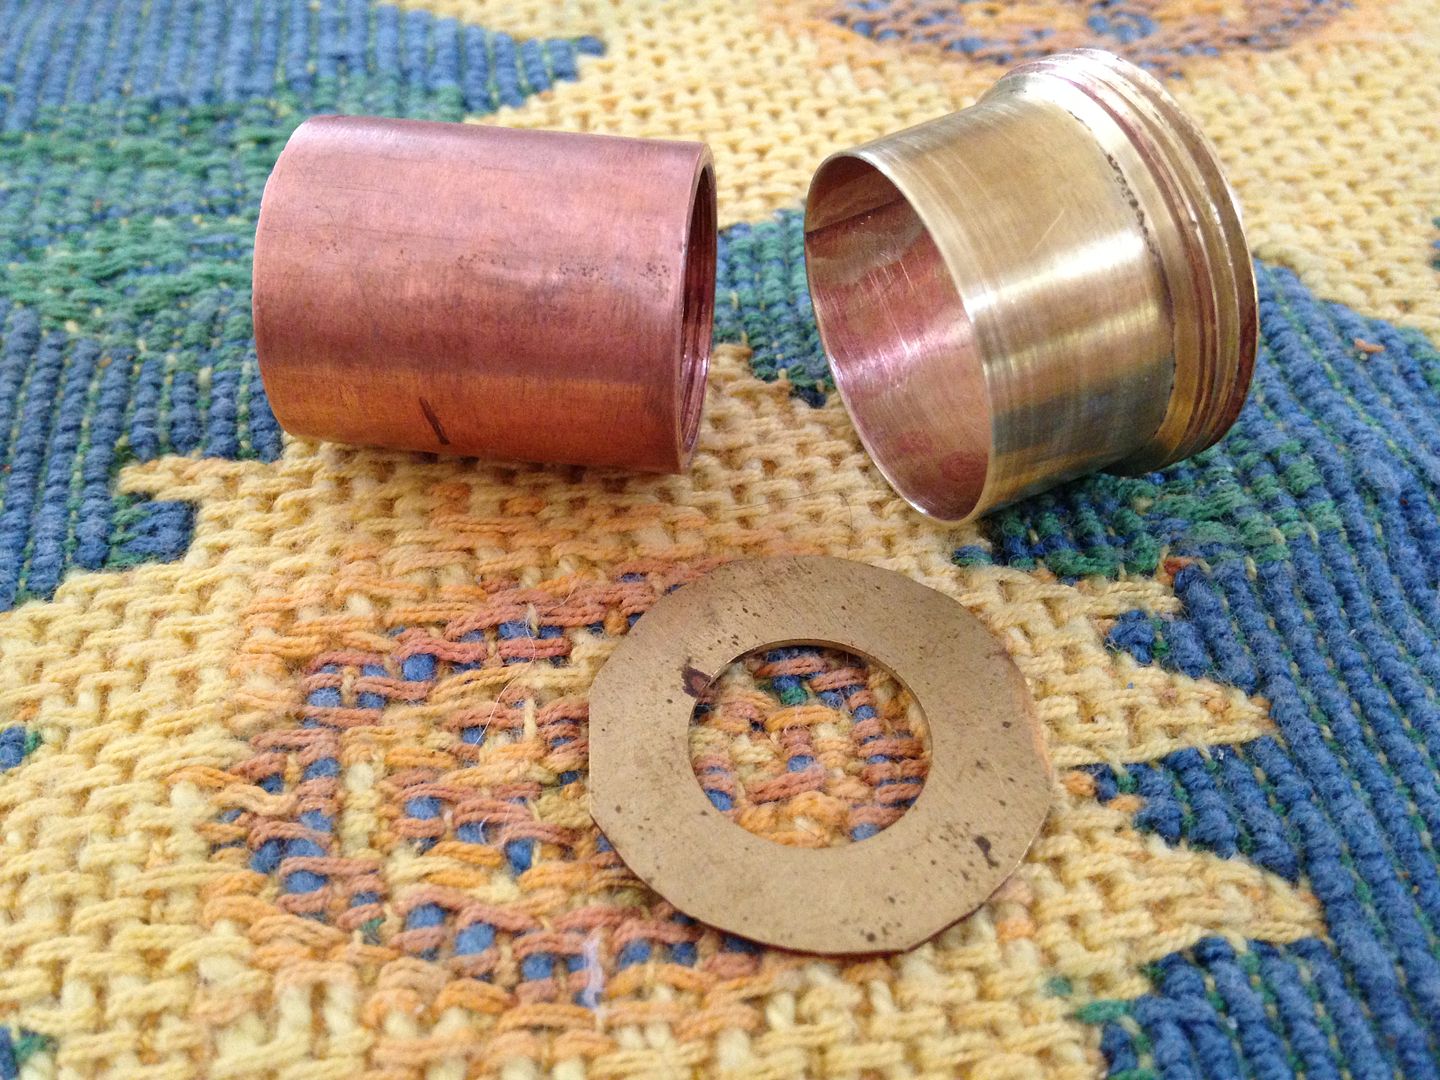 I need to somehow ensure that the two pieces will end up axially aligned and not skewed or off center. The first thing to do is square the ends of each piece. For the copper I laid the piece on a square to find the short side and put some tape there.
 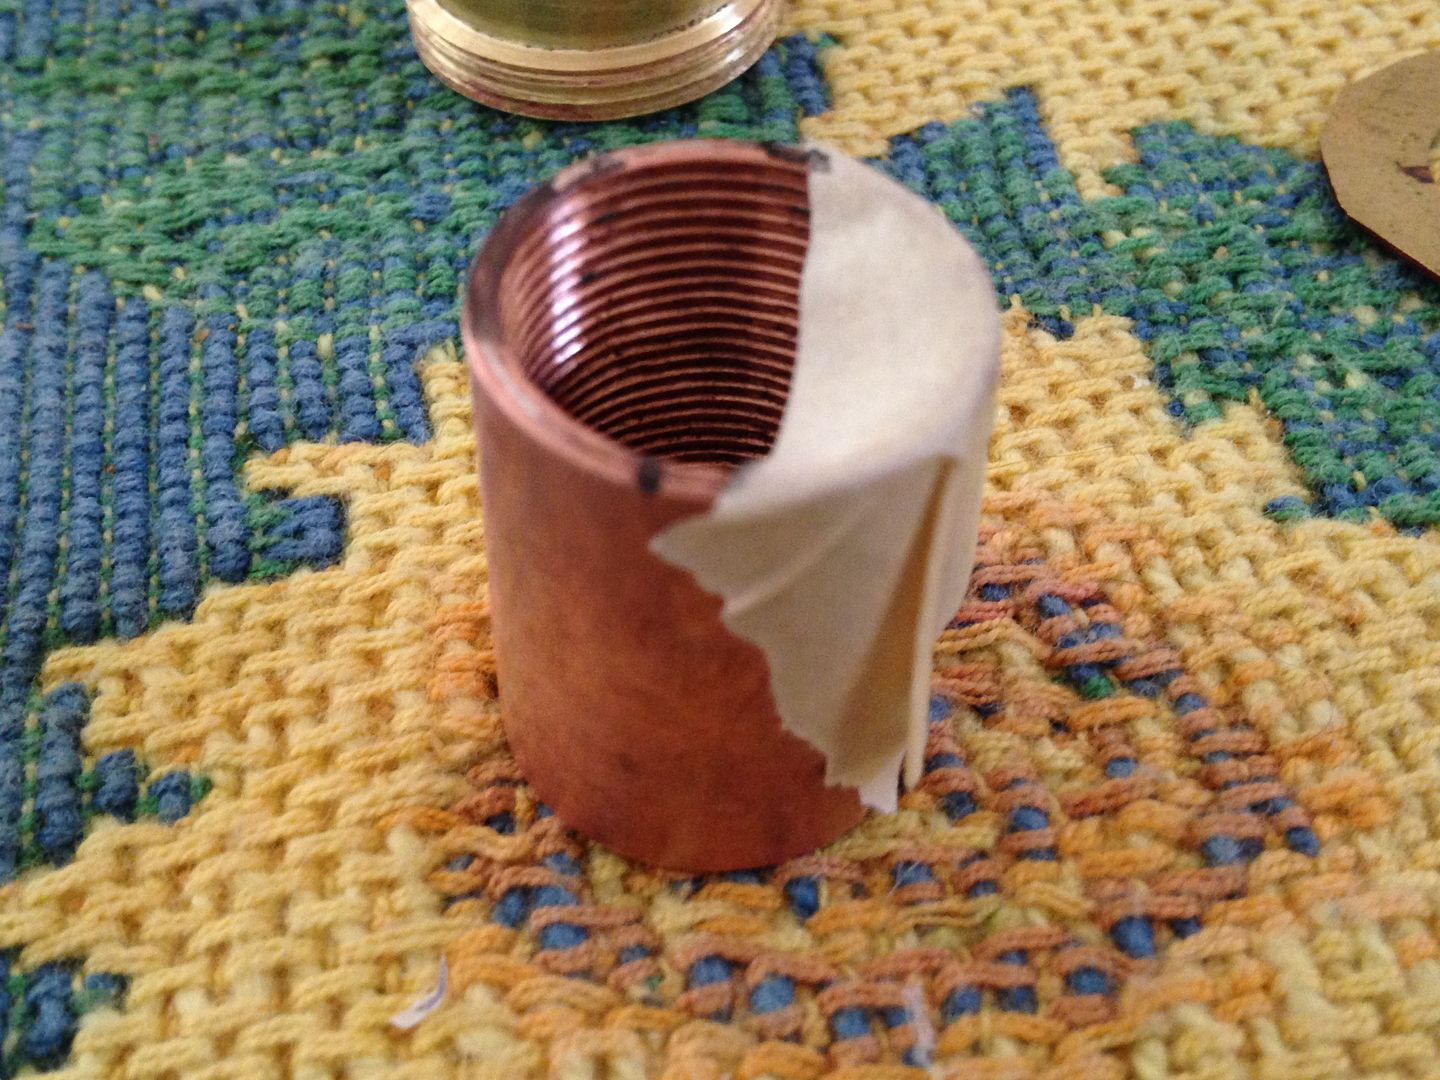 Then sanded until the tape had worn through.
 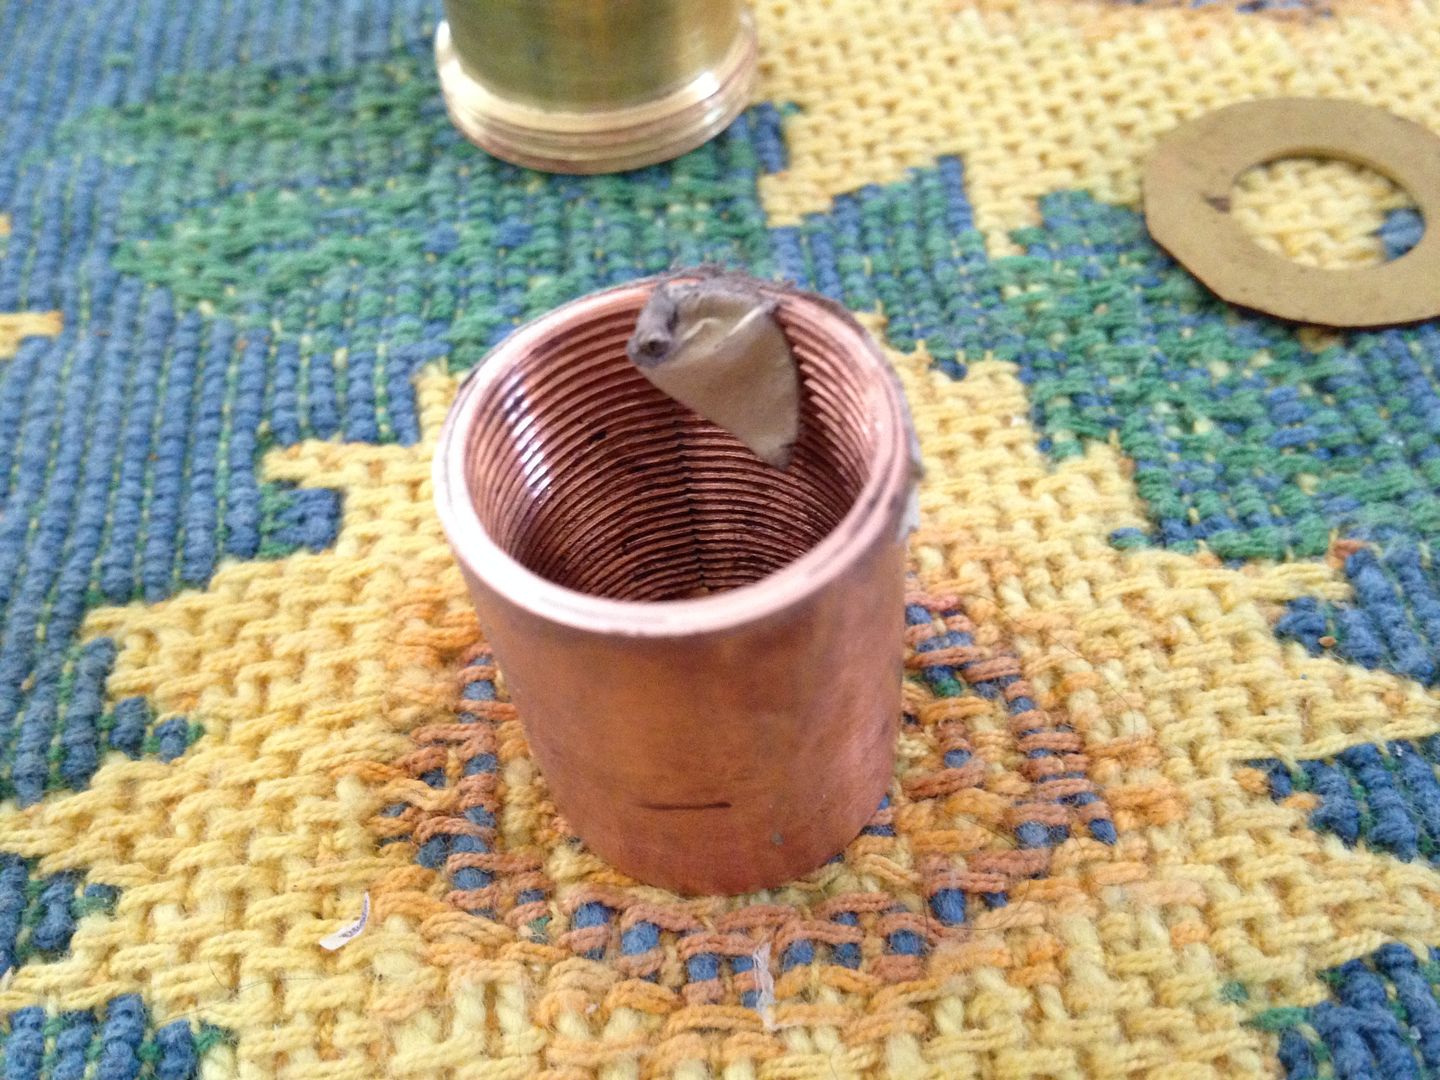 This removed a bit more from the longer edge and after repeating 8-10 times the piece was as square as I could make it. The brass piece was likewise taped and sanded but to find some semblance of square I used the wood collar moving the collar all the way around and marking the low point to find the average. The brass sheet will be brazed to this piece first then a 1/8” hole drill as close to center as I can and widened to ~3/16” adjusting to center as needed. This part I can’t do as I forgot the hack saw and screwed up one piece trying to cut it with the recip saw(just can’t hold it well enough yet). I could however make the jig that will hold the copper piece centered on the brass hole. I purchased a couple 1/8” fender washers and reamed the center hole to just barely fit a 10-32 machine screw then filed and sanded the outside to just fit into the threaded copper core.
 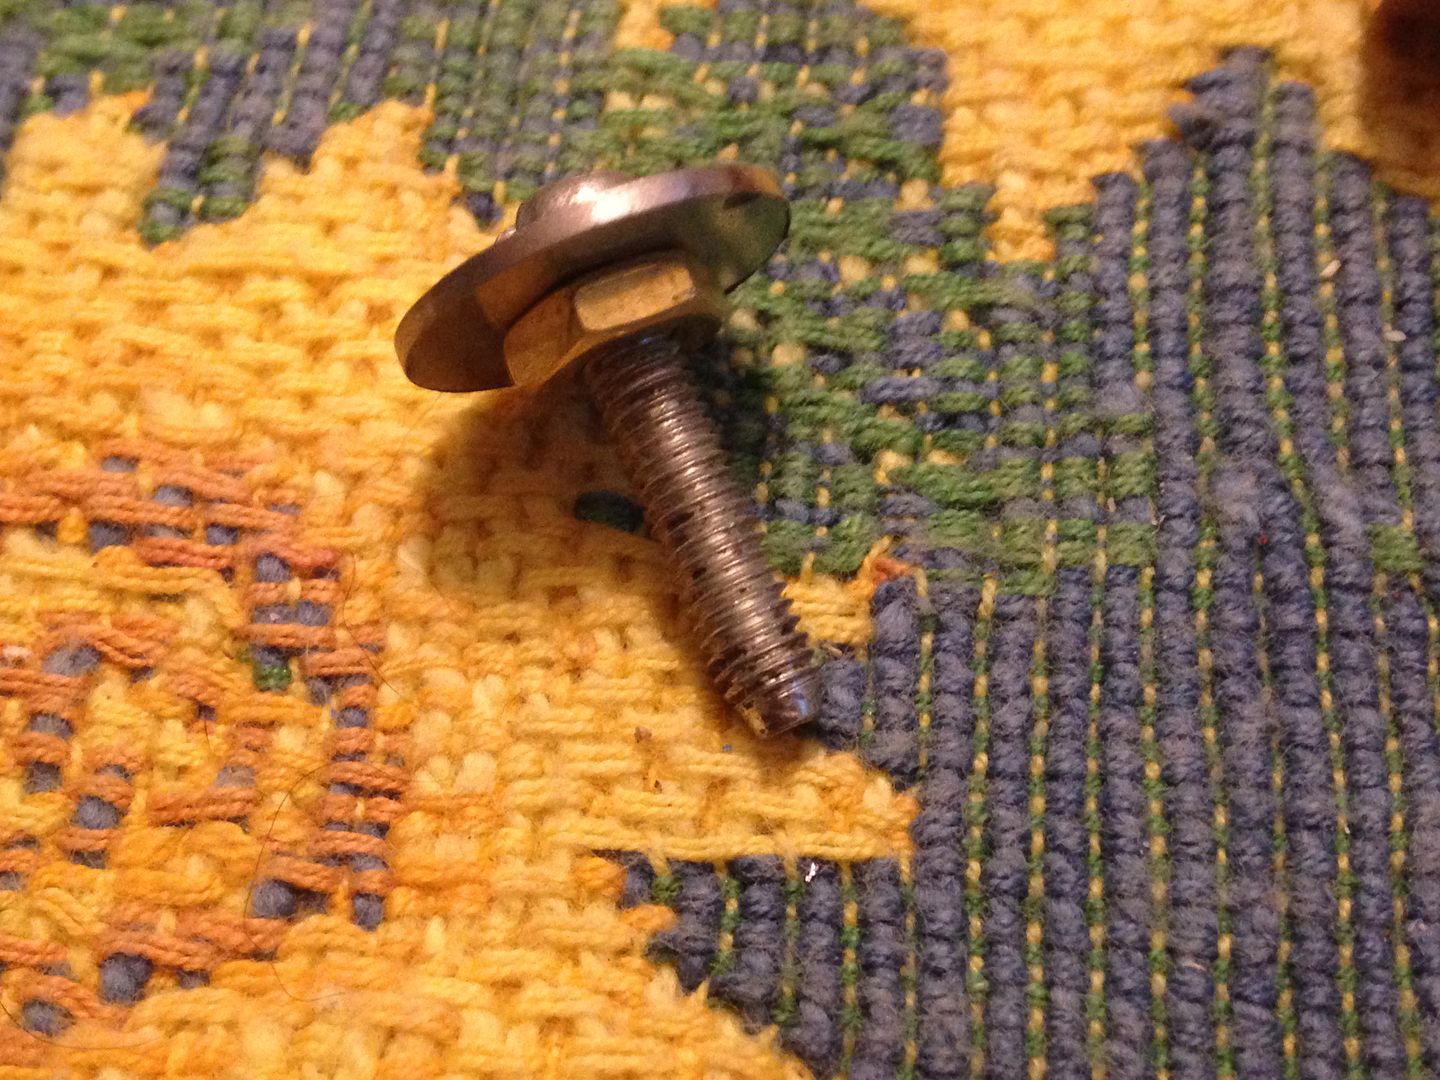 The nut will space the washer above the brass sheet so that the washer isn’t brazed as well. The gap between the nut and the copper should be sufficient to prevent even the nut but especially the washer from being brazed but won’t be a serious issue even if it does, we’ll just have to wait and see on that though.
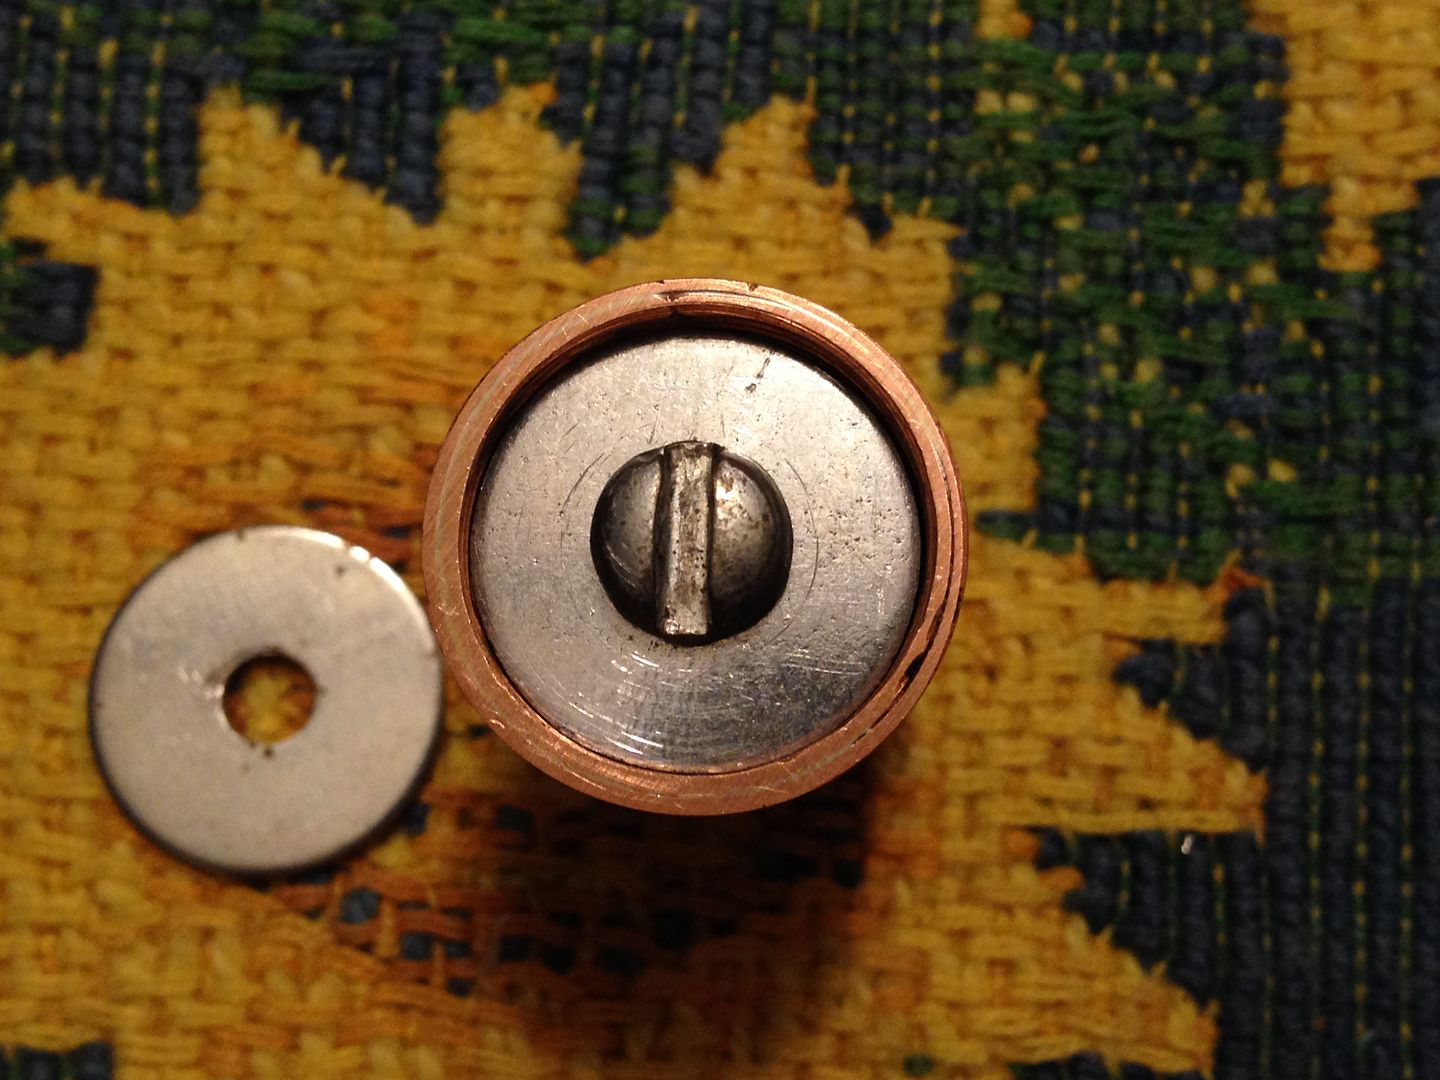
On to more stuff. I like this reflector, it’s nice and deep, more so than a P60 reflector that fits a bit loosely. The problem is it doesn’t fit into the bezel. 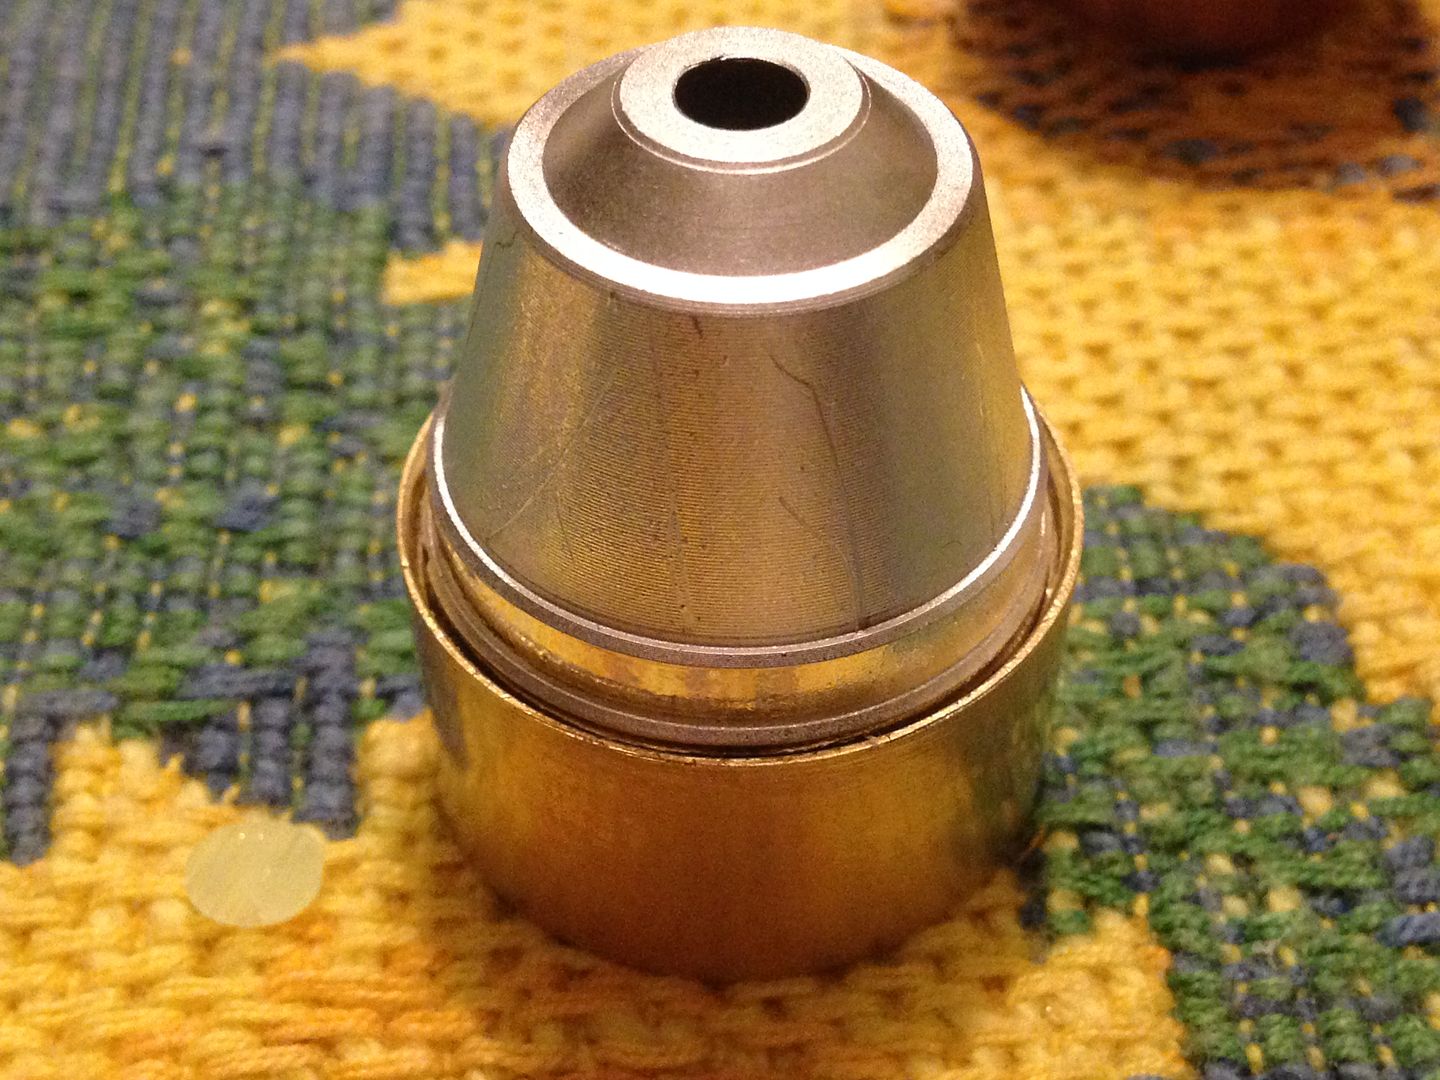 Or into the head.
 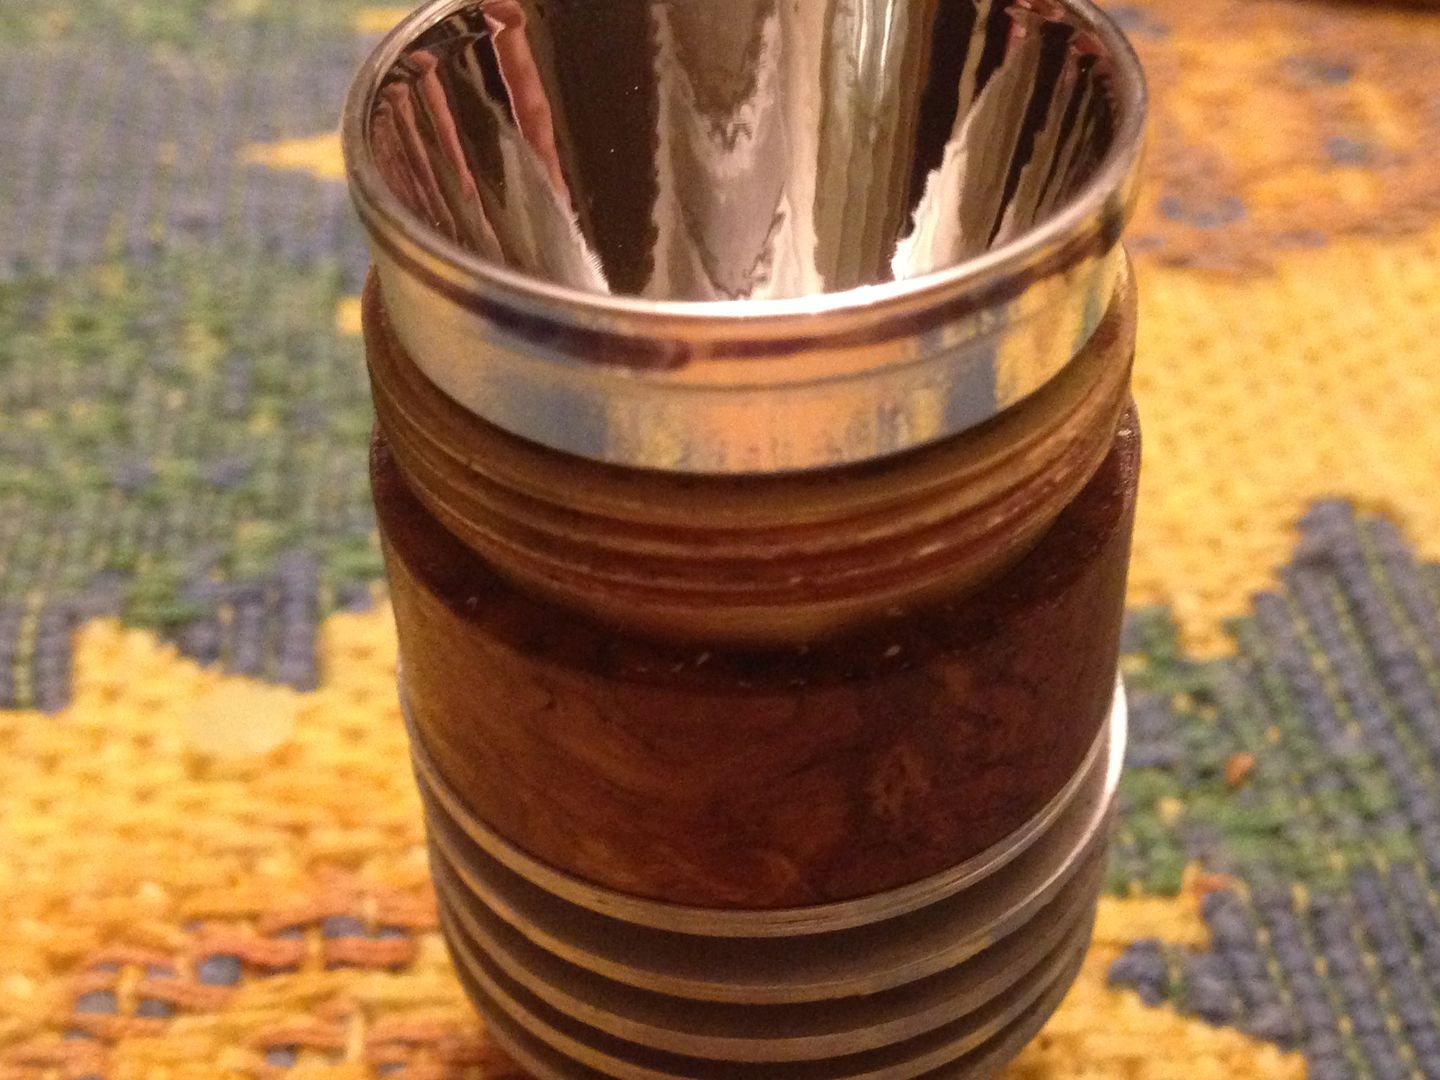 So I need to file/sand about .5 mm from the lip and make the second step disappear into the taper of the sides. I’ll also have to bevel the inside of the head to match. Just covering the openings with tape would be easy and keep debris out of the reflector but would also pull the coating from the leading edge. Instead I used a rubber washer, a machine screw and acorn nut(all I had that fit) and a few extra metal washers to both take up the slack and compress the rubber one against the reflector.
 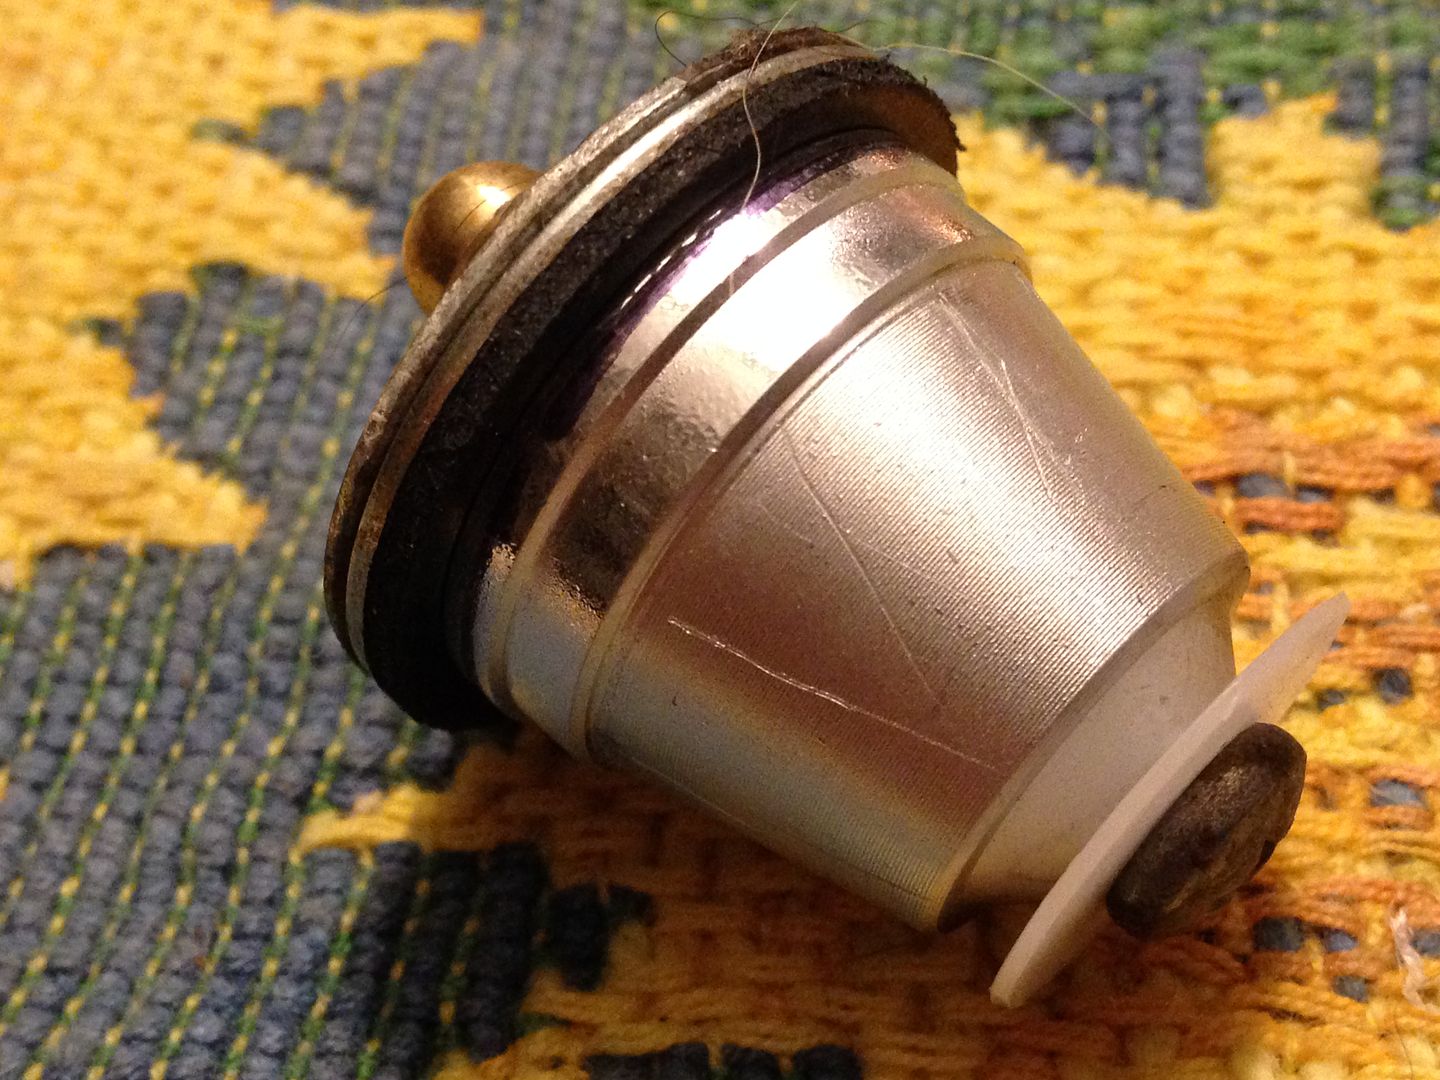 I used an exacto knife to trim the rubber flush to the edge.
 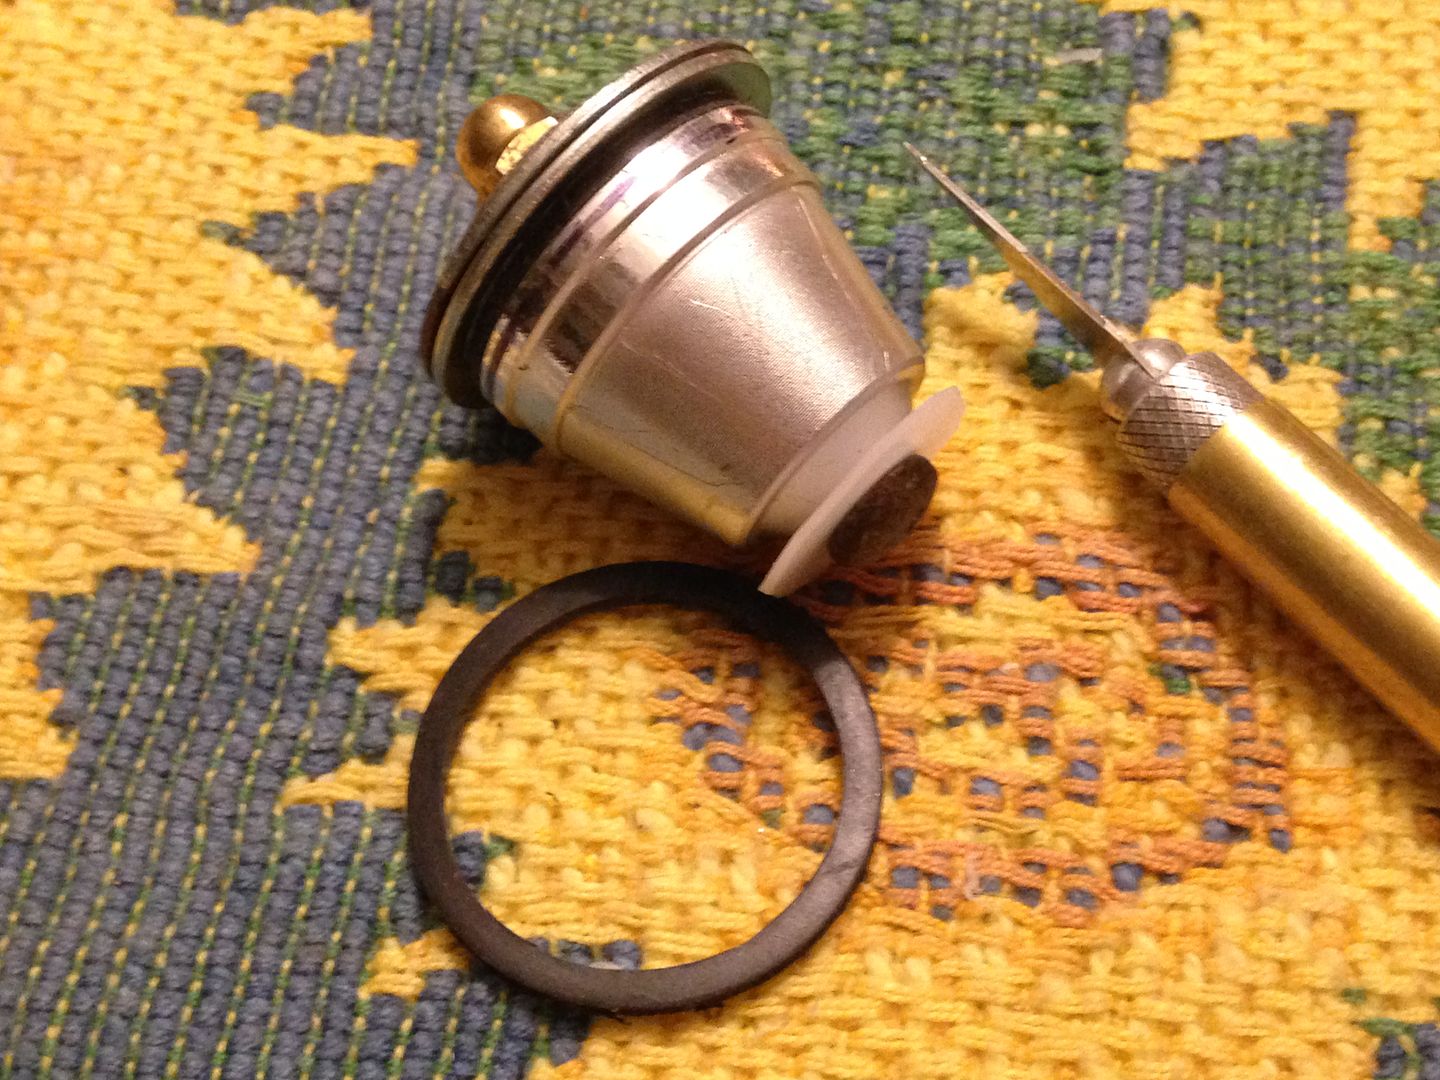 After that I traded the larger washers for ones a tad smaller than the reflector but still big enough to compress the rubber and started filing. It took several sessions because of the wrist but first I got the lip to fit into the bezel.
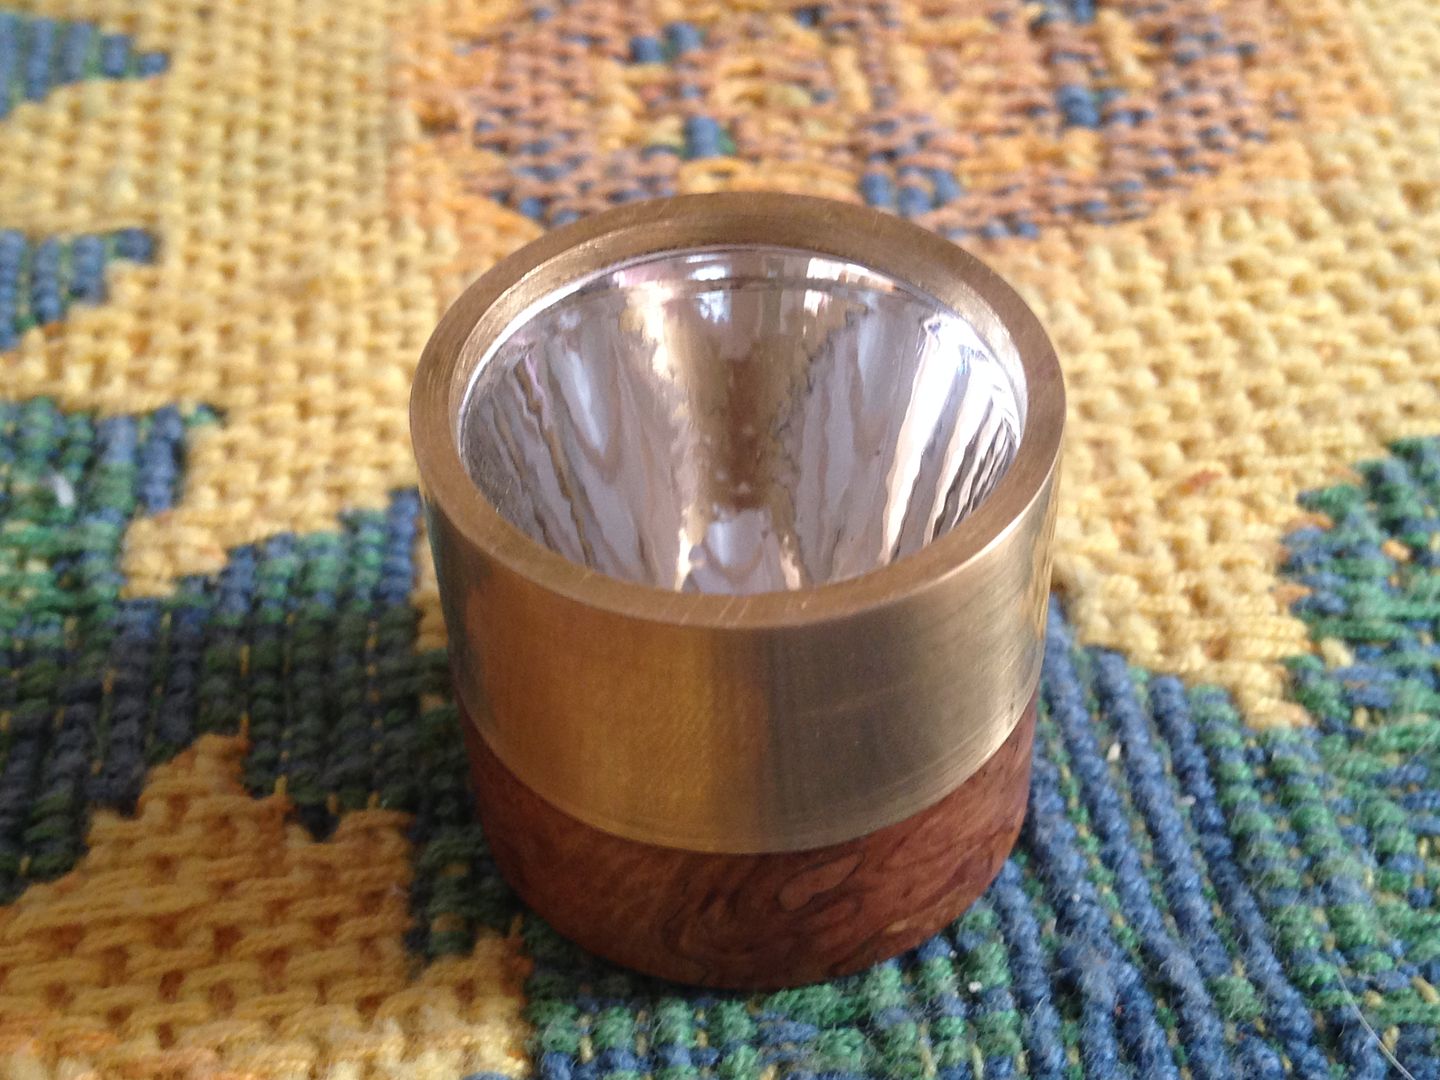
 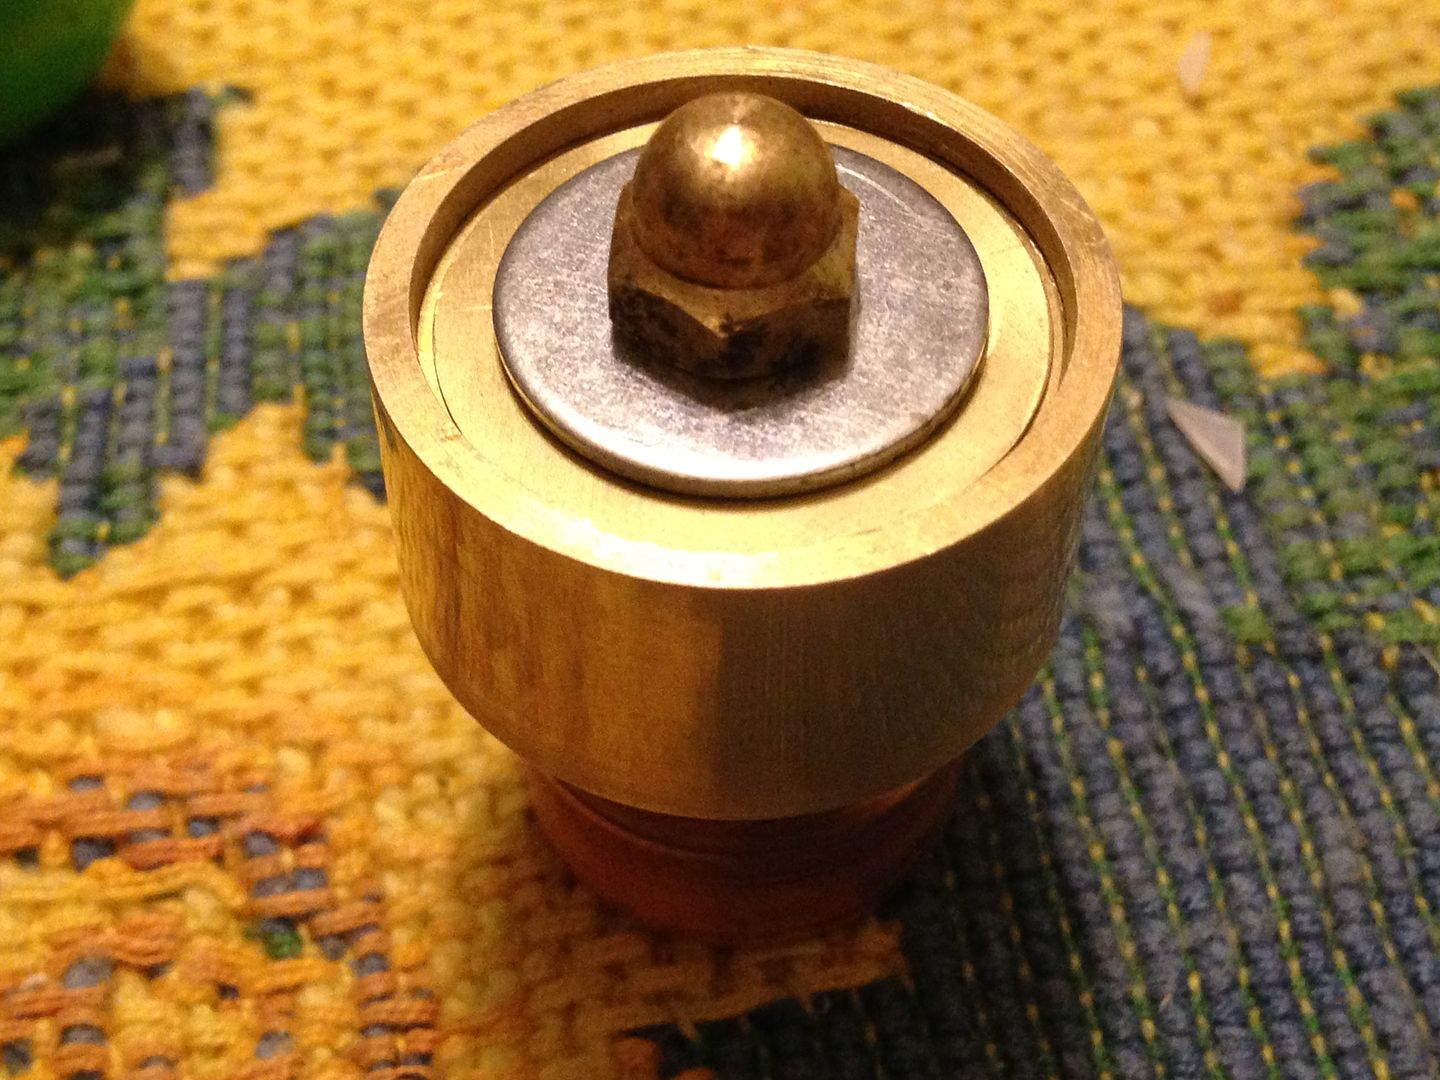 And then the second step filed and sanded to match the tapered sides.
 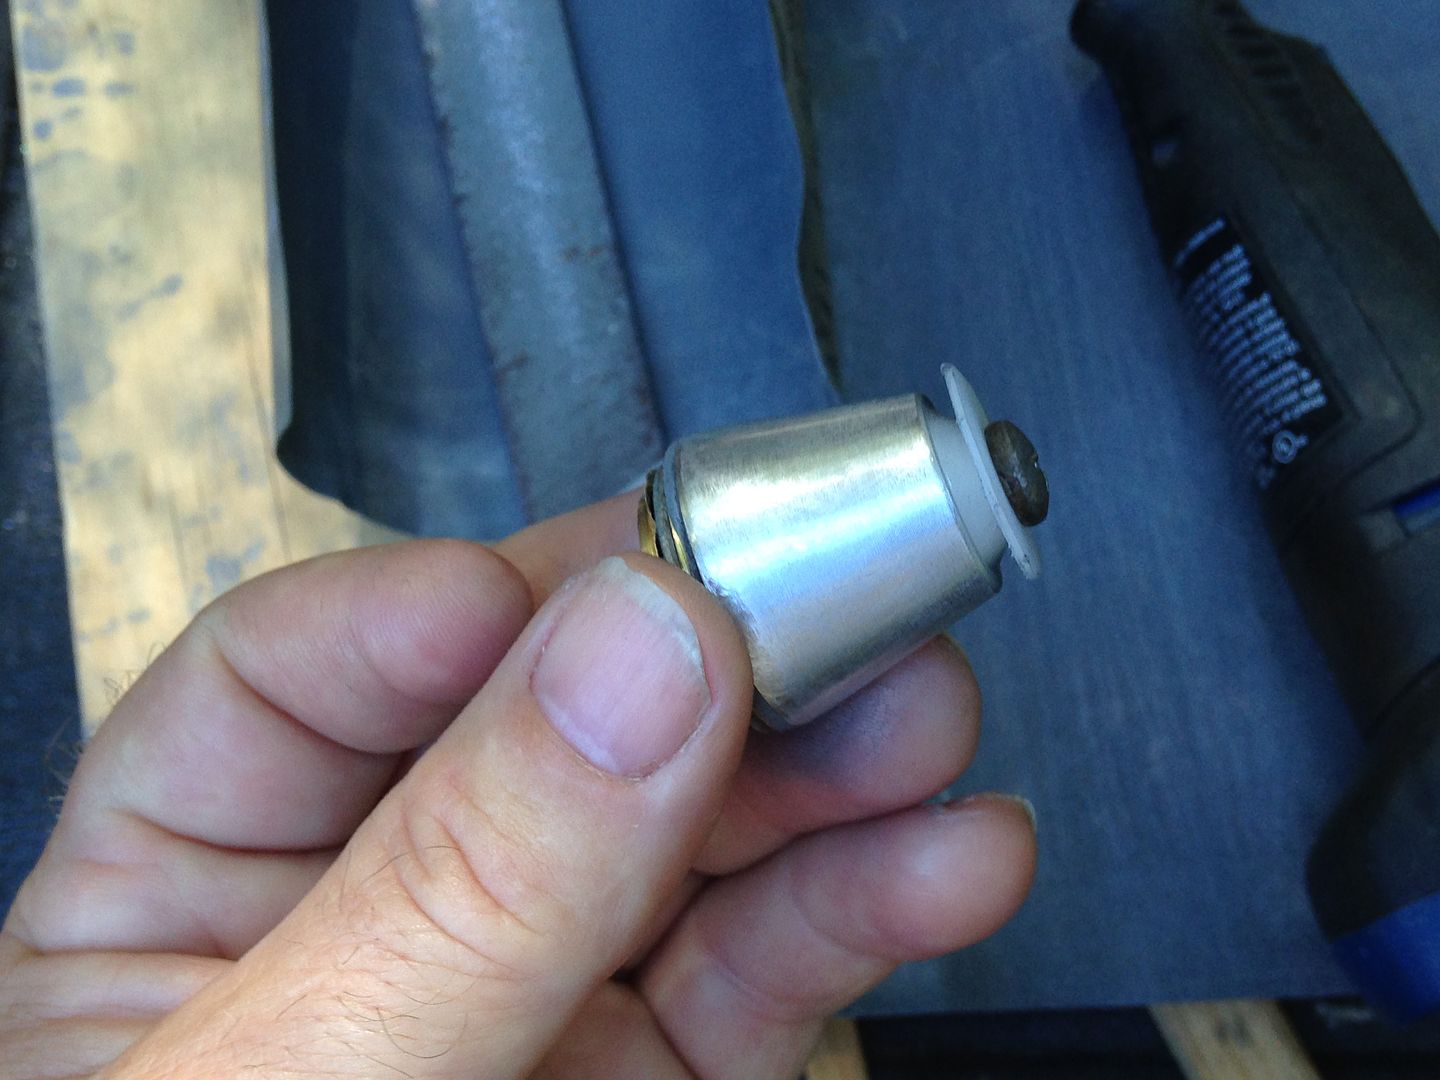 It won’t fit any deeper into the head until I bevel that
 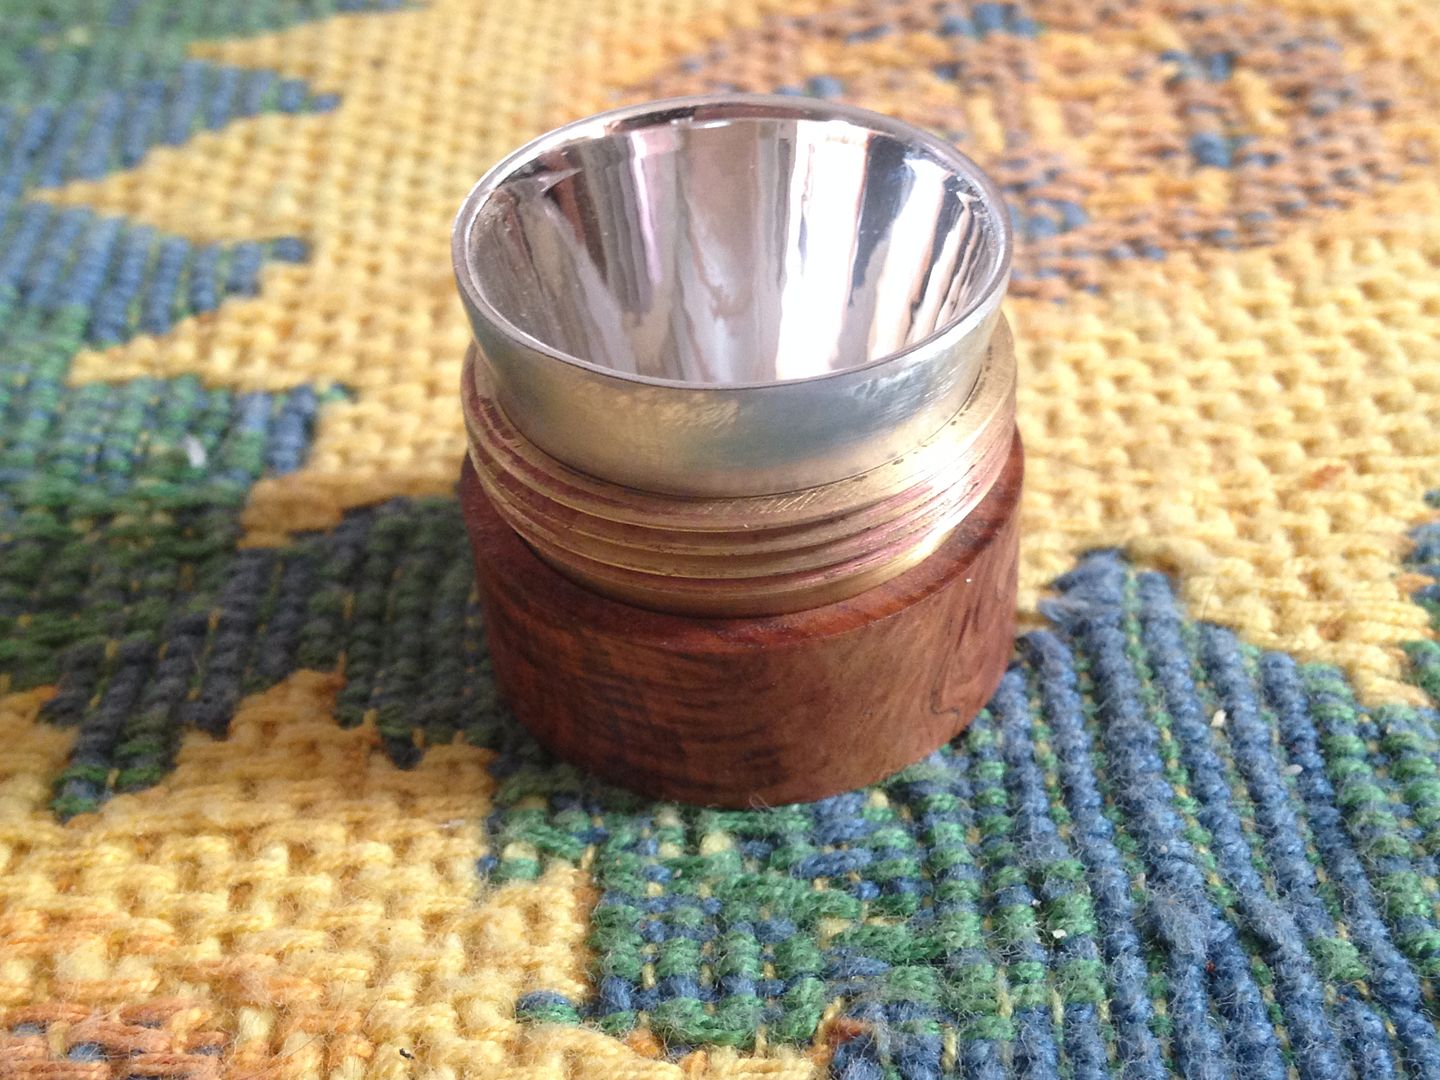 but the bezel is just about perfect. :+1:
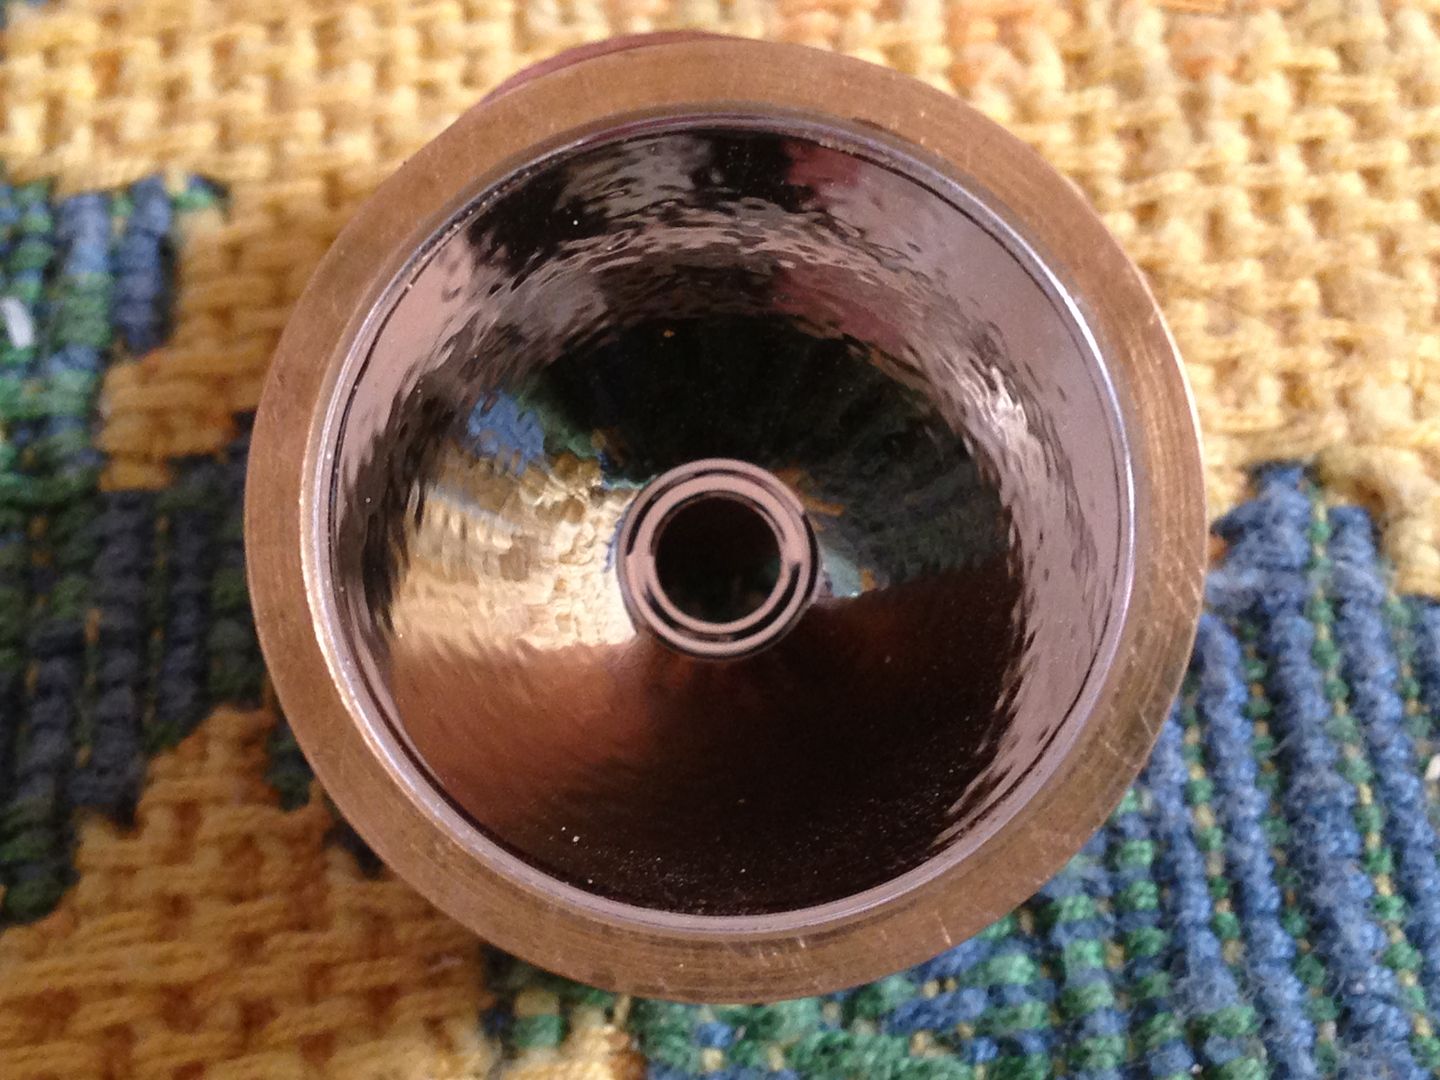
Thanks for checking in. Feedback keeps me going.
Brazing the head
You’ll have to get onto YouTube and look up a few old music clips to get really orsm feedback. :person_facepalming:
Its good to see you soldering on here with the injury. The light is really starting to take shape.
I may have missed something but your not working from home?
Also would a strong alcoholic beverage act as a pain killer to help you with the light build? ![]()
Still no soldering or brazing. I might have tried but couldn’t make the cut. The sniveling coward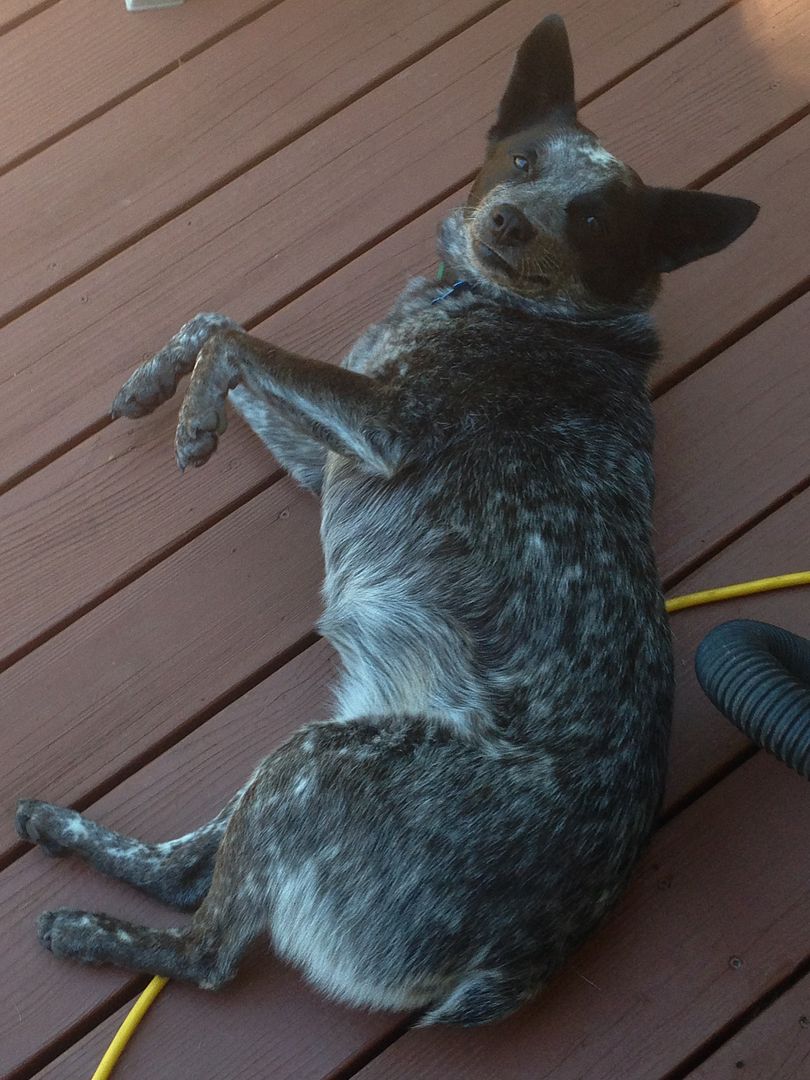 Doesn’t like to travel so I brought down a bag of bits to play with while I dog sit(not working either). A beer a day and all he couch I can potato. Nicer place with an excellent couch.
Looking so good! Great job on the reflector filing. It looks like it was meant to be that way!
Marvelous!
Lookin’ Good bump ![]()
Thank you bump. One more and I relocate 118 to 122 and it loads fast again. Only seen a few pics of your light CRX but it looks fantastic. If it were only that piece I was competing against I’d still have my doubts about winning, a fantastic piece of imagination and craftsmanship.
Hah, I realized I also have a jig saw and metal cutting blades so I cut a square of sheet brass to join the two pieces and cleaned it up for brazing. 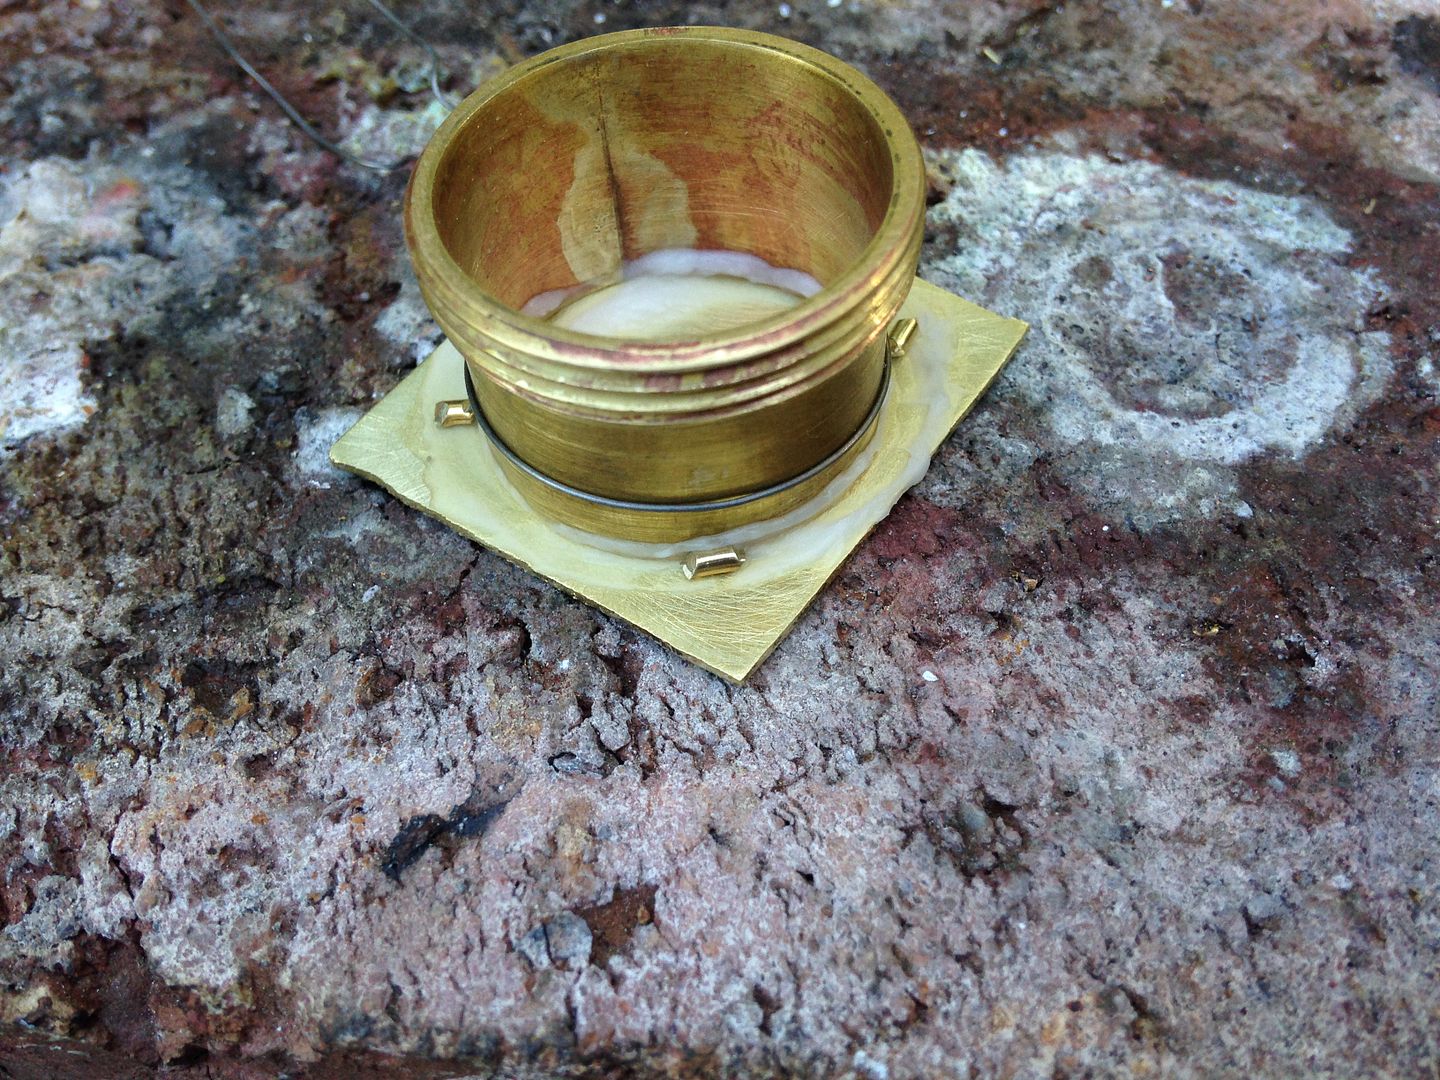 Being still a bit ricketty I preloaded the brazing wire in the corners so all I bhad to do was heat it up.
 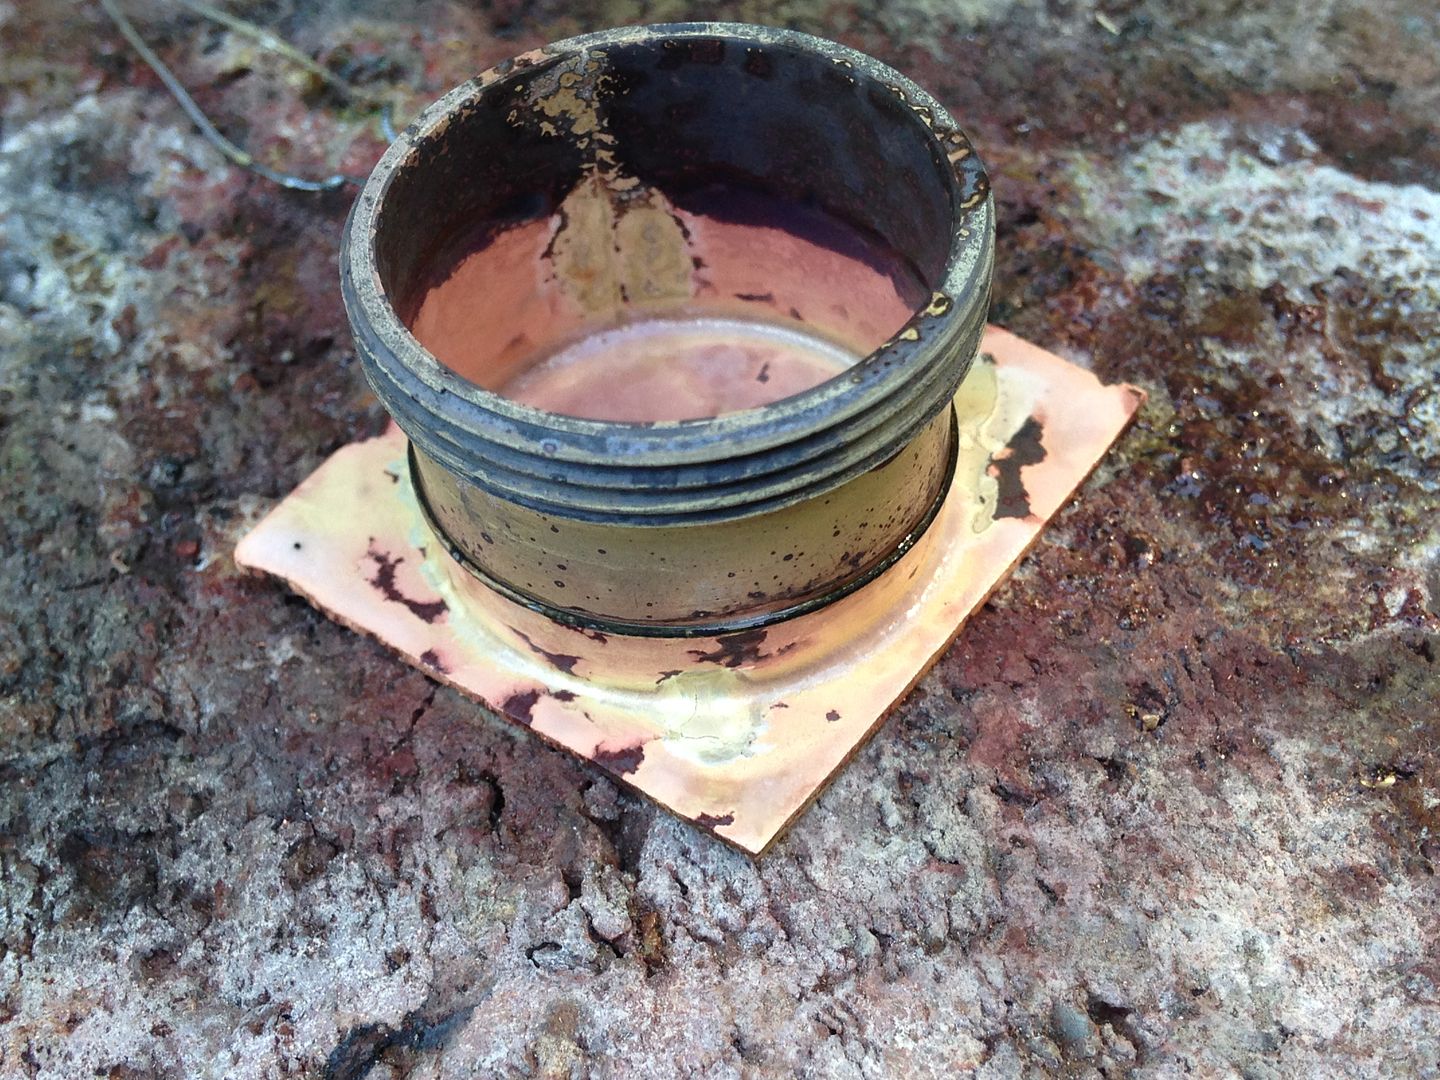 If the parts weren’t yet hot enough I could have pushed the top piece right off the bottom one with the brazing wire. After letting it cool I used some snips and roughly trimmed the edge.
 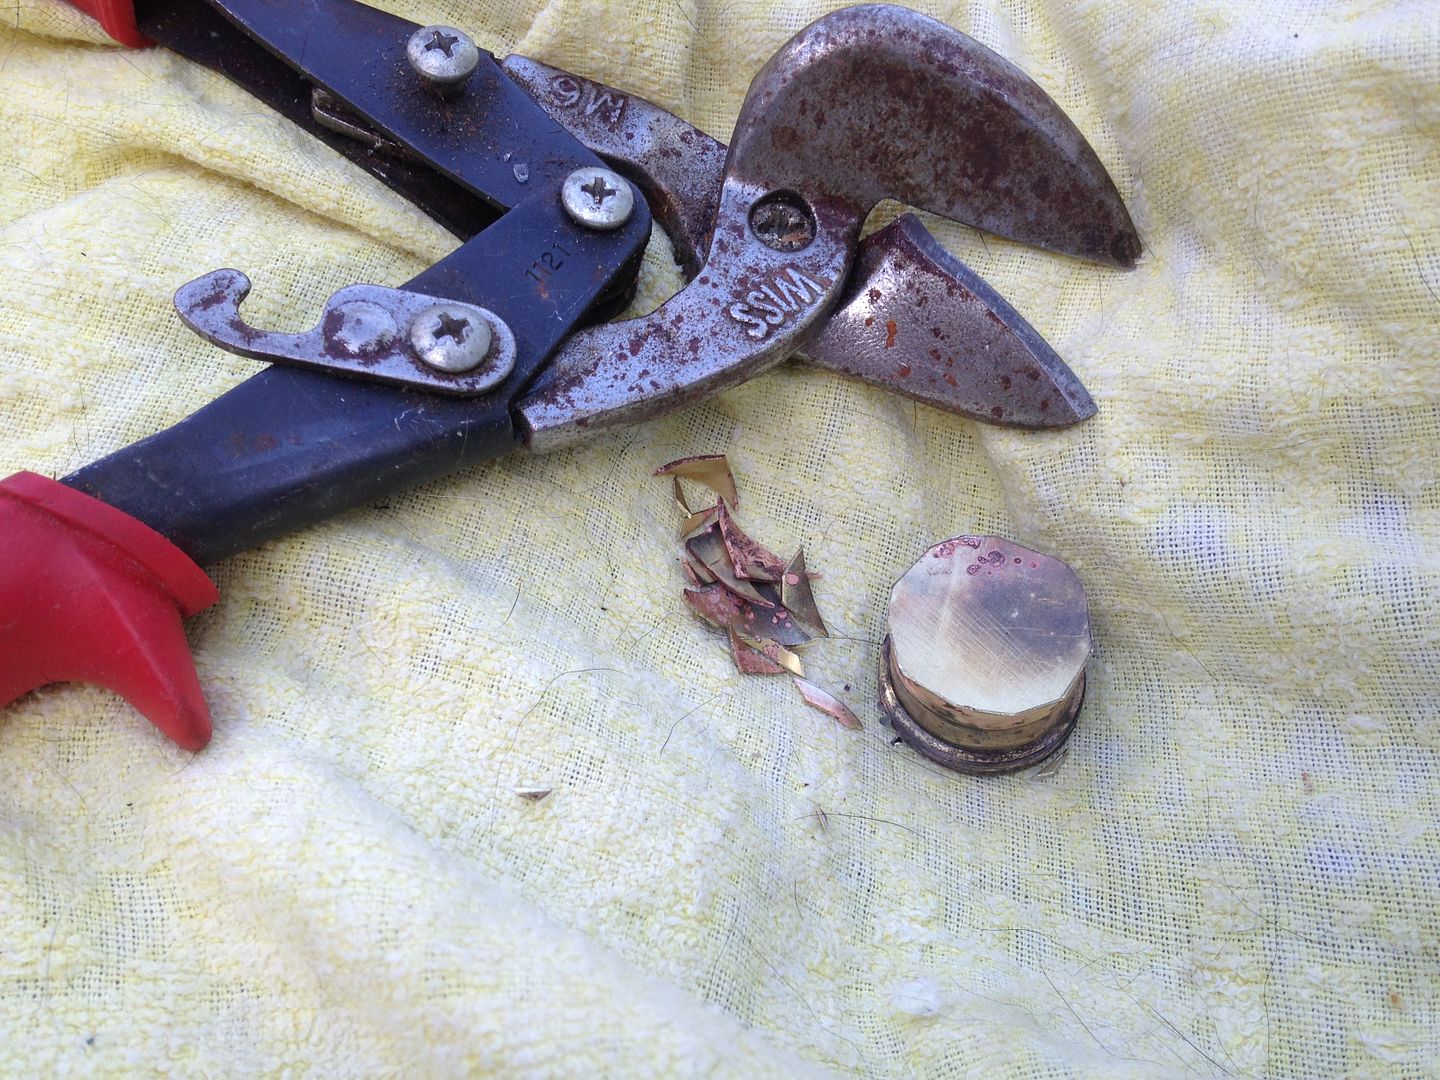 Then used a grinder and sandpaper to finish it off.
 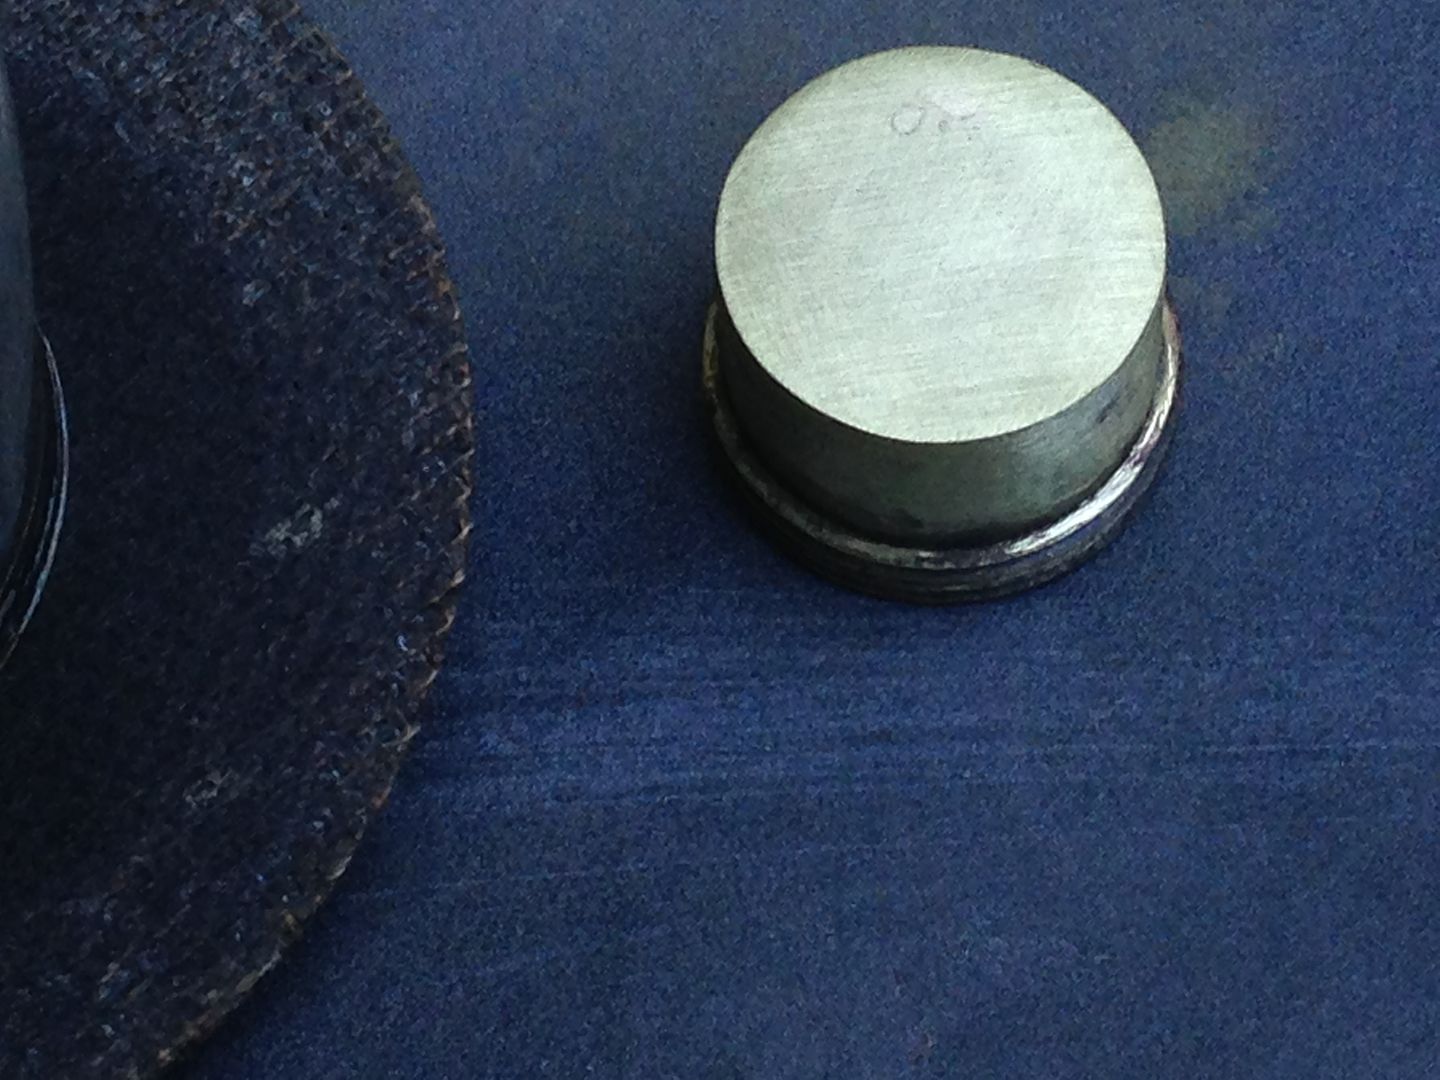 next I used the calipers to scratch center marks.
 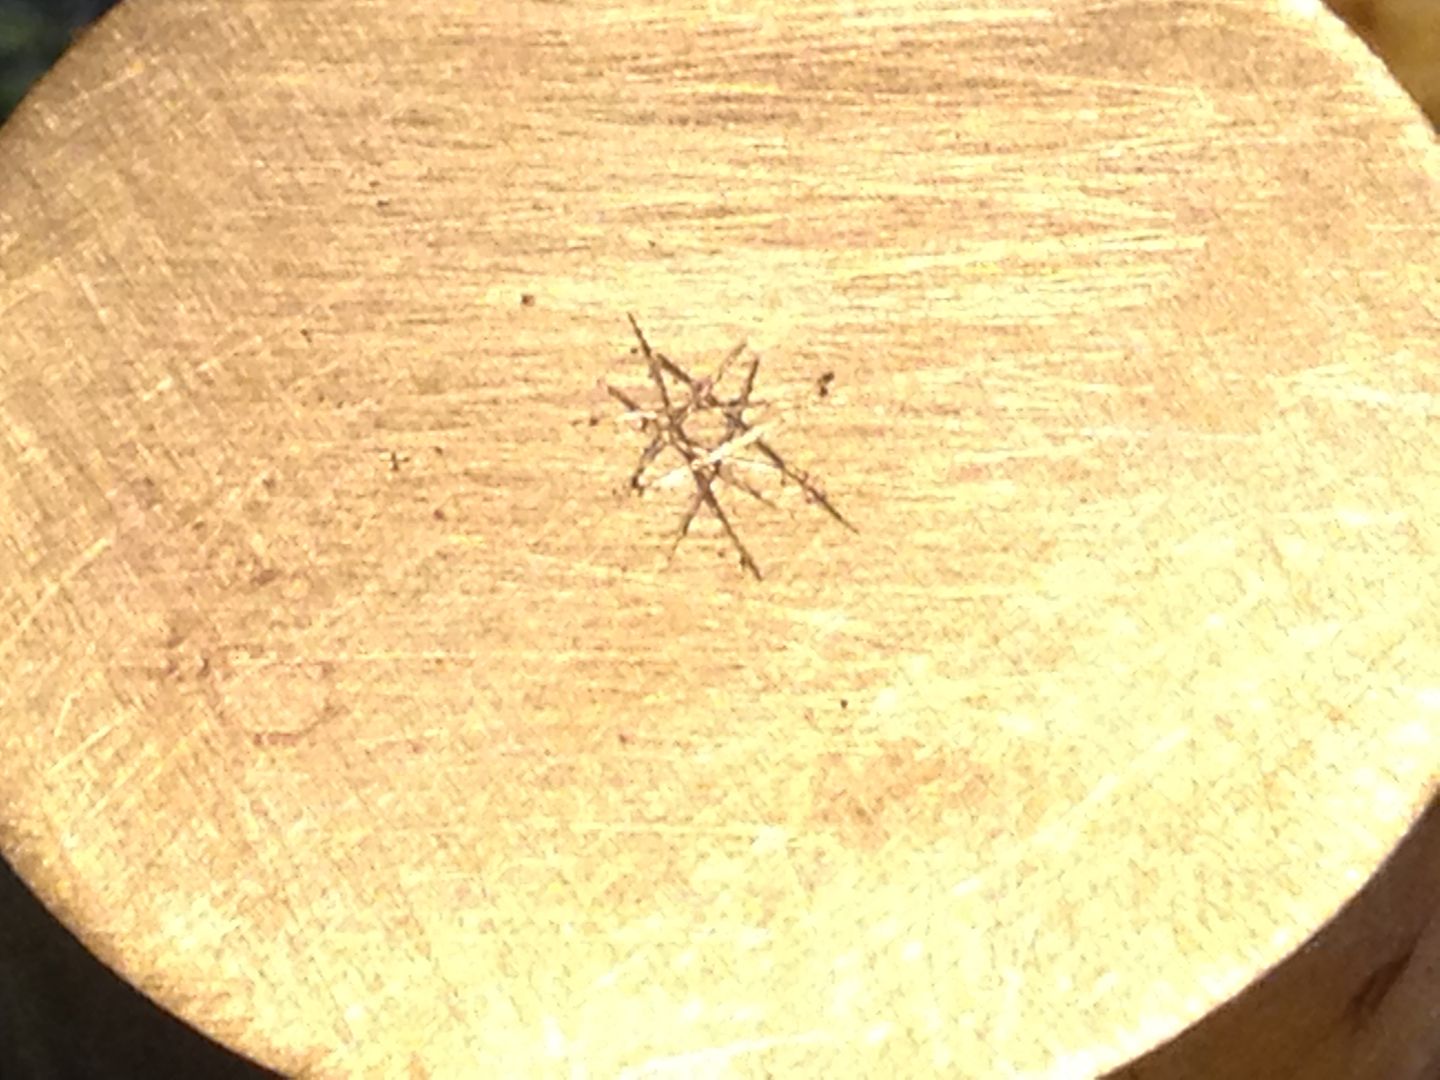 A sharp centering punch for the first drill bit (1/16”).
 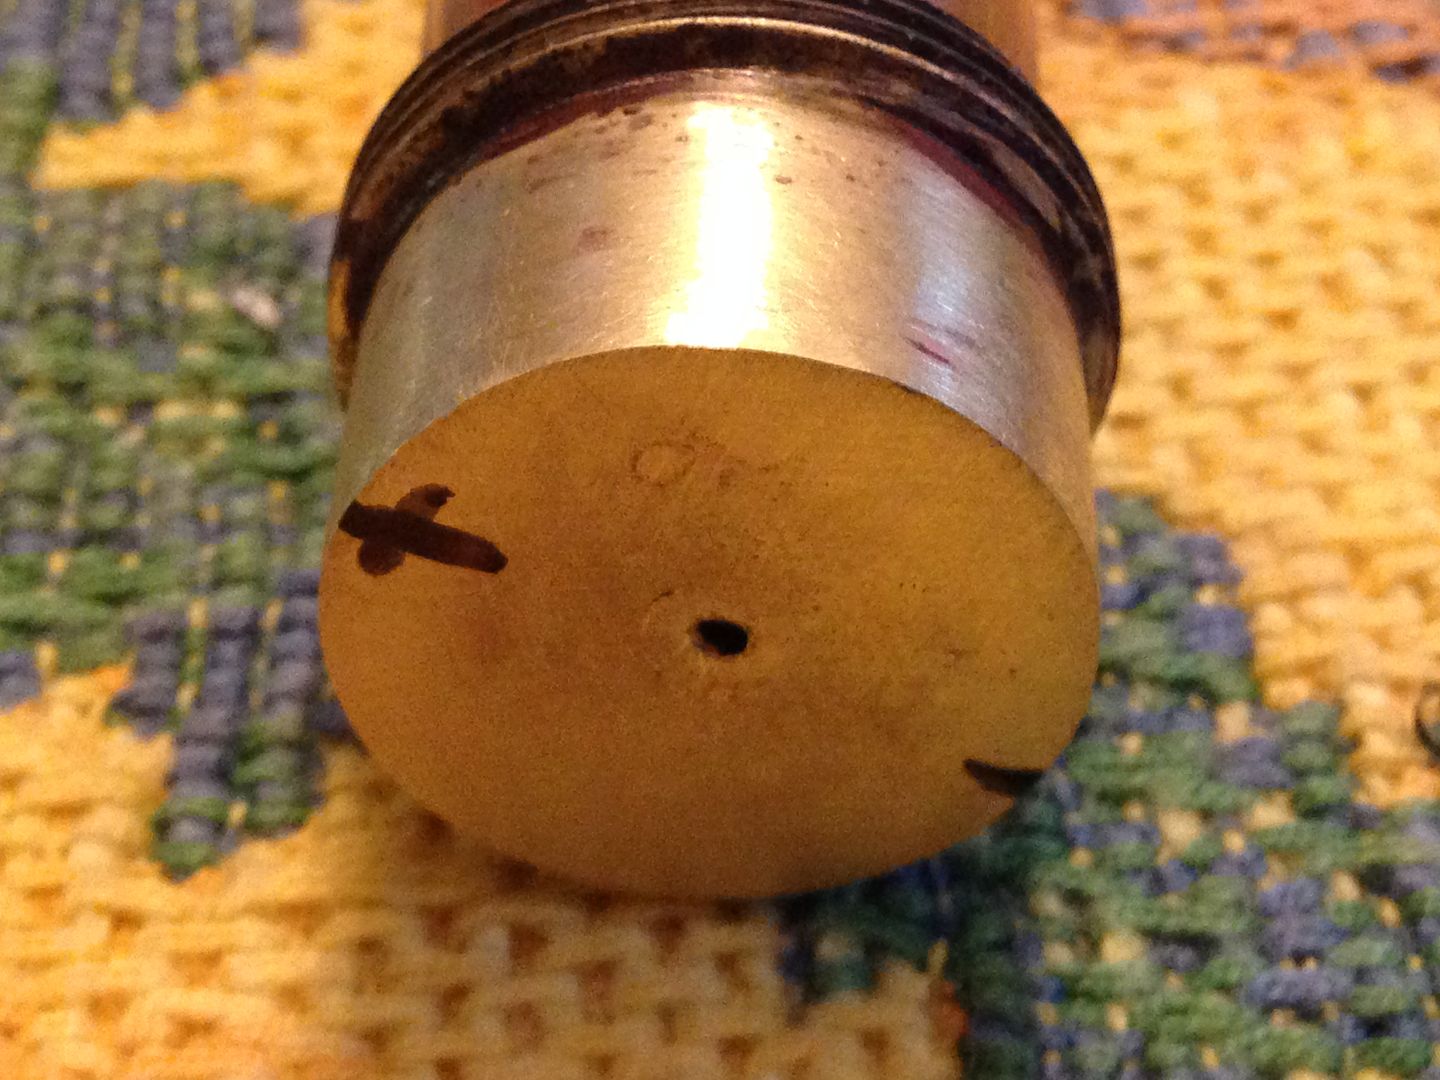 I used the calipers again to mark the direction of my centering error and with each successive increase in bit size measured and marked how to angle the bit to make a correction. At 5/32 I switched to an exacto knife to finish and ended up within .05mm. I doubt the reality of that given how the edge was ground but certainly close enough to go on.
Going on means stacking the parts with the screw/washer/nut jig as a centering guide and loading it up with flux. 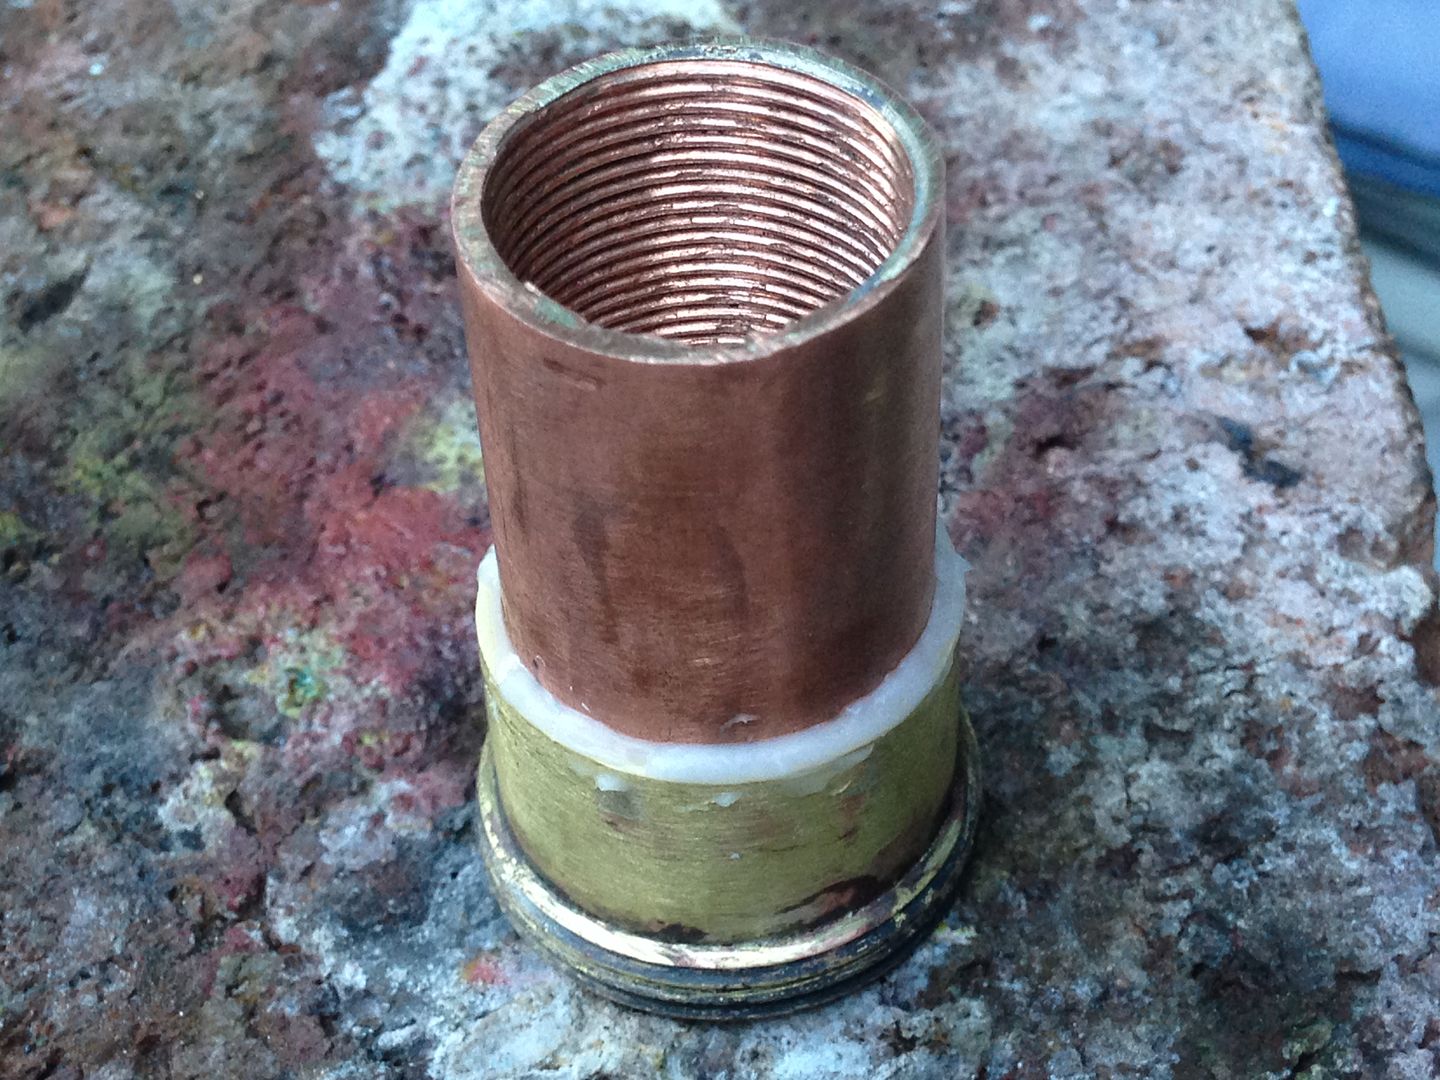 Torched!
 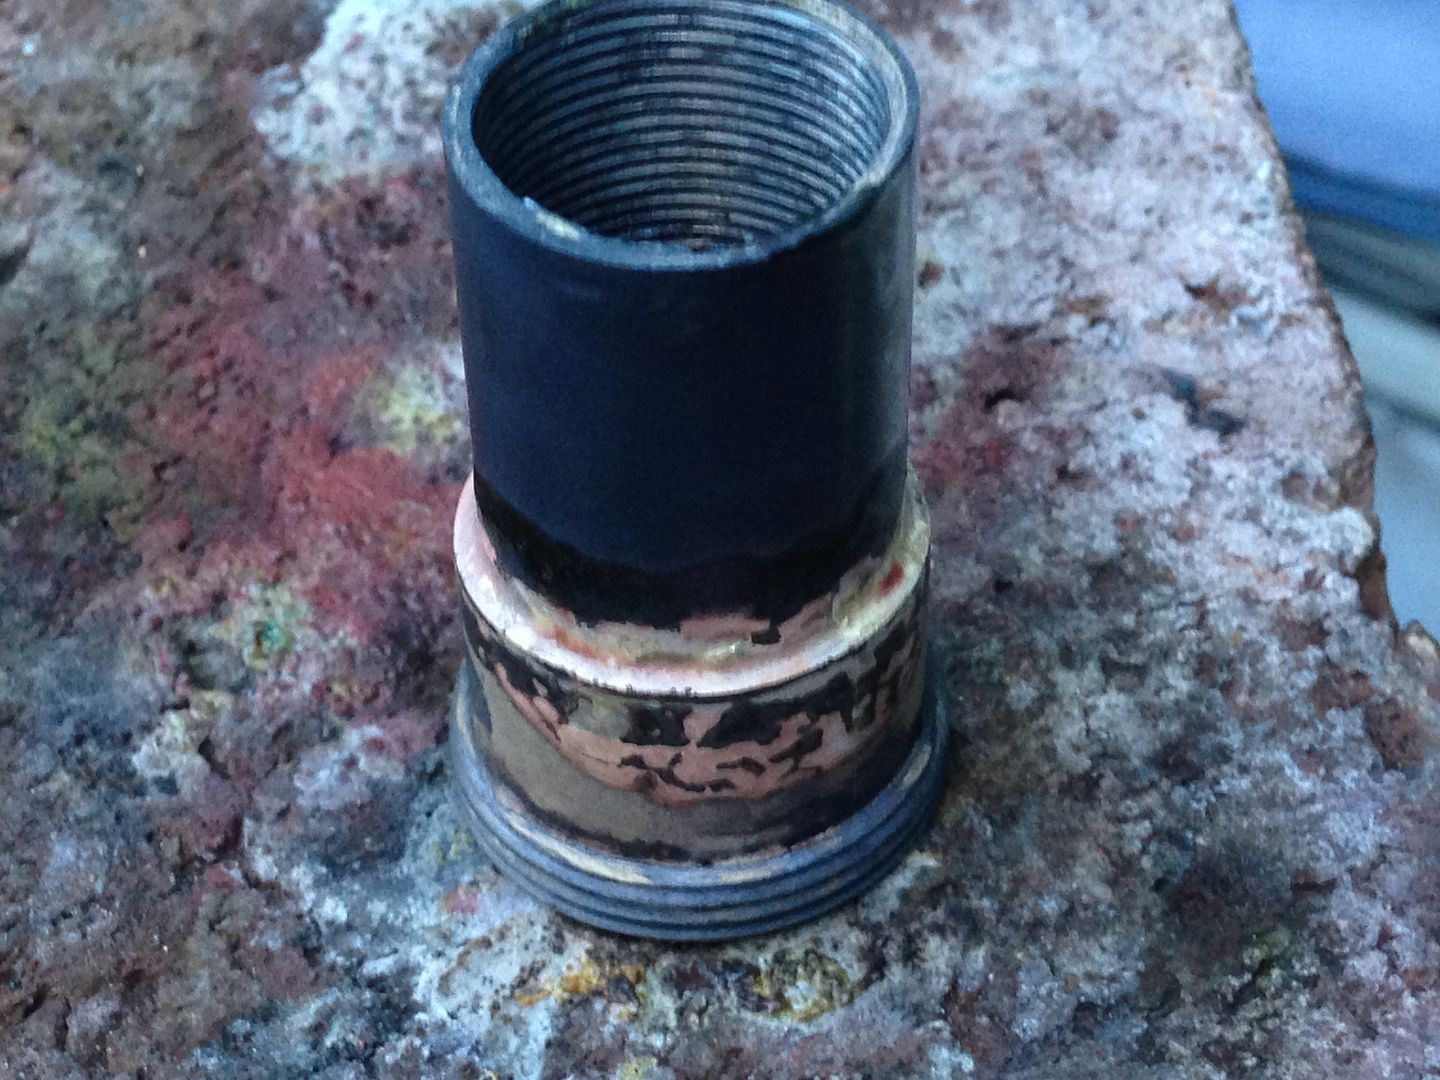 It may look ugly to others but it’s beautiful to me and just some cleaning, cutting, and assembly to go. I’ll give it a hot bath in Fuse Clean to make sure all the flux gets removed but that’s all for the torch work on the head. The jig piece even cooperated by not getting brazed in.
 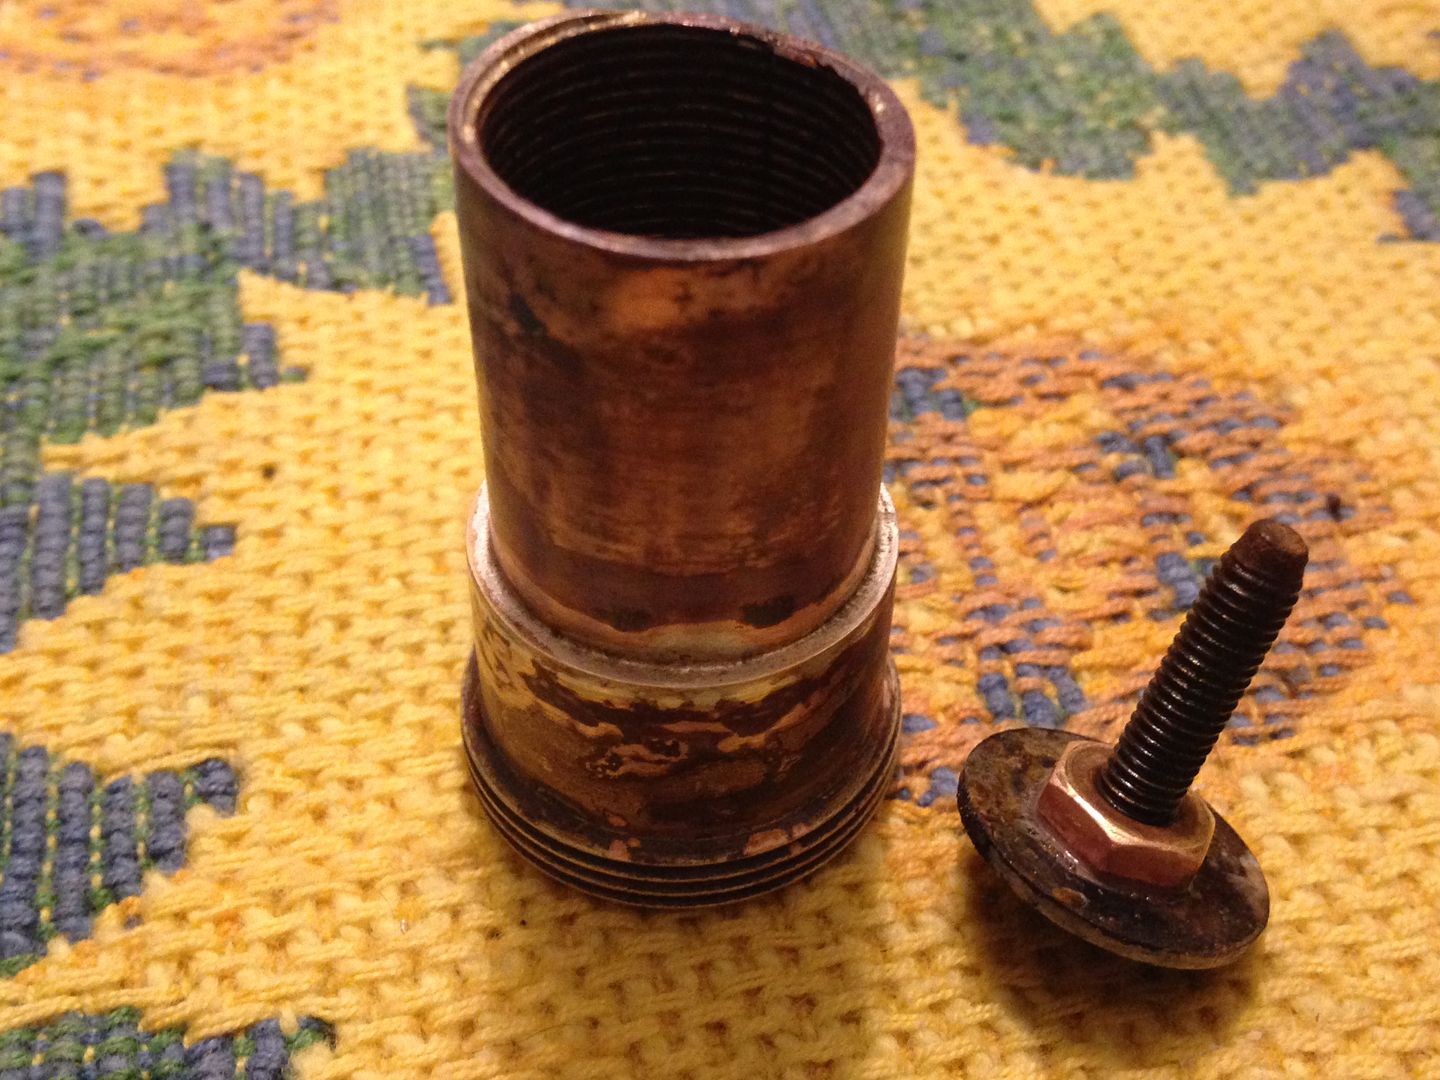 I really won’t know how true it ended up until it’s assembled and I spin it to cut the excess from the fins but no visible disasters so far.
9/06 Home at last. A little Fuze Clean and Mothers. 
Next
I hope you didn’t think I was gonna leave it like that.
Nice work RBD. Do you use acid to clean the flux etc off?
Some stuff called Fuze Clean FS. Comes as small crystals you dissolve in water and heat to ~160F. Toss in the hot part and seconds later it’s clean. Reusable as long as it keeps working and safe to dispose of. I bought two jars and just finished the first after 2 years.
I did a Google search and not much comes up. In images it shows a couple of your pictures.
Thanks. It certainly works well.
It does. I giggled with glee the first time I used it. Even now it’s a great to see the practically instantaneous change. I used to solder as much as I could, now I braze wherever possible.
Rufus, You make my head hurt!!! You take the cake at bringing a bucket of parts together into a work of art. The wood is just stunning. Great work!!! TL
Thanks TL, a long way to go still and a lot more parts to fill the bucket.
A painful but productive couple of days but heck, if it didn’t hurt I’d be working and getting nothing done. :+1: First off, I drilled out the brass sheet, first with a step drill to 1/4” then with a 5/8” hole saw and finished it off with a dremel sanding drum and ran the 20 x 1 mm tap through it to finish the threading. 
 After that I cut some of the excess from the copper core.
  I need a place to put an o-ring between the head and the tube and this piece I cut the bezel threads from should work nicely(shown before the previous cut).
  Before cutting off the part I want to use I tapped threads for a few mm.
 This hand cutting bites but my reciprocating saw is most definitely a two handed tool.
 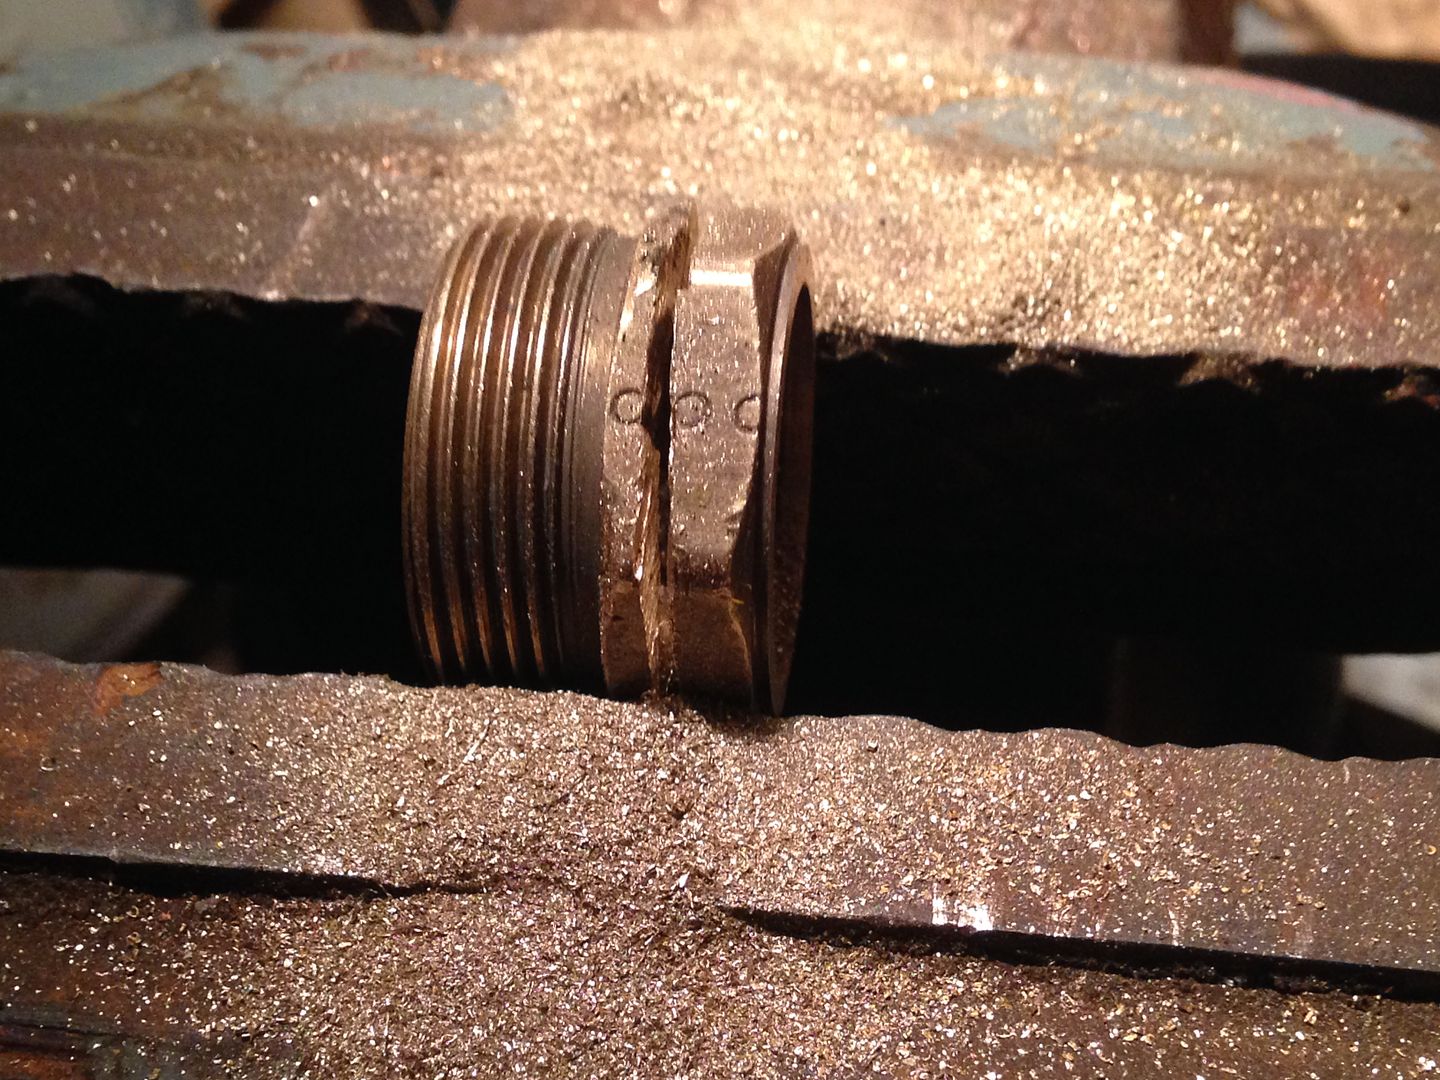 I’ll get back to this piece in a bit but I also need to fabricate the place where it goes. For that I need a P60 brass pill and some brass tubing. First thing to do is run the threads the rest of the way up the pill. Not having the approved tool holders and such I’m making do. Poor little pill, this will hurt me more than it hurts you.
 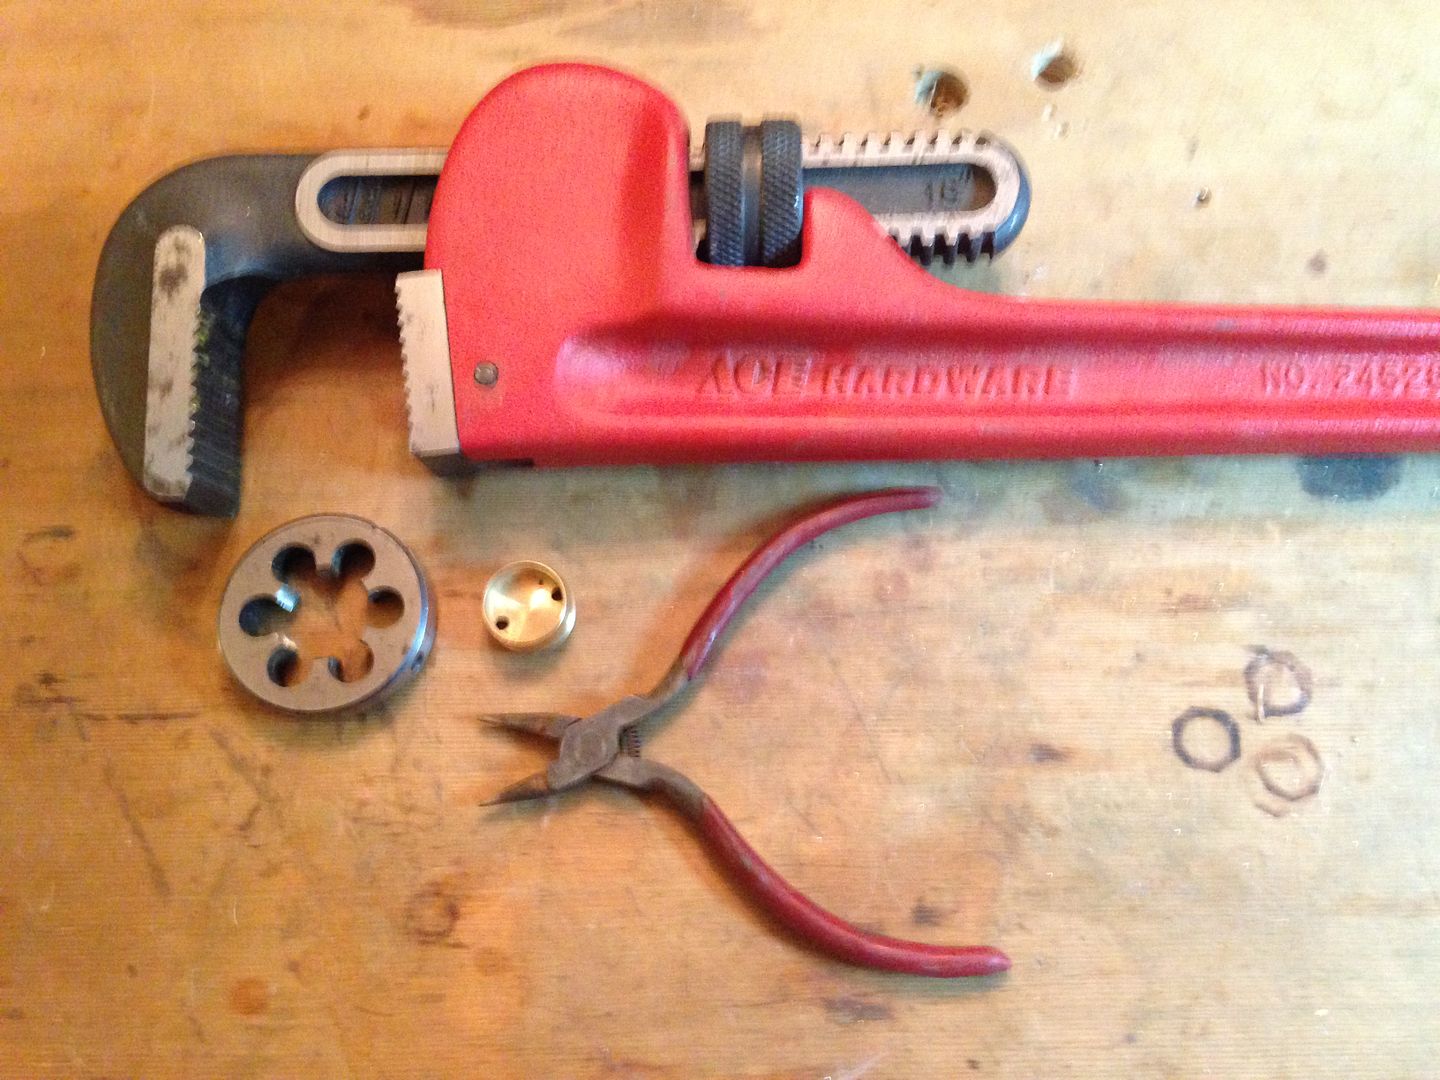 Well, maybe it will hurt a little but fair is fair.
 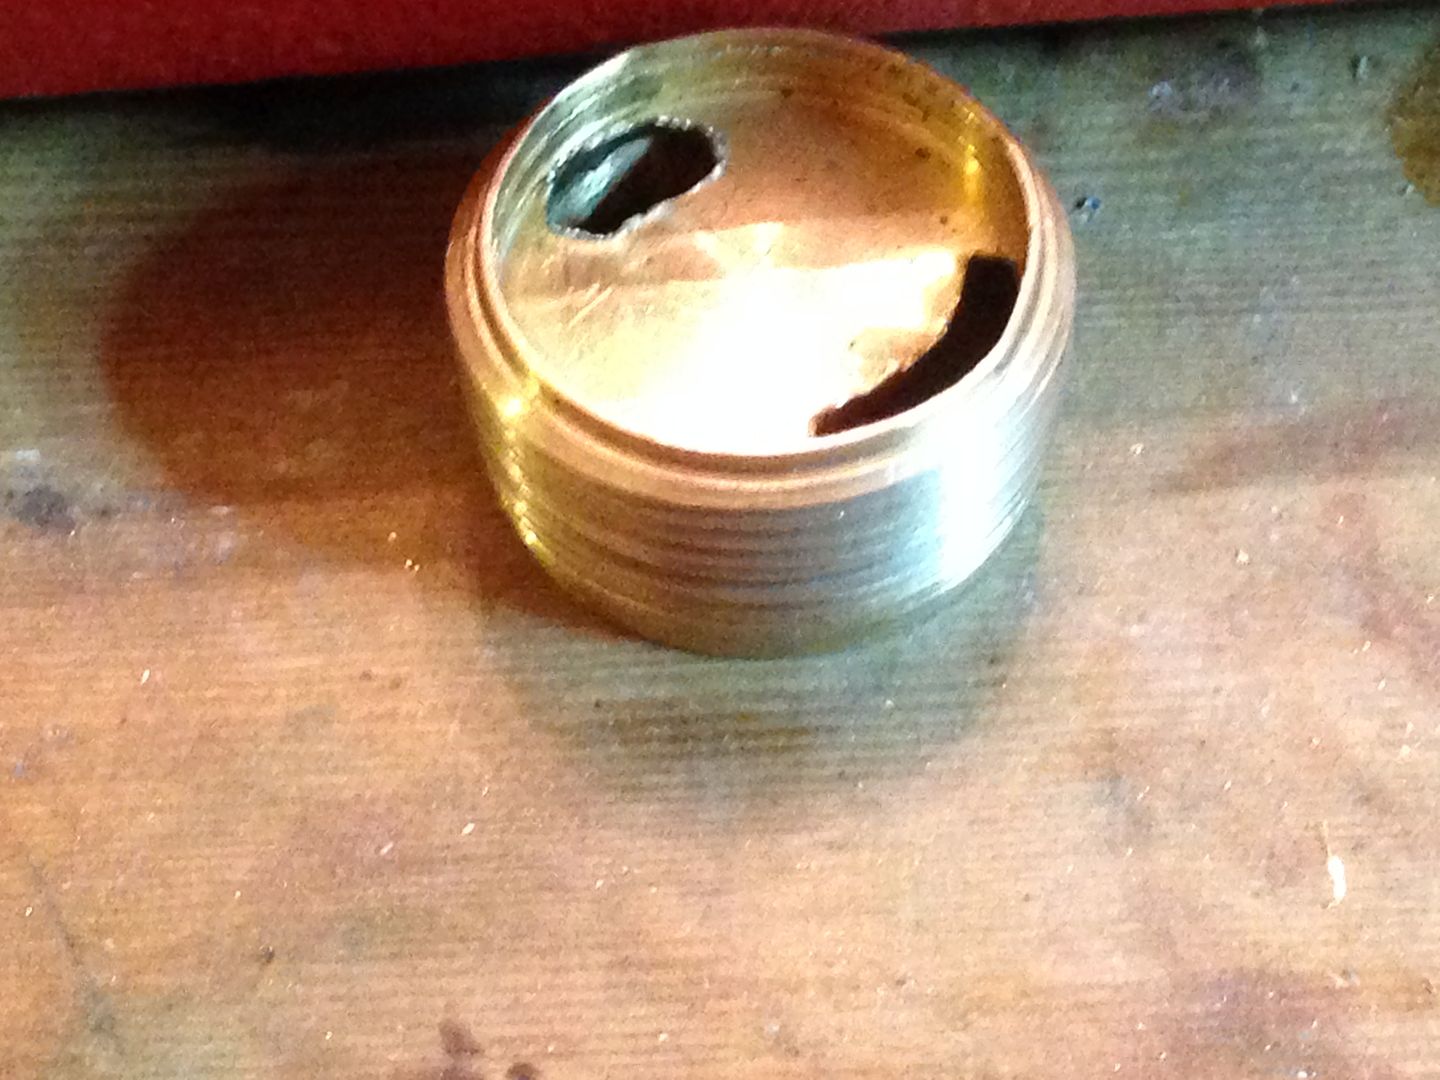 Some time in the future it will get brazed to a short section of this brass tubing.
 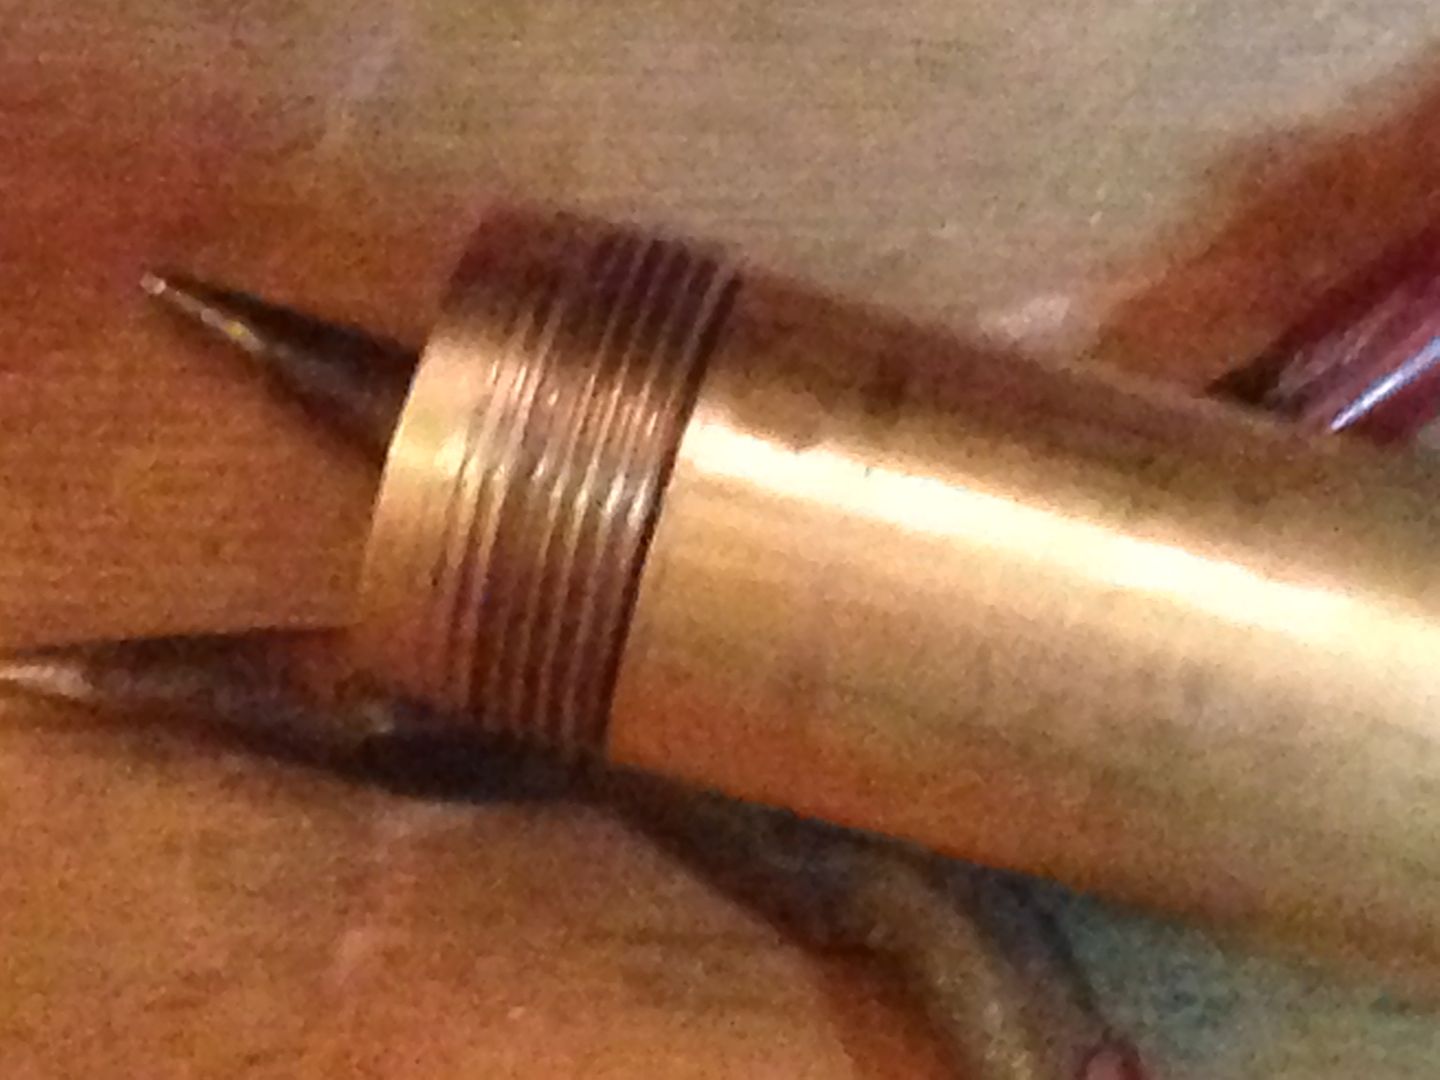 And that other chunk of brass will thread onto it capping the wood of the battery tube at one end.
 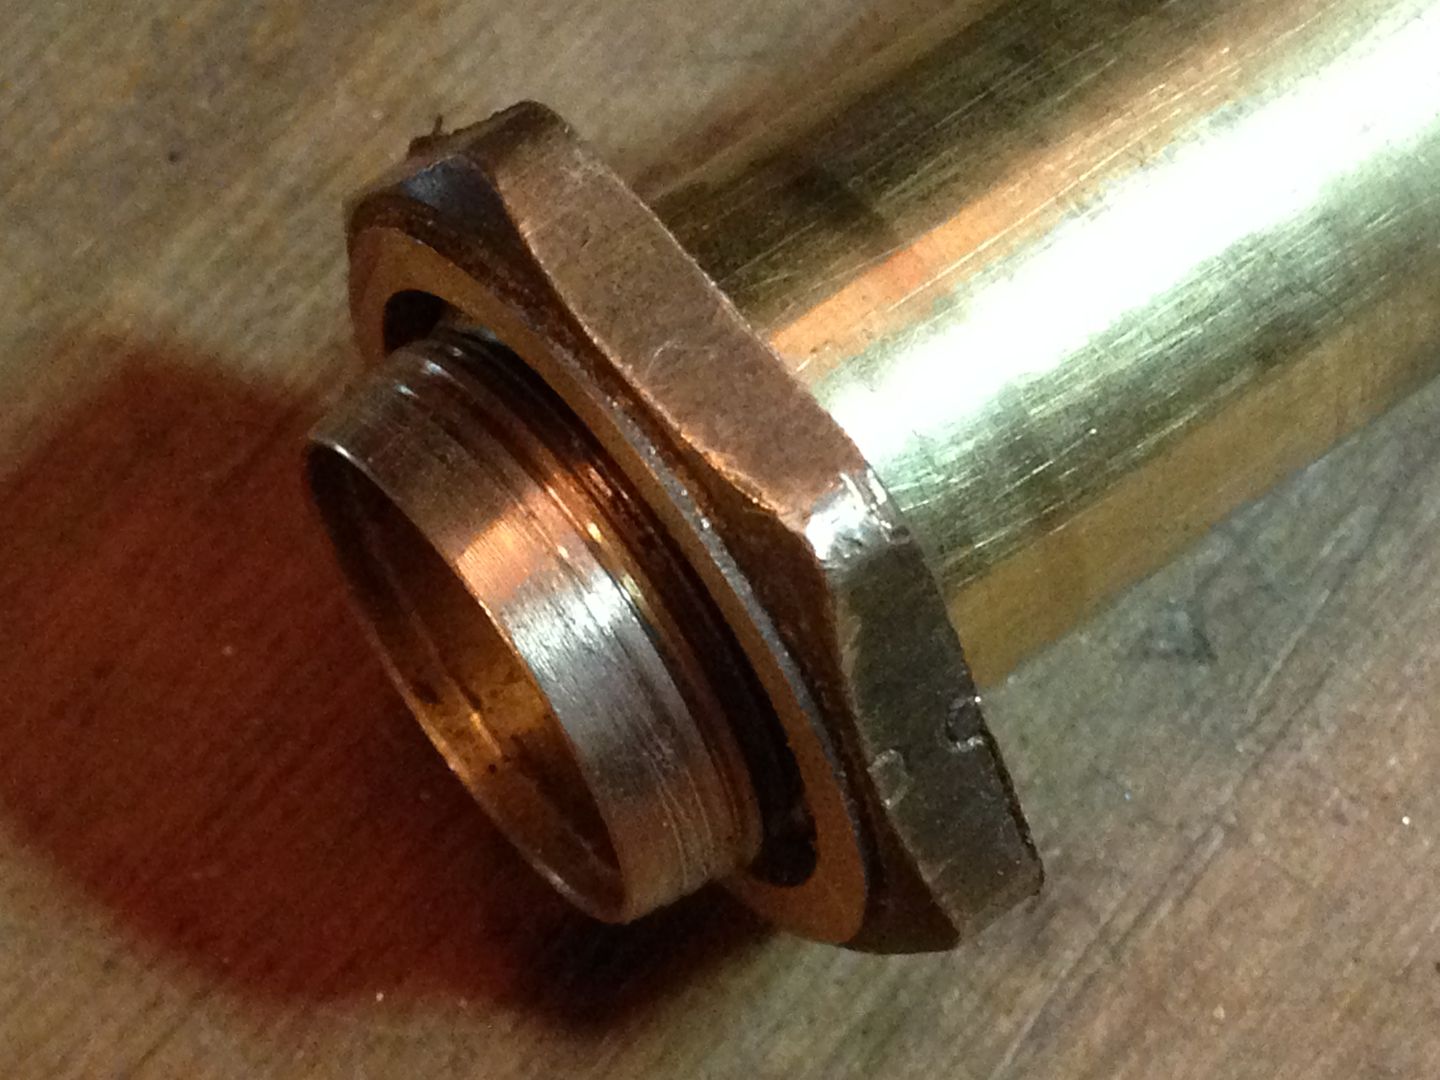 That piece is over 5 mm thick and will end up only 3mm or so(just enough for the notch to cover a 1.5mm o-ring and have a bit of thread). The tube piece will have the switch inside and fit inside a newly remade battery tube. While I had the hack saw out I cut another one. Not easy cutting left handed when you’re a righty.
 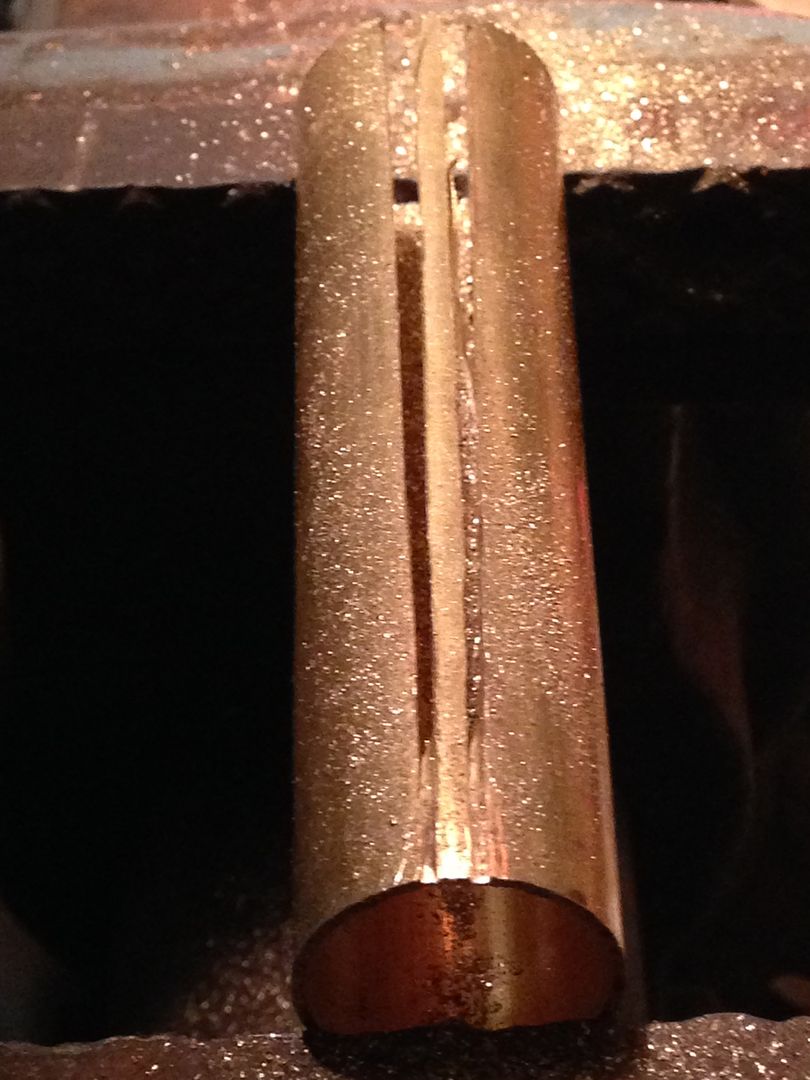 After a bit of time, annealing, filing and fitting(I clamped the file in the vise so I could push/pull on the part lefty), I applied plenty of flux, slipped on two brass collars and a copper one, and brazed it.
 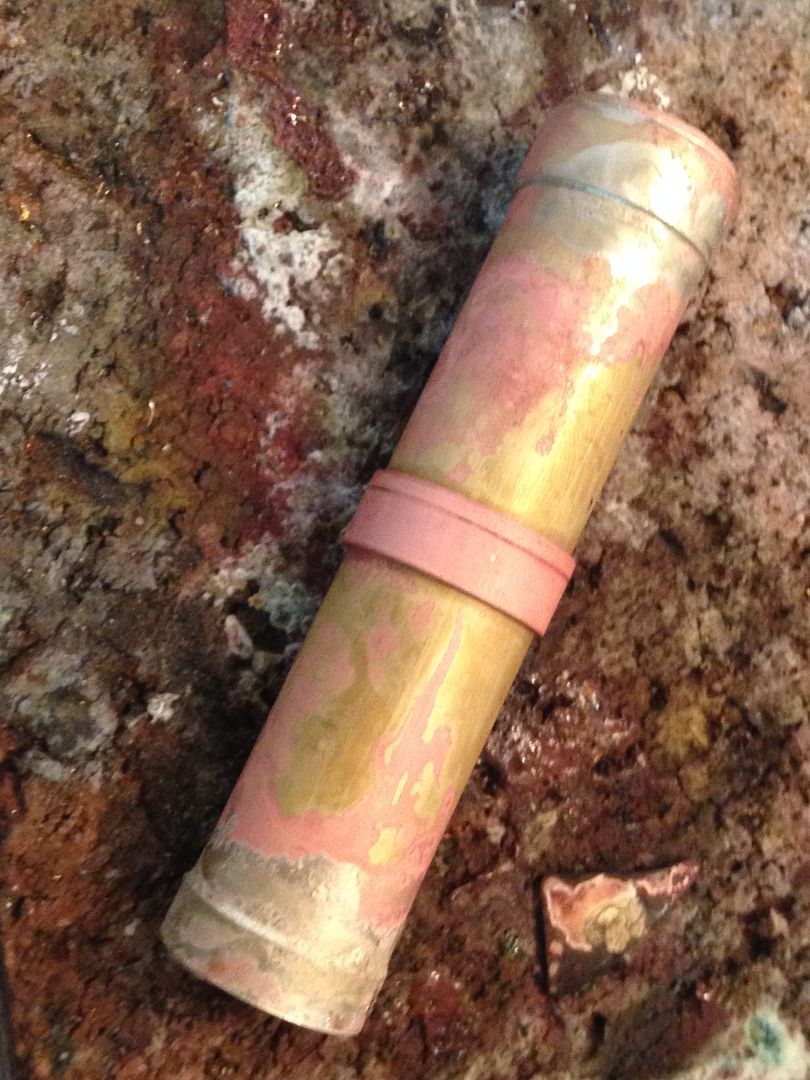 I didn’t want the copper piece to braze, just act as a belt to hold the joint closed so I didn’t flux under it except at the joint itself. No flux>no brazing and I could easily remove most of the collar.
 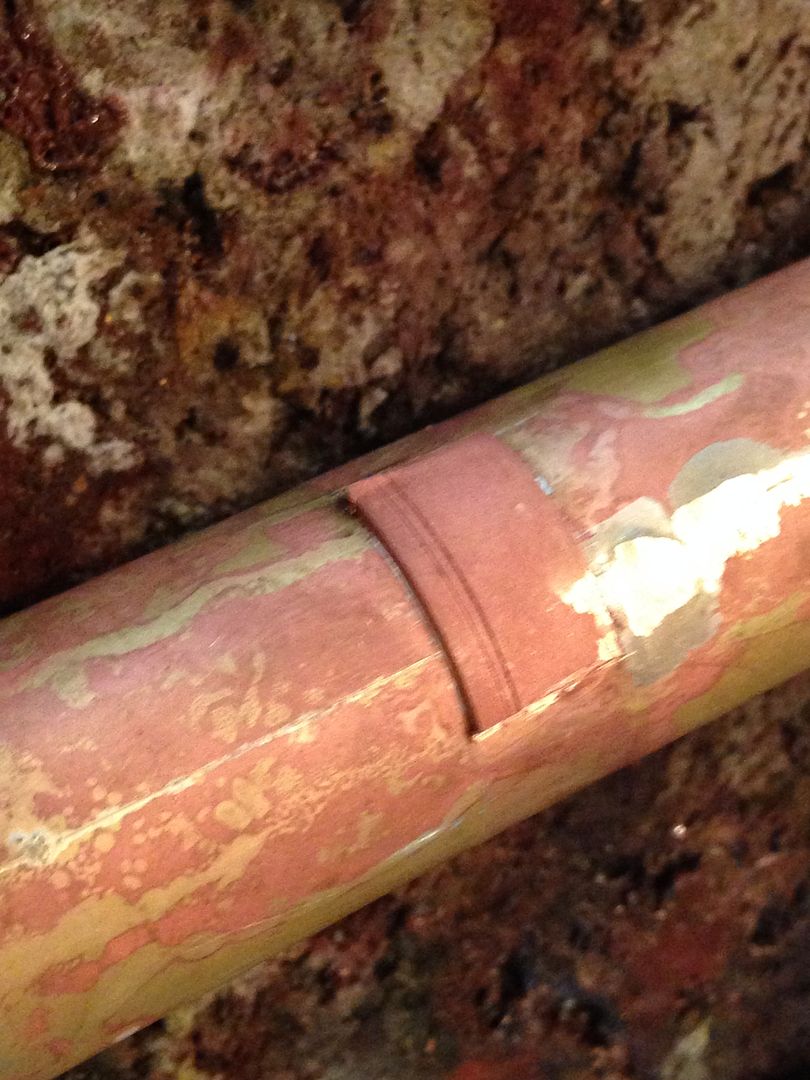 The fine line on the left is the brazed seam, so is the blobby crap on the right where I had to add more after booting it around the floor some. Check in after the week end to see how it turns out after cleanup and tapping.
Grinding along