At the beginning of December Lumatic posted a thread about an inexpensive light he had seen(and bought the requisite 15 of) and since there’s a Lowe’s near me I stopped in for a look see. They had the lights and they were on sale for only $2.98 ea. so I nabbed one along with some more AA Maglites to check it out. It was a bit larger than a solitaire with a reverse tail clicky and larger head. Having read Justin’s threads about the difficulty of managing heat in a solitaire I decided to add this little number to the upcoming giveaway and see about upping its output.


The stock lens is actually decent if you are into square die performance but I prefer the smooth round beam of an op reflector or smooth spot tir. The only place I could find an op to fit was a DX 4-pack that could not possibly arrive in time. Lumatic came to the rescue and sent me one with a matching glass lens for which I am grateful as it turns out this reflector produces the most satisfactory beam (IMHO) with a generous spot softening to a large spill area without artifacts. This is a working handlight not a thrower.
I tested the stock driver and was surprised to find it out out a Decent 200 mA from a single carbon AAA but I was sure that both the host and a liion rechargeable could handle more. While playing with it the inductor snapped off so I desoldered the rest if the components and looked for a spot to place a few 7135 chips from fastech. I needed a solder pad each for the ground tab, the led- output, and the led + output. The ground pad needed to be connected to the ground ring on the battery side of the board just as the led+ pad needed to connect to the center pad. I found the pads I needed and with only a minimum of trace cutting and jumpering the board was ready. I then stacked 2 - 7135’s and added wires and it was ready to load in the pill. Picture is of stock driver.

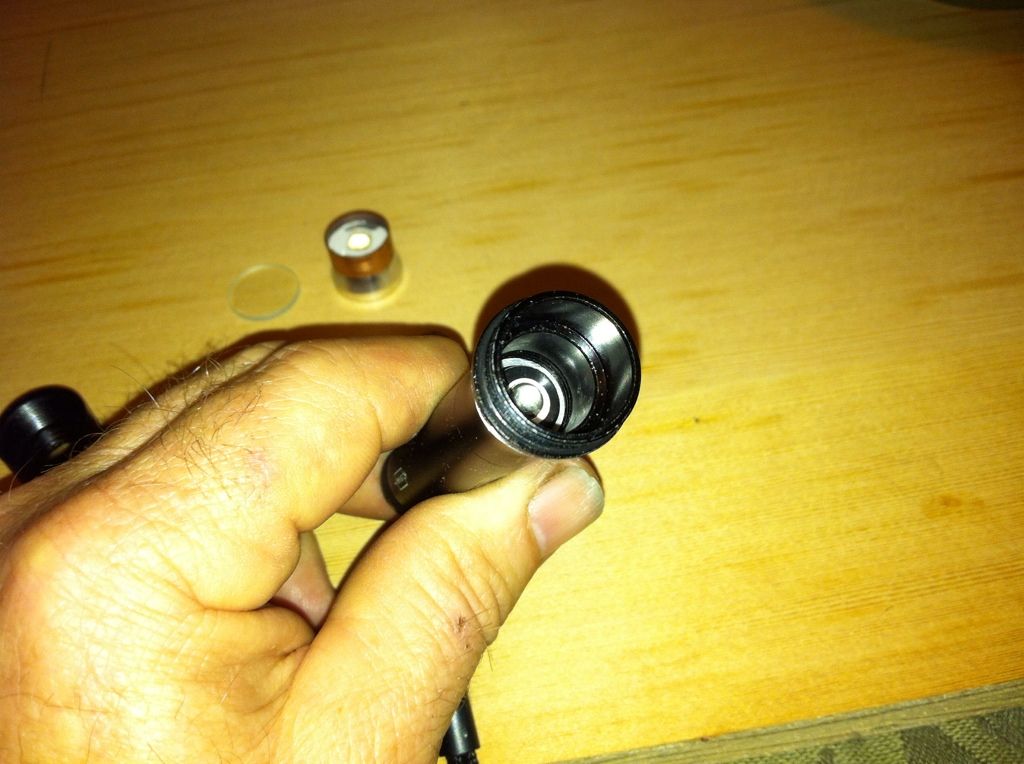
Although it’s a AAA light there is about 13.5 mm dia. where the pill sits, 16 mm where the led sits, and ~19 mm dia. behind the lens so I made the pill from 1/2” flexible cu tubing (it’s smaller than rigid cu at ~13mm) and long enough to fill the 13.5 Dia space with the driver at one end and a cu disc(sanded flush) at the other. There was a smidge more stack room so I added another cu disc cut to the larger 16 mm Dia and this forms the lip you can see in the pic. Some cu tape improved the fit. 

I found that the reflector produced the best beam with 2 insulation spacers so I put one on the pcb and stuck the other to the reflector with Fujik and dremeled of the excess plastic. The reflector was also loose in the head but was a perfect size to fit in 1/2” thin wall rigid cu which was cut to fit down to the pcb cu disc and aid in heat absorption/transfer. At this current(700mA max), it may not need it but wthn. It was secured to the reflector with Fujik as well. 
The fins were added later as I had so much fun making first the Solitaire brass sleeve and then the M&M Mini that I felt compelled to add them to this light as well. It is a fairly simple process that involves screwing a length of hacksaw blade(I chose a blade with minimal wave to the cutting edge) and securing the victim between padded washers and nuts along with a bushing in the drill press table to prevent wobbling. Different methods were employed to bush the space between the bolt threads and the victim depending on the space. Where possible, the clamping force was exerted on unthreaded or unexposed surfaces to prevent visible damage. It turned out to be unnecessary but it felt better taking it safe. The use of Wd40 as lubricant and a clamp as a stop block for control proved helpful as well. More practice wil almost certainly yield better results than I did here but I was happy to at least prove the process.

Some beamshots(iPhone crummies). 1st is control with just the iphone flash, 2nd is stock, you can just see the perfect circle and sharply defined edge. 3rd is the Lumatic Special which may in it’s next iteration receive a 3-chip driver, but for now…


I ended up having to add some solder to the ground ring to improve the ground path connection(pill was .somemm to short) and there is substantial resistance measured in the tail switch that might be correctable(switch comes apart readily) but this is a nice, well machined, inexpensive light that was fun and easy to work on. I hope you enjoy this thread.
