This post, when completed will hopefully give people an entrance into assembling your own flashlight, the natueal step from or to modding your underwhelming budget light.
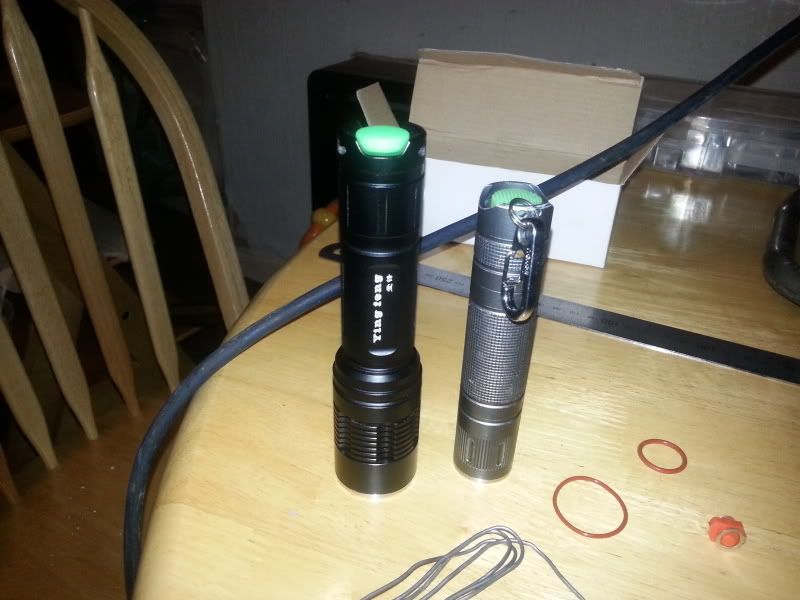
My subject of analysis shall be the d5 host from cnqg.
http://www.cnqualitygoods.com/goods.php?id=1339
A slightly unusual internally designed light but a fine little light in its own right.
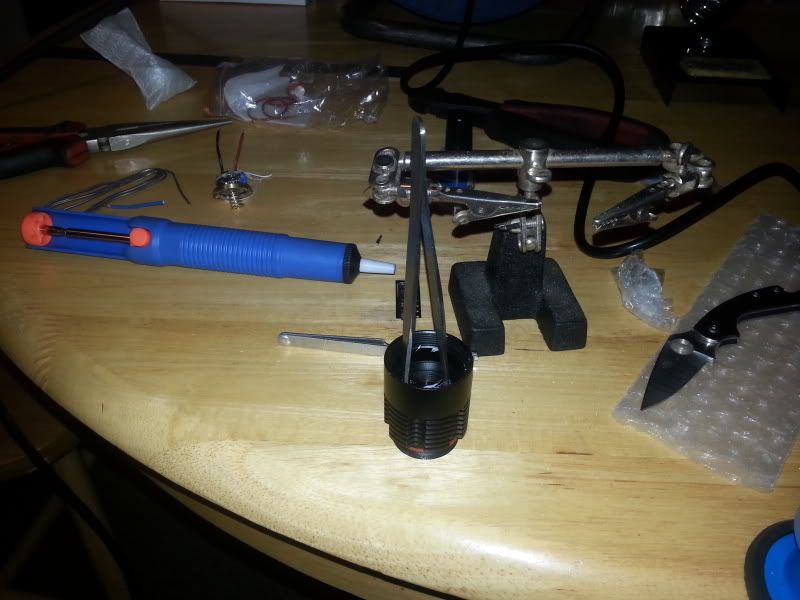
Now, please dont be under the illusion you need a fully fitted workshop to assemble a host or carry out a driver/emitter swap.
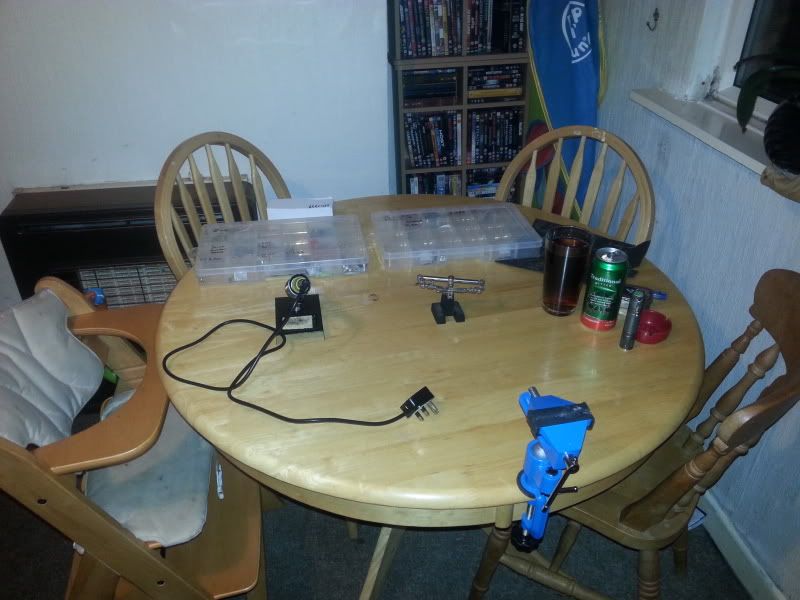
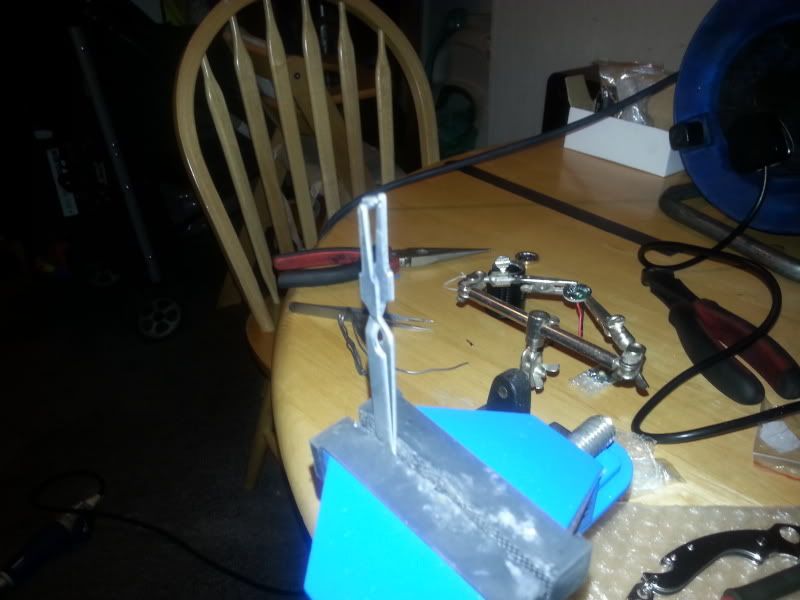
As you can see, the magic happens on the dining room table, much to mrs gord’s chagrin.
:bigsmile:
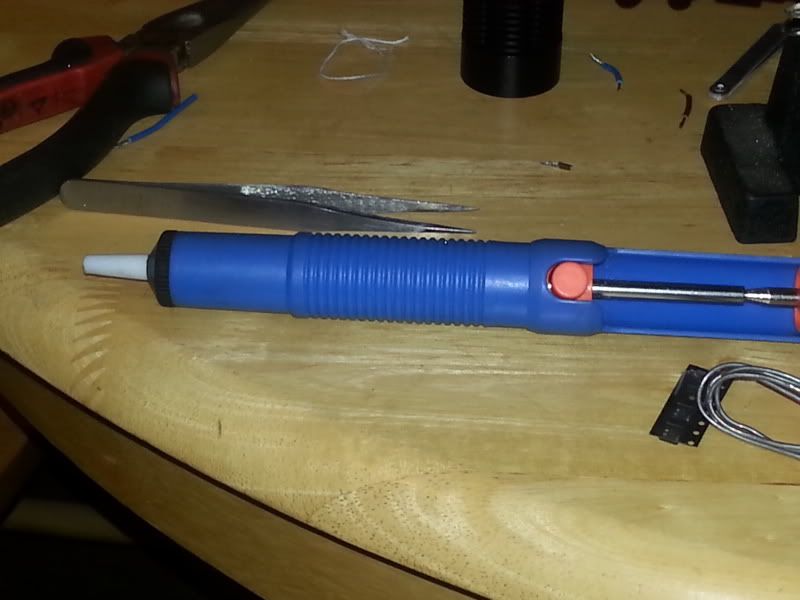
There’s a few essential tools.


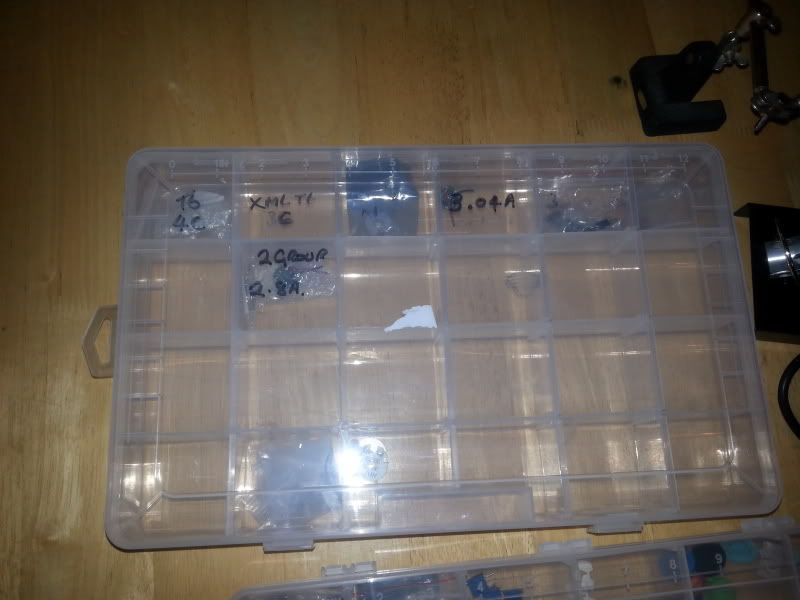
And its best to have some supplies, although you can build these up over time.
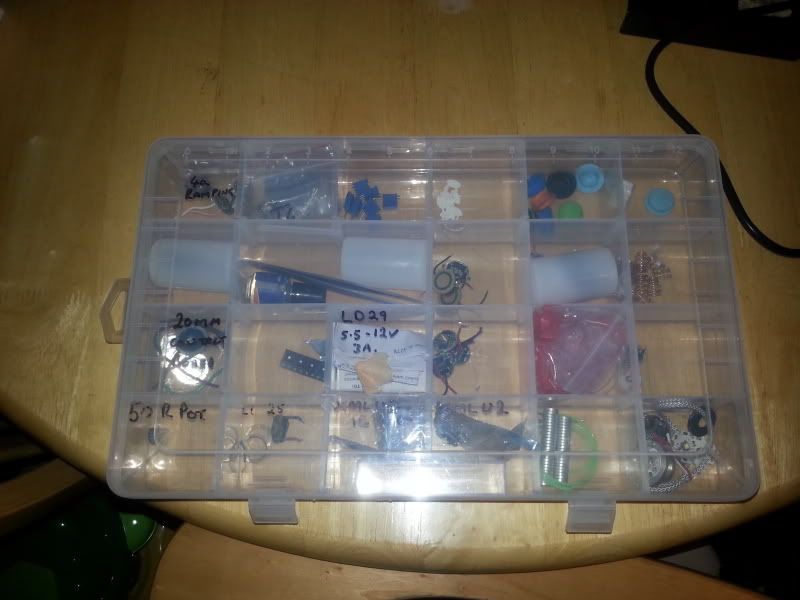
So other than my hand tools tote out of my van (pliers, screwdrivers, circlip pliers etc) you see everything you need to end up with a completed flashlight. Oh, other than a host I guess. :bigsmile:
Lets take a look then. The diy hosts I have recieved have all, other than the torchlite, arrived in a plain white box, with no assembly instructions. You have to suss things out for yourself. My advice is to buy a cheap, functional c8, strip it down and you’ll know how about 95% of lights got together.

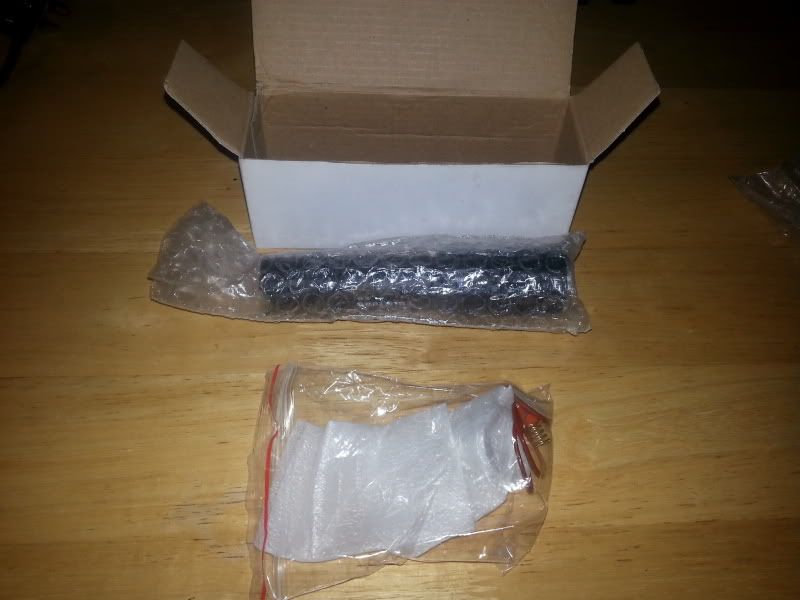
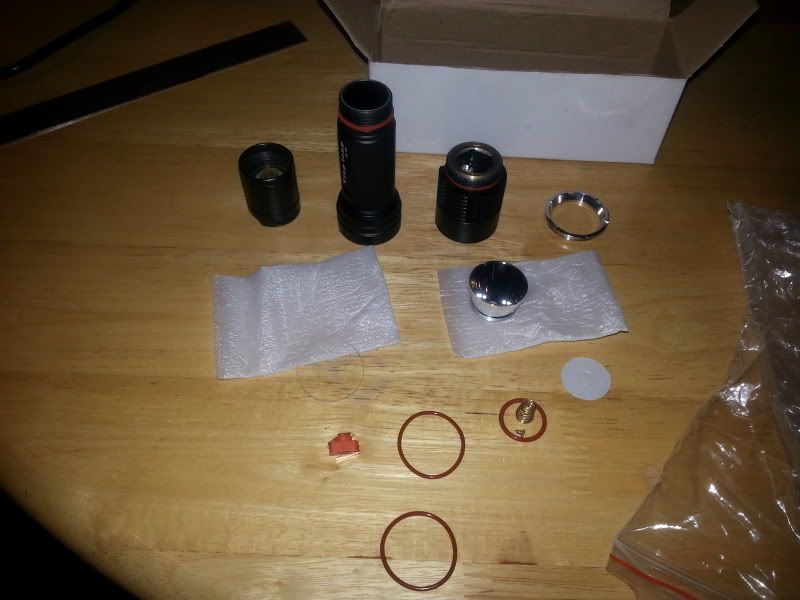
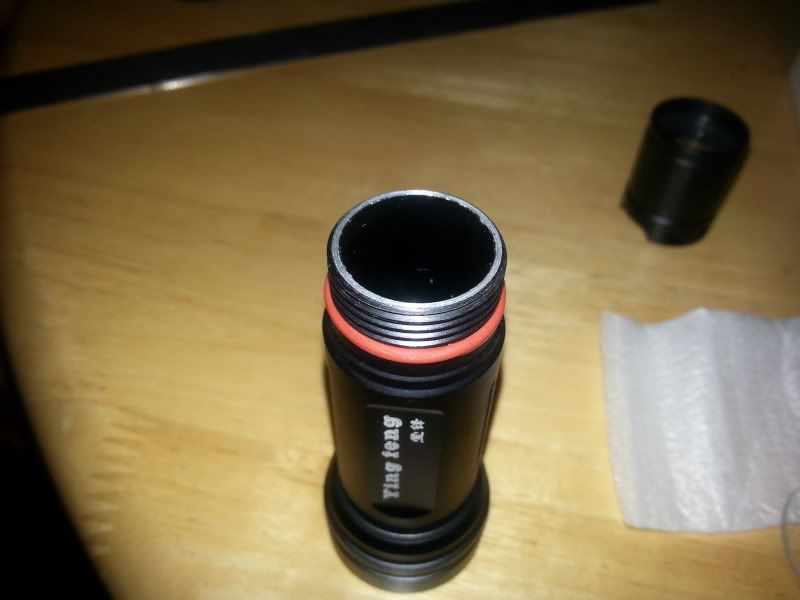
In the last picture, you see all the components that come in the kit, including the spare switch and o-rings. Lets have a close look at the host and how it fits together.
Starting with the head, the star directly mounts to the head, check the surface with a finger nail for any burs and if you feel any, wrap a stripbof sand paper round an appropriate post and rub it smooth.

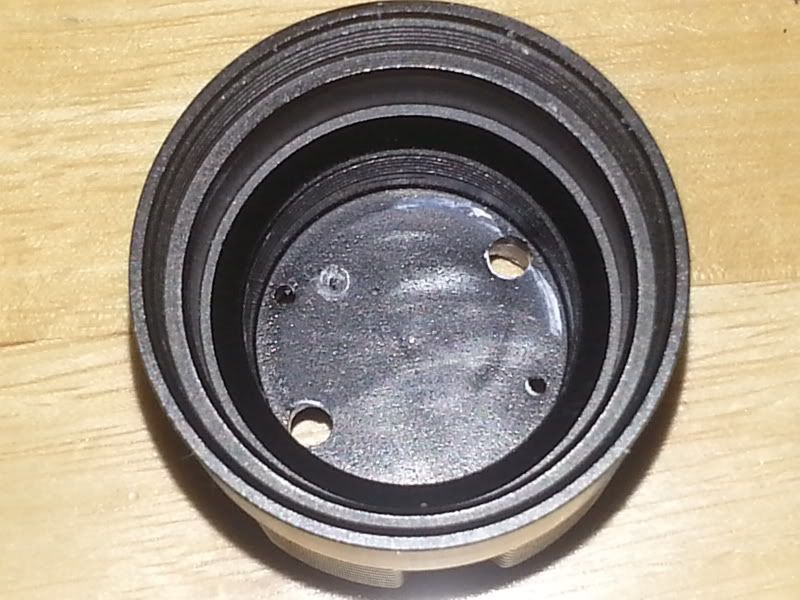
Flipping the head over
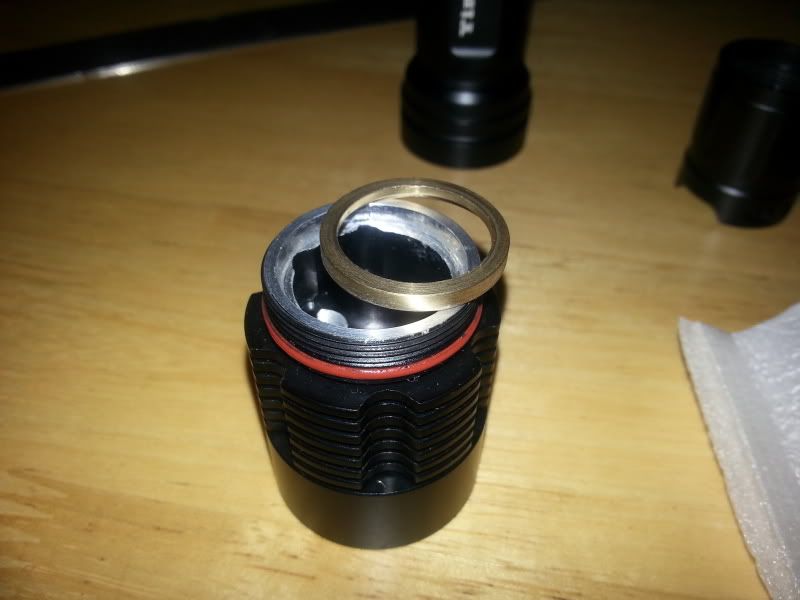
We find a press fit brass ring that the driver solders into, this forms tge negative path for the driver through the host. This brass ring contacts with a brass ring in the body tube.
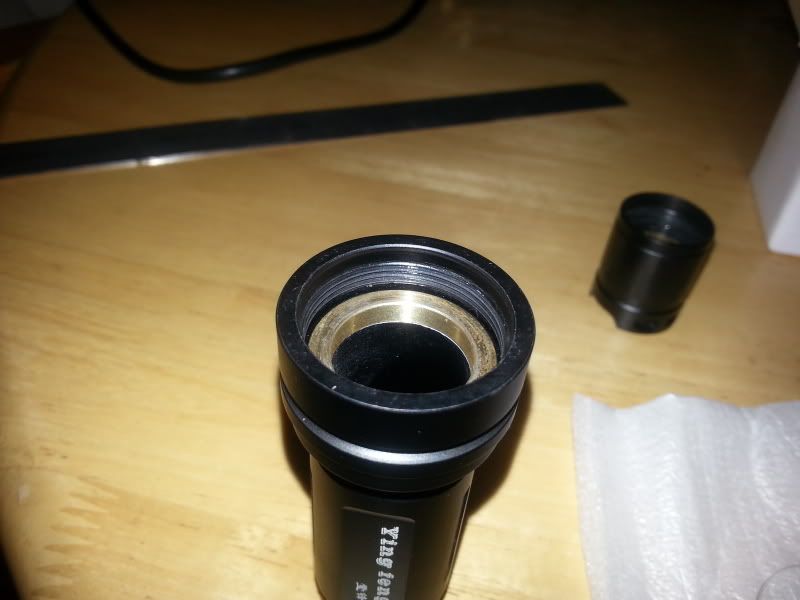
Sadly the tail end relies on exposed aluminium to contact the brass in the tail cap, so near yet so far.
For this build I chose to use a 2.8a nanjg 2 group driver (17mm diameter) and xm-l t6 4c on 20mm star. Lets look at the driver first…
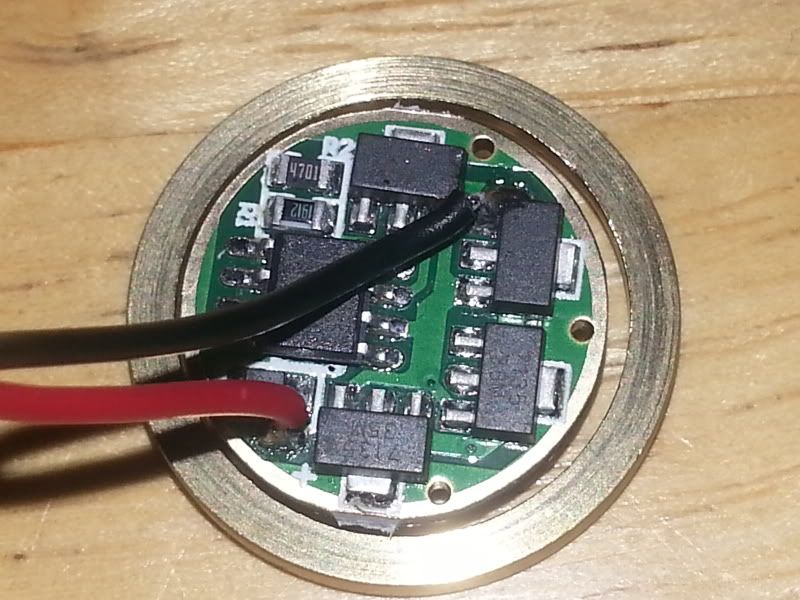
As we can see, that’s not ideal, here’s where the previous ly mentioned supplies come in, what you need is what seems to be called a hoy baffle, a contact board to you and me.

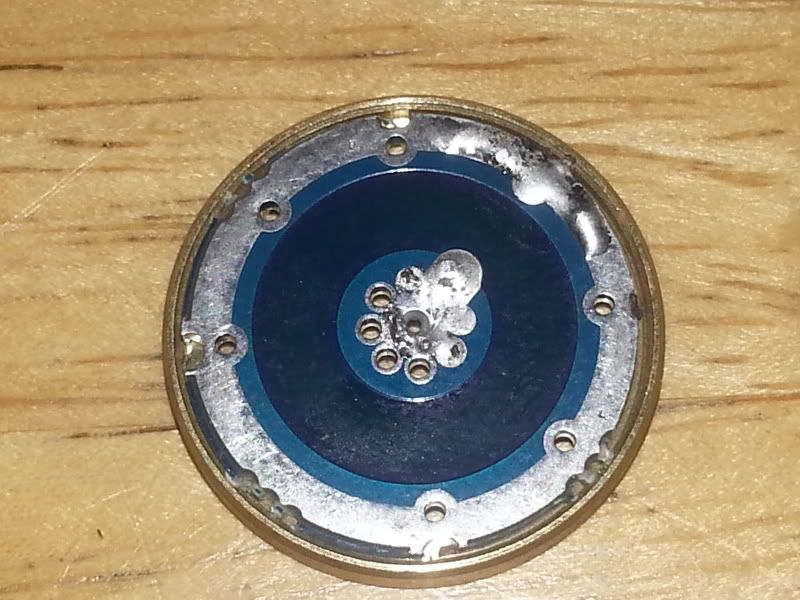
Forgive the solder, I must have tried this one elsewhere, as you can see, you have a ground ring and positive centre point, like its made for the job ![]() so now we just have to solder this into the ring and then look at the driver itself.
so now we just have to solder this into the ring and then look at the driver itself.
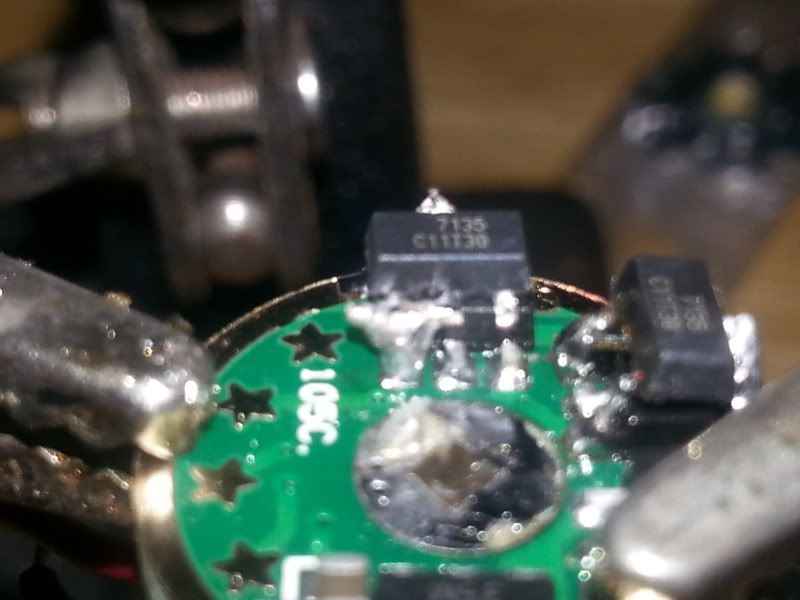
You can dress the excess solder once everything is tested now we need to look at the driver itself. Since the host looks built to handle heat I decided to add a couple of extra 7135’s….
I’ve still not got this down cold, I either fried one of the chips I was adding or one of the chips I was adding too. :8) and ended up with a measured tailcap current of 3.1a.
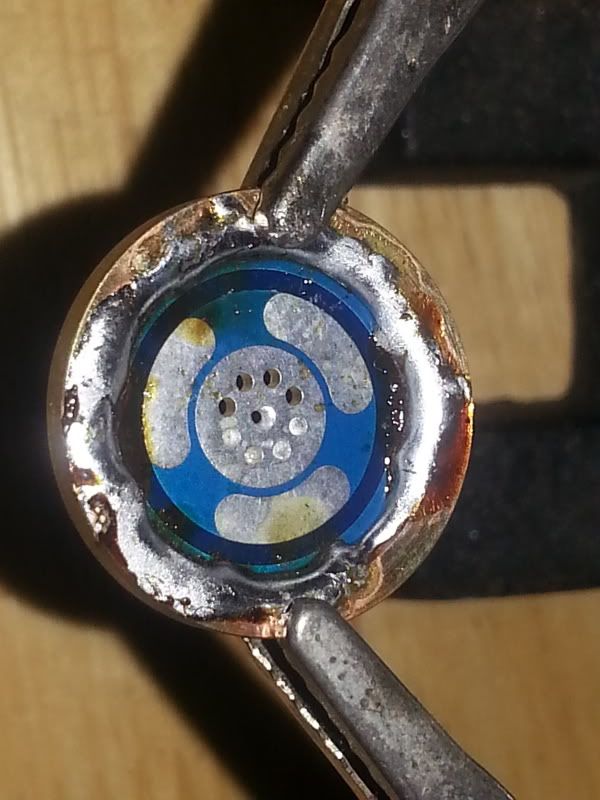
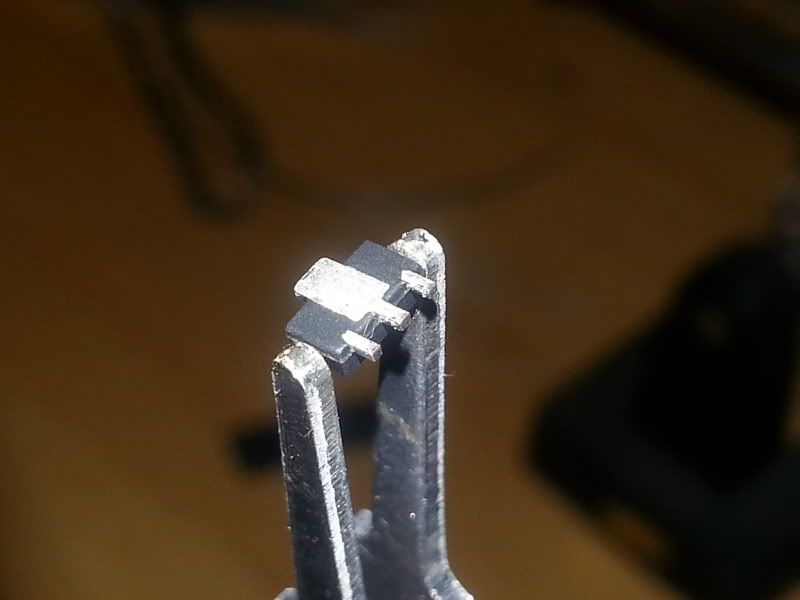
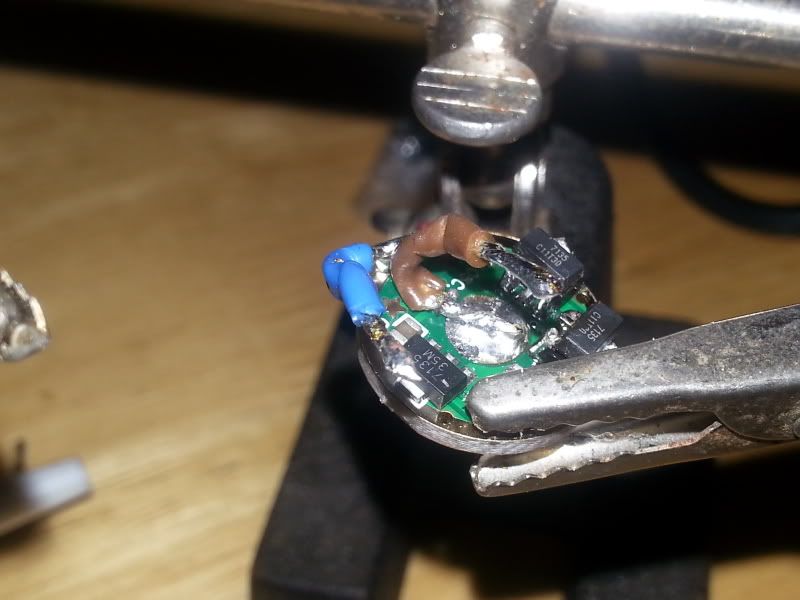
I use a heat shunt, mainly as it makes holding the chips easier
And here’s a close up of said chip
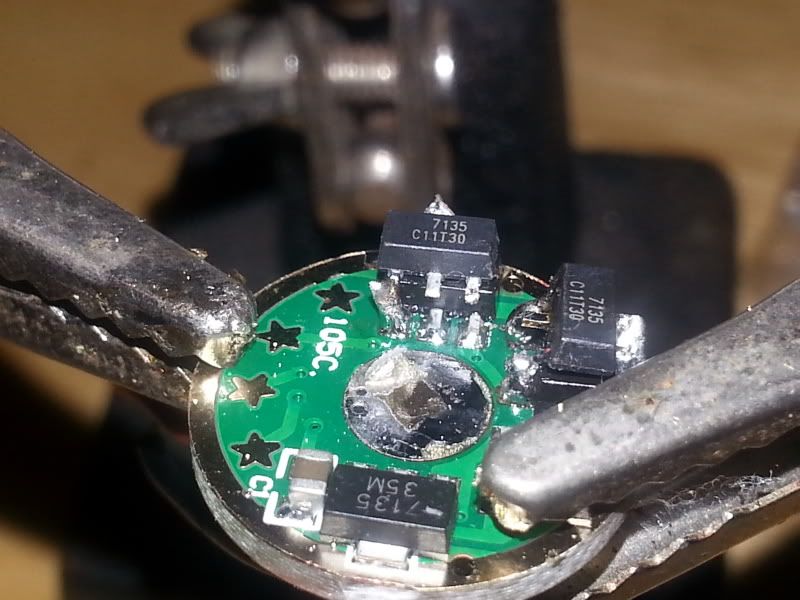
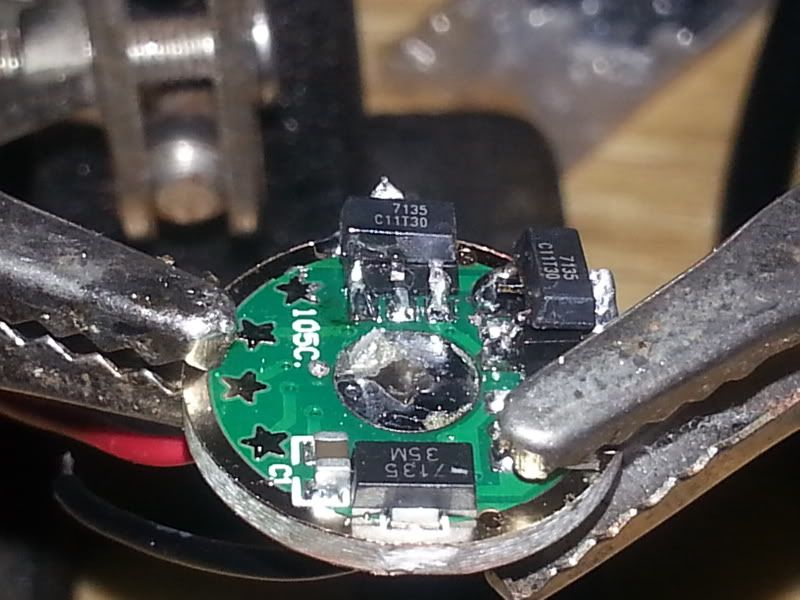
I then try to solder the top heat sink connection first to locate the chip

Then bend down the two outer legs and carefully bridge to the existing chips corresponding legs (obviously not carefully enough) ![]() I intend to get some solder paste to further experiment.
I intend to get some solder paste to further experiment.
You can also see I removed the + spring to make acces easier, this would usually be needer but we are connecting a contact board so we dont need the spring.
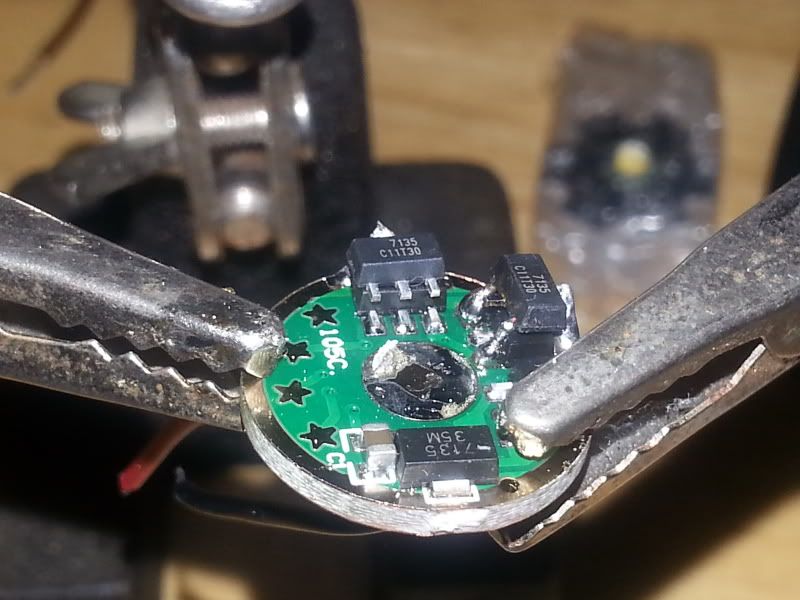
You can see on this next picture I bridged two of the legs you can use braid to remove the solder or a solder pump.
Then try again (this probably killed the chip - too much heat).
Once we’re as happy as we can be, we need to add the link wires for the contact board, helping hands are usefull here.
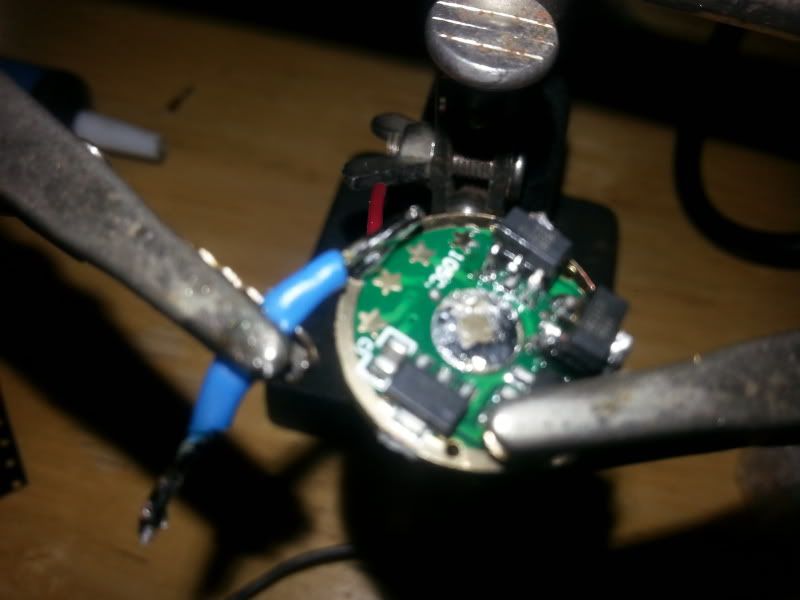
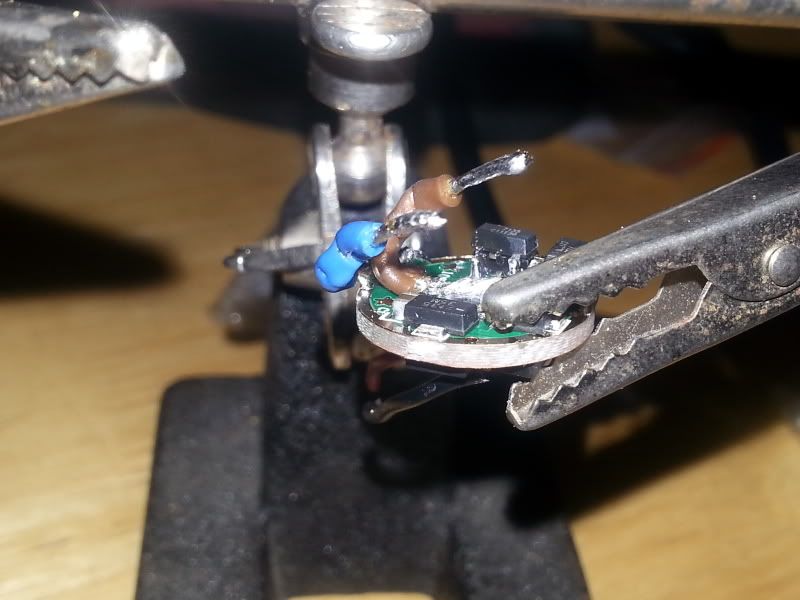
And finally connect the contact board
Before adding the + spring

The driver assembly is now ready for feeding into the host, and connecting to the star, red to the +, black to the -

Pre tin your two chosen pads, and the driver wires

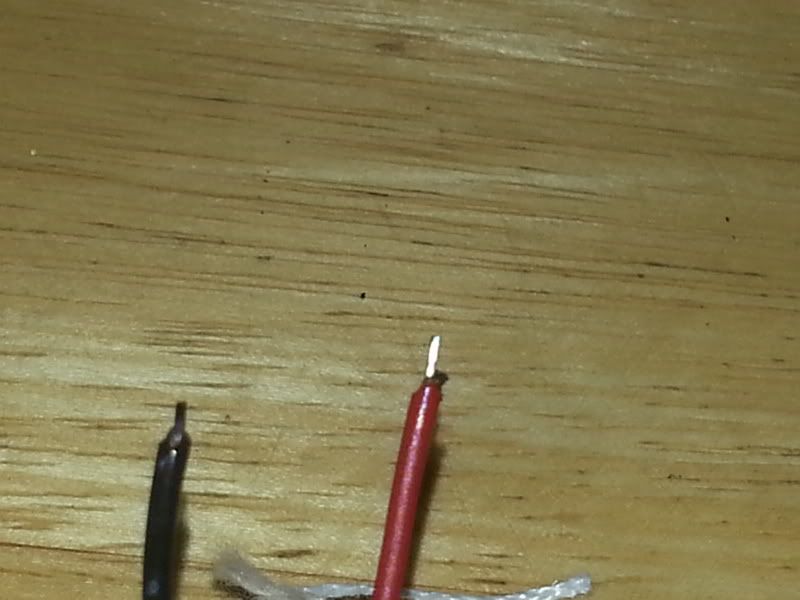
Then add thermal paste/liquid/adhesive onto the star mounting face
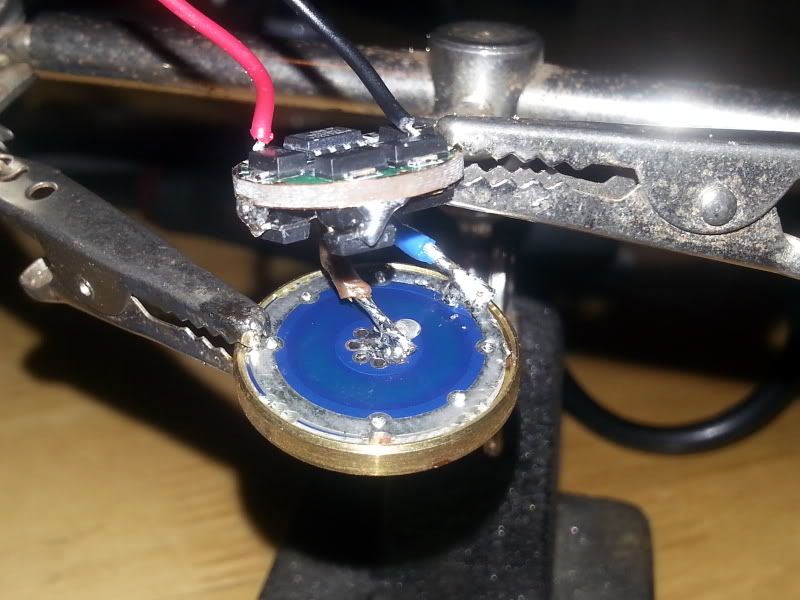
I’m using a diamond liquid as it had the highest thermal transfer properties of the stuff available in my local supplier, its even worse than paste at gripping, but in a host where something else secures the star, this is not an issue. So locate the star,
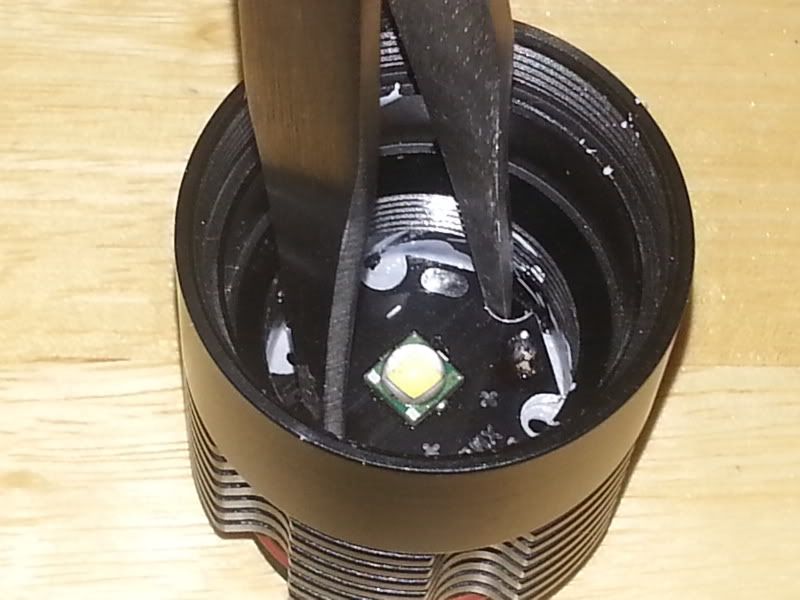
Feed in the driver assembly, taking care to get red to + and black to - then, using tweesers and your iron carefully make the last two solder connections.
Your light engine is now ready, I would test using a cell and meter before pressing the brass contact ring in place, once satisfied its ring in place, screw in reflector, (very very very carefully) add o ring lenses then bezel, screw in body and your ready to test.
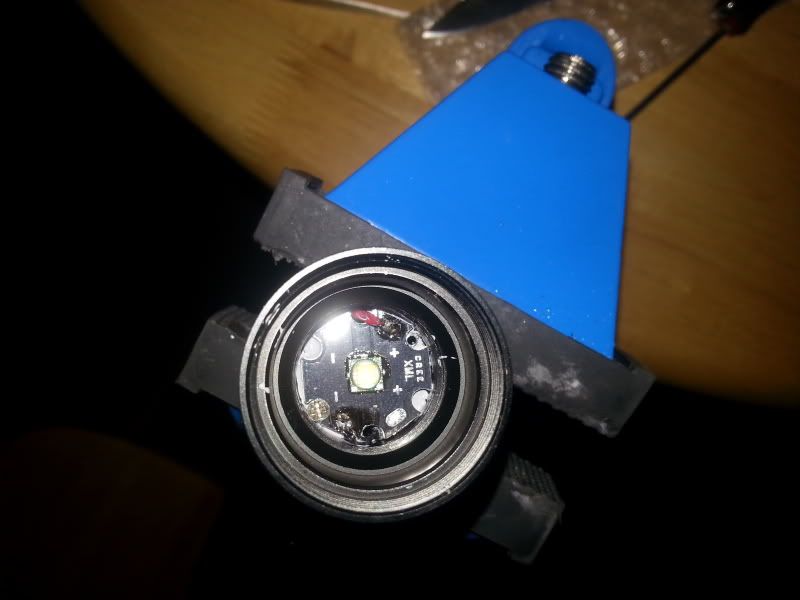
My beam shots suck, but here’s high and low to give a rough idea.
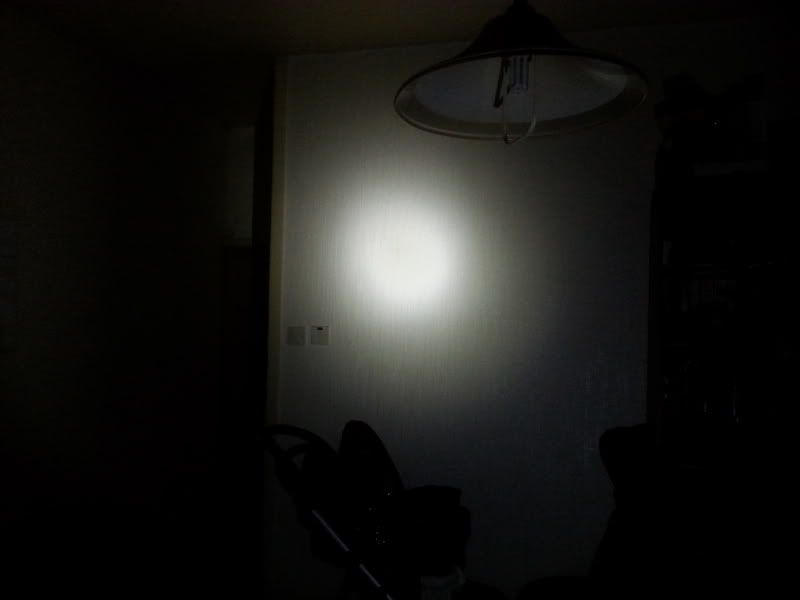
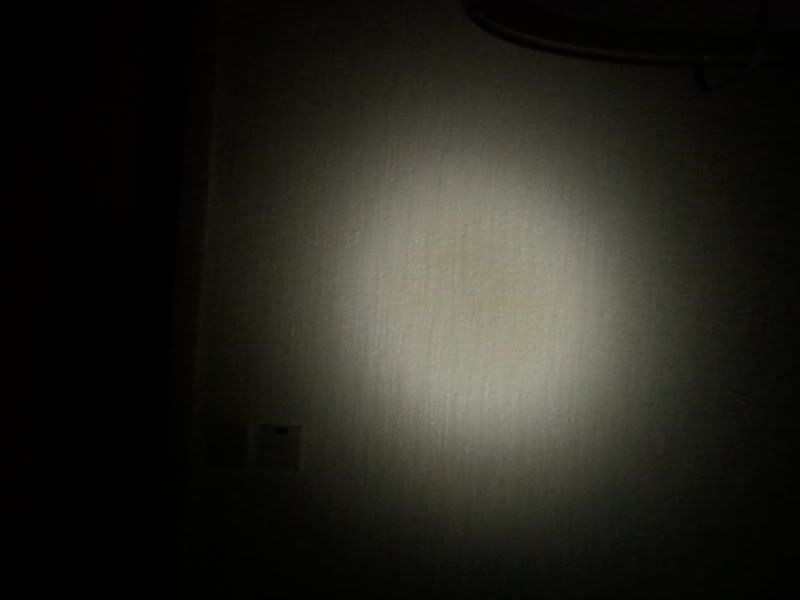
The tint is close, but I couldn’t capture all the lovely usefull spill, as you can see though, we have a functional flashlight 8) just need to fit a nice baby blue gitd tail cap rubber and examine the tailswitch assembly, and we’re done.
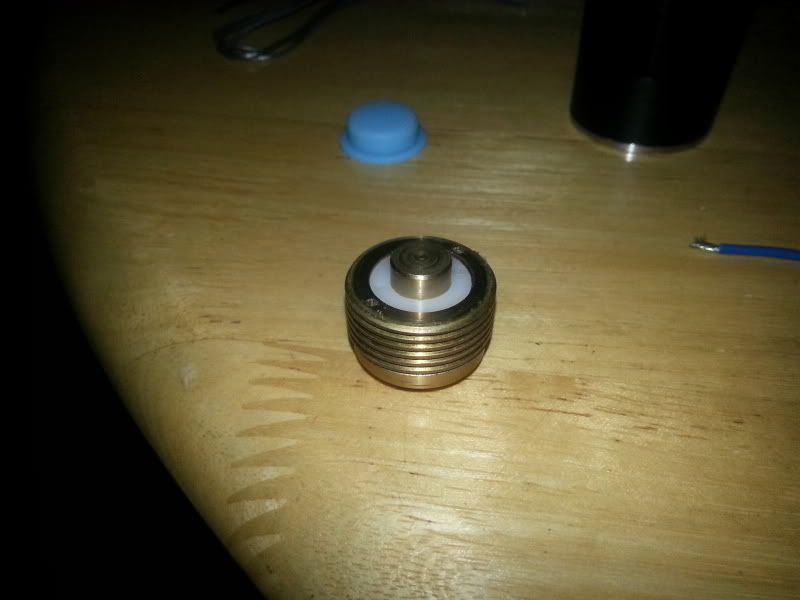
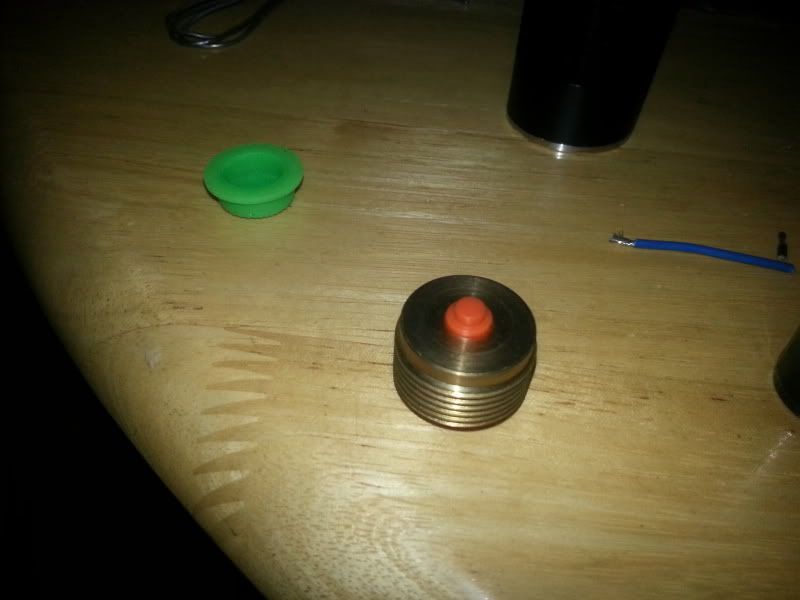
The switch is unusual in that its held in that huge brass pill by a nylon bush, spring and plunger. Unusual but like the rest of the host it feels impressively well made with a good positive action, no mushyness or slop. It just finishes off a very satisfying host, the best bit, it cost less than $35, its comfortably riding in my pocket as of today, and it took less time to take the pictures and build the host than it did to write this article.
Thankyou for reading and I hope this inspires a few to have a go, for a goid selection of hosts cngq provides quite a few options including your own logo, laser etched on the side.
 . When I make pictures for BLF I usually have to clear the toys and the bibs away.