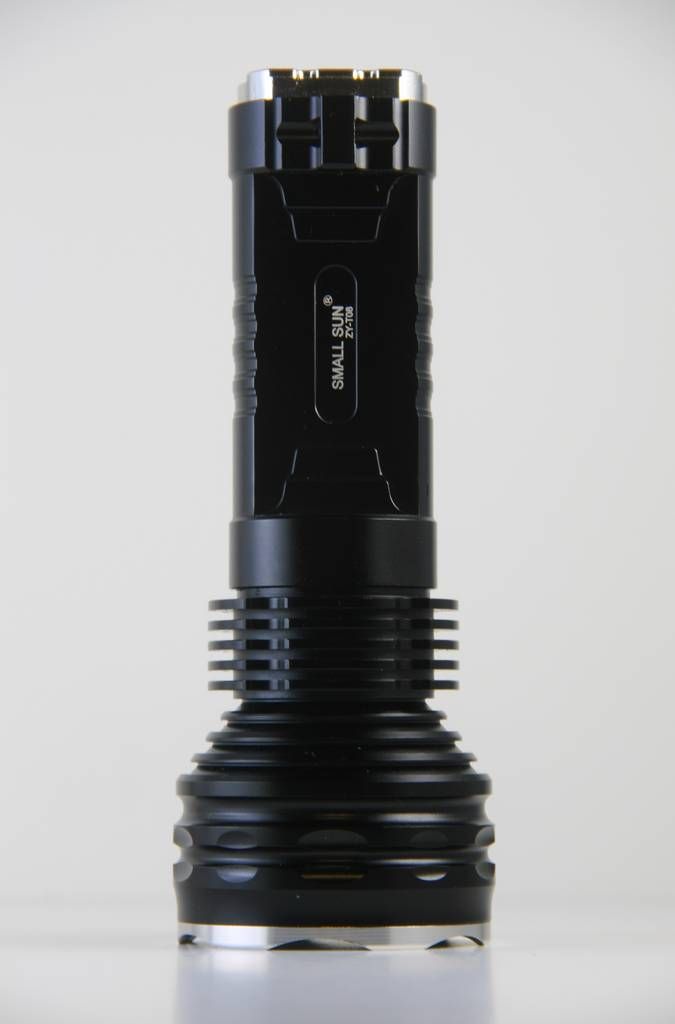
Small Sun ZY-T08 (2x18650, XM-L T6)
Reviewer's Overall Rating: ★★★★☆
Reviewer's Mod Host Rating: ★★★★★

Summary:
| Battery: | 2x18650 |
| Switch: | Tail, Reverse-Clicky |
| Modes: | H 100%, M 50%, L 25%, Strobe, SOS, no memory (starts in High) |
| LED Type: | Cree XM-L T6 |
| Lens: | Standard Glass |
| Tailstands: | Yes |
| Price Paid: | $23.75 |
| From: | Fasttech |
| Date Ordered: | Feb 16, 2013, , shipped Feb 20, 2013, received Mar 1 2013. |
Pros:
- Nice format, comfortable to hold, secure grip
- Great heatsinking potential (see cons)
- Large pill, lots of room for emitter star and driver
- Excellent reflector, even though it is resin based
- Good Machining everywhere but tailcap
- Well centered emitter
- Nice 'L-shaped' lens gasket
- Good threads
- Excellent mod host
Cons:
- Star area of pill uneven, requires lapping/leveling to maximize heat transfer
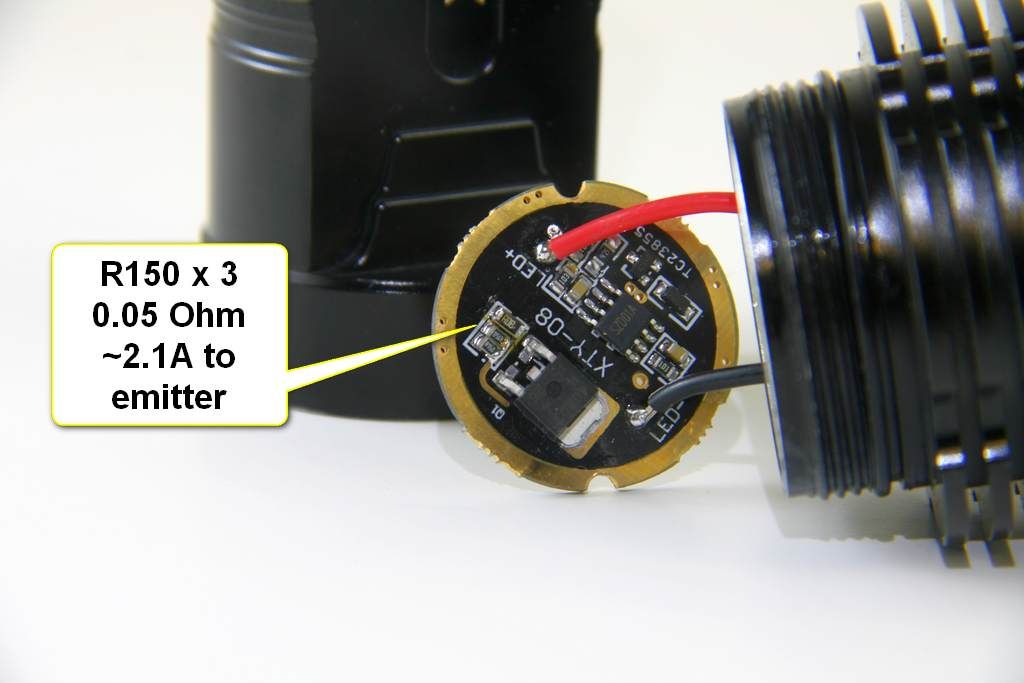
- Emitter is under driven at 2.1A; however this somewhat matches the listed spec of 635 lumens (and easily fixed with a resistor mod)
- Poorly spaced modes; Med and Low are both too bright
- Visible PWM in Med and Low
- Slightly bulkier and longer than an HD2010
- Not compatible with flat top cells
- Some sloppy machining on shiny tailcap
- This side-by-side format would benefit from a side-clicky
Features / Value: ★★★★☆
Design / Build Quality: ★★★★☆
Battery Life: ★★★★★
Light Output: ★★★☆☆
Overview
Fasttech has had the Small Sun ZY-T08 listed for a while and I have had my eye on it for about that long. A few weeks ago I decided to order one. I kind of liked the idea of a light about the same size as an HD2010 with the added capacity of two 18650 cells. Now that I have the light I'm more impressed than disappointed. As a modder, I'm excited to do something big with this host.
Let's get started. The machining and finish on the body and head are excellent. No sharp edges and the large smooth surfaces show the smallest amount of machining if you look very close. The anodize is good, probably HA-II quality, with no dings or scratches when received.
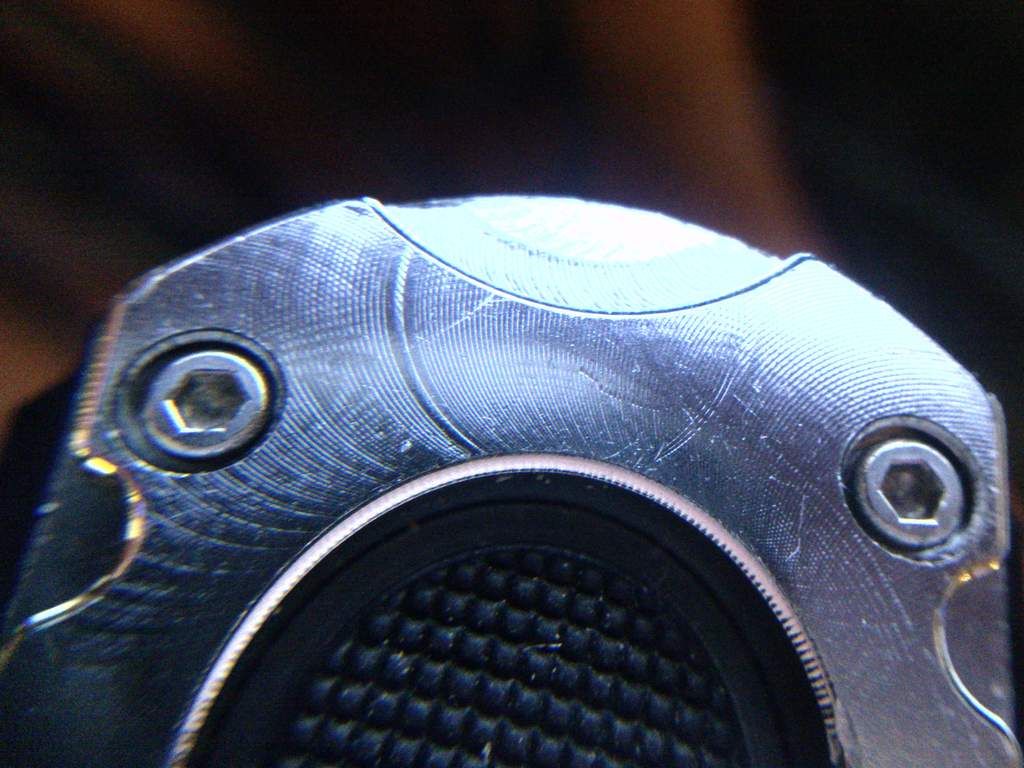
The metallic plated aluminum tailcap piece is relatively poorly finished. It has rather obvious machining lines on most surfaces. The metallic finish makes these even more obvious.
Note: This macro shot exaggerates the severity of the machining marks and is not the level of detail you would see with the naked eye. However, they are noticeable even with a casual glance at the tailcap. Also, some (most) of those non-circular scratches are from my own use. I tend to tailstand lights on bricks, rocks, asphalt, whatever is convenient.
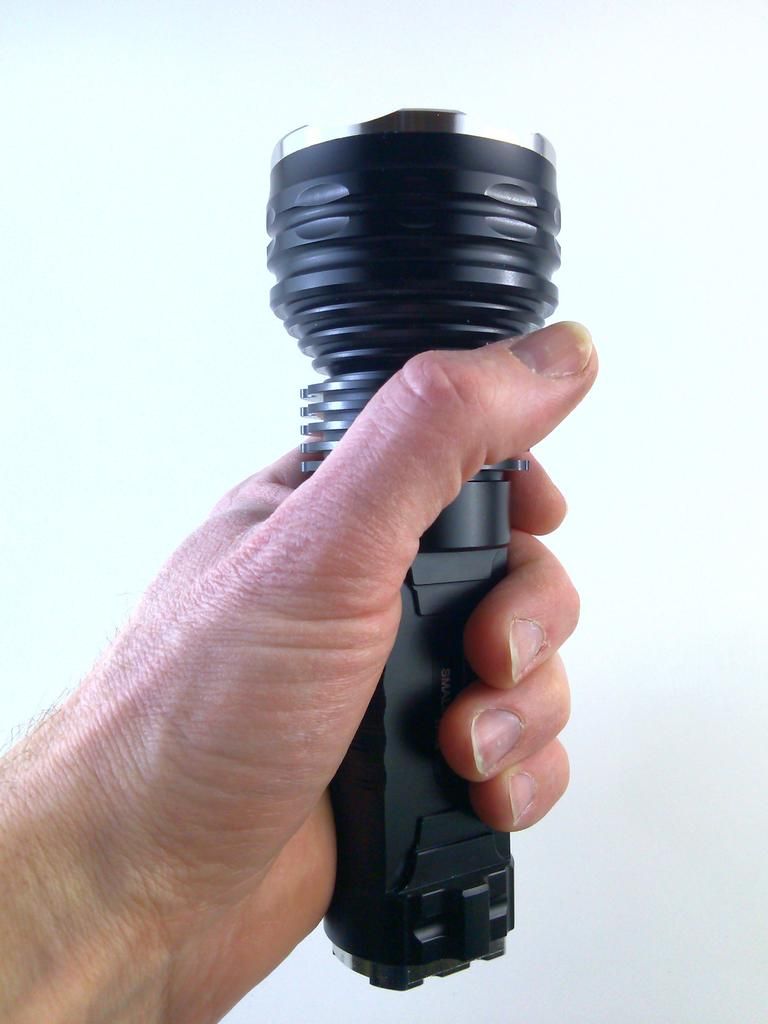
As a 2x18650 side-by-side light, the handling is quite good. It fits naturally in the hand. I expected the lanyard protrusions to dig into my hand, however they make the grip more secure without being uncomfortable. They also provide for a very secure cigar grip. The four groups of knurling on each side provide a small amount of additional grip.
The light comes apart between the body and the head. The threads are nicely cut, were adequately lubed (I added more anyway), nicely anodized (lockout capable), almost square cut, and large enough to stand up to lots of battery changing.
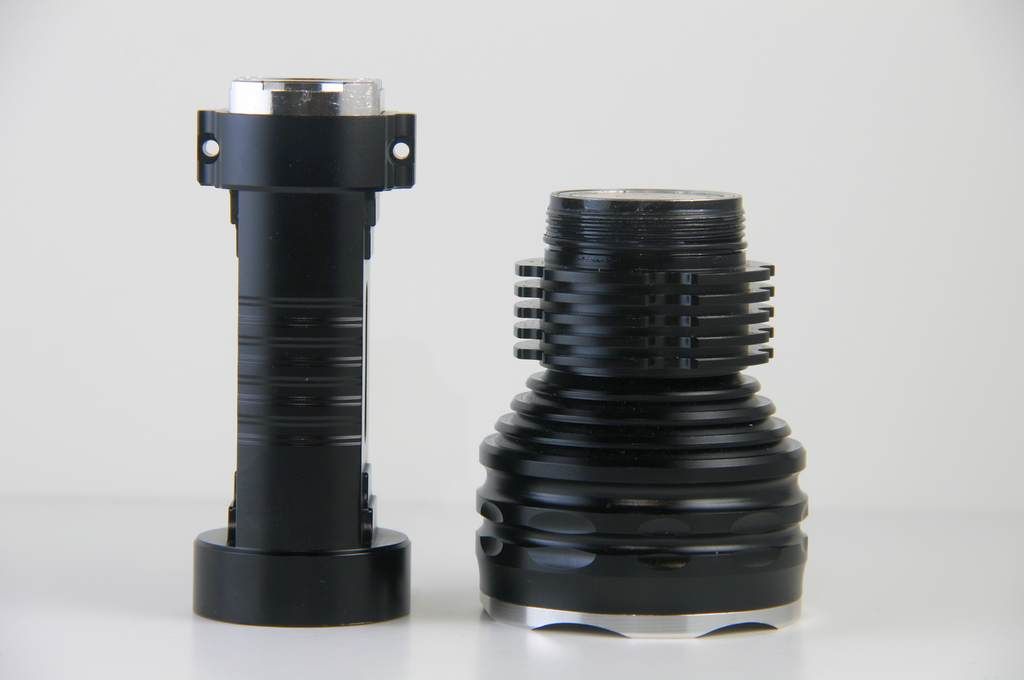
On the ends, you can see the battery tubes and the contact plate.

The battery tube is deep and the springs have a lot of travel. Protected and unprotected cells should work fine. Due to a small lip on the pill, flat top cells will not work. Also, there may be a shorting risk with wide flat tops because of the close proximity of the ground outer contact ring. The pill lip actually prevents this from occurring. My solution was a small solder blob on the positive end:

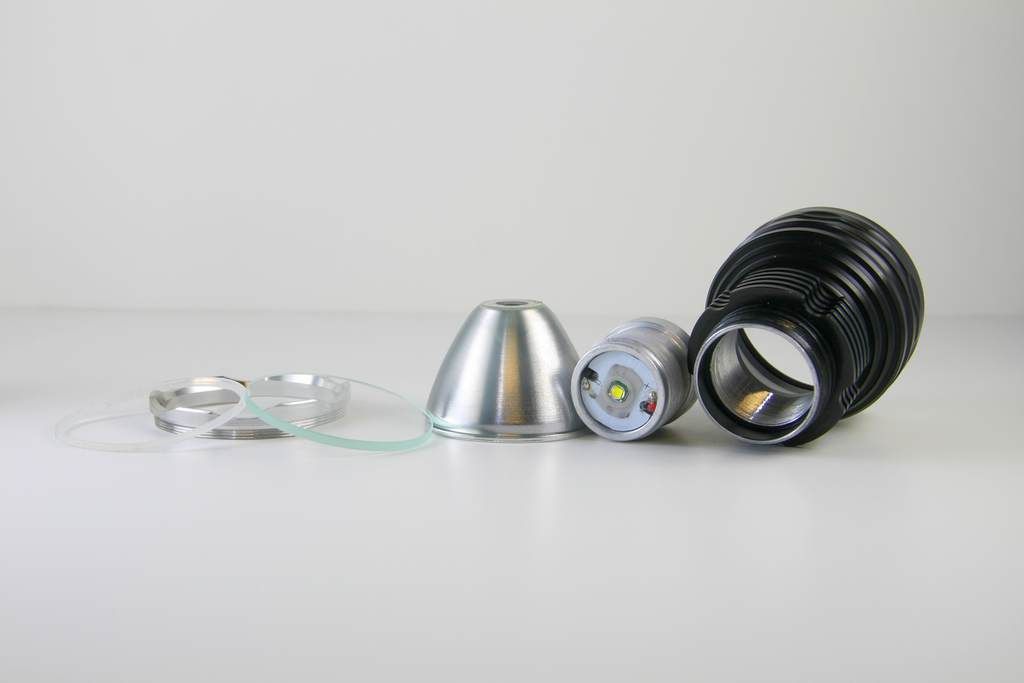
Digging deeper, we find the head components. This is a very nice head design. The pill is removed through the driver end. The emitter star was floating with a small amount of thermal compound. I replaced this with silver based thermal compound. The reflector holds the star down with the a good amount of pressure. A plastic emitter ring provides perfect centering every time.
Starting from the top, we have the Bezel, a nice L-shaped lens gasket (fits over the corner of the lens), a very thick uncoated glass lens, a very good resin based reflector, a large pill with emitter star and driver, and the head itself. The head has excellent heat fins and is quite heavy; a good thing for managing heat. There is a lot of threaded contact with the pill as well.
There was one issue with the pill; the emitter star surface is slightly raised in the center. The means the star only makes good contact on a very small area. Because of this, heat is not transferred well from the star to the pill. I sanded the pill down (often referred to as lapping) using incrementally higher grit sandpaper until the star sat flatly on the surface.
Note: If you intend to keep this light at the stock 2.1A drive level, the limited heat transfer should not be an issue. If you intend to increase the drive current to or above 3 Amps, you should consider verifying and/or improving the star to pill thermal contact.
On the other end of the pill sits the driver. Here we have a mixed bag of things to consider. On the plus side, the contact surface is nicely plated and seems thick enough to handle lots of cell loading and unloading. The driver is press-fit into the pill and seems to make good electrical contact between the ground ring and the aluminum pill.
The driver has two unfortunate functional issues; poor mode spacing and visible PWM in Med and Low. I can live with the PWM as I'm not that sensitive to it. However, the mode spacing is visibly so close I sometimes second-guess if the mode really changed. If you only plan to use high, this will not be an issue.
On the other side of the driver are the components. The driver is MOSFET based and uses current sense resistors to set the drive level. This makes it resistor mod compatible.
On the other end we find the body tube and tail cap. The tailcap is attached with four small hex screws. Underneath we have a rubber weather sealing gasket, and the switch PCB.
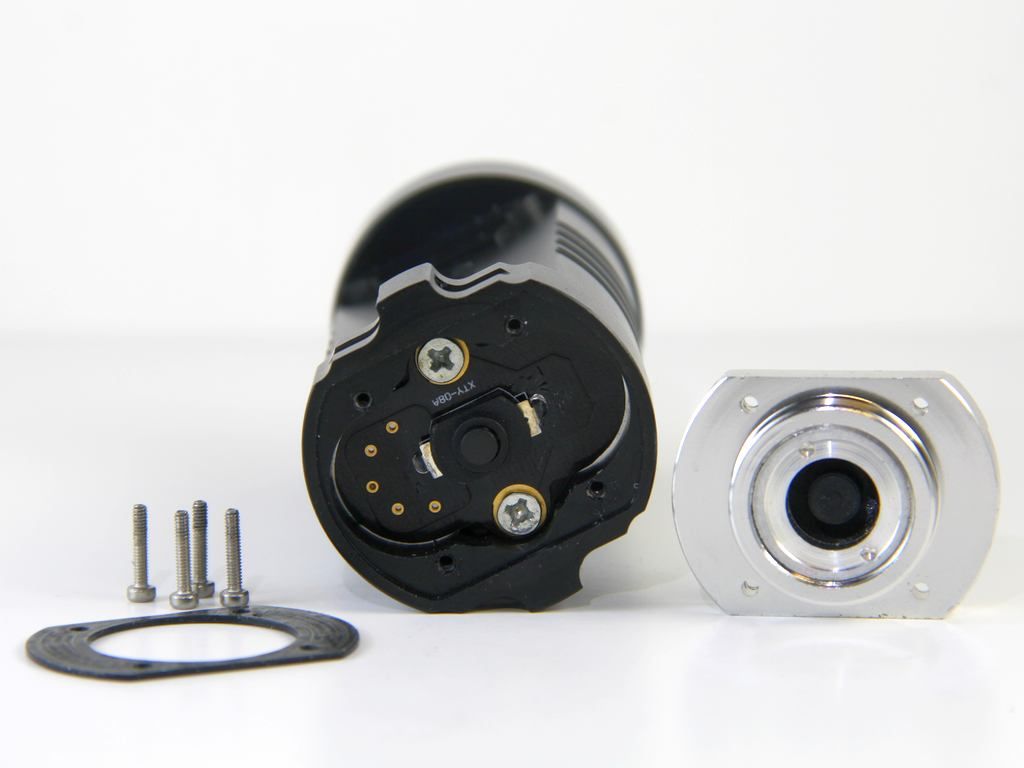
The switch boot is retained with a removable metal ring. The switch PCB is retained with two screws, which also provide the negative electrical connection to the body.

Here is a close-up of the negative contact springs, showing the copper braid mod (standard procedure for all of my lights). Adding copper braid (alternatively, soft stranded copper wire) reduces overall curcuit resistance, improves efficiency, and increases run time at full output.

Since I bought this light to compare to the HD2010, let's do that now. The ZY-T08 is a little bulkier and longer than the HD2010:
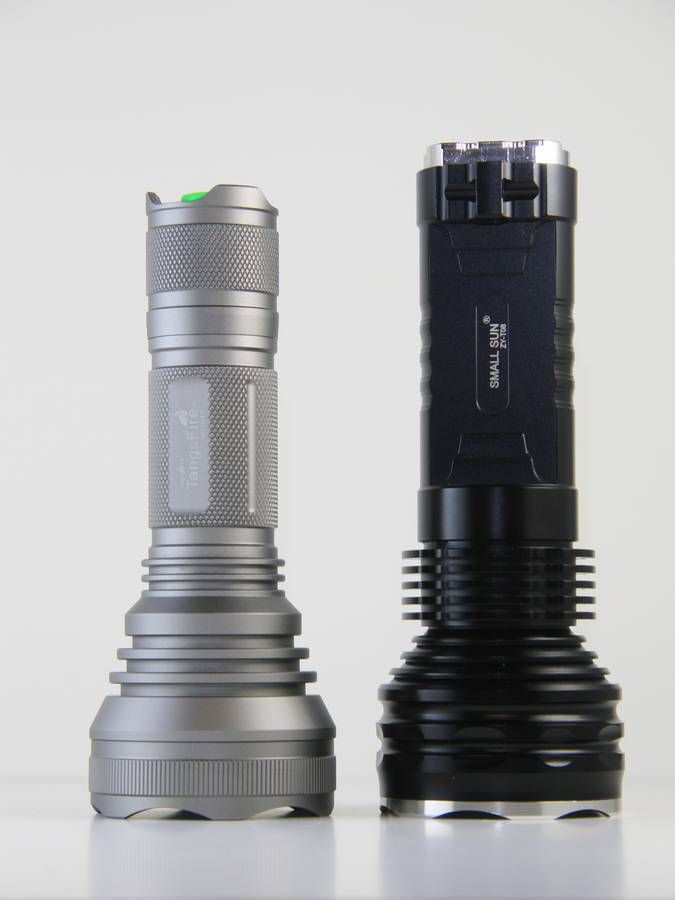
From the front:

And the back:

Even with the size increase, I find my self reaching for the ZY-T08 more than the HD2010.
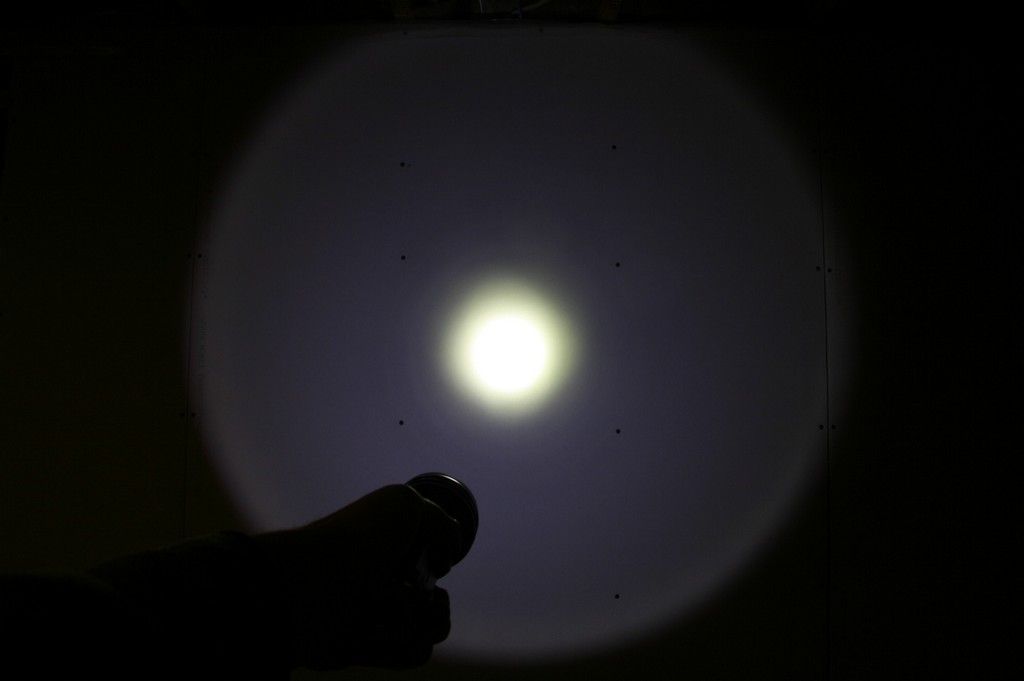
Beamshots
Here are some white wall beamshots, 1m distance, high, med, and low. The hot spot is well defined with a typical XM-L corona. there are very minor thin rings at about 1/3 diameter, only noticeable on a white wall. They appear a bit dim on here, however they should be good enough for a relative comparison.
Camera settings the same for all three; 1/20s, f/8, ISO100.
High:
Med:

Low:

Measurements
Dimensions:
- Overall Length: 173mm
- Bezel Diameter: 62.7mm
- Head Heat Sink Diameter: 64.5mm
- Neck Heat Sink Diameter: 50.6mm
- Body Diameter: 40.8mm x 23.7mm
- Tail Diameter: 42.1mm
- Reflector Inner Diameter: 52.5mm
- Reflector Outer Diameter: 57.7mm
- Reflector Depth: 38.5mm
- Reflector Emitter hole Diameter: 10.1mm
- Lens Diameter: 57.5mm
- Lens Thickness: 3.0mm
- Emitter star diameter: 25mm
- Driver diameter: 30.1mm
- Pill inner diameter: 27.9mm
- Pill inner depth: 24.1mm
- Pill outer diameter at threads: 31.7mm
- Pill outer diameter before threads: 33.1mm
- Pill outer diameter at driver flange: 34.0mm
- Head inner diameter at pill threads: 31.1mm
- Head inner diameter before threads: 34.4mm
Weights (without batteries):
- Overall: 322g
- Head: 206g
- Body Tube/Tailcap: 116g
Performance (stock, 4.2V supply):
- Light Output: ~600 lumens
- Beam Intensity: ~48kcd
Power Source Options: 2x18650 (recommended) or 1x18650, unprotected or protected cells, raised positive caps required.
Switch type: tailcap, reverse-clicky
Modes: High (2.1A), Medium (1.06A), Low (0.58A), Strobe, SOS
Mode Memory: None, times out in about six seconds
Conclusions
The Small Sun ZY-T08 is a very nice light. I has a nice finish (except for tailcap), decent output (better after a resistor mod, see first comment below), handles well, and the price was right.
Relic Recommended, especially for flashlight modders.
Thanks for reading! searchID8934