This will be a work in progress.
I am still working on my first light bar build and here I am starting a second one already ![]() That thread is HERE The problem with that one is that it is based on bulb that is unavailable to anyone else at a price that would make a build like that practical. This build will address that issue (I hope) and maybe improve on it.
That thread is HERE The problem with that one is that it is based on bulb that is unavailable to anyone else at a price that would make a build like that practical. This build will address that issue (I hope) and maybe improve on it.
In THIS THREAD by ImA4Wheelr he said in comment #2
Boldness is mine. When I read that I thought, Wow, that is really good to know! Got me to thinking, maybe 1/2 PVC pipe can be force threaded into a 502b, and guess what - it can!
In my thread on the previous light build of mine, keltex78 complained
Again boldness is mine. When I read that and saw that “unhappy face” I thought, well shoot, if you have to pay $11.99 for each bulb, you could just as well by an XM-L 502b for that kind of money. Actually you can pay less. About 6 months ago, I bought a bunch them on Amazon for about $8 each including shipping. They are no-name clones, but work well.
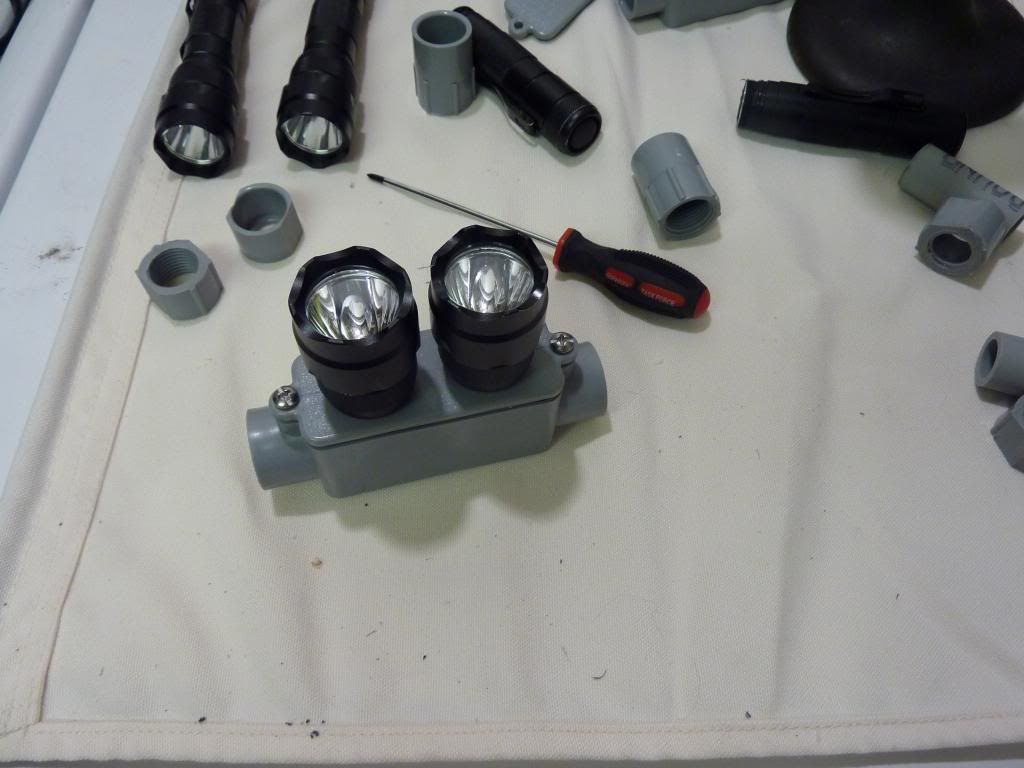
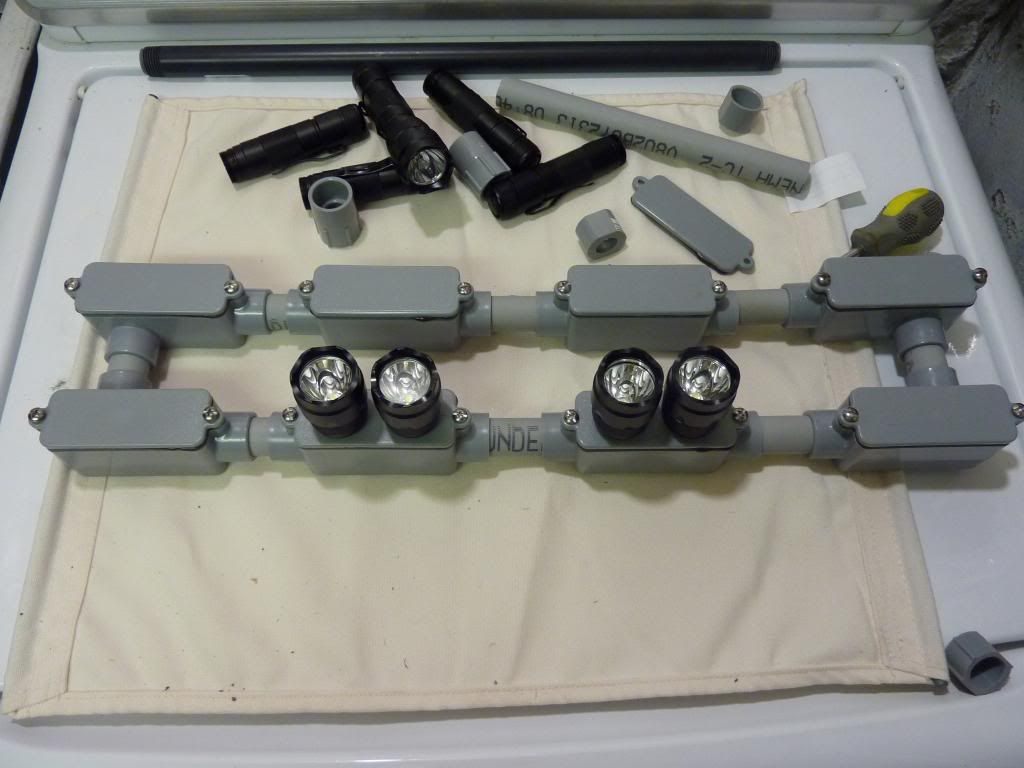
So with all of those thoughts, I came up with this. First the parts.
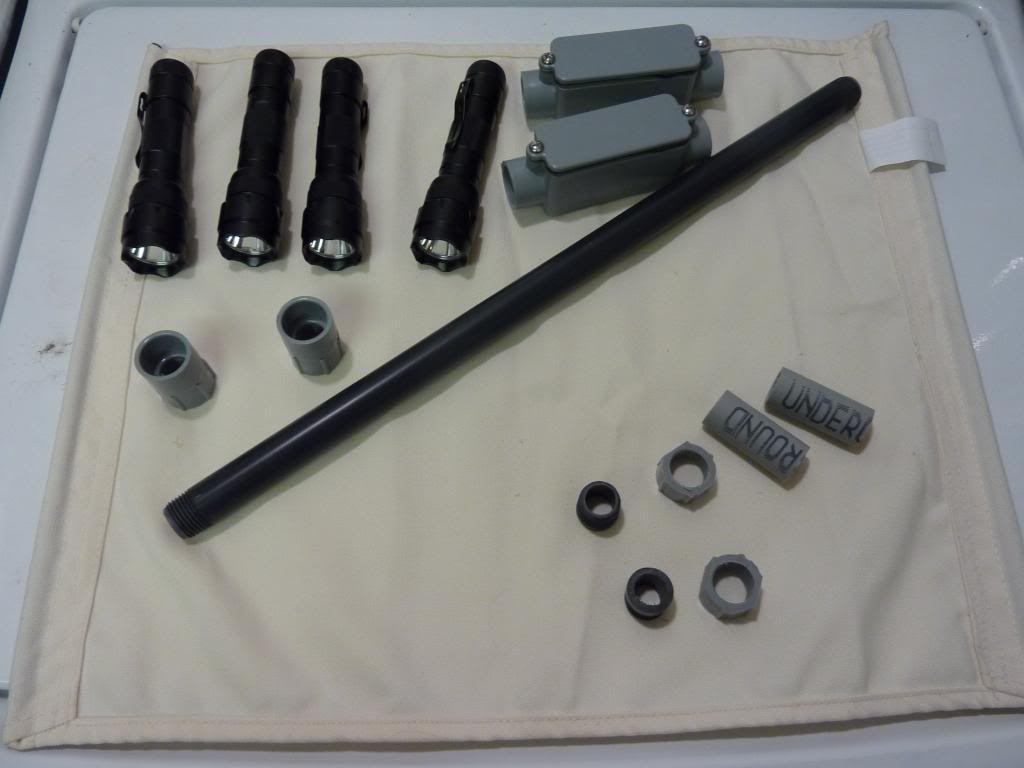
What we have here is
4 - cheap XM-L 502b clones
2 - 1/2’ conduit boxes
1 length of 1/2 PVC pipe
2 - threaded 1/2’ PVC adapters
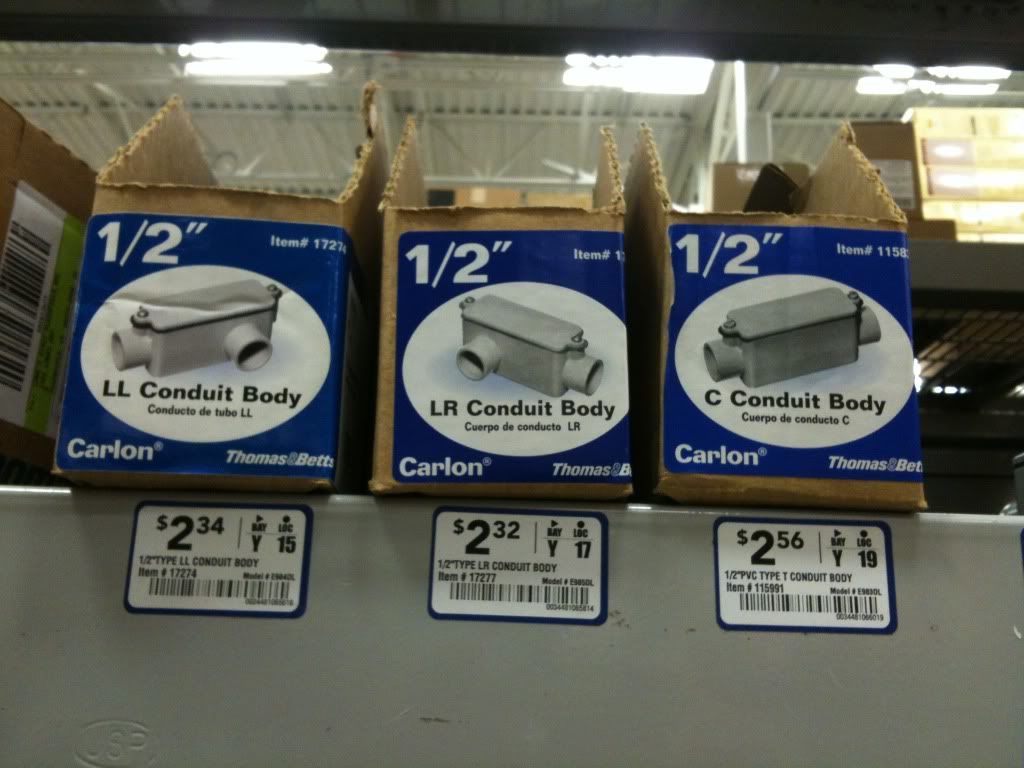
There are at least 3 styles of conduit body’s available.
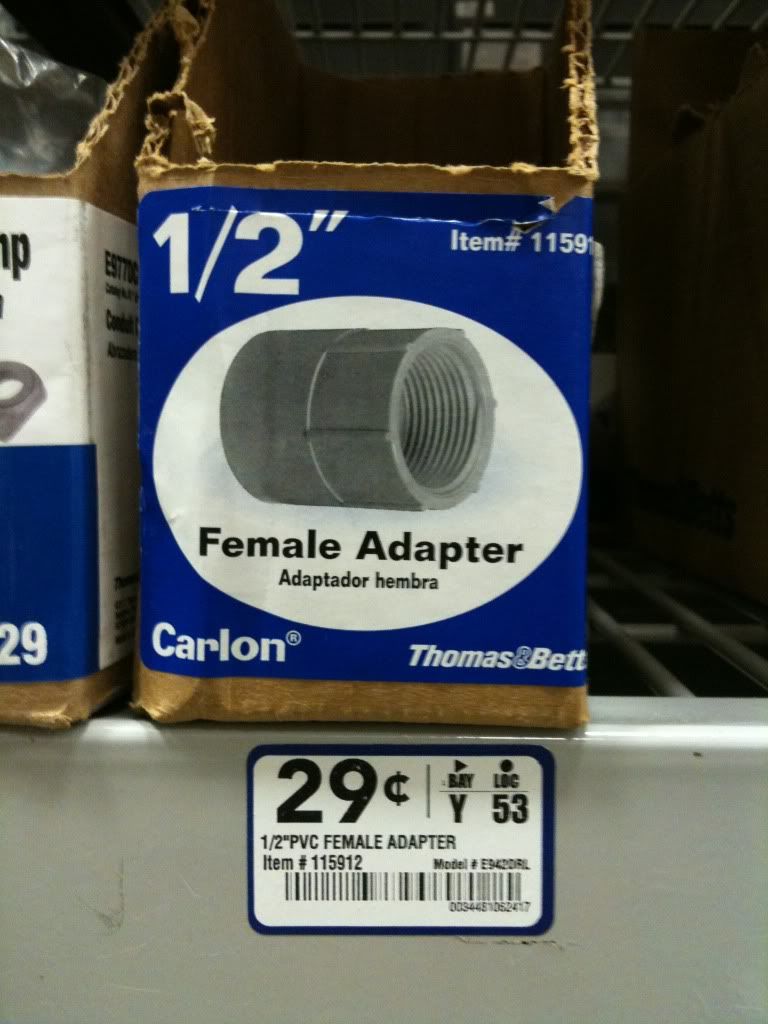
Need some of these
The first step, drill a 7/8’ hole in the face plate of the box. I decided how far apart to mount the 2 heads based on aesthetics, nothing more.
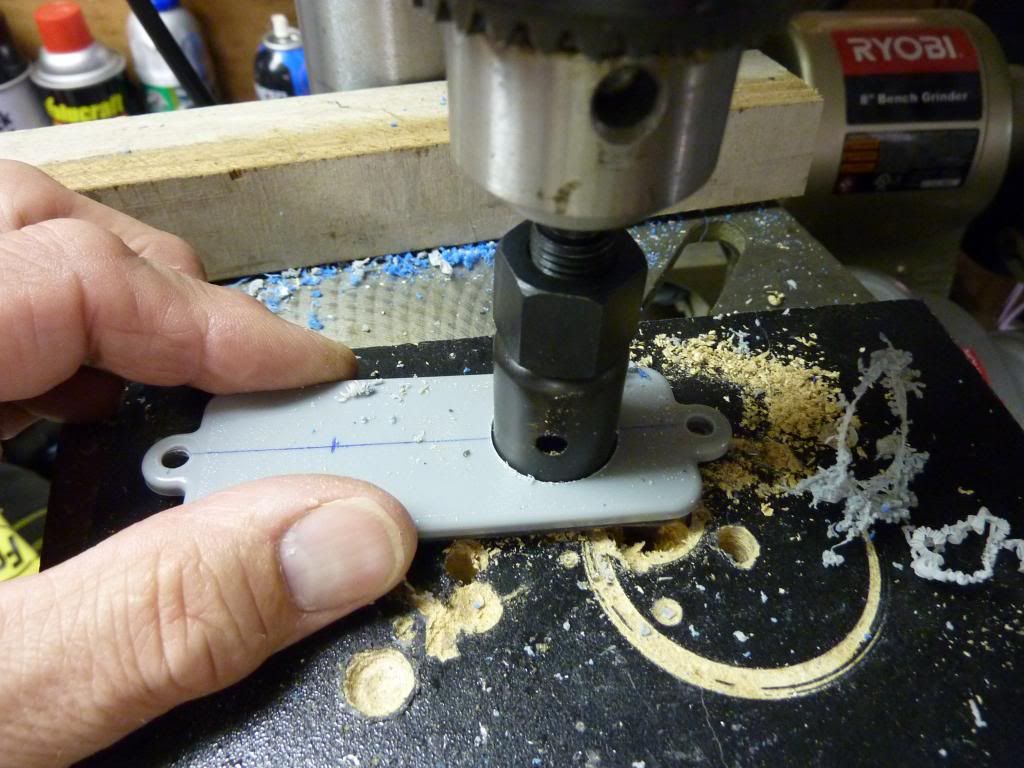
The blue PVC chips you see in the background was from a test hole on a piece of scrap PVC. The larger circular cut in the piece of wood was from cutting holes on my previous build.
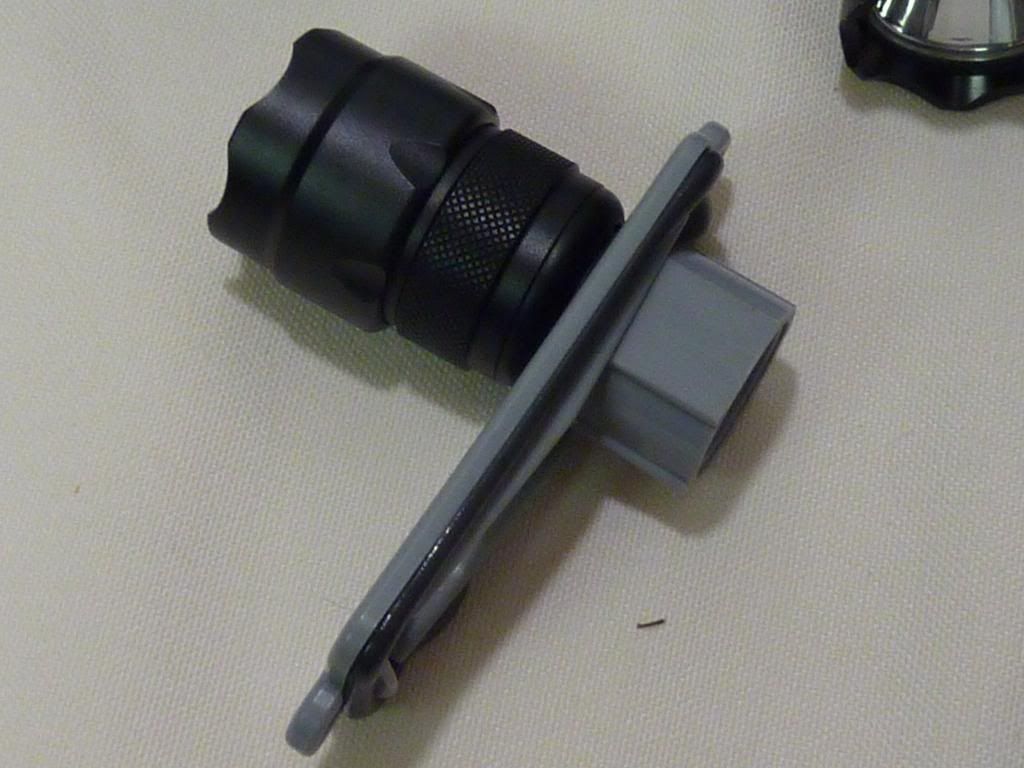
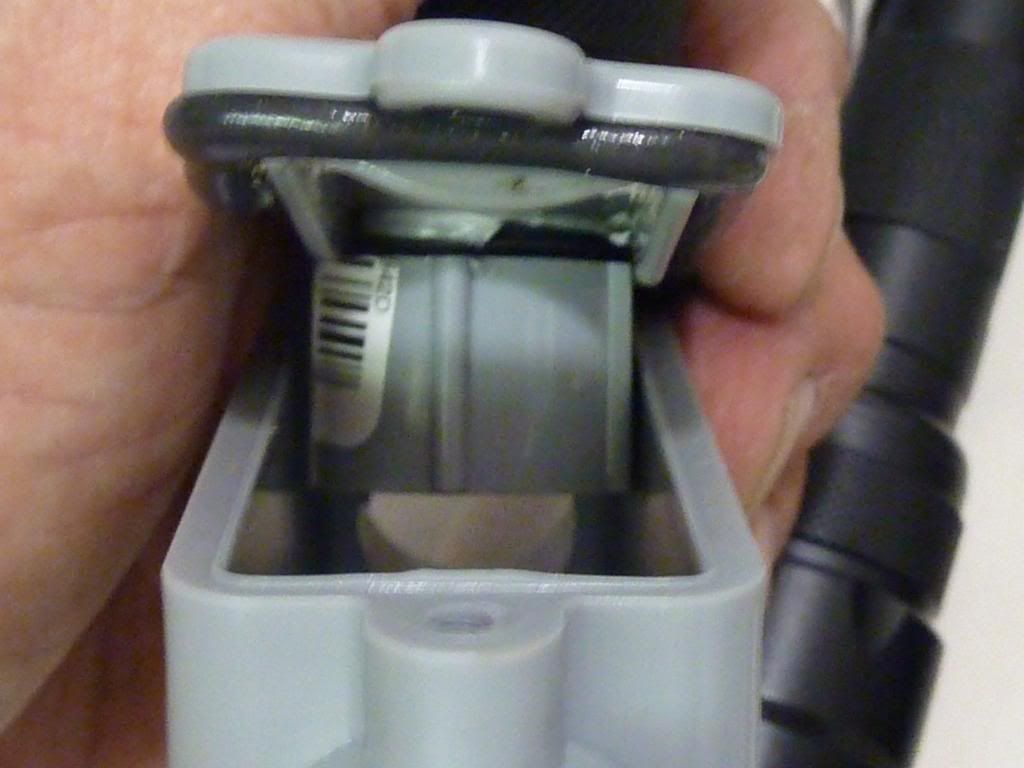
The next step depends on whatever clone of the 502b, or 501b you happen to use. they vary ever so slightly in size. Depending on the size of the thread hole on your flashlight, you will either need to use ordinary 1/2 PVC conduit pipe or a piece of 1/2” thread PVC water sprinkler pipe. It has slightly smaller O.D. It is on clearance, end of season.
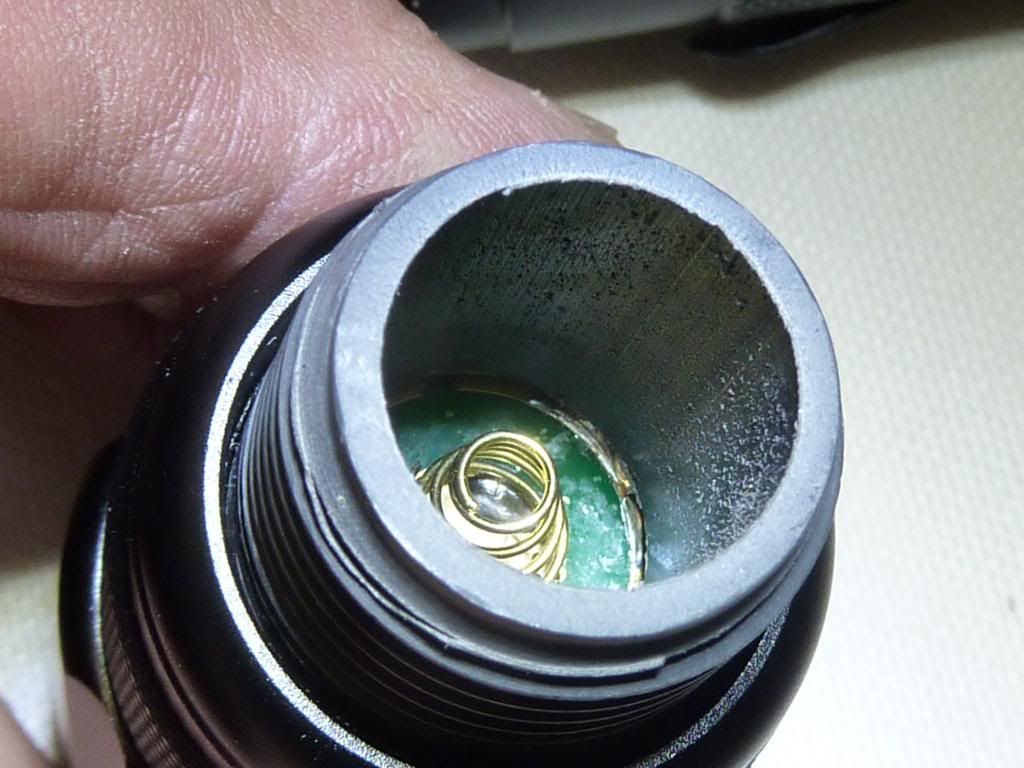
Force screw the pipe into the head of the 502b. Make sure the spring is fully compressed and the pill is forced fully forward. If not, it will rattle and not make good thermal contact with the rest of the head
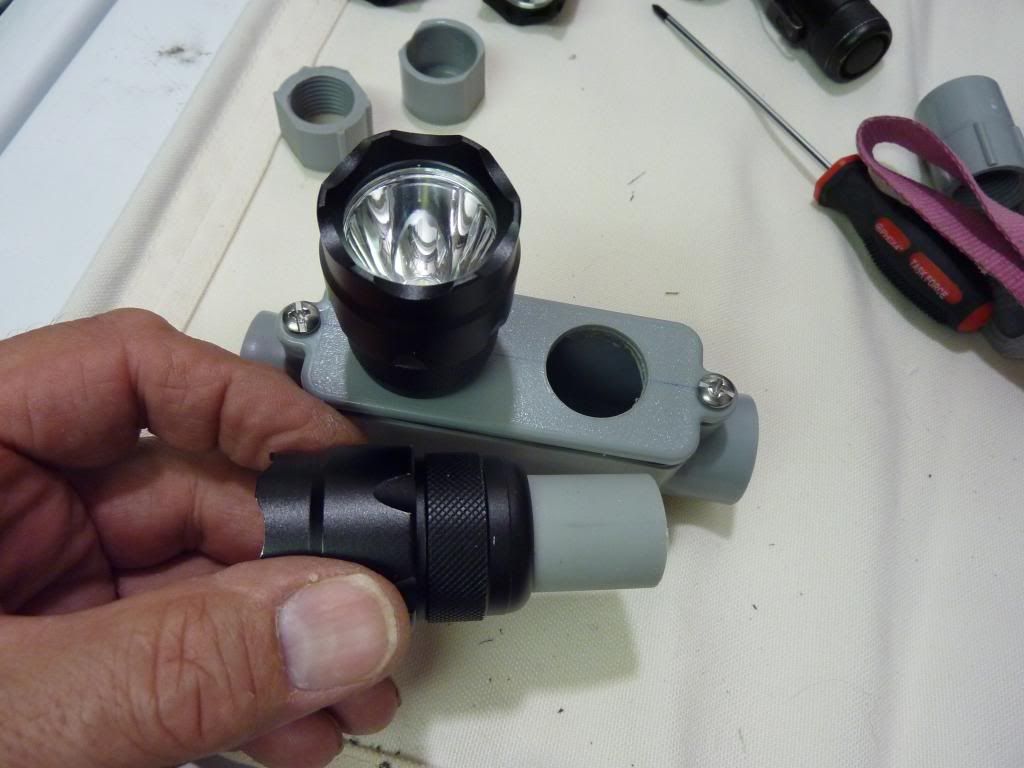
I had to sand flats on the “nut” for clearance inside the box
Once the module is constructed, there are all sorts of options, this build is scalable.
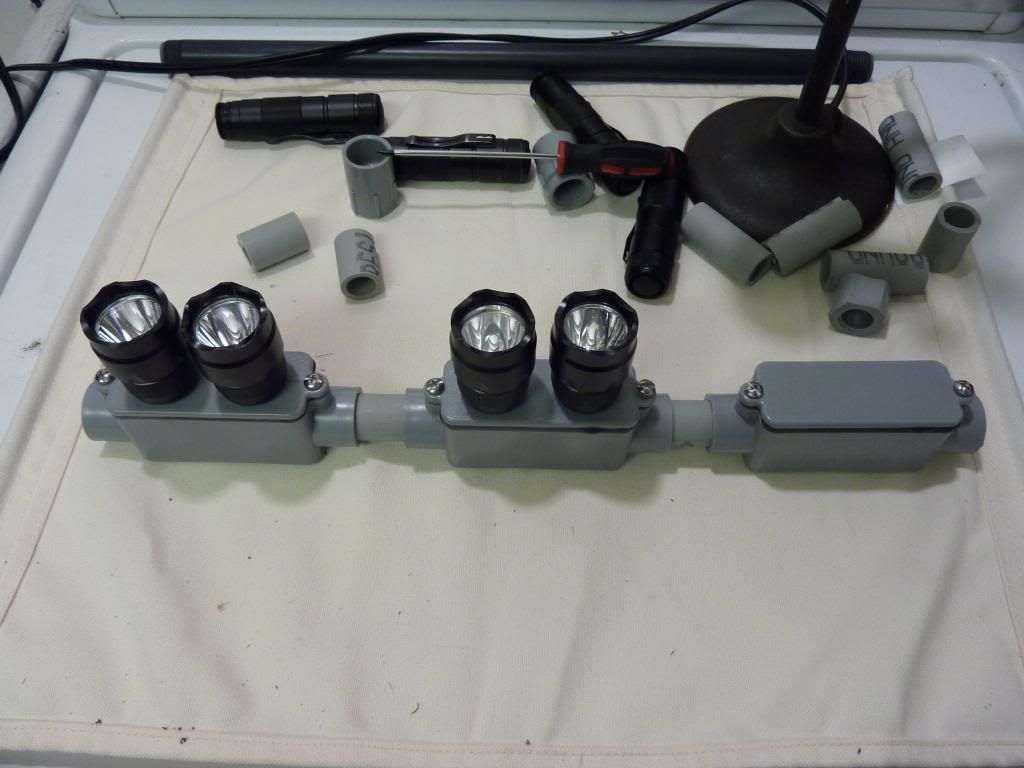
modules can be spaced at arbitrary distances.
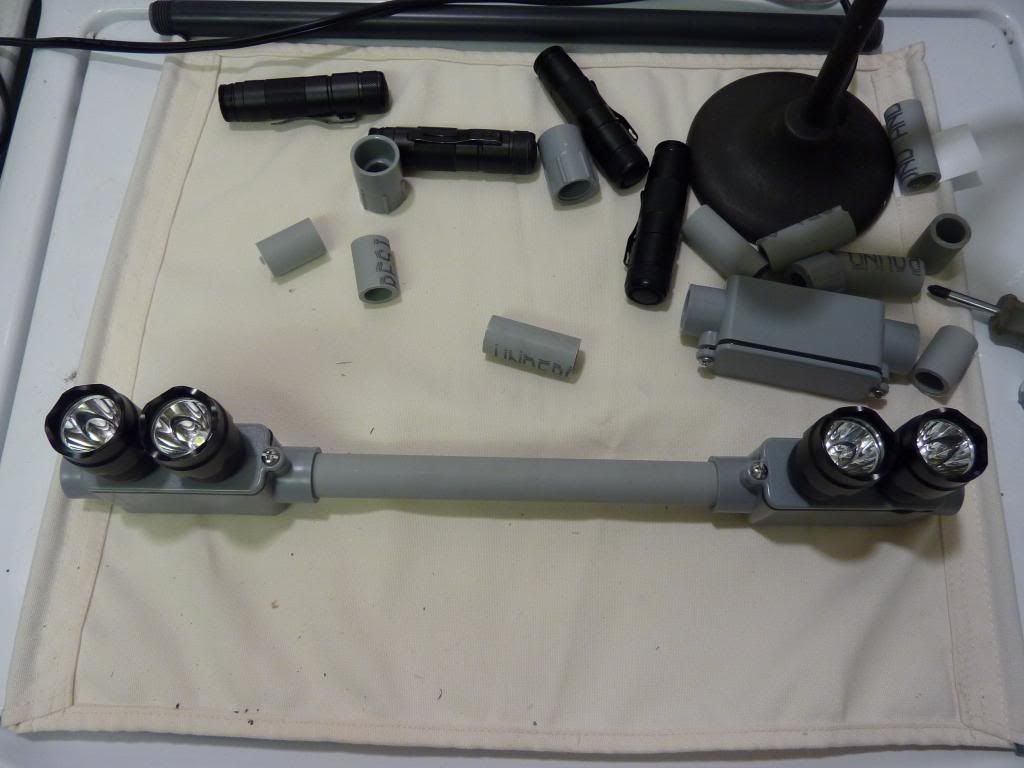
or extended into 2 dimensions.
These things can be strung out like tinker toys!
What I have not worked out yet is how to drive these. Off the top of my head it would seem that each head could be converted to direct drive and then wire each head in series or parallel depending on what other separate driver is used. Or perhaps the original drivers could be left as is and drive them with a master driver? I have seen some discussion here about this sort of setup, but never tried to follow it.
After this, who knows, maybe another with C8 heads :bigsmile:
I know for a fact that over on the DST thread DenBarrttSAR is talking about building a “”“SuperLight” with DST heads
