I am getting this thread started with my build. I am stuck between two ideas and I might just combine them Wink I hope you guys enjoy it!
The parts I have purchased for idea #1 is
4300K HID Bulb H3
55W HID quickstart ballast
14.7V 12000mAh lithium pack
HID H3 Reflector 5”
Thick glass lens
Waterproof charging plug for lithium battery
AC charger for lithium battery
I am contemplating how I want to approach this but I have a couple different routes
UPDATE 5/27/14
I added a few more supplies to my list and finished my build!
Cree CXA3070-0000-000N00Z450F
6V~40V to 0~36V DC Digital Control LED Constant Current Driver Power High Power
DROK 120W 12V/24V/48V 10-32V to 35-60V DC Converter Voltage Regulator Boost Charger Car Power Supply DIY
Monarch Metal Parabolic Reflector for All Nova Strobes, Phaser Strobe and Vibration Strobe
Mini DC Voltage Meter – 2.5V to 30V – Red Digital Readout
THE BACKGROUND INFO
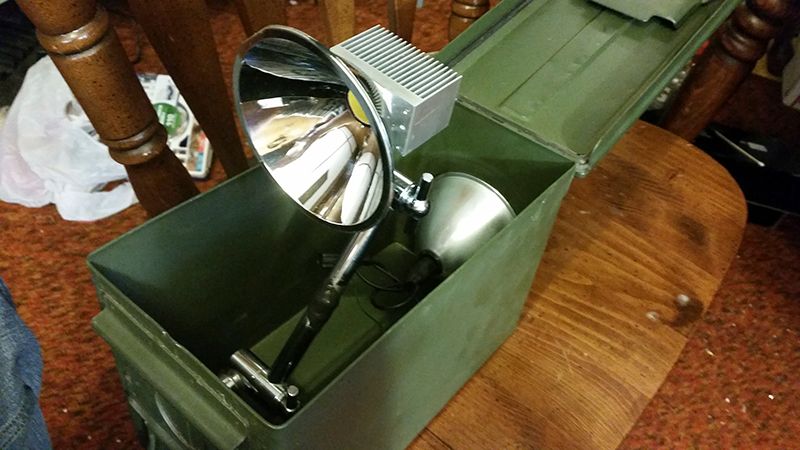
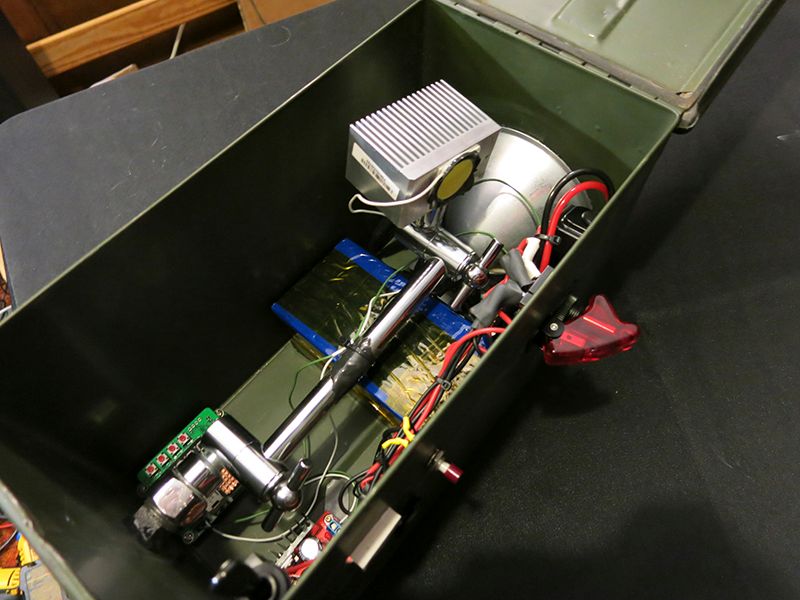
Originally I wanted to do a HID build to be a little different then others in the competition. Around the same time I ordered parts for the HID build I ordered one of the CXA3070 LED’s from Mousers. I found a Voltage booster and a programable CC/CV board that could handle to 40V up to 2A…. producing over an estimated 10,000 lumens. So i thought how about make a combination build, the HID would be for distance while the CXA will be used for flood. In the ammo box you can carry it using the hid but if you need to set the light up as a work light, you pop open the top and raise the CXA Wink
Build Process Pictures
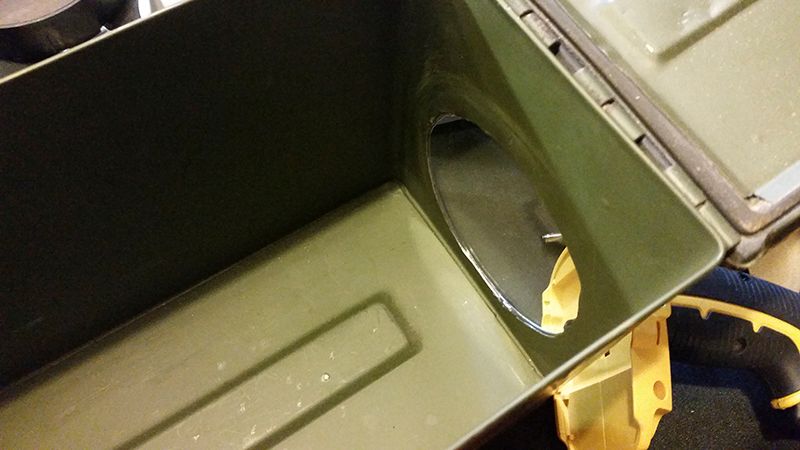
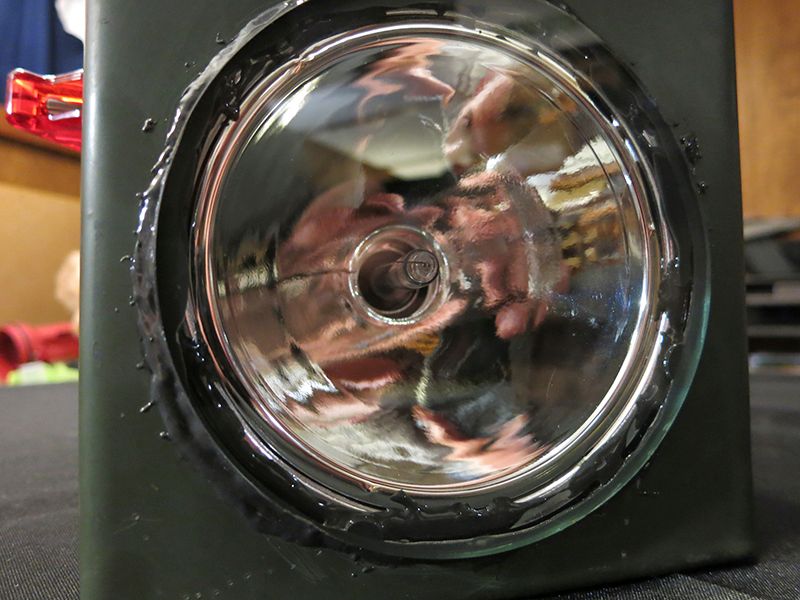
Picture of the glass lens in the 4” circle I cut out of the ammo box. I purchased a hole-saw set off ebay which of course didn’t work lol. I had to drill 1/4” holes all the way around the 4” diameter hole. Then I took a small air compress saw zaw and cut it out. Then I took a dremel and grinded the edges smooth. I then spread JB Weld around the circumference of the hole and laid the glass lens over top.
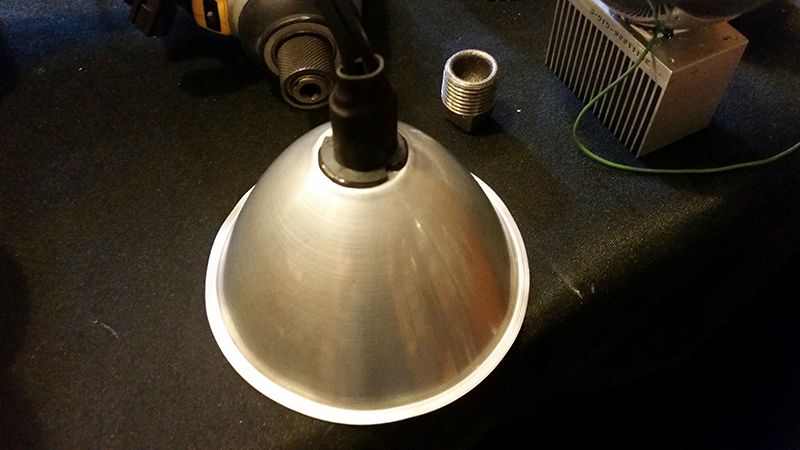
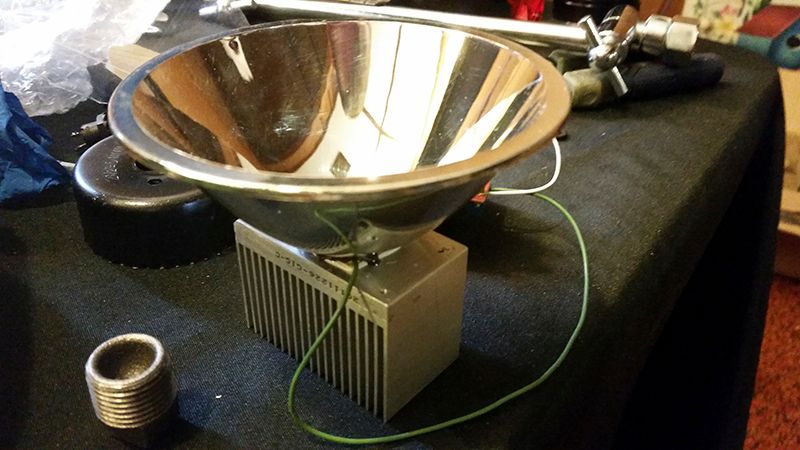
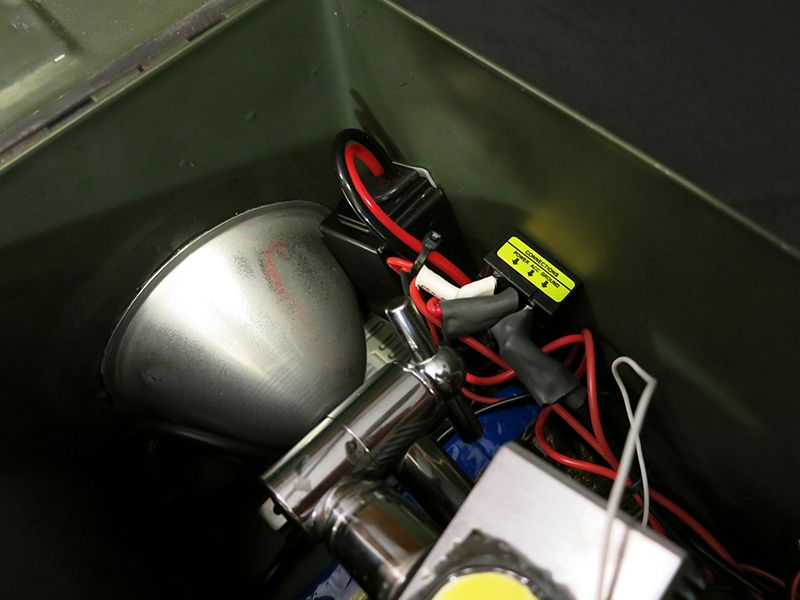
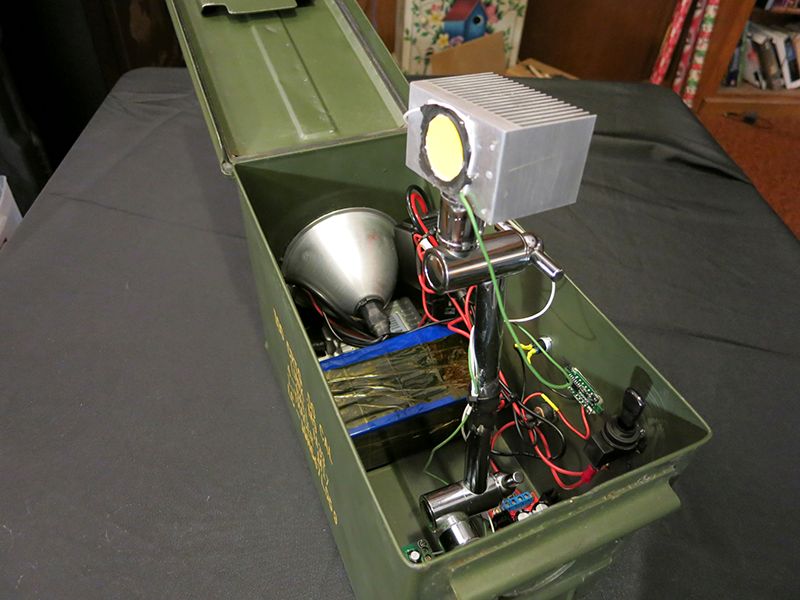
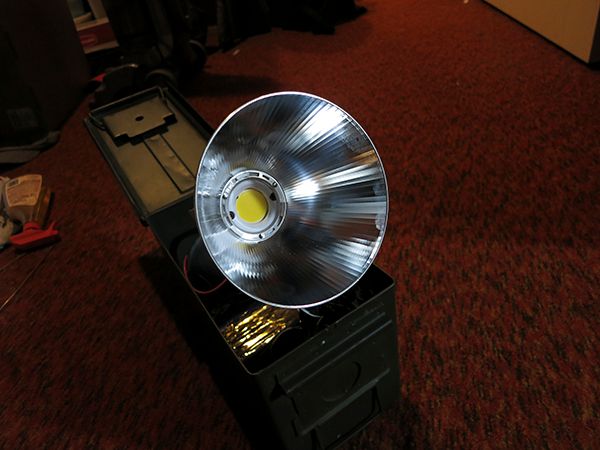
This is the HID I used JB weld to install to the original reflector. To position the bulb correctly I installed the parabolic reflector inside the bigger reflector.

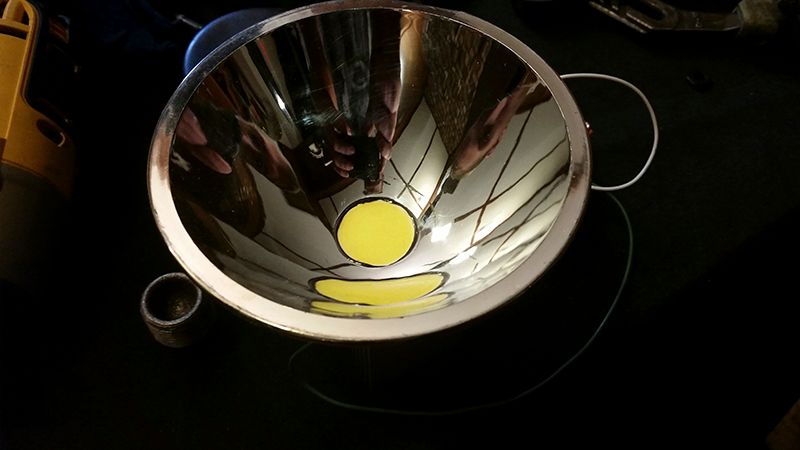
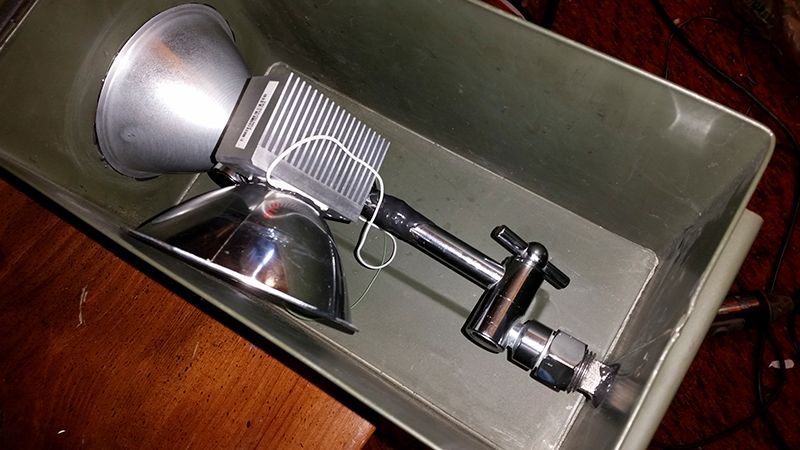
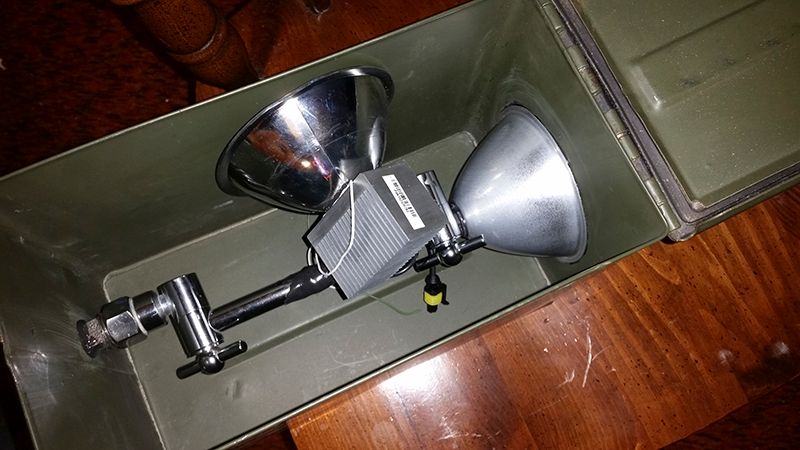
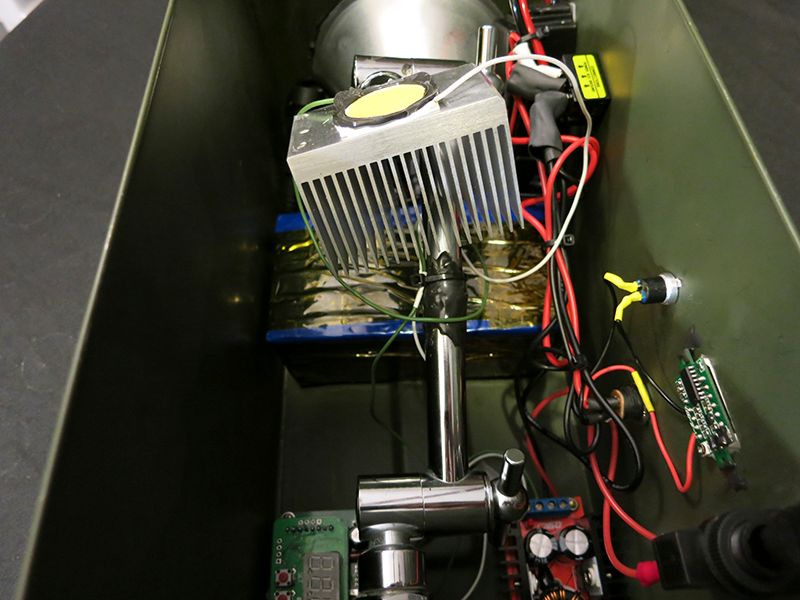
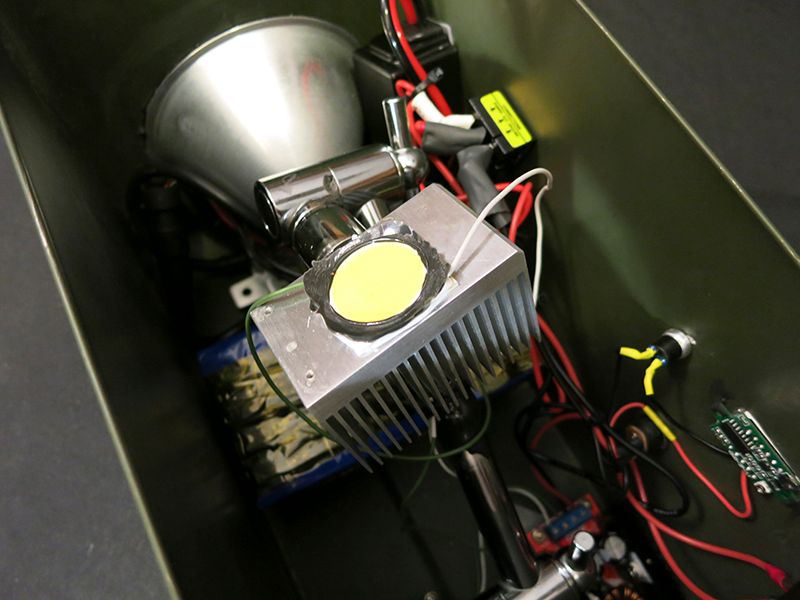
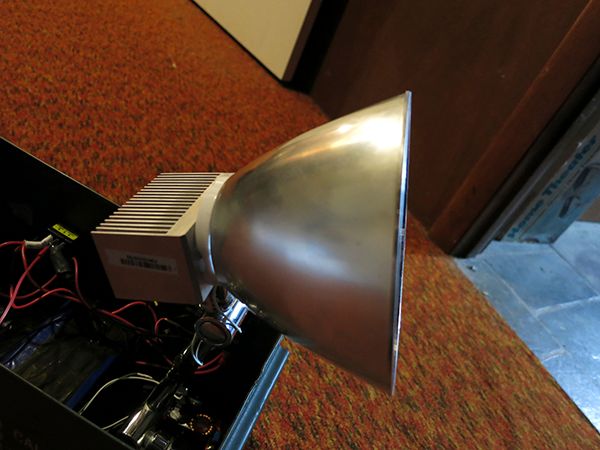
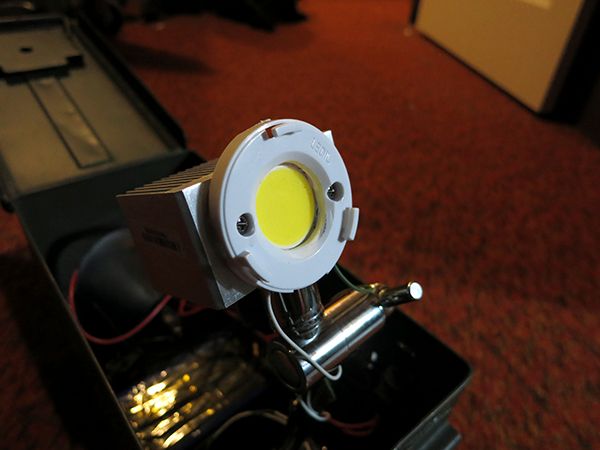
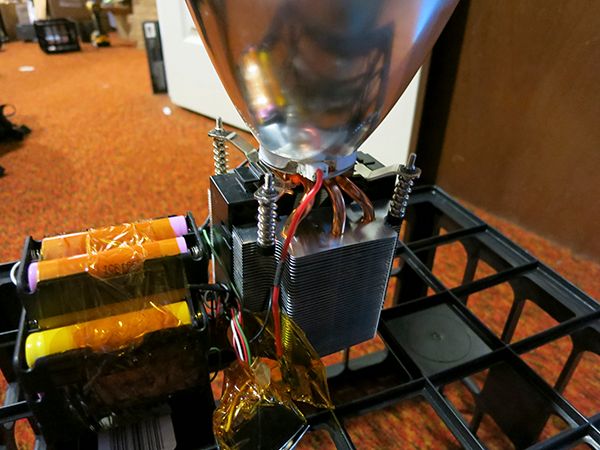
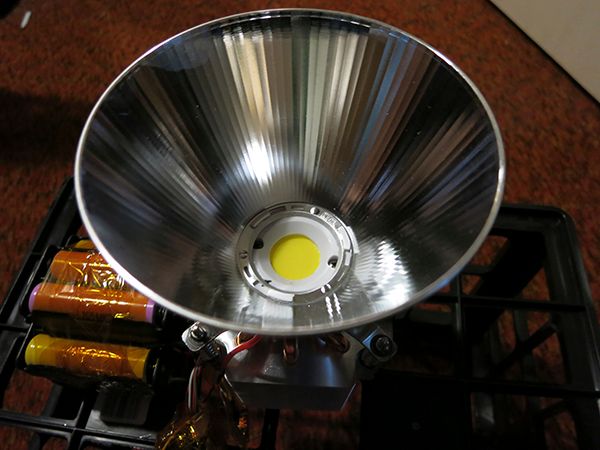
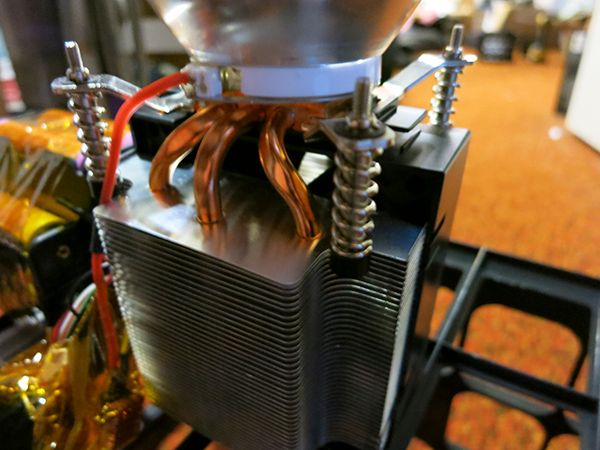
This is the CXA LED I attached to a heatsink for a PT-54 Red LED. I had a plastic reflector I used from a walmart rayovac $4 6V flashlight. The reflector left a noticeable darkspot in the center, the light actually does nicely without any reflector.
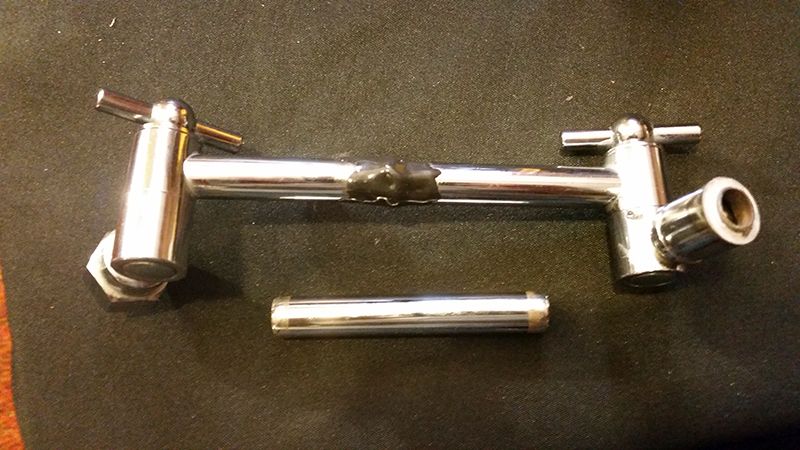
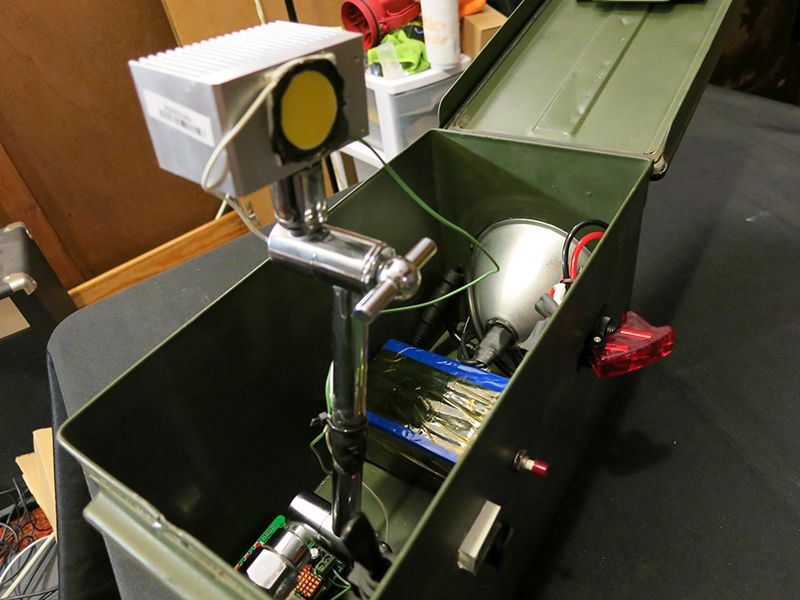
This is an older shower head that I used to hold the CXA LED and act as an adjustable arm. It even allows you to rotate the CXA LED 360 degrees. It was too long so I trimmed a 4” section out of the middle and used a little JB to put it back together Wink To attach the shower head to the box I purchased a 1/2” NPT end plug which I epoxied to the side. This allowed me to screw the showerhead right to the side of the box.
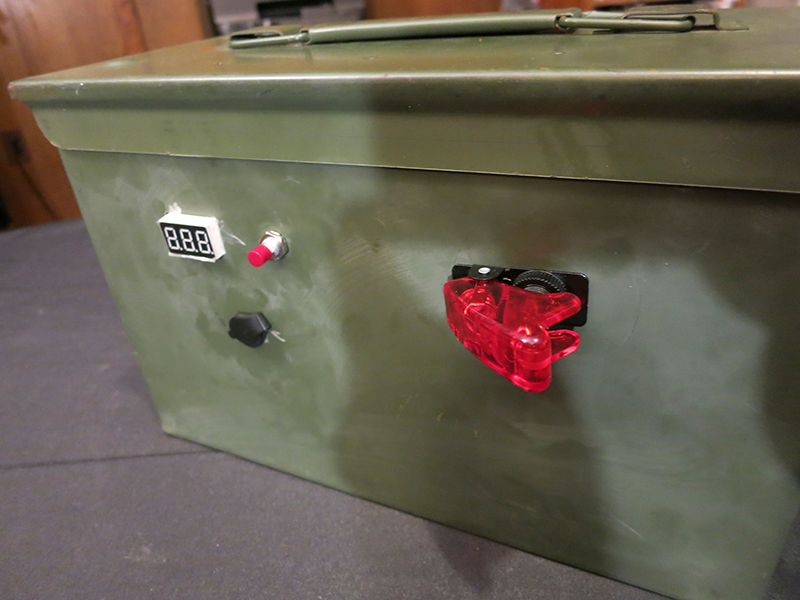
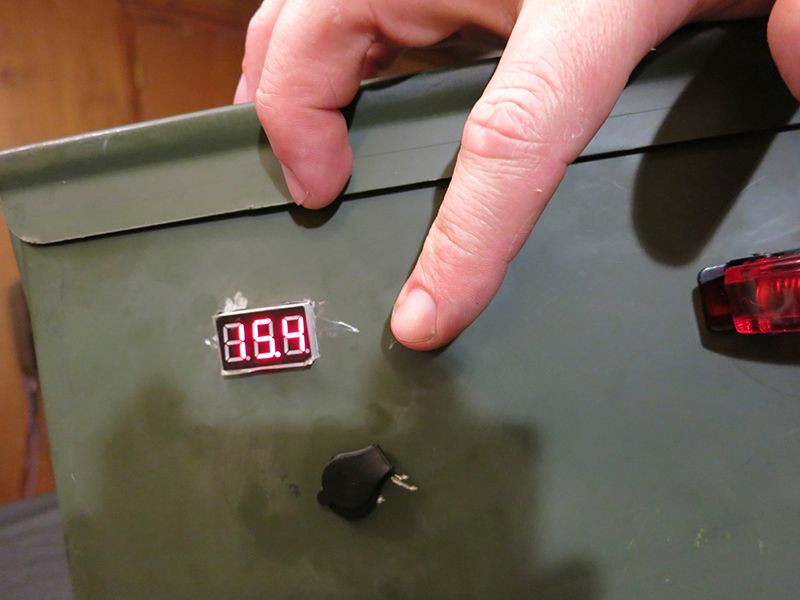
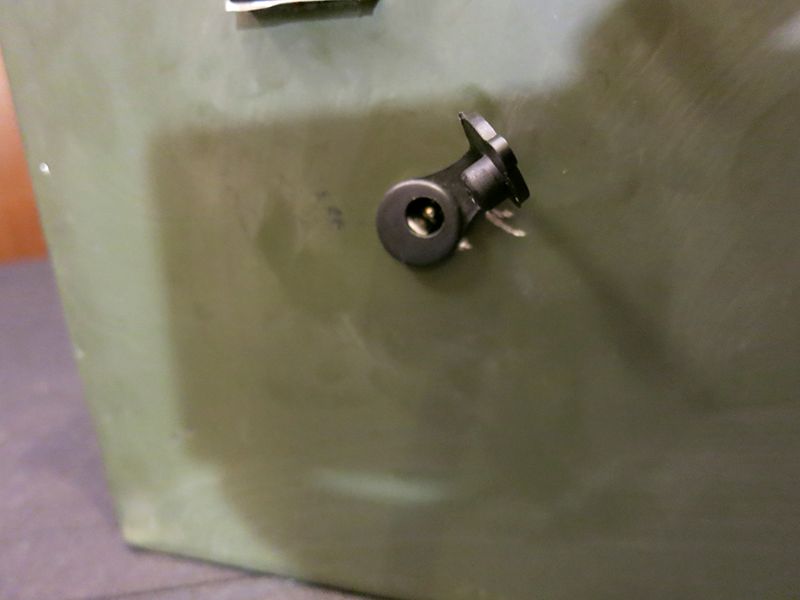
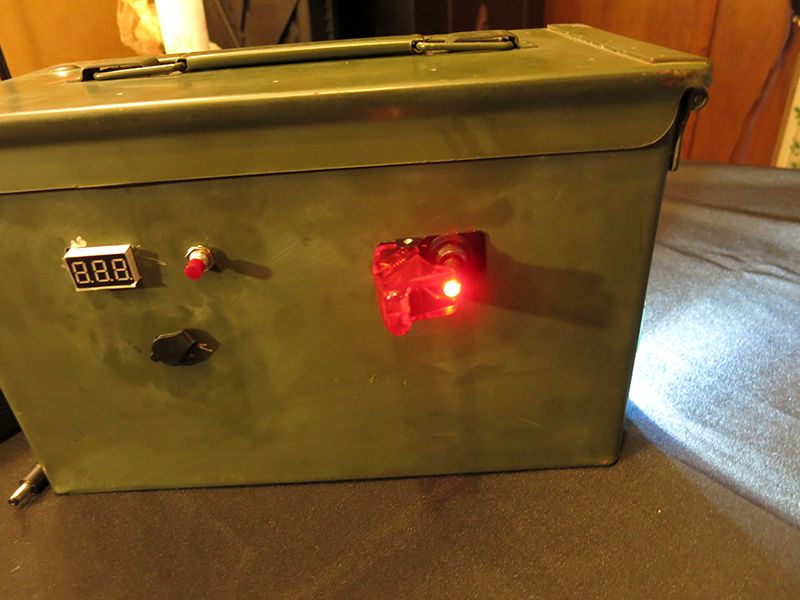
Here is a side view showcasing the Voltmeter for the battery which is activated by the red momentary push button. Bellow the Voltmeter is the weather proof charging port for the lithium battery AC charging adapter. The HID is turned on by the red covered saftey switch.

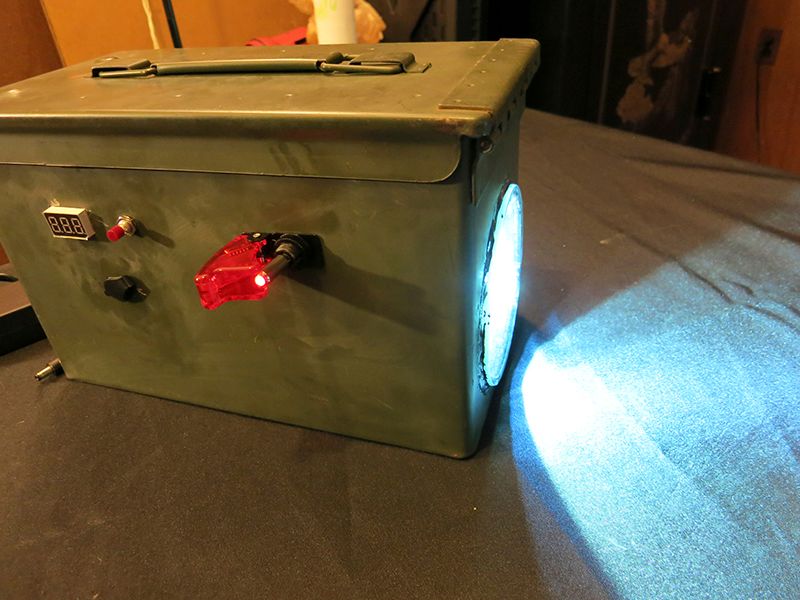
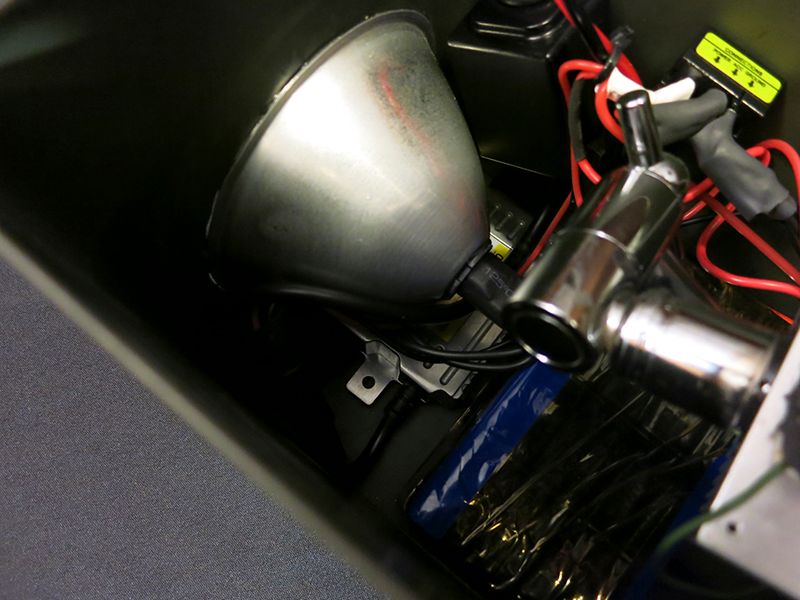
Here you can see how the HID, Reflectors, and Lens came together!
The black switch is used to power on the CXA LED.
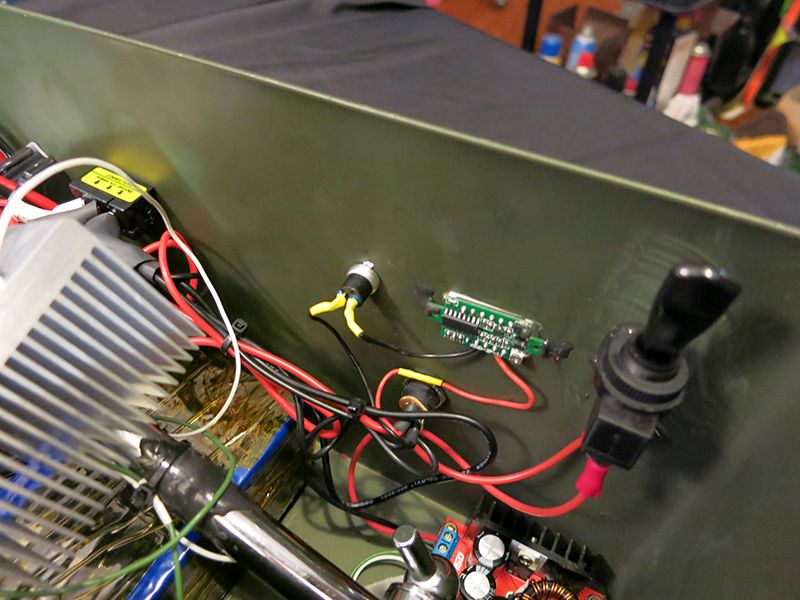
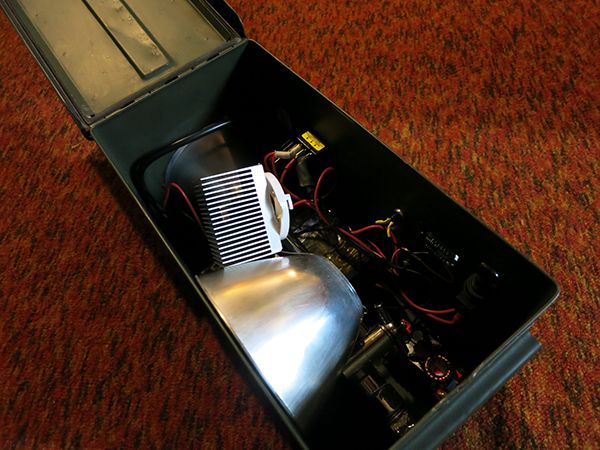
Here are some shots of the inside guts! This is how everything fits inside lol
This showcases the 360 degree swivel ![]()
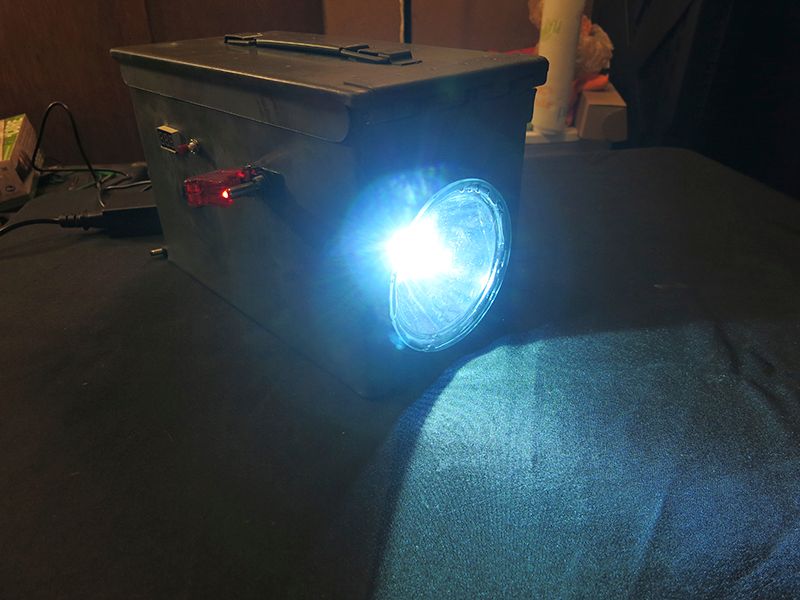
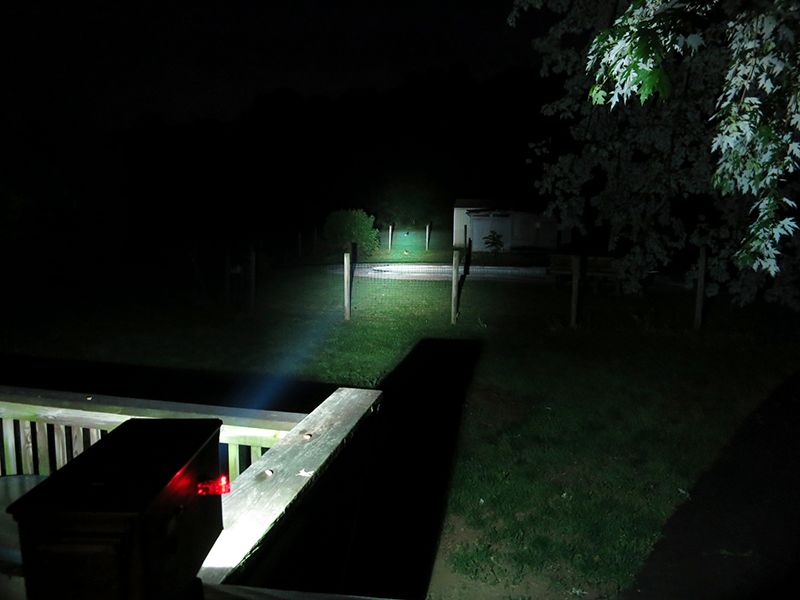
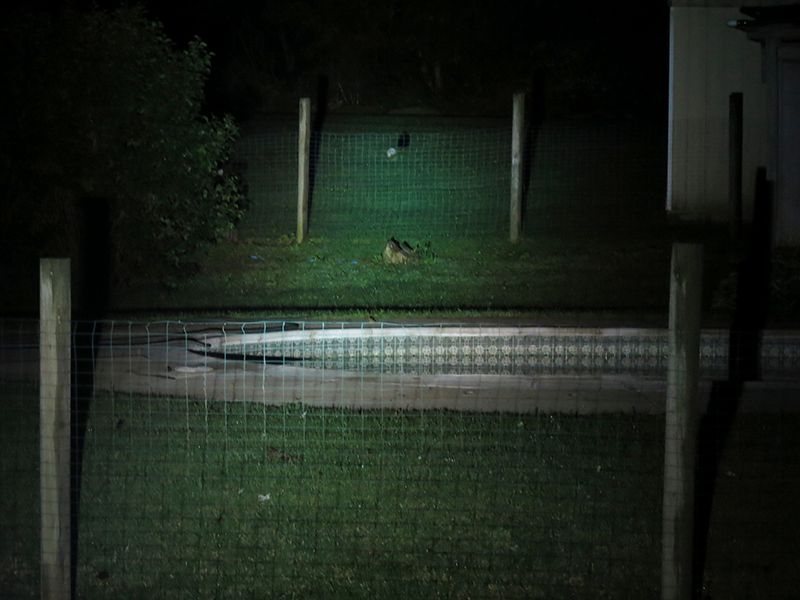
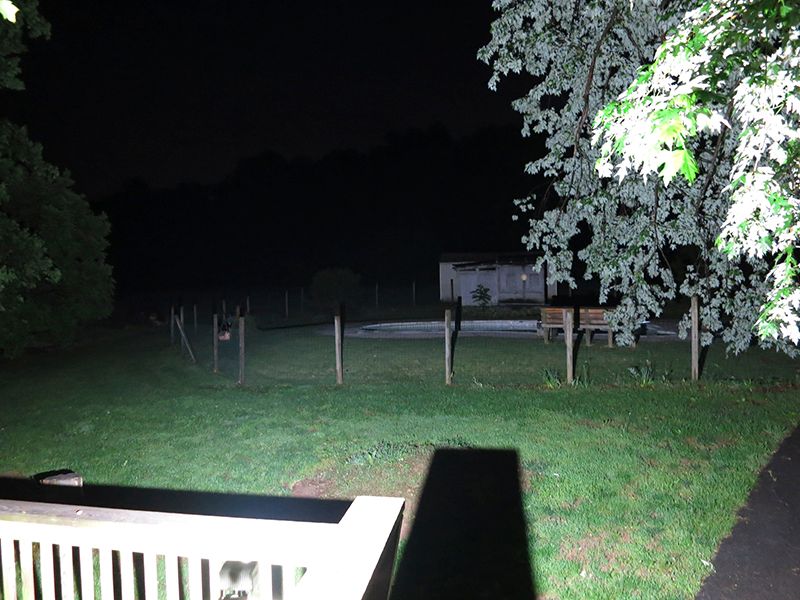
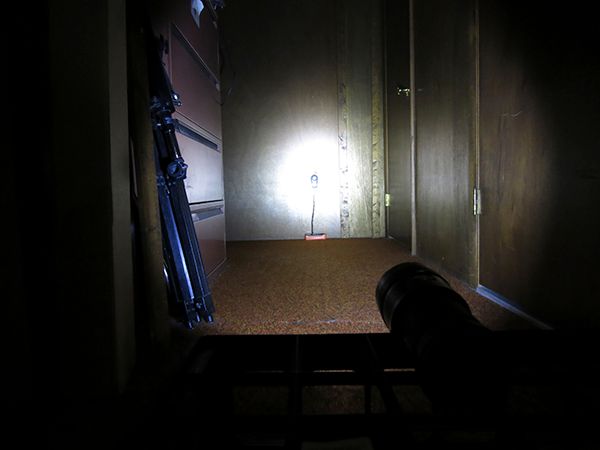
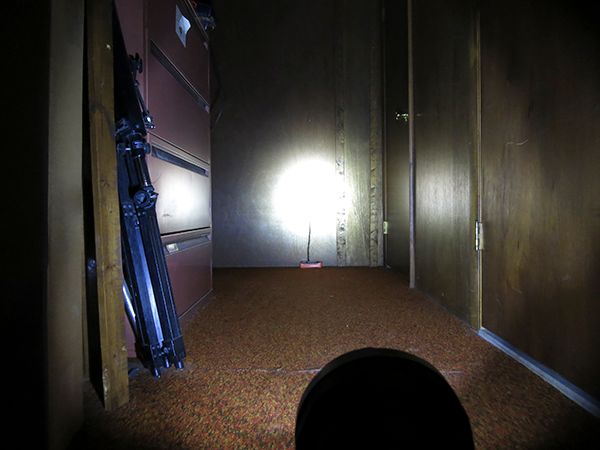
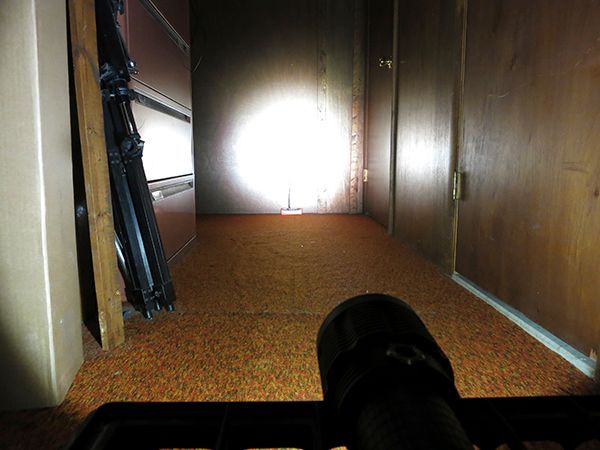
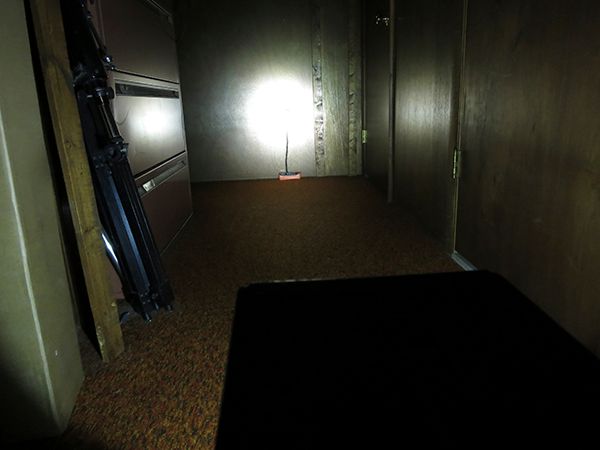
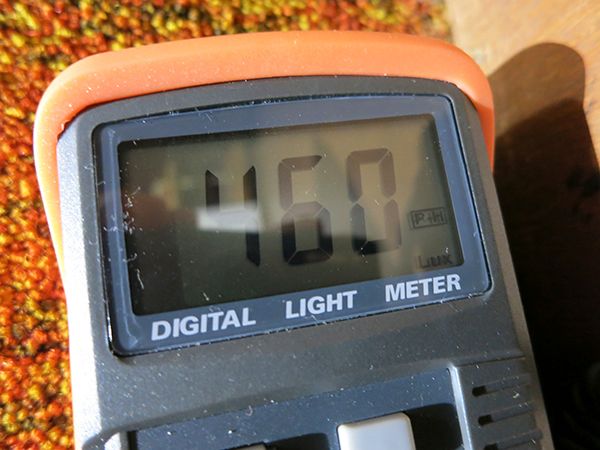
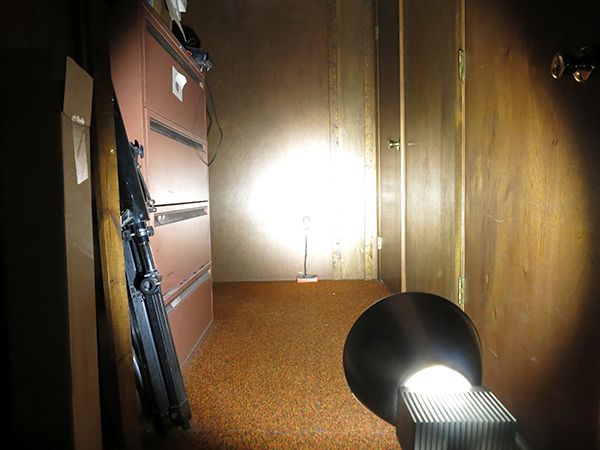
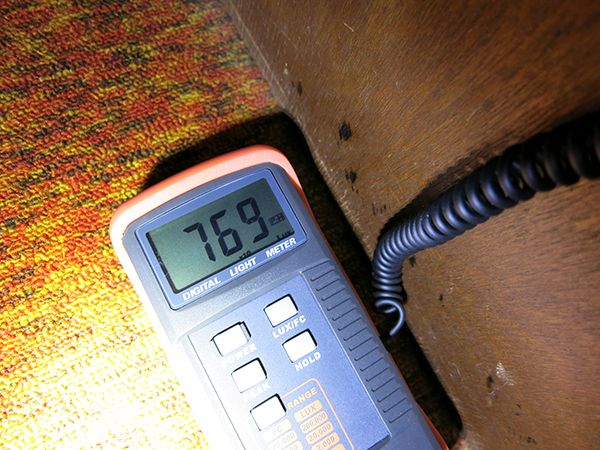
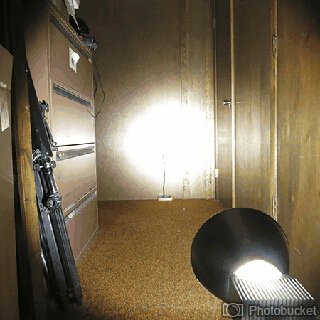
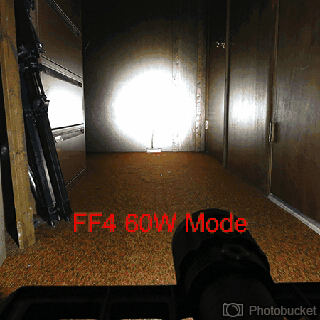
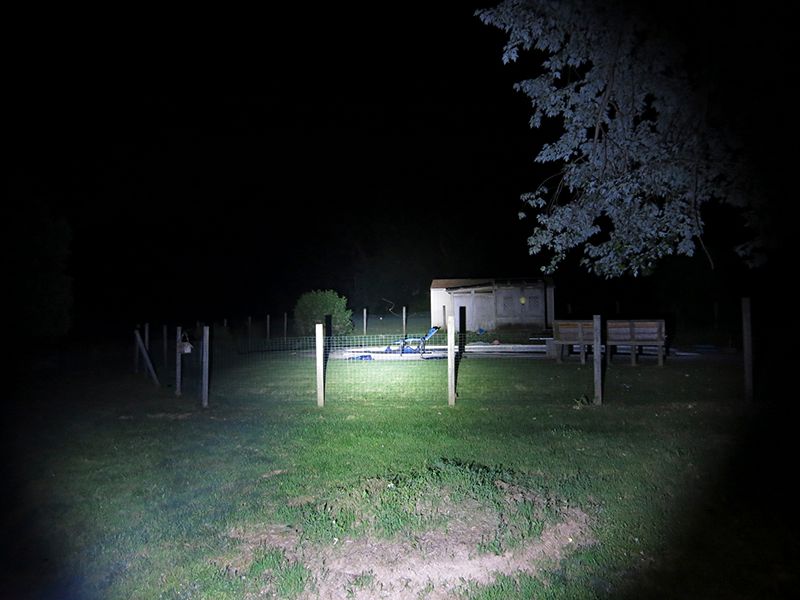
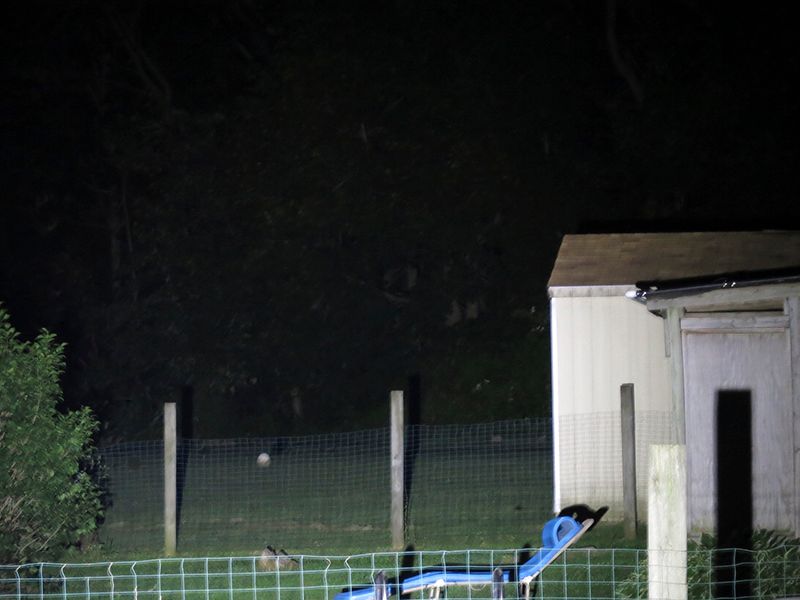
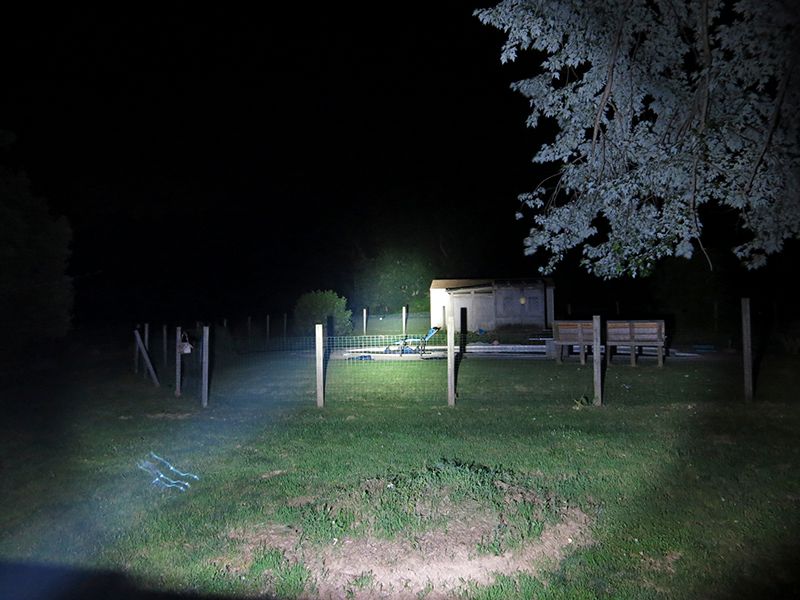
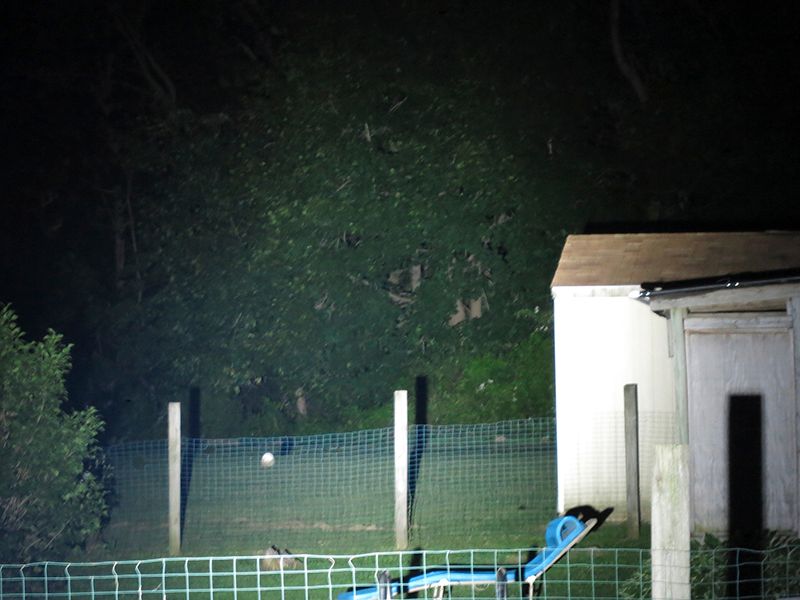
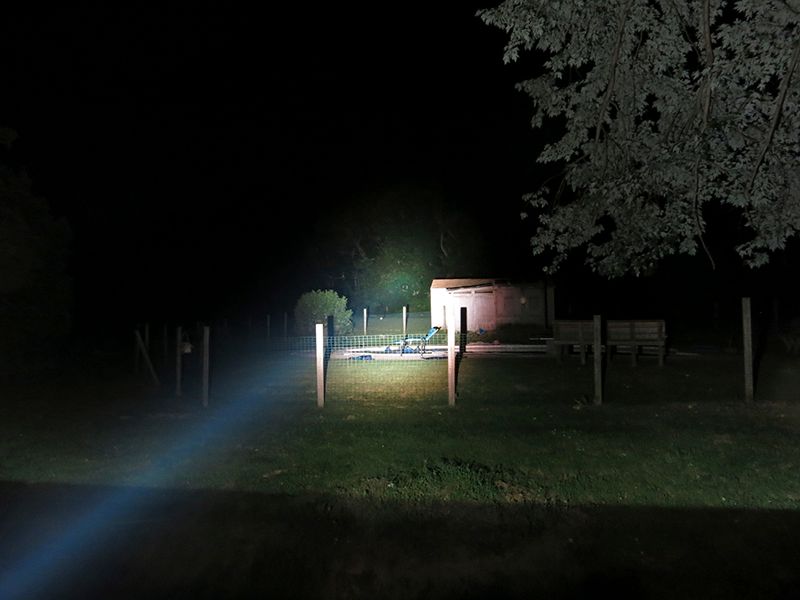
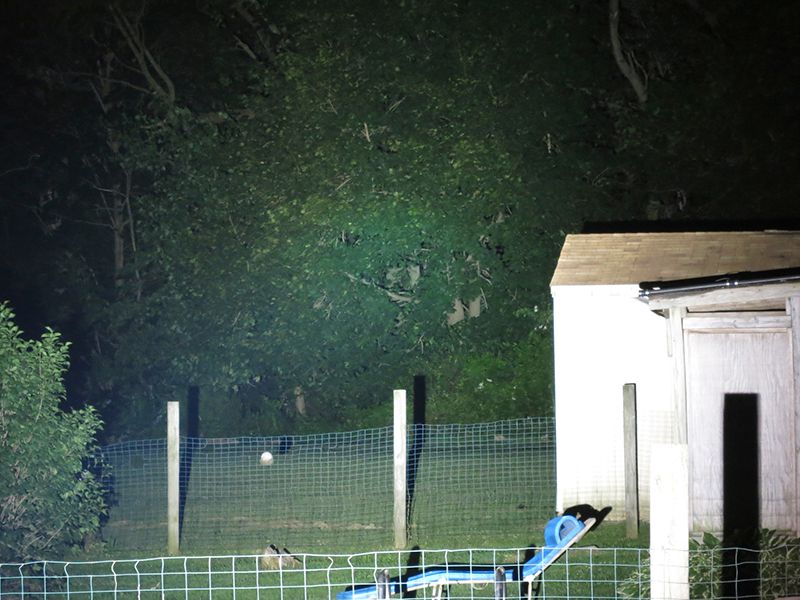
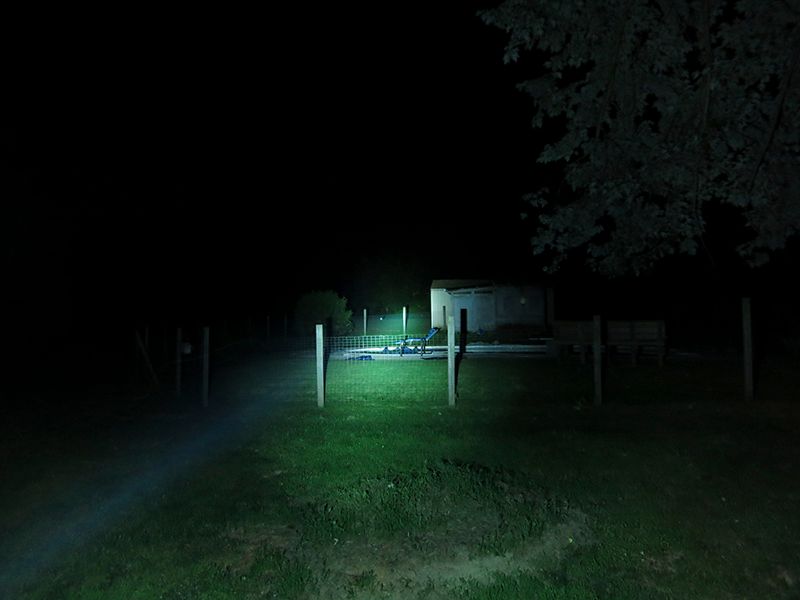
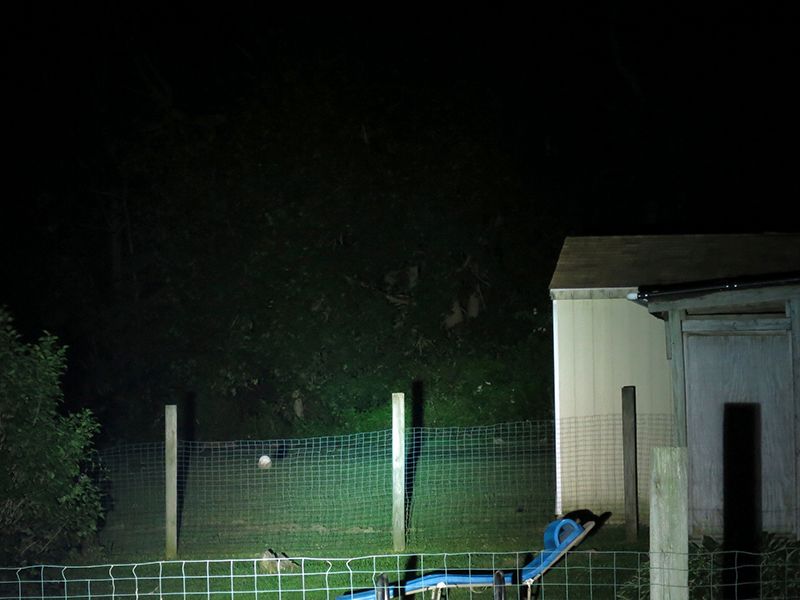
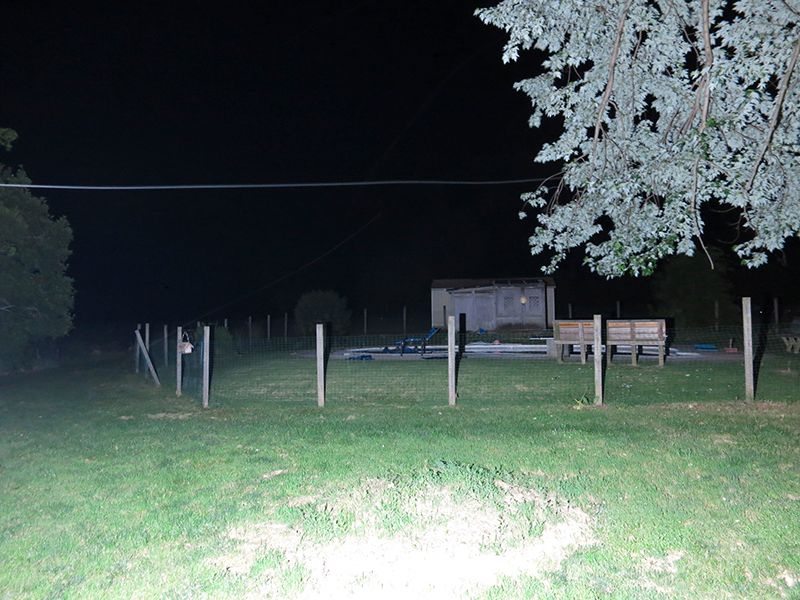
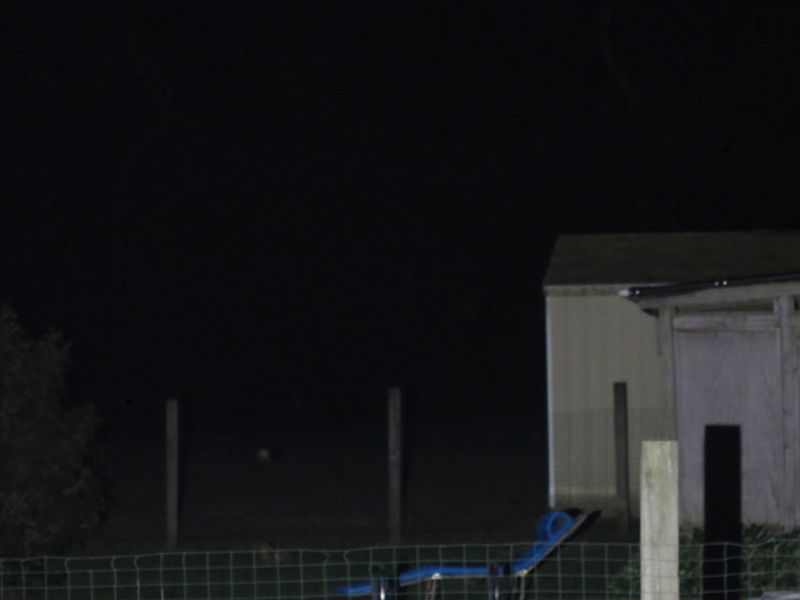
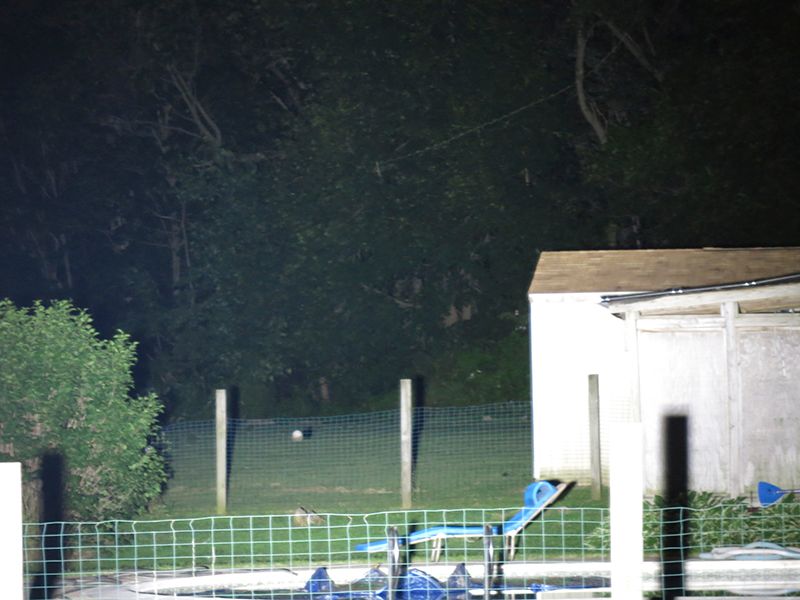
Now for some night shots! I am using a Canon S110 in manual modes with ISO 800; Shutter Speed 1/4”; Focal 2.8.
This is just the HID and then another shot zoomed in.
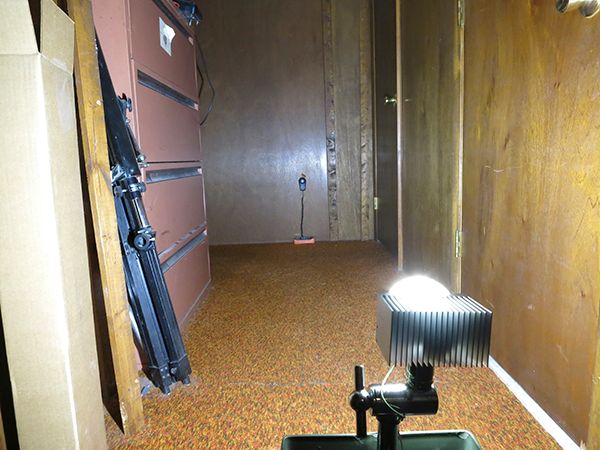
This is the CXA LED with the same camera settings.


 Looks like lots of fun bits. Whats the lens of?