Look at Post #1 for corrections. Sorry folks, for the screw up.
See Post #39 for the 2D Mod.
Ok folks, here it is and it's a long video, with a couple of "double takes" in it, but it will show the tear down y'all want... I hope.
Totally new light! A Major design change and they really did some good things to the new Mag!
I love this new light!
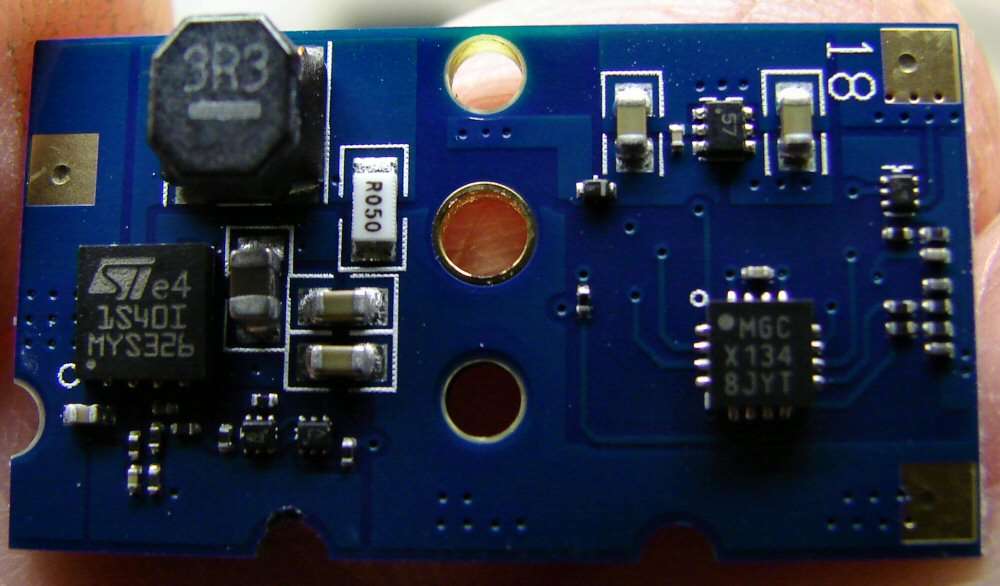
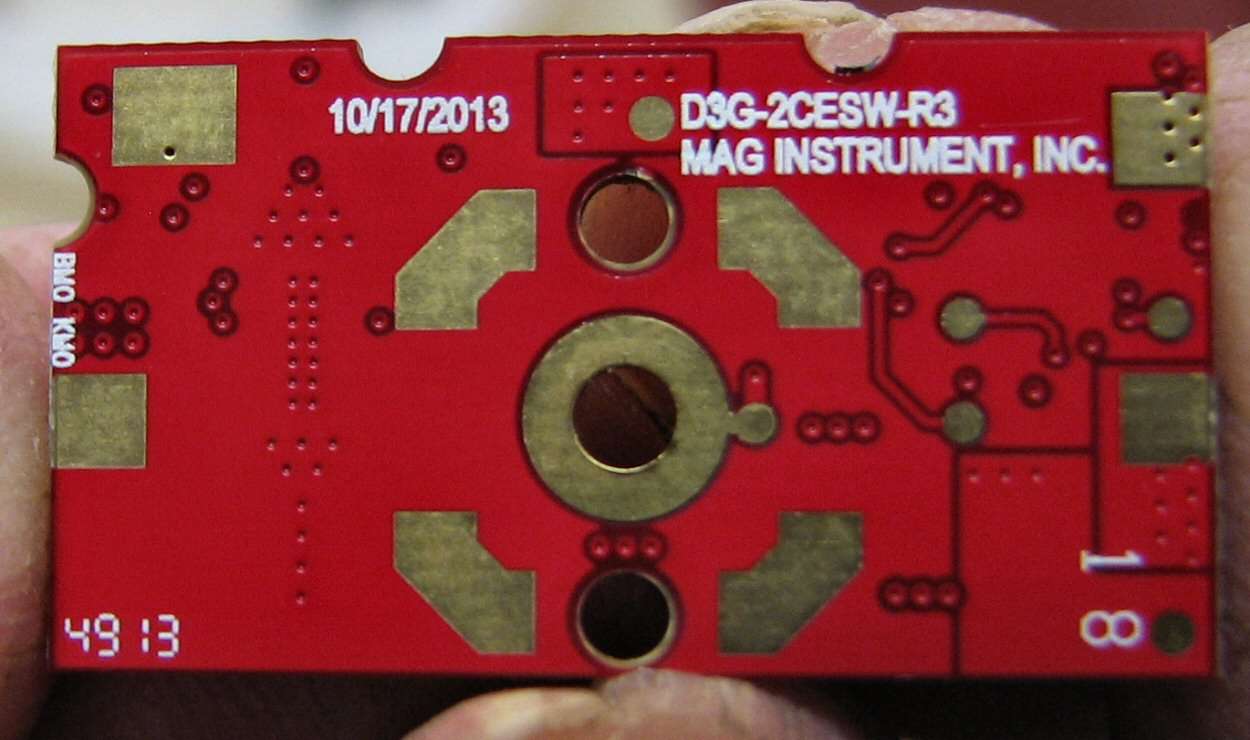
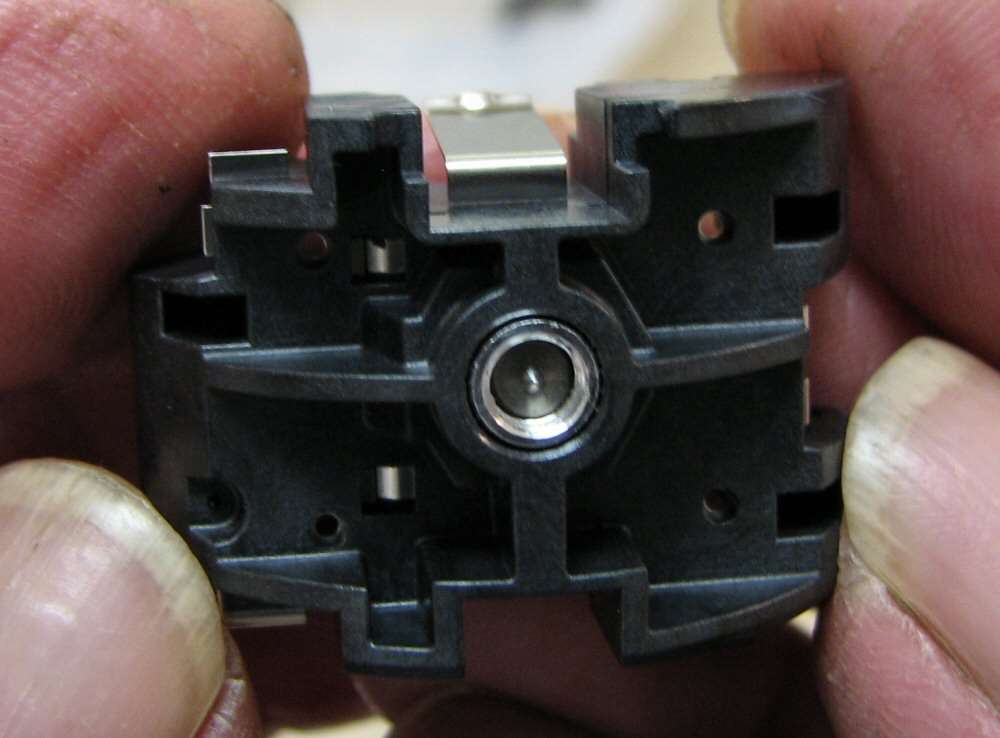
Here's a couple photos of the driver/switch
3D Driver
2D driver
EDITED:Amp Draws: All amps were done at the tail end. This does not mean amperage to the LED, just amperage drawn from the cells, by the driver.
3D High 1.5 amps at the tail 3D Low .22 amps 3D Eco .10 amps
2D High 2.86 amps at the tail 2D Low .30 amps 2D Eco .14 amps
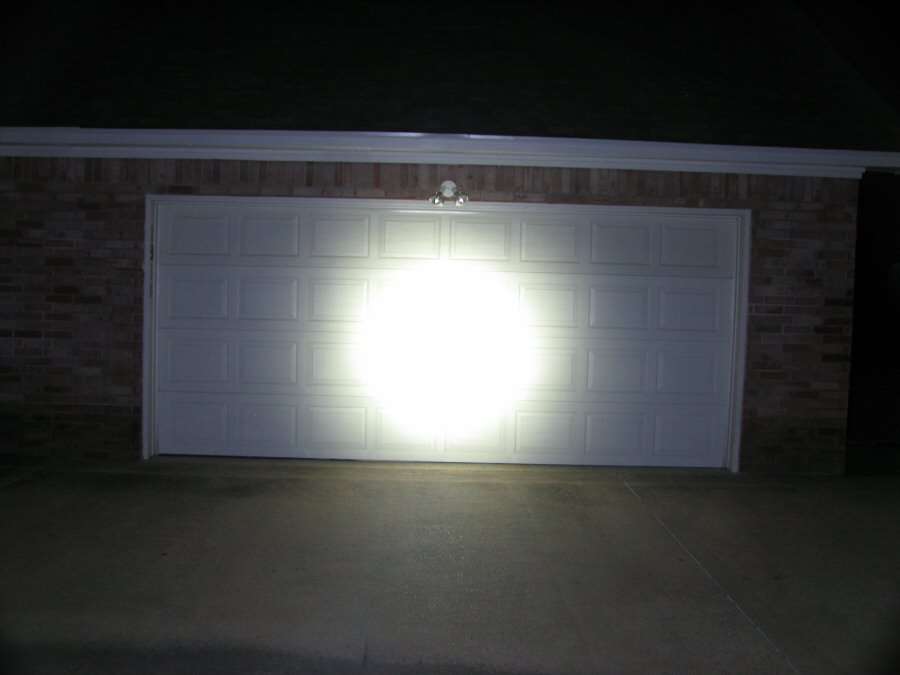
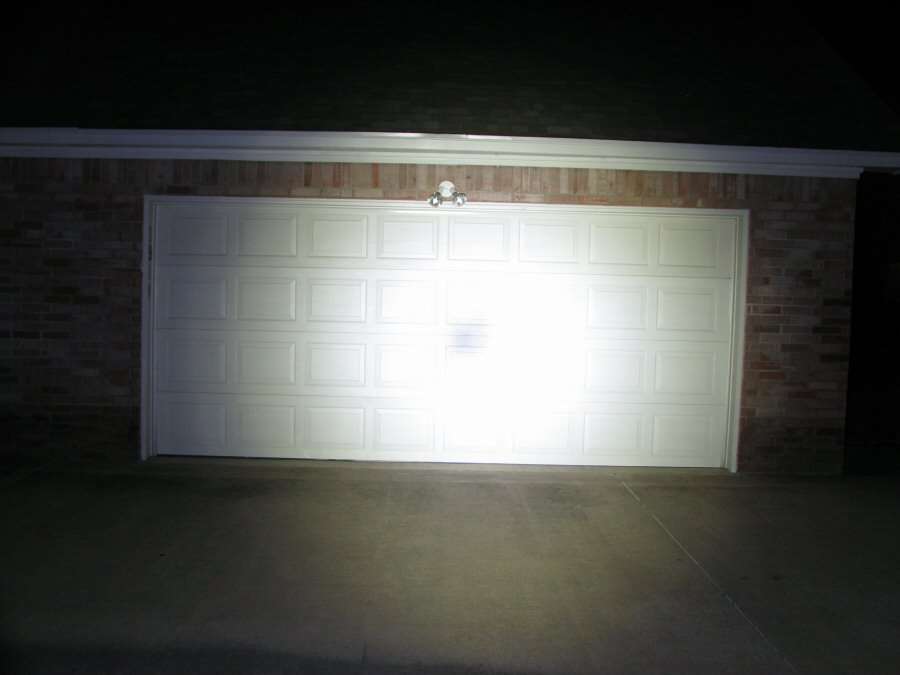
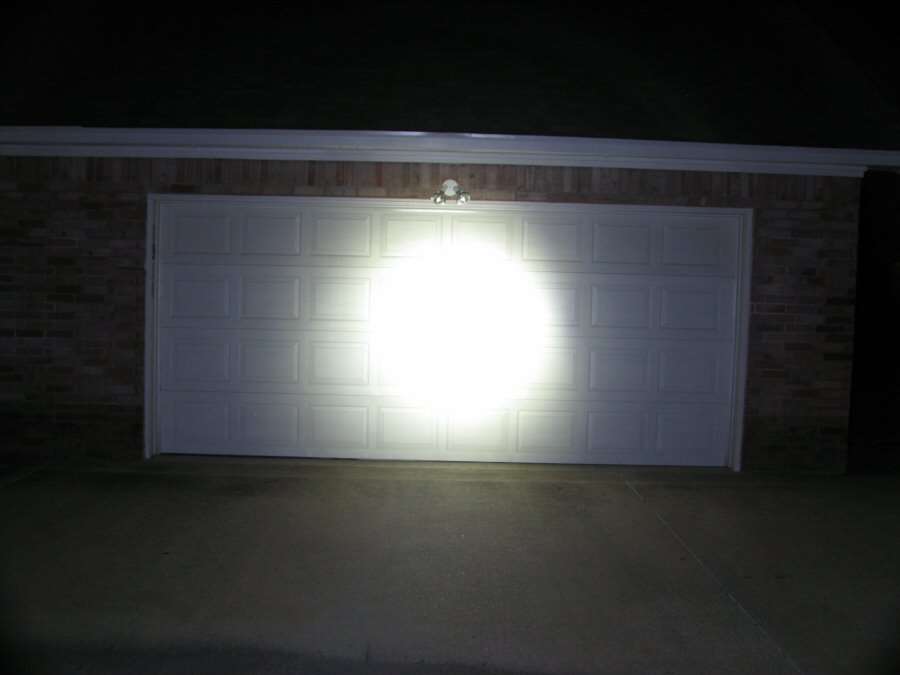
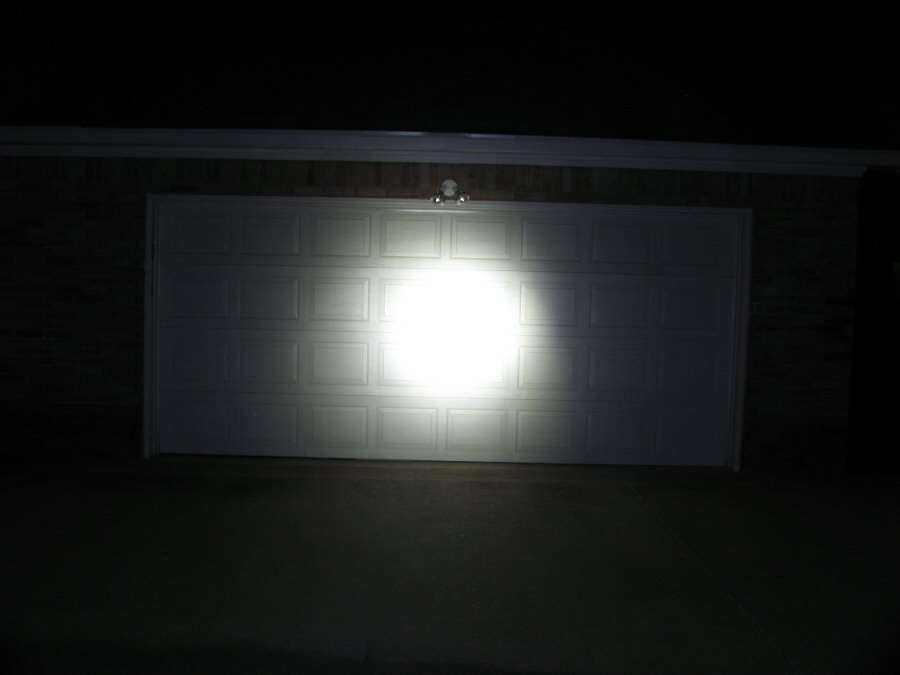
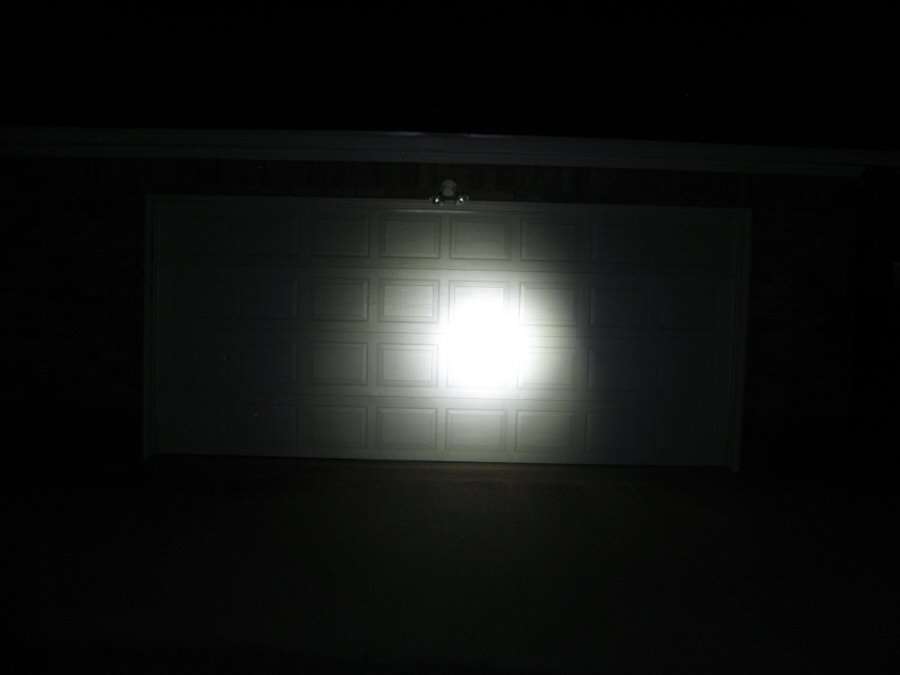
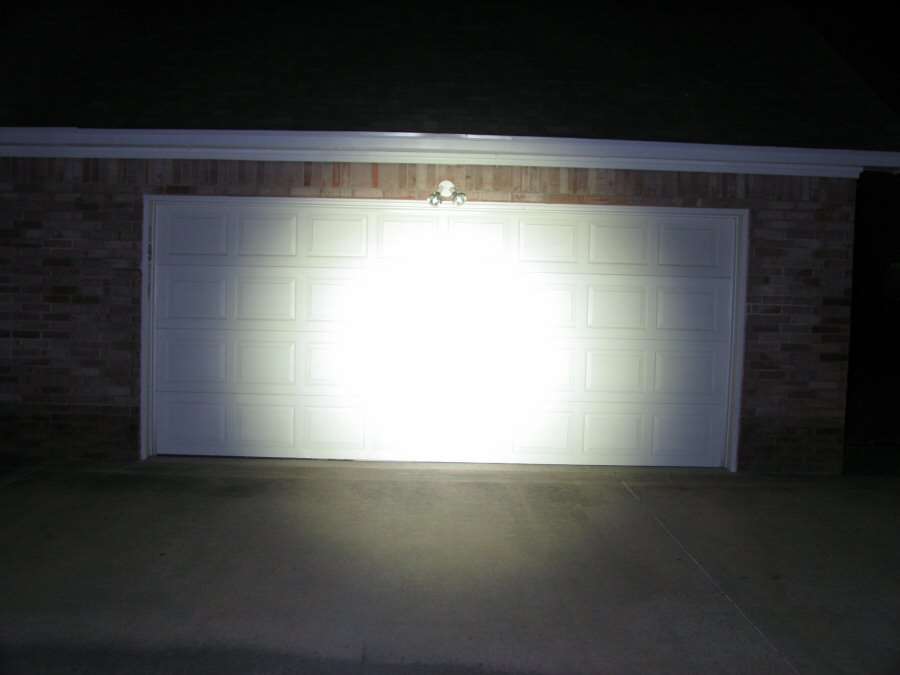
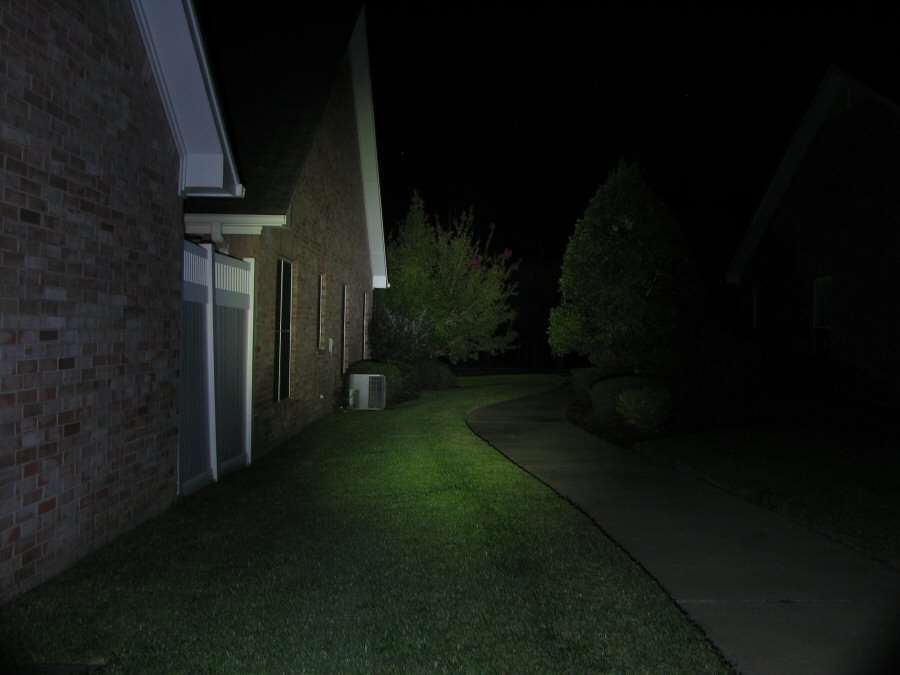
Beam Shots 2D
3D
Mouseovers - 2D is Mouse OUT, 3D is Mouse OVER
I think I damaged the pill for the 2D from removing it and replacing it. It affected the beam some. I don't think it's straight in place any more.
That's all I got I guess. I feel like either of these lights stock, would be fine for walking or general use. I would pick the 3D for more brightness and runtime and the 2D for less weight.
OMG! I just read the Manual. There's "Function Sets"!! I never read the manual. I really have to apoligize for that.
Function set #1 General Use - Full power/Low power/Eco #2 Outdoor Use - Full/Low/Strobe #3 Law Enforcement - Momentary/Full/Eco #4 Tactical - Momentary/Full/Strobe
It comes set for Standard Mode. To change Function Sets, Uncerew the tail cap, till contact breaks. Wait 2 seconds, then press the switch and hold. Turn the tail cap back in and keep holding the button till the light starts to blink, (4 seconds). The number of the function set is the number of blinks. Choose a set by releasing the button after the number of blinks that corresponds to the set you want. One, Two, Thee or Four blinks. Then you will be in that function set. Repeat the process to change to another set.
I will have to try that and see if I can do it. Sorry for nort doing my review properly to begin with.
EDIT: I have just tried it and it does work.
Unscrew the TC a half turn
Wait 2 seconds and then push and hold the switch
Turn the TC back in tight
Continue to hold for 4 seconds
The light will blink once, meaning function set 1 - let off the switch if you want function set 1 or continue to hold for the other function set.
If you continue to hold, after 2 more seconds the light will flash two times, signifying function set 2. You can figure out from there, if you continue to hold in the switch, you get three blinks and then four blinks and you let off just after the number of blinks you want, for the function set you want.
It works and I tested all modes.
Remember that when you change the different modes in each function set, like H/L/Eco, you have to be quick. Quick clicks... You have to start with the light off and click very quickly, one/two/ or three clicks, to get the level you want.
Thank you very much. I have been very curious about this and that answers many of my questions.
I must say I fast forwarded a few times but I never watch video reviews because I can read a written review in about 1/10 the time and I did watch this.
Too bad about the modes though. Why would they adobt the chinese standard 3 modes? 100/50/25%
Anyway it is what it is. They likely wont change it anytime soon and I am still just happy that people who live where maglites are less dear than here can get modern tech with modes and hopefully great durability to run off alkaleaks. Wish it was me.
How long until someone figures a way to drop in a new driver and Boom! We have More Light! Much less battery life but more light.
Not supper thrilled with the spacing of the modes, and not sure how I feel about the twist spot/flood. Even back in the early 80’s when I got my first one, I thought that it is kinda a gimmick, and left it on spot most of the time…
I see they use my favorite Buck-Boost IC, the T.I. TPS63020. What surprises me most is the use of a four layer PCB. Seems odd for a cost conscious flashlight.
Haven't yet figured out what all the other stuff is for... this may be an interim to test the market and then shift to a custom IC approach down the road.
So, I'm thinking a copper replacement for the metal pill, with a MT-G2 on it and replacing the driver in the switch. Who's going to do it first? I know someone here or on CPF, (machinist), will come up with it. Would be a great mod that could be done fairly easily, with a lathe.
With cells in series 1.5 amps is 1.5 amps, it's just at a higher voltage. With fresh alkalines I guess voltage under load would be, what, 1.4v per cell? 1.4 volts x number of cells x amperage = input power in watts. The 3 cell light using those numbers would be only 6.3 watts, and that's input power, so the output side will be something like 85-90% of that.With only ~6 watts input there's no way anything even close to 4.5 amps is going to get to the LED.
The 2 cell version would have to use a boost driver so the input current would be higher to make up for the lower voltage (and also boost drivers are usually less efficient). The 3 cell very well could be a buck-boost driver, since 3 nearly flat alkalines will be below the voltage needed to run the LED at ~5 watts.
Compare the tailcap current with fresh cells to the current with nearly flat cells, that will clear up a lot about what the driver is doing. If current goes up as voltage falls, it's switching over to boost mode. If current continues to fall with voltage it's buck-only.