GearBest 3x XM-L2 Bike Light
Listed As:
“3600LM Cree XM-L2 x 3 LEDs 18650
LED Bicycle Headlamp with 3 Adjustable Modes”
Found Here:
http://www.gearbest.com/led-flashlights/pp_70611.html
Reviewer's Overall Rating: ★★☆☆☆
GearBest Specs:
Specification |
Feature: Can be used as headlamp or bicycle light |
Dimension and Weight |
Product weight: 0.117 kg |
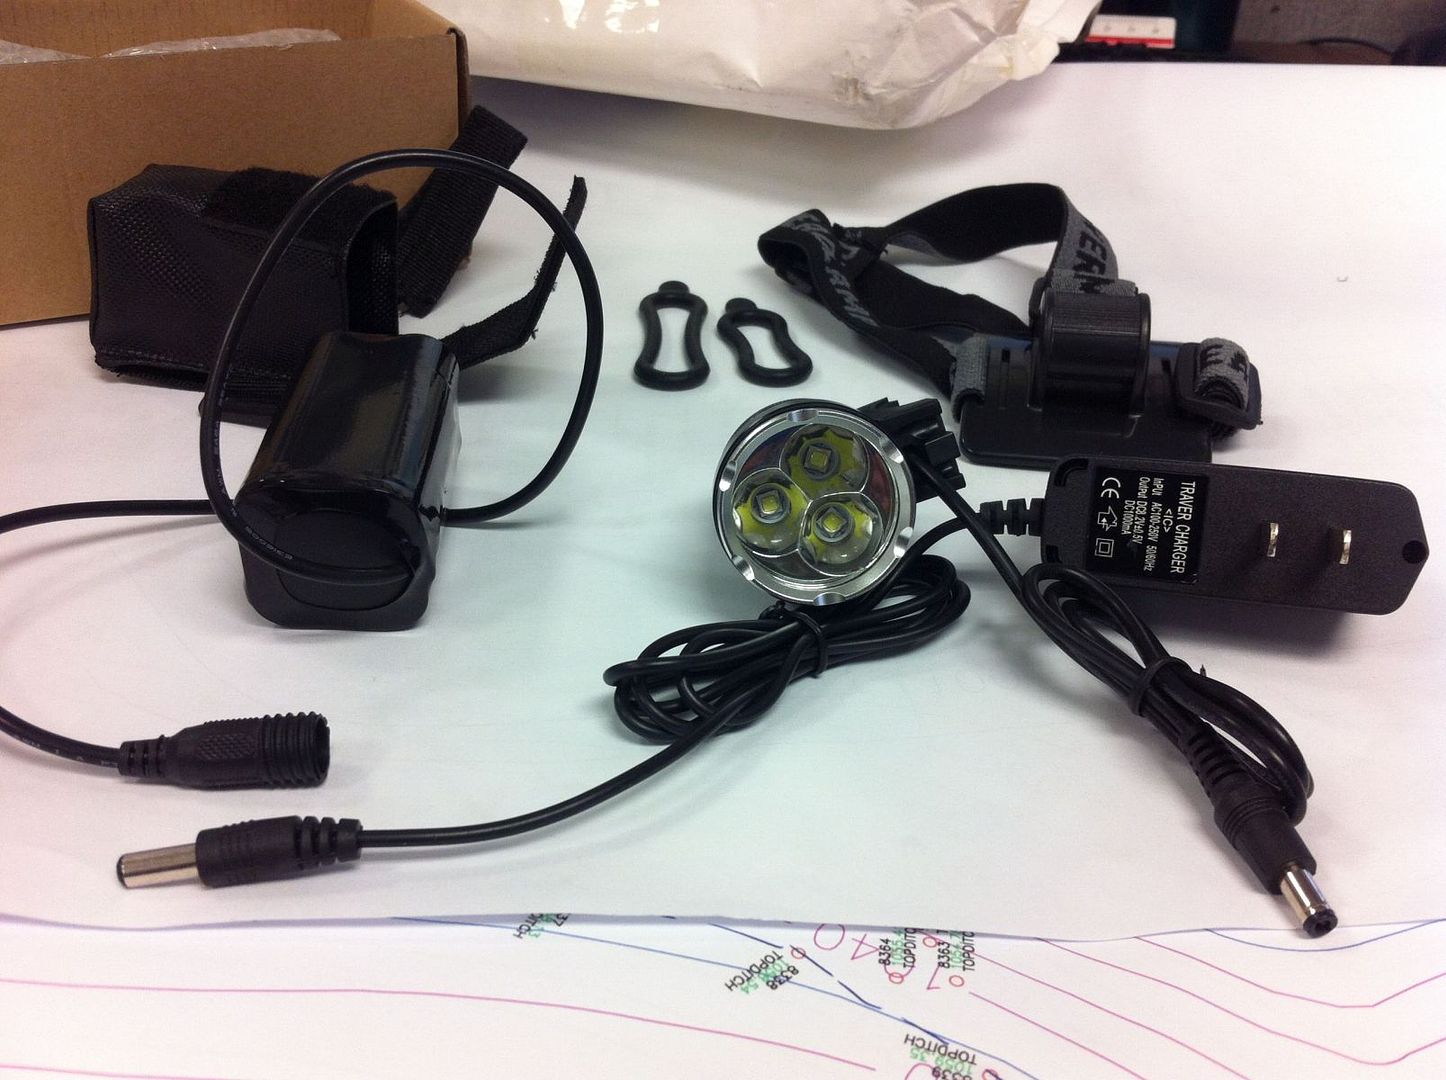
Package Contents |
Package Contents: 1 x Headlamp, 1 x Battery Pack, 1 x Headband, 2 x Rubber Ring, 1 x Charger |
Pros:
- Triple emitter with fairly deep reflectors
- All 3 LEDs on in both modes
- The 3 LEDs combine to form a nice hotspot (even when white wall hunting)
- Nice anodizing (good finish)
- Switch solid, not sloppy
- Tint, while cool white, is not blue, green or purple looking (guessing a 1A tint)
- Fairly hefty chunk of aluminum heatsinking with the pill and reflector together
- Works on 4.2v input with the same output power
Cons:
- No o-ring on the light’s power connector
- Fairly under-driven according to measured current, though the output looks pretty good and would provide good runtime (even 80 to 90 minutes on the included junk battery)
- Battery Charger only charges at 0.27A (rated “1000mA”) and does not charge with a proper CC/CV algorithm (though it does shut-off)
- Battery Pack has two fake cells and was terribly out of balance. After balancing cells, capacity is approximately only 2100mAh
- Low voltage indication occurs way too late, only giving about 10 minutes runtime on high before the battery pack’s protection circuit trips (the light’s driver itself does not shut off at low voltage, it only controls the indicator light)
- No seal where the power connector enters the light head (This could be fixed with some silicone sealant.)
- Very little thermal contact between the pill and the light body, however the body does get hot in use and the light does not seem to overheat under normal conditions.
- No thermal compound used between the emitter pcb and the pill
- PWM on low mode (visible in camera and shining into a fan), but doesn’t bother me in use. High mode doesn’t show any PWM.
- Headband does not offer enough adjustment for an adult (fully extended fits my 2yr old daughter)
- Strobe is not hidden
- Front exit of the power wire nearly interferes with the o-ring mount
- Battery pack came with the SolarStorm threaded type connector while the lighthead uses a MagicShine type
Other Specs/Details:
- The claimed “3600 lumens” is far from realistic! In my sample the emitters are driven at 0.63A each, so based on this reference that’s about 840 lumens before losses. I believe 20% is a reasonable number for loss calculation, so that brings us to 670 lumens.
- 36.5mm Glass lens 2.44mm thick (MS Wide Angle Lens would fit if the edges are filed down and a thinner glass lens was used for the bezel to tighten against it)
- SMO reflectors
- Individual Reflectors: 17.6mm wide x 12.8mm deep
- 28mm emitter star 0.96mm thick with 3 LEDs wired in parallel
- High at 100% output, Low at 30% (good spacing and low is not too low)
- Cable length at light head: 24 inches, at battery pack: 19 inches
- Strobe seems to me to be a “medium” speed strobe (not super fast)
- Lighthead weighs 3.8 ounces
- Modes are: Off-High-Low-Strobe-Off
Before I get too far along let me say that my photo gallery containing all photos (in higher resolution as well) is found here: http://s111.photobucket.com/user/garrybunk/library/GearBest%203x%20XM-L2%20Bike%20Light%20Sent%20For%20Review?sort=2&page=1 . If you can’t see my photos, the link to the gallery should still work to view them.
First Impressions / Beamshots:
My first impression of the light was that it produces a great wide flood while also throwing quite well, and all while only pulling 0.92A on high from an 8.4v pack! That should give roughly 5.6 hours of runtime from an average “real” 5,200mAh 2S2P battery pack or even 2.8 hours from a “real” 2 cell 2,600mAh pack. Low at 0.30A (which is 30%) is a nice spread from high while still providing ample output for slow riding situations. The tint is typical cool white, no greenish or purplish hues in my sample.
(EDIT 1/5/2014) NOTE: See post #12 below concerning the blueish tint to the beamshots. The tint showing up in these beamshots is not accurate. (END EDIT)
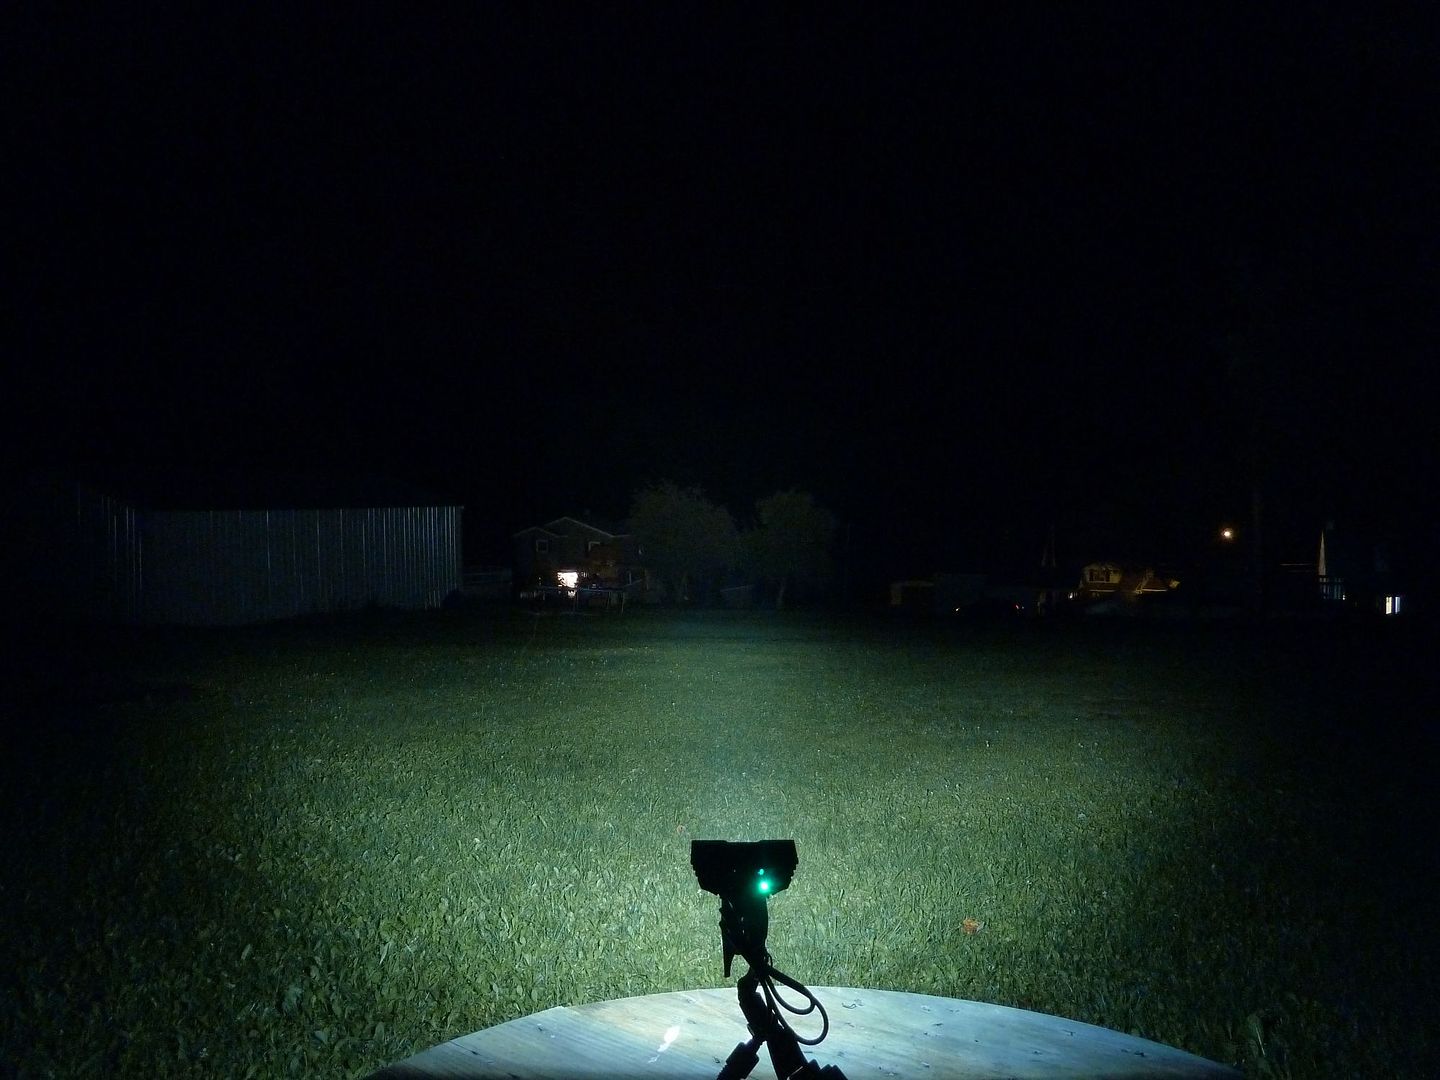
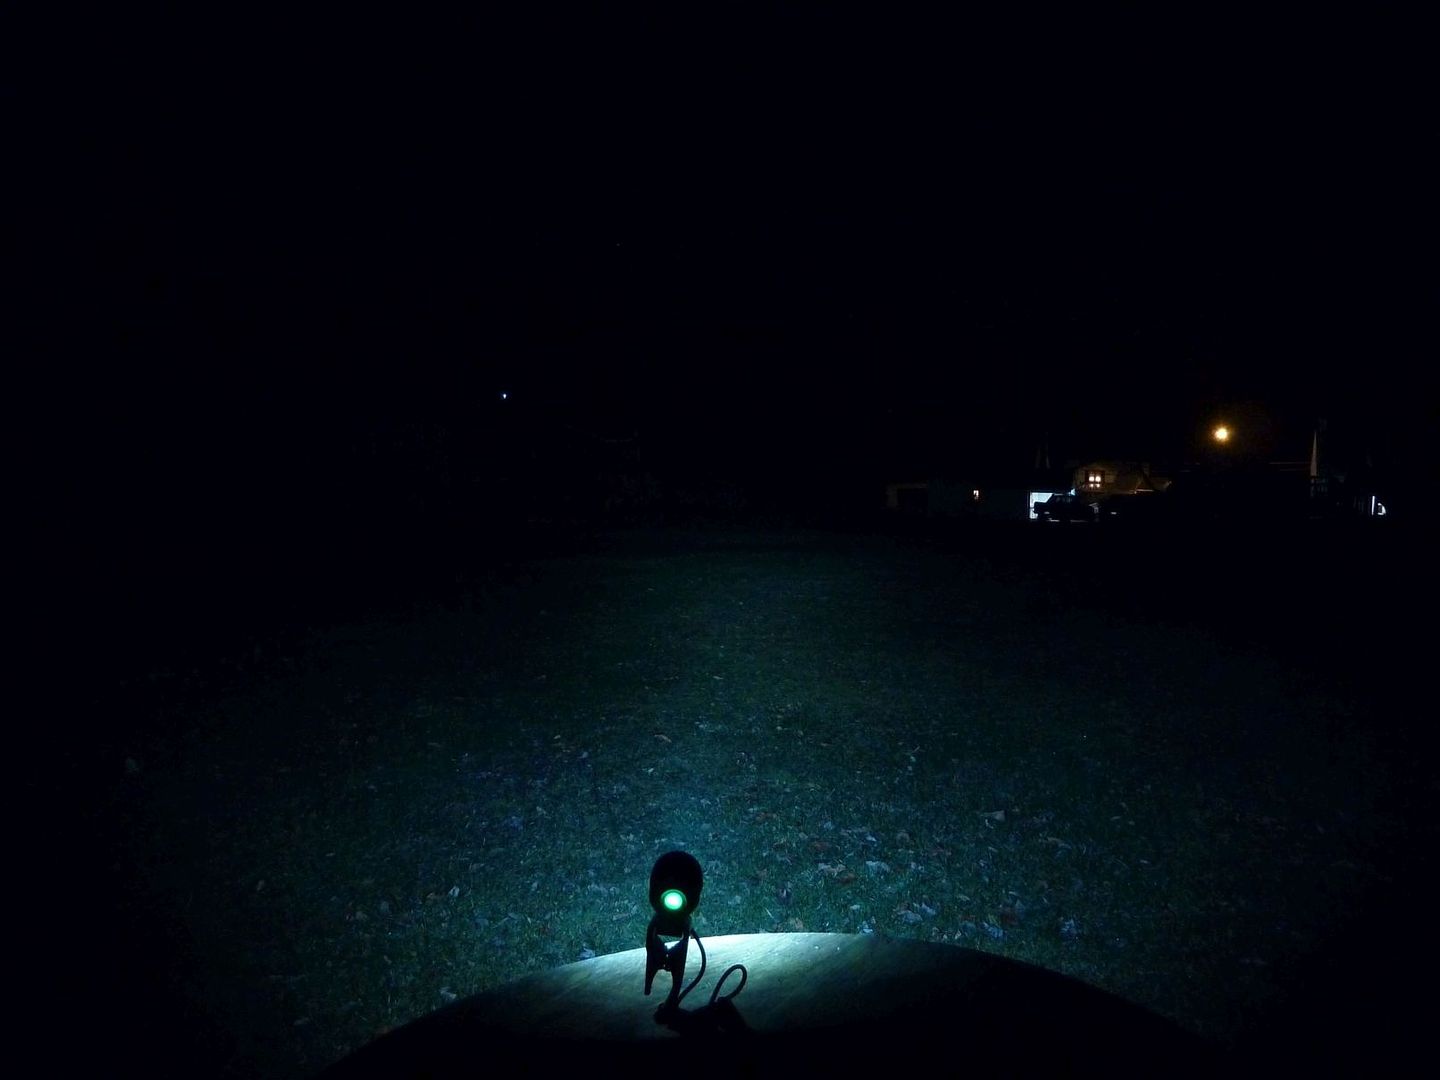
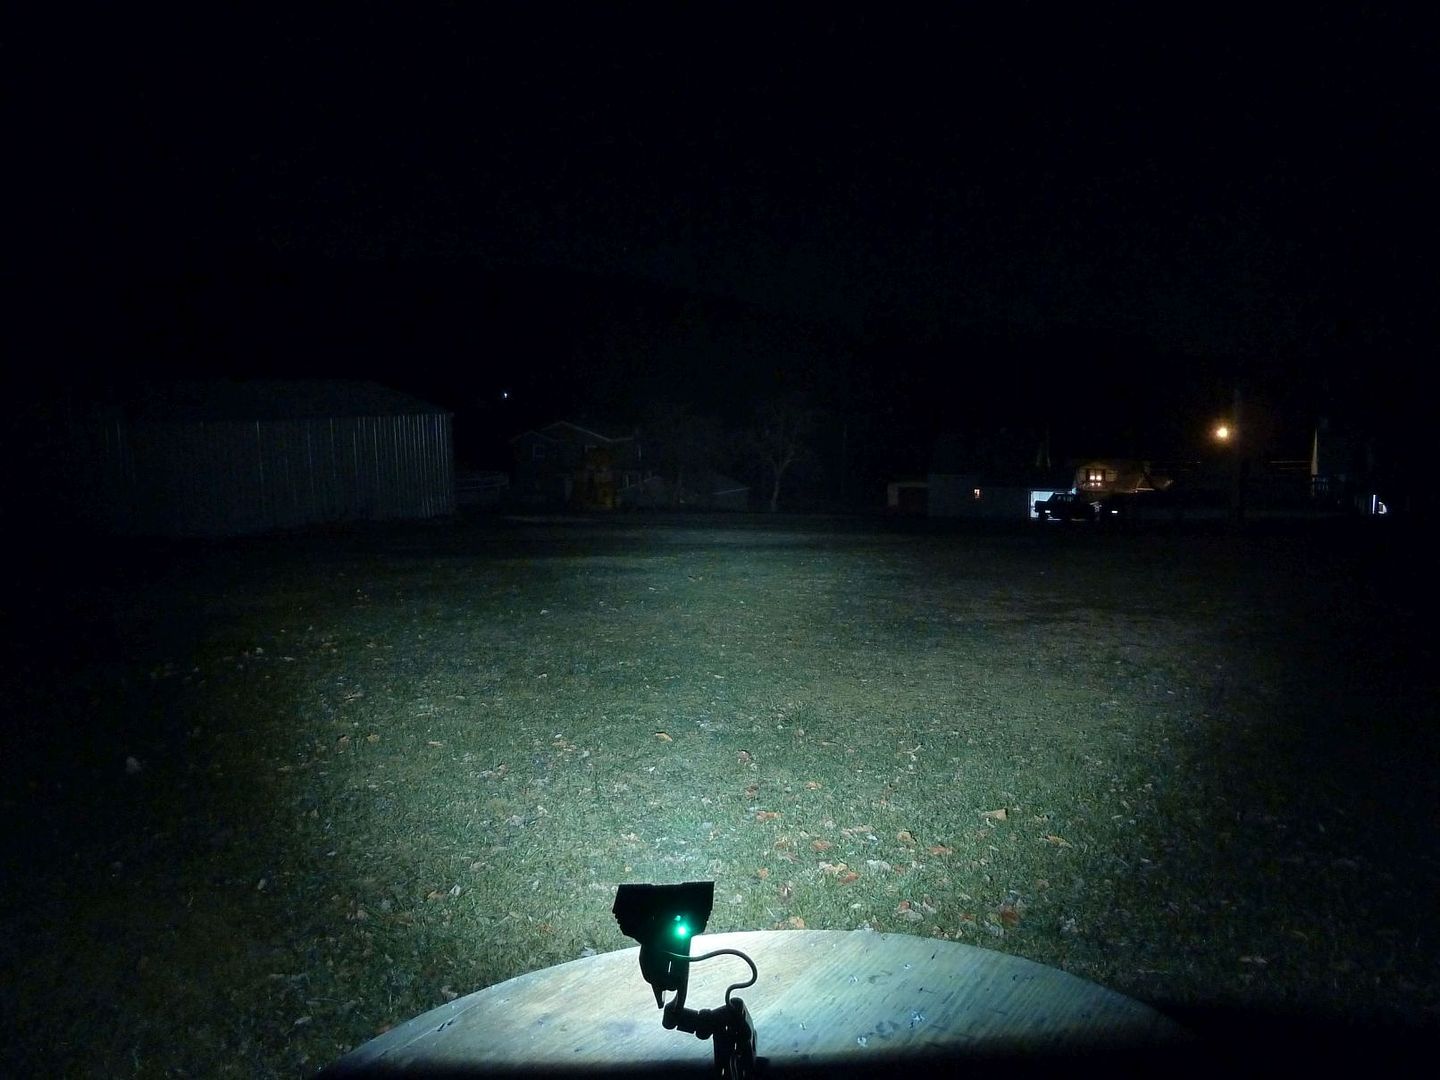
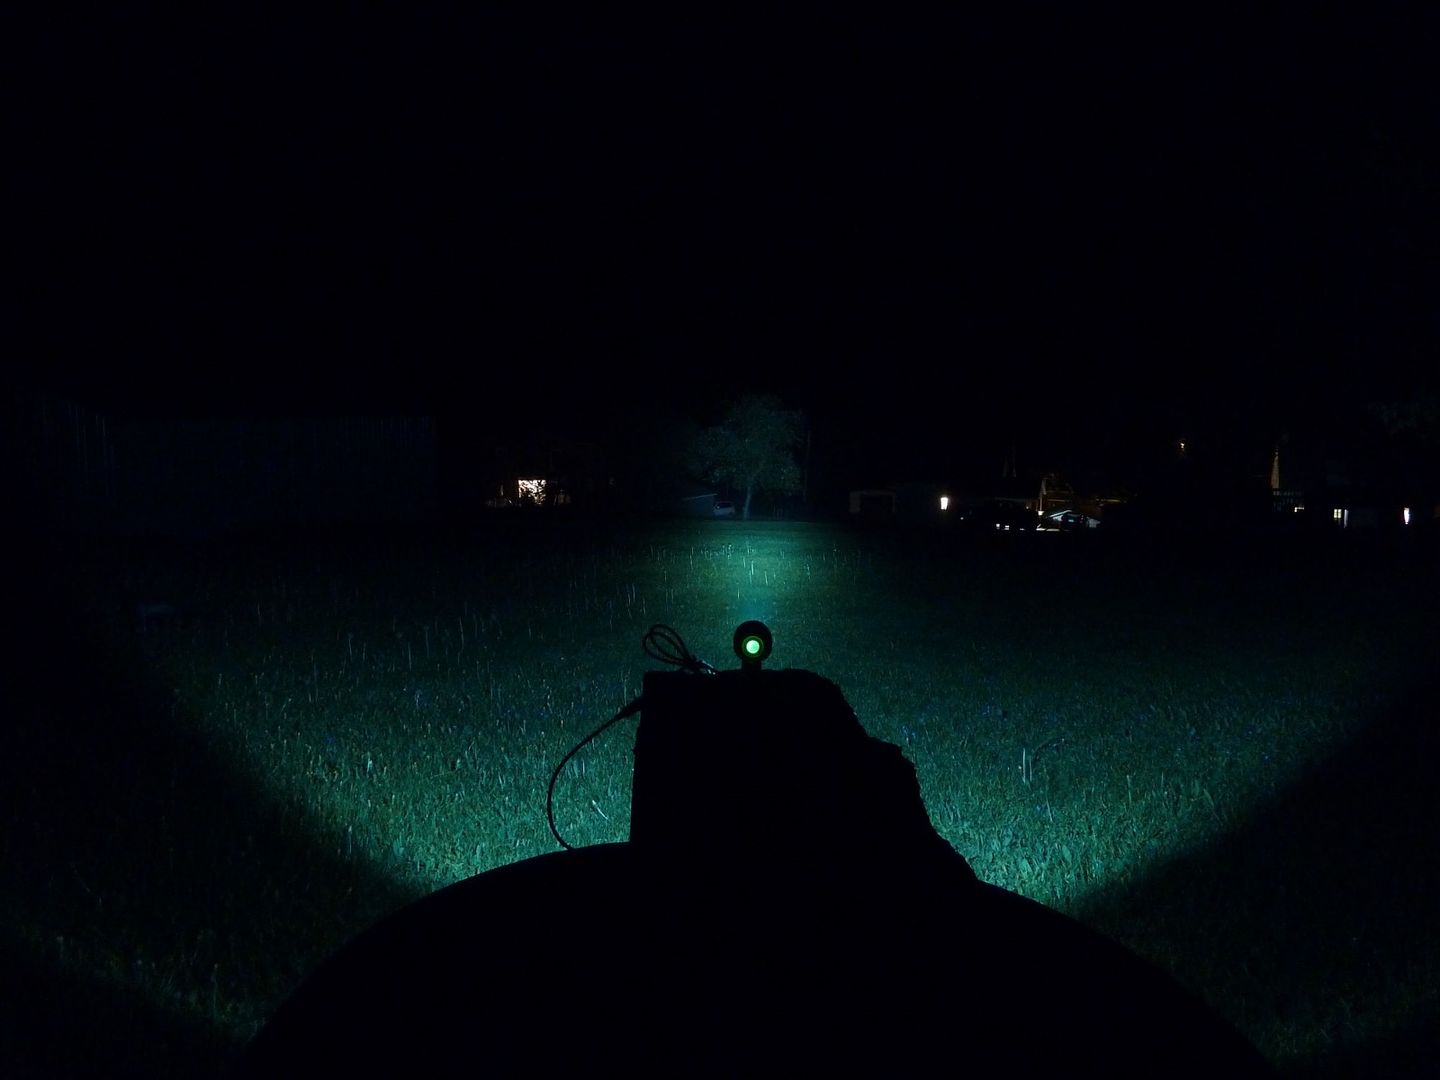
The following are some beamshots in my typical location (same settings I always use which is a hair dimmer than reality). Distance to the two trees is approx. 185 feet (I have yet to determine the distance to the garage behind the trees, but I’d guess it’s an additional 50 feet). I’ve compared this light to a SolarStorm X3 modded to 5B1 neutral white emitters (driver unmodded, approximately 1.6A per emitter on high) and a typical single emitter MS 808E clone (unmodded).
GB 3X on High:
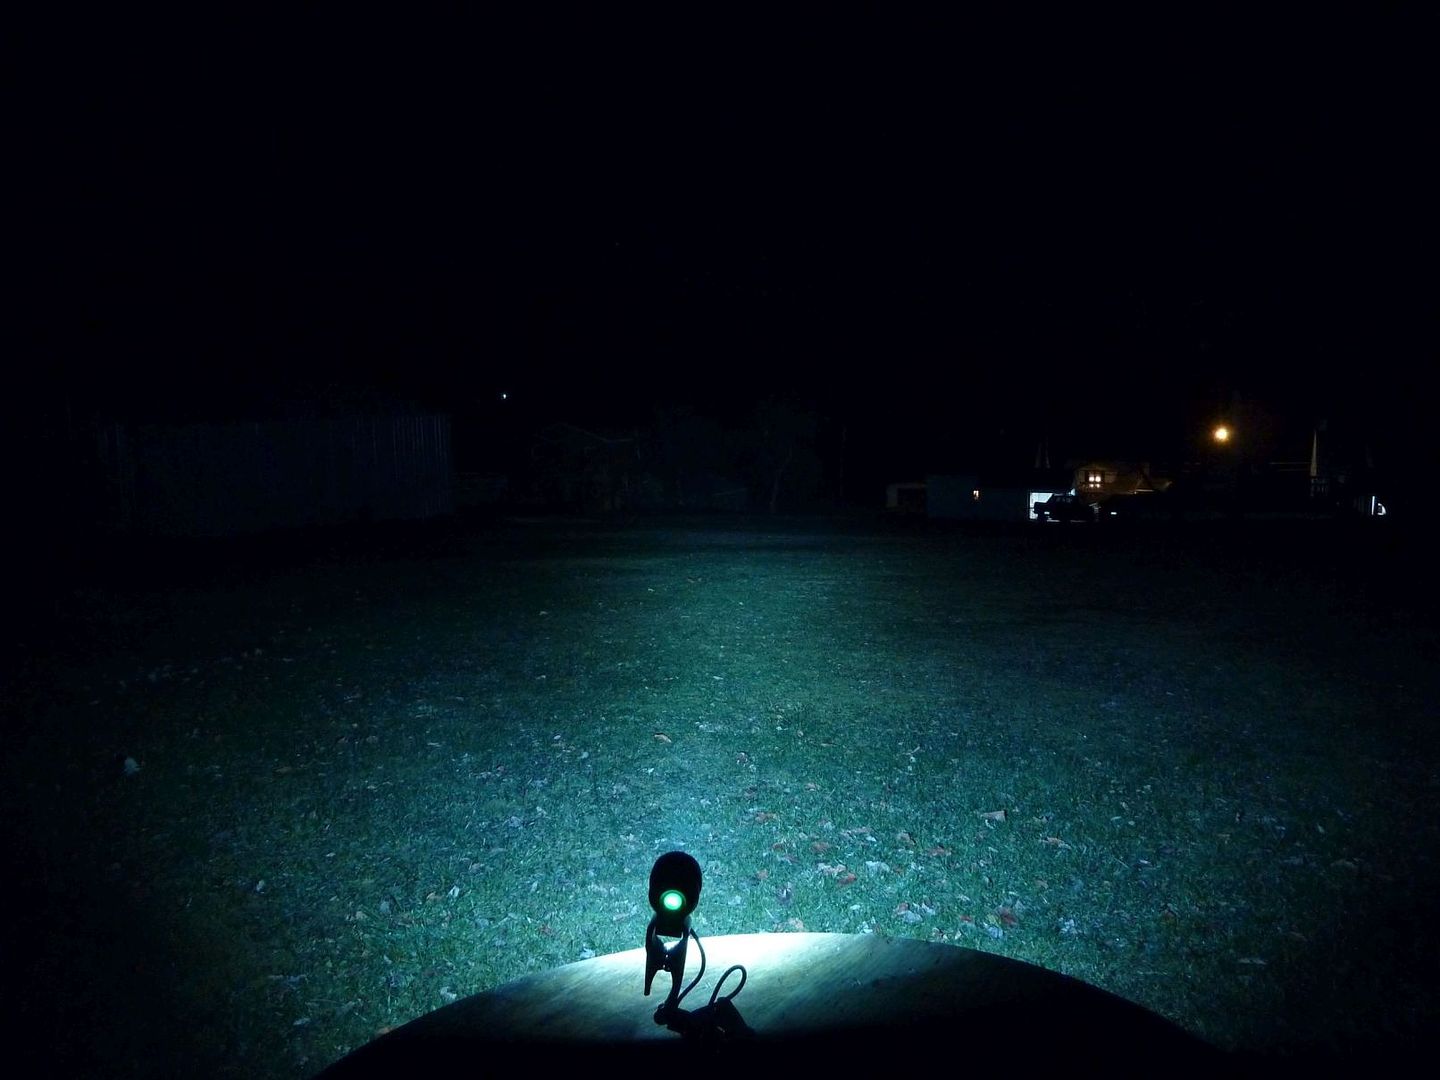
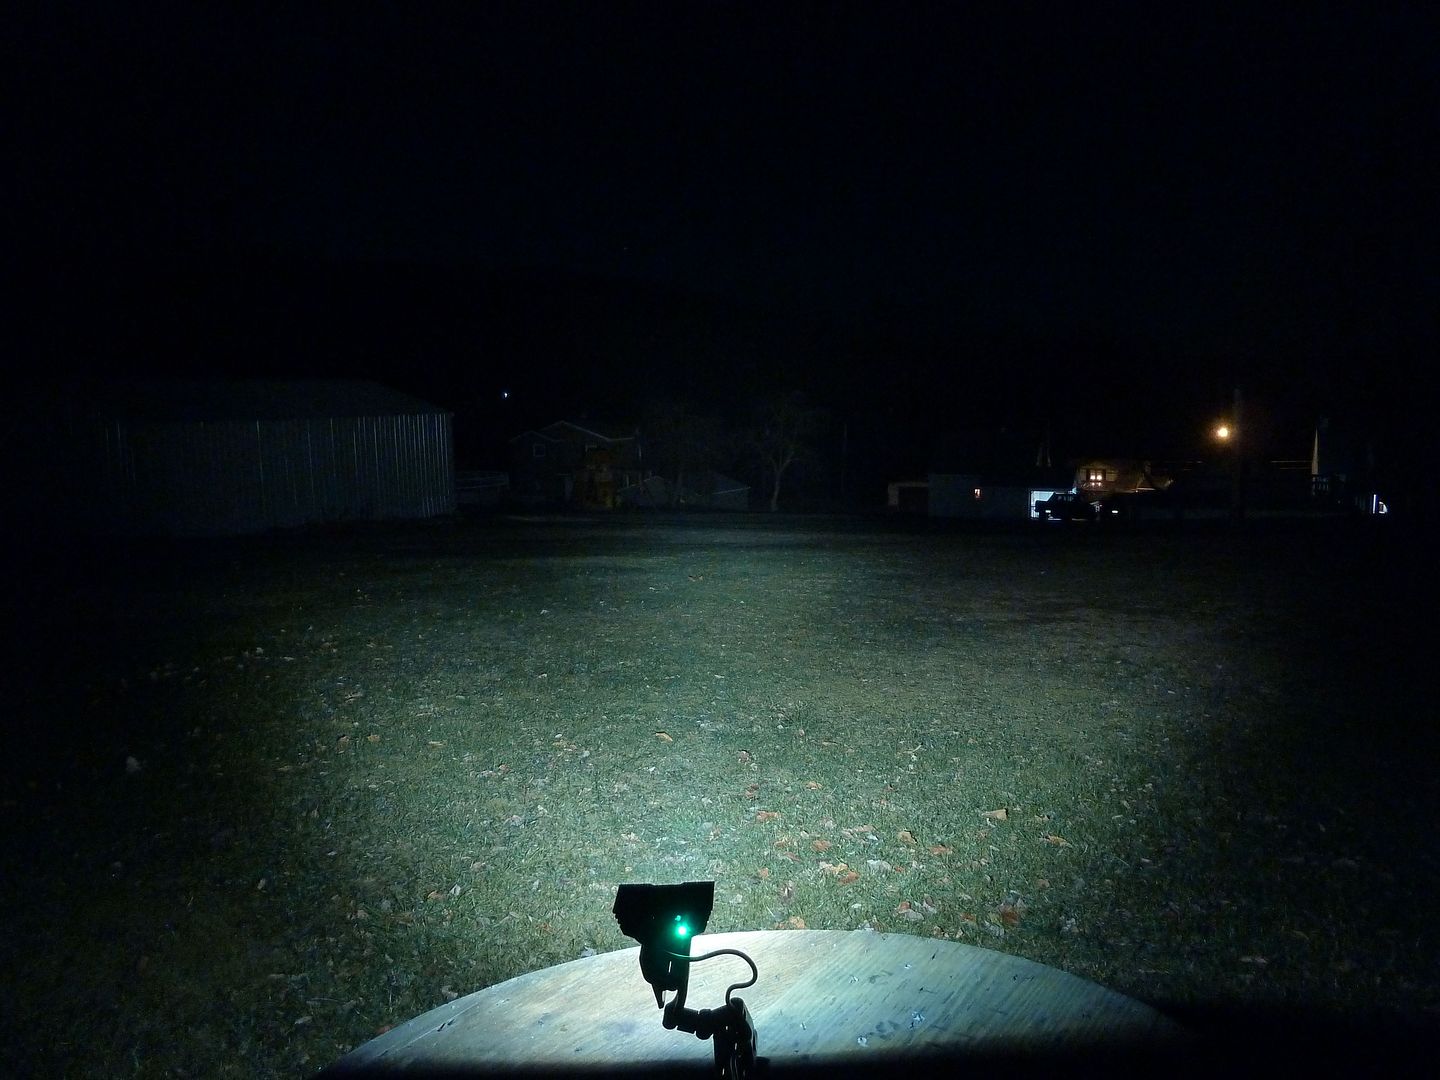
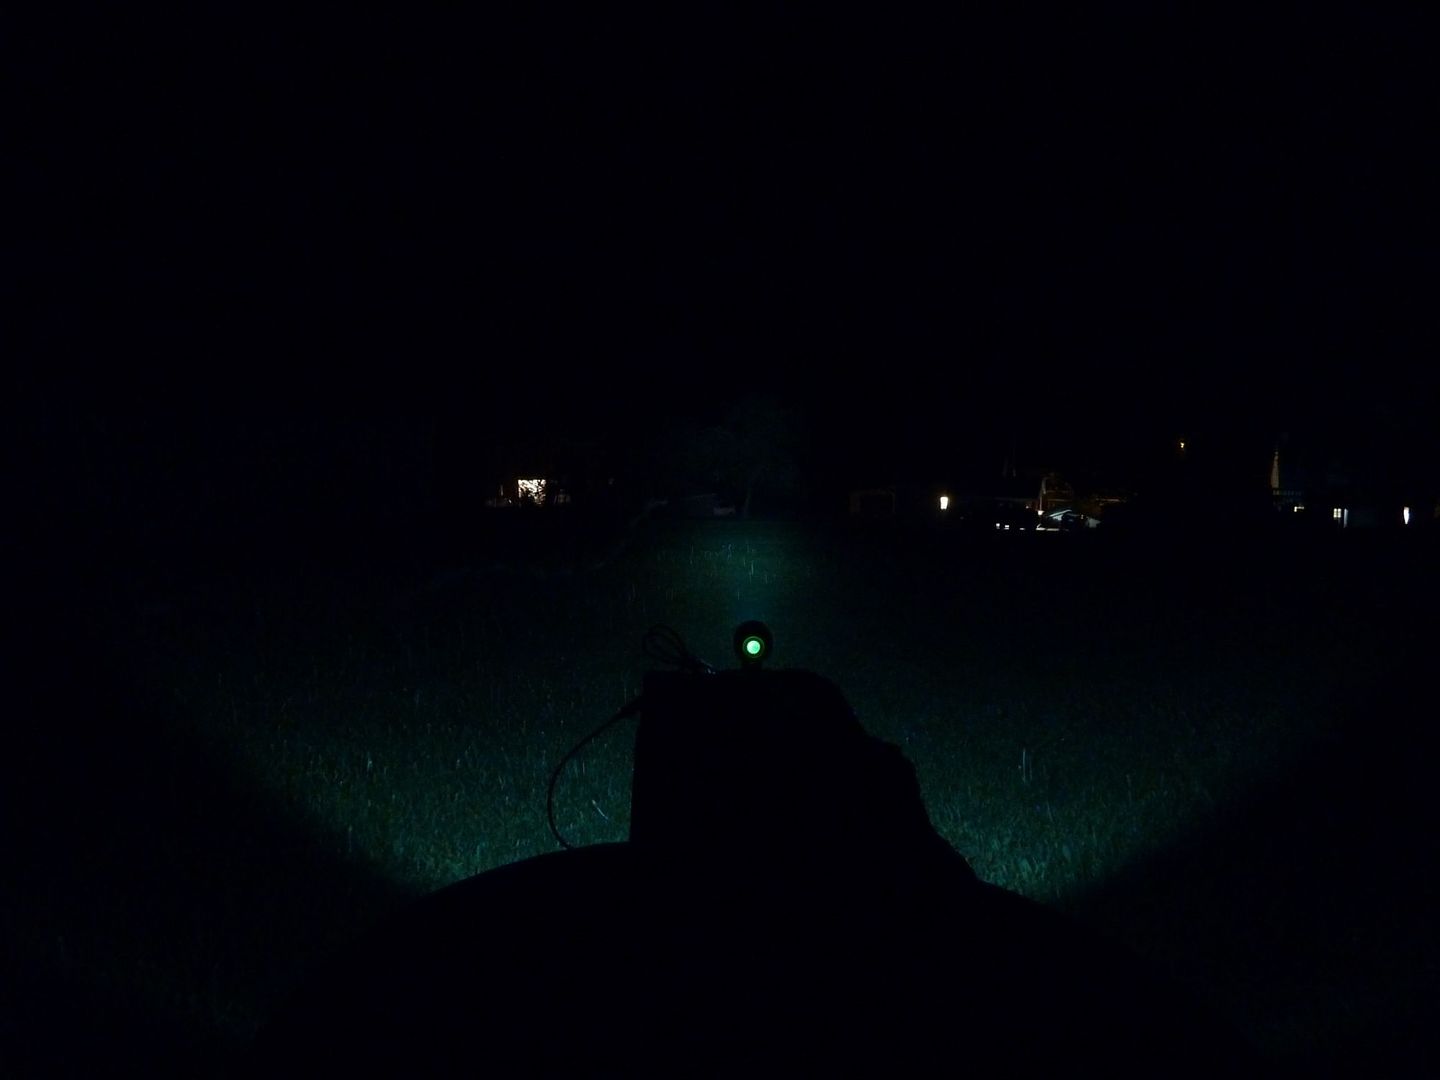
GB 3X on Low:
SSX3 on High:
SSX3 on Medium:
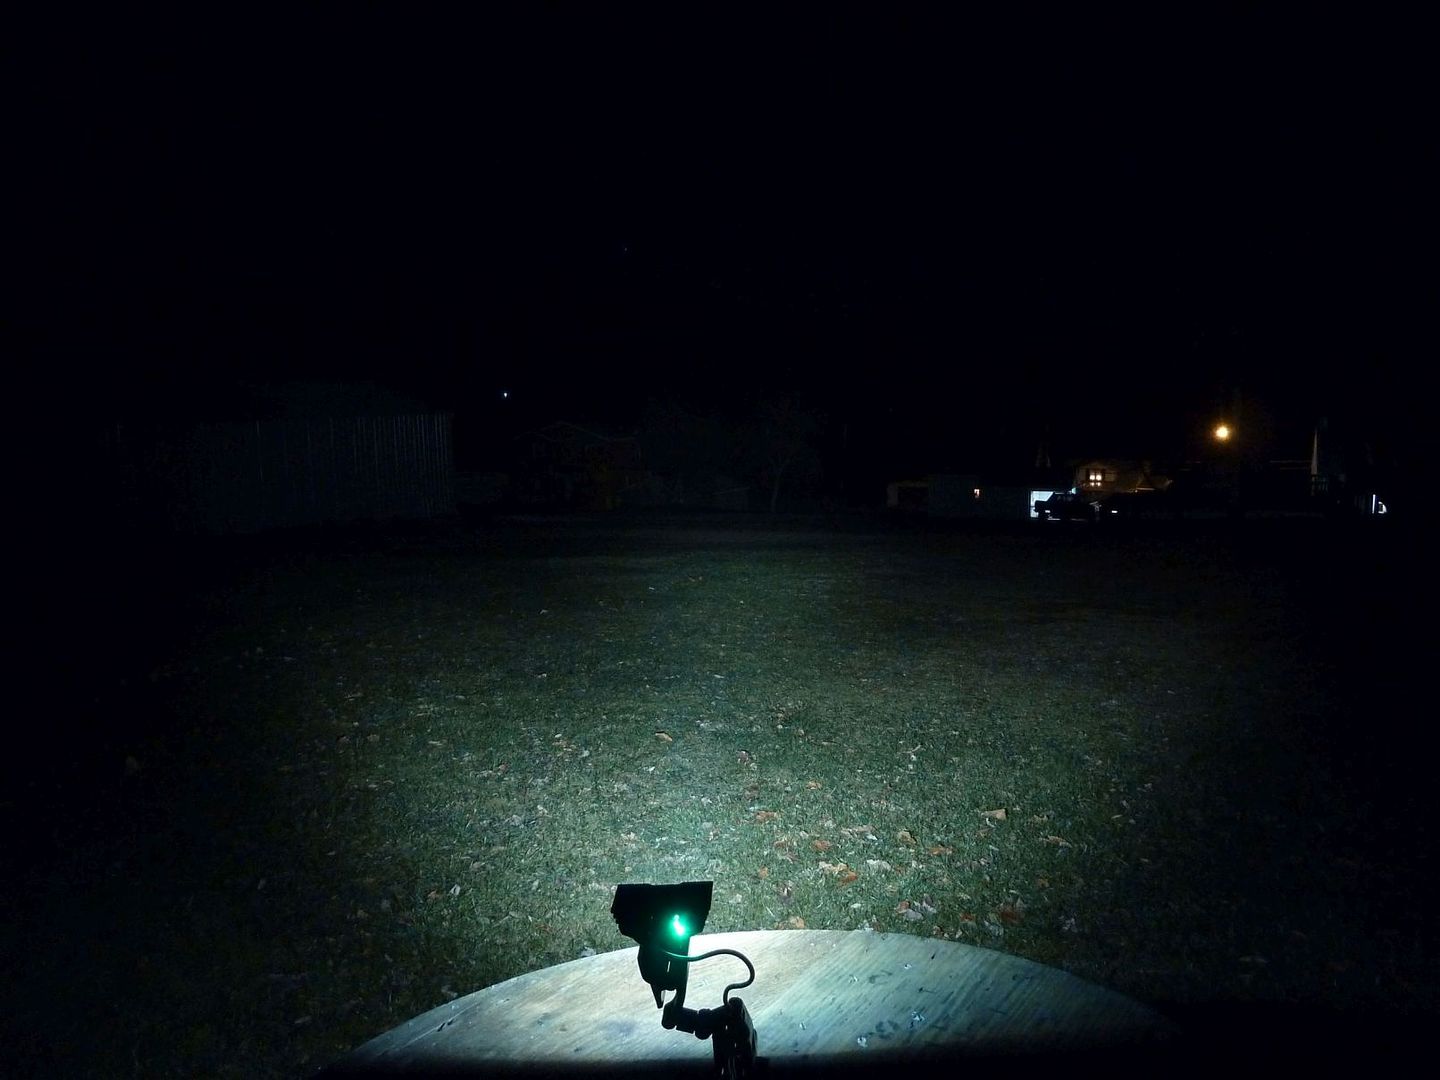
SSX3 on Low:
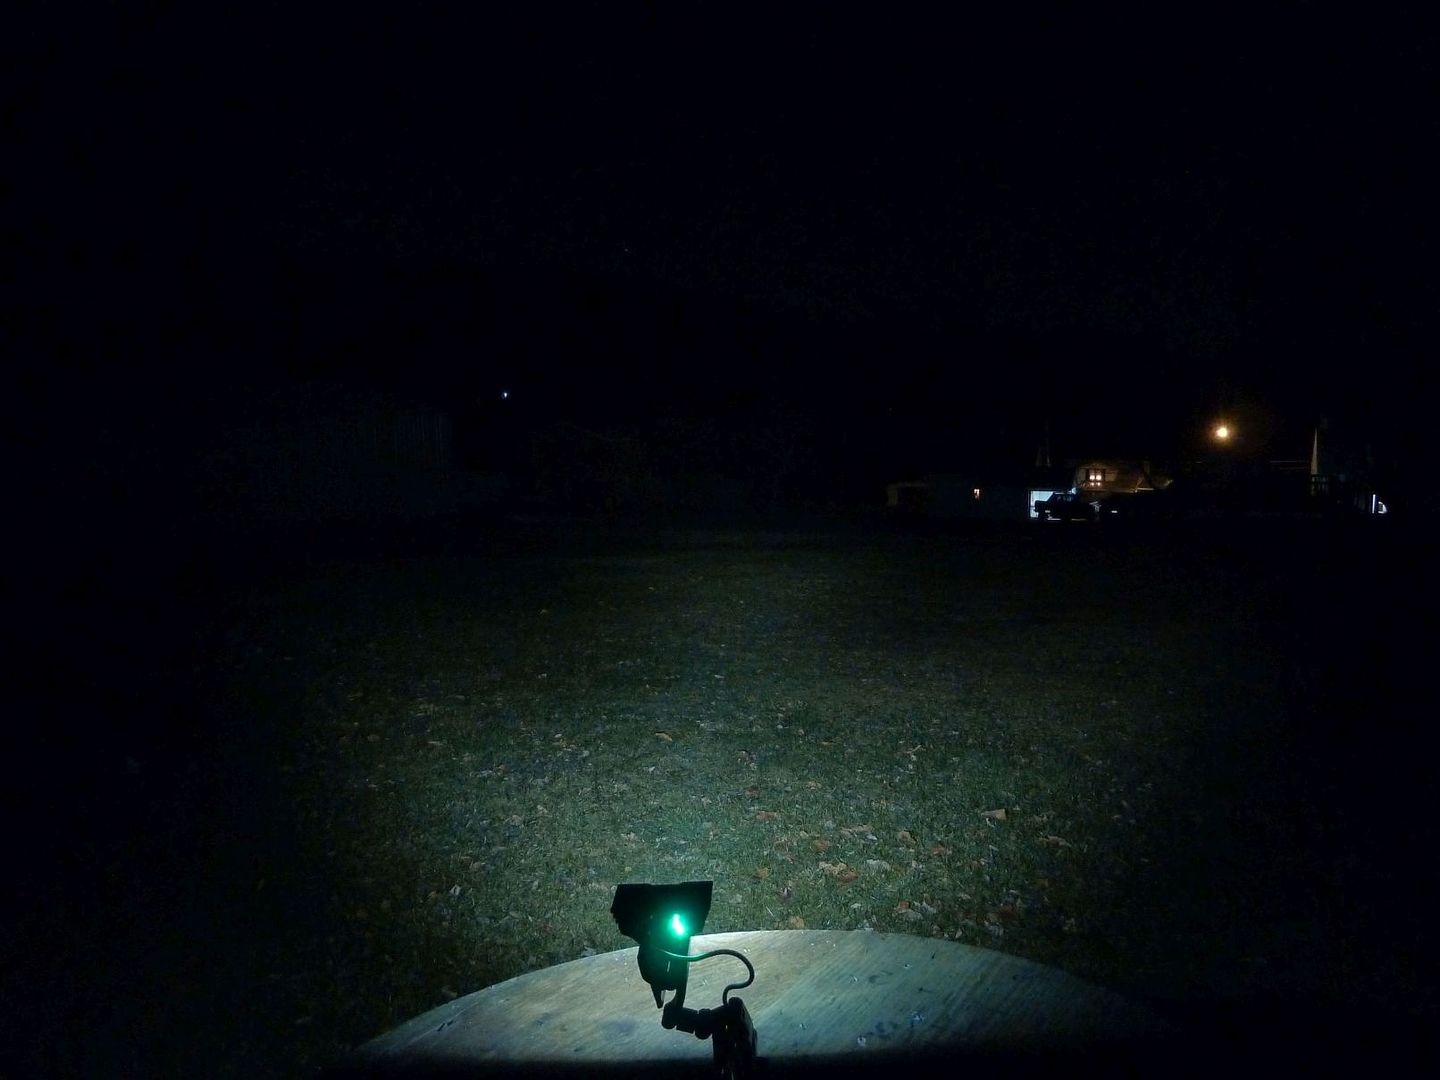
MS 808E Clone on High (These photos taken on a different date):
MS 808E Clone on Low:
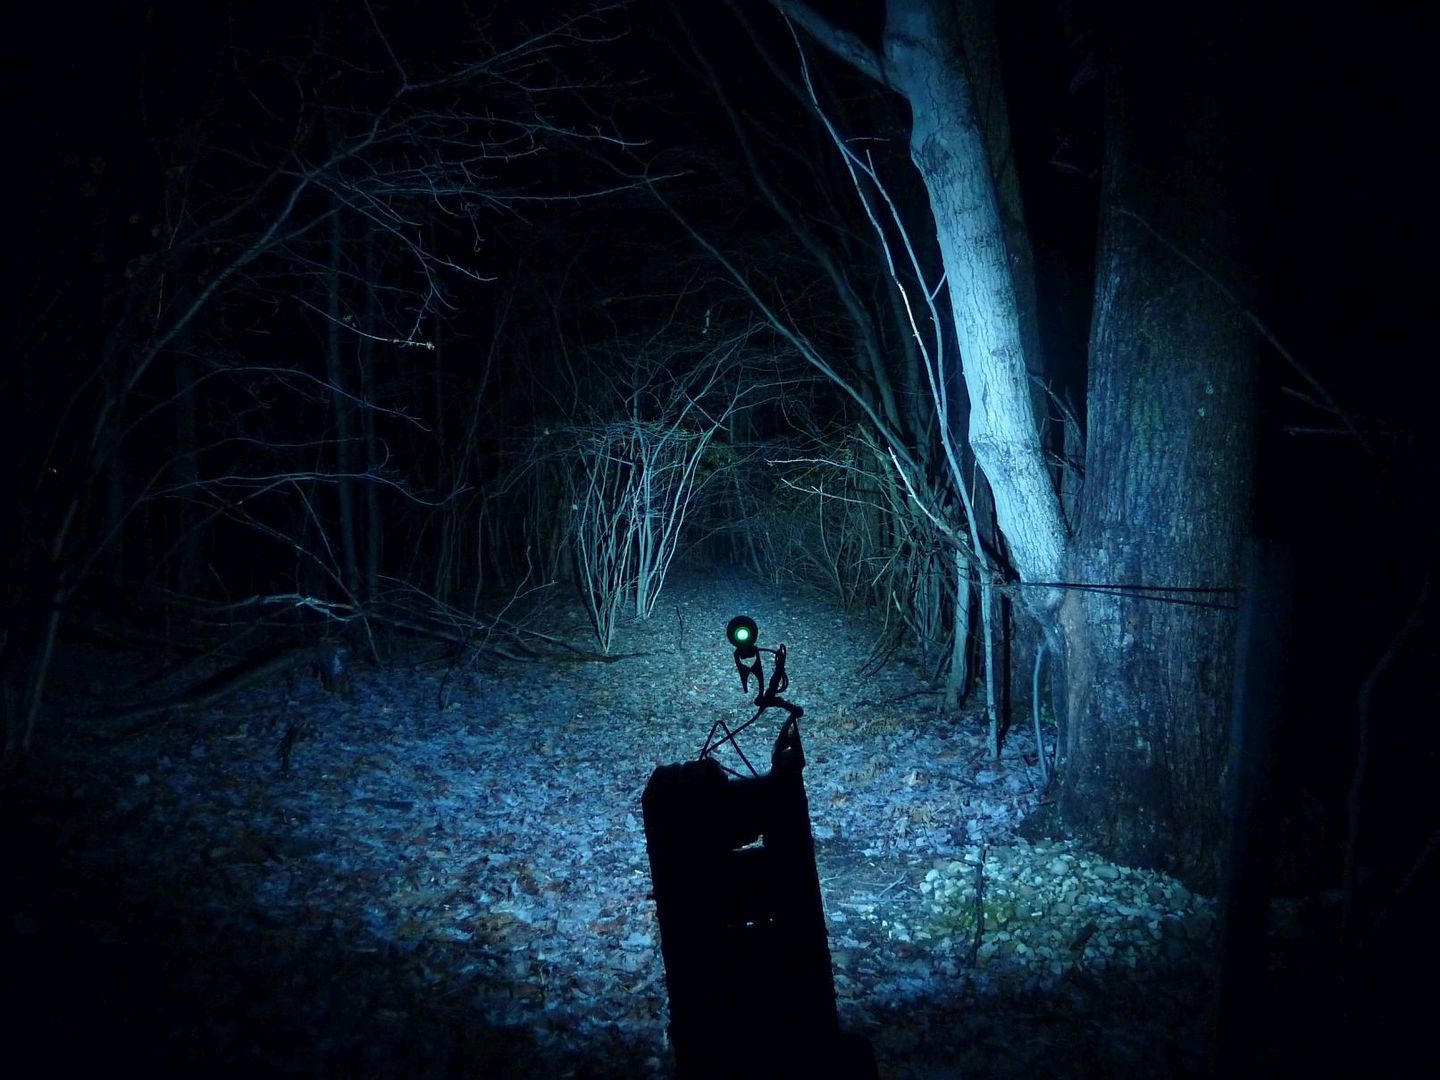
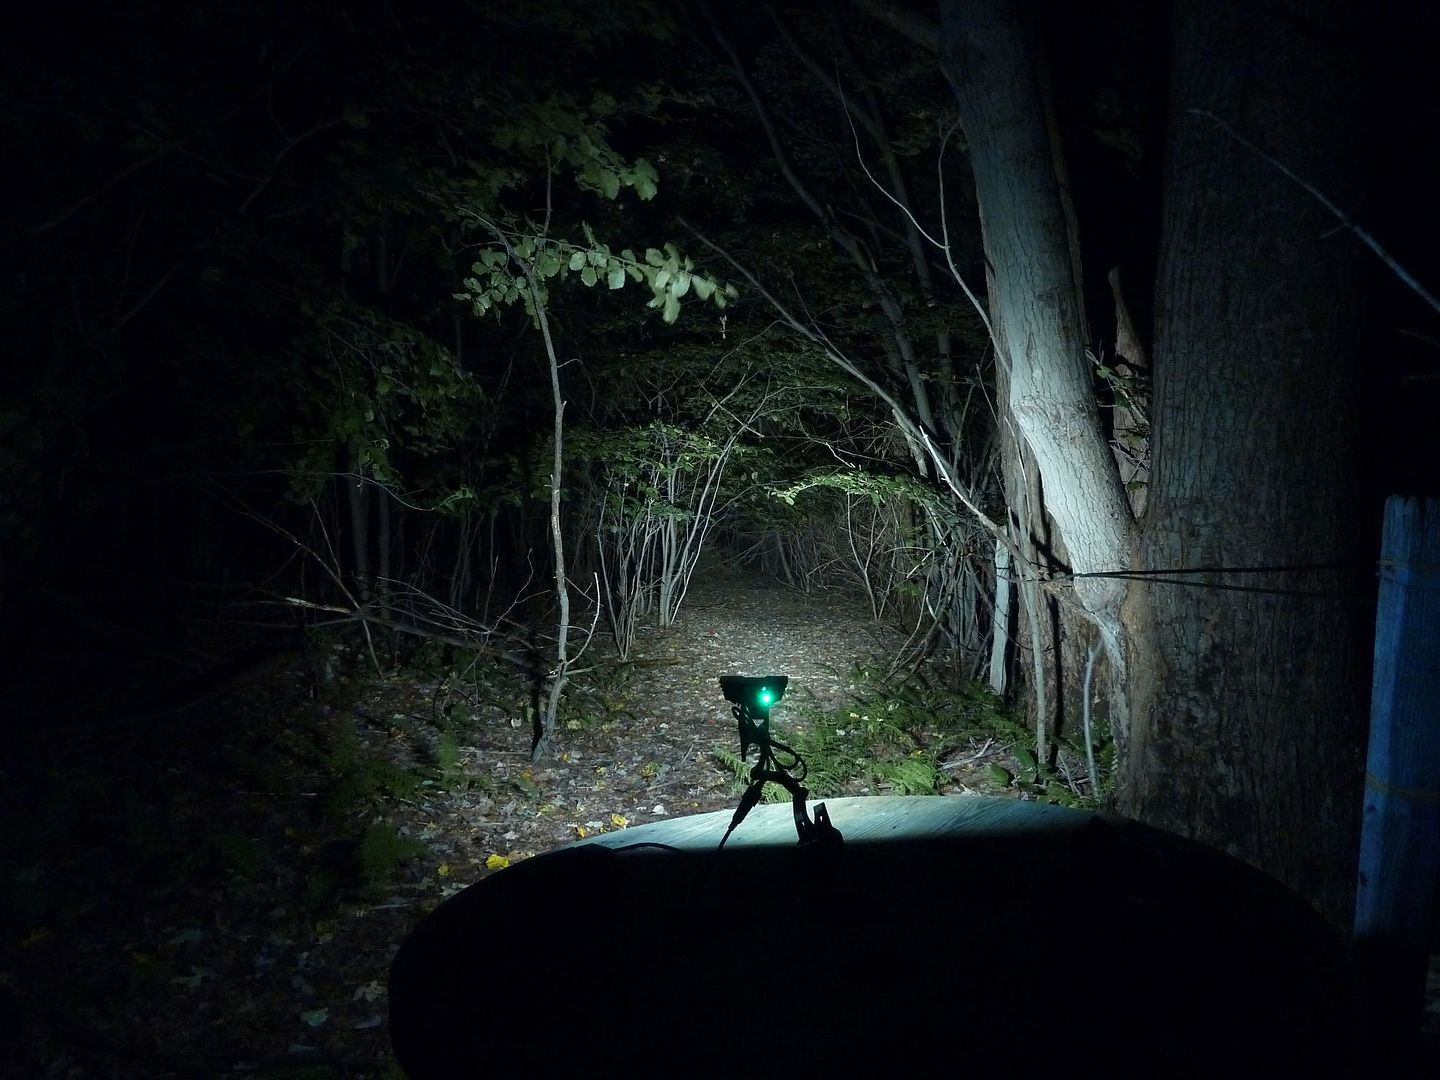
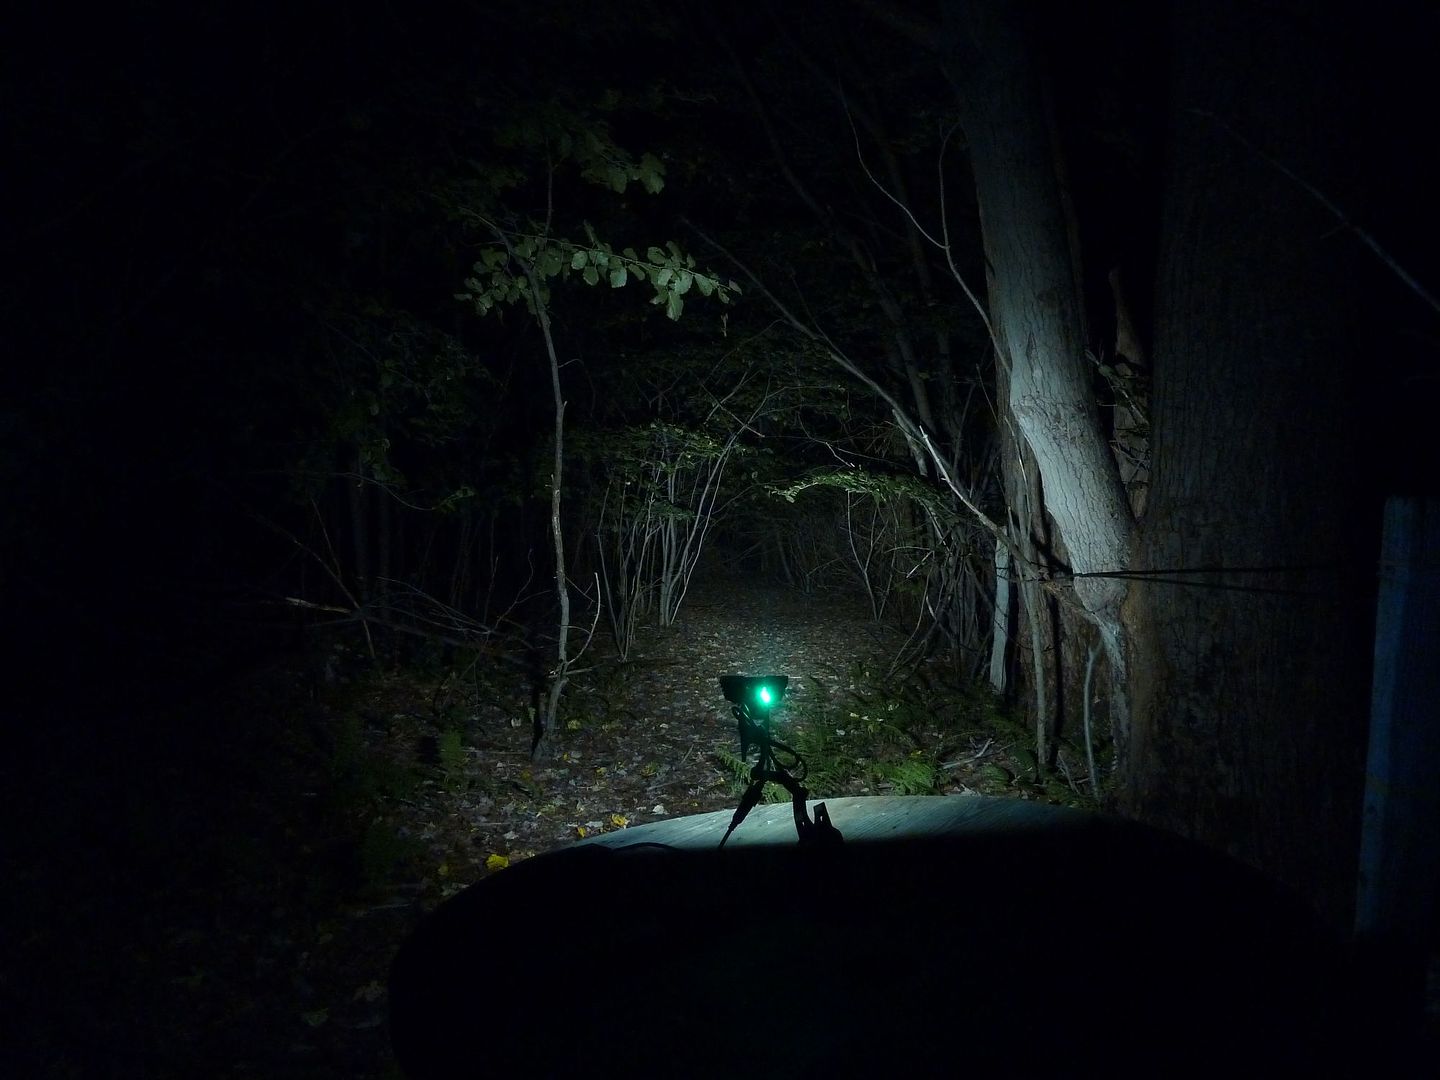
The following beamshots are taken on my simulated wooded trail, same camera settings.
GB 3X on High:
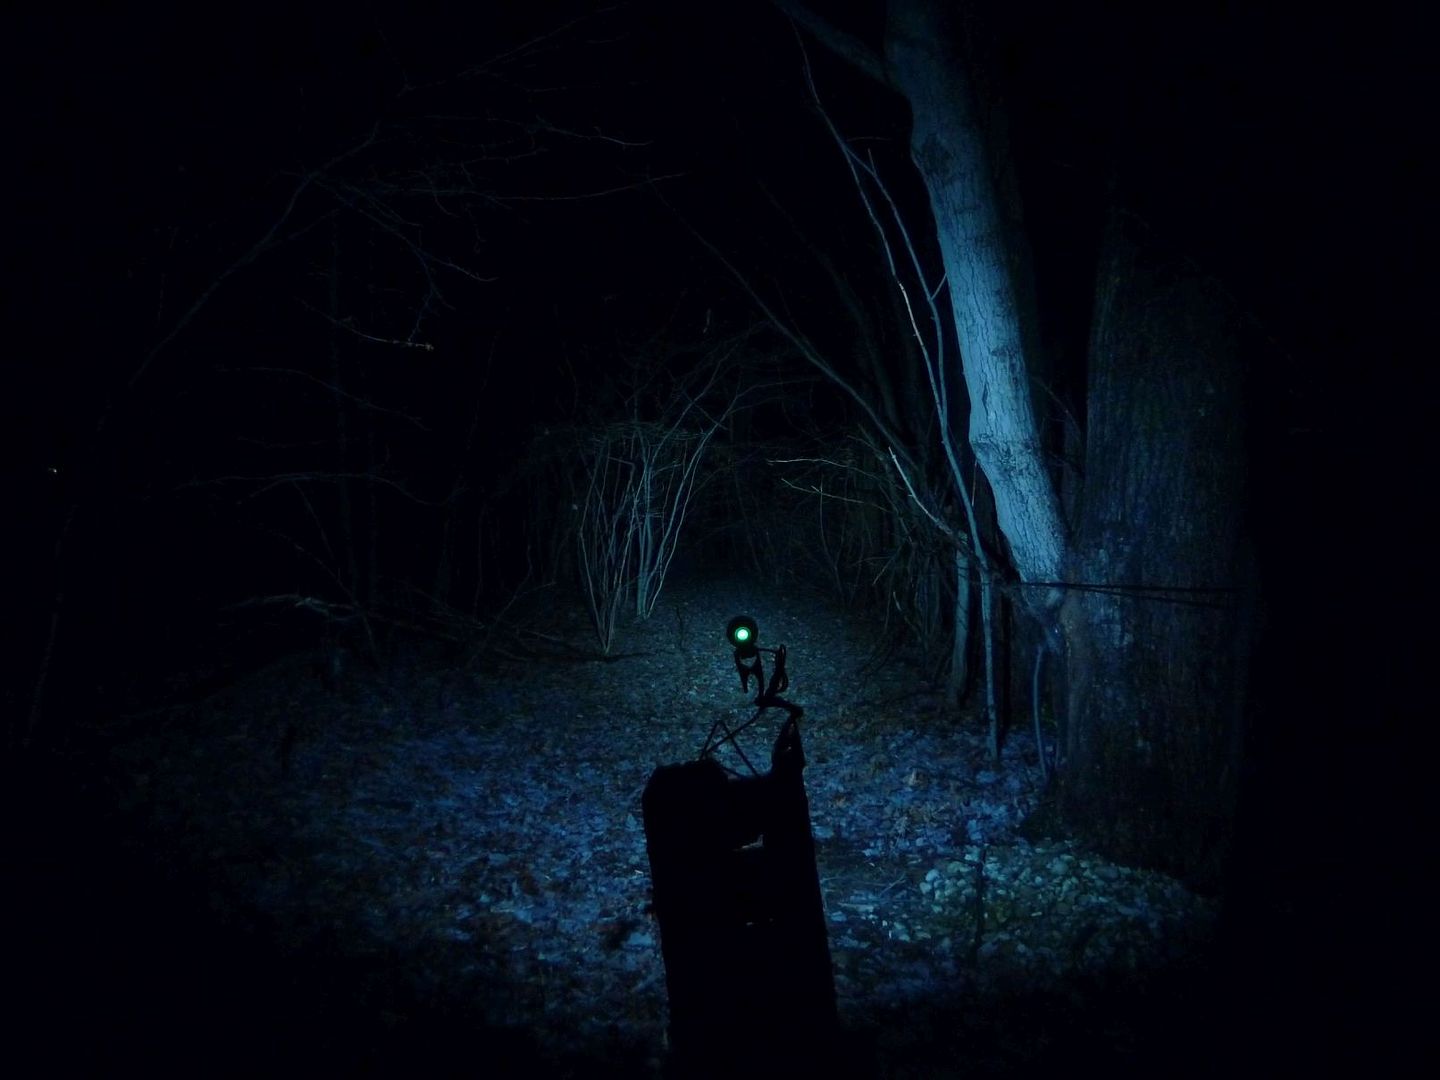
GB 3X on Low:
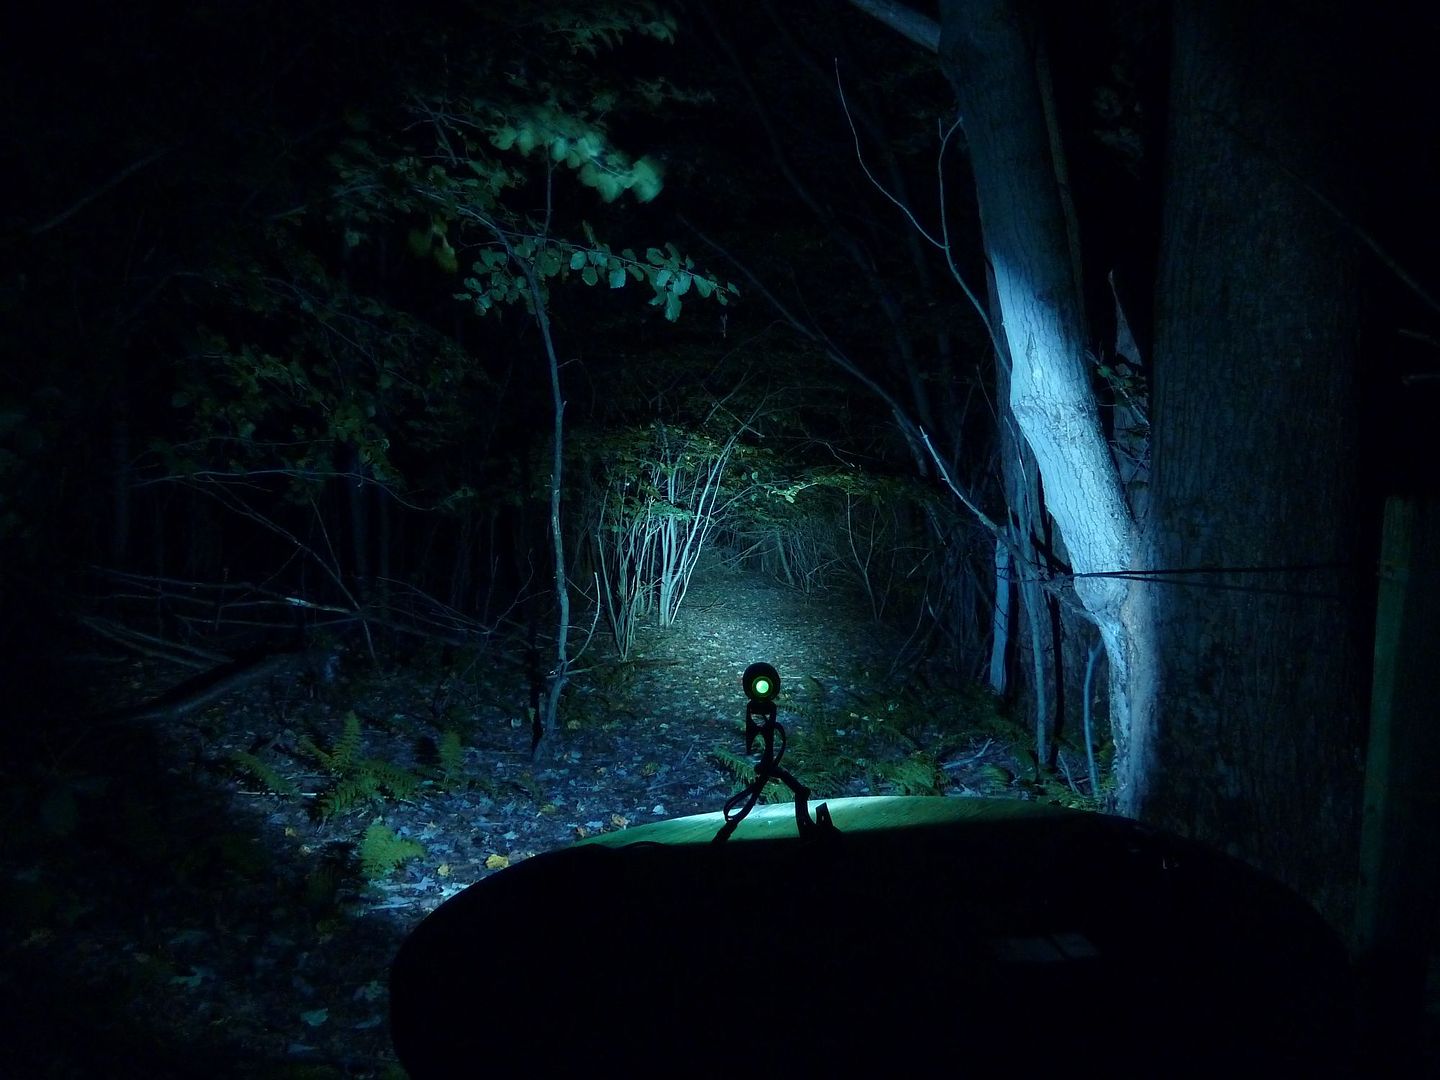
SSX3 on High:

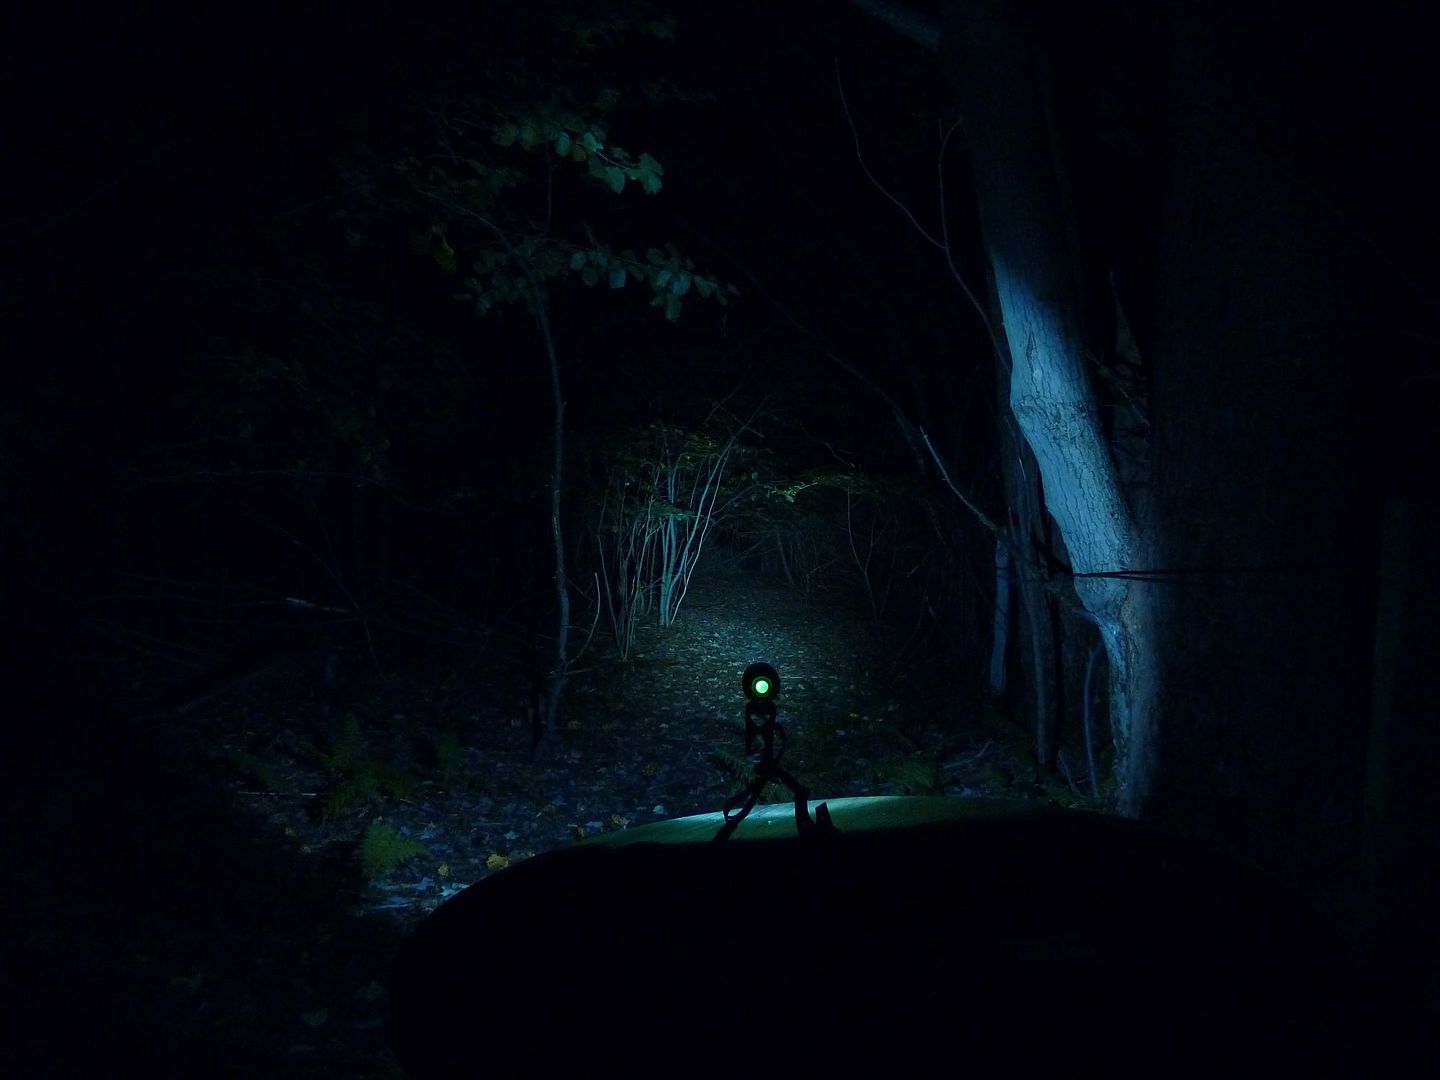
SSX3 on Medium:
SSX3 on Low:
MS 808E Clone on High:
MS 808E Clone on Low:
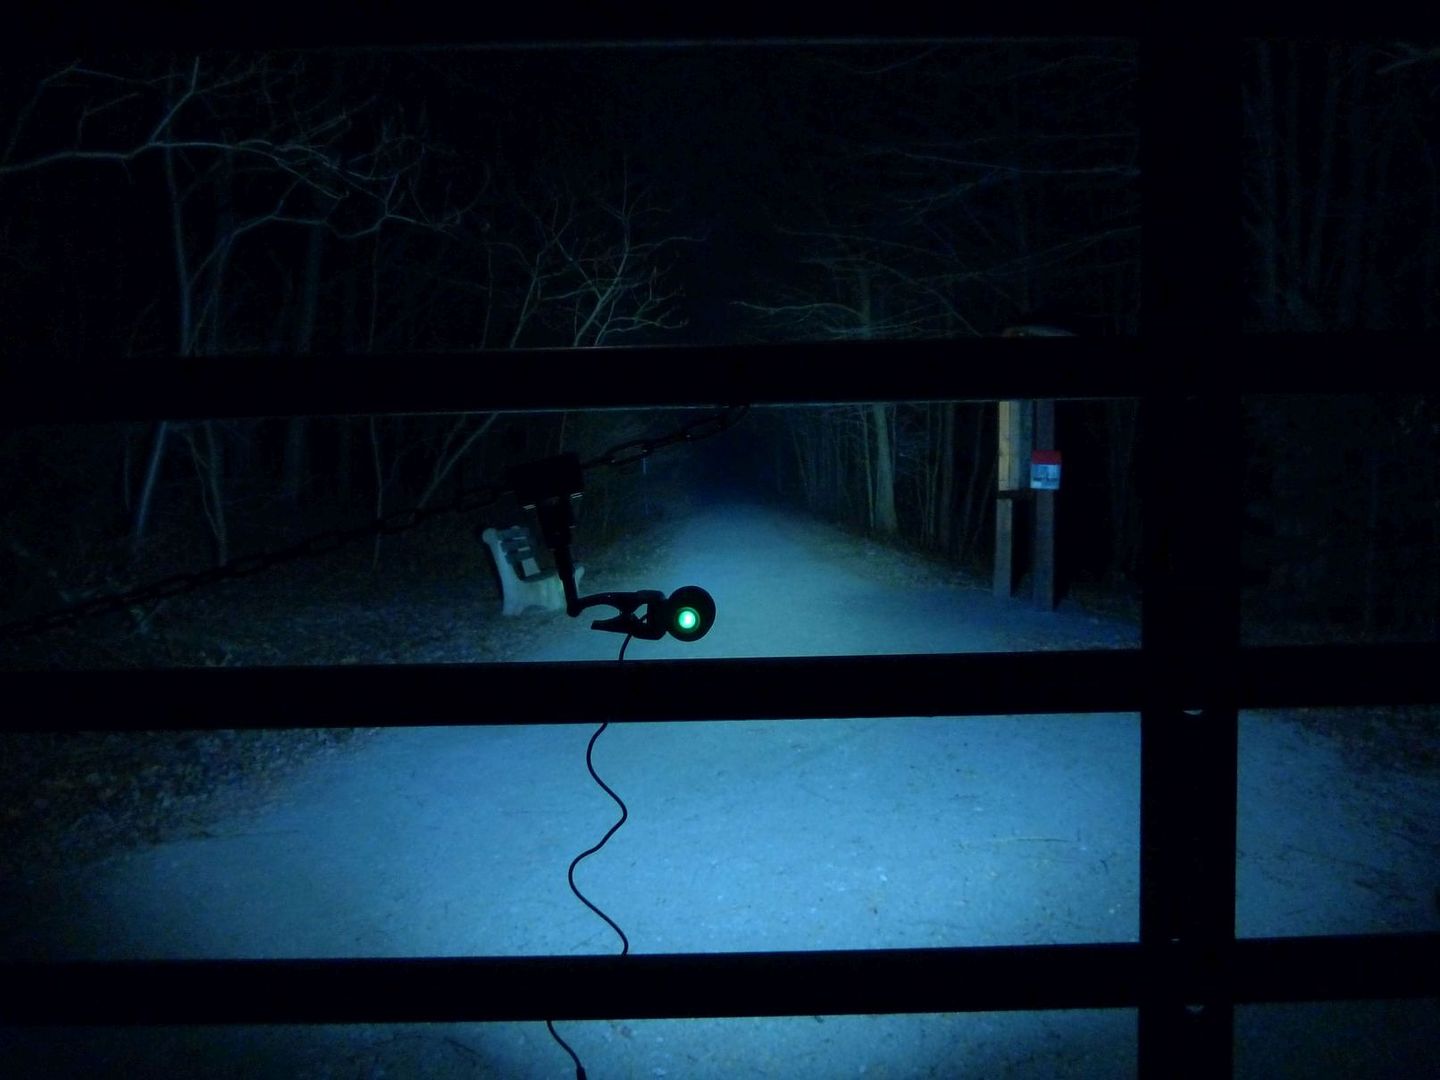
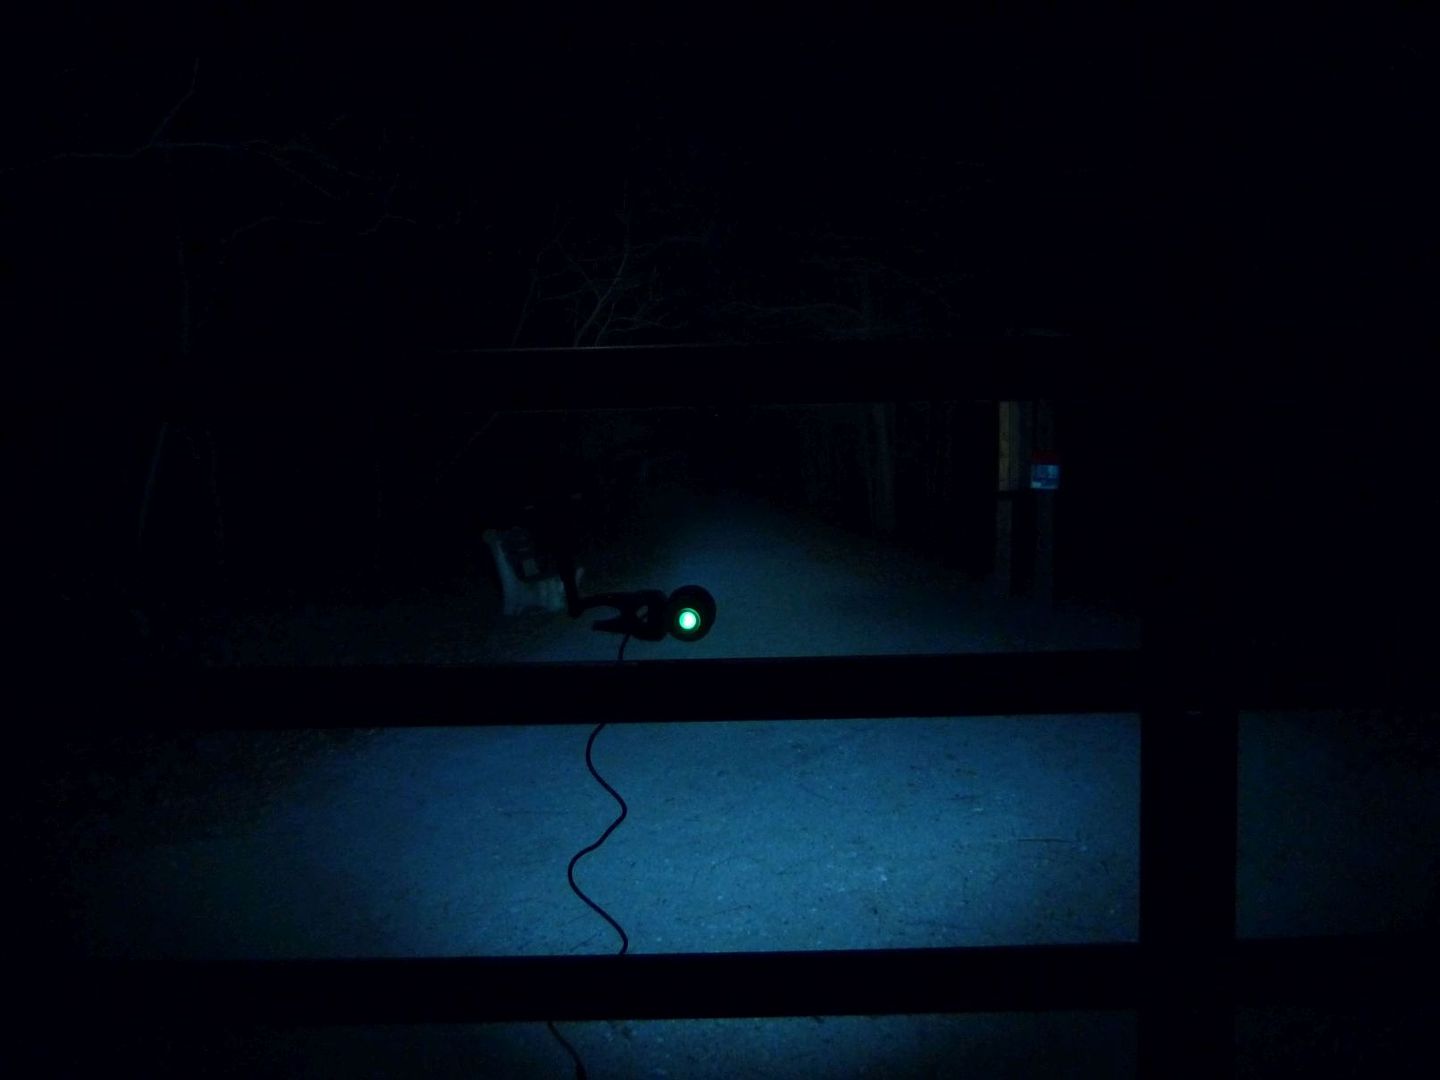
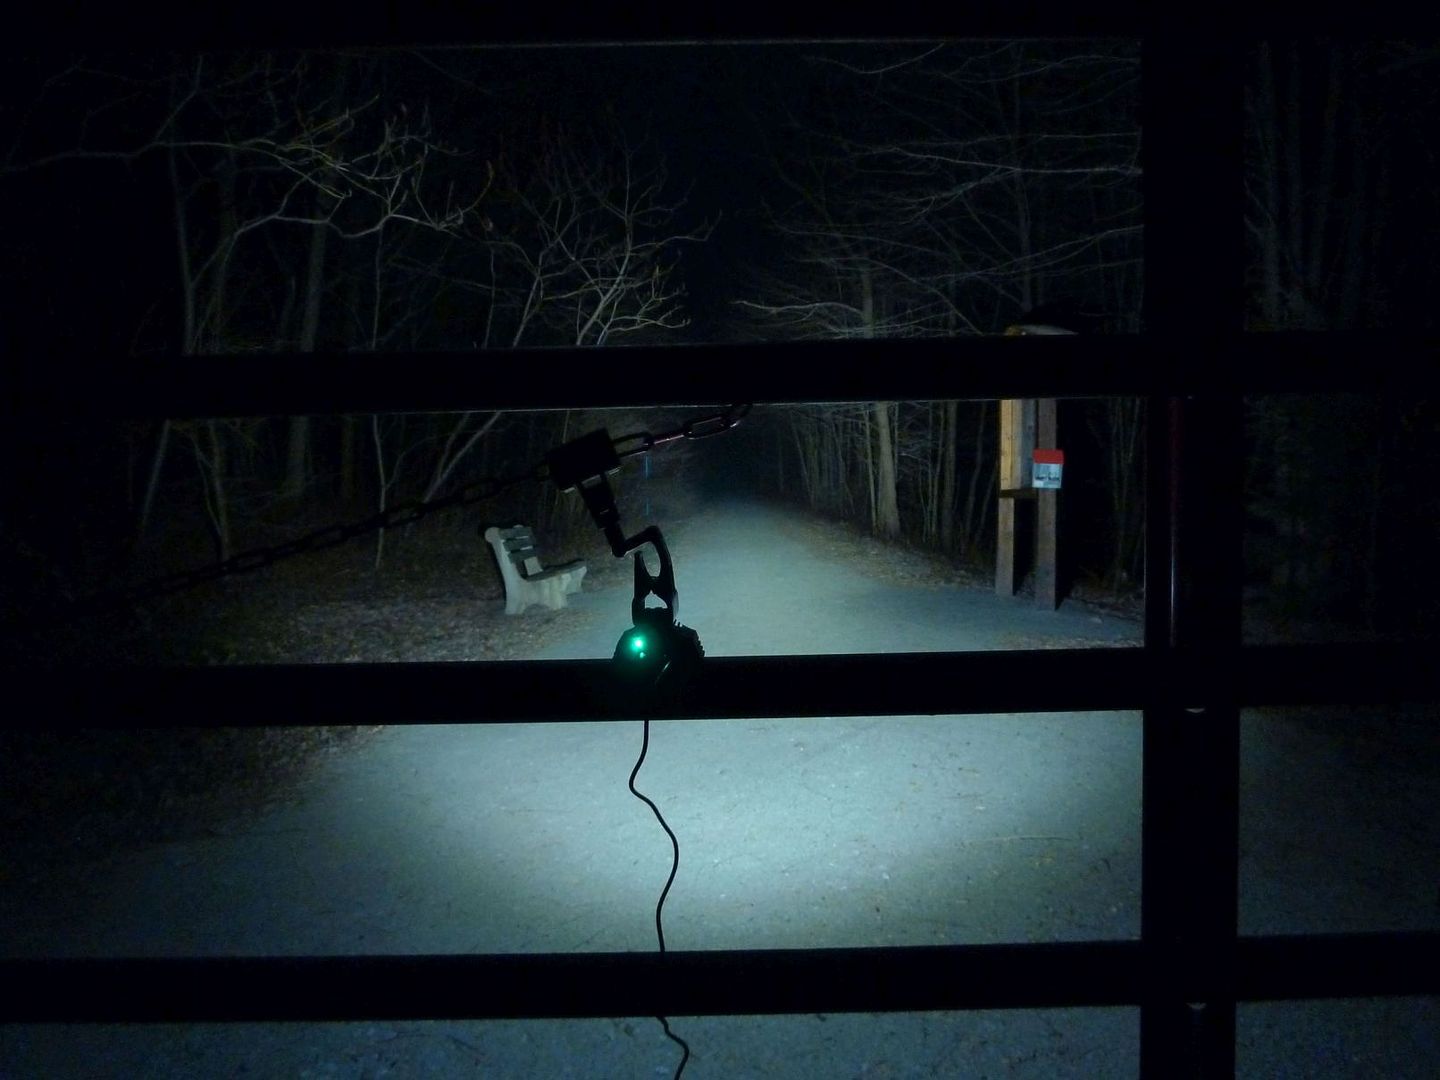
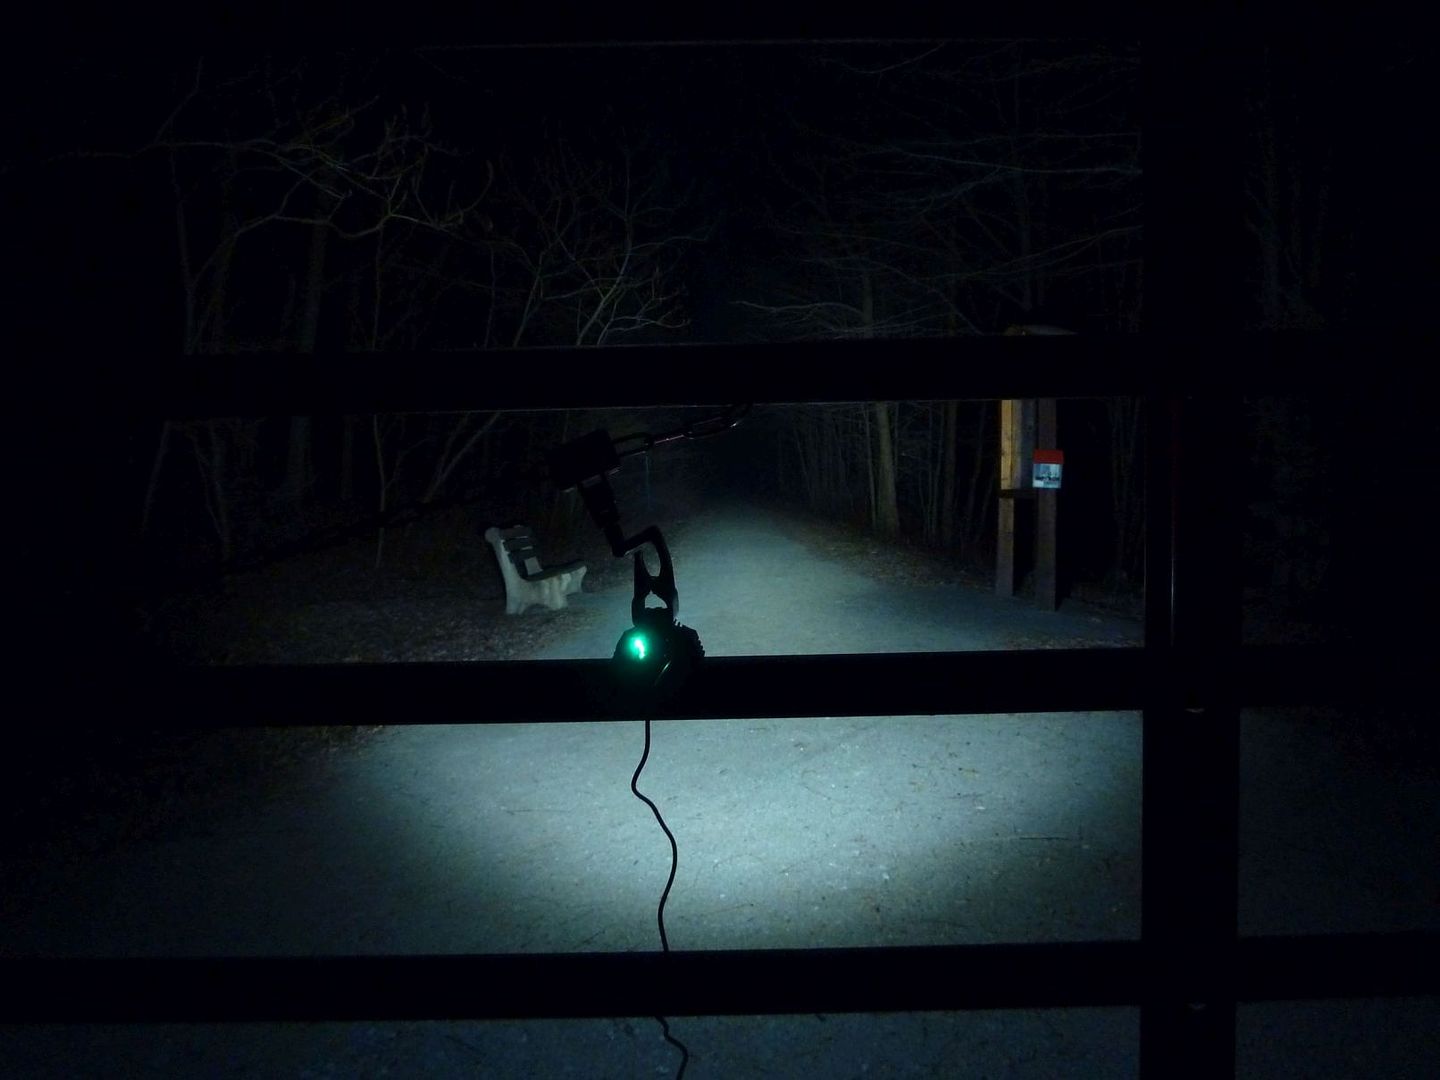
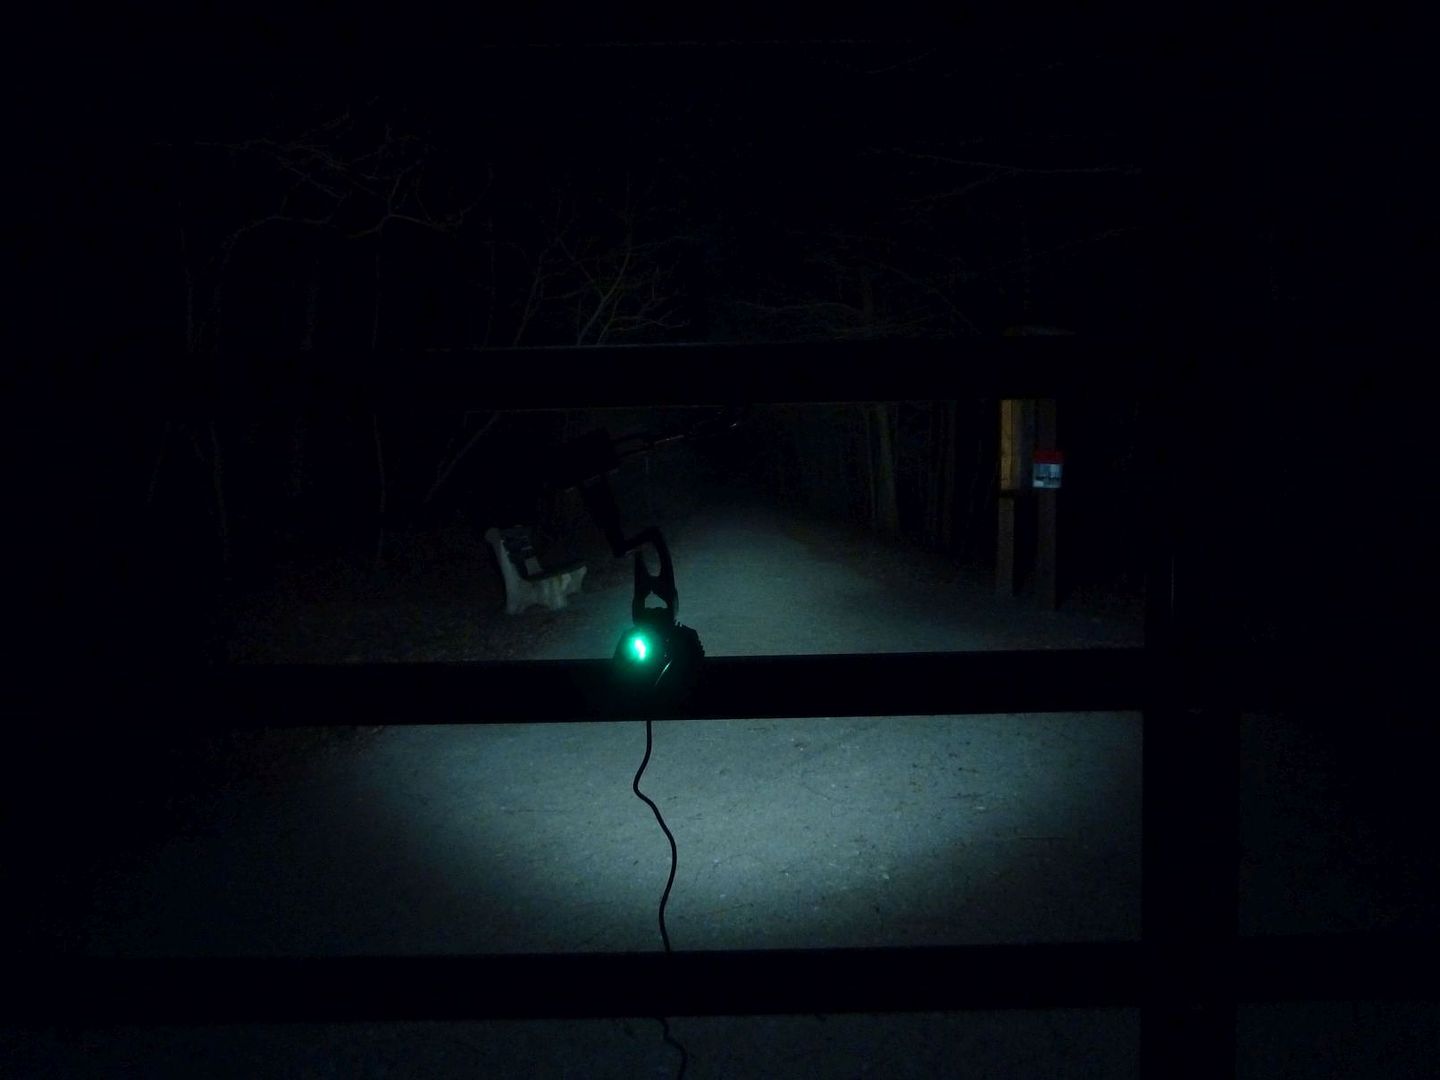
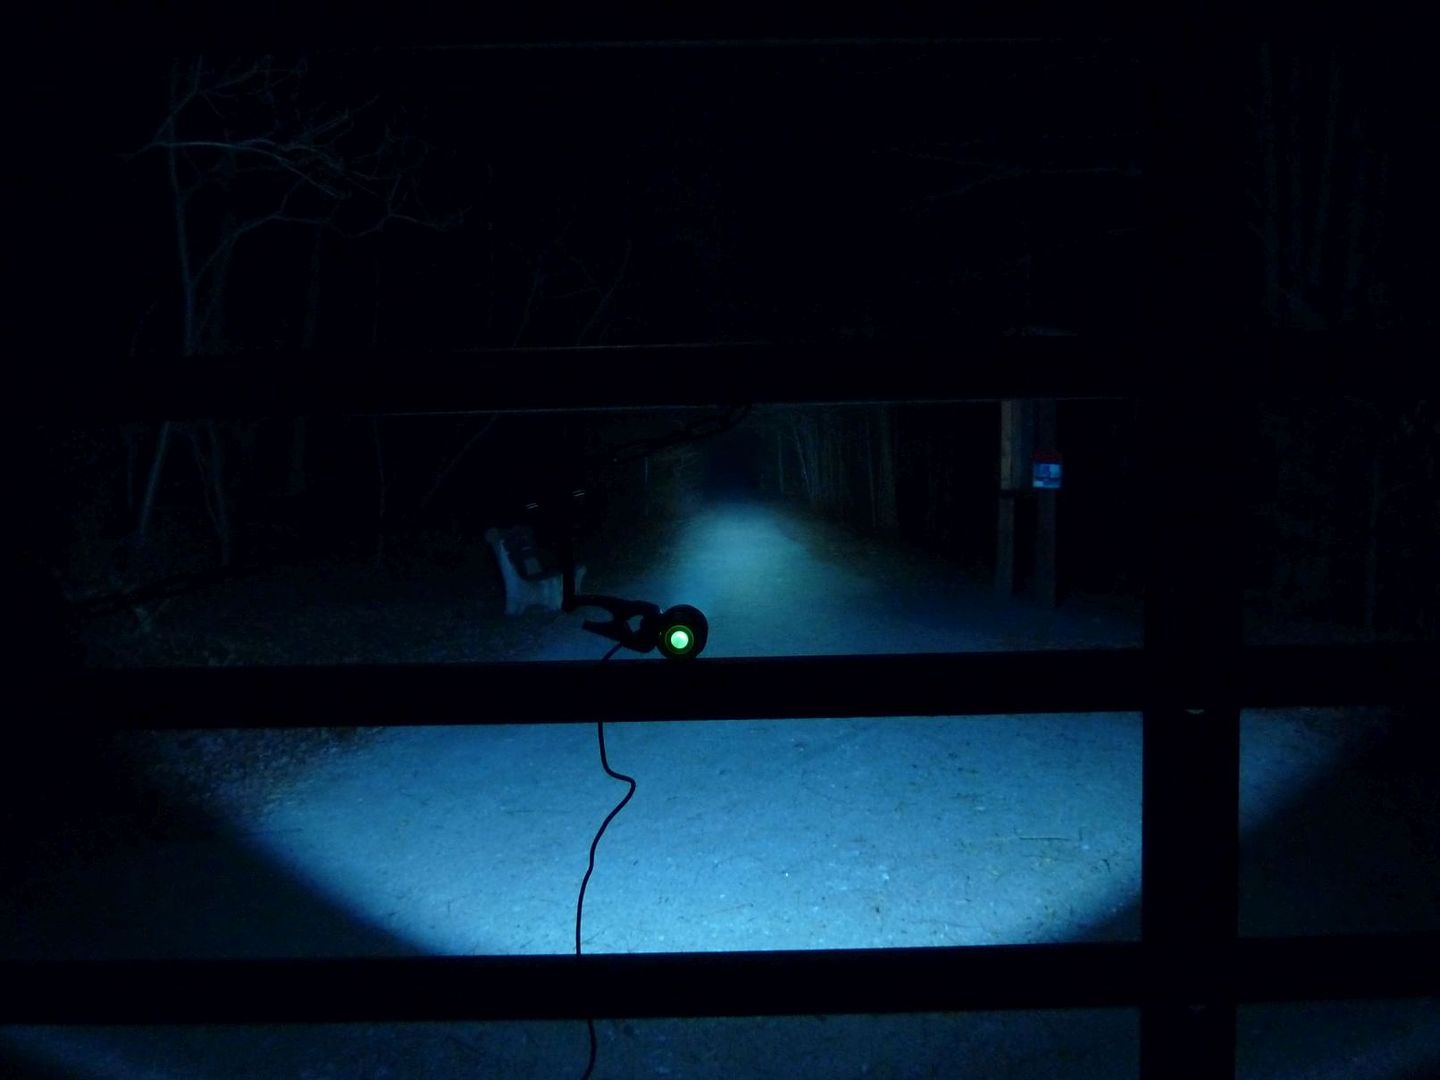
And these last set of beamshots are on the local rail trail. I had to use the gate to hold the lights for the shots but then realized I had to backup to get the full width of the beam thereby getting the gate in the shot (I’m going to have to plan these shots better in the future).
GB 3X on High:
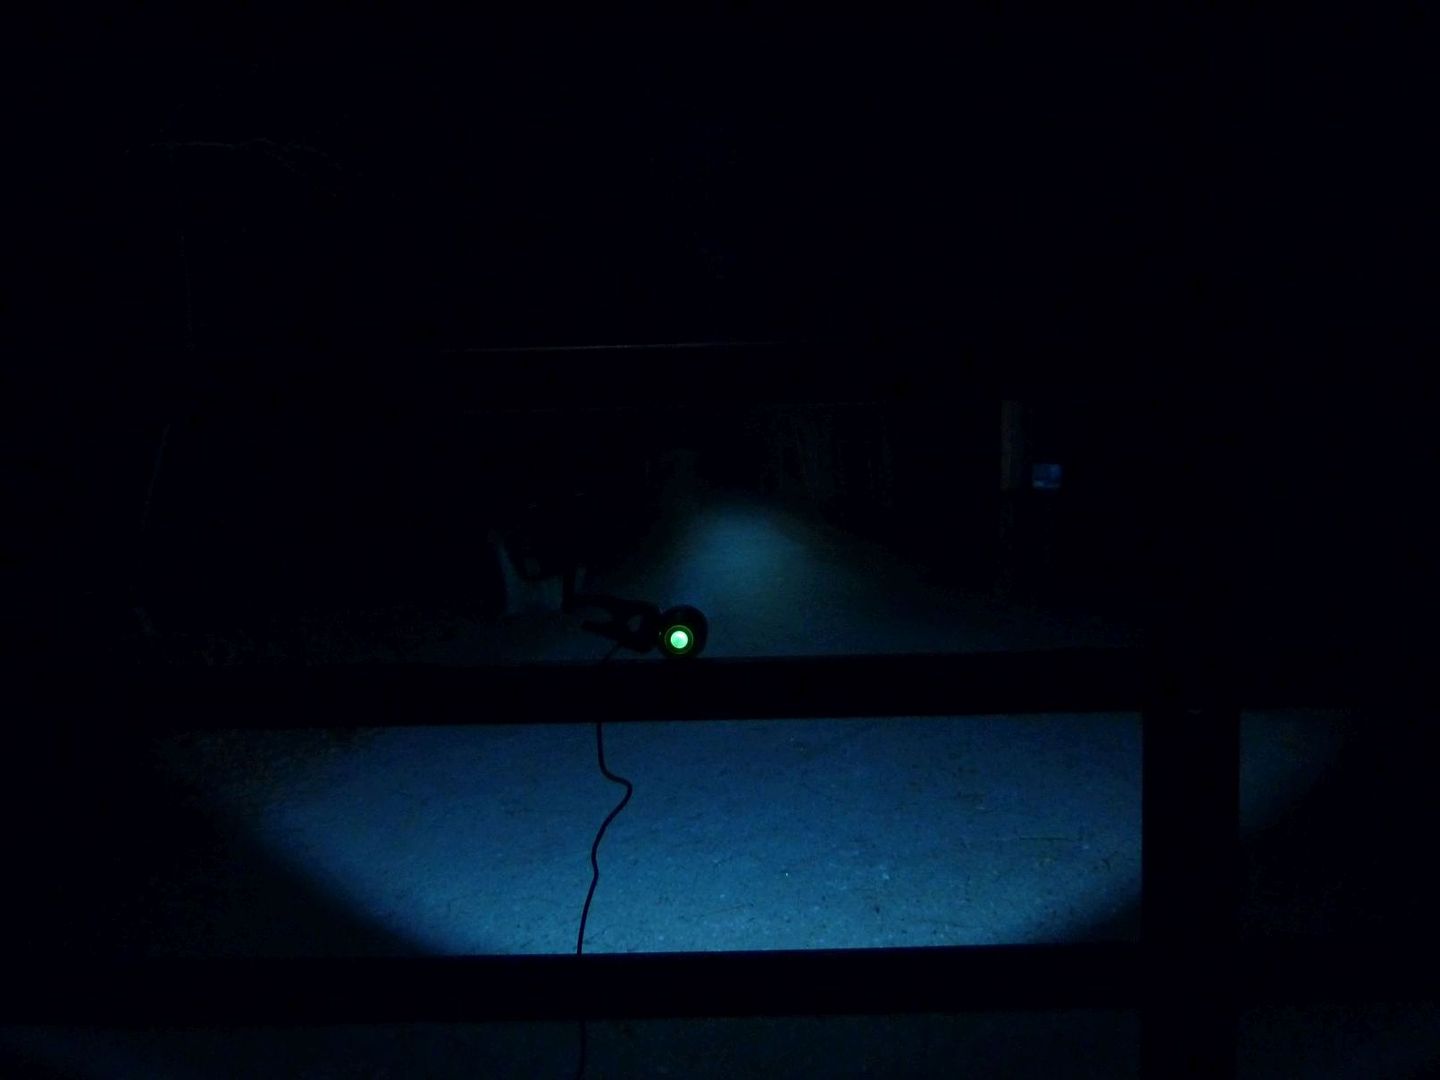
GB 3X on Low:
SSX3 on High:
SSX3 on Medium:
SSX3 on Low:
MS 808E Clone on High:
MS 808E Clone on Low:
Thermal Testing:
I set the light on high without a fan for quite a while to check how it handled the heat. I was very impressed! This was prior to adding thermal compound under the emitter or on the pill seats. After 6 minutes the body started to get warm. By 8 minutes the head was getting hot (not too hot to hold though. By 12 minutes it was very hot (still able to touch/hold). By 18 minutes it was getting very hot and uncomfortable to hold. At 21 minutes I decided to discontinue testing as it was getting too hot to allow it to go on any longer. I then turned a small fan on low and it cooled right down. I believe the light would receive enough passing air while riding a bike to keep it cool in use. Even if you stopped for +/- 15 minutes you’d be fine leaving it on high (though I myself would change it to low mode).
These results surprised me, as the pill barely makes contact to the body. For those that don’t understand, the fact that the body gets hot is a good sign as it means the heat is being transferred away from the LED and out to the surface. One negative conclusion from this though, there doesn’t appear to be any thermal protection, or at least it never kicked in.
After adding thermal compound under the emitter pcb and at the pill to body contact areas (“pill seats”) my results didn’t change too much. It did heat up slightly faster reaching the “too hot to continue” mark at 15 minutes. At the 15 minute mark I used a temperature probe to check some temps. I found the following:
Middle of body: 96°F
Rear of body: 102°F
Front of body: 98°F
At glass: 100°F
Runtime Testing:
When I charged up the battery to do the runtime test I was only able to bring it up to 7.95v, even after trying another good charger. (I found out why, more on this later in the battery teardown section.) So my runtime test started with the battery at 7.95v. I only tested runtime with the stock battery pack and with a small fan for cooling. Here is a pic of my testing setup:
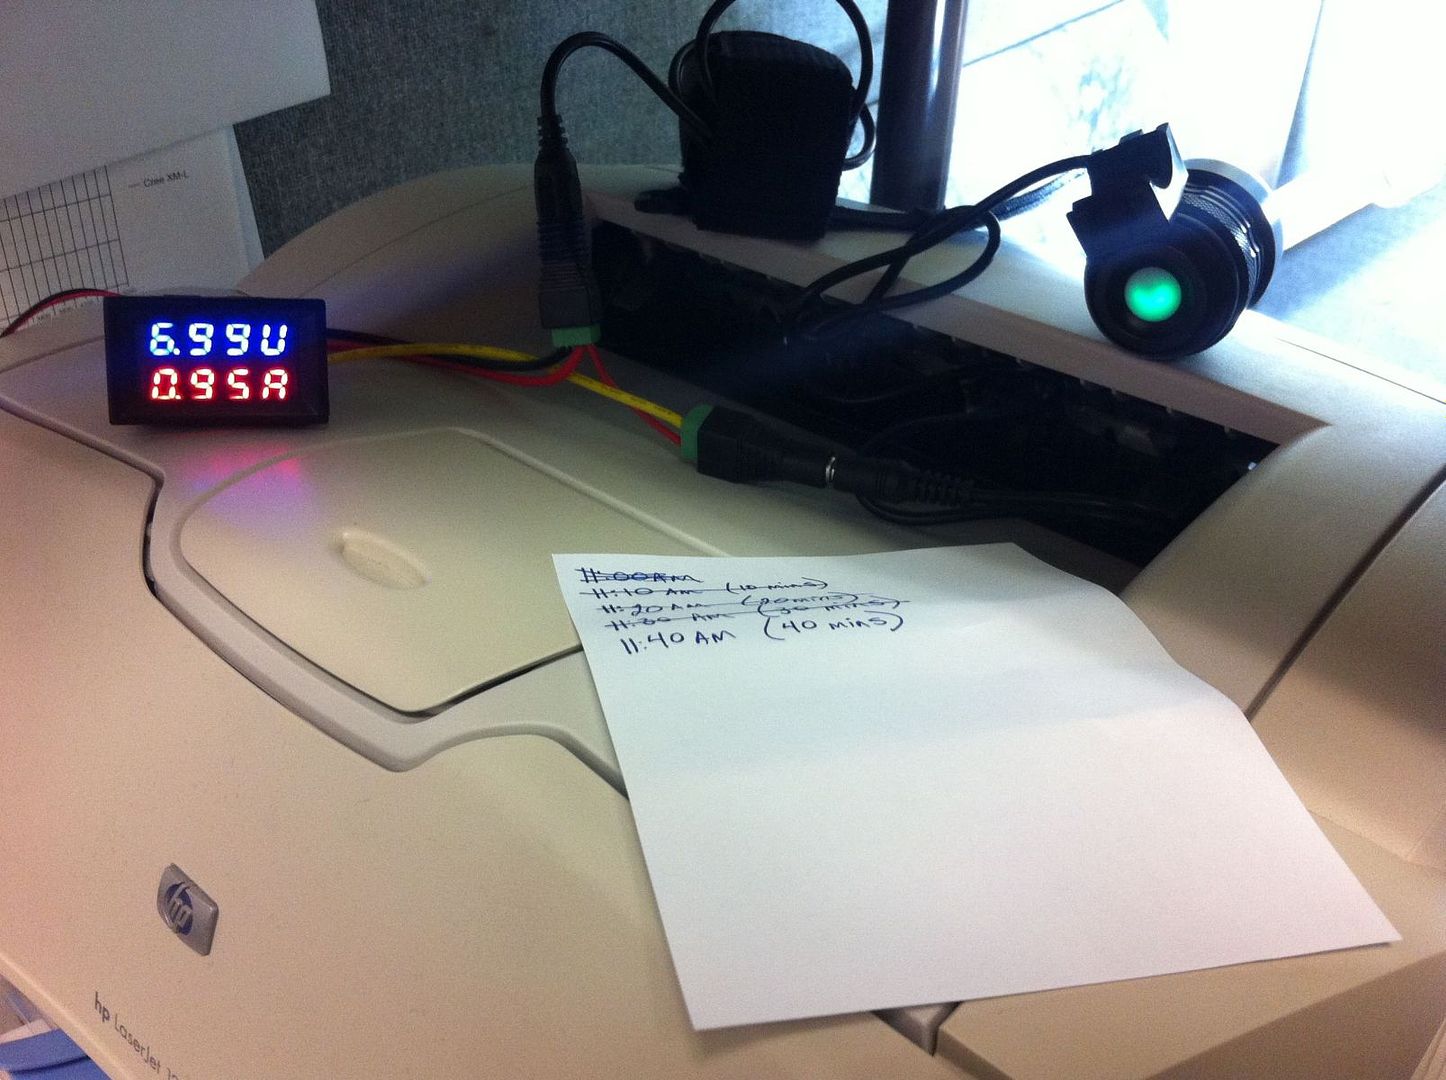
Here are my results (I tabulated data for every 10 mins, but only show every 20 mins here):
Elapsed Time Batt Volts Batt Amps Battery Status LED
0 mins 7.52V 0.92A Green
20 mins 7.22V 0.91A Green
40 mins 6.99V 0.95A Green
60 mins 6.78V 0.98A Green
80 mins 6.42V 1.03A Red
+/-90 mins 5.50V 1.20A Red
I got about 90 minutes of runtime out of the stock pack with very little warning that it was going to die. The battery status LED changed from green to red and only ran another 10 minutes before the battery pack protection circuit kicked in to cut it off (apparently there is no low voltage protection in the light itself). The battery pack shut off at 5.50v, but bounced back up to 6.80v with no load when reset. As you can see, the current pulled from the battery pack increases slightly as the voltage decreases. This seems to indicate that the light’s driver has some output regulation to it. By eye the light did seem to maintain the same brightness throughout the duration of the test.
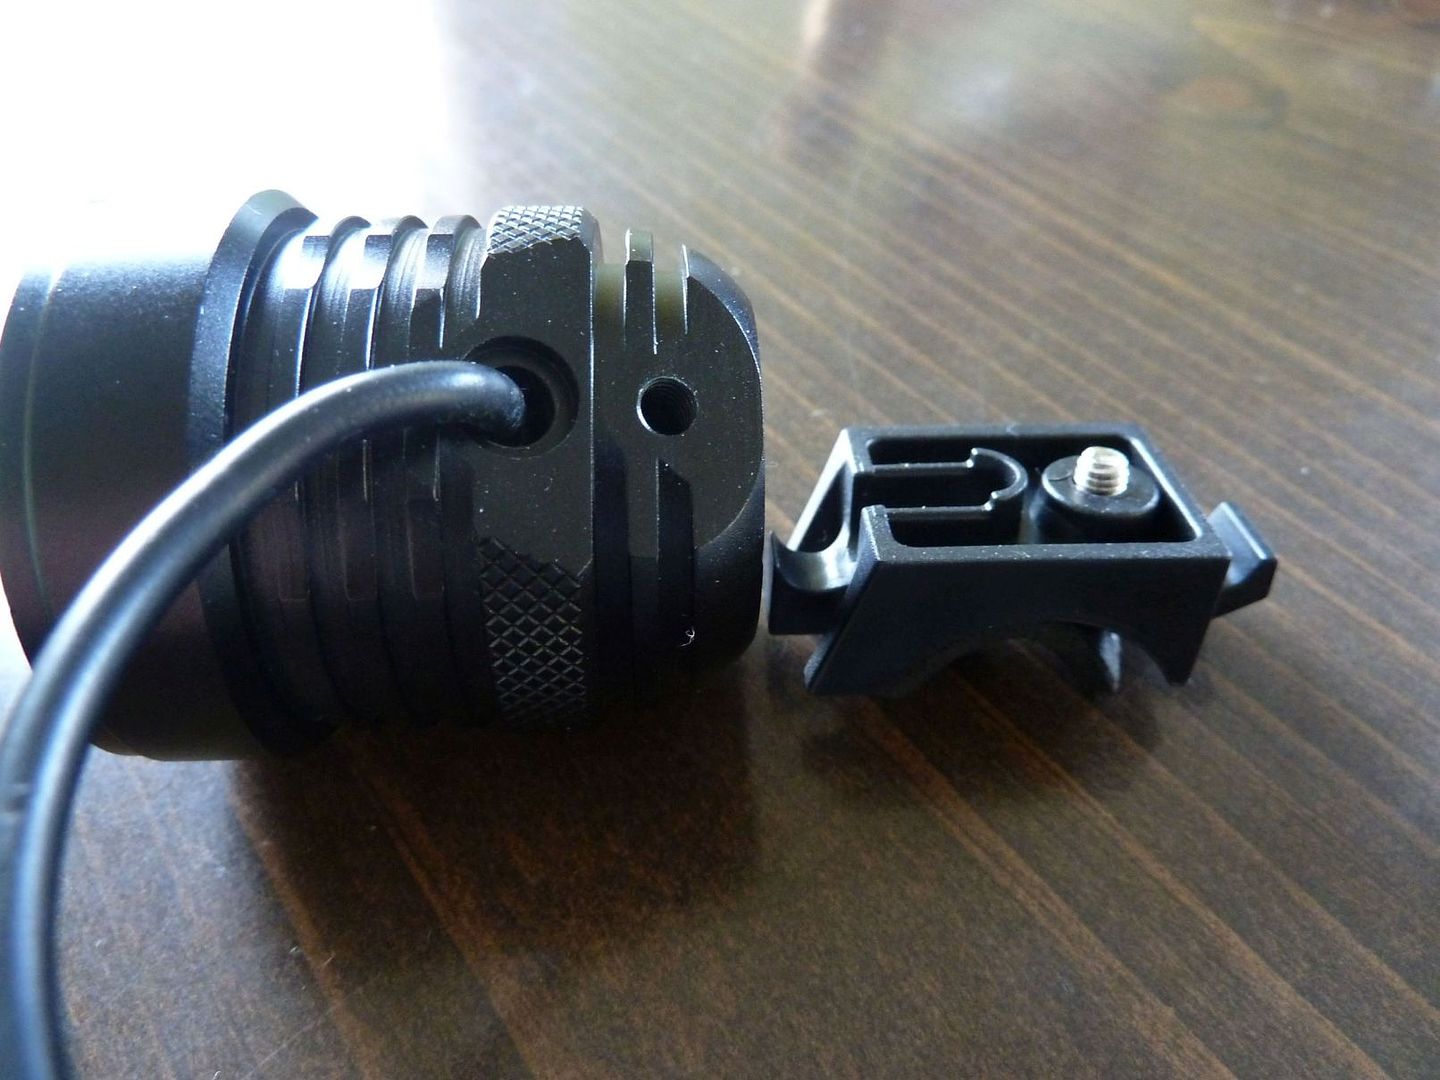
Teardown Assesment:
To disassemble the light you simple remove the Phillips head screw below the handlebar mount and remove the bezel (tip: a round screwdriver shaft placed across the crenulations’ valleys works great to remove it if it is tight). Removing the mounting block reveals that the cable exit is far from being waterproof. I do think in use it would handle being splashed or a light rain and the gap could be filled with silicone sealant.
Once the cable is free to slide inside the body by the mount being removed the pill can be worked out the front.
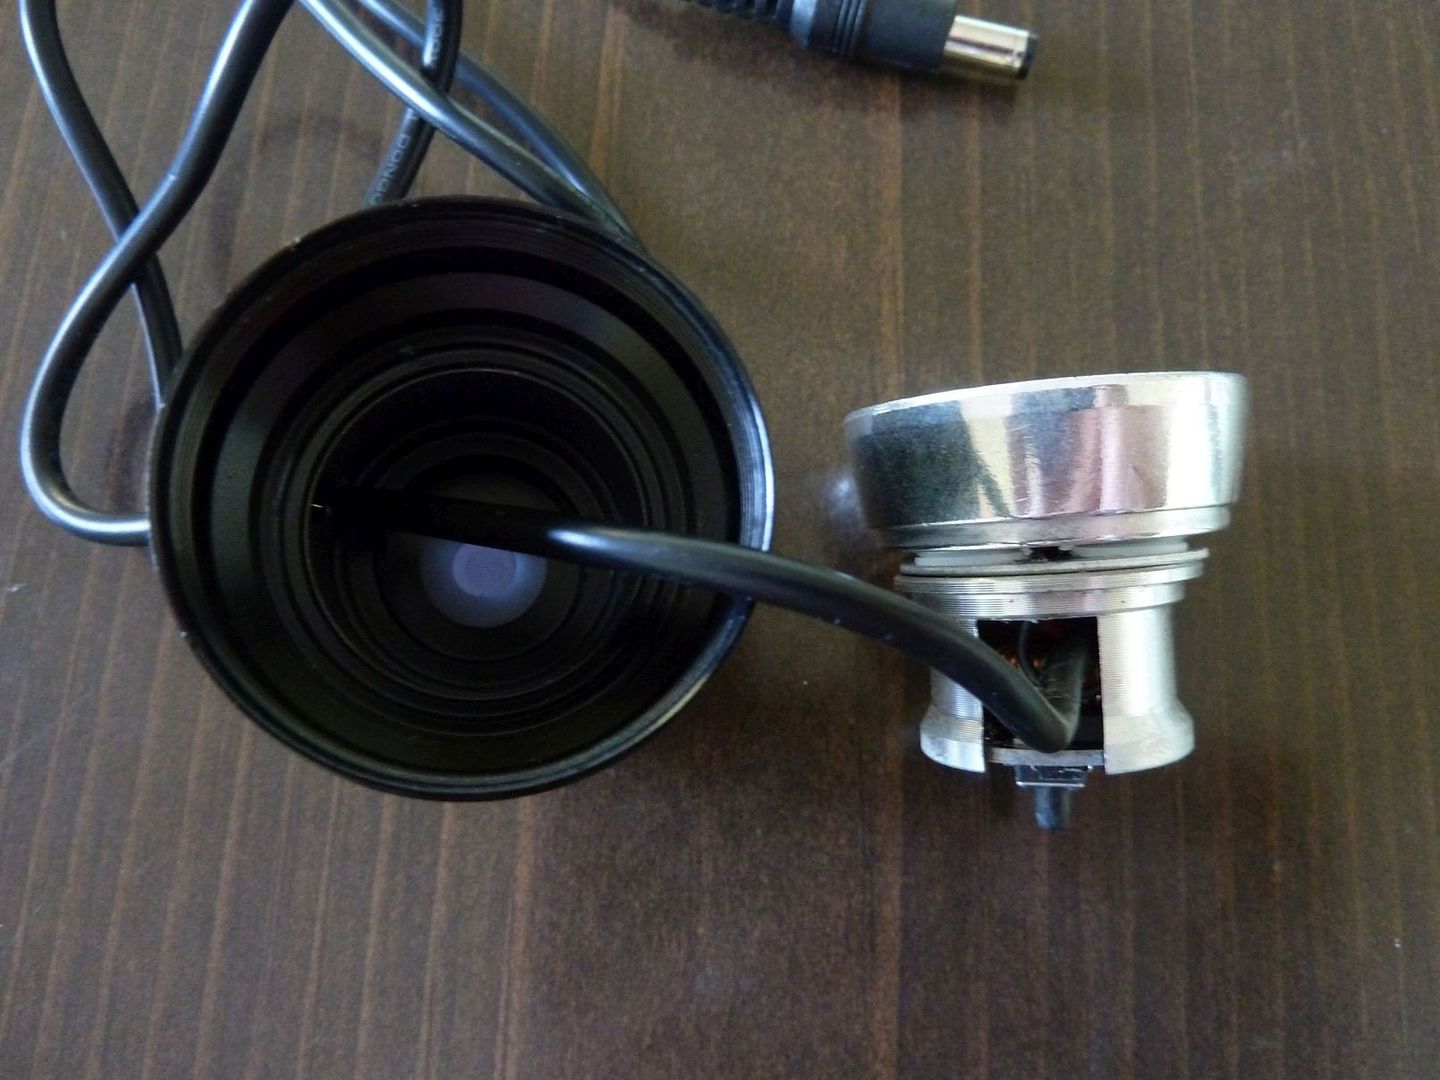
As stated previously, the pill simply drops into the body with much of the pill not making thermal contact to the body. It’s a typical design which holds up ok so long as the lights are not driven very hard. This pill appears to make contact at the front rim edge near the emitter pcb and at the rear near the switch. The pill is pretty hefty.
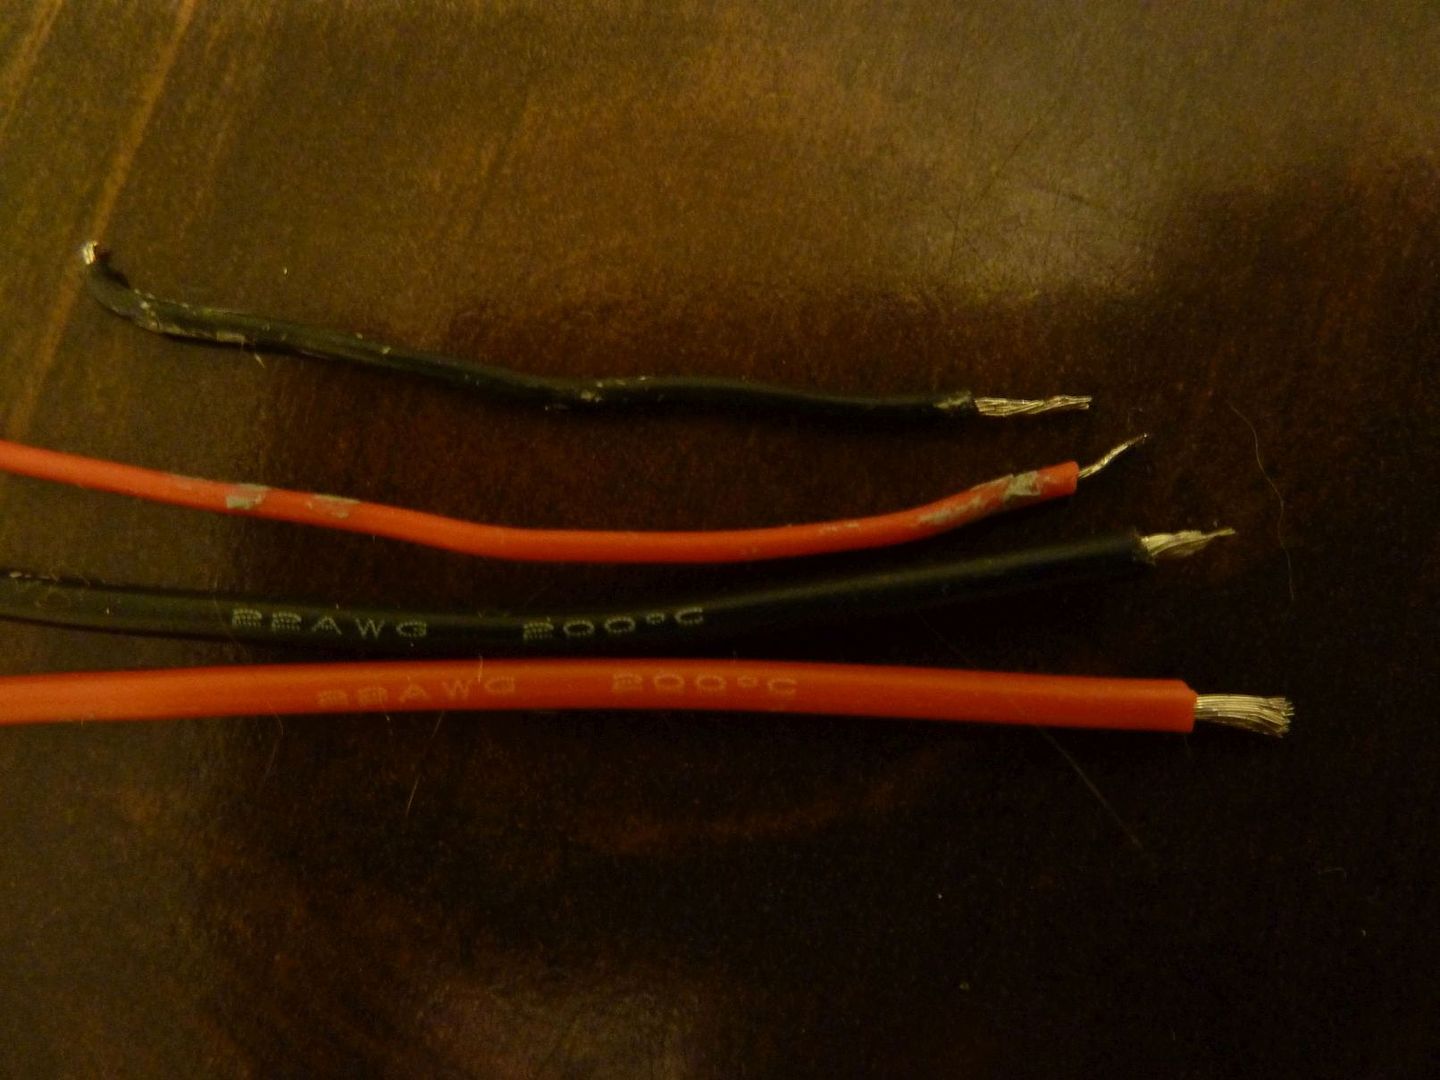
My driver had a slight bit of glue at the edge, so it took some care to pop it out of the pill to access the reflector mounting screw underneath. After removing the reflector, the emitter pcb is revealed and is 28mm in diameter, 0.96mm thick, with the 3 LEDs wired in parallel. There was no thermal compound under the emitter pcb, however the way the reflector is screwed to the pill it puts substantial pressure against the pcb. The wiring to the emitters was very thin (probably only 28 or 30 gauge), however after I rewired with 22 gauge I saw no increase in LED current. Below is a pic showing the stock wiring next to my 22 gauge replacement:
I measured current to the emitters at 1.886A while the driver pulled 0.97A from the stock battery@ 7.93v no load (7.54v under load). Using my Pannova case with two 4.06v cells saw the same results. Here is a pic showing this test:
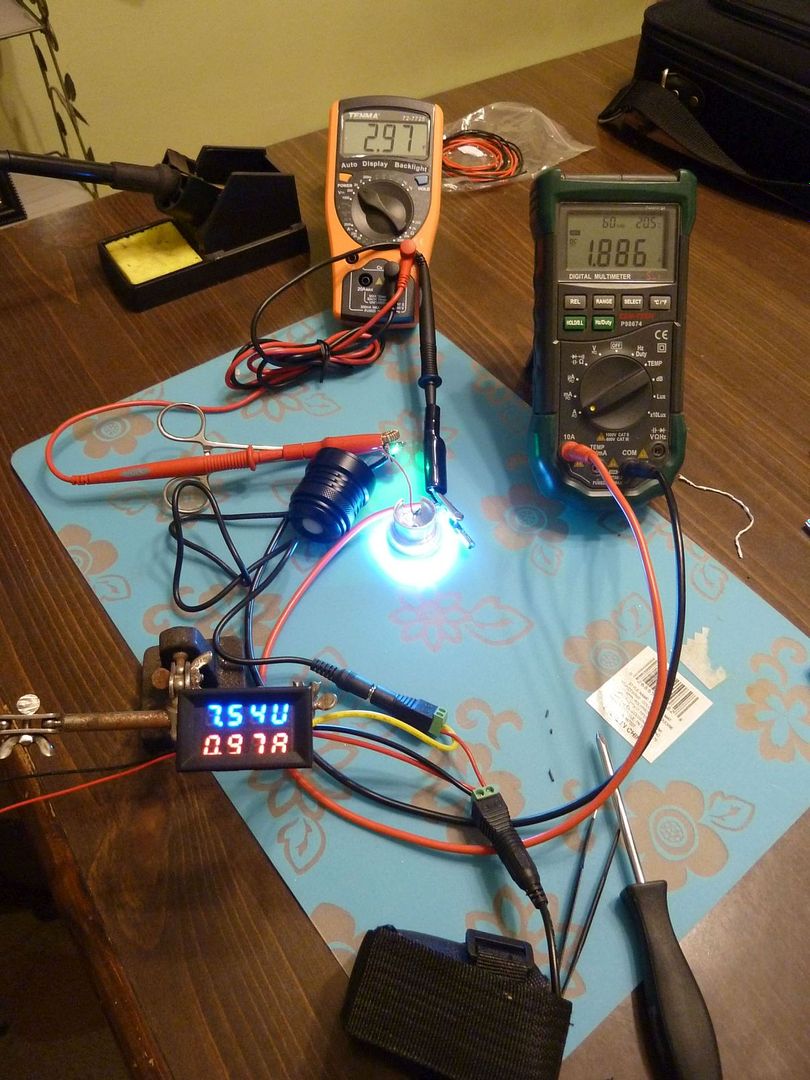
On low, the stock driver delivers 0.57A to the LEDs while pulling 0.32A from the battery. Here is the same test on “Low”:
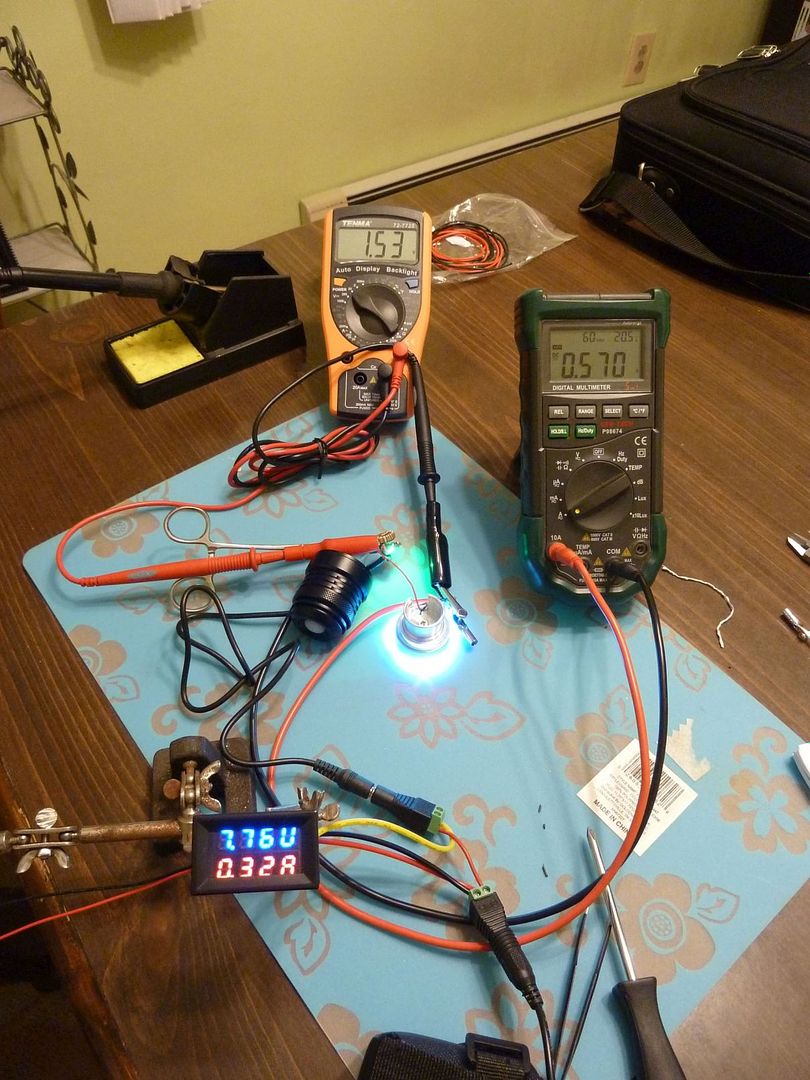
(Note: the orange Tenma DMM is supposed to be measuring vF (LED forward voltage). It seems correct on high, but the value is wrong on “low” due to the PWM in low mode.)
The driver uses an FET with either a sense resistor or a current-limiting resistor to control output current. Due to the use of the LEDA chip, I believe the R120 is a sense resistor. (I’m no driver / electronics expert; perhaps someone else more knowledgeable can chime in.) Here are pics of the driver:
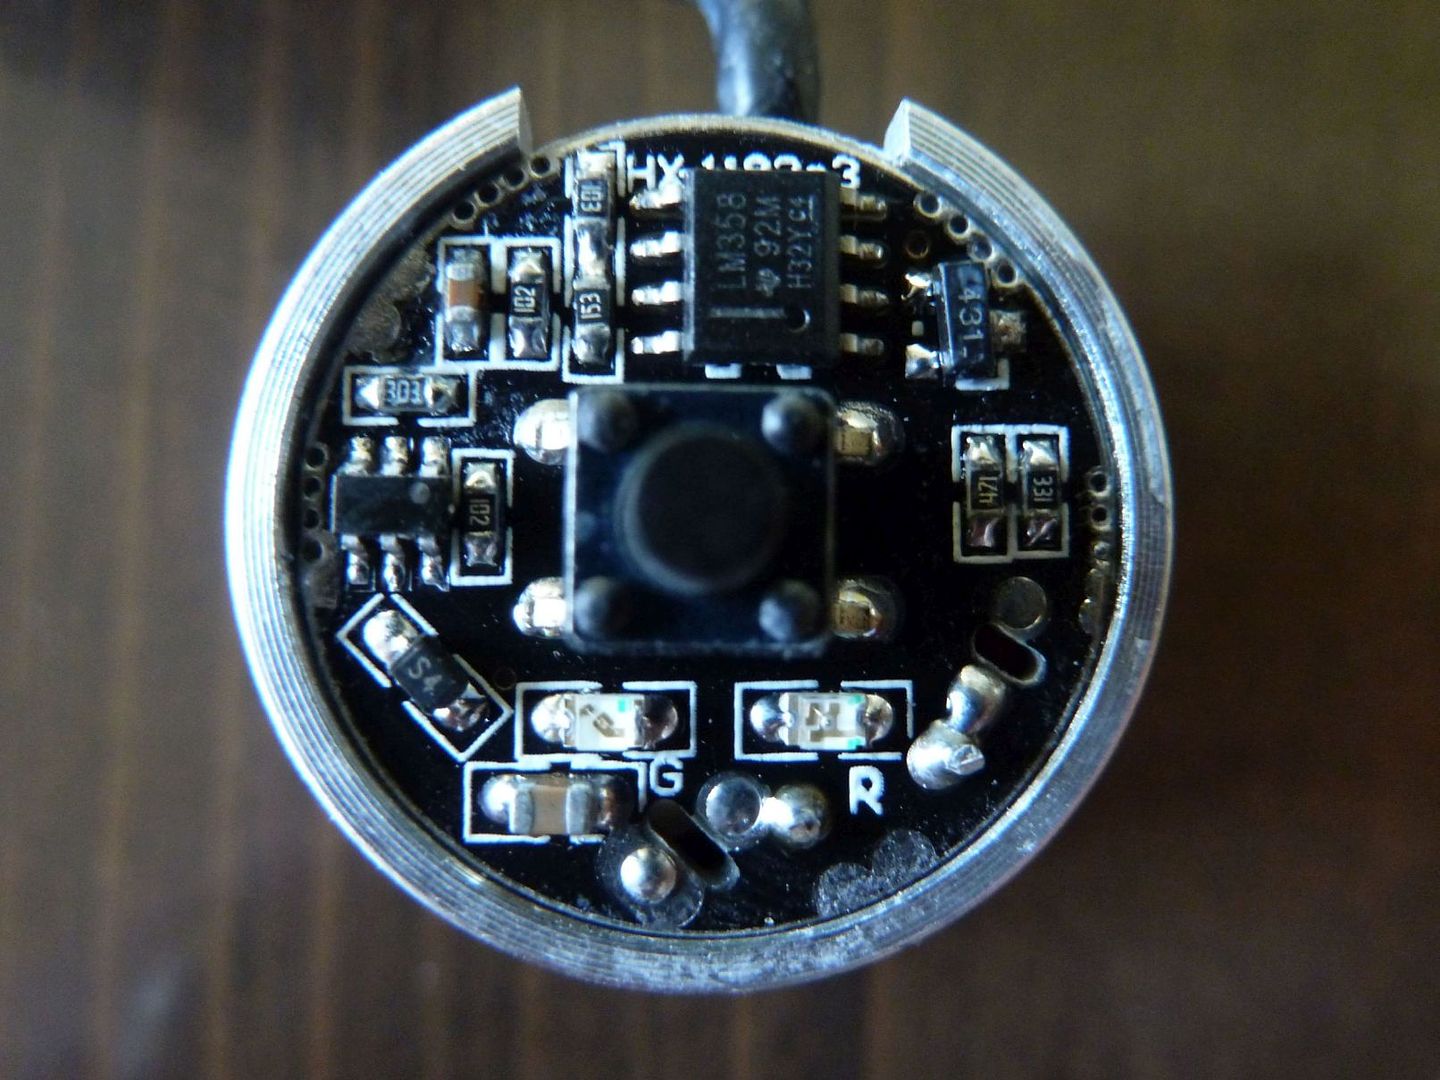
& the other side:
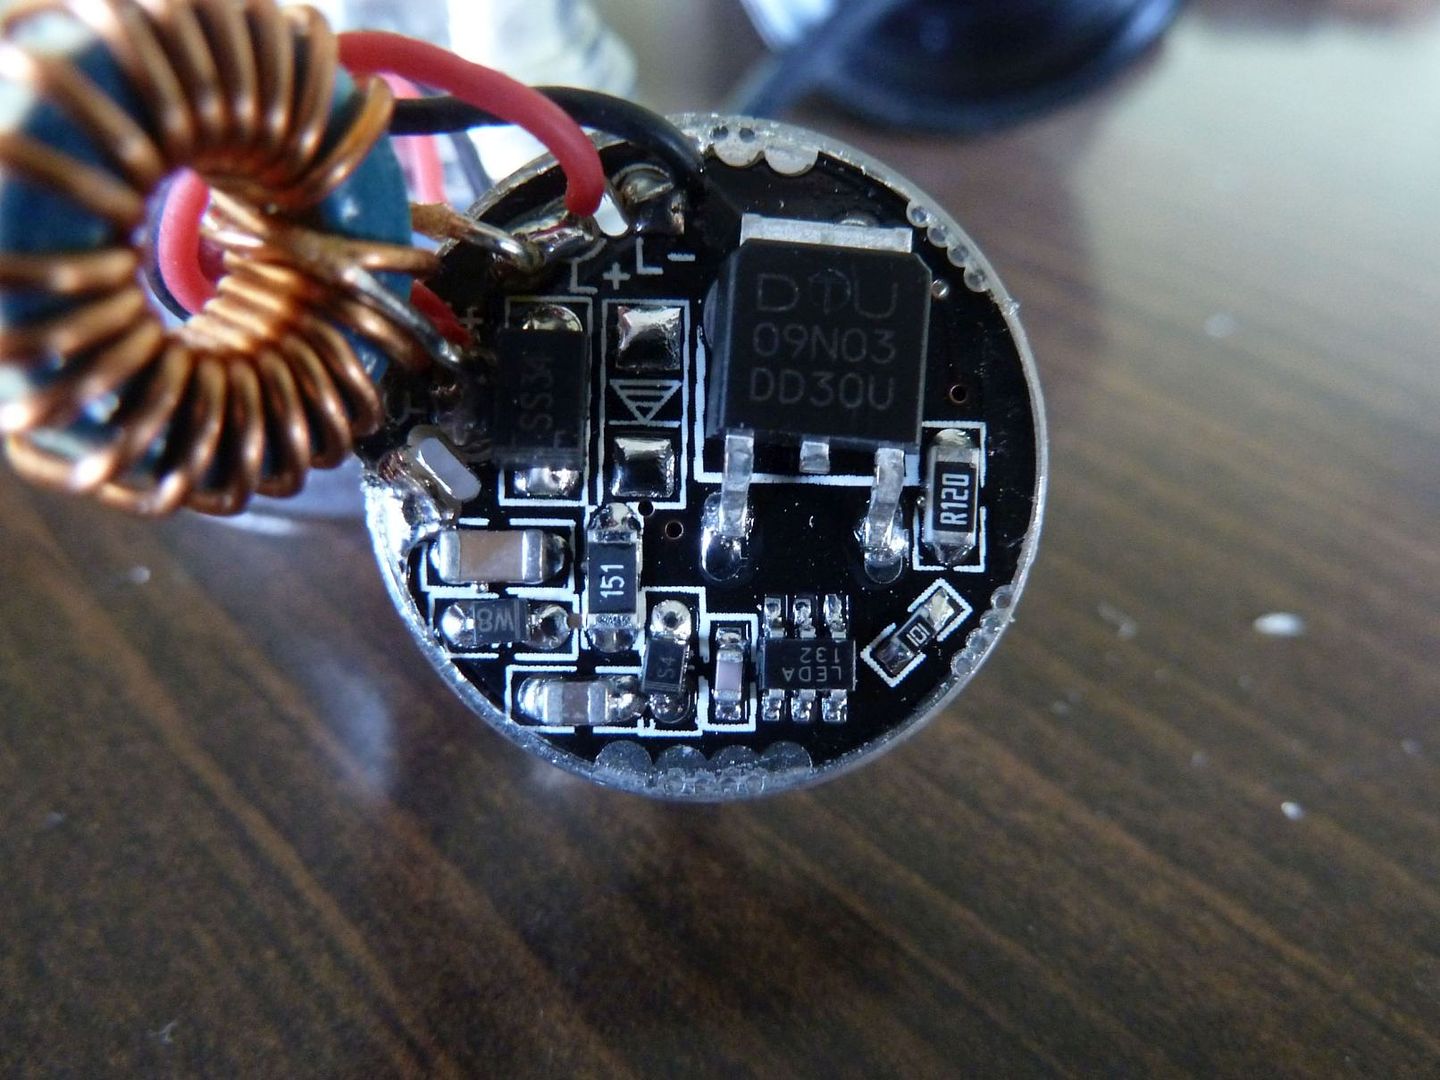
One interesting thing to note on this driver, it will also operate the LEDs with 4.2v input. The battery status LED will display red, but the driver delivers the same output to the LEDs. I measured 2.02A on high, 0.59A on low, and 0.004A while “off” at the battery pack.
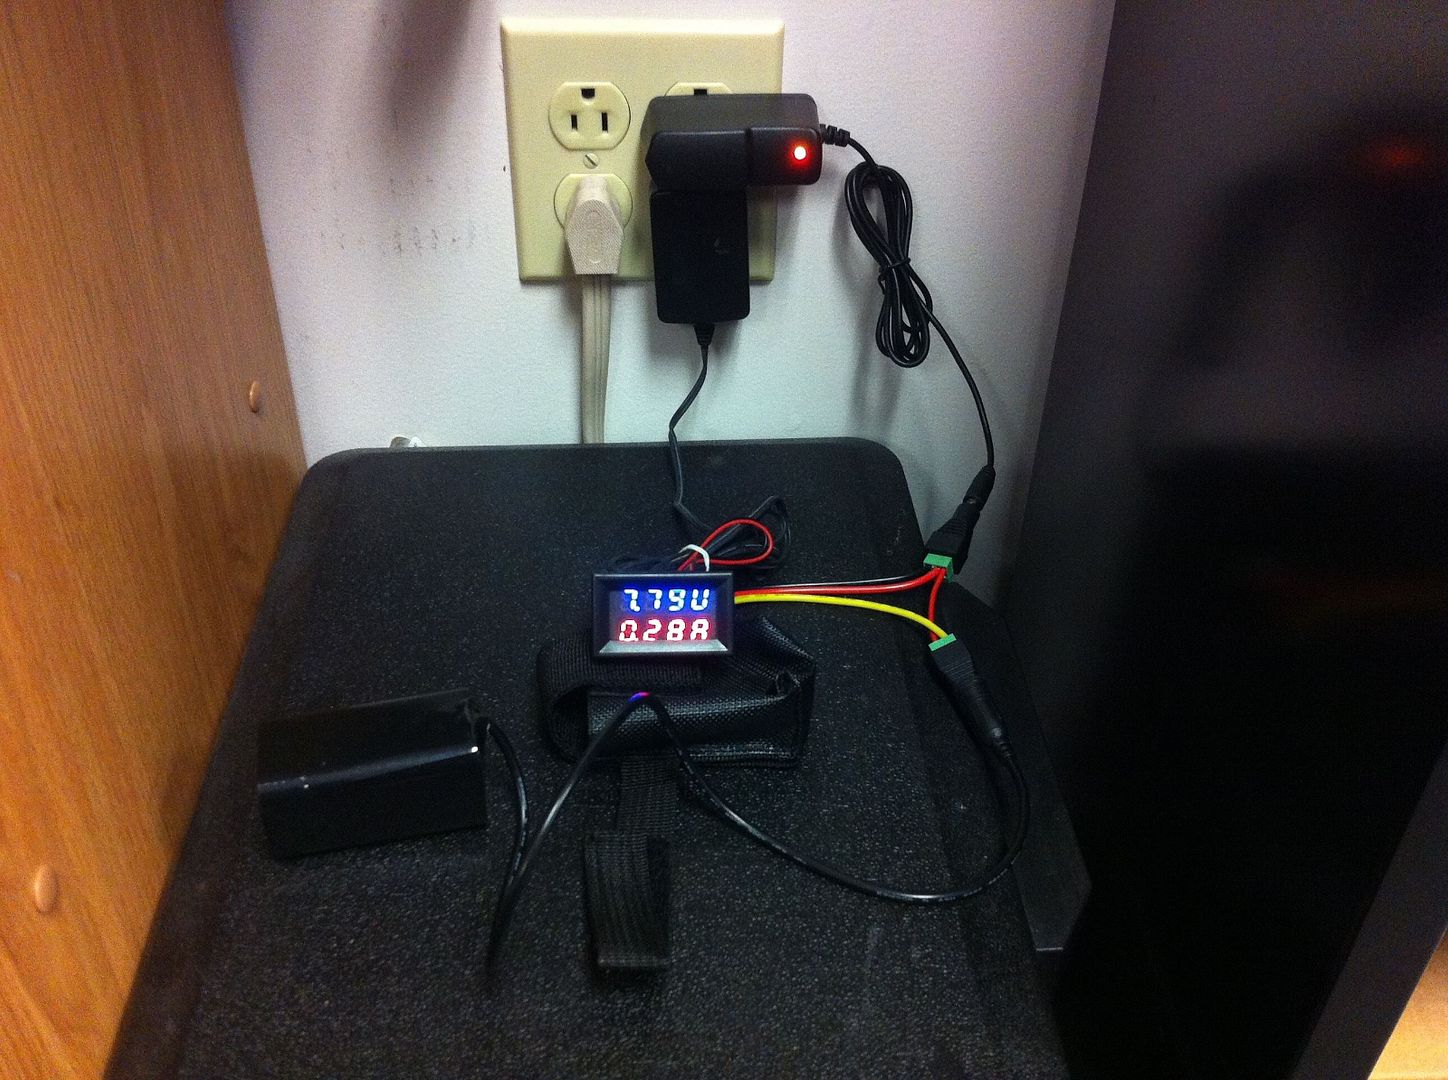
Battery Charger & Battery Pack Teardown Assesment:
The included charger was suspicious right away if only because of being labeled a “TRAVER CHARGER”. Nowhere does it even say it is for Lithium-Ion battery charging. It is labeled as 8.2v @ 1,000mA, but in my testing it put out 8.31v (no load) and only charged at 0.20A to 0.30A. It appeared to stop at 8.34v (battery pack alone would read 8.00v at this point). It is NOT a proper CC/CV Li-Ion charger; it is simply charging up to a cutoff voltage limit.
The stock battery pack: This is where things got really disappointing. I knew something was up because the battery pack would only charge up to around 8.00v with either the stock charger or another decent 8.4v charger. I decided to rip open the pack and investigate. I found the pack contained two sets of different color wrapped cells. I also noticed the cells were not corrected for a proper 2S2P arrangement!
Upon further investigation I found that the two cells which were attached wrong (and different shade of blue color) measured 0.00v! After the pack was fully charged, the two working cells were measured at 4.19v & 3.79v, way off balance (i.e. dangerous)! So the wall charger was charging until one cell reached full and the other cell never charged any further (hence the 8.00v total at full charge). I guess the packs overcharging protection circuit was kicking in, though I never noticed.
I decided to do something courageous and cut open one of the “dead” cells (don't do this at home kids!). First off, the battery tab welds almost fell off by themselves! Then after cutting it open I discovered this:
A fake battery! Another user with this same light from GB has told me that his battery pack contains 4 working cells, so I don’t know what the chance of getting packs with fake cells is. I personally wouldn’t trust these cheap Chinese battery packs anyway, so I always consider these purchases as a light head only.
I then fully charged the remaining low cell using a homemade setup for my OPUS battery charger / analyzer and performed a 1A discharge test on each. Cell #1 came back at 2,207mAh and cell#2 at 2,099mAh – not too bad for cheap cells. I actually expected them to test closer to 1,500 or 1,800mAh. I guess they used two higher capacity cells due to including two fakes!
The previous run time test is almost void, as you won’t know what capacity battery pack you will receive. Even so, 90 minutes on such a poor pack probably isn’t so bad considering the price point. The more concerning part to me is the fact that the cells are so off balance and the average user isn’t going to cut the heatshrink open to investigate and correct this!
Headband Use:
The provided headstrap is WAY too small for an average adult. In fact, with the strap adjusted to its widest it is still only sized for my 2 year old!

Testing the headstrap mounting is also when I realized that the front exit of the cable interferes with the o-ring mounting (cables is in the way making it tough to hook the o-ring to the mounting). The lamp also feels very front heavy when worn with the headstrap.
Conclusion:
My conclusion is that this light is a decent low cost solution. There may be better choices out there at this price point, but you may be risking getting lights that have worse thermal pathways. It does provide a nice beam pattern with all 3 LEDs remaining lit in low mode. At about 0.95A pulled from the battery on high it is fairly battery conserving.
Thanks for reading, feel free to comment and/or ask questions!
For reference, this review is also posted over at MTBR.
-Garry