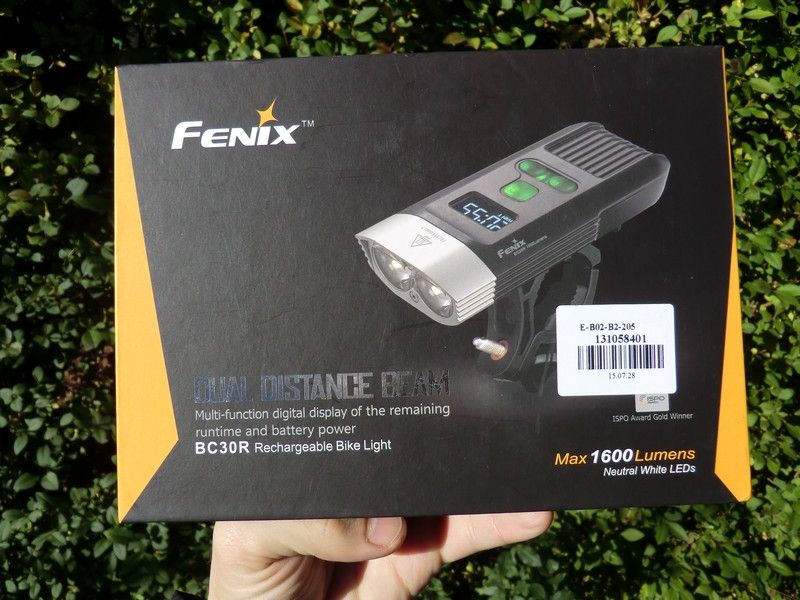
I received the Fenix BC30R from GearBest for this review
Fenix Specification
2 x XM-L2 T6 NW
Display reporting runtime and battery level
Integrated li ion battery 3.7 v – 5200 mAh, rechargeable with micro USB cable.
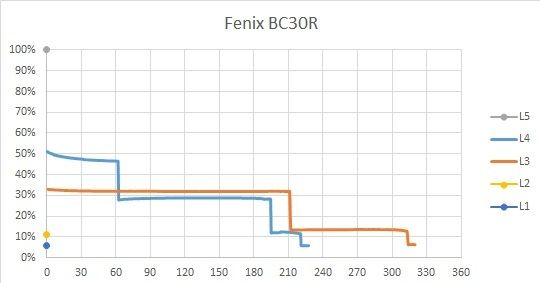
When the battery is low, the light will stepdown at the lower level. At the lowest level, it will stepdown at the blinking level. The remaining runtime is updated evey minute at the highest level, at the lower levels every 5 minutes.
6 Levels: 1600 lumen (burst), 800 lumen (2h35), 500 lumen (4h30), 200 lumen (11h50’), 100 lumen (20h20’), flashing at 200 lumen.
IPX6 water resistant
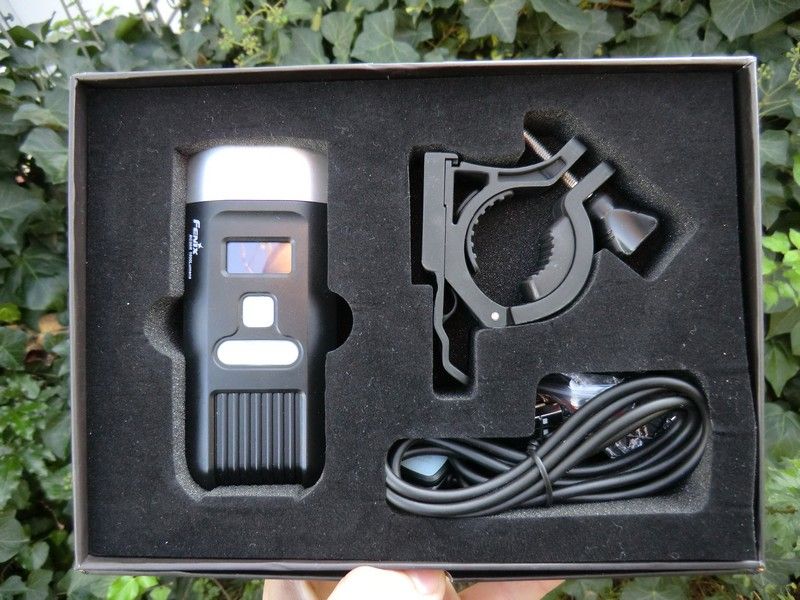
The BC30R comes in a cardboard box with precut foam. Inside the box you will find: flashlight, bike mount, adapters, micro USB cable, remote switch, manuals in different languages (it’s the first time that I find a manual written in Italian)
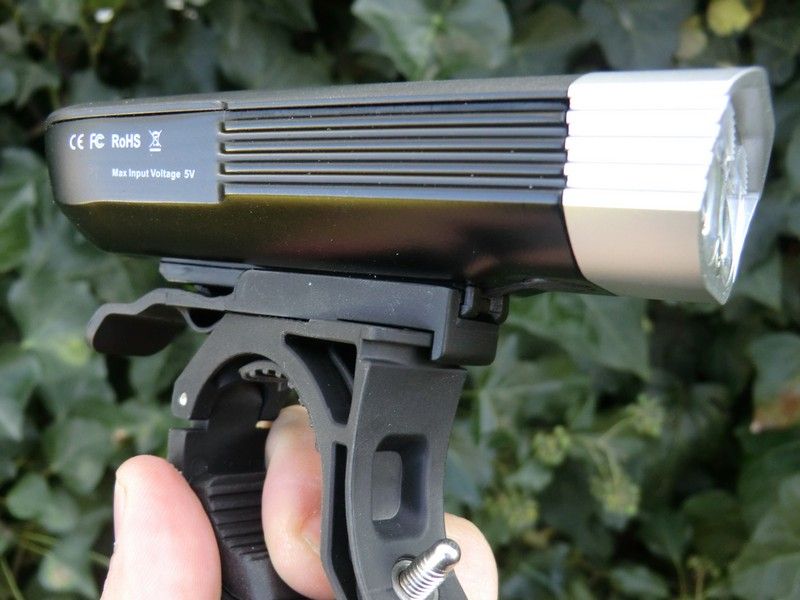
The light is well built, it is not possible to take apart the light without removing the screws.
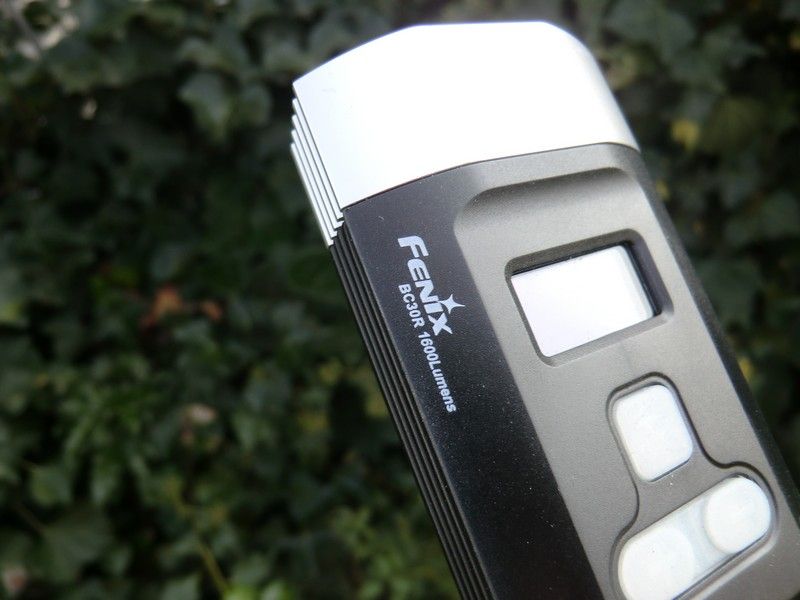
The optic is a very distinctive part of this light.

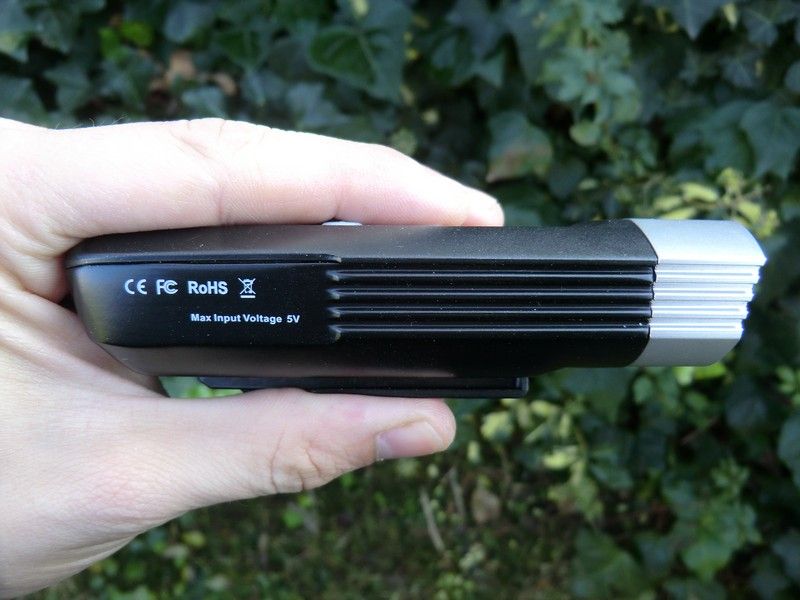
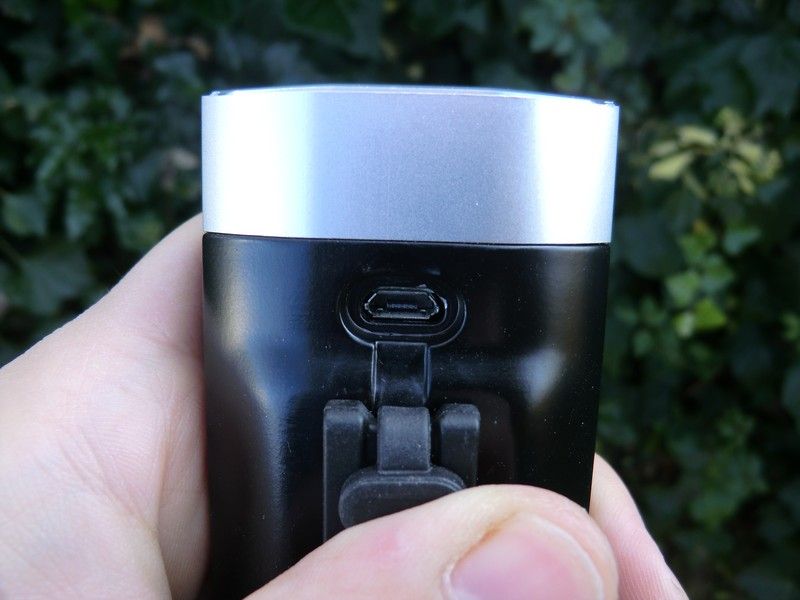
The micro USB port recharging and for connecting the remote switch.
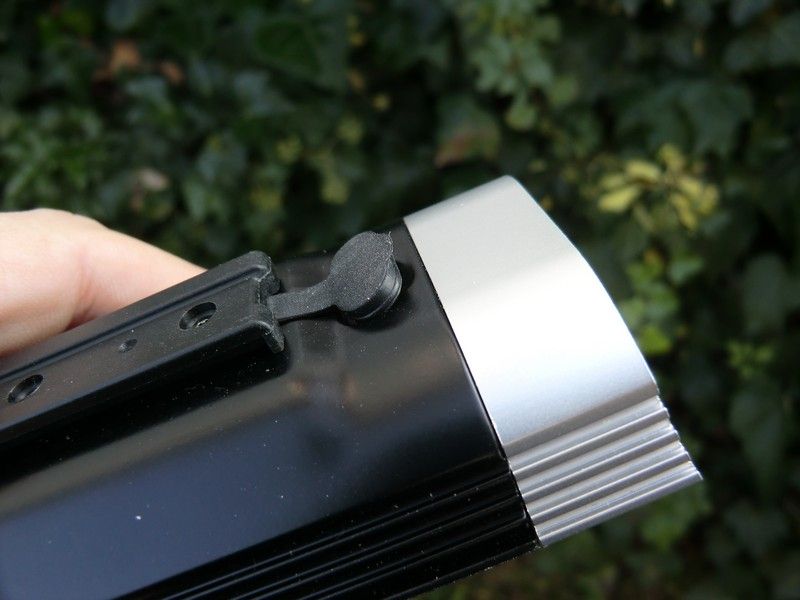
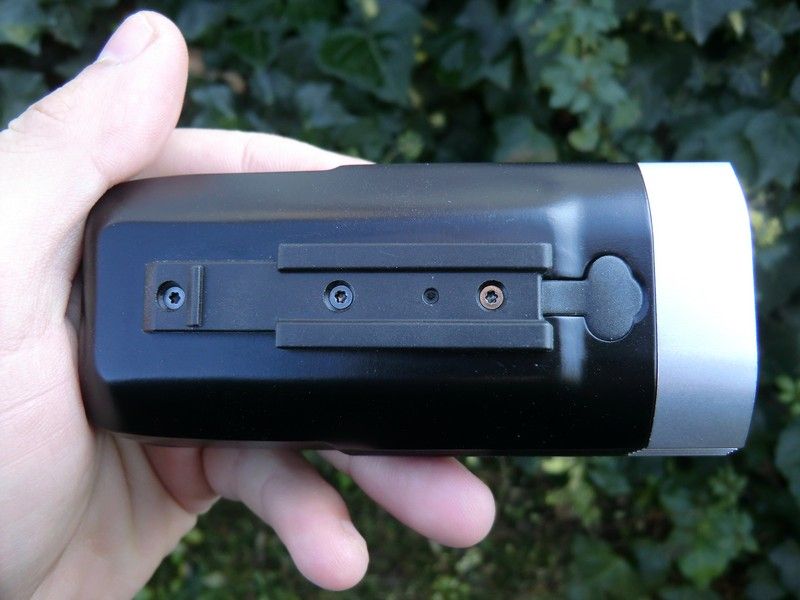
The mount for the light is made of plastic, and its kept in place on the light by 3 screws.
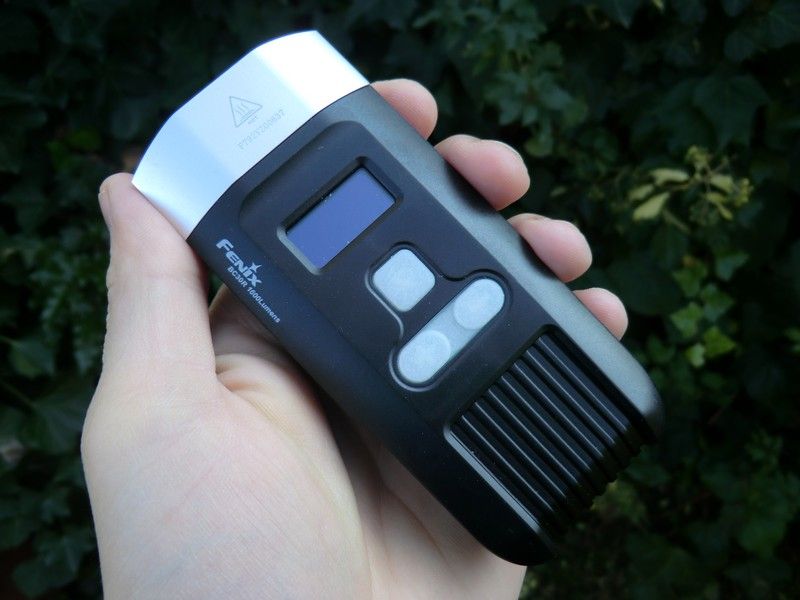
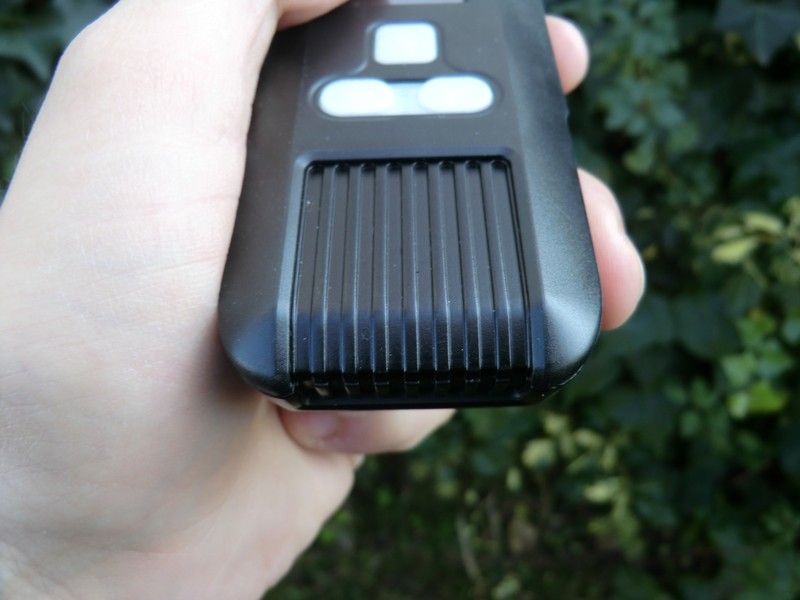
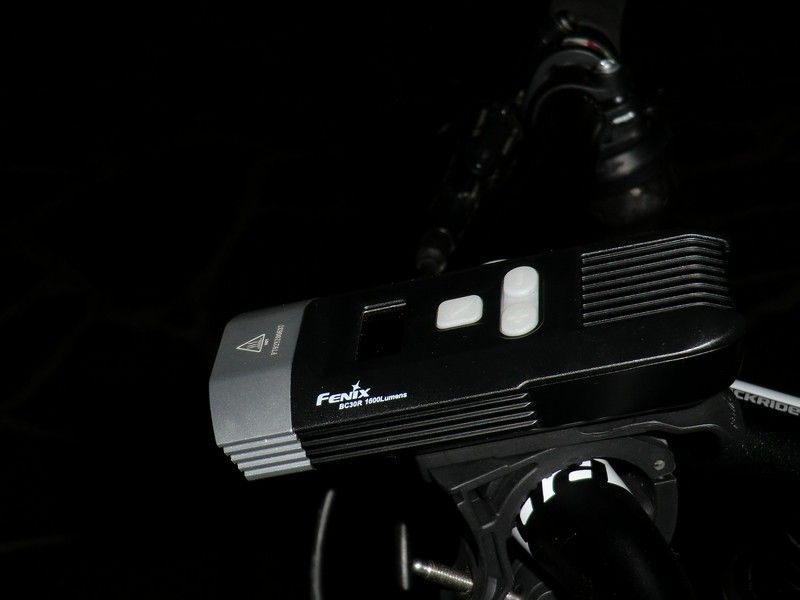
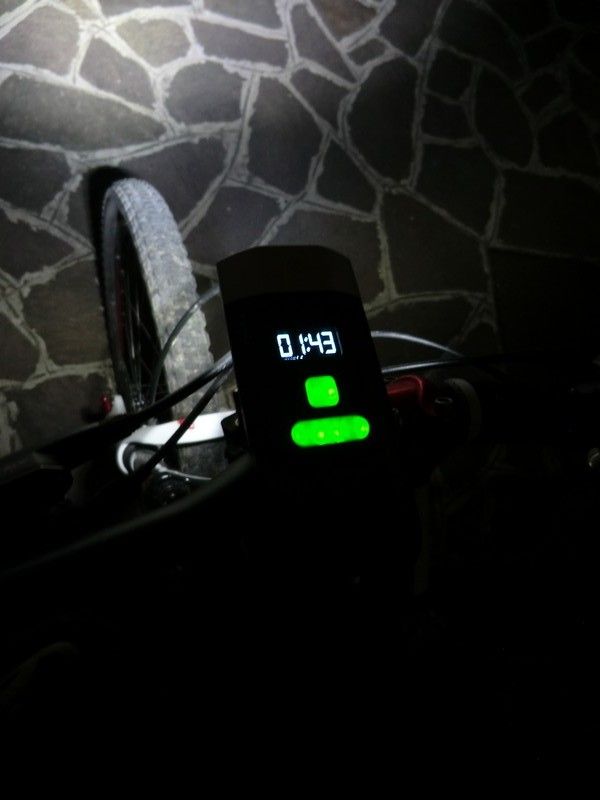
The light has 3 buttons. The lower ones, with + and –, allows to change the levels, while the upper one turns on and off the light, shows the battery level and activates the flashing mode.

When the light is turned off, a single click with the upper button will show the level of the battery on the display.
A click long at least 0.8 seconds will turn on the light at the last level used.
With the light turned on, with + and – you can change the levels, and a double click with the upper botton will activate the flashing mode (around 1 Hz)
While the light is on, the green leds under the bottons will remain turned on.
To turn the light off, you need to keep pressed the upper botton for at least 0.8 seconds.
The BC30R has memory mode for all levels, exept flashing and burst.
The burst level, level 5, 1600 lumens, works only in momentary mode. To activate it you need to press the remote switch. You need to keep the remote pressed, when you depress the remote the light will turn at the previous mode. The burst works also when the light is turned off.
The burst can be activated for max 20 seconds, you will see the timer on the display, at the end of the 20 seconds, the light will switch to the previous mode. To restart the burst mode, you need to press the switch again.
The burst is available only if you have the remote mounted.
When the light is turned on, or you switch between levels, it shows the hours of runtime, and after some seconds, it will update the minutes estimation.
The charge is possible with a micro usb cable, but the plug have to be rather thin in order to fit completely inside its slot.
During the charging process, the green leds under the bottons will flash, and you will see the battery level on the display. When the charge is complete, the green leds they became solid green. While the light is charging you can use it, but only at the lowest level, 100 lumens.
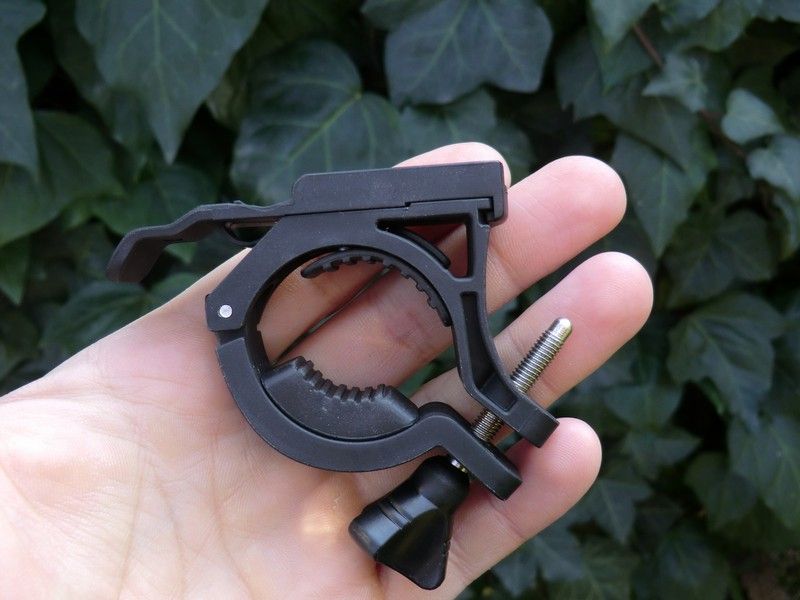
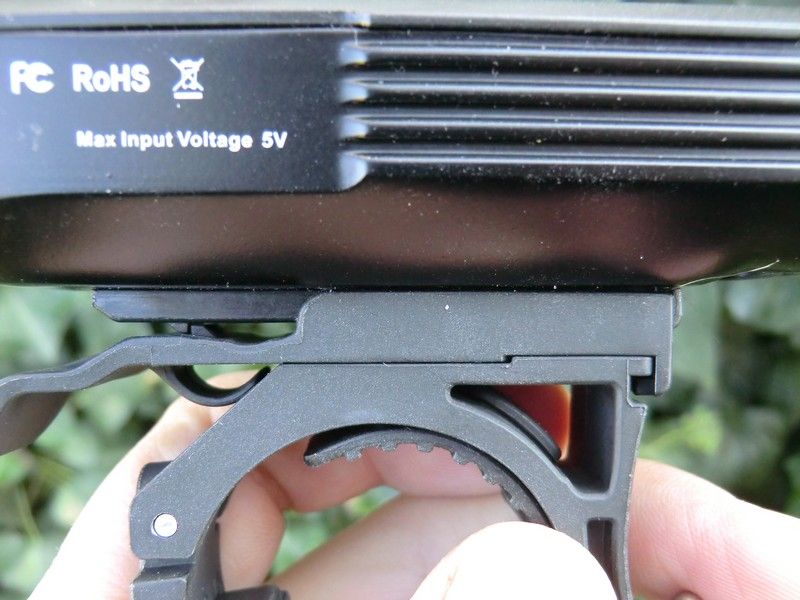
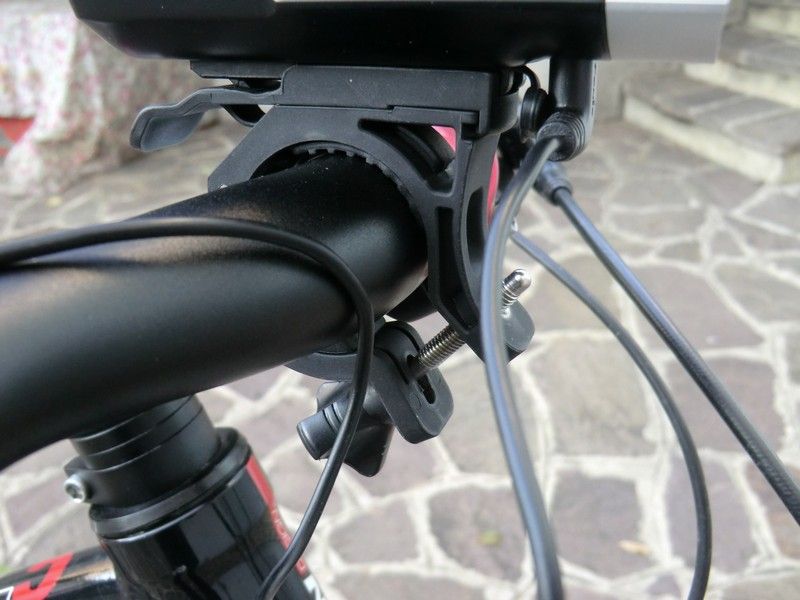
The bike mount is well constructed and designed: there are different adapters for different sizes of handlebars. It is possible to insert and remove the light from the mount with one hand. The mounted adapters from the factory fit my MTB bike fine.
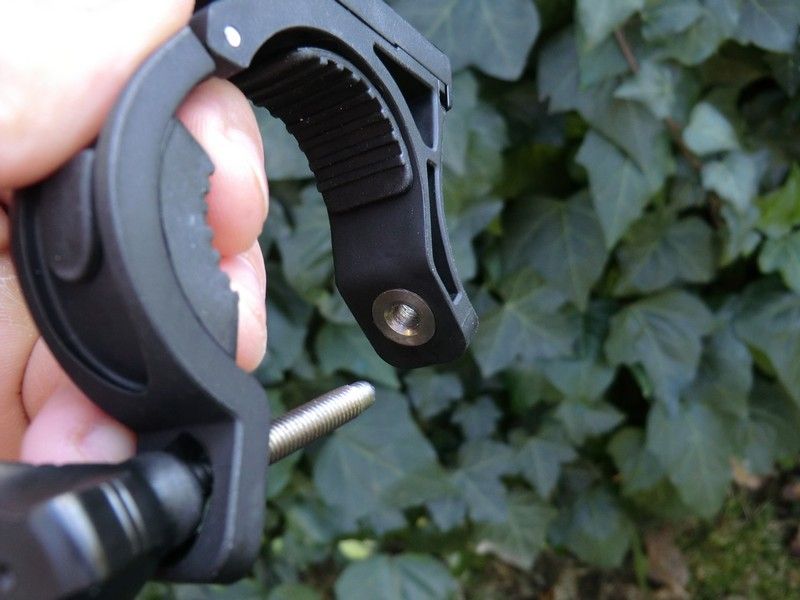
The detail of one of the big adapter in soft rubber, that grips to the handlebar. 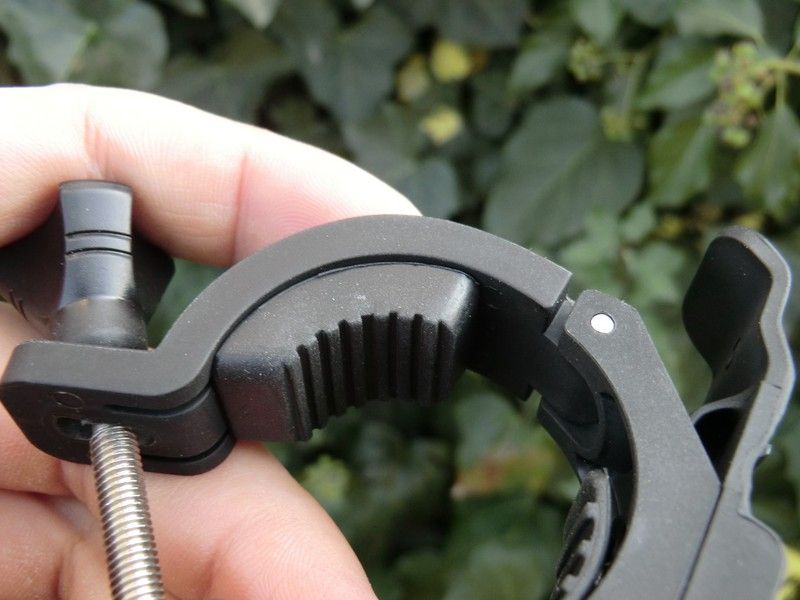
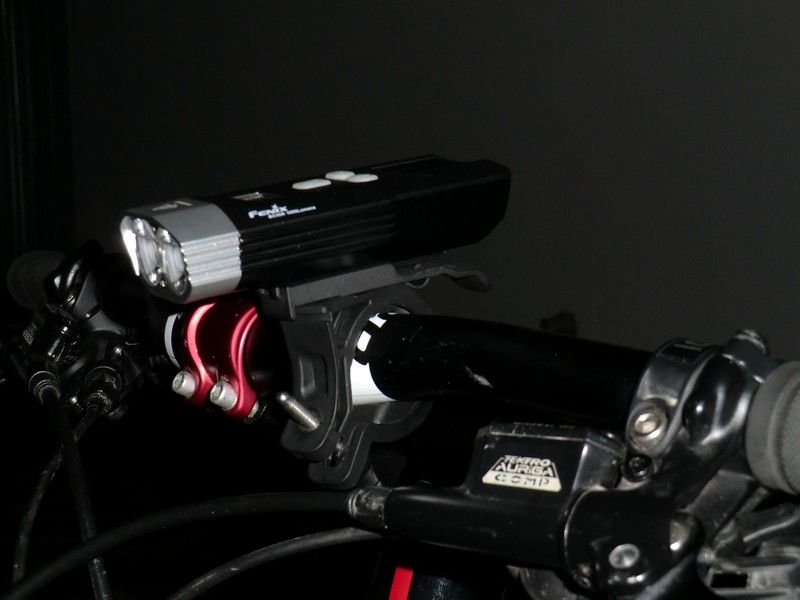
The bike mount is stable on the handlebar, also the light is stable even in the offroad.
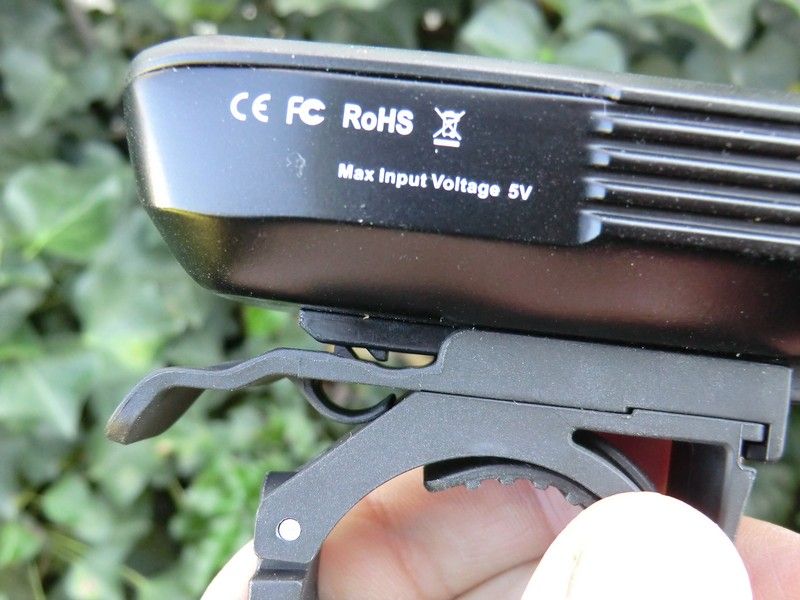
Here you can see the details that hold the light in its place: you insert it from the front, and its blocked by 2 plastic teeth.
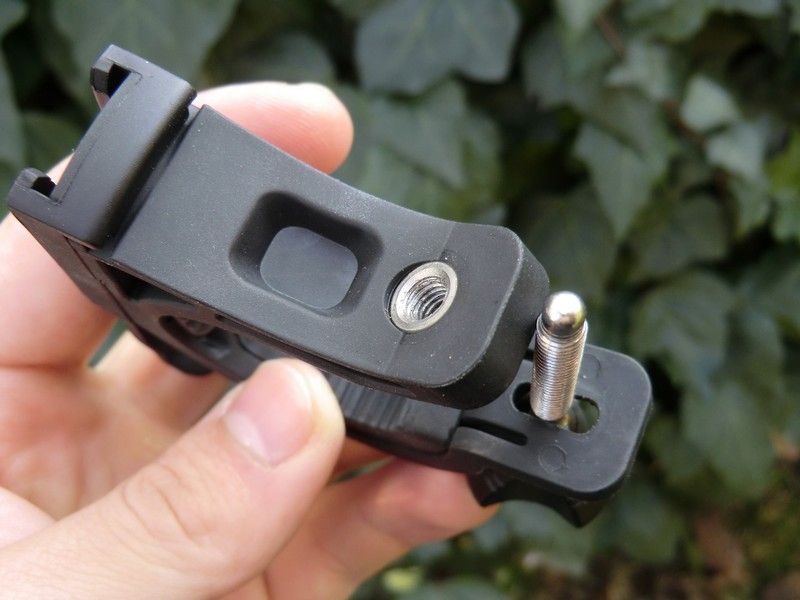
The mount can rotate with stiff clicks, so you can mount the light on the side of the handlebar and still light the road right in front of you. 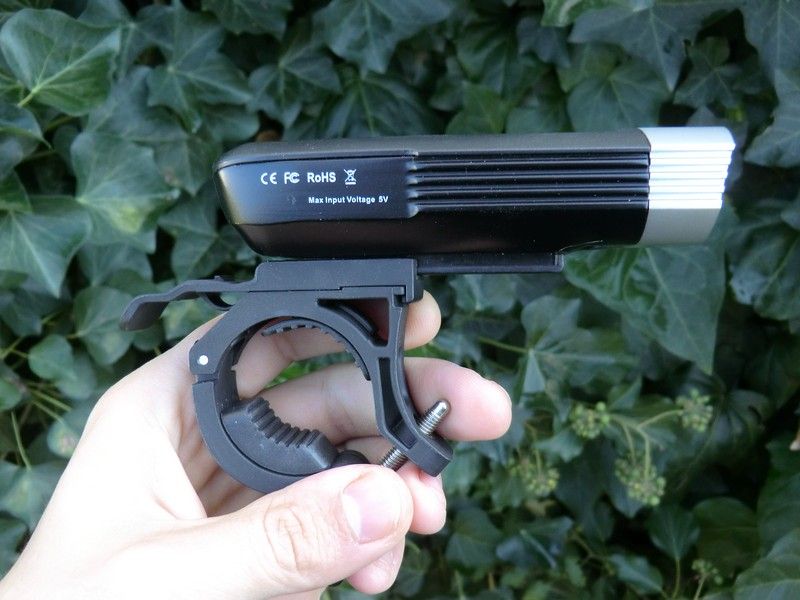
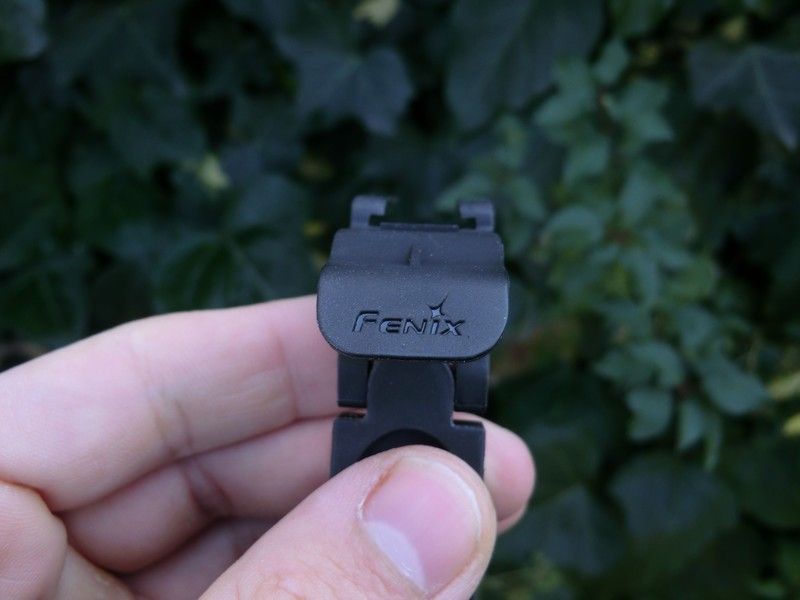
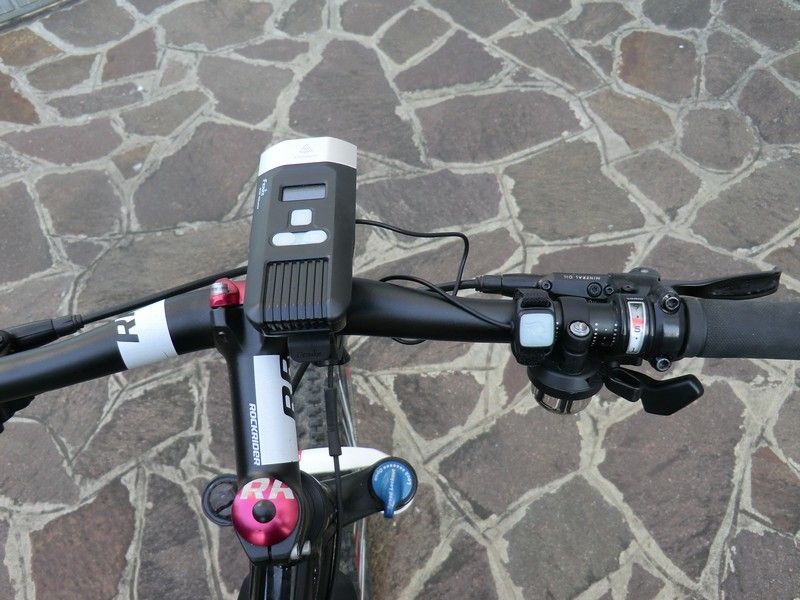
The remote switch on the handlebar
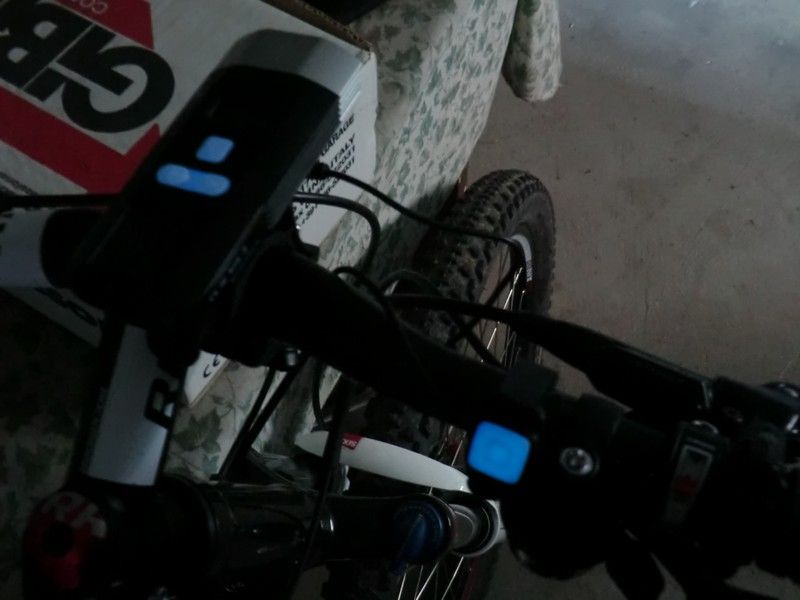
The plastic that covers the bottons has a dim GITD feature
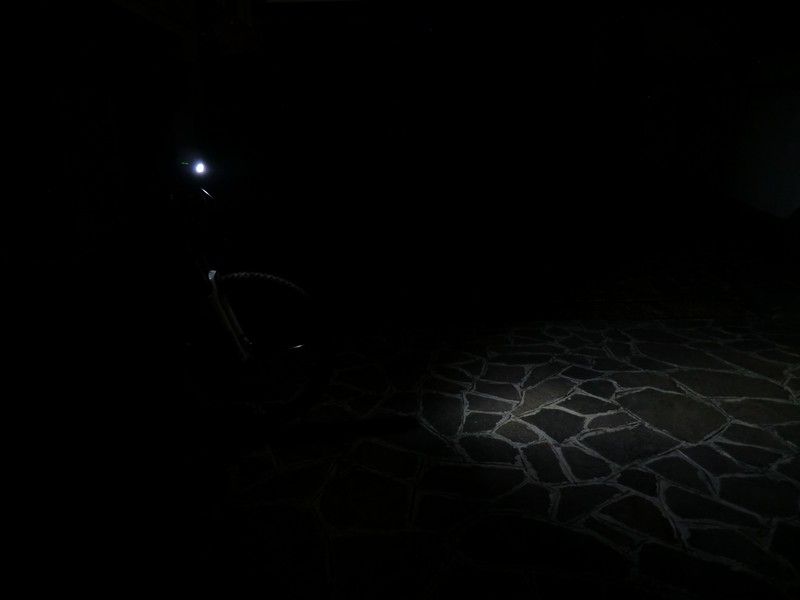
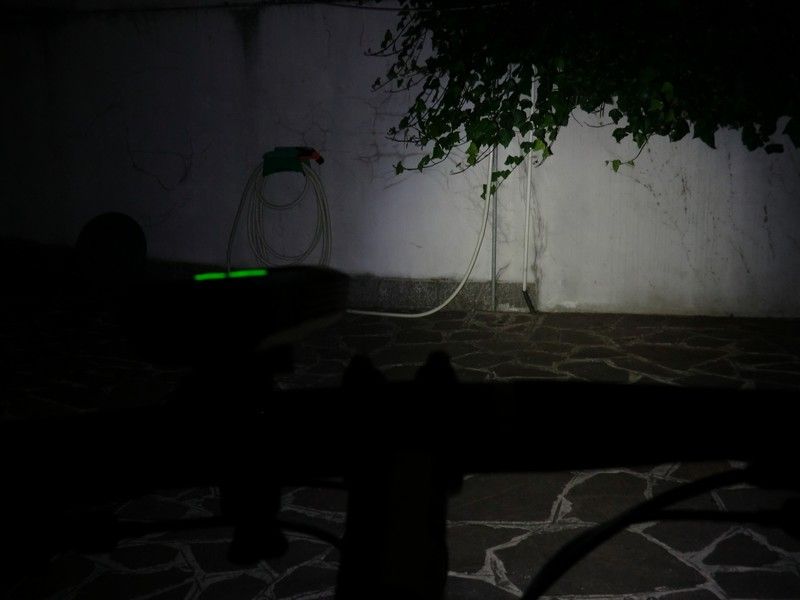
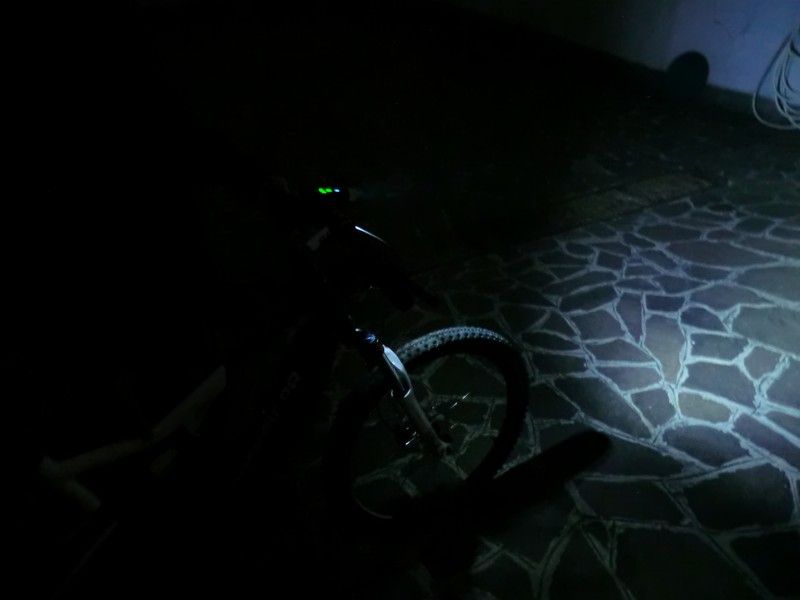
Let’s try the light
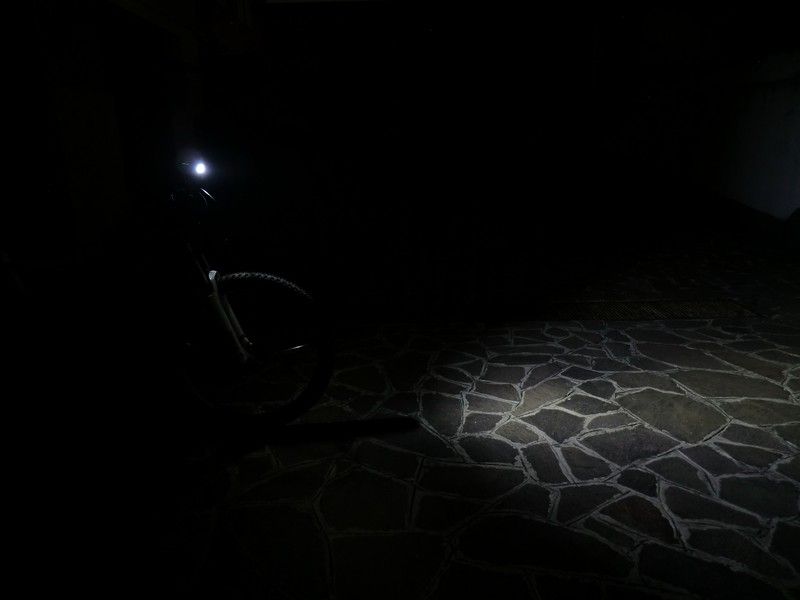
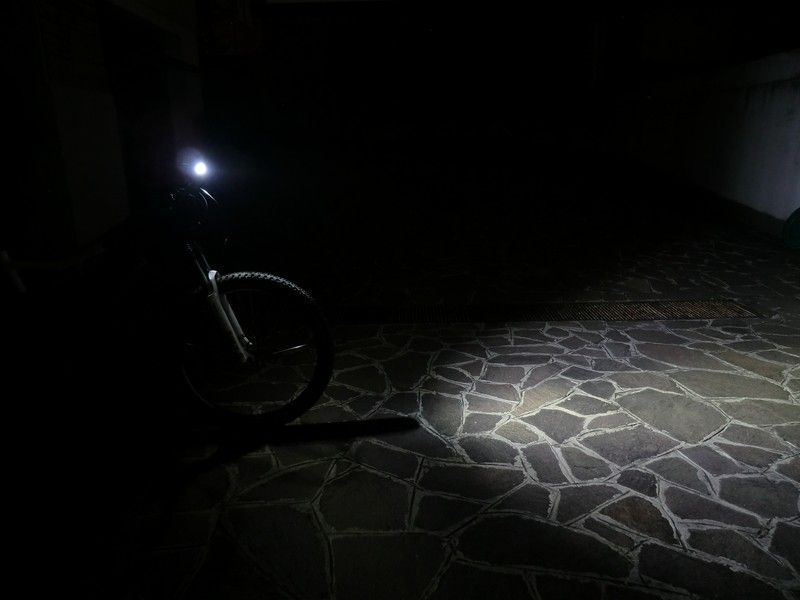
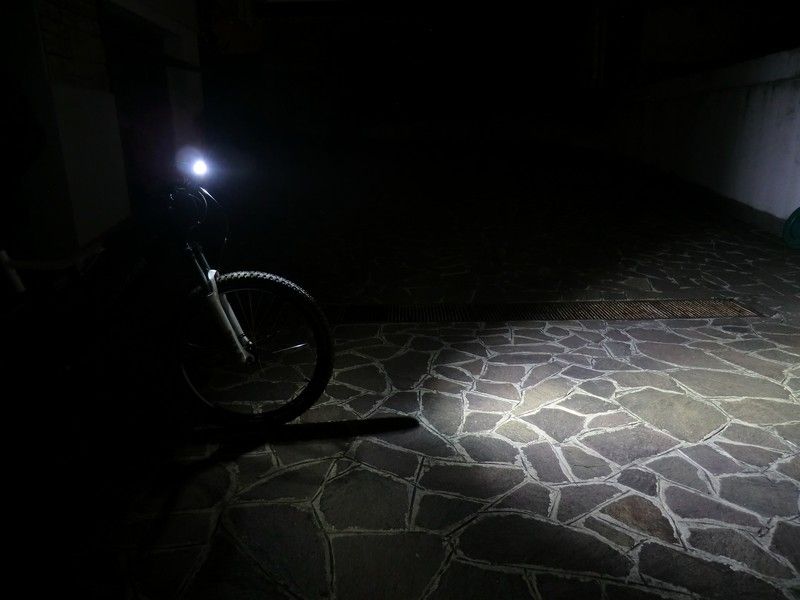
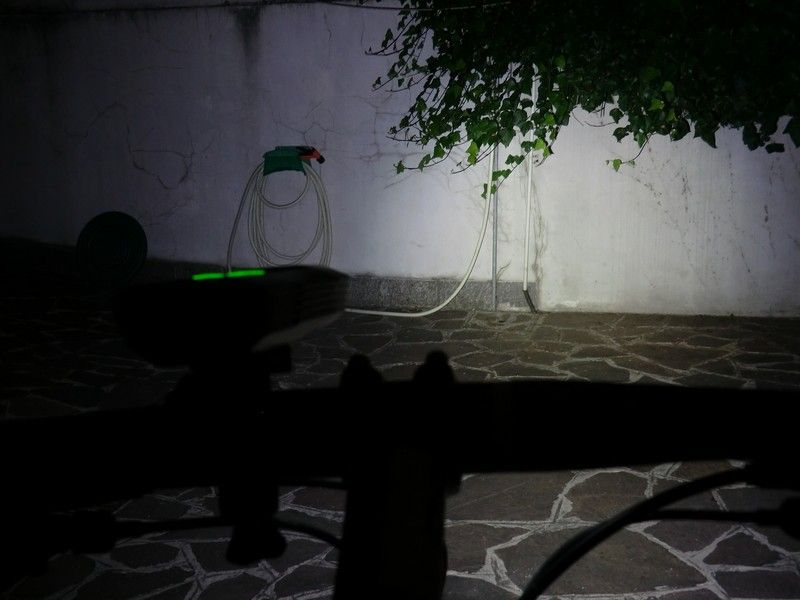
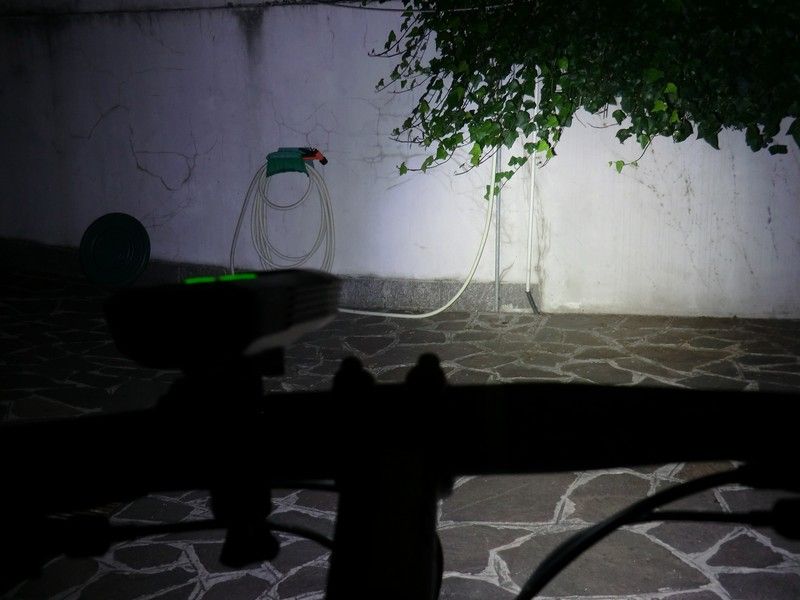
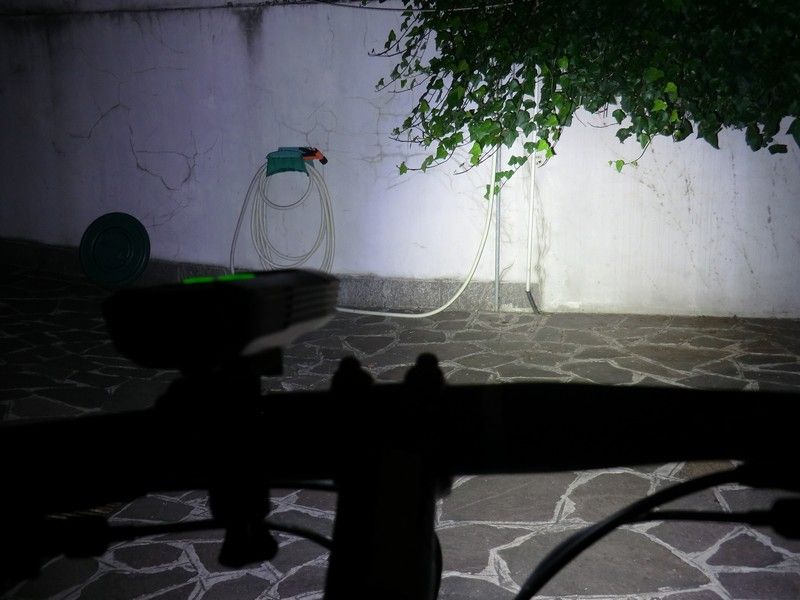
The 4 levels in sequence (no burst)
Here in a GIF

Another POV
Some toughts: the 3 bottons and the display are well lit. the bottons are well spaced and I used them without problem or mistake in the offroad.
The remote switch, has no backlight and is more difficoult to find in the dark.
This light won’t leave you suddendly in the dark with empty batteries.
In the graphic there is no record of the flashing mode (when the curve interrupts, the light doesn’t leave you in the dark, but start flashing). I have not tested the runtime at lower levels, but I expect to be consistent with Fenix specs. The regulation is great at the tested levels: very flat curves.
Some considerations
In the urban environement:
Level 1: 100 lumens: it’s enough to see roads in good conditions, not too well lit and gives and makes you visible from a good distance.
Level 2: 200 lumens: allows to see well roads in poor conditions and poorly lit, and makes you very visible.
Level 3: 500 lumen, allows to move safely in road that are not lit at all.
Level 4: 800 lumens: allows to move safely in road that are not lit at all, at high speed.
Level 5: 1600 lumens: it is useful to signal your presence to the traffic, and beyond a turn.
With all levels, your bike will be more than enough visible. I often see motorbikes with dimmer light.
In the offroad things are different:
Level 2: is enough only if you move a low speed.
When the speed increases or the terrain is very hungry of light (rich of grass, leaves, that absorb light), you will directly need levels 3 and 4, 500 and 800 lumens.
During my offroad testing, I almost always used 5 and 800 lumens. The 1600 lumens level, the burst, is enough for all the situations, but remember that you can use it only as a momentary. Remember that you need to keep the remote pressed to get the burst, which is difficult when you are changing gear/braking/holding yourself firmly at the handlebar.
Conclusions
I am very impressed by the work fenix made on the optic: the light is well distributed, and as you can see, even at the lowest levels, the light emitted is almost perpendicular, and the only dark zone you see is the shadow of the wheel.
The beam is very wide and smooth, and the NW coloration I like and recommend it, especially in the outdoor.
I would have liked more a closer angle, but few meters more of throw. This helps a lot when you ar going through a difficult path in offroad, at high speed. In these conditions, it’s important to be able to know what is expecting you in the next meters in order to change your directory.
There were many situations where I wanted a constant light mode, at least 1200 lumens.
I would have also preferred shorter runtime, but no stepdown. I don’t think that the stepdown are introduced to avoid over heating, but to not let you in the dark before you expect it.
Given the availability of many hi capacity 18650, I think that Fenix could update the battery size (I found 2x18650 2600mAh in parallel inside).
I think this is a very good light. Judging from the view of a biker, it is perfect: lot of power (more powerful than any other easy available light I’ve seen), great runtime, it is easy to recharge, has a great beam, NW tint, many levels, great bike mount.
From the view of Flashaholic, there are some drawbacks: very conservative output and regulation, no changing cells on the go.
More test, pics and videos will come.
Thanks for reading.