This is a “hand made” entry.
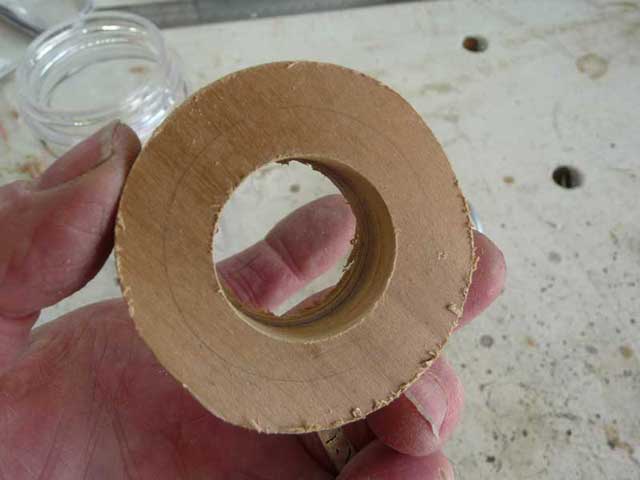
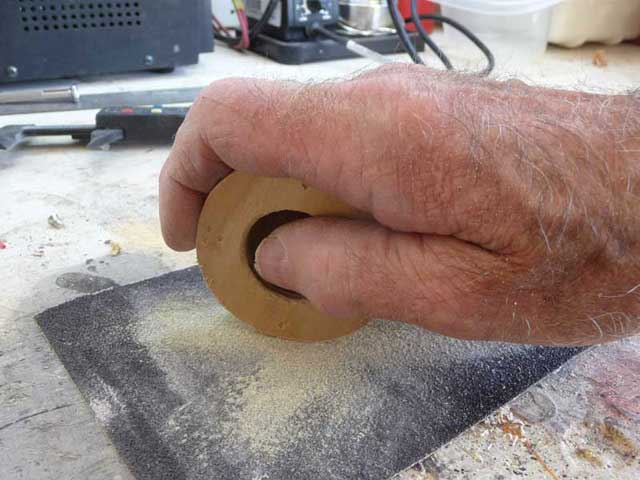
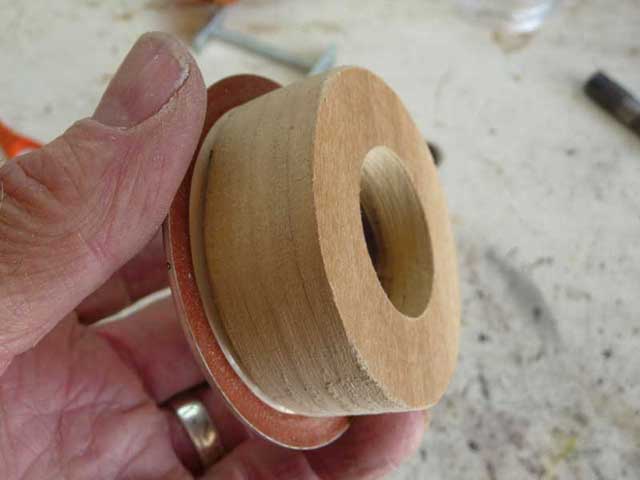
This project evolved through several incarnations over many months of day dreaming. There were a few constants. Use of a remote phosphor was one. A second constant was that this would be a camping lantern design, not a traditional flashlight. I wanted to light an area, not objects in the distance. I think the remote phosphor design is a natural for a lantern type of light. I guess that remains to be seen. :laughing: I want extended run time more than brilliance and bedazzlement. Lastly, I want to use some wood parts.
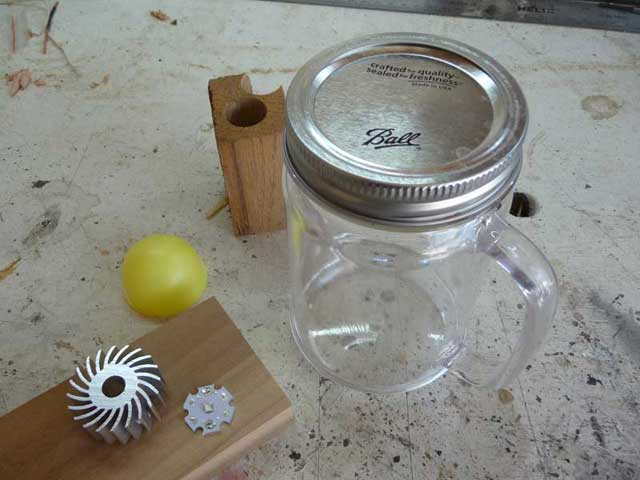
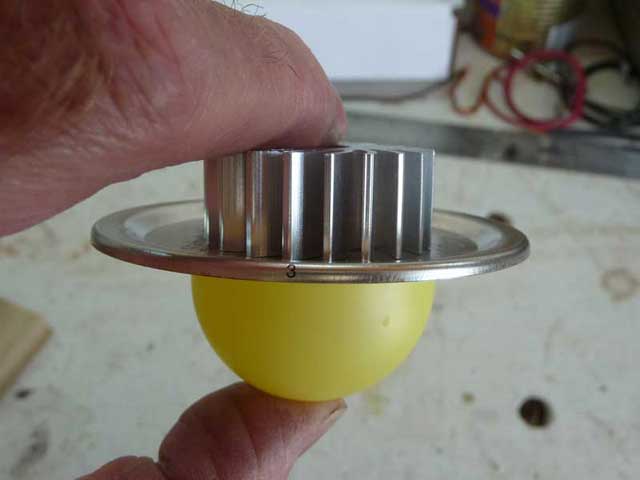
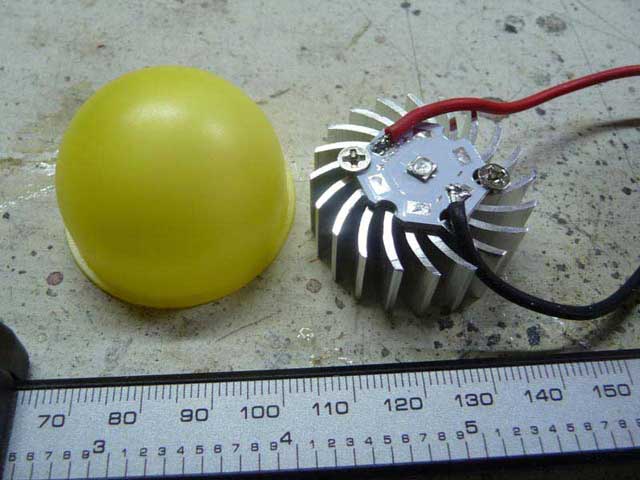
The remote phosphor comes from DigiKey. (photo) DigiKey stocks a small number of the variety made by Intematix,under the name ChromaLit. FYI, data sheet is here. The one I selected has a color temperature of 5000 K. I do like neutral more than warm light. It is a dome shape, 26 mm high with a base diameter of 42 mm.
Intematix makes a variety of forms, shapes and sizes in an assortment of color temperatures. One difficulty is finding a source for the shape/type that is desired.
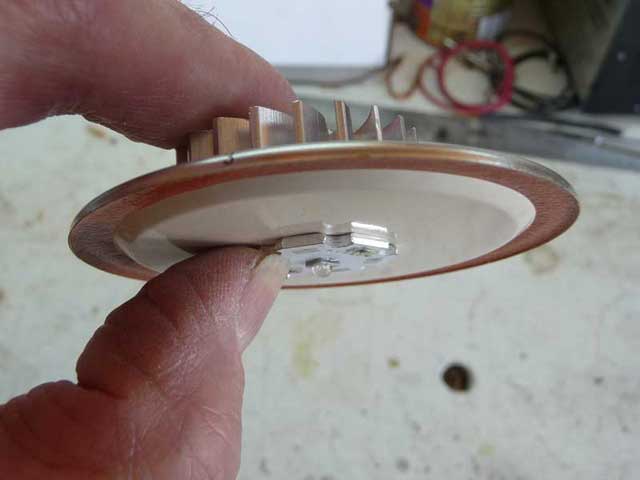
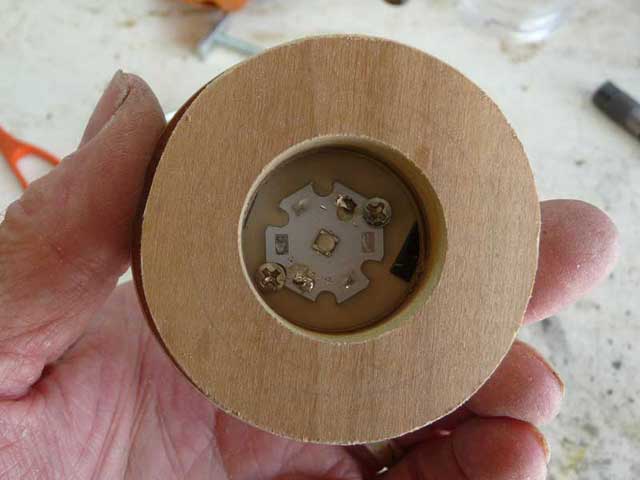
Remote phosphors utilize special emitters. I have some Cree XT-E Royal Blue emitters. These have no phosphor built in. Output wave length is 450 to 455 nm. I bought from an ebay seller. The emitter came on a 20 MM aluminium MCPCB. That should be sufficient for the envisioned low amperage use.
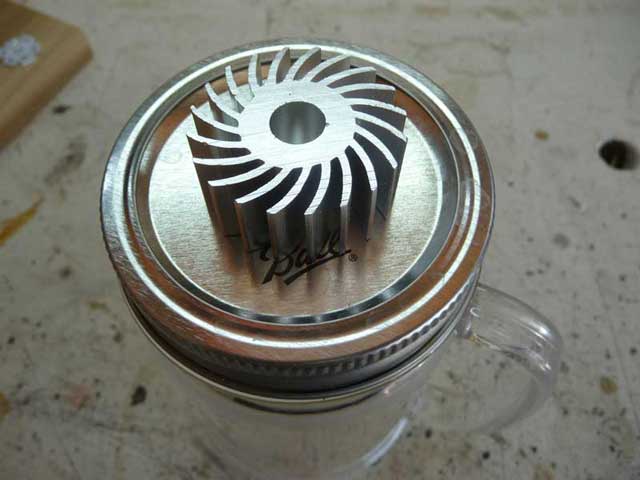
I have a 35 mm diameter heatsink I got from fasttech.
The driver: I have a Nanjg 101-AK-A1 on order. It has custom firmware, no memory. The levels, in percentages, are… 2, 6, 15, 28, 50, 100.
I plan to use at least 4 parallel connected 18650 cells to extend the illumination duration. I chose the 30Q’s because I have some of them doing nothing but taking up space. Flat tops.
I am going to try to incorporate a small digital voltmeter readout. That could be useful. Perhaps a later version with power pack ability as well as a built in charger will be attempted if this prototype works out.
Photos, we have photos. ![]()
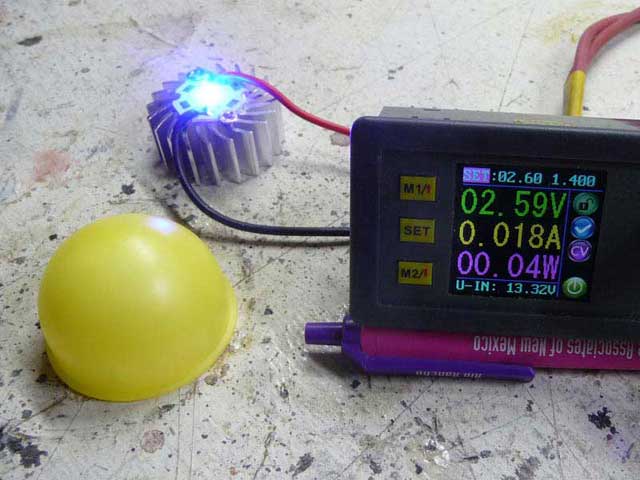
The phosphor dome is 42 mm across the bottom. The heat sink is 35 mm diameter x 16mm high. The XT-E is on a 20 mm star.
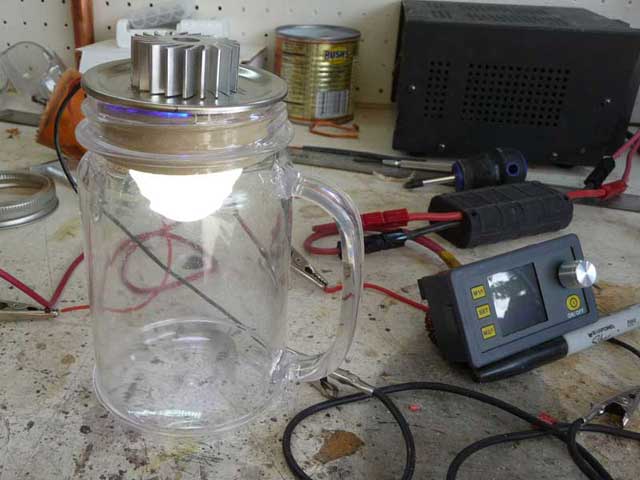
Illumination test, 2.59 volts 0.018 amp. The “royal blue” color of the bare emitter is evident.
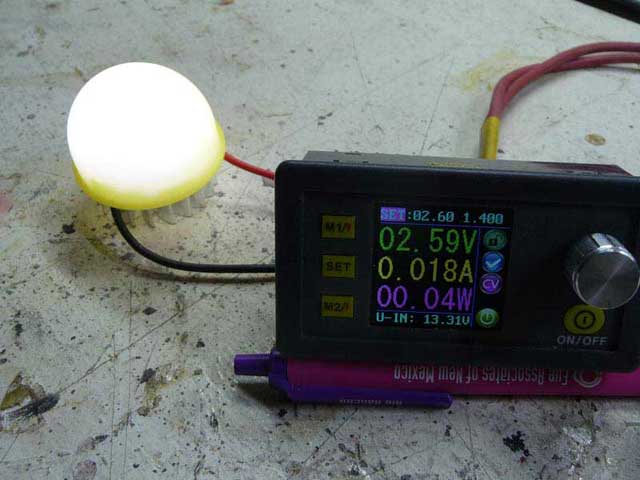
Next is the same power settings with the phosphor dome placed over the emitter.
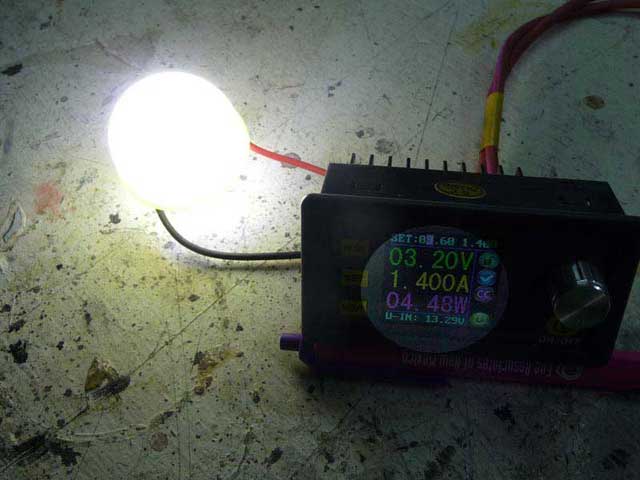
The emitter with phosphor dome with the voltage cranked up and the amps at 1.400
Hmmm… the workbench top sure appears beaten up in the photos. ![]()
Thanks for looking.