I received the Klarus FH10 for the review from BangGood.com
Here’s the purchase link , and save 20% with the coupon: KLSPRO
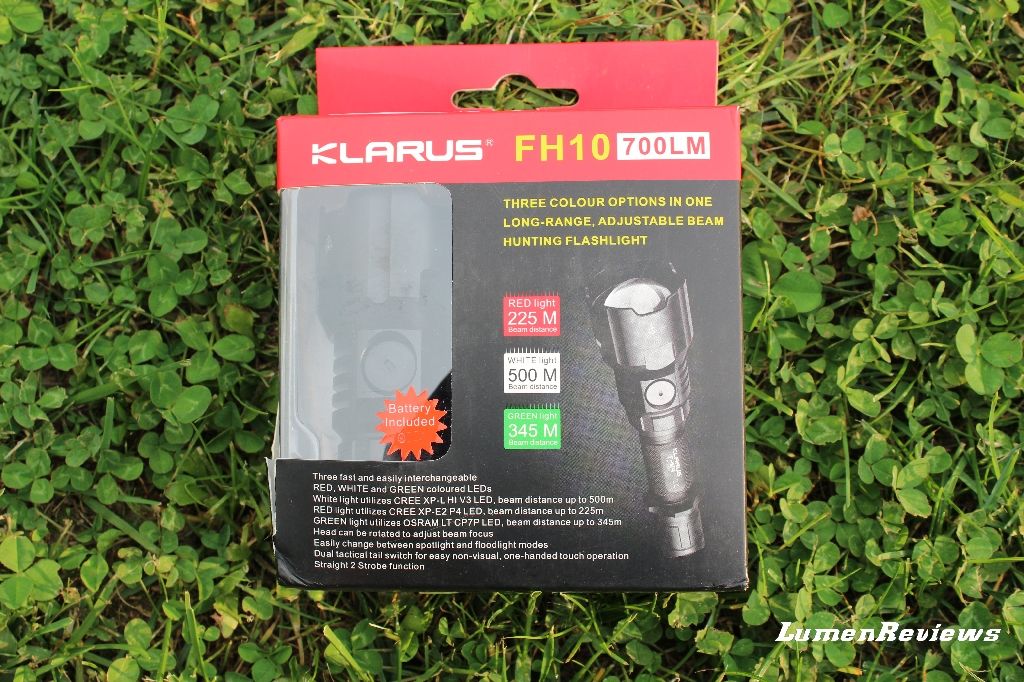
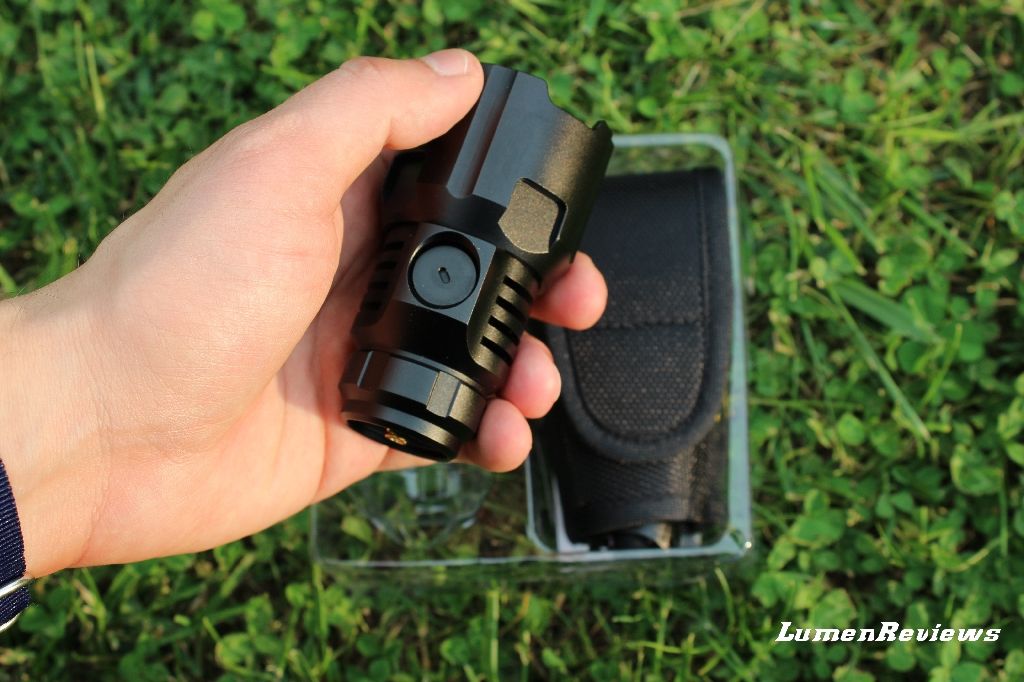
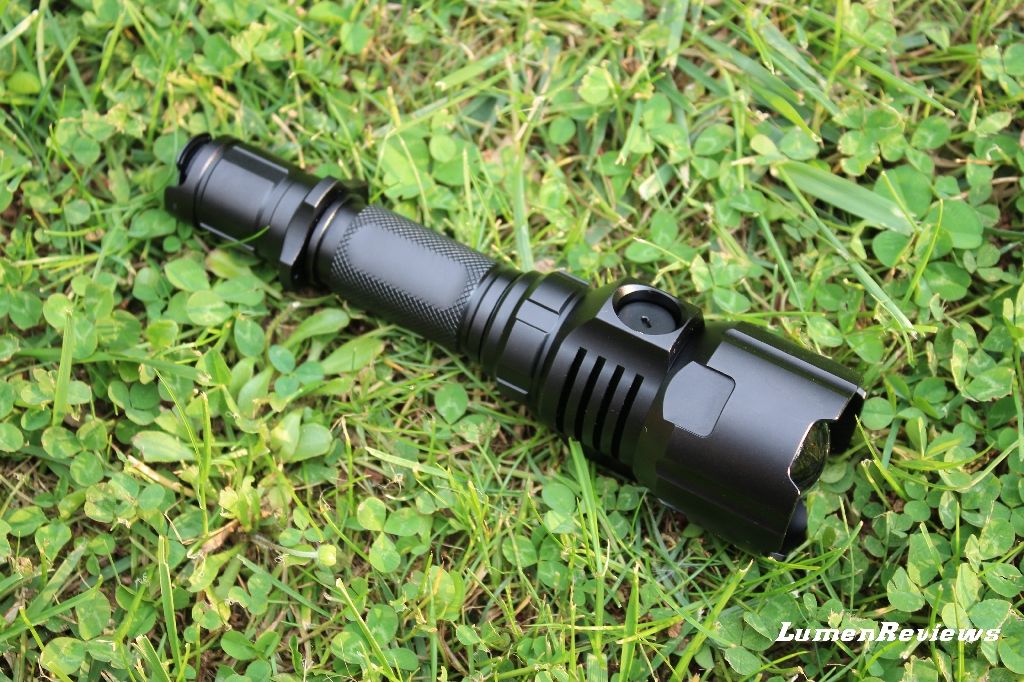
The FH10 is a relatively compact 1x18650 light with an aspheric lens. The aspheric lens will concentrate the beam coming alternatively from the 3 different emitters in the FH10: a XP-L Hi cool white, a red CREE XP-E2 P4, a green Osram LT CP7P LED. The light comes with a Klarus 18650 2600mAh.
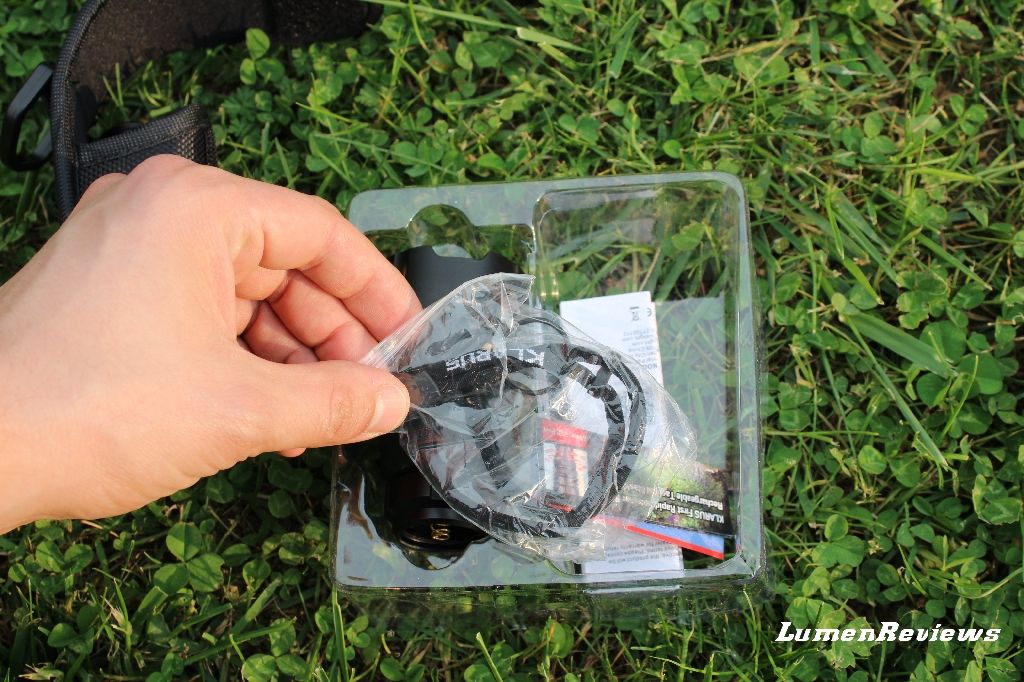
The FH10 comes in this box, with a see through part

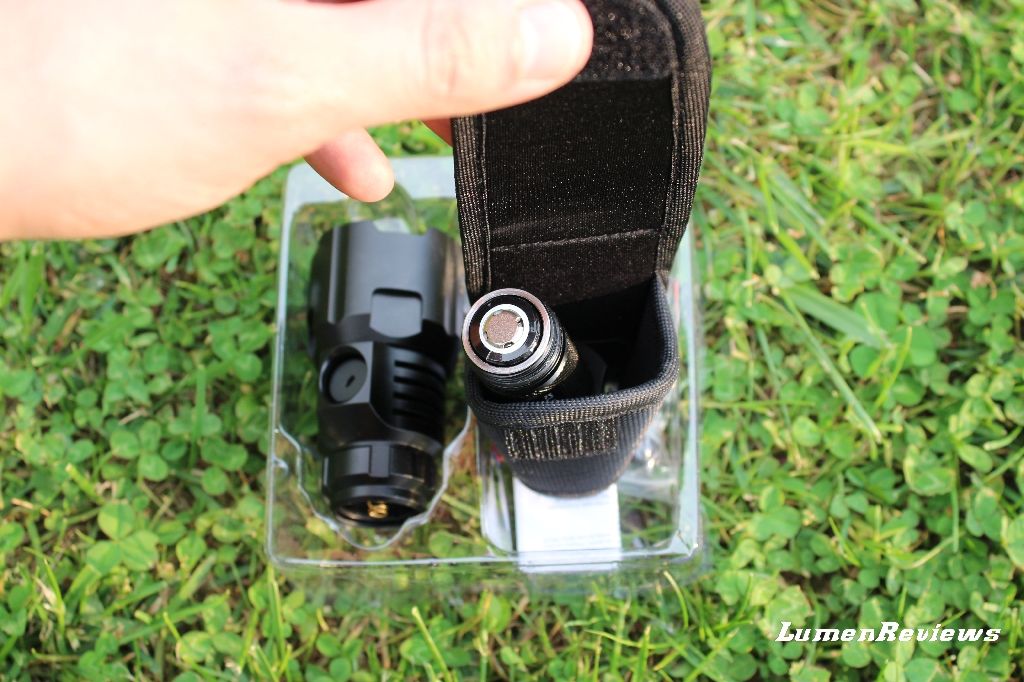
The light comes apart, the head on one side, with the lens
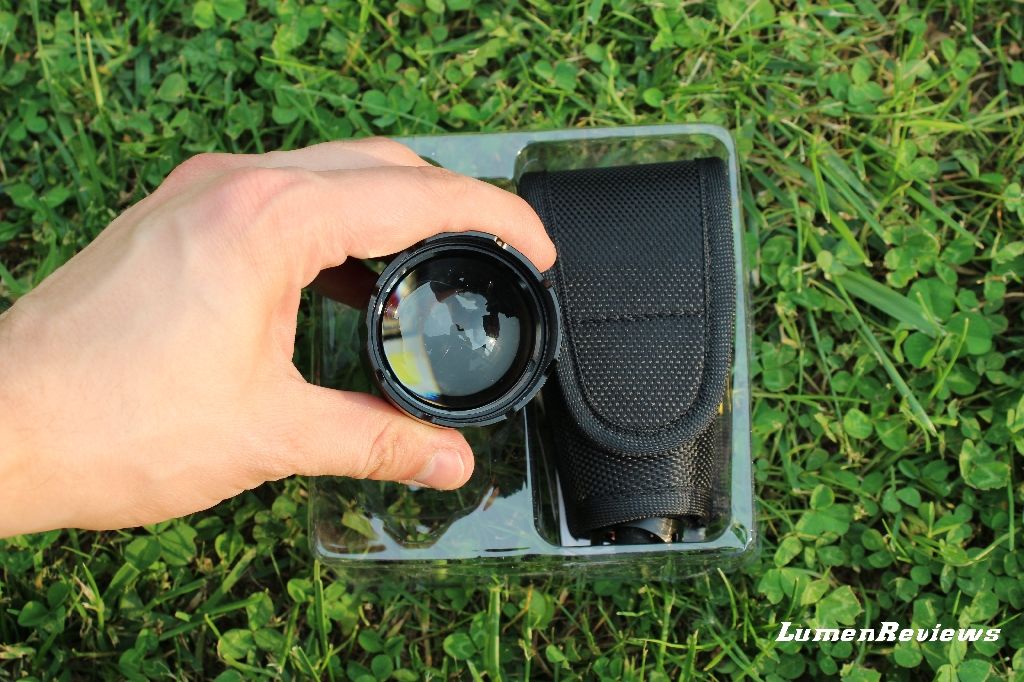
And the body in the sheath, with the battery inside
o-rings, lanyards, manual.
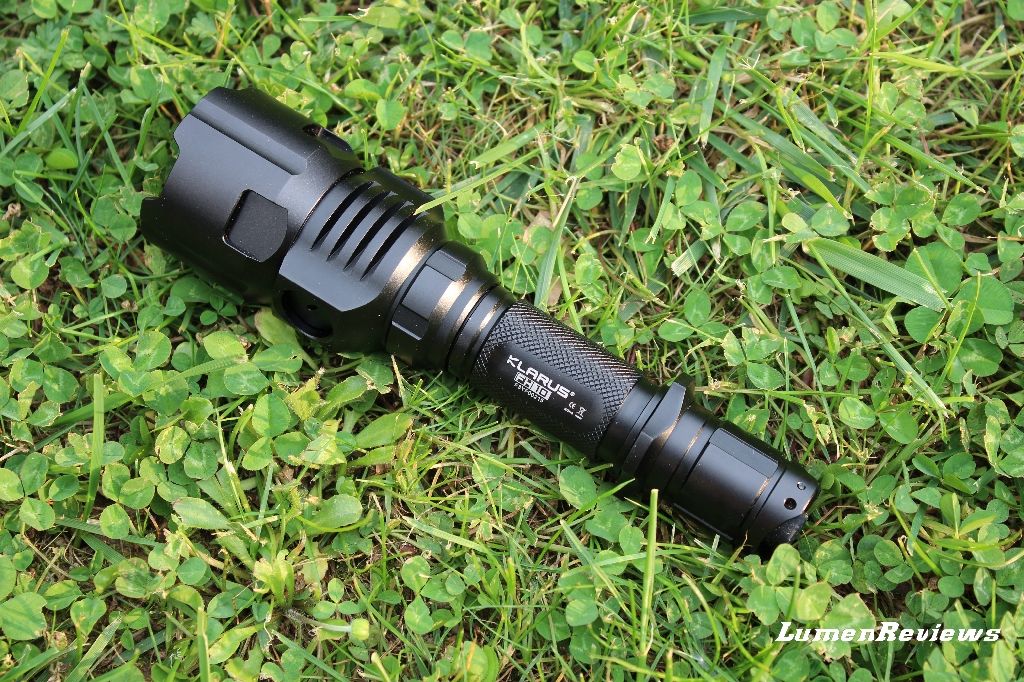
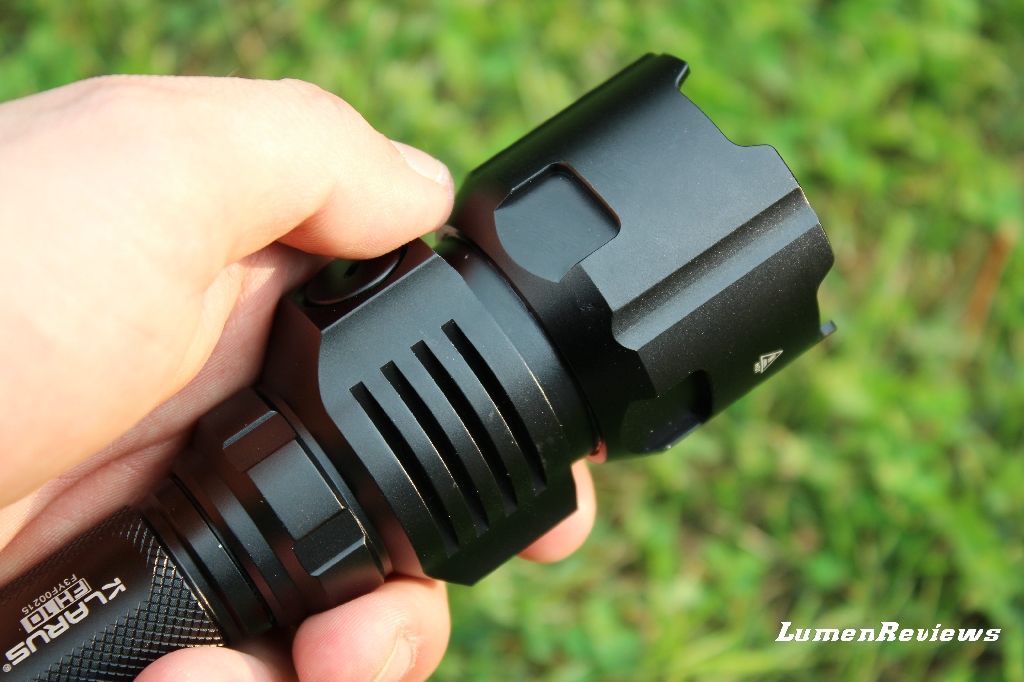
Once you screw the head on the body, here’s how the FH10 looks like: rather linear body with a bigger head
The tailcap has 2 separate mechanical switches.

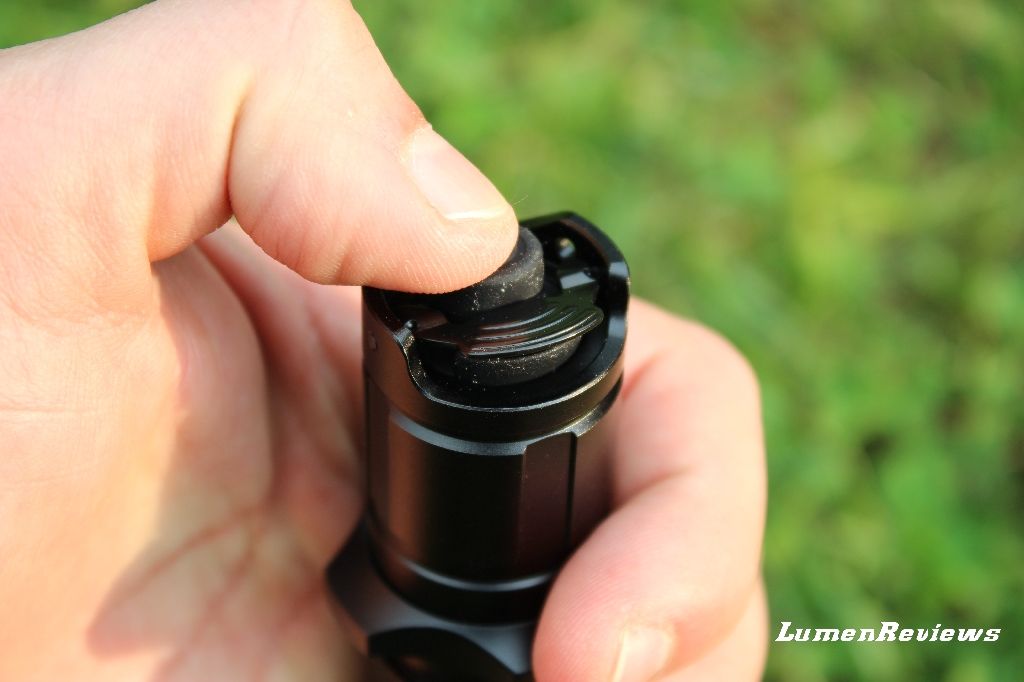
The threads at the tailcap are anodized (so physical lockout is possible), and greased. The ring for the cigar ring is not threated and just fits on the body, kept in place by the tailcap not in a firm way (it rattles up and down).
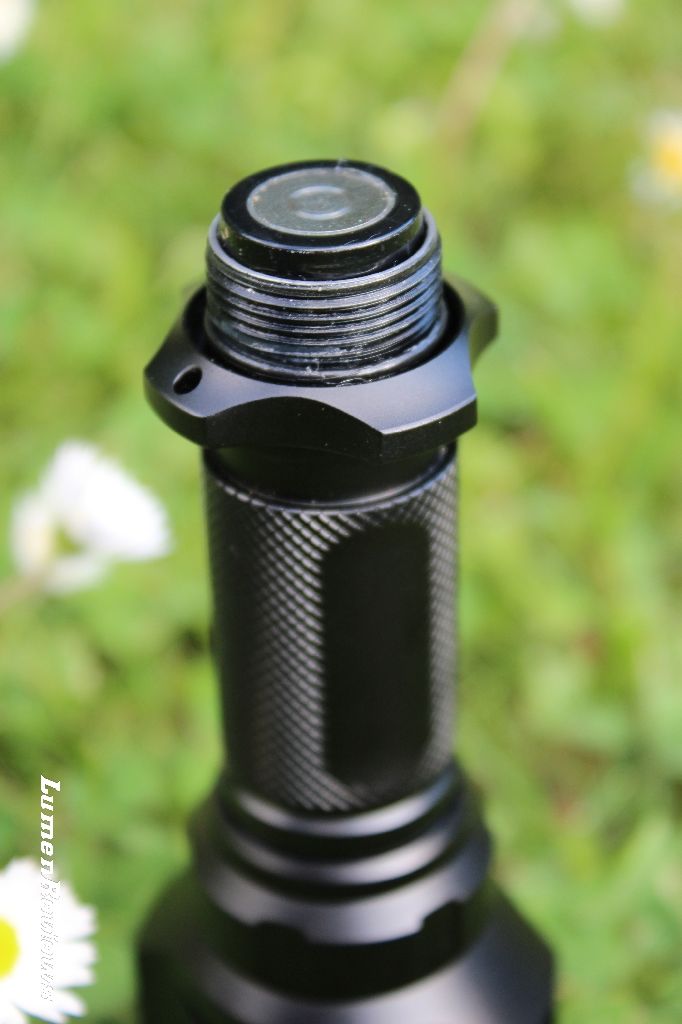
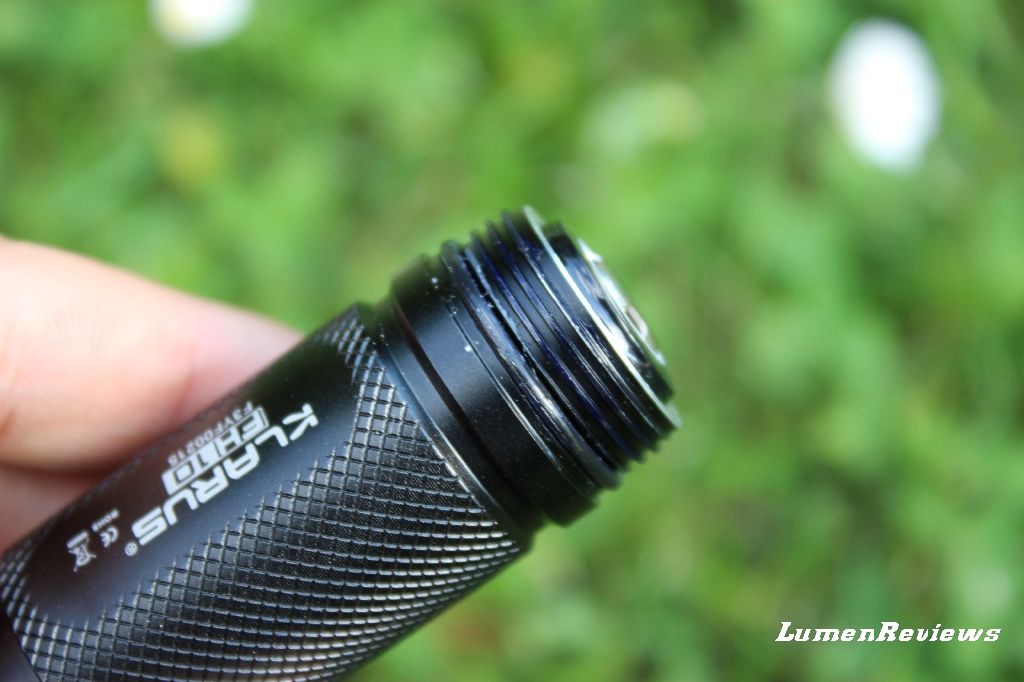
the threads at the head are squared cut and also anodized
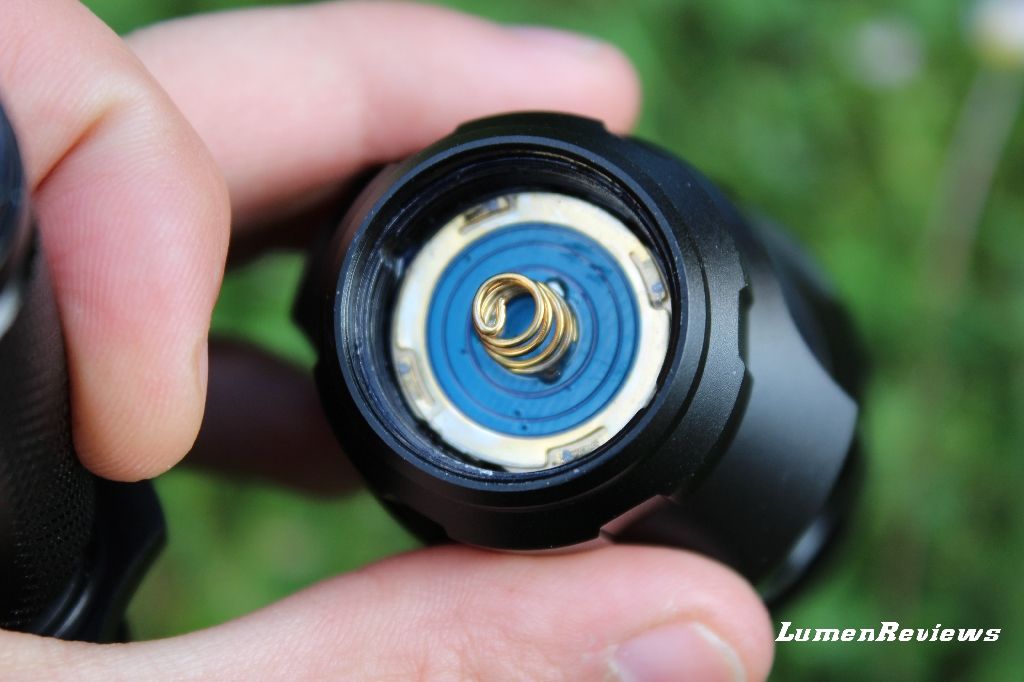
the positive contact point is a golden spring, so flat top and button top cells will work.
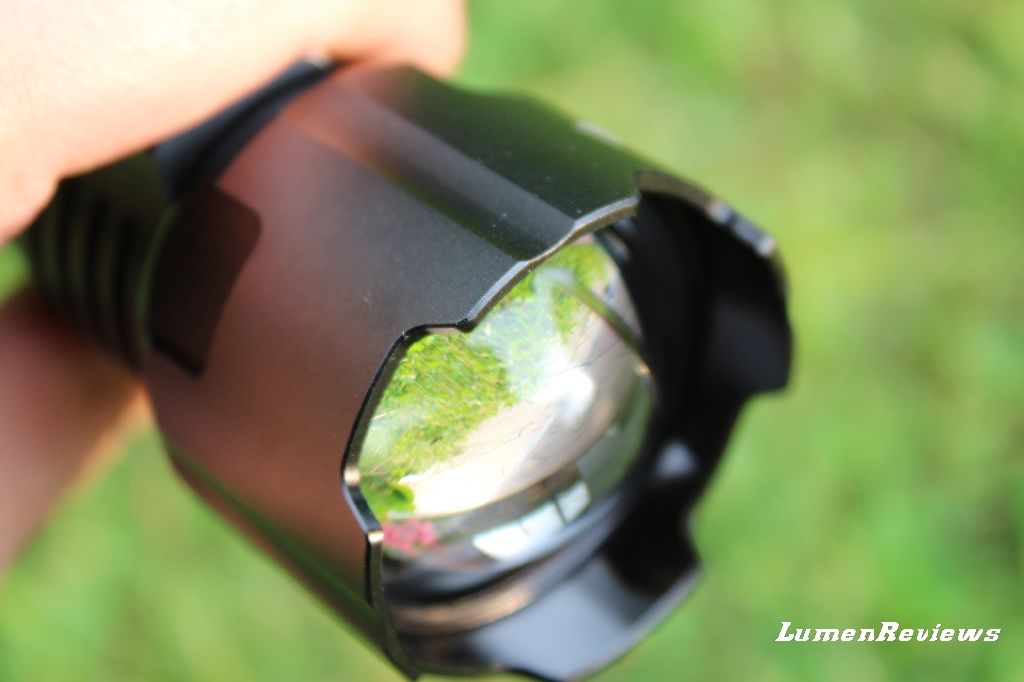
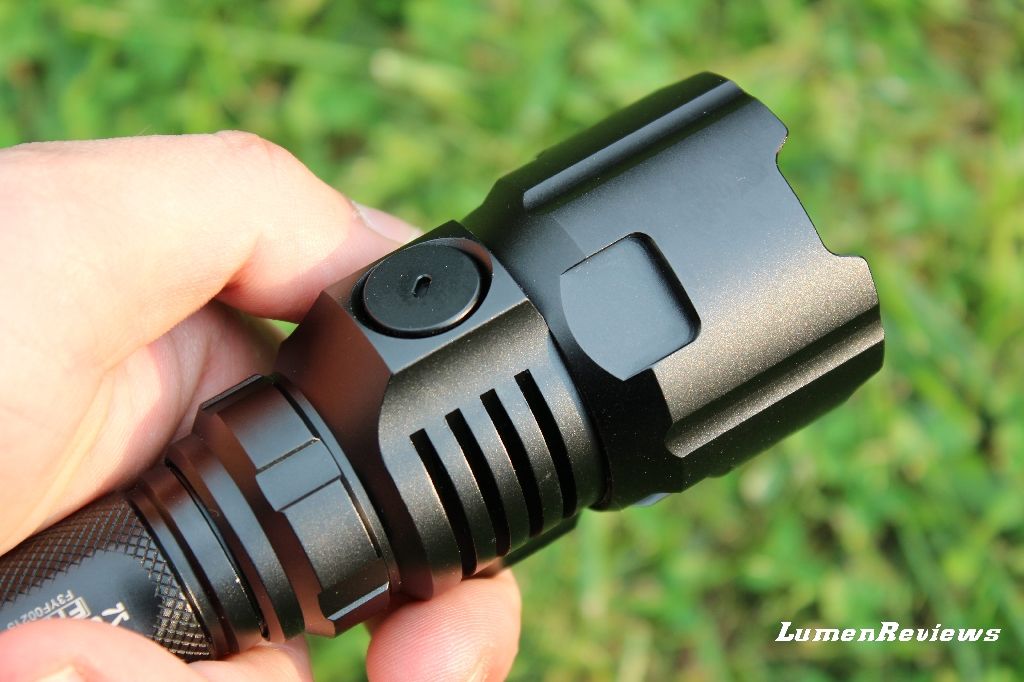
The head with a crenelated profile and the big lens
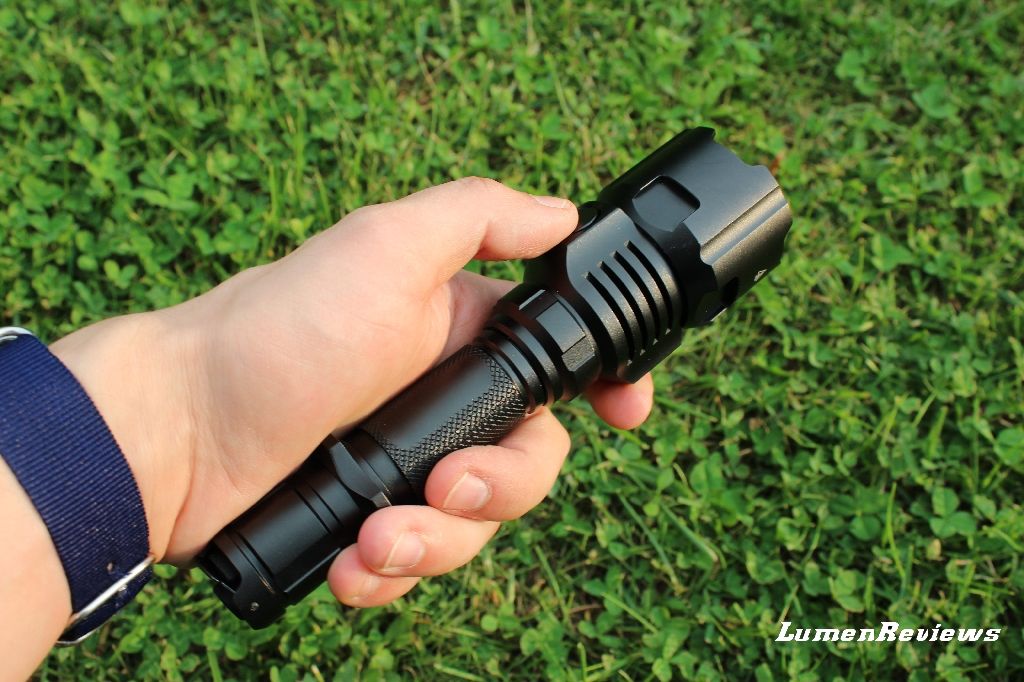
As you may have noticed, on the head there’s this strange switch
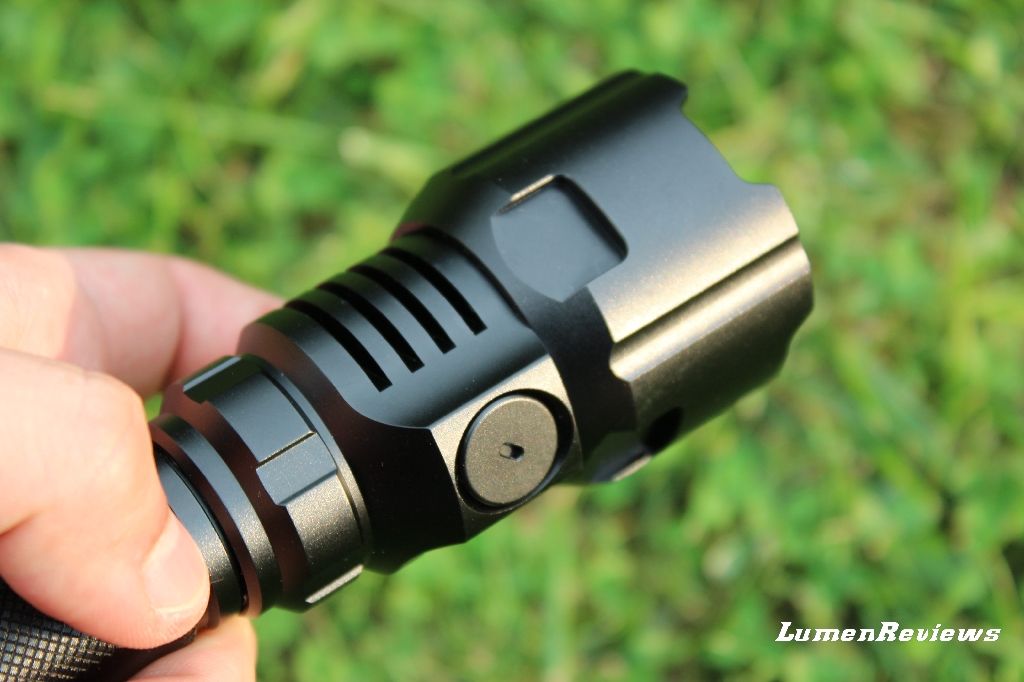
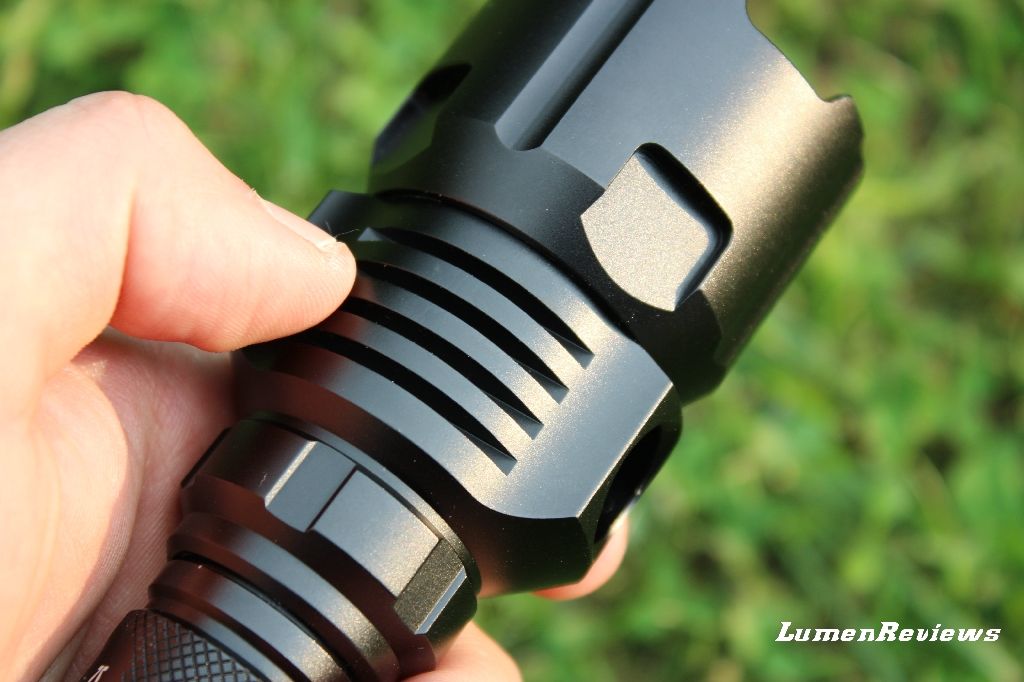
This switch is a cylinder that travels from one end to the oher of the head, and it can be pushed from both sides. Its travel happens right under the cooling fins.
This switch allows the user to choose the emitter who will be powered.
Here is it on one side
Now I press it
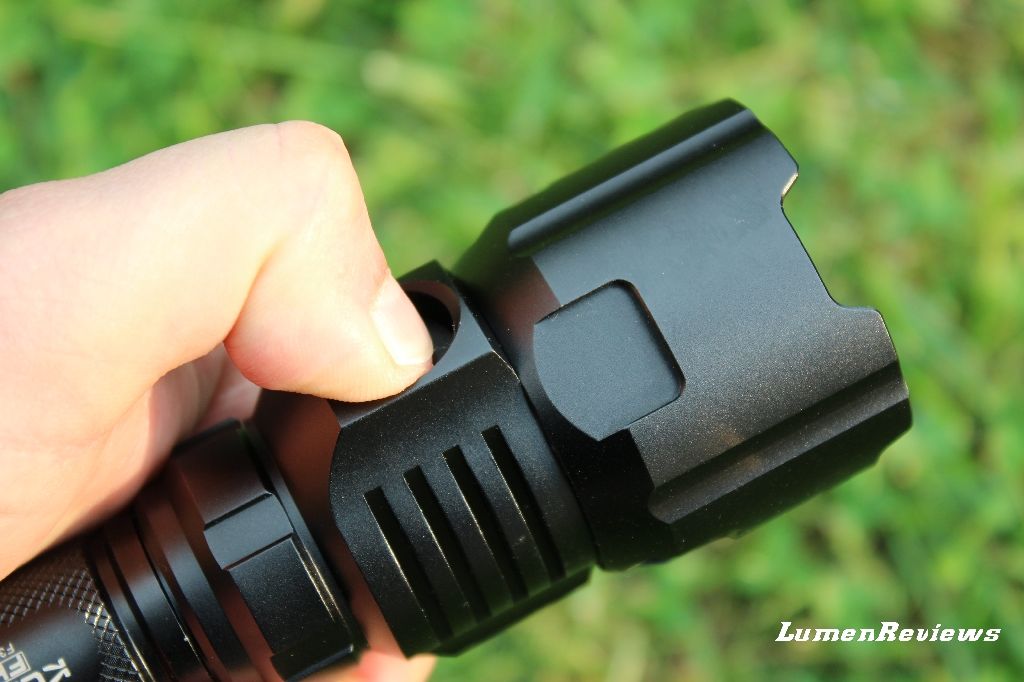
here is in the recessed position, kind of like in the middle of the light
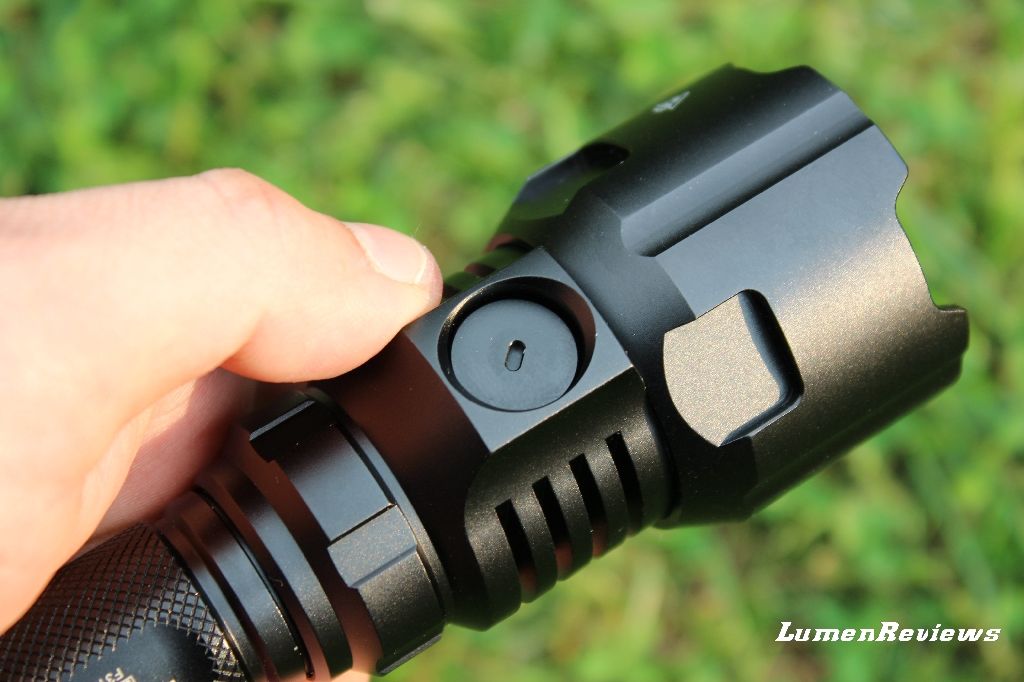
A part the cooling fins on the head, there’s some knurling on the body but the body is rather smooth.


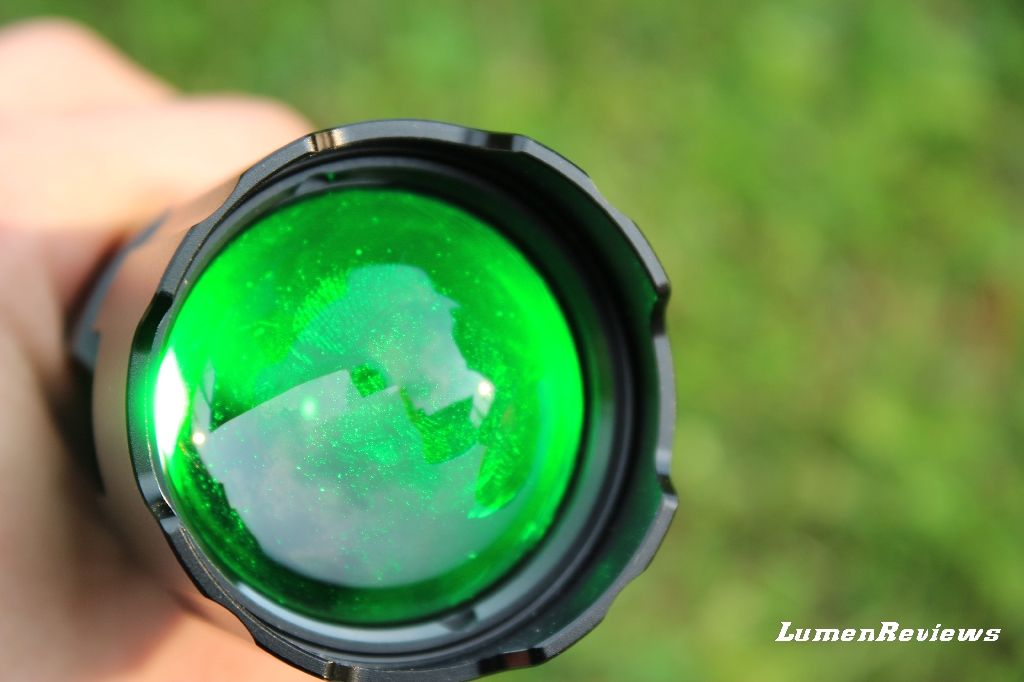
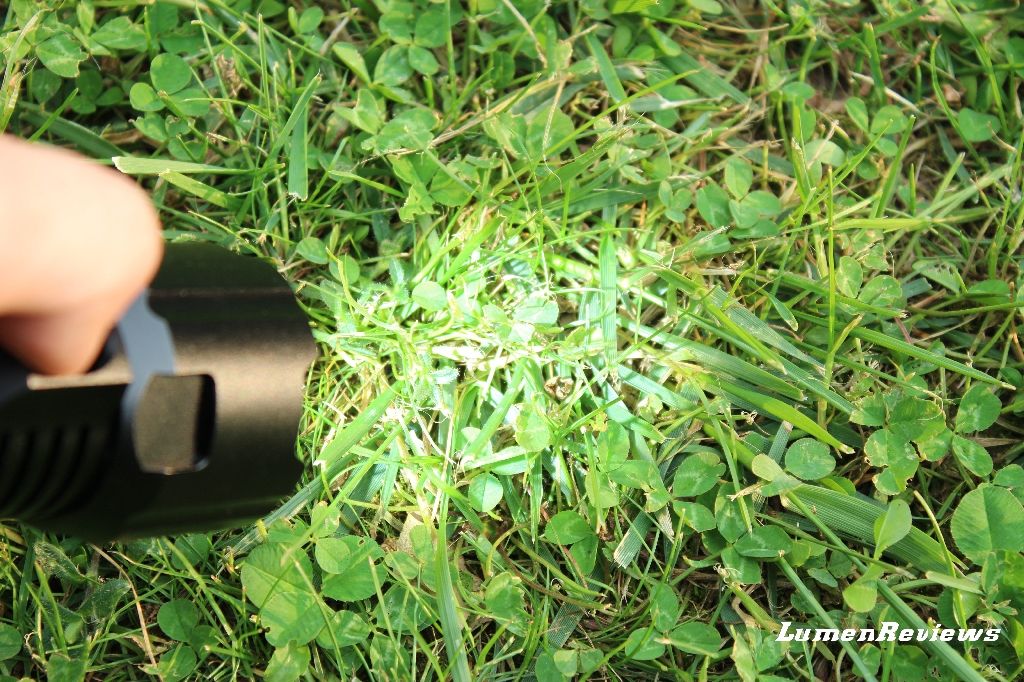
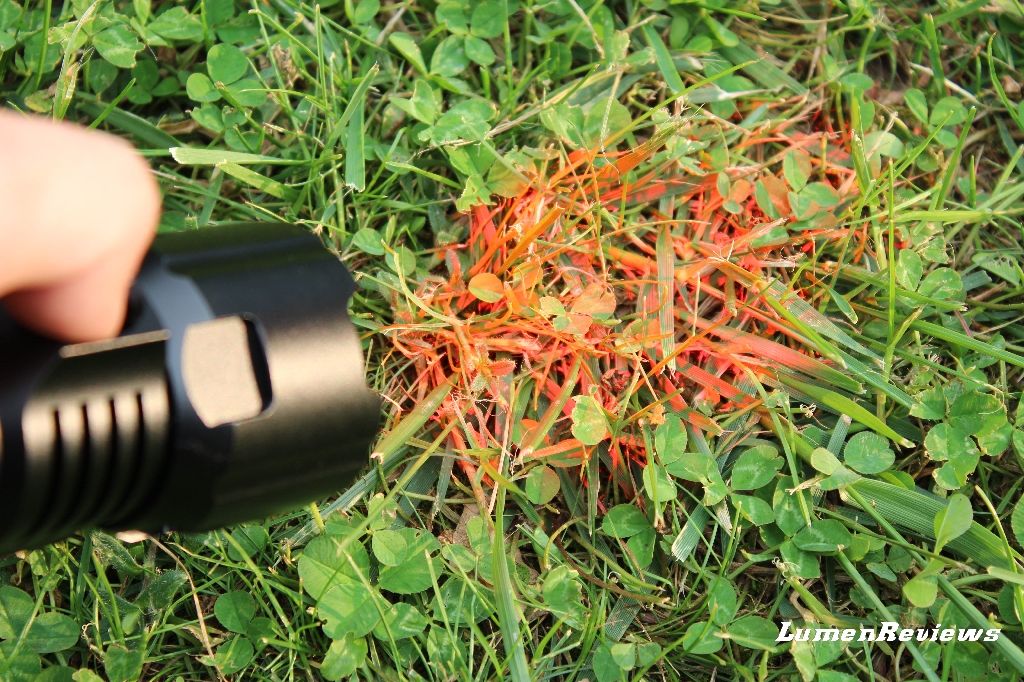
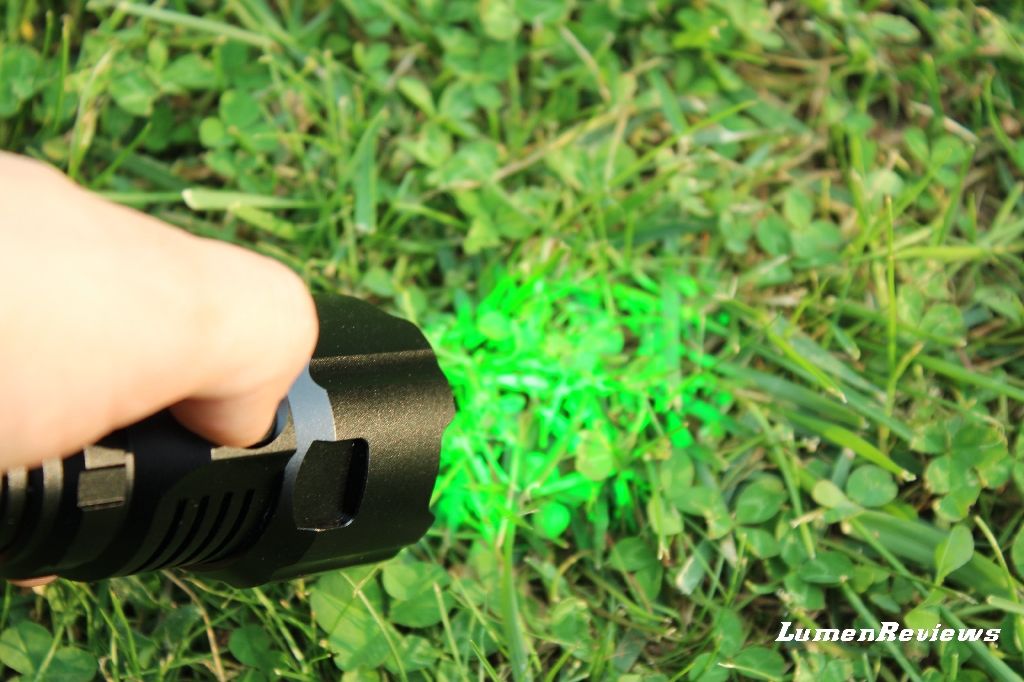
Here’s the 3 colors.
.
.
.
UI
- To turn the light on you need to press the central switch at the tailcap. The light will turn on at high mode, without memory.
- When the light is on, press the lateral switch at the tailcap, to cycle between the modes (high – medium – low, in loop).
- If you press the lateral switch at the tailcap when the light is off, strobe will be activated.
The UI is identical for all the 3 different emitters. To change the emitter who receives power, you need to operate the switch on the head. If you were into the low mode with the led emitter, if you change to another emitter, the same level will be conserved.
That switch works as a cylinder that goes from one side of the light to the other:
- When this switch is in the middle position, it is the XP-L Hi emitter who receives power,
- when it is on one side, it will be the red emitter;
- when it is on the other side, it will be the green emitter.
It is clearly explained by this Klarus GIF!:
To move the cylinder switch you don’t need much pressure, and you got some millimeters of play for each of the 3 positions. On my sample, if the cylinder is pushed all the way on the “red side”, something probably doesn’t make contact and the LED doesn’t turn on.
Once you select your desired emitter, you need to orient the lens to focus the beam. The movement of the lens is obtained by rotating the bezel of the head.
Here is the lens in the further position
And in the closer position

.
.
.
Beamshots
Before the actual beamshots, I would like to spend some words about aspheric lens.
The aspheric lenses work well in focusing the output in a tight beam, composed at the max tightness, only a tight spot with the form of the die of the led, with no spill at all. The bigger the aspheric lens and the smaller the emitter, the narrower and more concentrated will the beam be.
They need fine regulation to focus the beam (it’s not like the zoom lights, where you just extent the lens and you have the max throw), and they don’t allow to spread it like some typical “zoom” lens, and.
Sure, you can move an aspheric lens in order to have a wider beam that the squared die projected, but it will result in something that looks like a big concentrated spot, with some portions of spill.
So, the aspheric lens are used for getting the max throw, but not an “ordinary” throw, since they will not produce any spill. This beam is a specialized kind of beam, and the main advantage of it is that will allow higher “eye-throw”. Let’s see the beamshot first, I will come back to the “eye-throw” later.
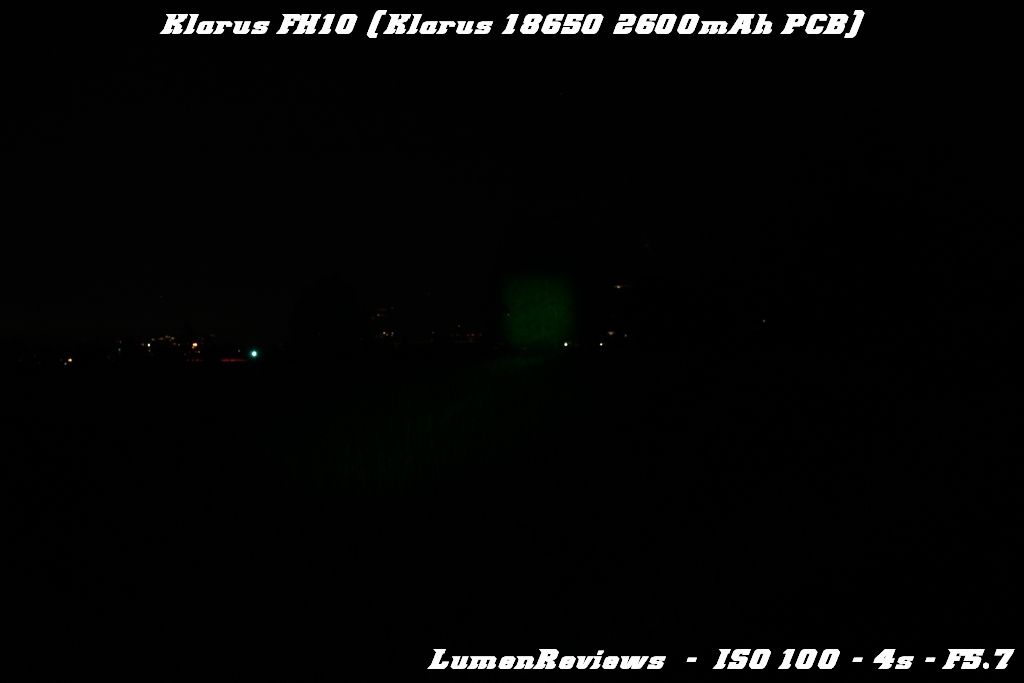
Beamshots: 100 meters at the tree. I had to zoom with the camera because otherwise I wouldn’t be able to focus the images. To my eye I could see all the die details (wiring of the XP-L, XP-E2 and the Philips)
XP-L Hi
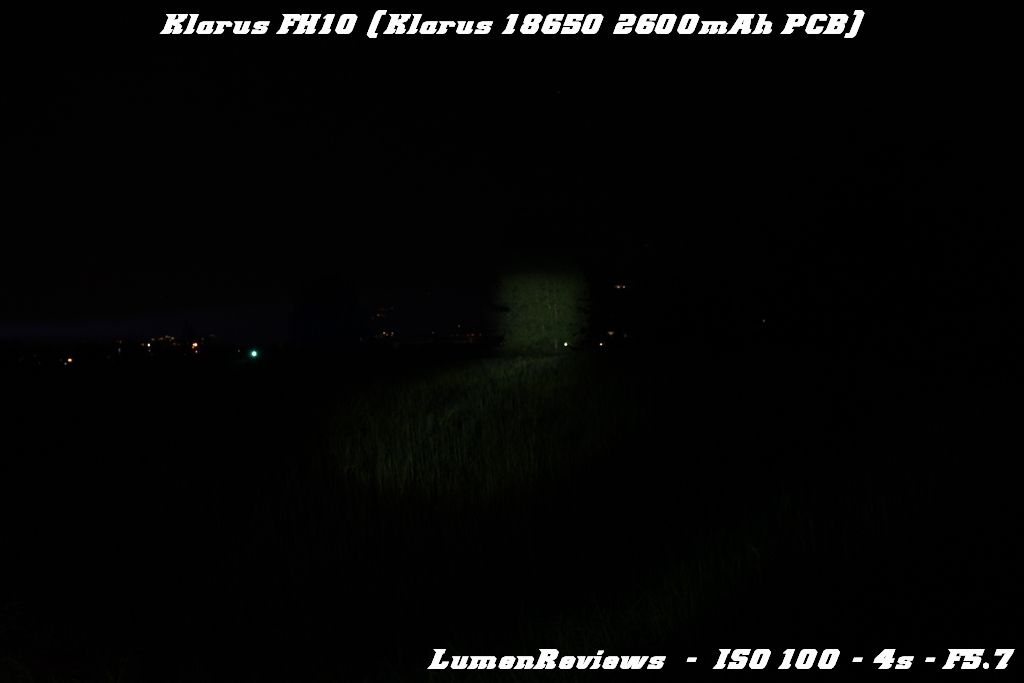
XP-L Hi, slightly lower oriented
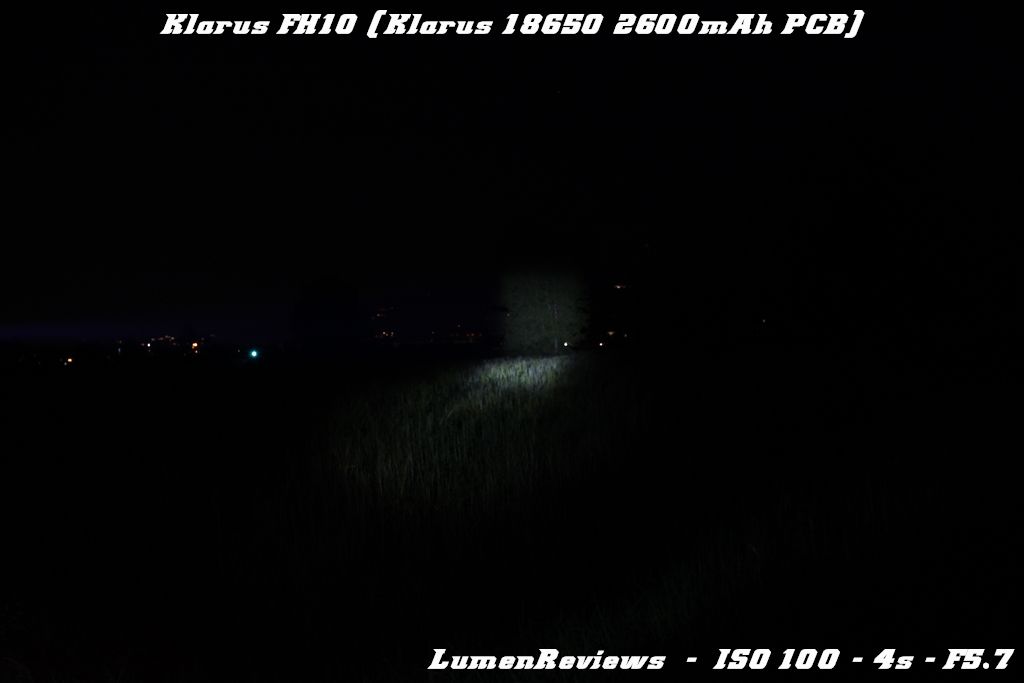
Now, 100 meters is a distance that many lights can cover, however, the more spill the light has, the more light will be reflected at close to medium distances, causing the pupils to close and allowing less light to hit the eye. This cause the eye to be less able to receive the very small percentage of light who is coming back from the space enlightened by the spot. You can imagine how relevant this effect is when you are using a light in the fog or with high humidity. The less spill and the narrower spot a light has, will diminish the “blinding” effect, helping the eye to perceive the objects in the distance. Since the shots are zoomed in, they will not show some “slices” of spill that appears here and there in the field. They are not bright or disturbing.
Green
Red
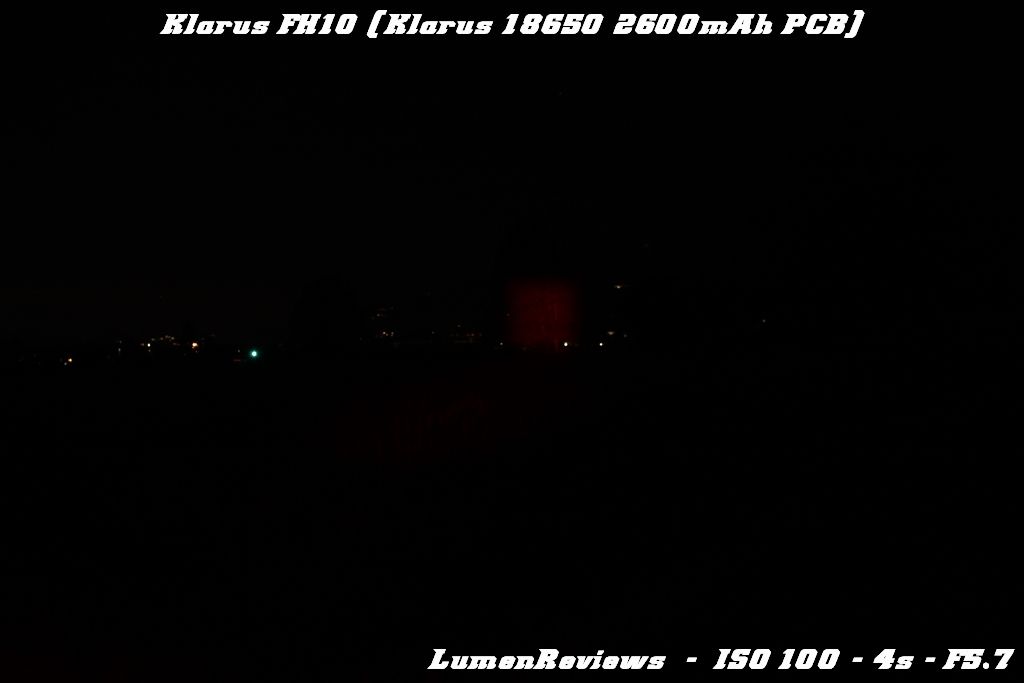
A couple of things:
The reason you do not see a very detailed image of the die projected on the tree is because I tried to keep my hand steady but with at 100 meters every minimal movement causes the die image to move a lot.
When switching between an emitter and the other, since they are optically different (different die sizes, different domes and so on), you will need to readjust the position of the lens to get the max concentration of the beam. The adjustment required when switching between the red and the XP-L Hi emitter (and vice versa) is minimal, while you will need some movement when switching from the green to another emitter (and vice versa).
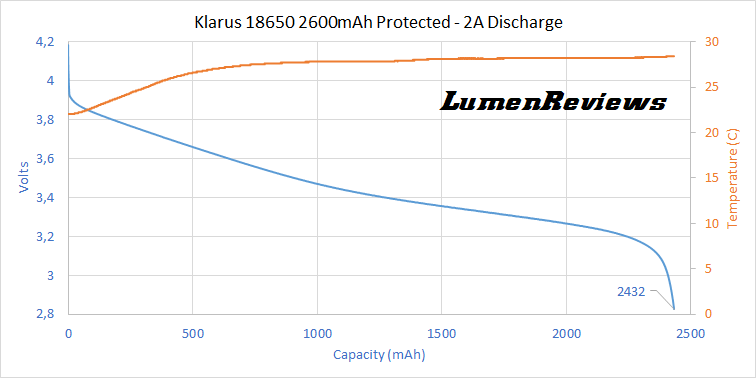
Battery test
Here’s the result of the 2A discharge of the Klarus 18650 2600mAh battery that comes with the light.
.
.
.
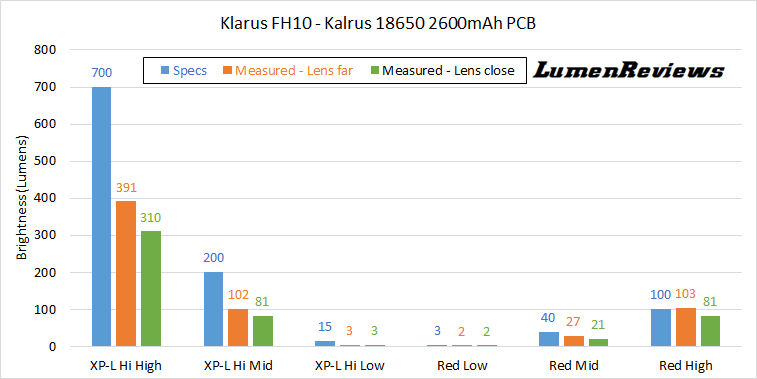
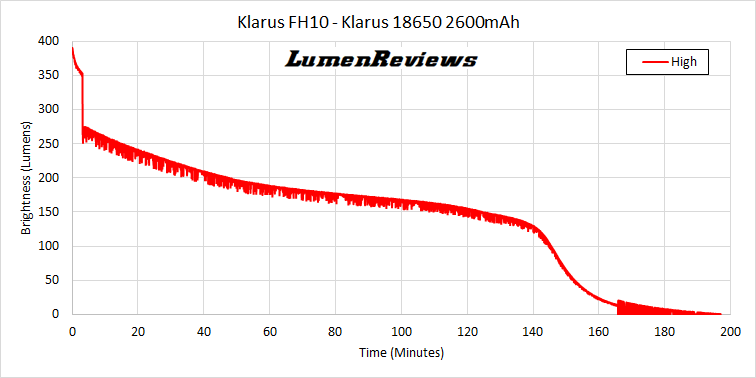
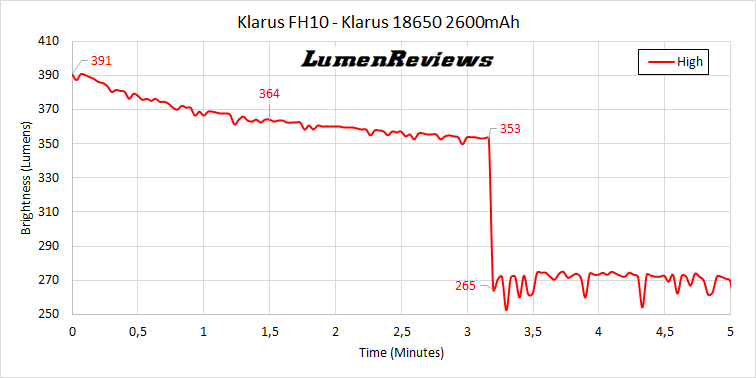
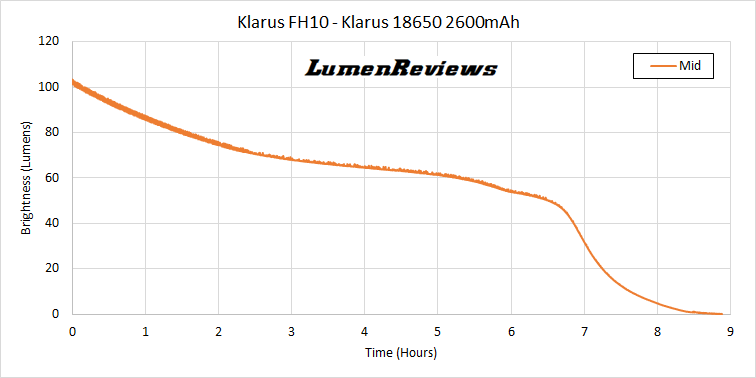
Output and runtime
Note that normally I don’t measure the colored outputs, because a) usually they are rather low, b) the wavelength of that color doesn’t end up in the calibration interval of my luxmeter. I did test the output on all levels and colors of the FH10. The measurement of the green output led to incredibly long and wrong values, probably due to the luxmeter calibration curve. What I can say is that to the eye the green is much more brighter than the red output (just look the beamshot), and the specs about the green output (160, 65 and 5 lumens) are probably right.
.
.
.
My thoughts
The light is well built and finished.
I have a little familiarity with aspheric lens light, and the FH10 is the smallest light with aspheric lens I came around.
With the FH10 the aspheric lens manages to get a good throw maintaining compact size. As far as the aspheric “aspect” and the output, this light is nothing exceptional (both because the lens is not huge and I understand that the solution used for the “led swapping” will probably lead to limits as far as current flow and heat management).
What is really good and interesting in this light is the tactical UI (direct access to turbo and strobe), and the particular color changing aspect, which is easy, intuitive and effective.
Klarus used small emitters for all the colors, insuring good throw performances for all colors.
I don’t mind the light being on the long side, the extra lenght allow to better balance in the hand the heavy head.
The sheath is well made with molle compatibility, but if you use it with the cigar ring grip in place, it will require some effort to remove the light from it.
In my opinion the FH10 is better suited for someone who is looking for a multicolor throwing light with compact size, or a tactical throwy lamp to be mounted on a rifle (for which Klarus offers rail mounts and remote switches) without fearing for recoil (both for the screw in lens system and the double spring system for the battery).
I’d like to see this light come with a NW tint for the XP-L Hi emitter, a threated cigar grip ring and with a lighter second tailcap switch (I find a bit hard to press in some moments).
Thanks to: AntoLed for the camera advices and the luxmeter.
Here’s the purchase link , and save 20% with the coupon: KLSPRO