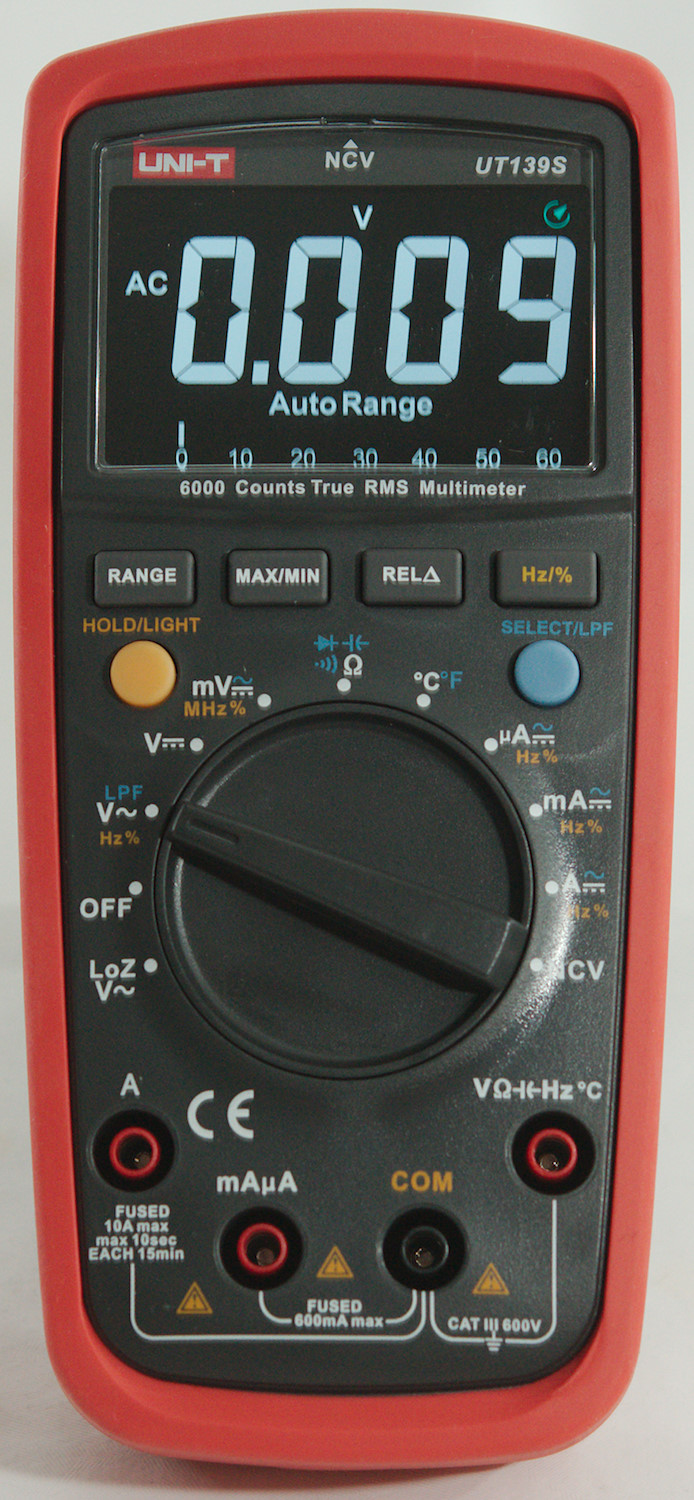
DMM UNI-T UT139S
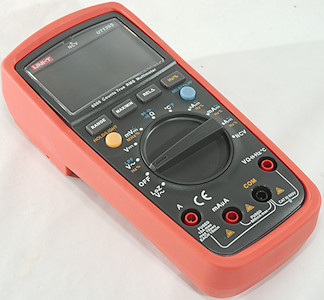
Uni-T has a large selection of DMM in their program, this model exist in A, B, C, E and S versions, In this review I will look at the S version that is the most advanced model (Together with E) and has a inverted LCD display.
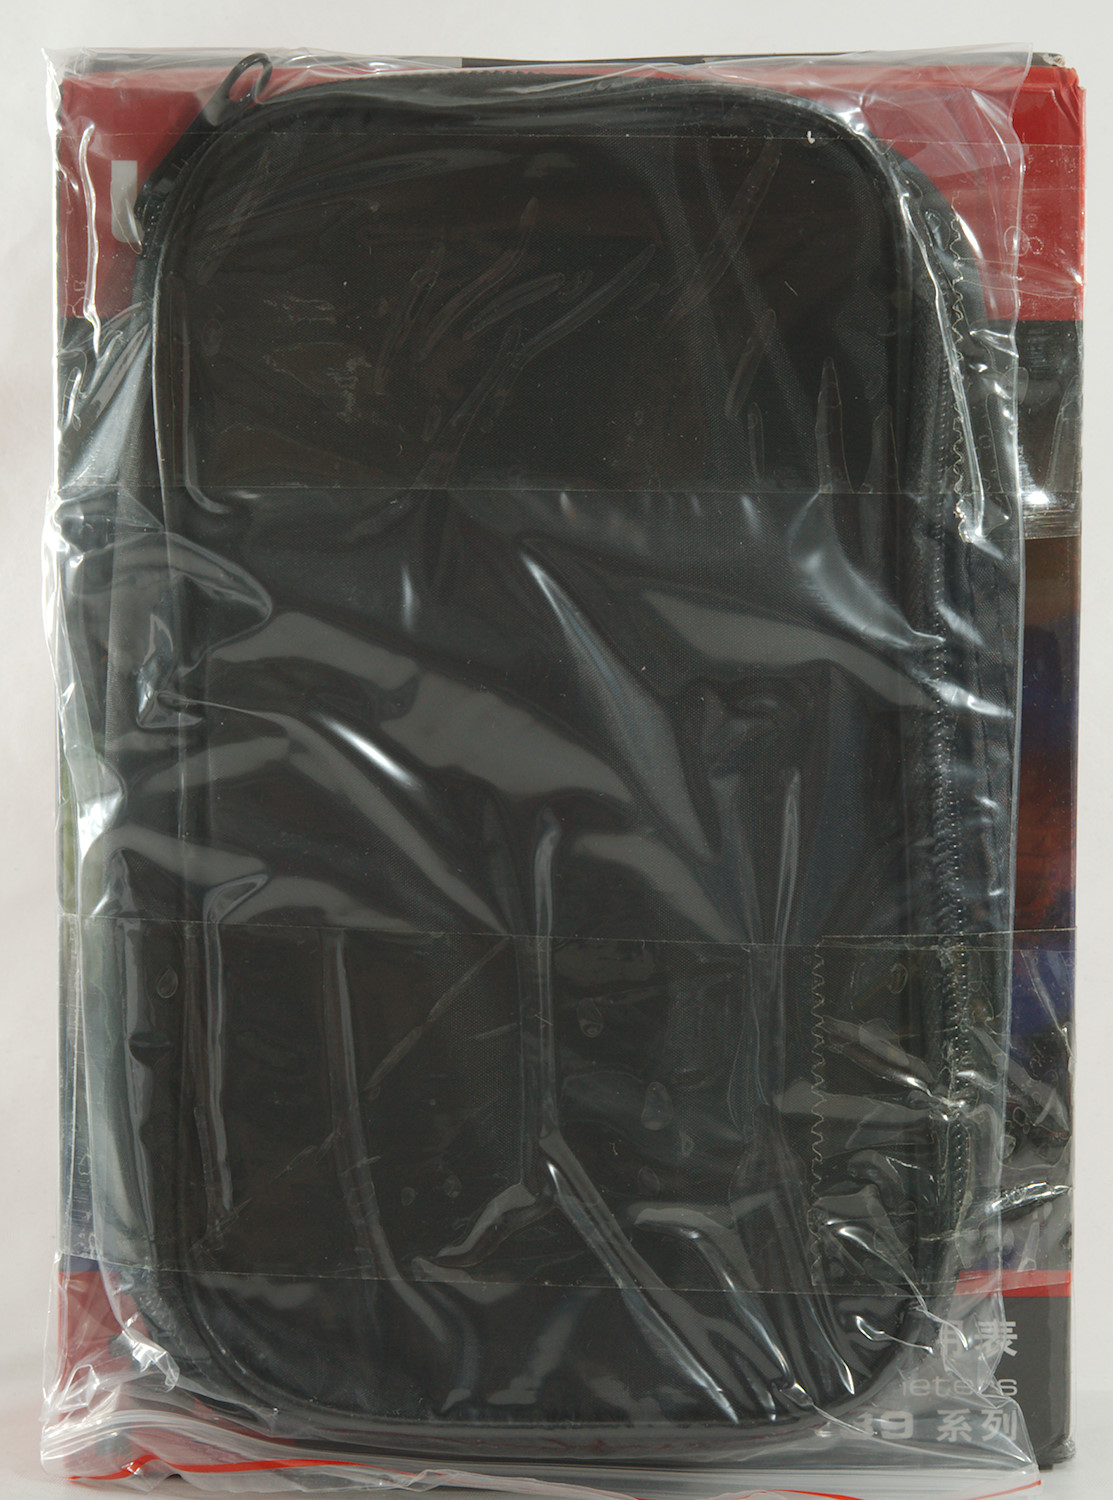
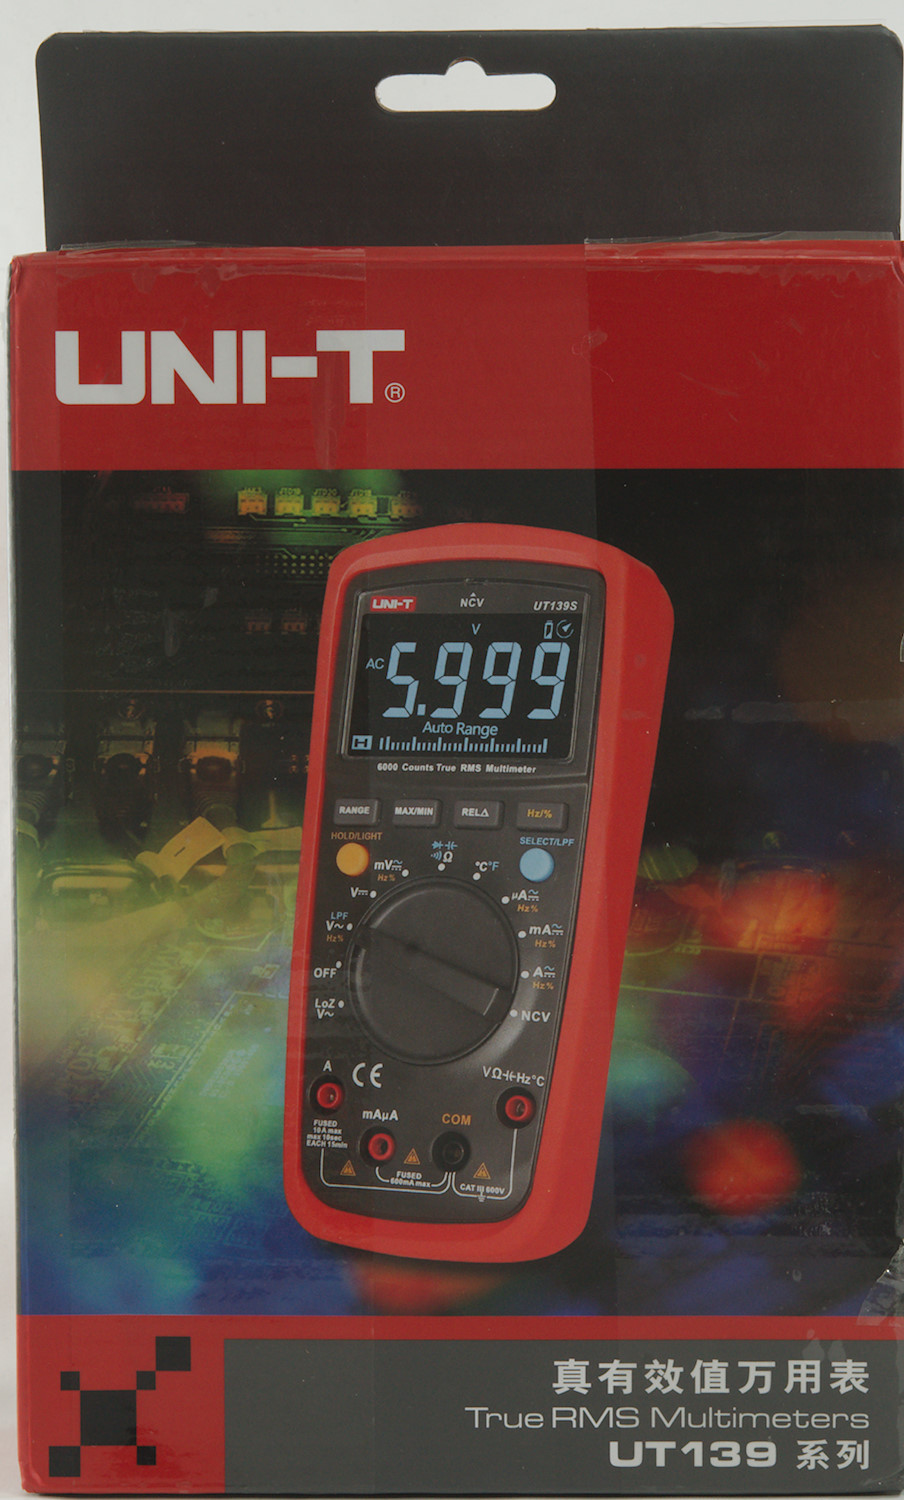

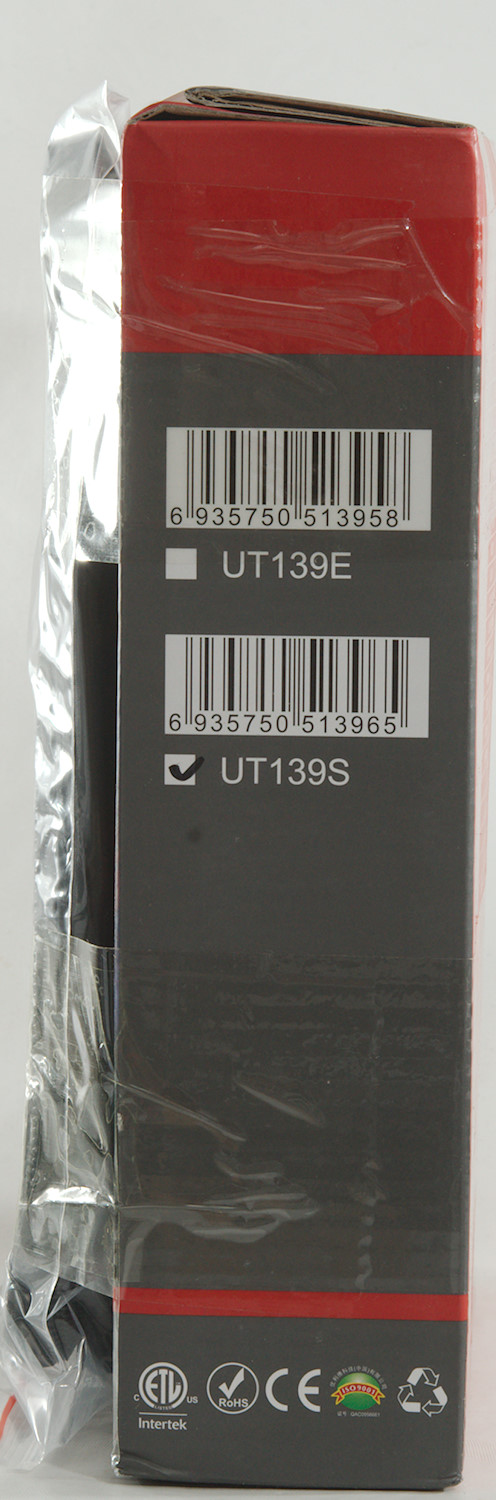
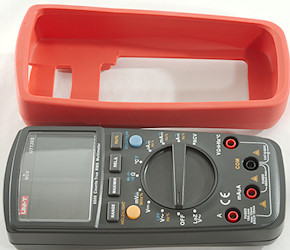
The meter arrived in a red box with Chinese writing and the dealer had added a pouch for the meter.
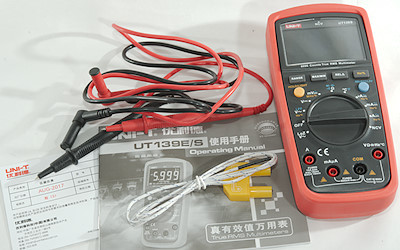
The box contained the meter, probes, thermosensor and a manual in Chinese (I could download a English version).


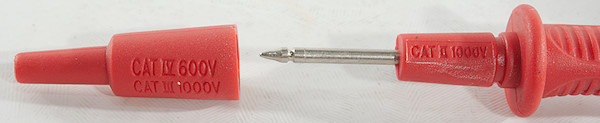
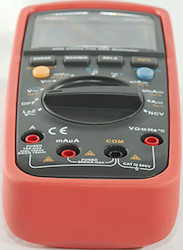
The probes are branded UNI-T and rated for 10A and 1000V. As usual the CAT rating depends on mounted or unmounted tip cover.
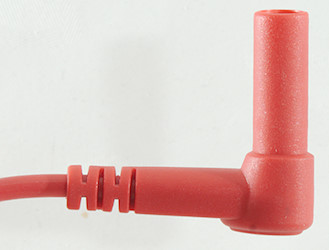
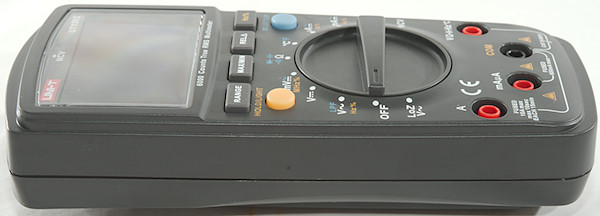
The plug is fully shrouded and the shroud is slightly shorter than standard probes.

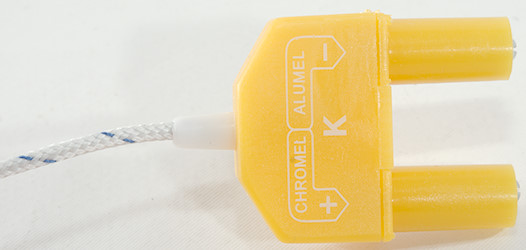
The thermocoupler has a single connector to the multimeter end, that is considerable better than the two loose banana plugs.
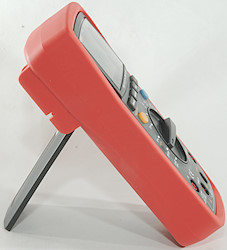
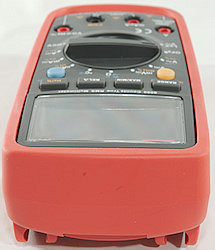
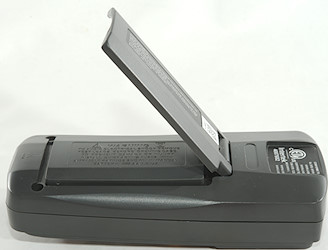
The tilting bale is just about stable enough to change range and use switches with one hand. The tilting bale is not locked in either position.
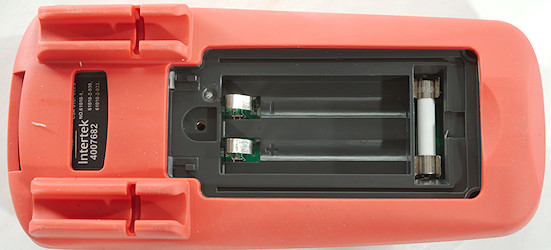
The 600mA fuse is accessible from the battery compartment.

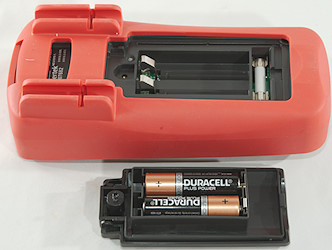
The battery lid holds the screw.


Display
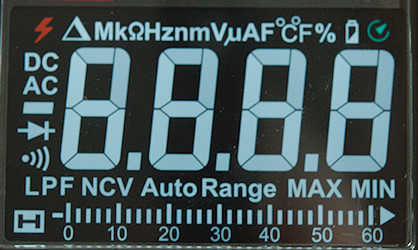
The above picture shows all the segments on the display. Due to the way the display works some of the segments can have a fixed color.

Typical display during usage, it will show the number and what measurement is selected.
The circle with arrow shows that auto power off is enabled, hold down SELECT when turning on to disable this.
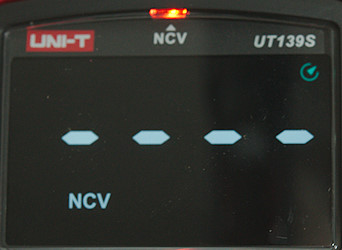
The electric field detection (NCV) shows from 1 to 4 bar depending on field strength and a red led will turn on together with the buzzer.
Functions
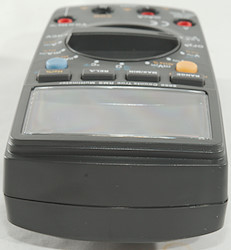
Buttons:
-
Range: Switch to manual ranging and will also change range, hold down to get back to automatic
-
Max/Min: Starts recording min/max values, press the button to change between min/max (Both are saved), hold down to exit.
-
Rel: Uses the current value as reference and will show all further readings relative to this, will change to manual range.
-
Hz %: Select Hz and duty cycle display, works on all AC volt and current ranges.
-
Hold/light (Yellow): Will freeze the display, hold down to turn change brightness of the background light (Reduce it)
-
Select/LPF(Blue): Selects the ranges printed with blue on the rotary switch.
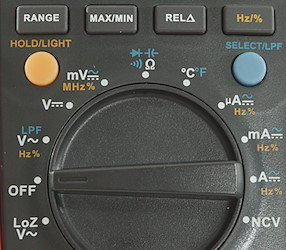
Rotary switch:
-
LoZ: Low input impedance for AC voltage, this connects a PTC across the voltage input.
-
Off: Meter is turned off
-
VAC: Show AC voltage, use Select for LPF and “Hz %” for frequency an duty cycle.
-
VDC: Show DC voltage.
-
mV: Show DC and AC voltage, use Select for AC and “Hz %” for frequency an duty cycle. This is the high speed frequency input.
-
ohm: Resistance, continuity, diode and capacitance.
-
°C: Temperature input, use Select for C/F selection.
-
uA: Current DC and AC, use Select for AC and “Hz %” for frequency an duty cycle.
-
mA: Current DC and AC, use Select for AC and “Hz %” for frequency an duty cycle.
-
A: Current DC and AC, use Select for AC and “Hz %” for frequency an duty cycle.
-
NCV: Non contact voltage, i.e. electric field.
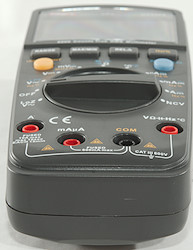
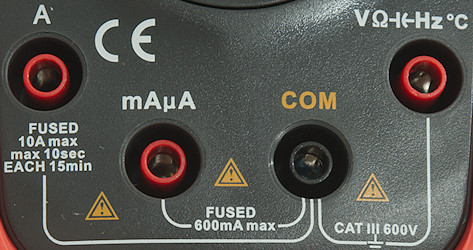
Input
-
10A: High current, it can only withstand 10+ ampere for a short time (Fuse is 10A).
-
mAuA: The lower current ranges, the selector switch will change between two different shunts (Fuse is 600mA).
-
COM: The common terminal for all ranges.
-
xxx: All other ranges, including external current clamp.
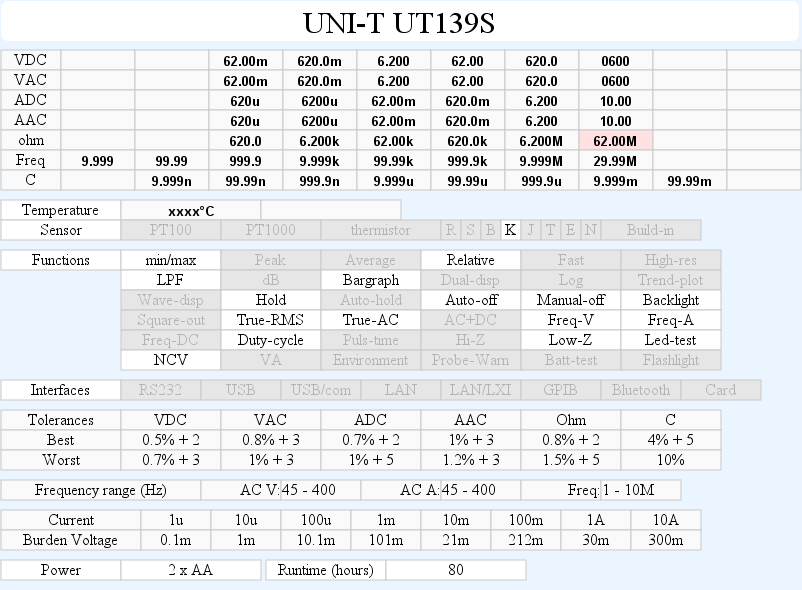
Measurements
-
Volt and frequency
-
Frequency counter and duty cycle can only be selected in AC ranges.
-
Frequency input requires a zero crossing.
-
At 0.1Vrms frequency input range is from 0.8Hz to 6MHz
-
At 1Vrms frequency input range is from 0.9Hz to 29MHz
-
Max/min needs about 380ms to capture a voltage, the function will not capture the full voltage at the first peak, but needs multiple peaks.
-
1 VAC is 5% down at 2.1kHz, rms will not work at this frequency
-
7 VAC is 5% down at 650Hz with LPF
-
LPF locks range to 600VAC
-
Duty cycle works from 2% to above 99% at 100kHz with 1Vpp, precision is within 0.4 (Mostly 0.1).
-
Input impedance is 10-11Mohm on DC and AC
-
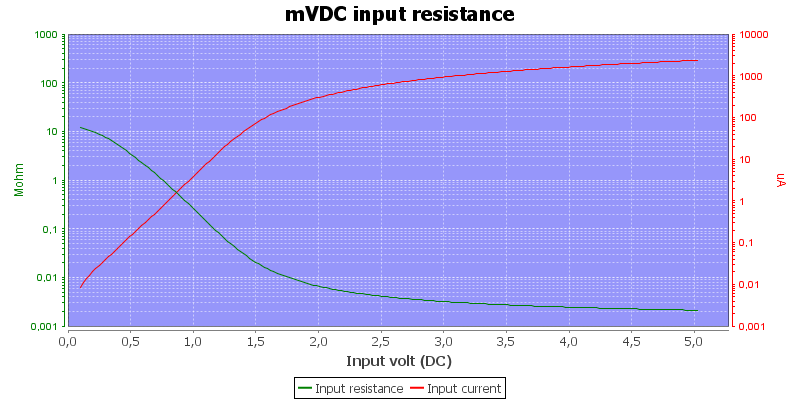
Input impedance is 11Mohm on mV DC and 5Mohm on mV AC range up to about 1V where it drops to 2kohm at 5V
-
Frequency input impedance is 5Mohm at 0.1V, dropping to 2kohm at 5V
-
Voltage ranges are rated for 600V DC/AC input.
-
-
Current
-
Frequency counter and duty cycle can only be selected in AC ranges.
-
Meter has audible alarm on 10A range when current is above 19A and shows OL above 20A.
-
10A range protected with a 10A/600V 6.3x25mm fuse
-
mAuA range is protected with a 0.6A/600V 6.3x32mm fuse
-
-
Ohm, Continuity, diode and capacity
-
Ohm needs about 2.5s to measure 100ohm
-
Ohm is 1.0V open and 0.4mA shorted
-
Continuity is very fast (About 10ms).
-
Continuity beeps when resistance is below 50ohm
-
Continuity is 1.0V open and 0.4mA shorted
-
Diode range uses 3.3V, max. display is 3.000V at 0.15mA, max. current is 1.7mA shorted
-
70000uF takes about 7 seconds to measure.
-
10uF takes about 4 seconds to measure.
-
Range are rated for 600V input.
-
-
Miscellaneous
-
Current consumption of meter is 21mA with normal backlight and 11mA with low backlight
-
Meter works down to 2.4V where the display goes dark and the buzzer will warn and turns off, battery symbol show at 2.6V.
-
Backlight is fairly stable until display turns off.
-
Reading is stable with varying battery voltage.
-
The meter usual need a couple of display update to reach the final value.
-
Viewing angle is good, except from top
-
Display updates around 3 times/sec
-
Bargraph updates at the same speed as the numbers.
-
Backlight is always on and has two brightness levels, default is high.
-
Will automatic turn power off in about 15 minutes.
-
Standard probes fits fine, but cannot be seated fully.
-
Weight is 365g without accessories, but with batteries and sleeve.
-
Size is 176 x 81 x 48mm with sleeve.
-
-
Probes
-
Probe resistance 38mOhm for one
-
Probe wire is soft and 88cm long.
-
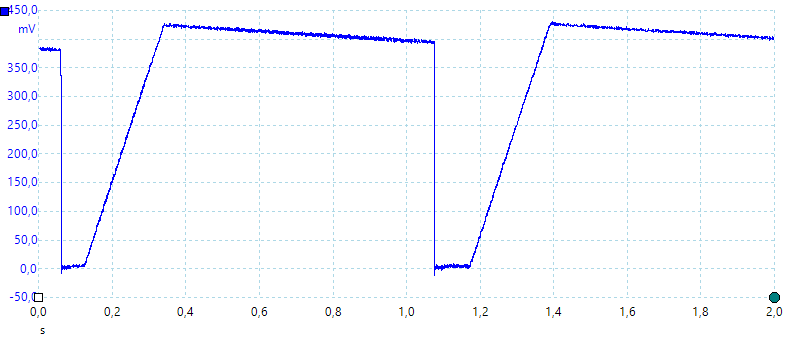
A look at the capacity measurement waveform.
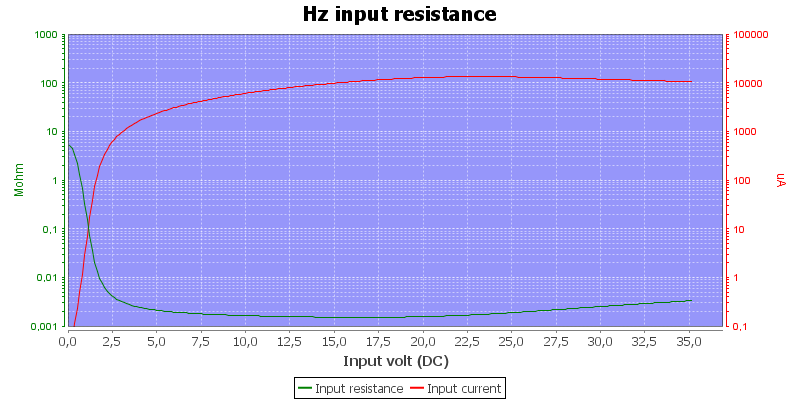
Frequency input impedance depends on voltage.
Meter specify 3Mohm input impedance, it is around that at 0.6V
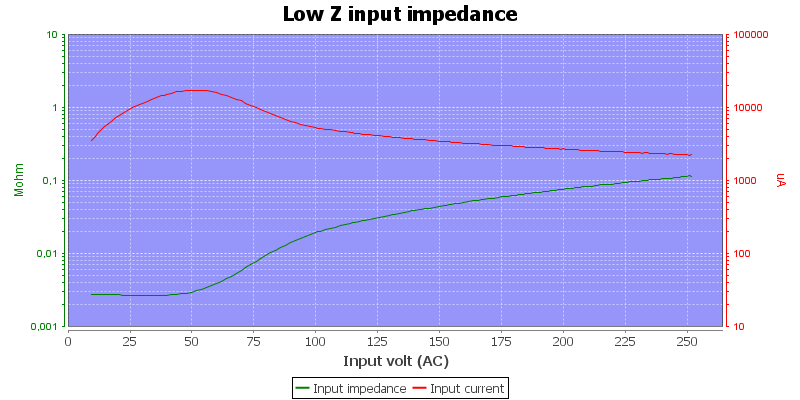
The LowZ uses a PTC and regulates to about 0.5W load.
Meter is not very stable or precise at very high ohm values (50Mohm+)
Runtime is based on a Duracell Pro Power discharged at 20mA
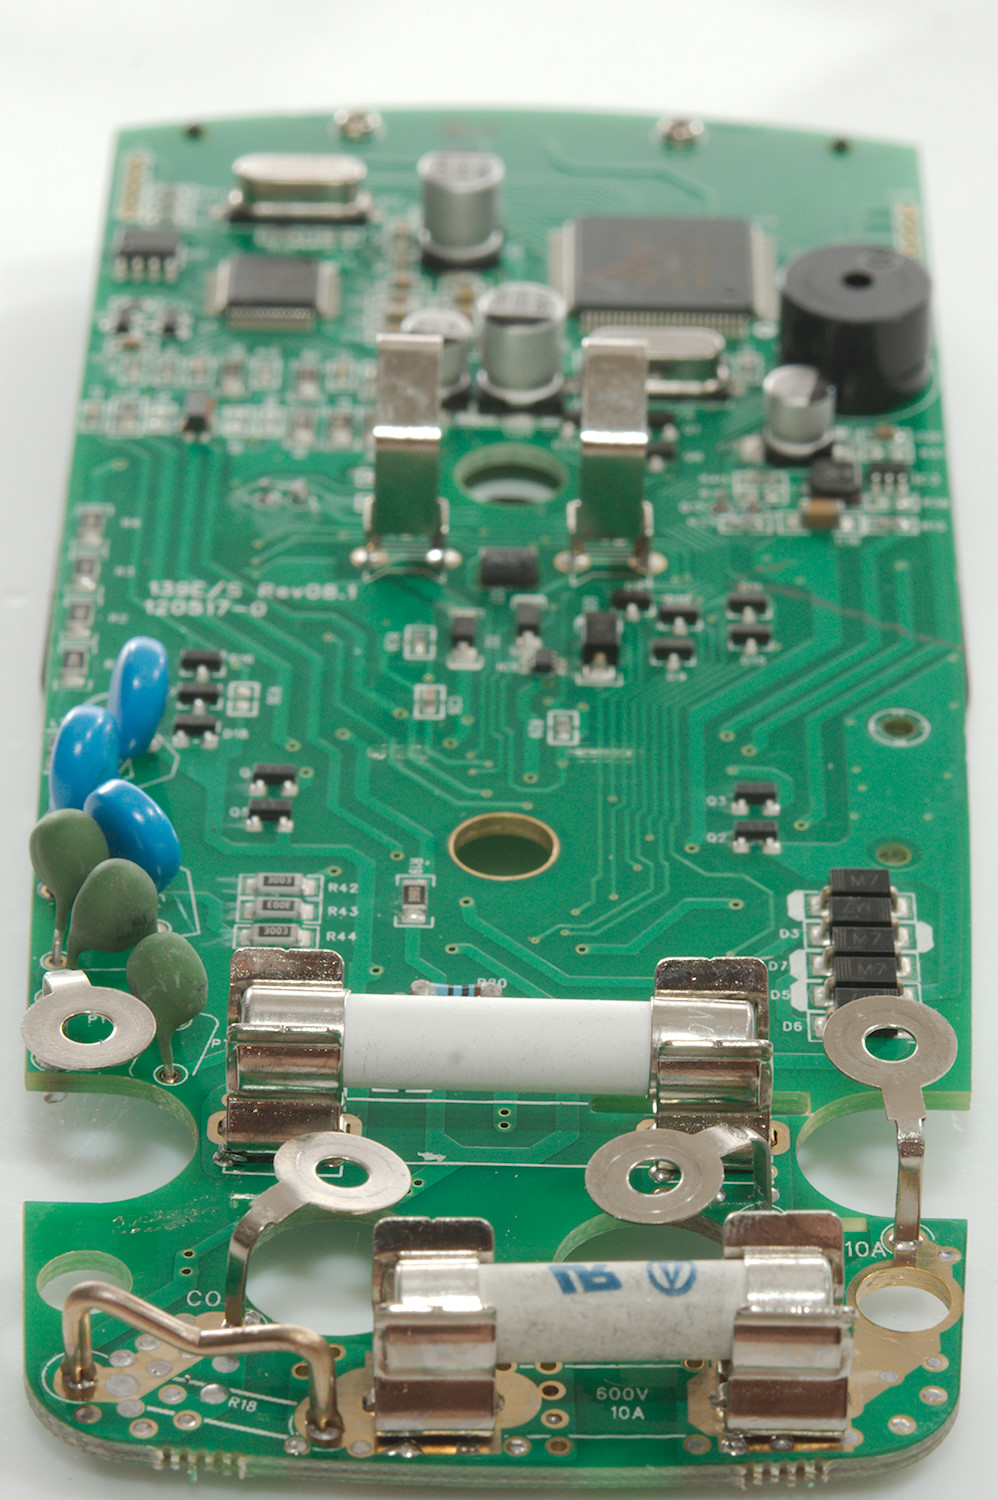
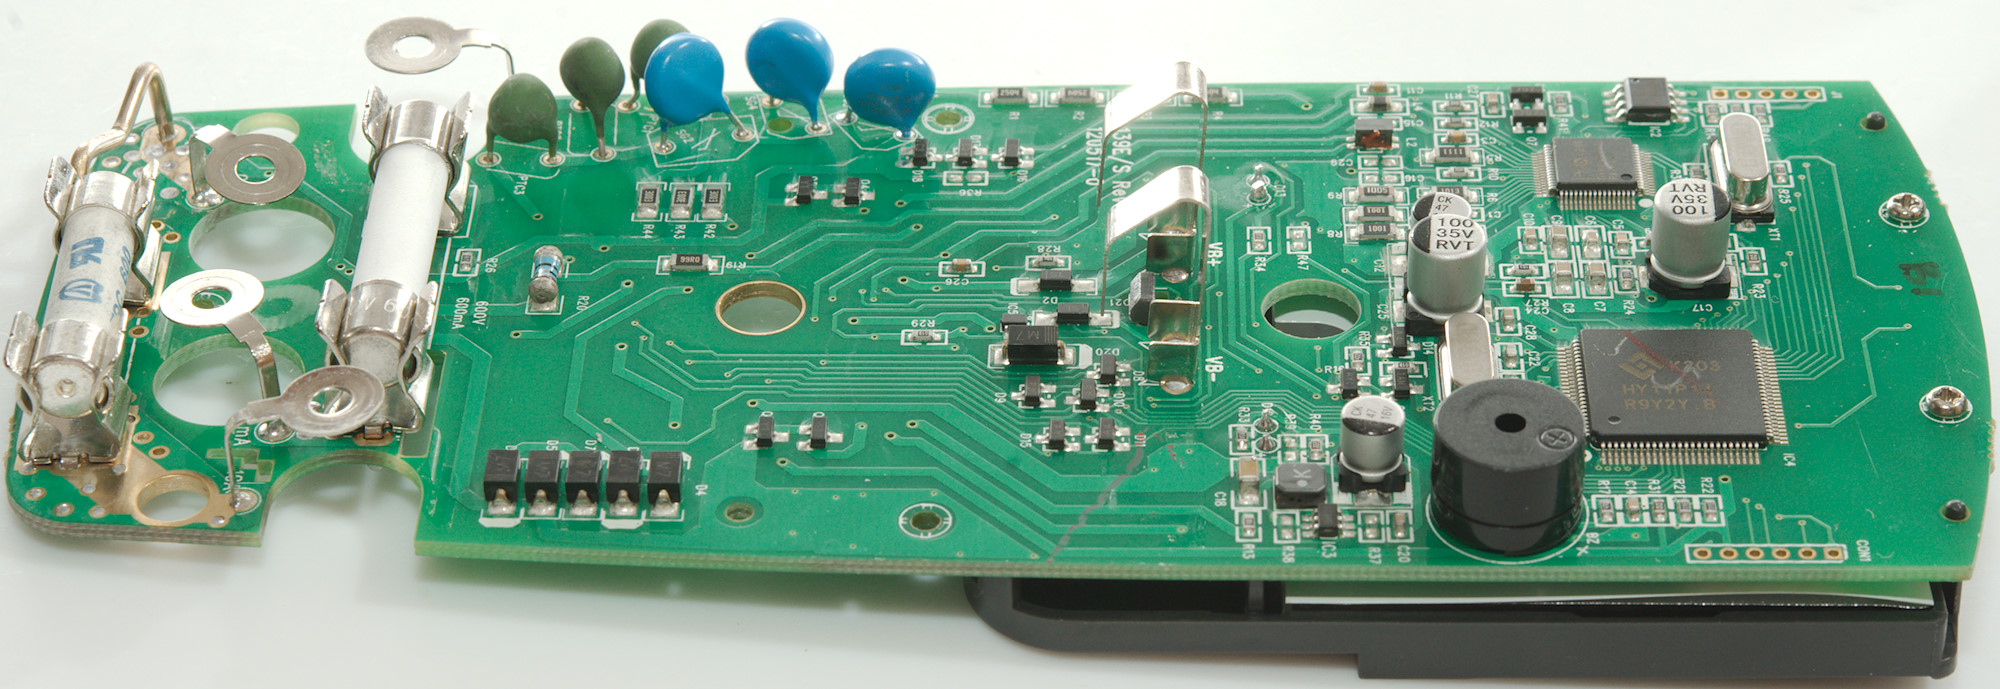
Tear down
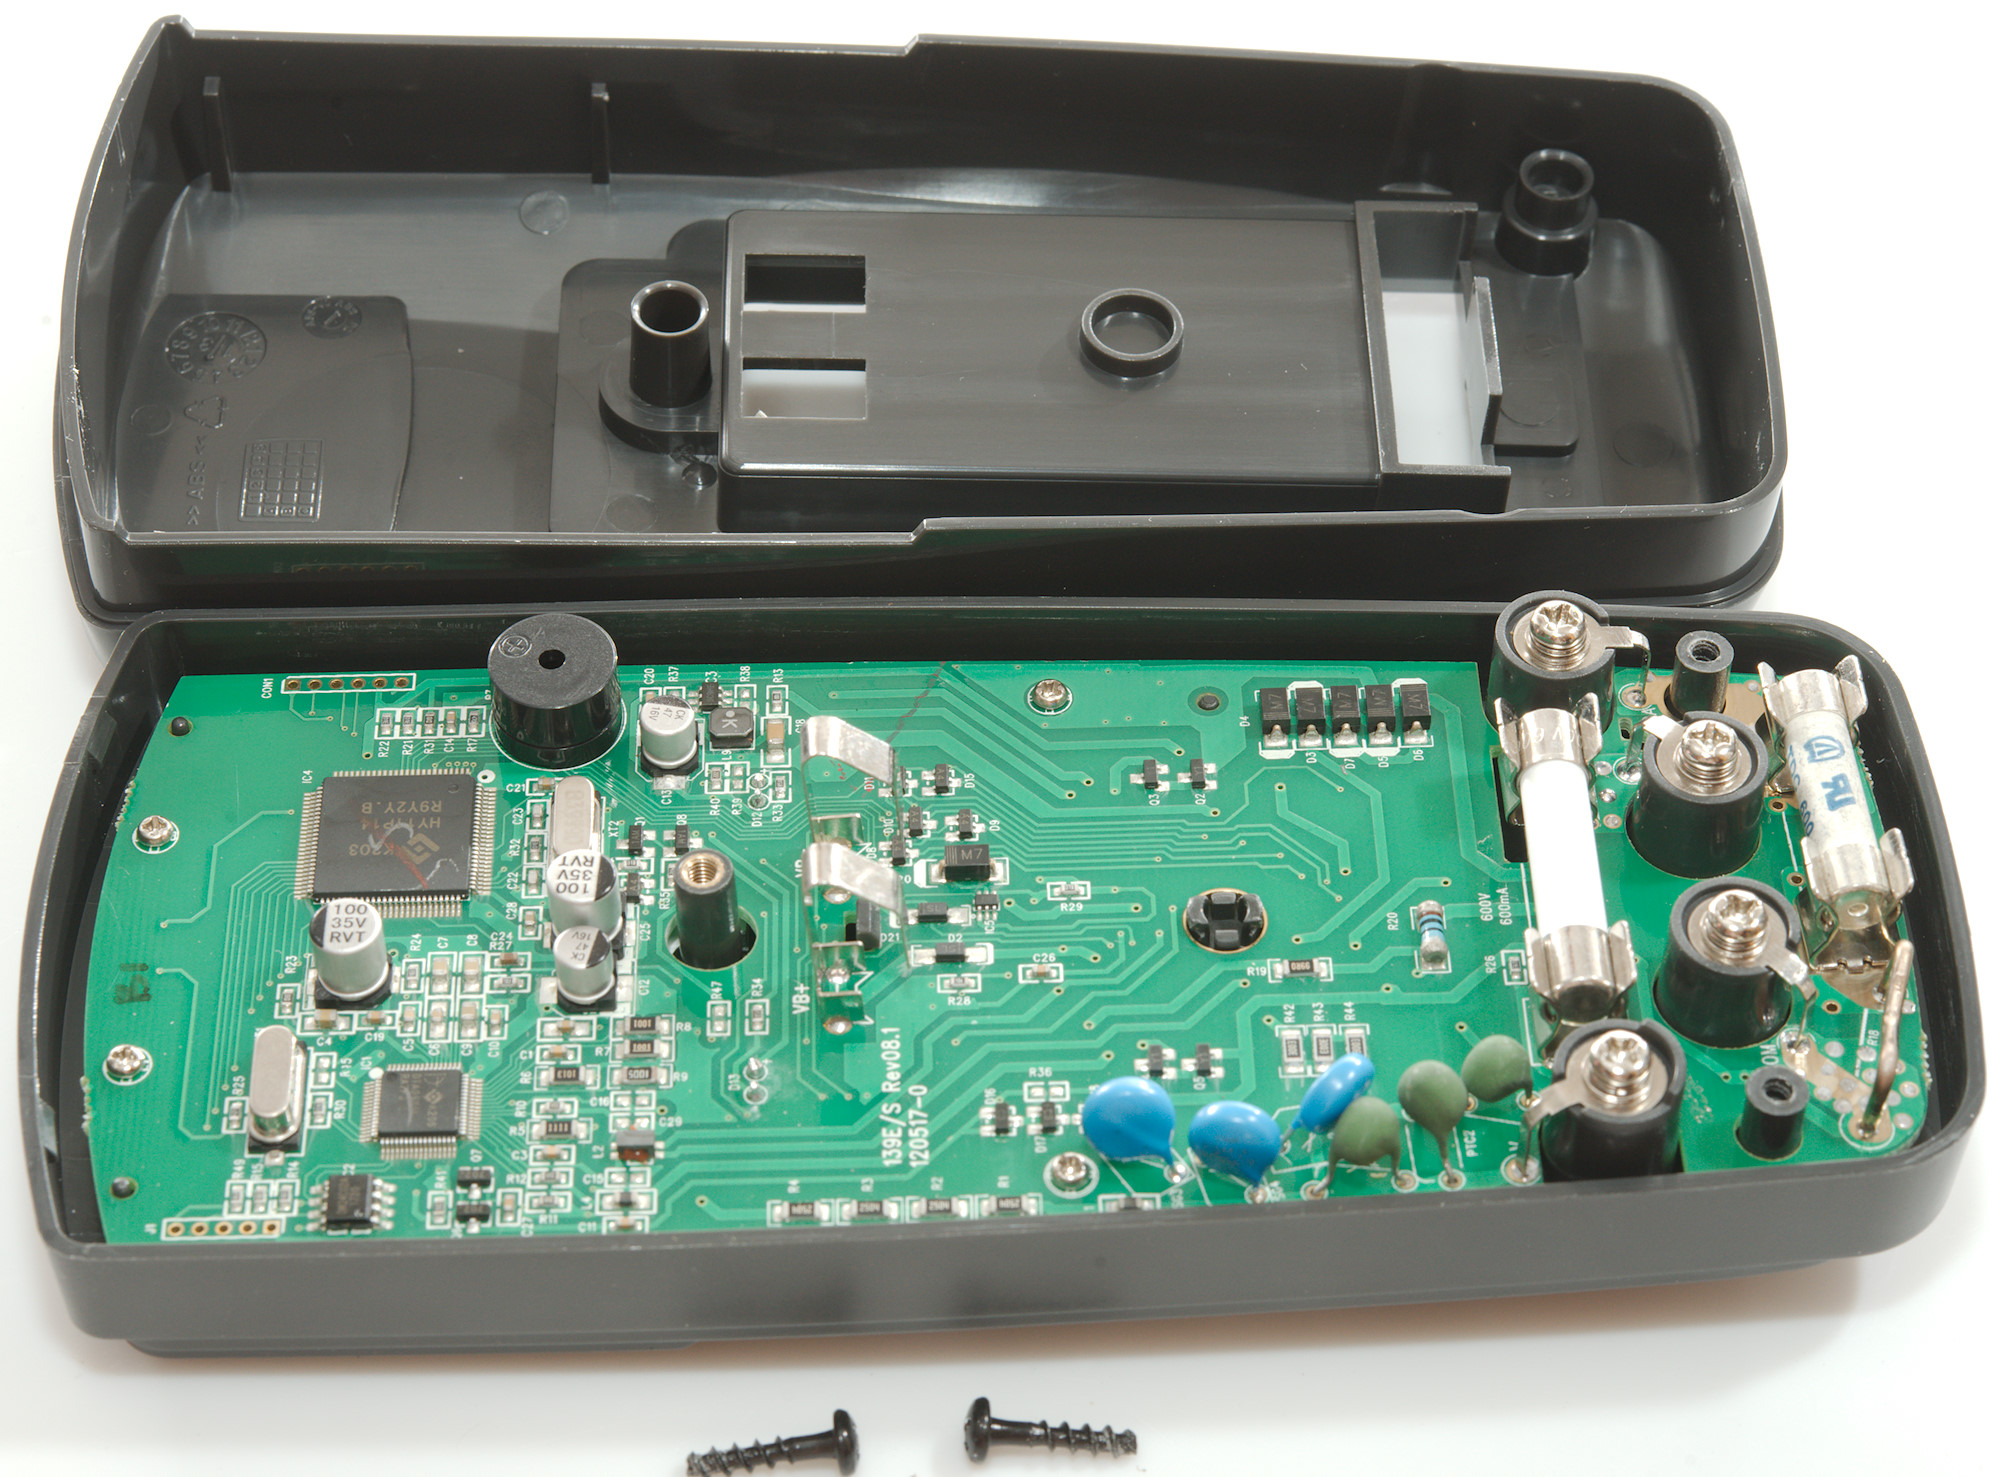
3 screws (One was for the battery cover) and the back could be removed.
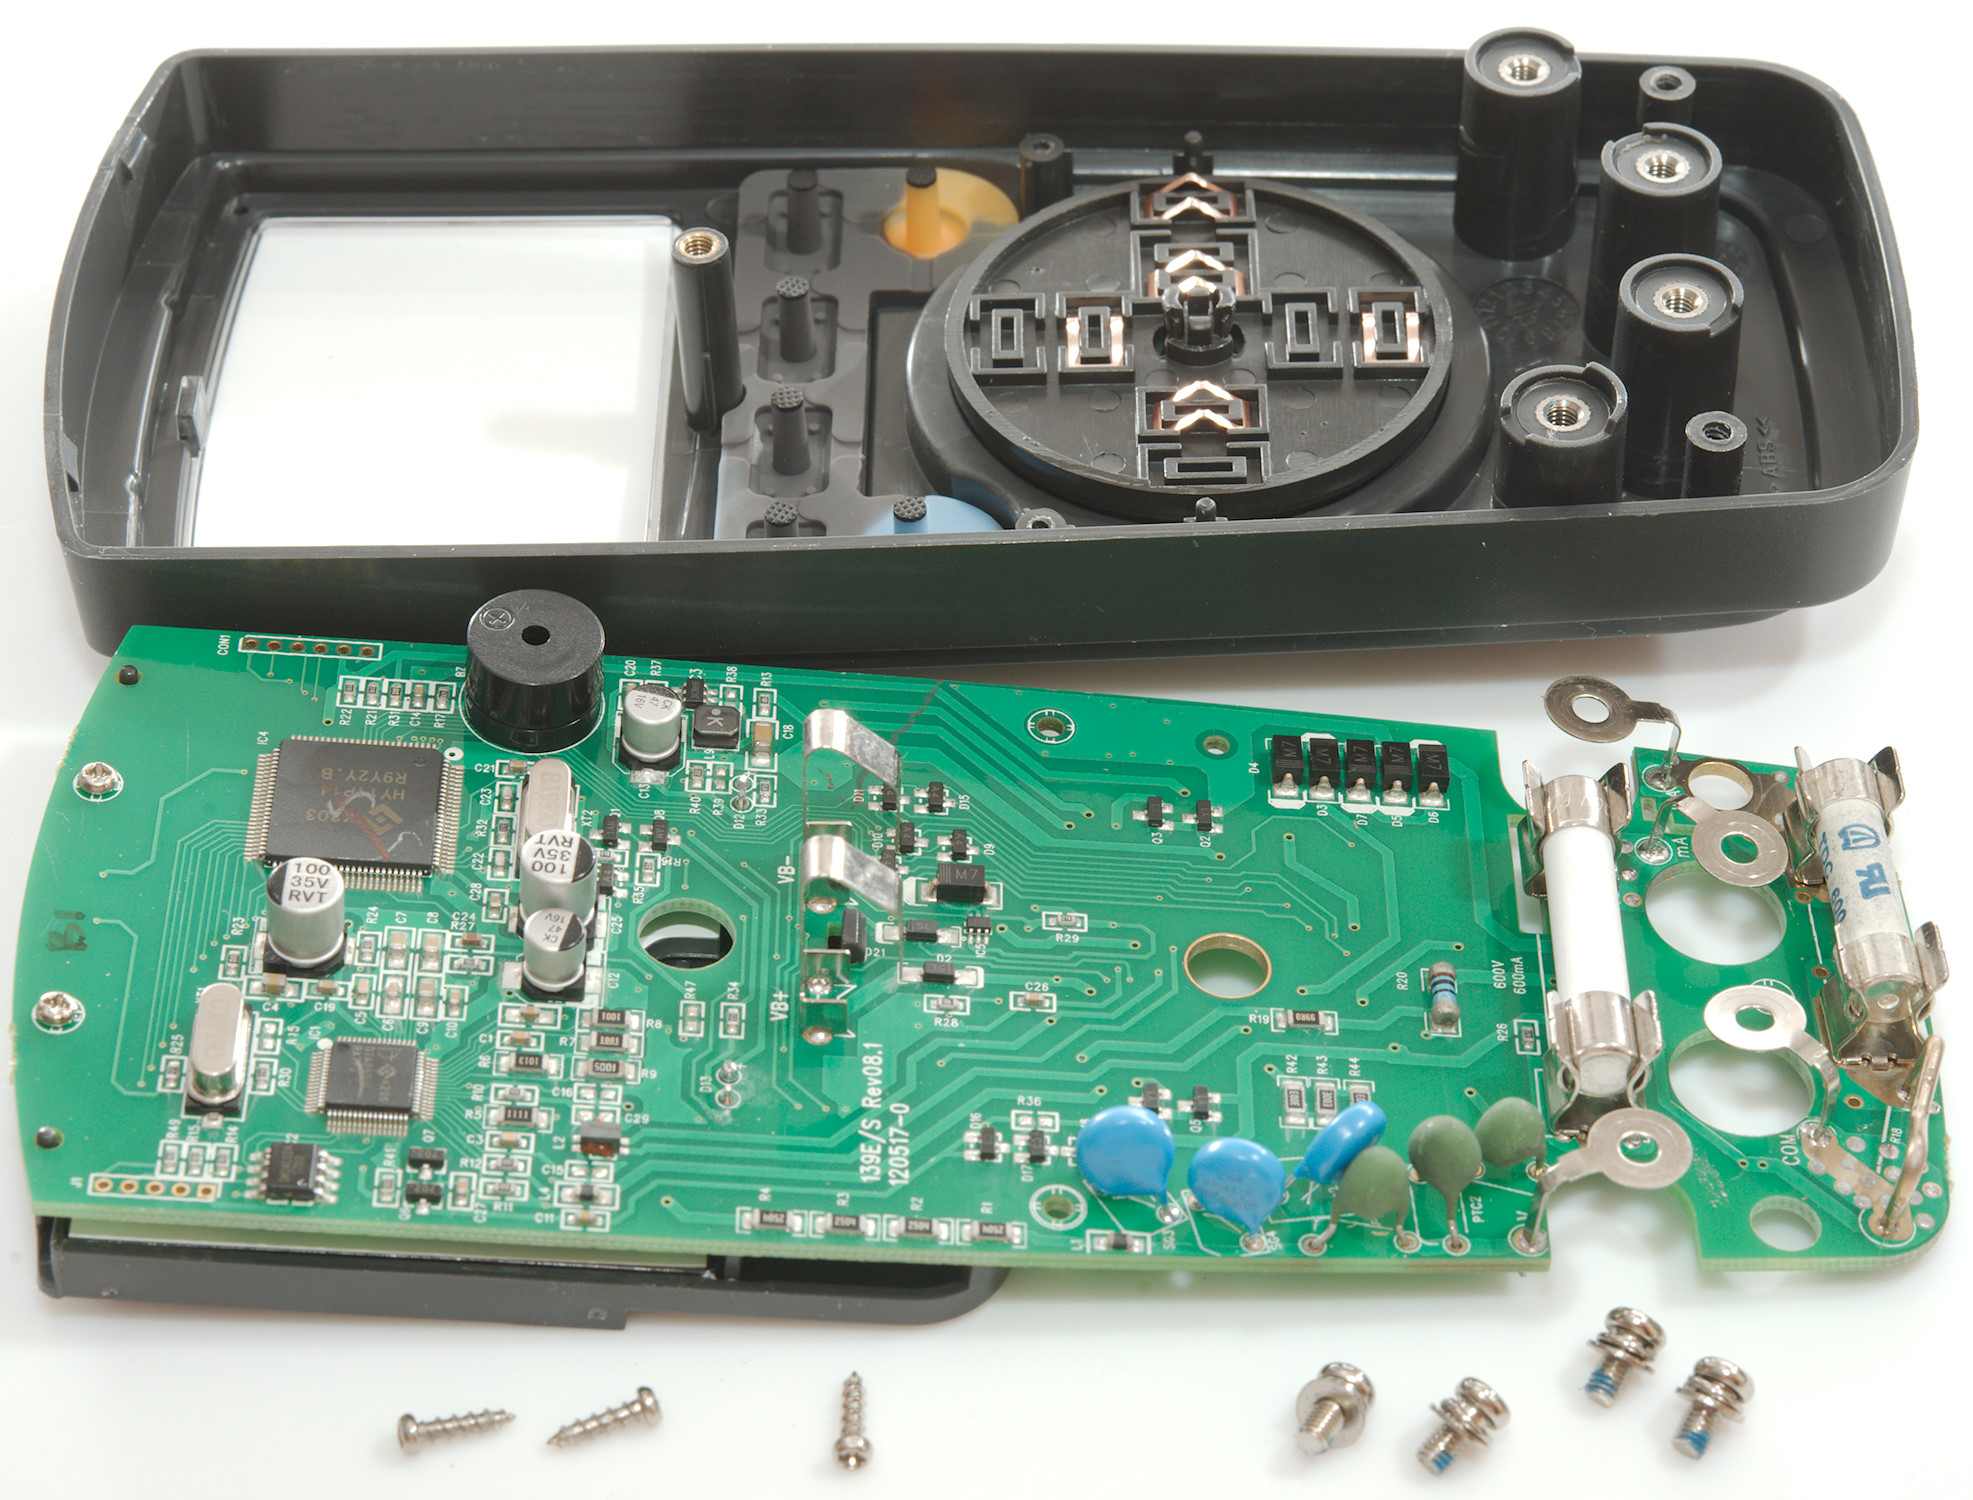
The circuit board was mounted with 3 screws and 4 screws for the input terminals.

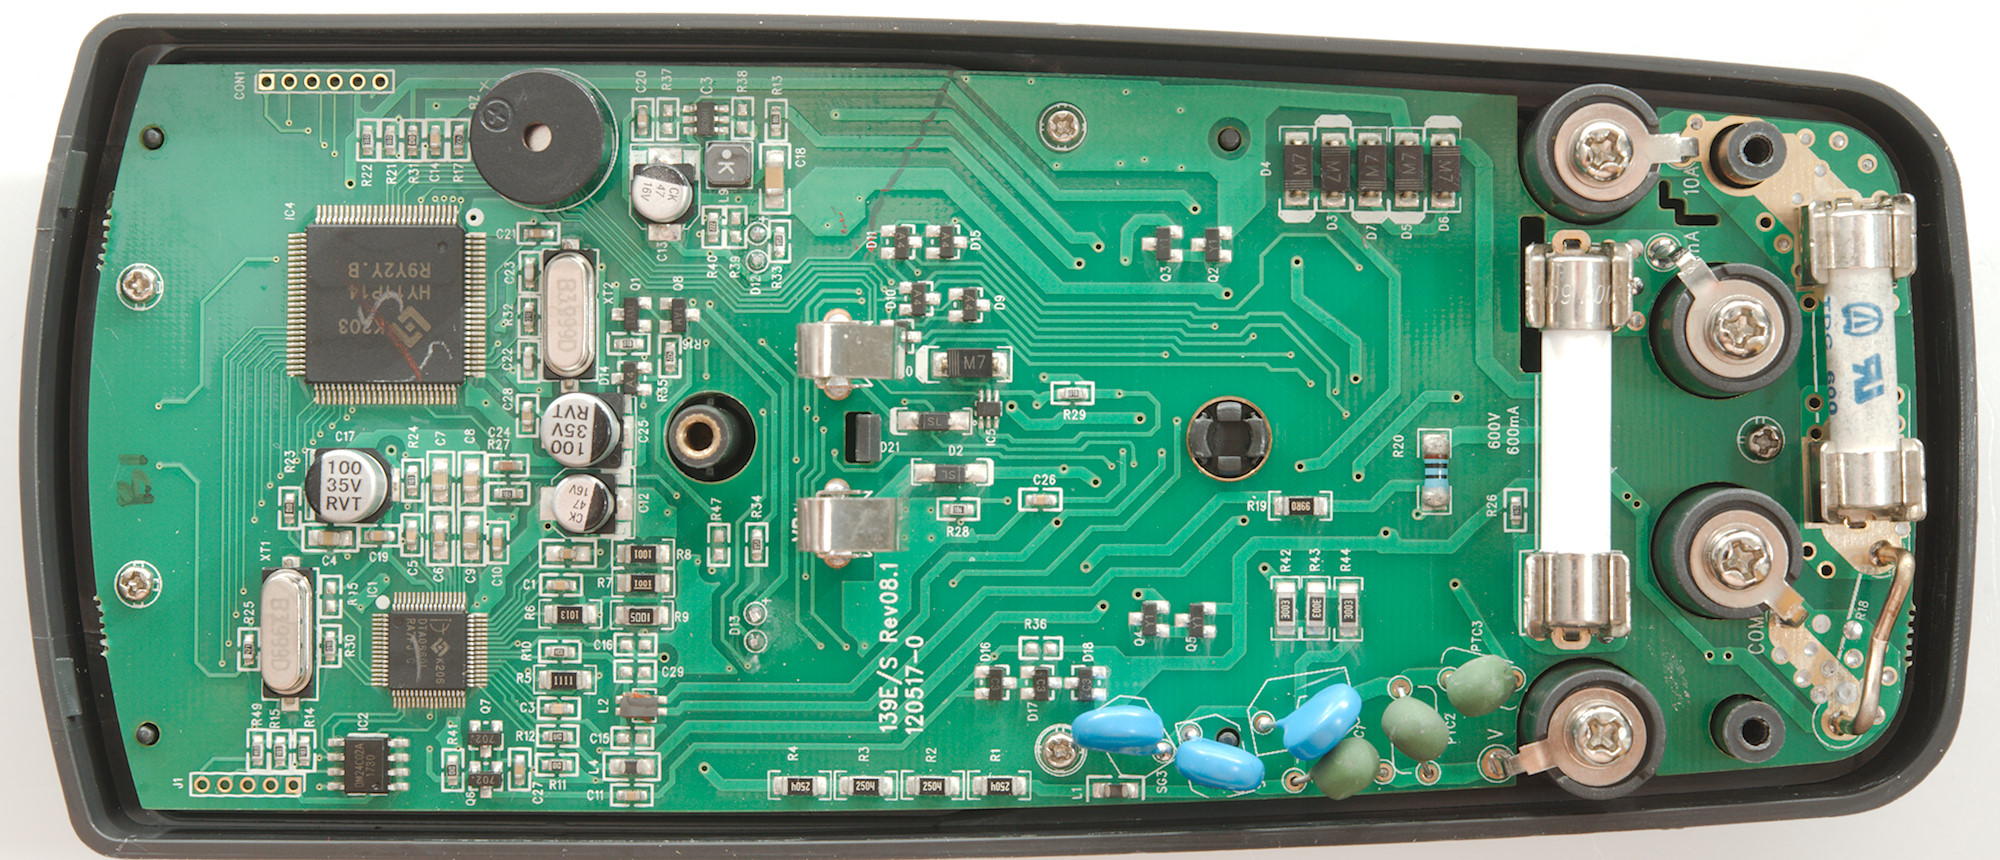
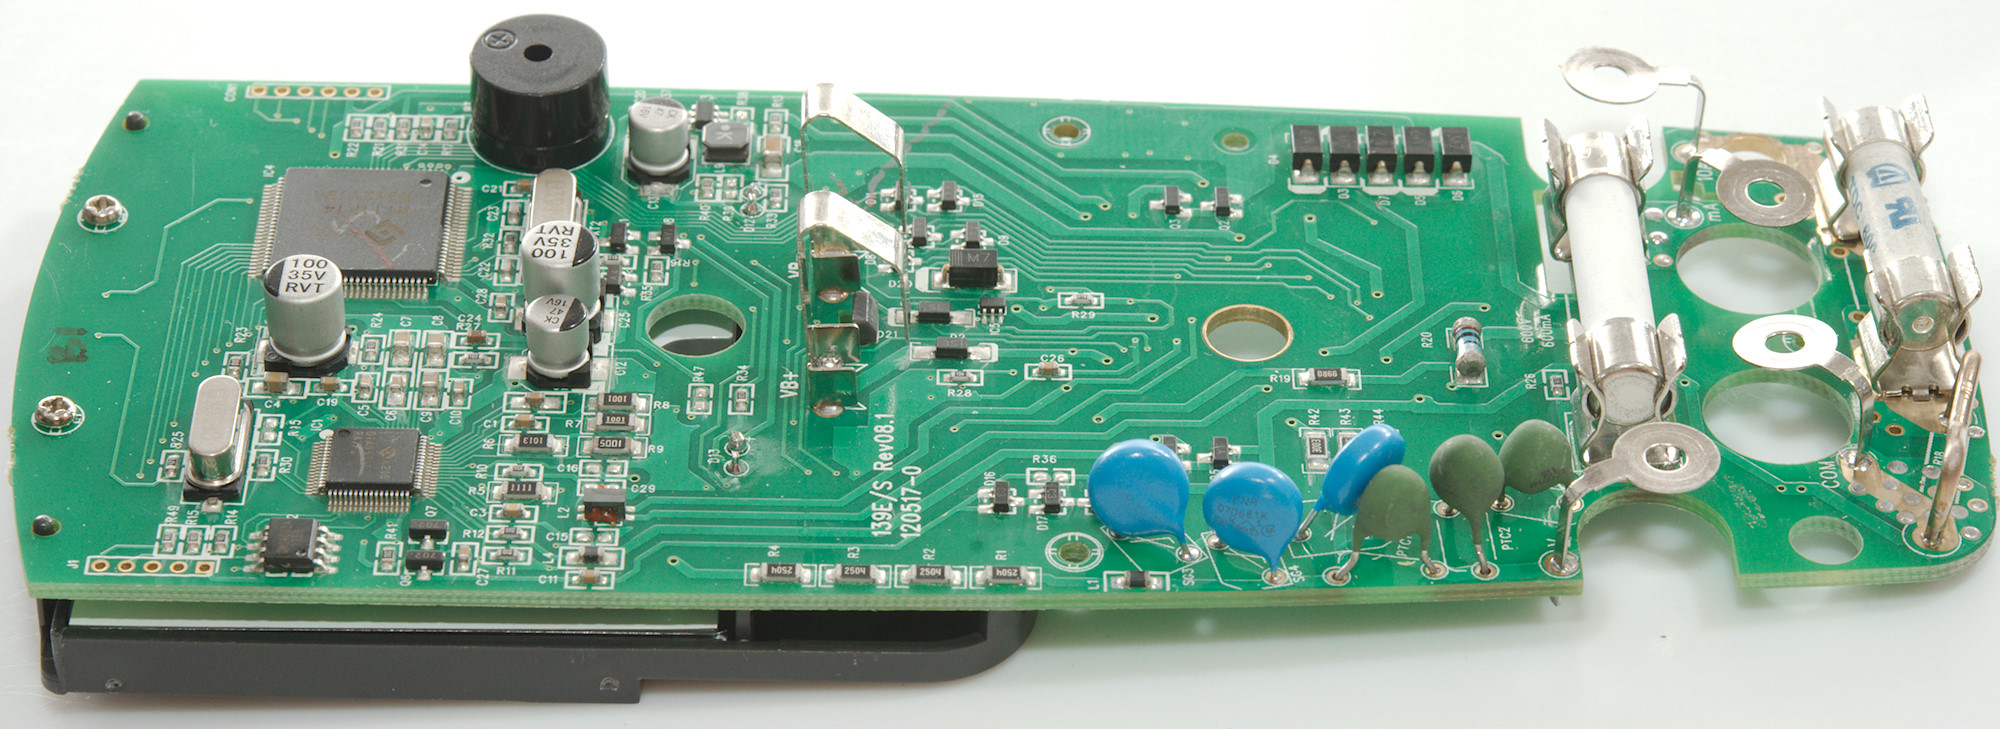
Current input uses the fuses, as usual there is a wire shunt for 10A range and some resistors for uA (R19: 99ohm), mA is a bit larger (R20: 1ohm). Both uses some diodes (D3, D4, D5, D6, D7) for protection. A nice detail on the 10A shunt is that there are sense wires connection where the shunt is soldered to the circuit board.
The voltage input has a couple of PTC’s and MOV’s. There is two input paths each through a PTC and with a MOV after the PTC, the 3th MOV is common. Path 1: PTC1 and SG4, after the PTC it splits into a 10Mohm (R1..R4: 4x2.5Mohm) path and a 900kOhm (R42, R43, R44: 3x300kohm) path. Path 2: PTC2 and SG2, this path also has a LowZ PTC (PTC3) and is used for ohms output. The last MOV (SG3) is common for the two other MOV’s.
On path 2 there is two transistor pair (Q4 & Q5 and after optional 1kOhm (R29) Q2 & 3) the is used for protection in temperature and ohm ranges. The 1kOhm resistor (R29) cna be disabled with a analog mux (IC5: SGM4157).
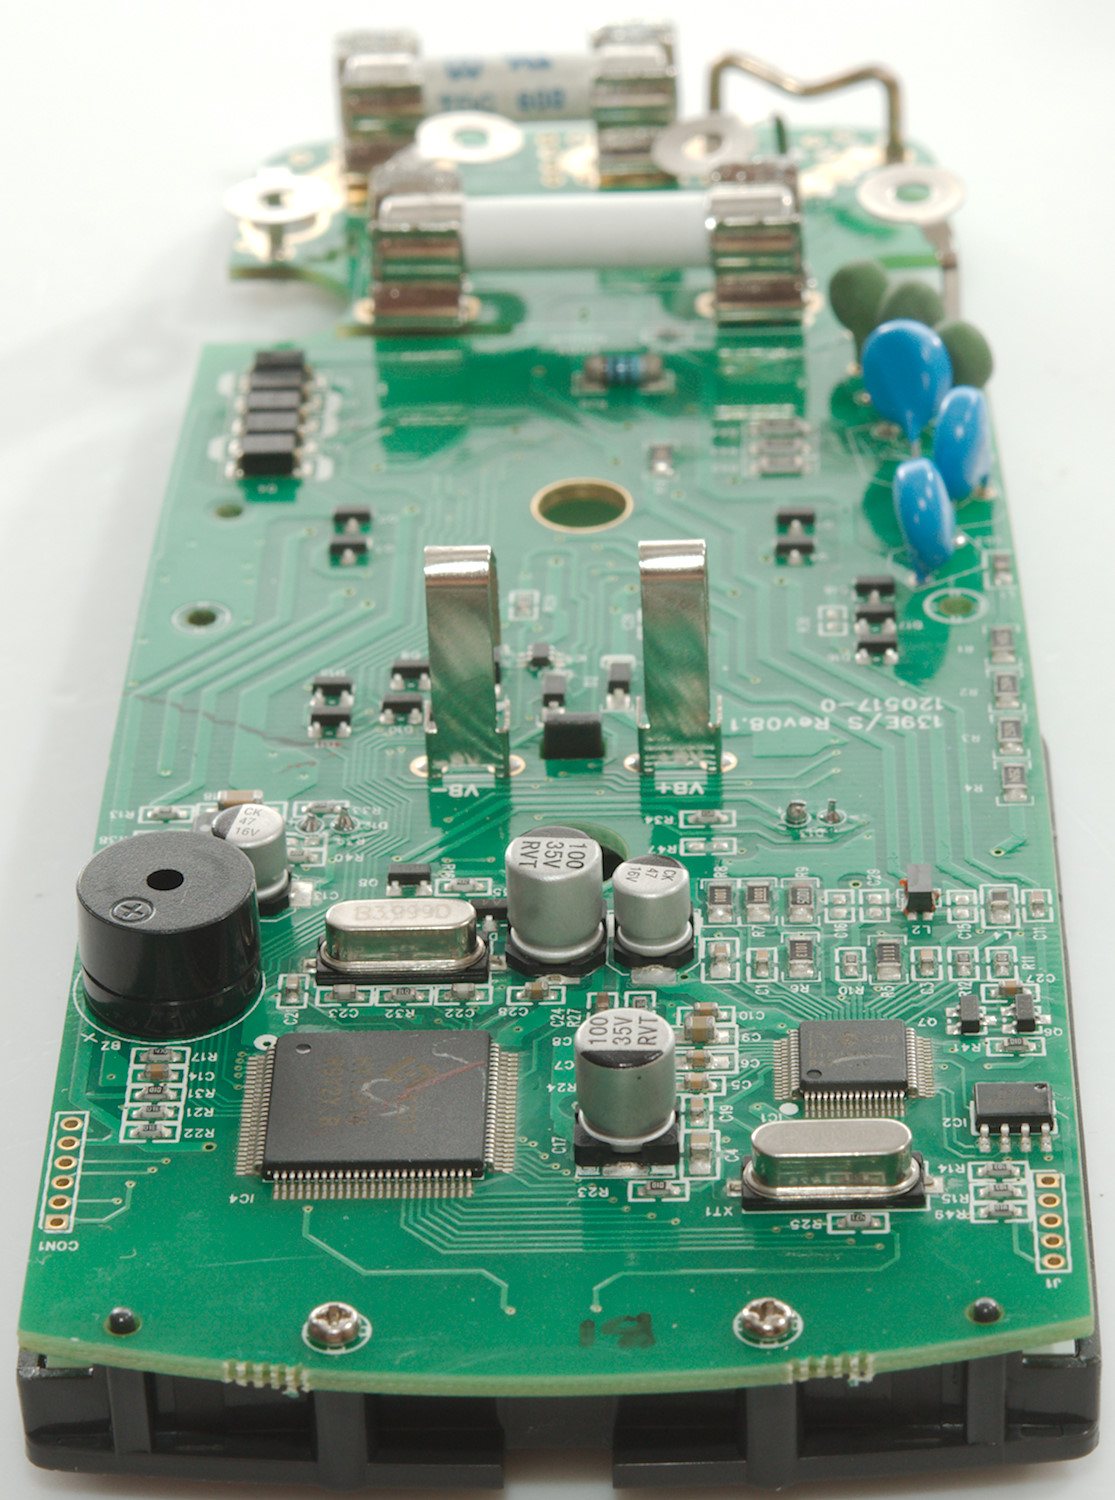
Some of the diodes (D9, D10, D11, D15) are probably related to range switch encoding, the other diodes for protection (D16, D17, D18). It looks like there is a boost converter (IC3: marked SC9HE) for the background light.
The meter uses a 6000 count multimeter chip (IC1: DTA0660) with a EEPROM (IC2: 24C02), this chip has help from a processor (IC4: HY11P14: 8K ROM, 512 byte data). This processor has a ADC that have enough resolution for a multimeter, but it lacks the multimeter support circuit.
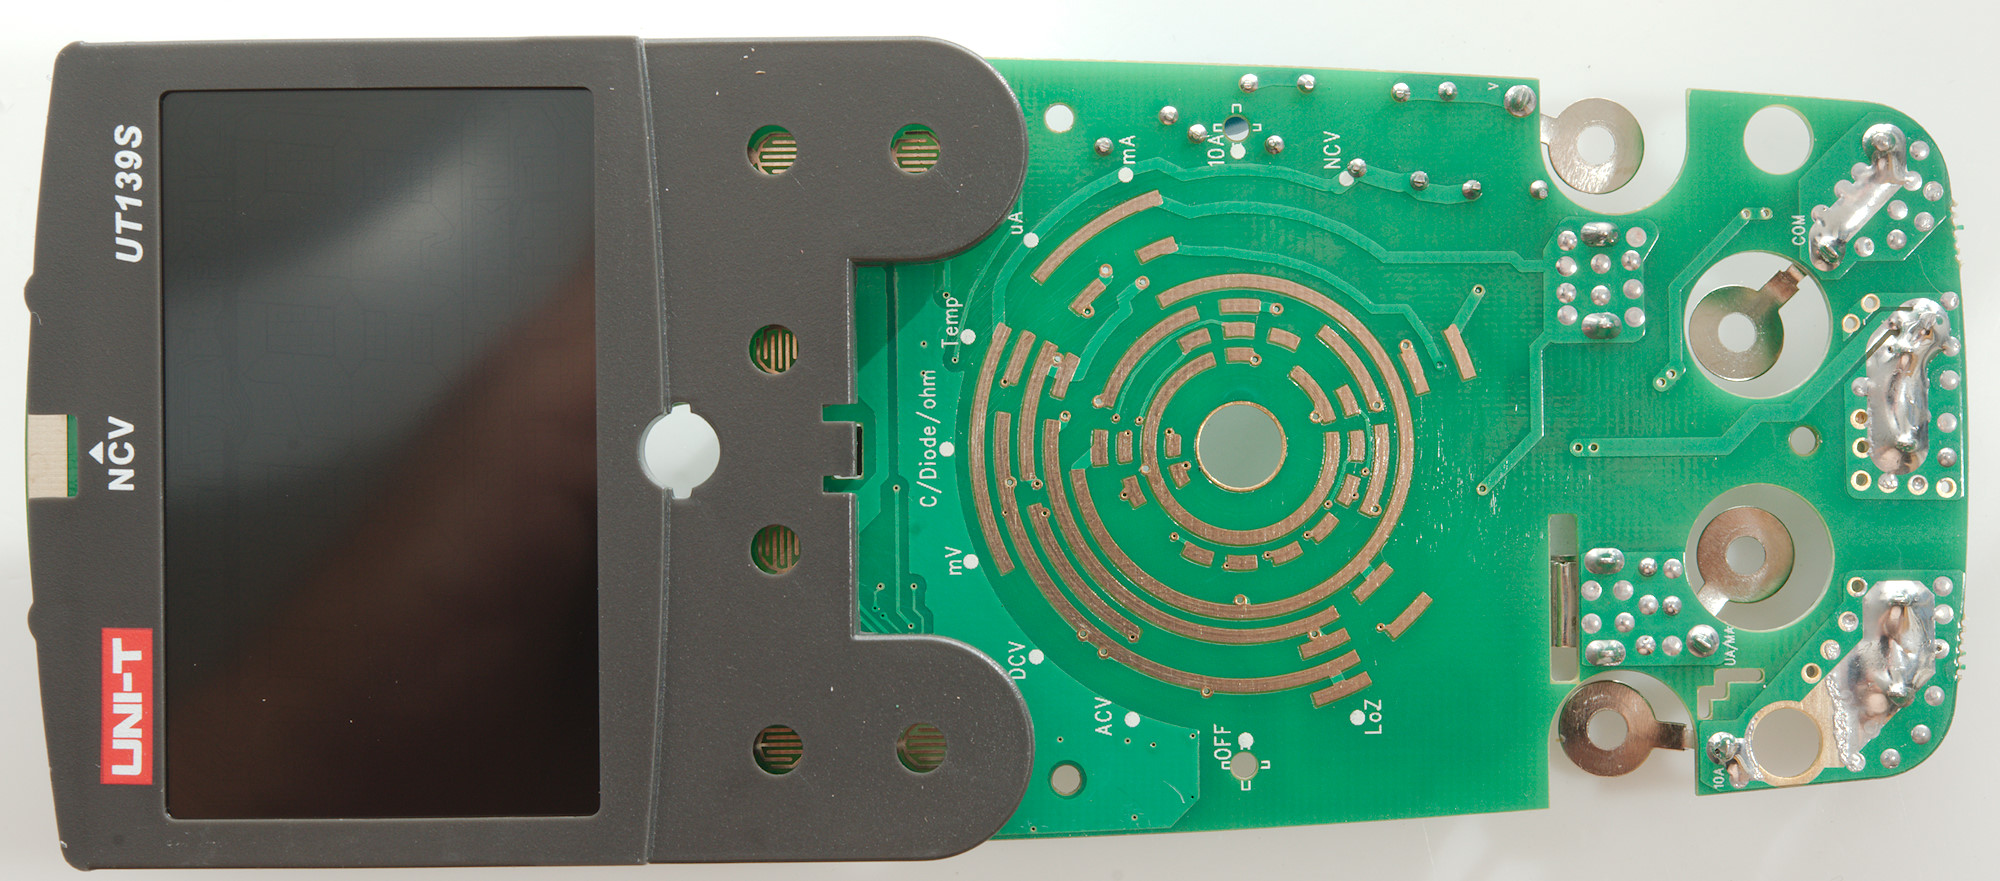
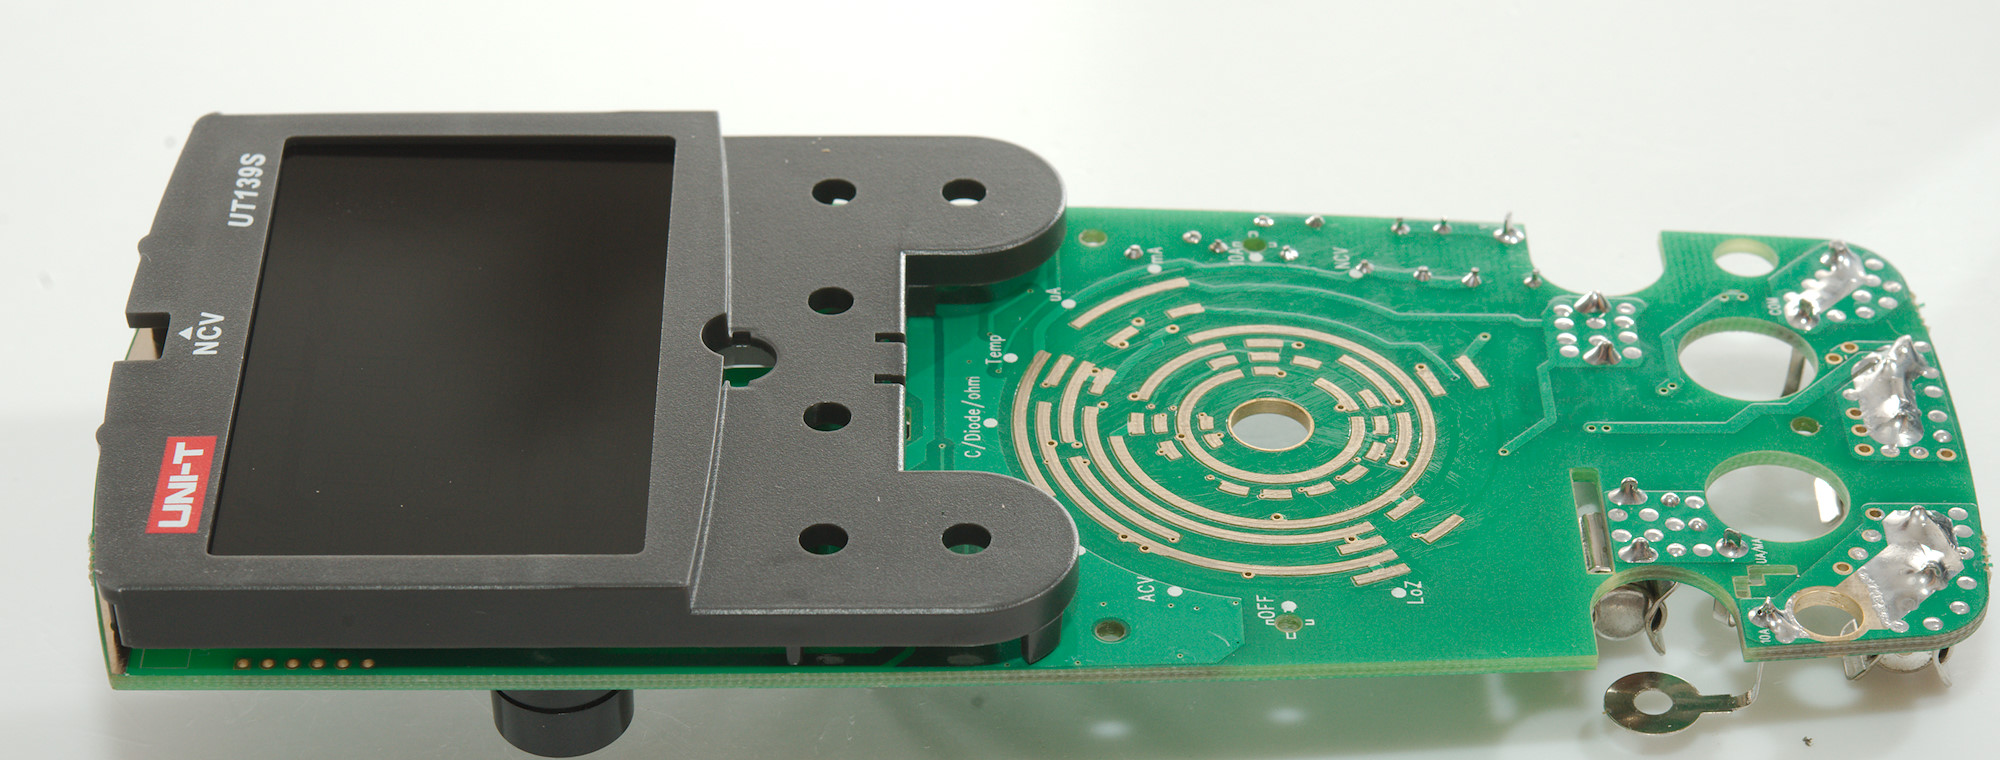
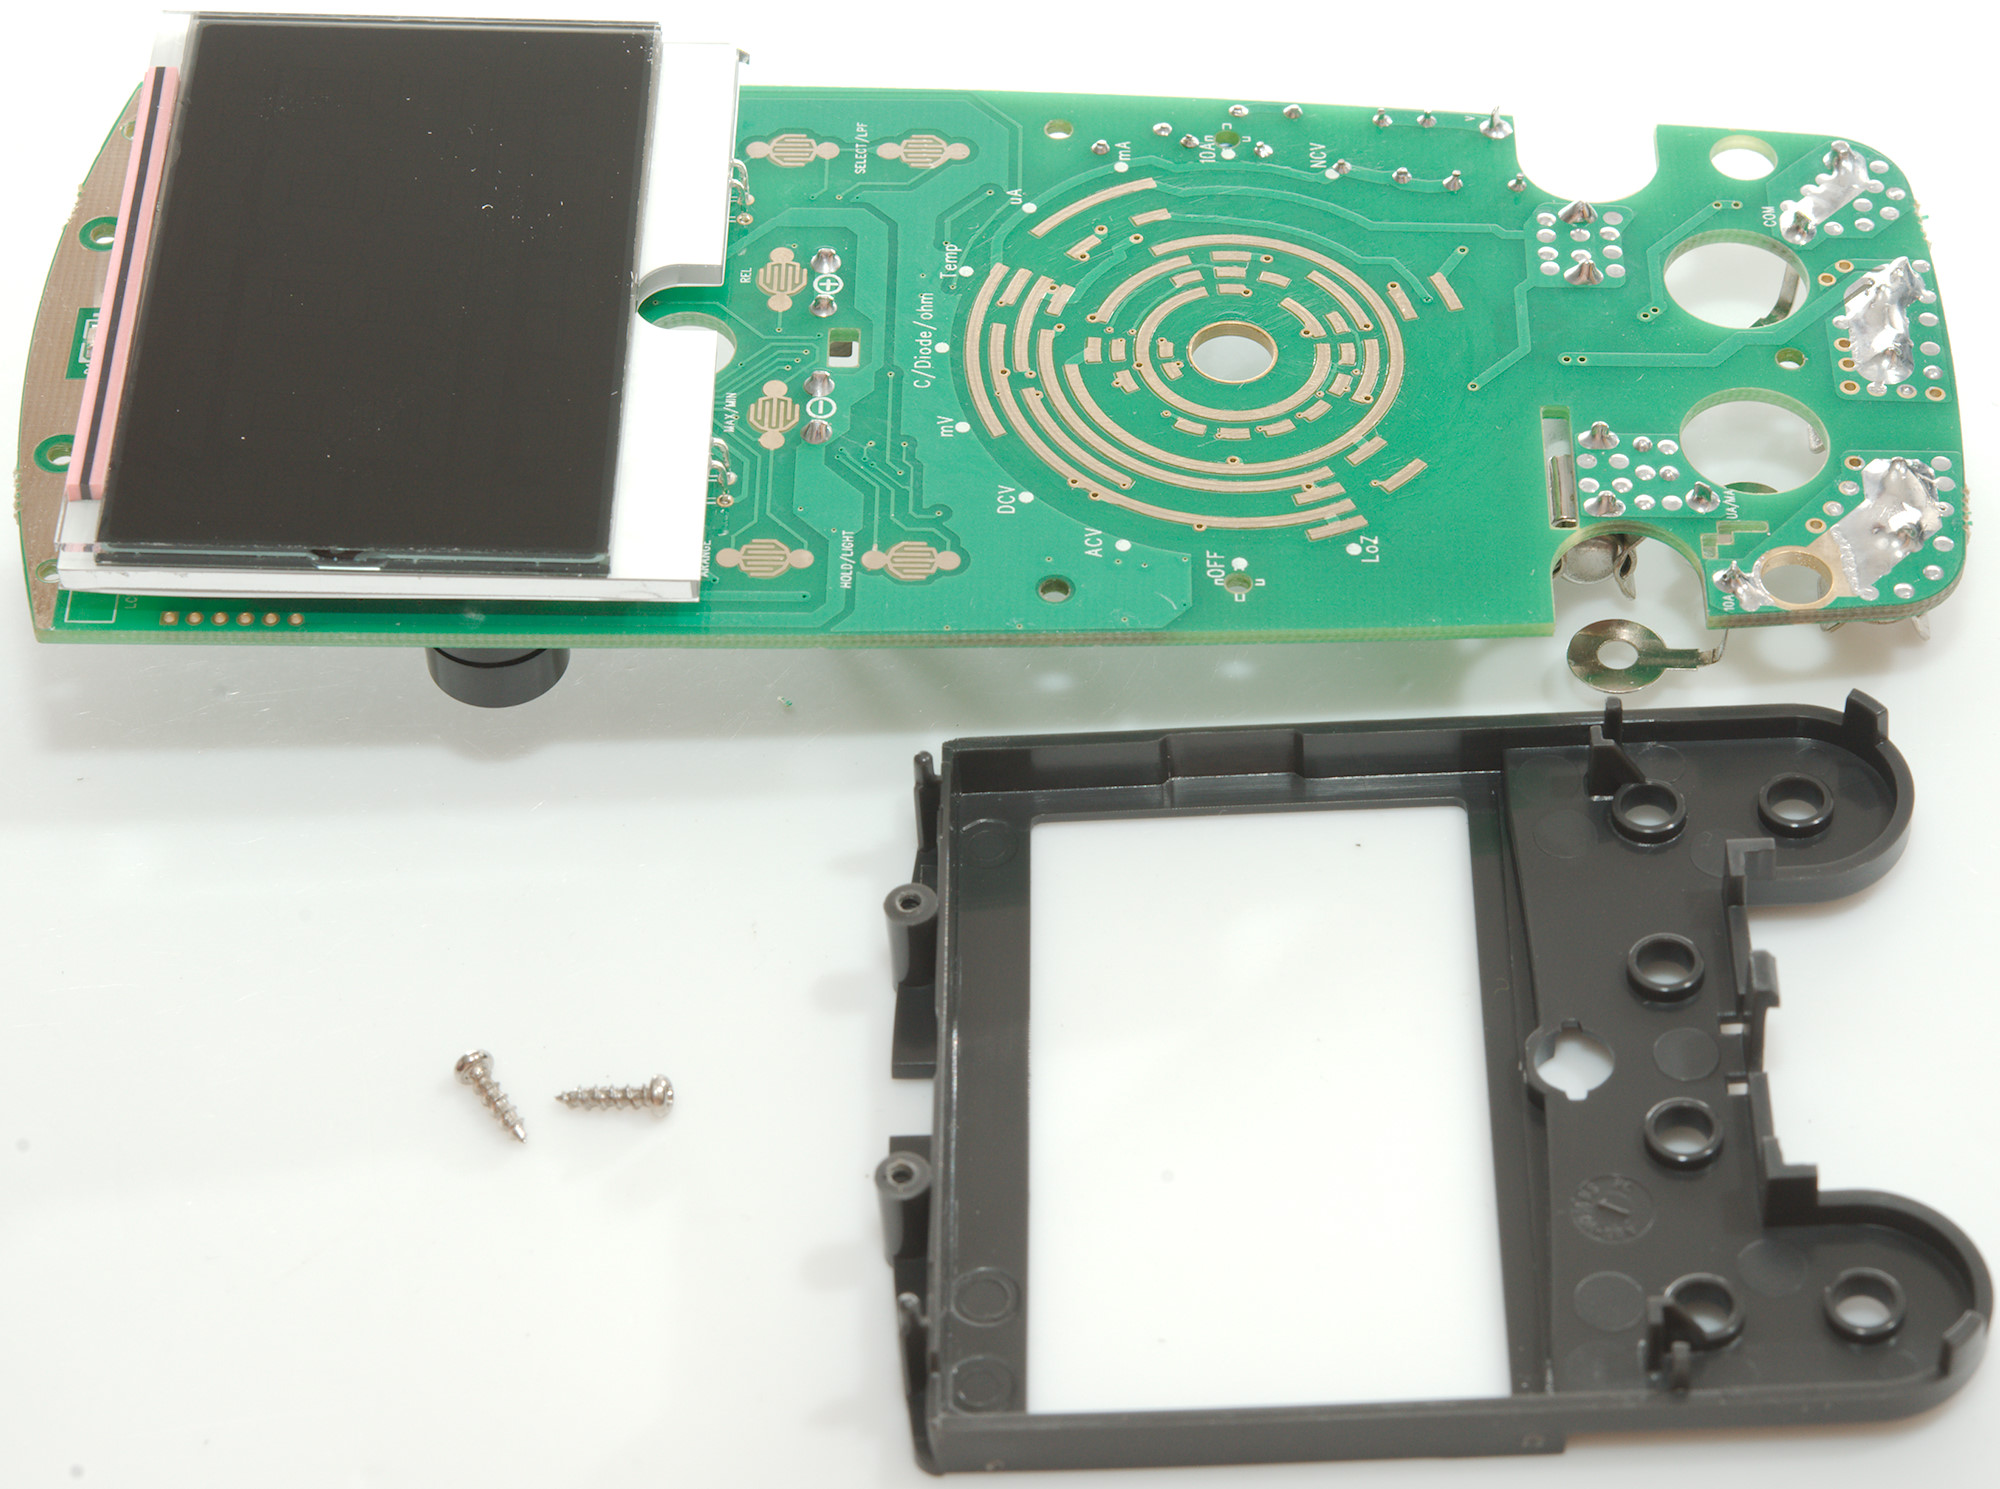
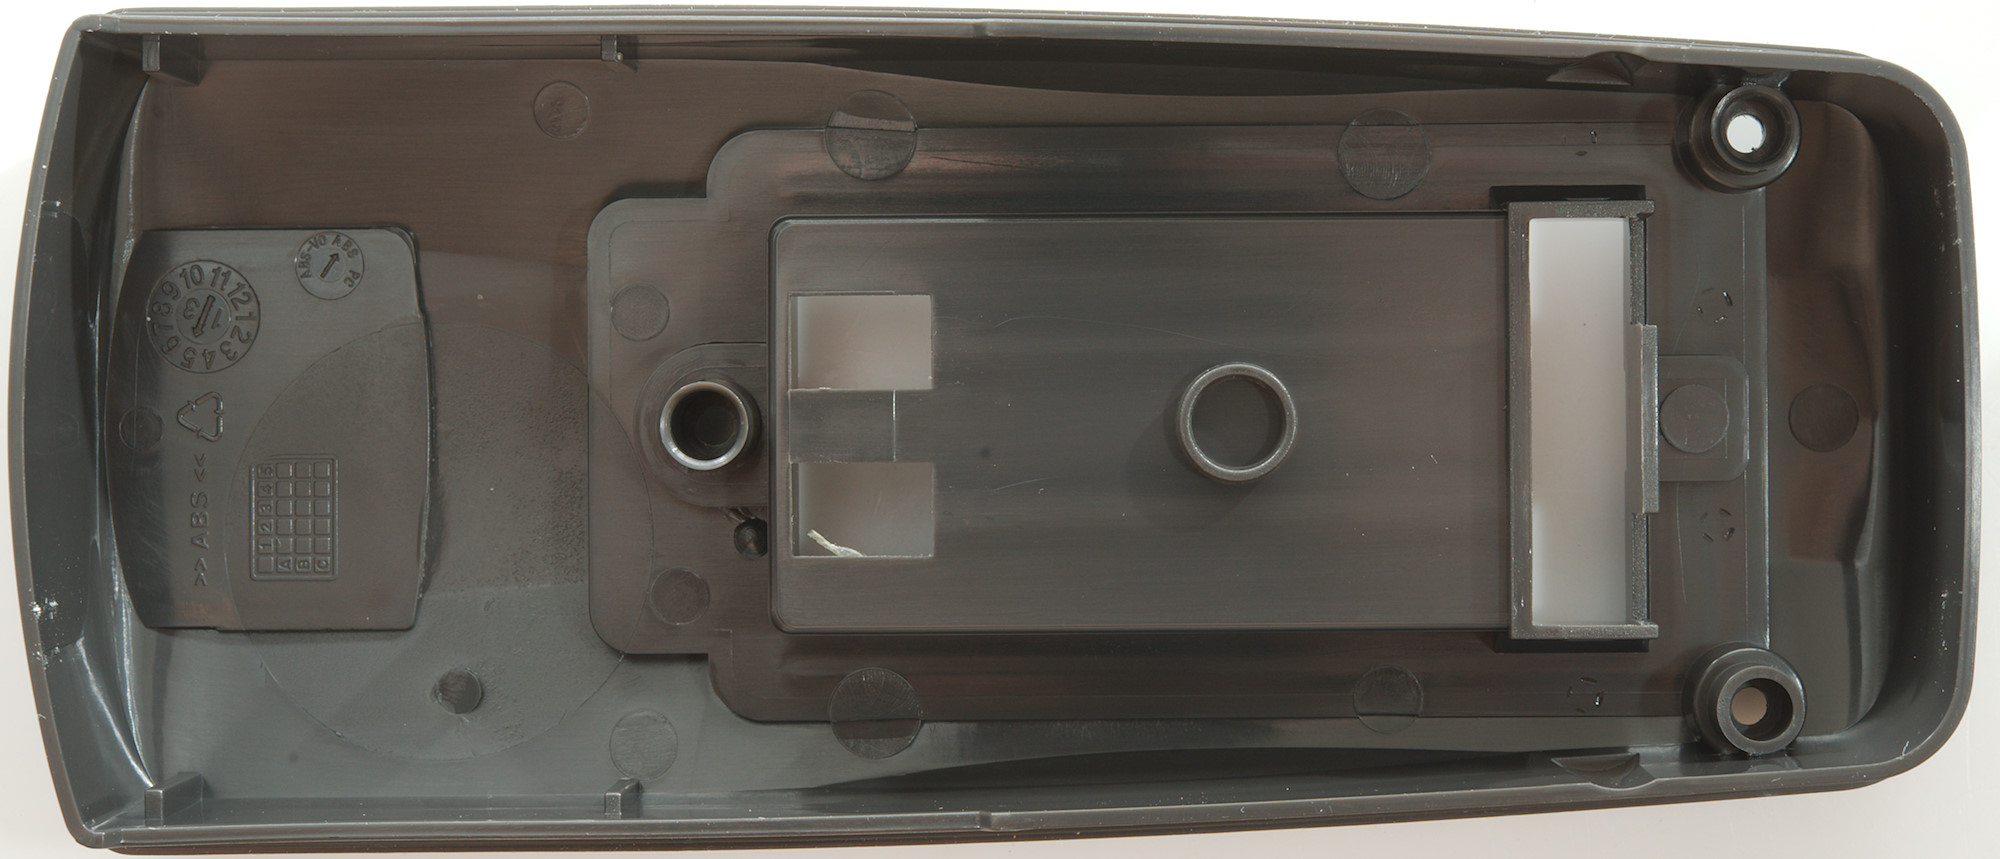
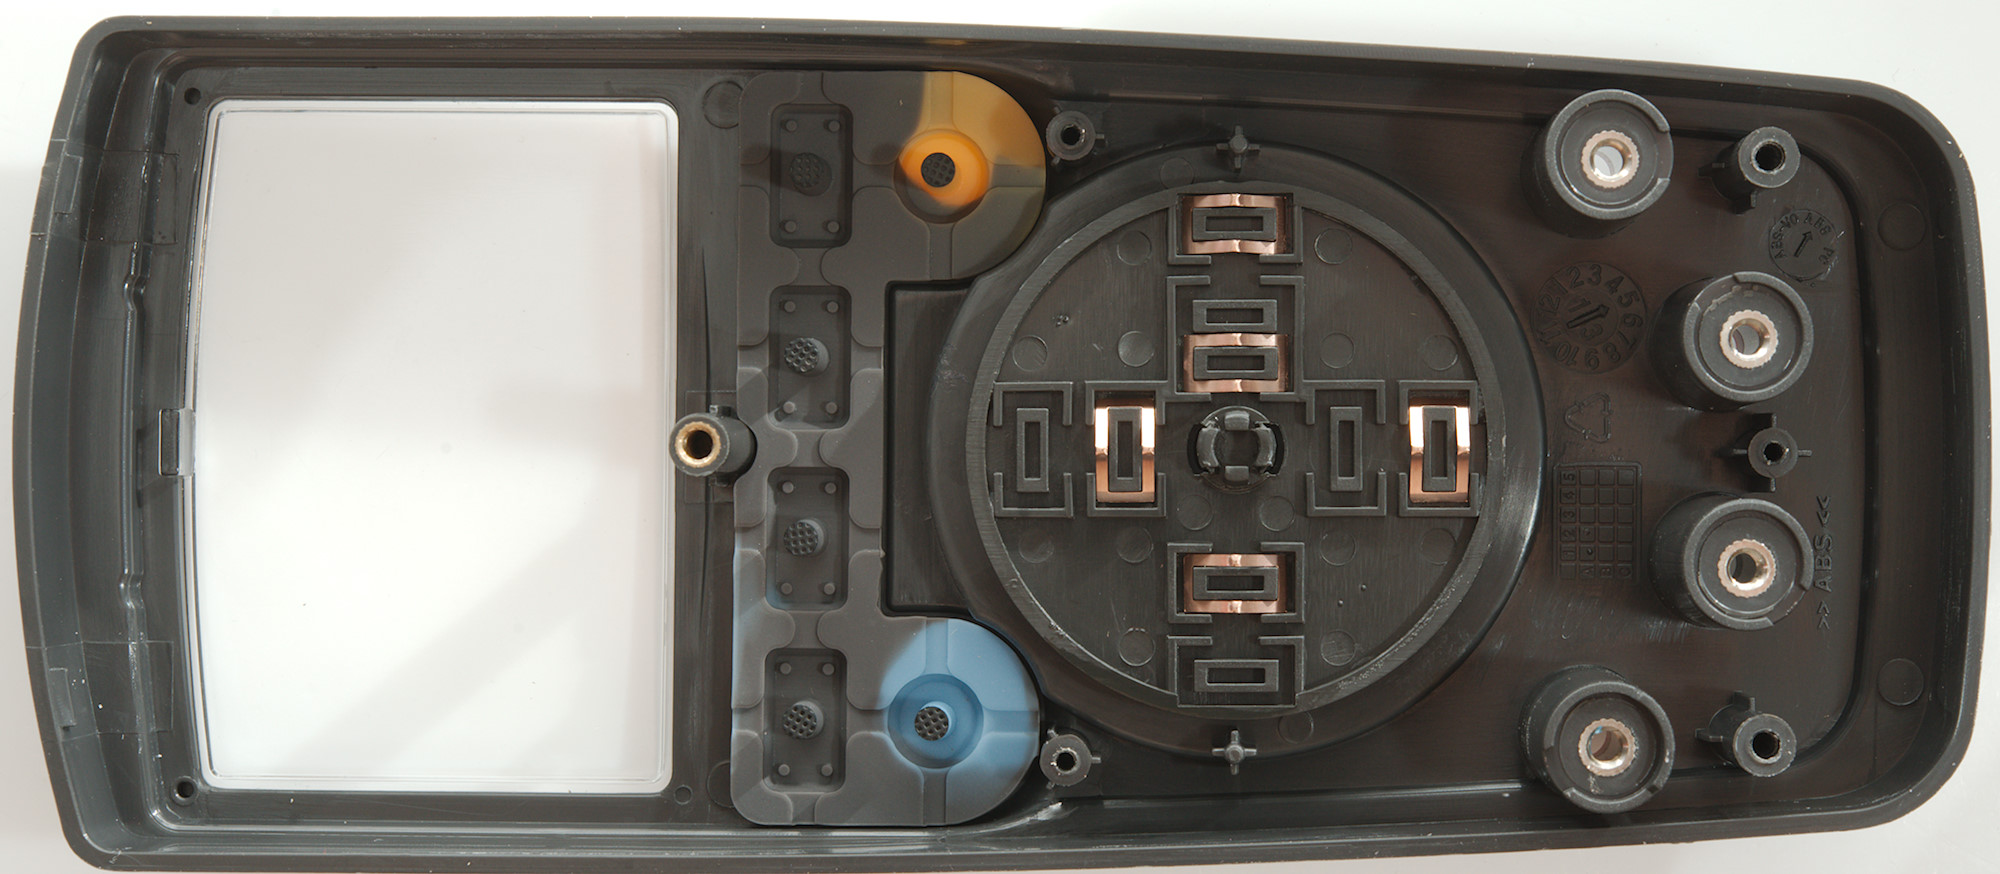
To remove the cover around the display I had to remove two screws.
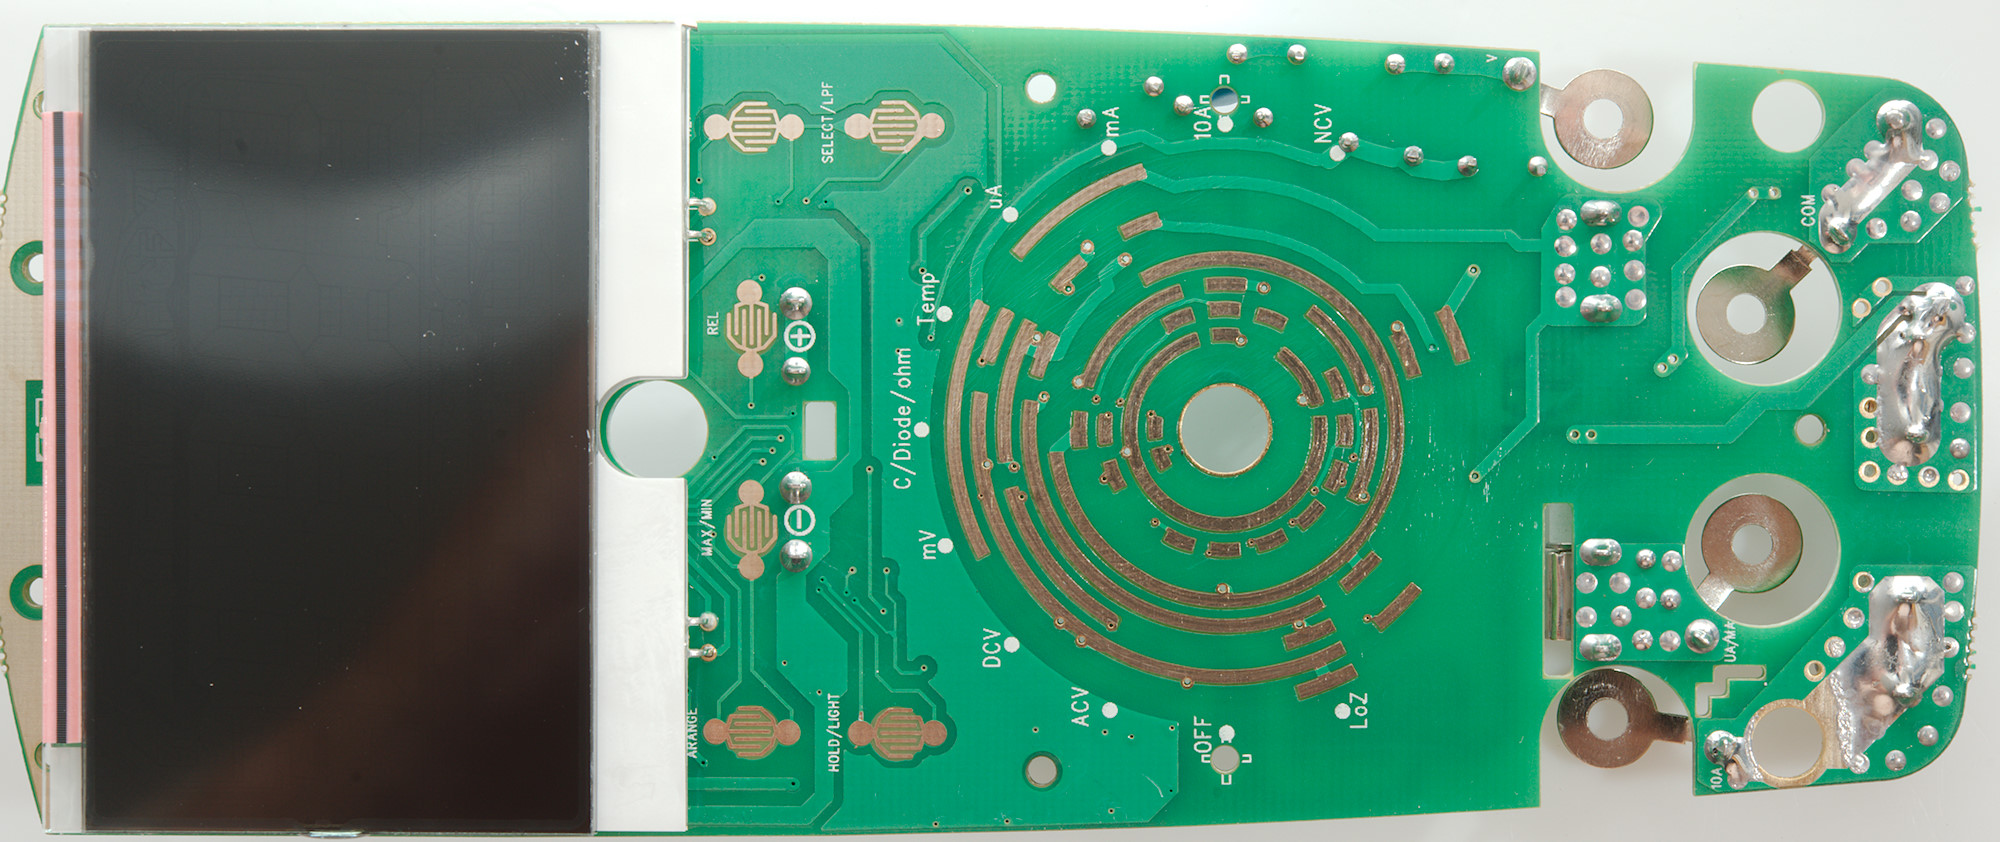
This side only has the pads for the switches and for the LCD, there is also a few LEDs.
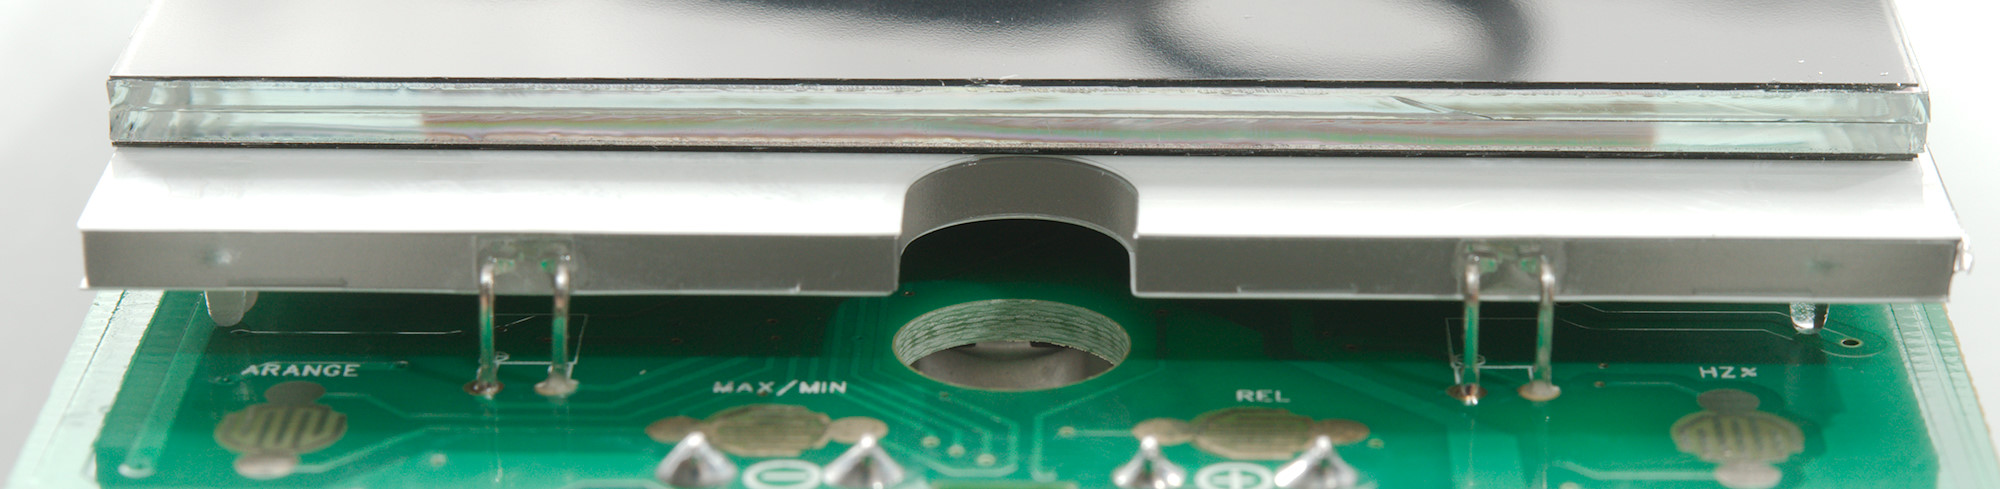
Two of the LEDs are the background light, this module is soldered directly to the circuit board.
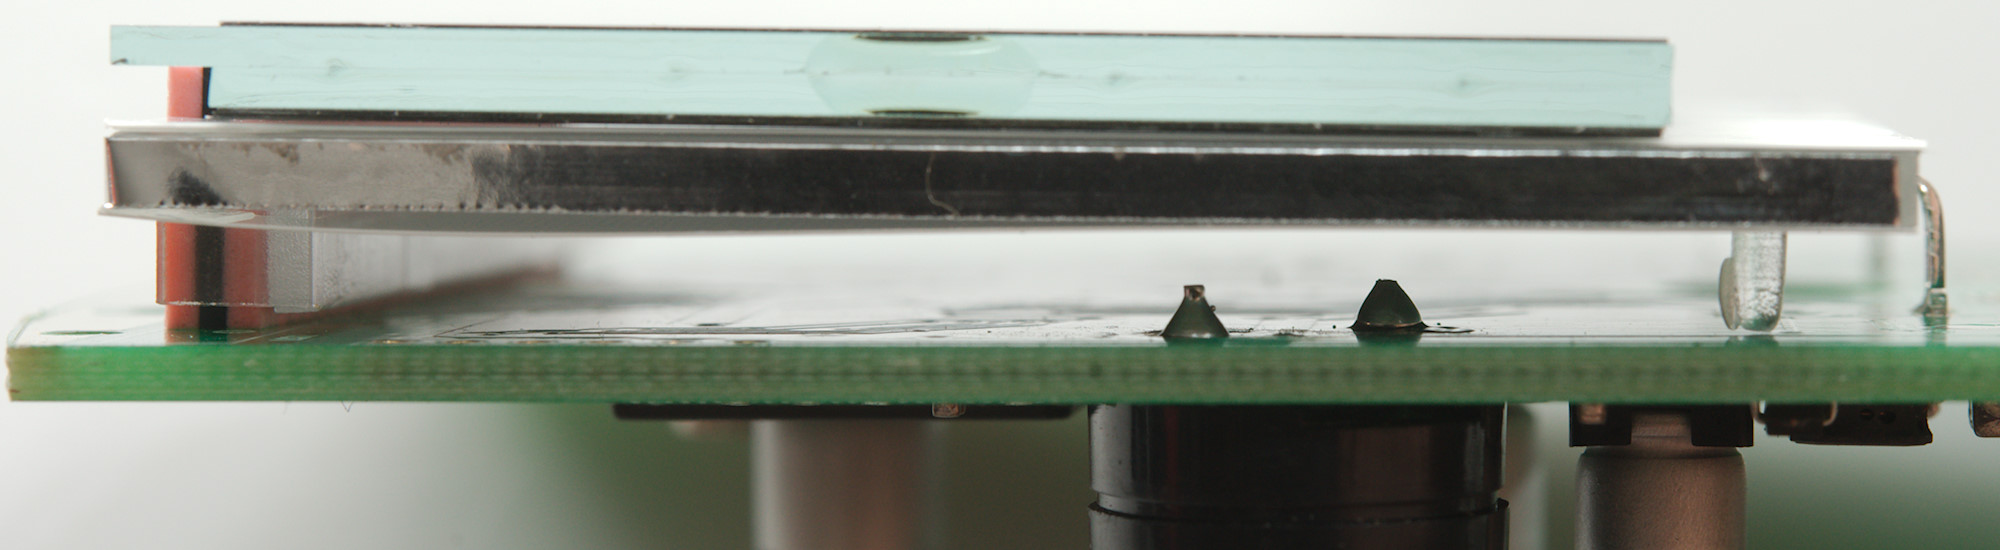
A look under the backlight module, there is no parts here.
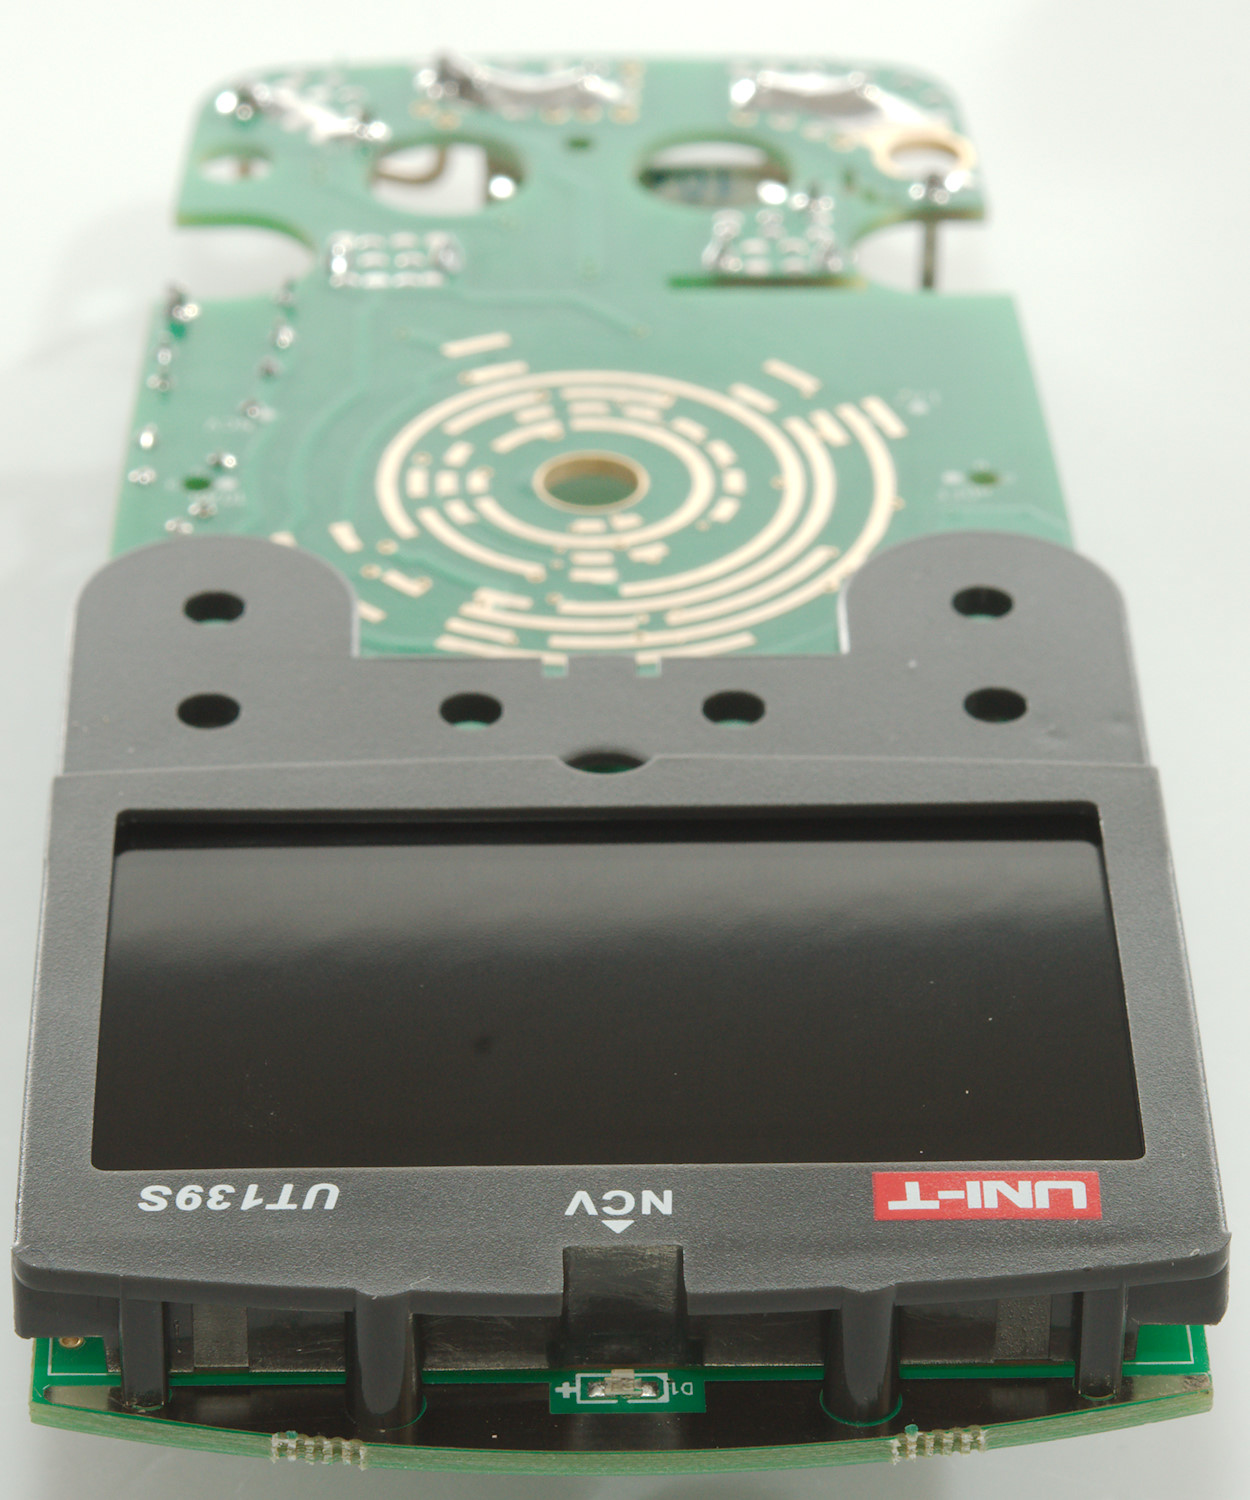
At the top of the circuit board is the NCV led and antenna.
Conclusion
This meter has all the common ranges and functions for a good multimeter, but do not have the more advanced functions. The reverse display is a novelty (Get UT139E for normal display and longer battery life) and means considerable higher battery consumption
With large ceramic fuses, MOV’s, PTC’s and multiple resistors in series the protection looks fairly good.
I will call it a good basic meter, both for low volt and mains usage.
Notes
UNI-T sell rebranded versions of their meters, i.e. you can probably get this meter with another name on it.
How do I review a DMM
More DMM reviews