I never could wait for Christmas. I always gave everyone their presents when I bought them. Guess it's from not ever having a Christmas as a child.
I'm going to tease just a bit...
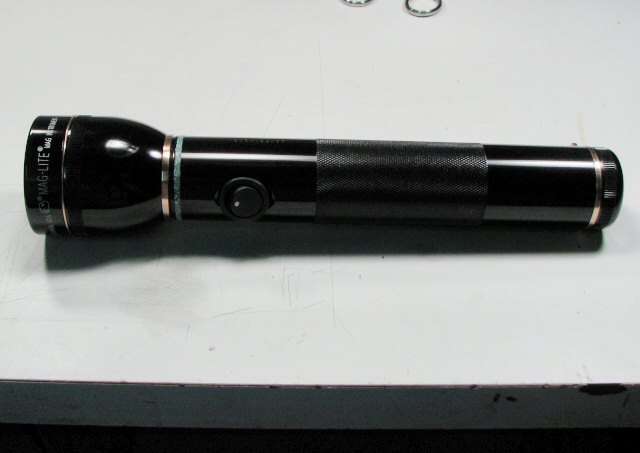
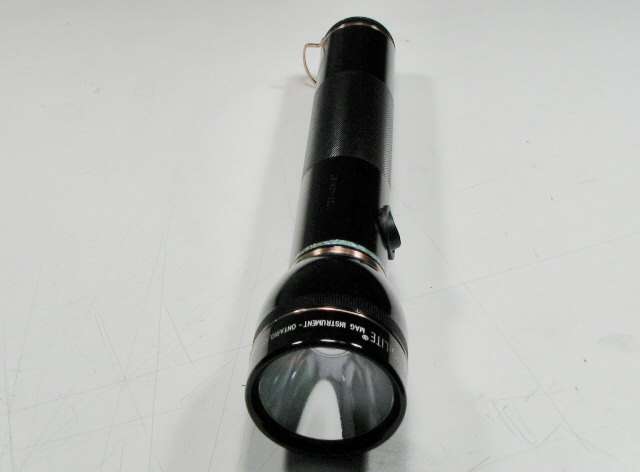
2D Black Incan Maglite
DX "SST-50 Reflector", but expect the unexpected
Emitter is coming from Mouser
10 AA NiMH battereis in 5S/2P configuration
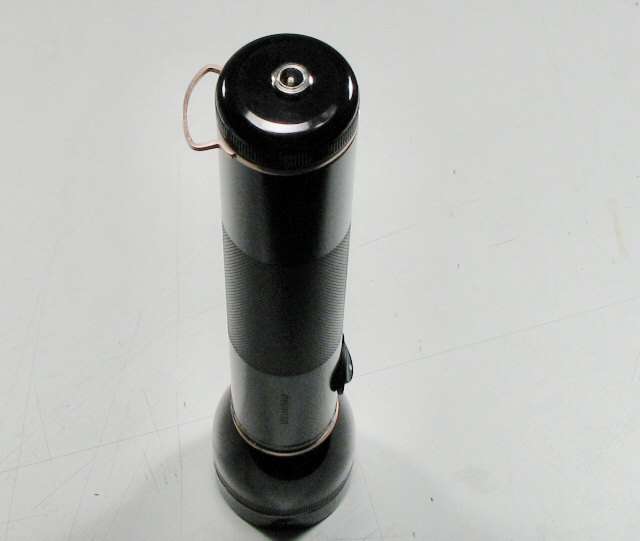
Ok, I found that things are gonna be really tight in this 2D, so I have to keep the head screwed way up, higher than the "O" ring, so I need to make a "stopper" for the head.
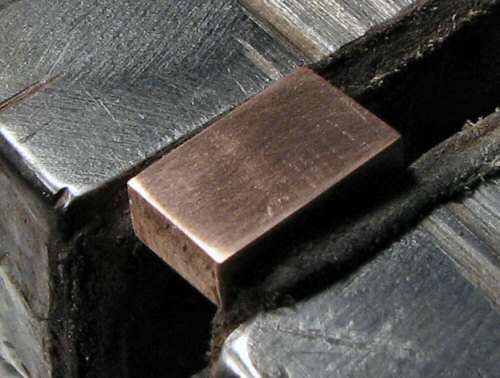
Well, what else, Copper!
Here's a pic of the copper stopper on the body of the 2D. It sits in the groove just below the threads and it is soldered together, so it can't move or come off. Yes you can heat up a good anno finish with a torch and it does not harm the anno. I heated the ring with my butane torch and flowed the solder into the joints, then I cleaned it all up. Here it is.
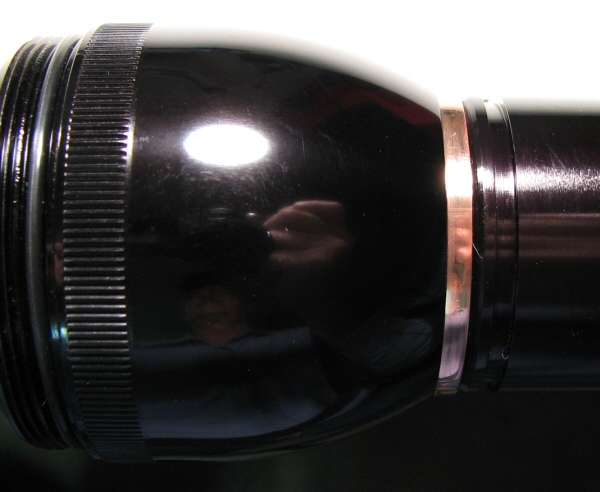
Now I still have to deal with that ugly "O" ring groove, but I'm sure I will come up with something.
That's all for now. I have to tell you that it's gonna be some time before I do too much more. I just ordered from DX for the Reflector and it will be the longest lead time of the build, so keep an eye out, but I bet this build is going to be the first I do in 2012!
I am not going to tell you which emitter. It's a surprise, but I will tell you it's a Cree and one I have never tried before.
Later!
-------------------------------------------------------------------------------------------
Turquoise Band (not finished, has to harden for a day).
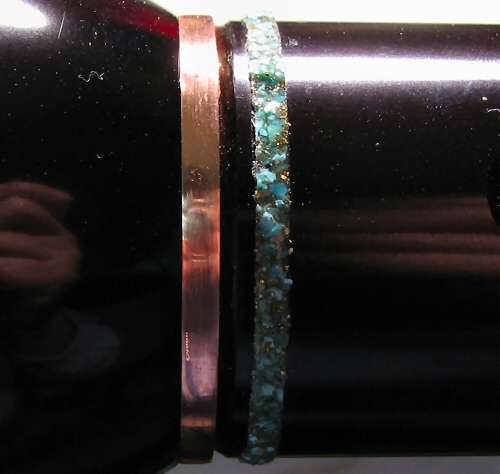
Still has to be taken down and smoothed.
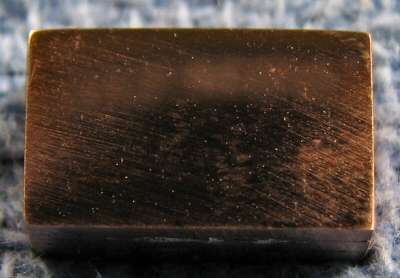
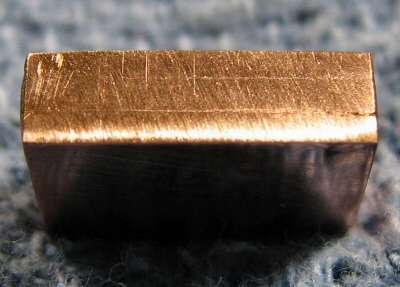
I also made a copper pedestal to go between the Heatsink and the Emitter (which came today!).
6mm x 9mm and 3mm thick. I cut a ring off a copper end cap, split it, flattened it out and cut 3 pieces off it. Then I soldered them together and worked it down to the proper size. Now I can Cement the Emitter to the pedestal with AA and I will have room for the wires on the underside of the emitter. Makes for a cleaner look and allows for some downward movement of the reflector if needed.
---------------------------------------------------------------------------------------------
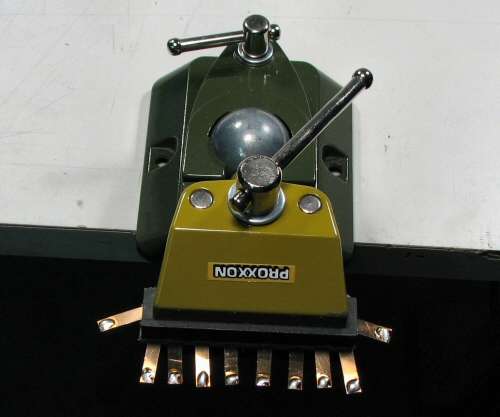
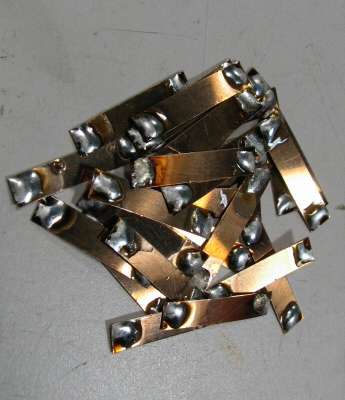
I am going to use/make a battery pack, with Eneloops, but today I decided to make up a few tabs. I do not have a high wattage gun or a hammer head for doing packs, because I hardly ever do them. I decided since I could easily ruin the outer wrapping, by using the wrong tools, that I would just use tabs and deal with it.
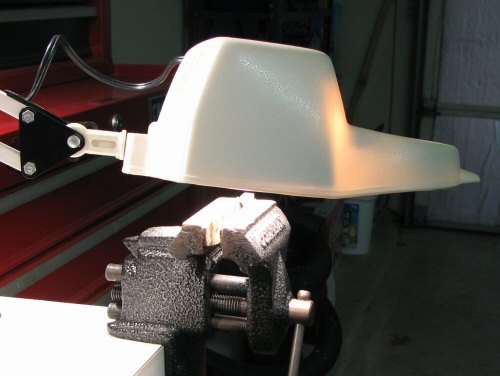
I'm showing you the soldering tab station, because I just love this Proxxon vise. It has paid for itself many times over. Here's a couple shots. It makes tinning the tabs so much easier when they are held in the leather covered jaws.

----------------------------------------------------------------------------------------------
Got the battery pack done, 5S / 2P
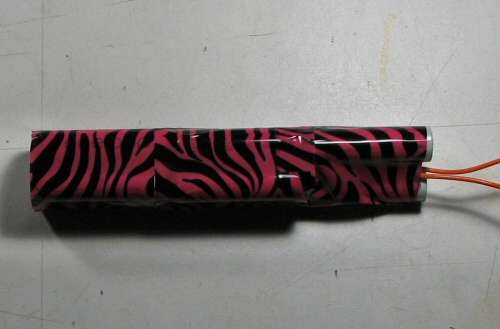
Ok, so the wrapper is..... Uh...... Different.....
I can't use the normal battery shrink wrap, as it will be too thick. I still have to hone the barrel and I know how hard and tedious that is, so I don't want any thicker of a package than I have to.
Well, I went looking for clear packing tape and my wife asked what I was looking for... I told her and she told me that maybe I should use that lovely pink & black stuff I bought for her (since she will NEVER use it). I got the hint right away, so......... What do ya think?
I will replace it with clear, on another day, when she's asleep...
No other news, the DX package is sitting in Hong Kong Post and who knows when it will go out, so I'm just sitting around waiting...
-------------------------------------------------------------------------------------------
Unbelievable! The lack of tracking a package from China has. My DX parts showed up today! Still shows that it is outbound from china.
I ordered 2 Reflectors. This one and This one as well as 5 glass lenses.
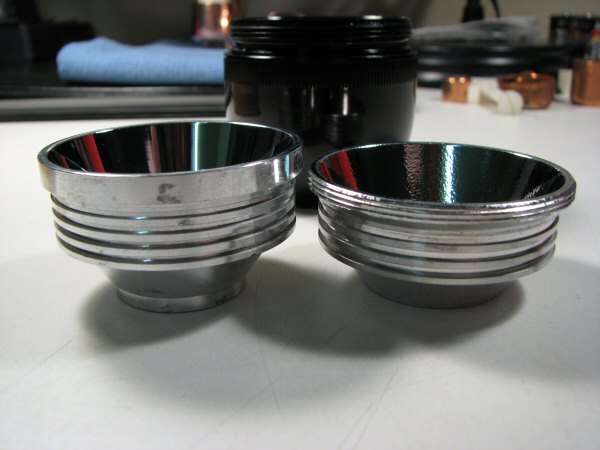
Neither of the reflectors fit in the mag. Well let me say that both of them go in, but you can't put the bezel on and screw it down. They stand too tall off the upper edge, so modification has to be done.
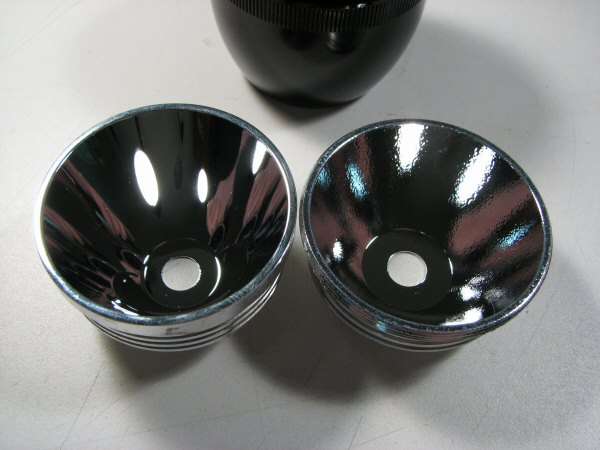
The SST-50 is on the left, P7 on the right (in both of these photos).
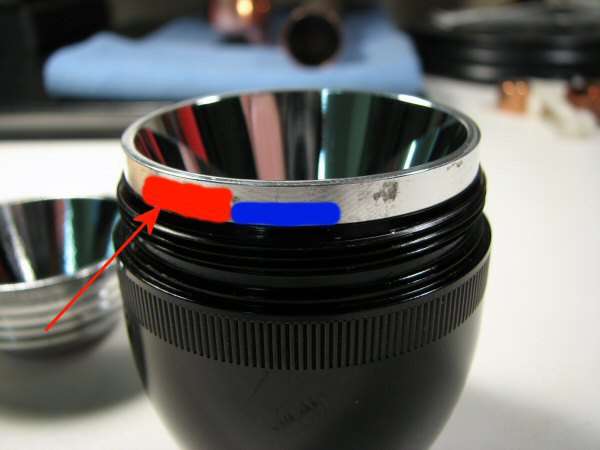
The SST-50 reflector has a really wide lip. I am showing (In RED) how much you would have to shave off, to screw the bezel all the way down, with a glass lens. Also (In BLUE) is how much I would shave it down. Why?
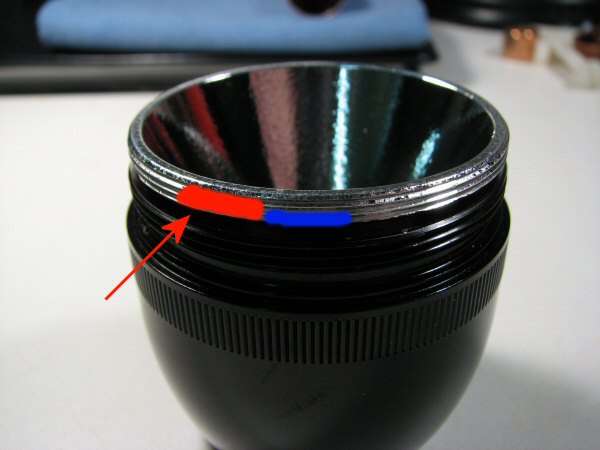
You can see the same thing on the P7 reflector. In RED is how much needs to be removed for screwing the bezel all the way down and In BLUE is how much I would remove. Why?
Well, you can figure this out now can't you??? Copper trim ring of course!
You know I could Almost finish this light if I had a HeatSink, wonder where that sucker is??
TaTa for now.
----------------------------------------------------------------------------------------------------------------
I decided while waiting for parts, I could go ahead and get the emitter attached to the Copper pedestal.
I made the pedestal the size to fit the center backing and it leaves the two sides for soldering wire to.
Copper pedestal
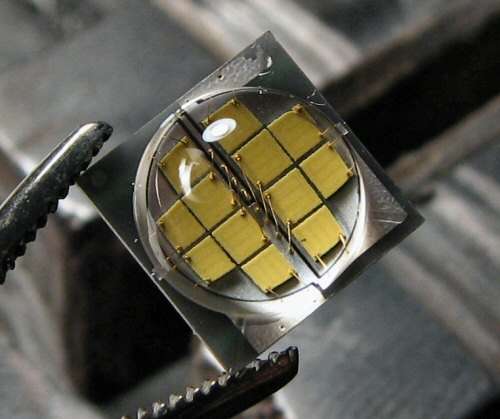
Emitter, man that's a big one
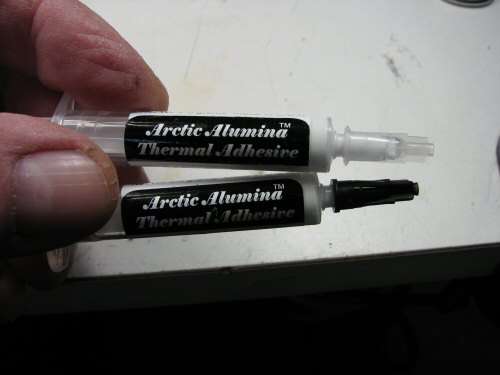
Arctic Alumina Adhesive
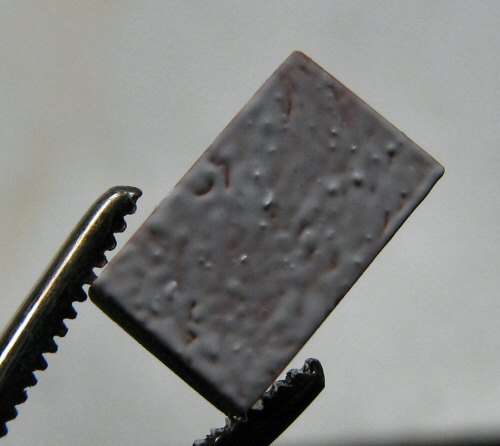
Thin coat on the Pedestal
Put it on and spend a little time in the 100W oven. (can't do that with CFL)

Finished
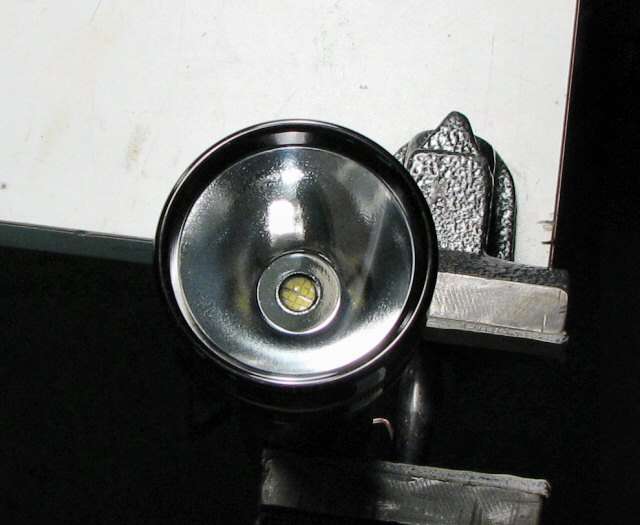
I also managed to finish the head, with the SST-50 reflector and a copper ring.

The seflector is SMO and there's nothing wrong with it, it's just the 100W bulbs shining down on it. It's a deep reflector for a mag.

The Copper ring is a piece of wire from some romex.
-------------------------------------------------------------------------------------------------------------------------
I thought I would add a Video - Honing a Maglite Body - In case anyone really wanted to do one.

This is with the Brake Hone method.
--------------------------------------------------------------------------------------------------------------------
Hey Chicago X, the Package arrived today!!!
I have to show some photos...
The outer package was a Priority envelope. Inside that was a Ready Mail padded onvelope. Inside of that was this:
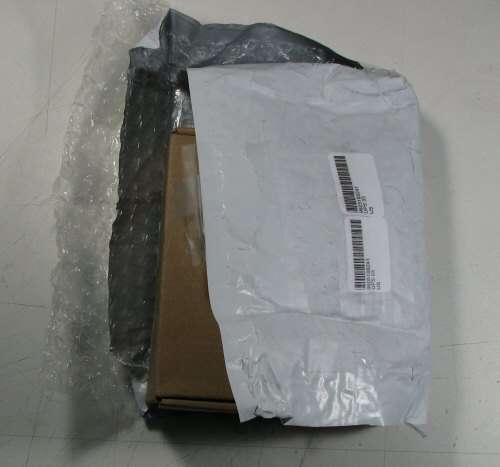
Another padded envelope and a box inside.
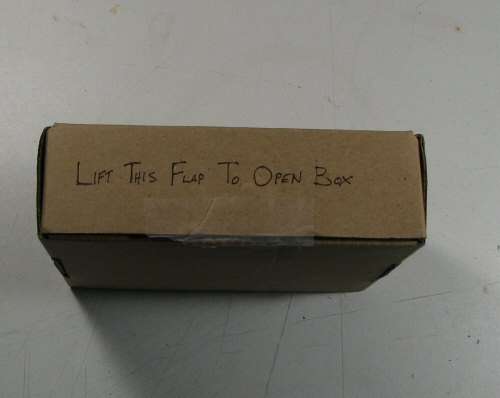
Lift this flap to open box? Really?
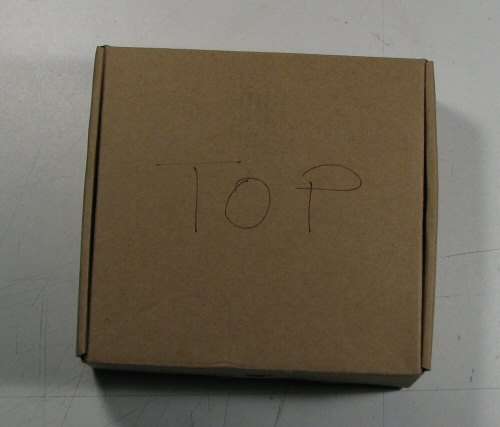
Top?............... Seriously??
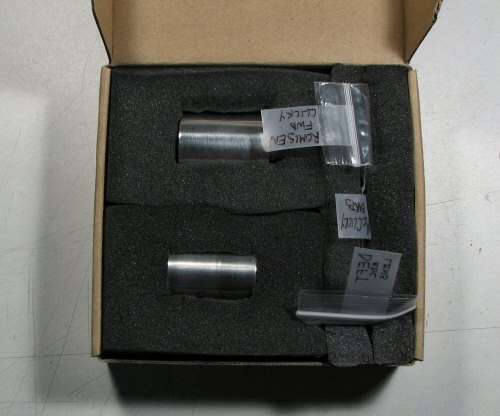
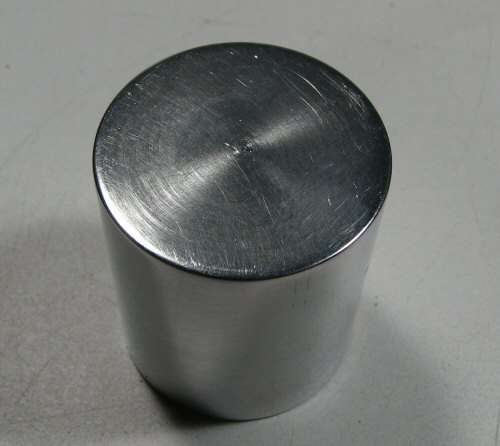
OMG........... Never would have believed this! 2 Heatsinks packed in foam rubber? Oh, and there's a few other little goodies that I'm not going to discuss yet.
Well, Thank you Chicago X. For all that work, plus the breaking of the lathe, I'm sure you did not make any money out of the sale. In fact, at this rate, you probably will have to triple those fees. No, I'm not going to tell how much they cost. Chicago X does have a lathe and I can now say that his work is very good, if anyone is needing parts made........ Yes, that is an advertisement......
Now I can finish the MagMod and the Copper Smoothie. You know where I will be on New Years day!
---------------------------------------------------------------------------------------------------------------------------
Final assembly and testing
Here's the Battery pack, wired up, with the charging port and ready to put into the light.

Here's the MT-G emitter on the heat sink. The emitter is on the copper pedestal, so I could have room to solder the 18 guage wires on. All ready to go and tested.
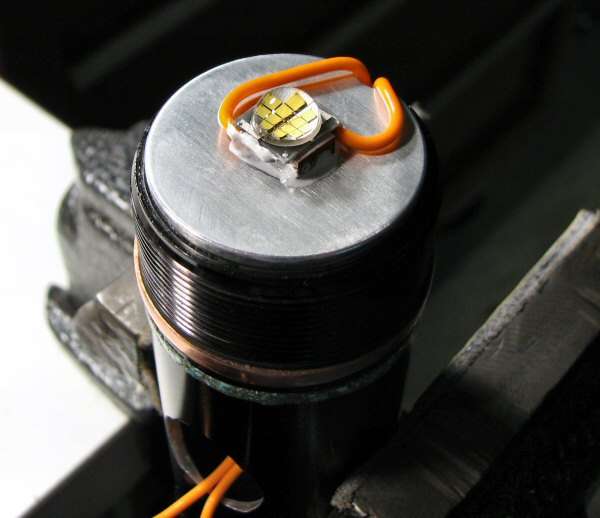
All connections are solder connections. Here's the switch wired up and I coated the terminals with Arctic Alumina to isolate them.
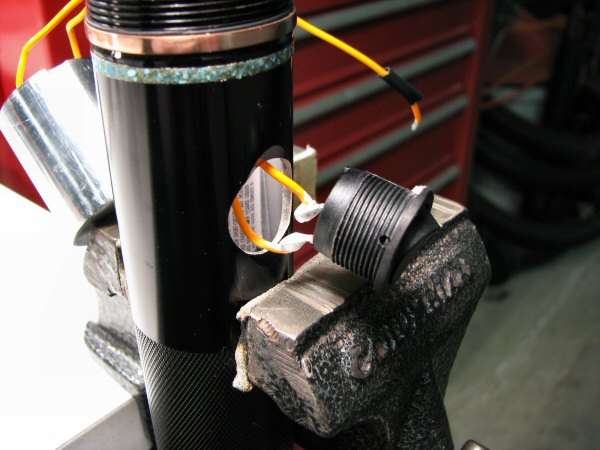
The switch slides in and I used more Arctic Alumina to anchor it in place. I also used a thin film of Arctic to make good heat sink contact.
Here's a few shots of the finished light
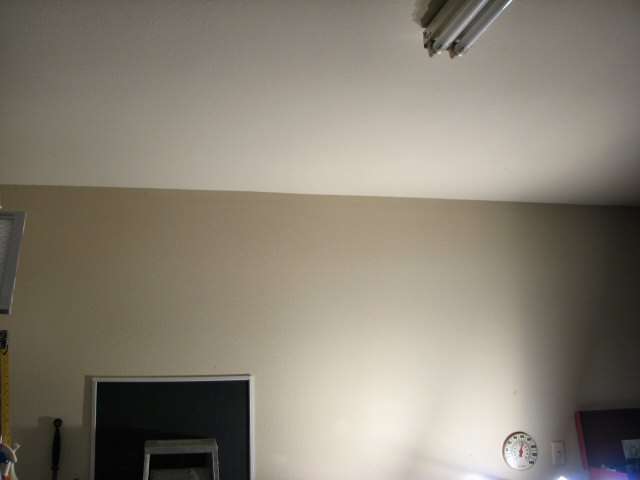
Three 100Watt Light Bulbs aimed at the wall - for reference.
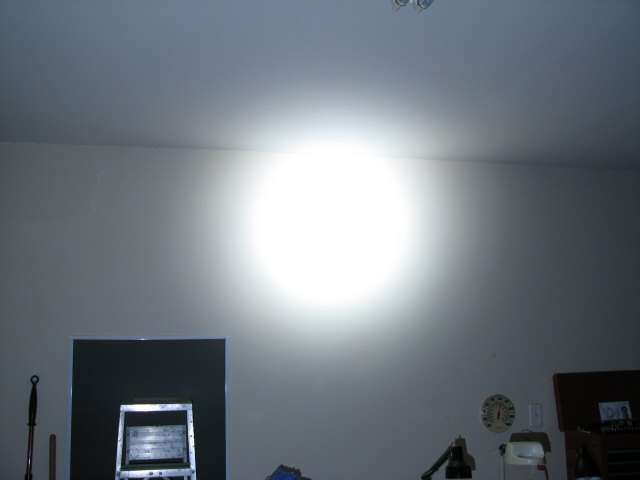
Mag MT-G aimed at the wall, from about 8' away
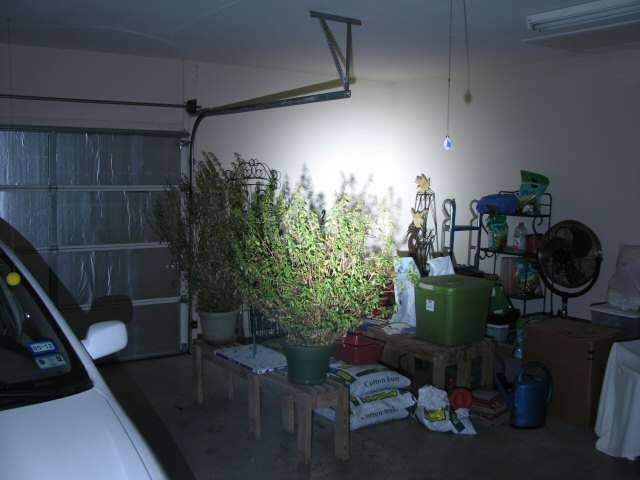
Mag MT-G aimed at the other side of the garage - about 12' away
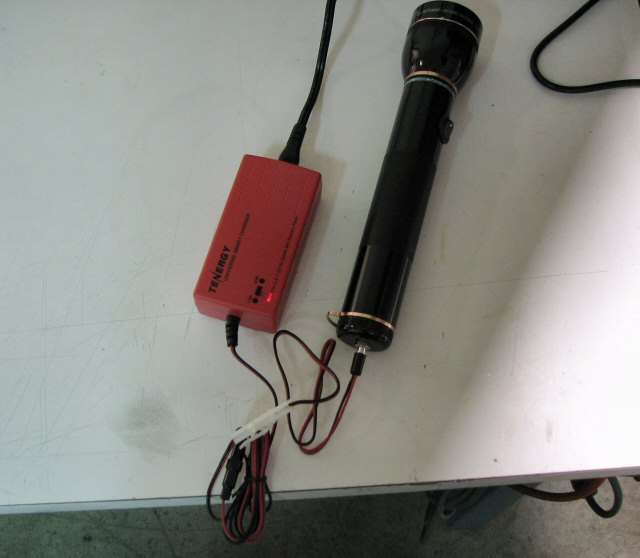
Even the charger works!
Finally! I'm not a patient person. I thought I would never get all the stuff to finish this light.
My thoughts? It's brighter than an XM-L. The heat sink is working well. I noticed I could feel the front of the body warm up in just a couple of minutes run time, so heat transfer is very good.
I used Clearcoat on the Reflector. The MT-G with this reflector had rings and a dark spot. I managed to adjust height to get rid of the dark spot, but the rings never changed, till I clearcoated the reflector.
It's a Heavy light! between the batteries and the heat sink, it's a lot heavier than a stock Mag 2D.
I like the Copper trim rings on it. I think they set the light off.
Overall I am satisfied that it turned out ok. I think it's the best wiring job I have done and it's a good stable light.
I will do outside beam shots late tonight.
Then it goes up for sale, with the charger.
-Justin


 Ooops
Ooops