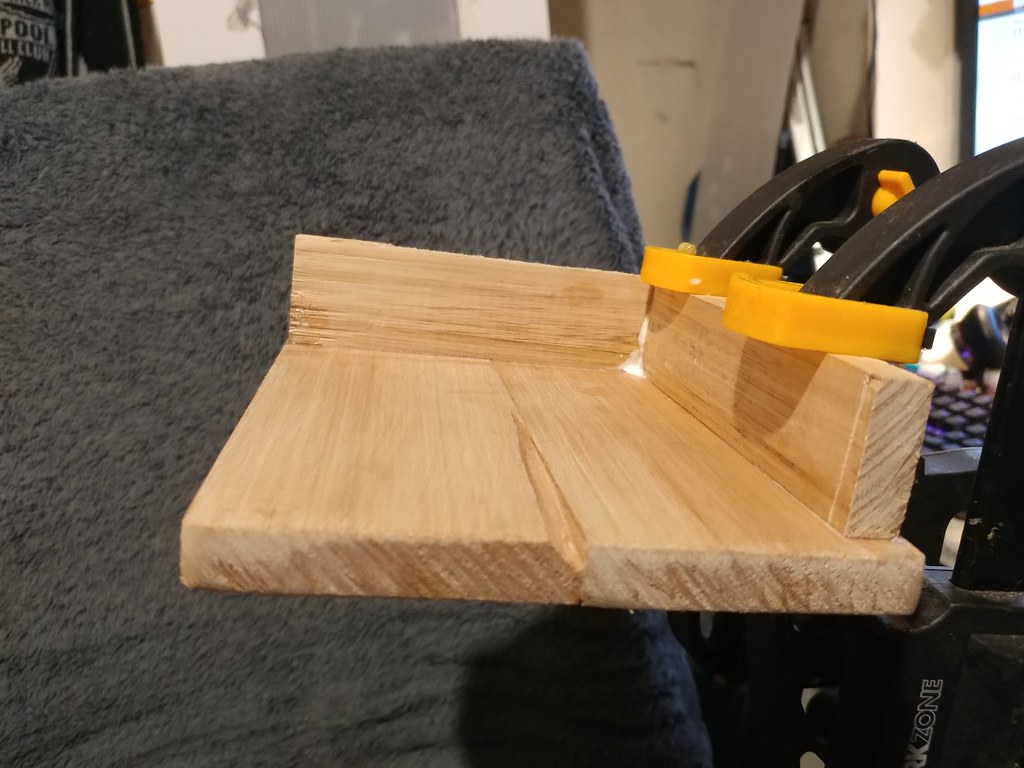
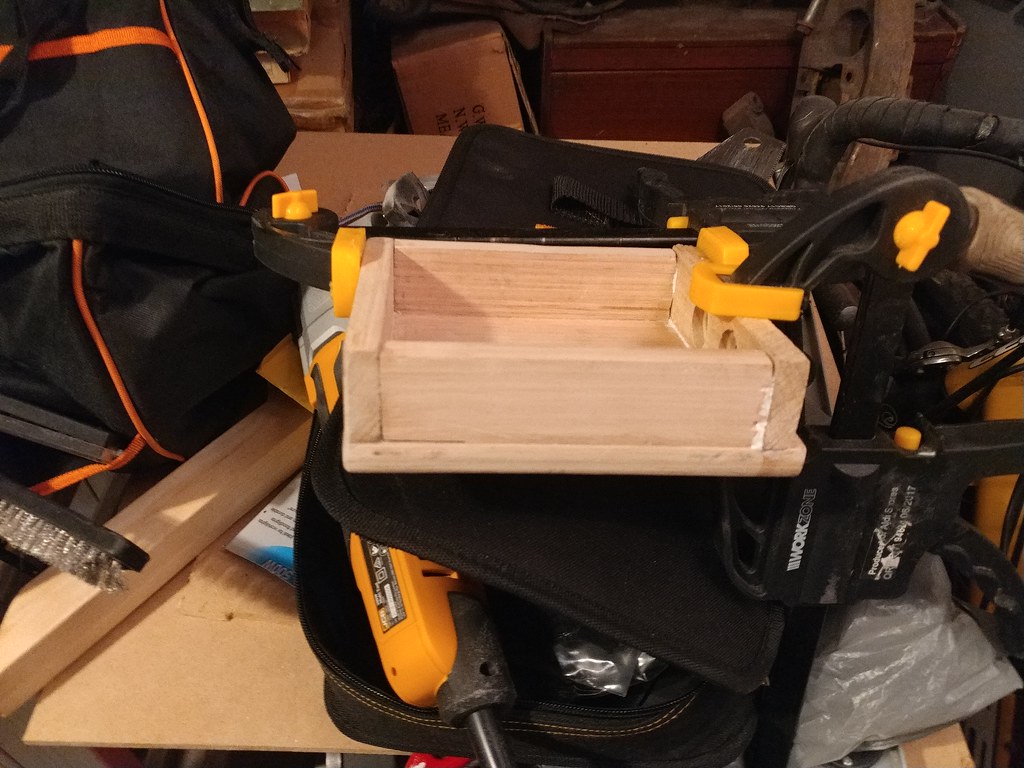
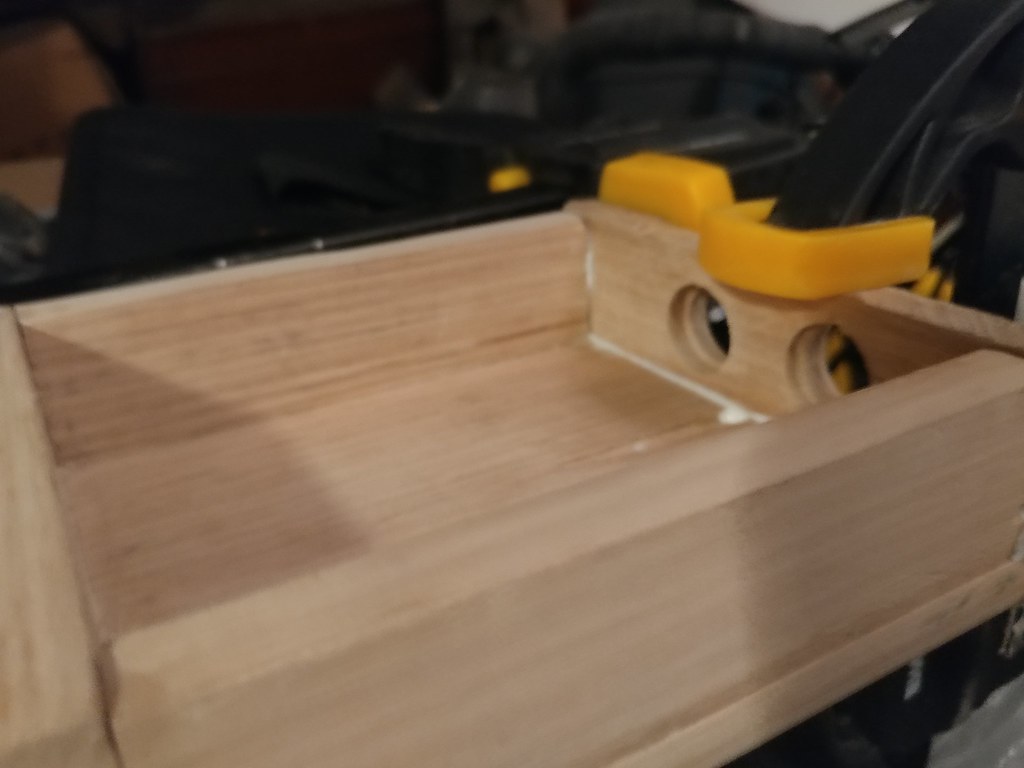
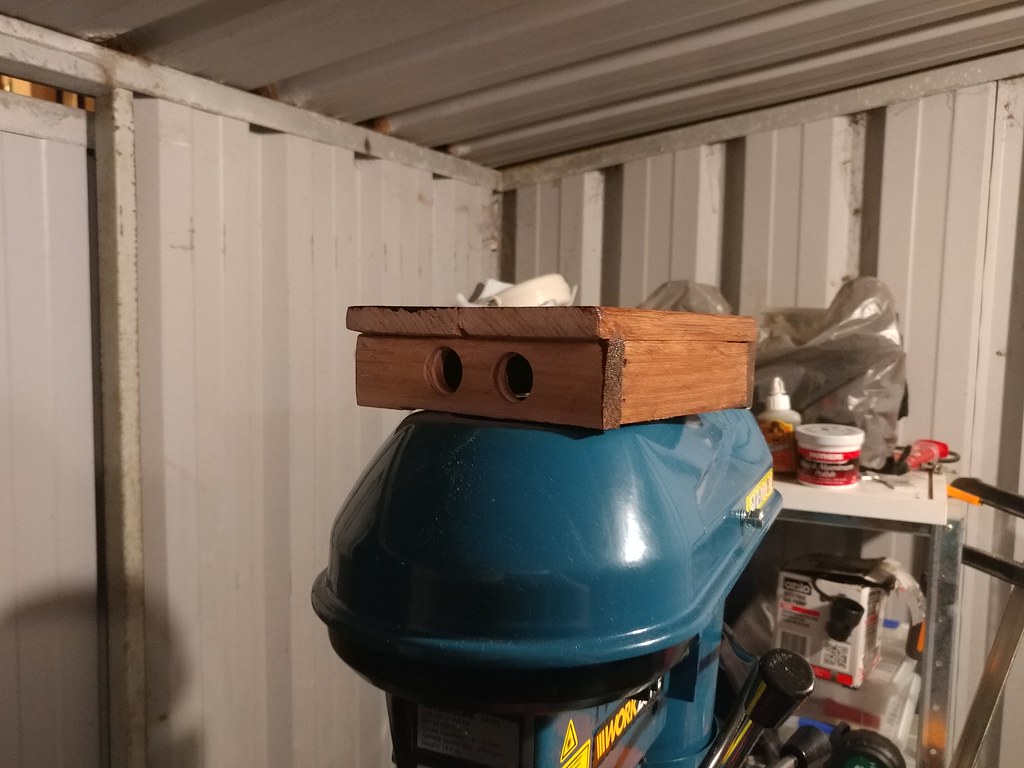
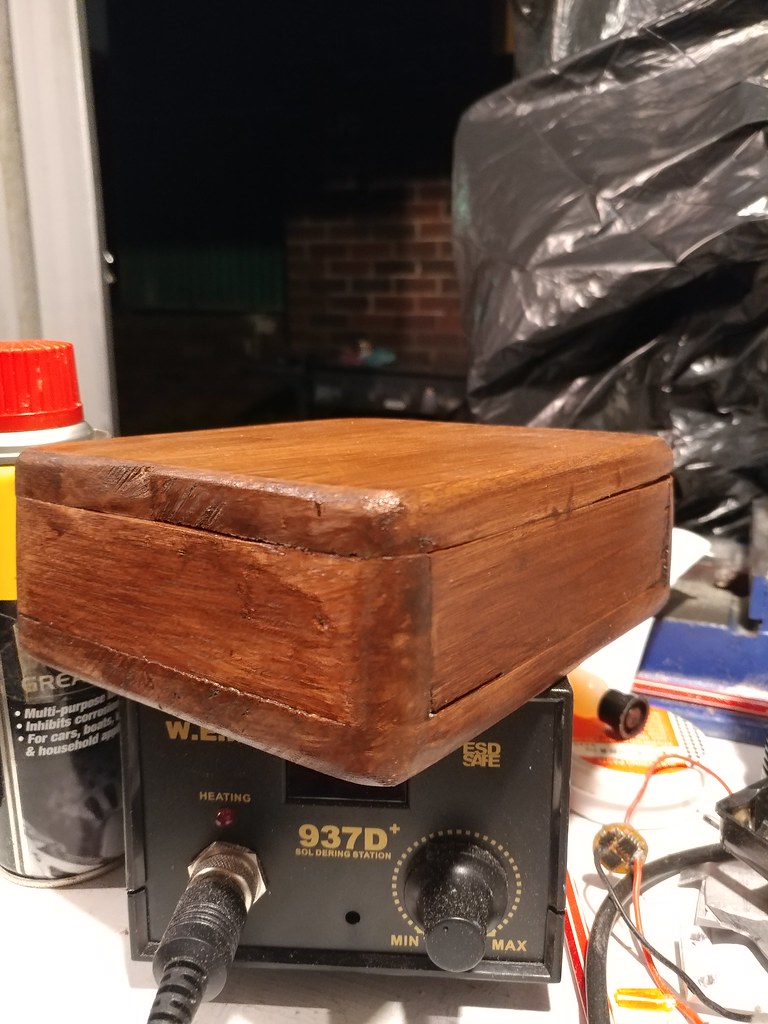
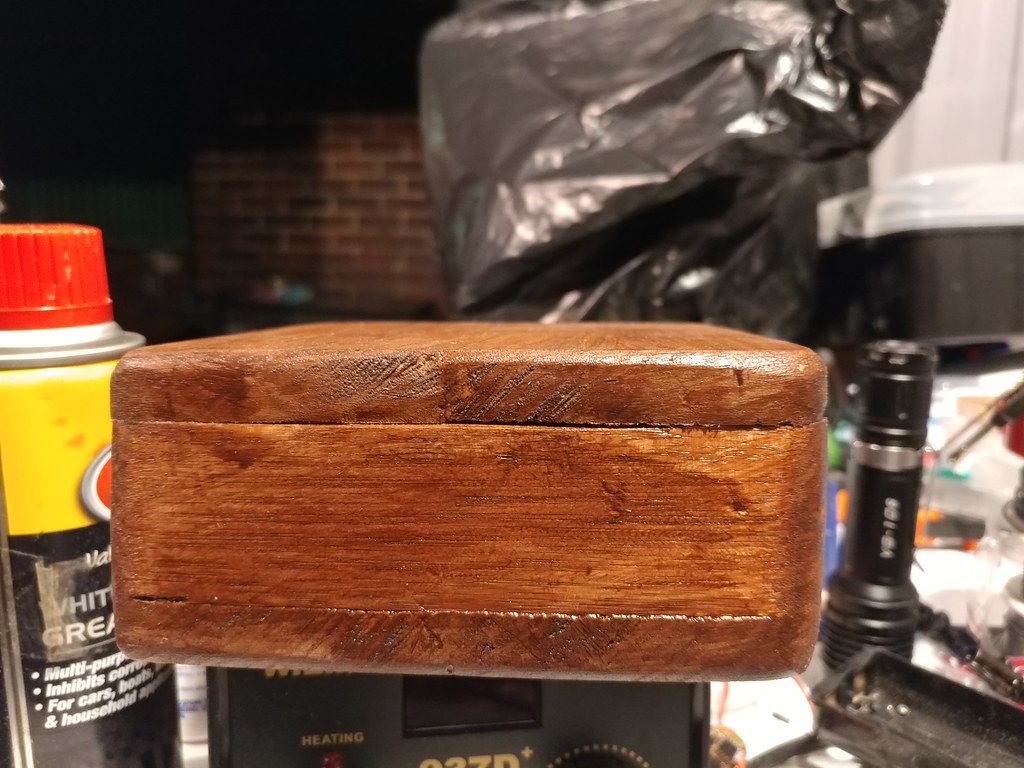
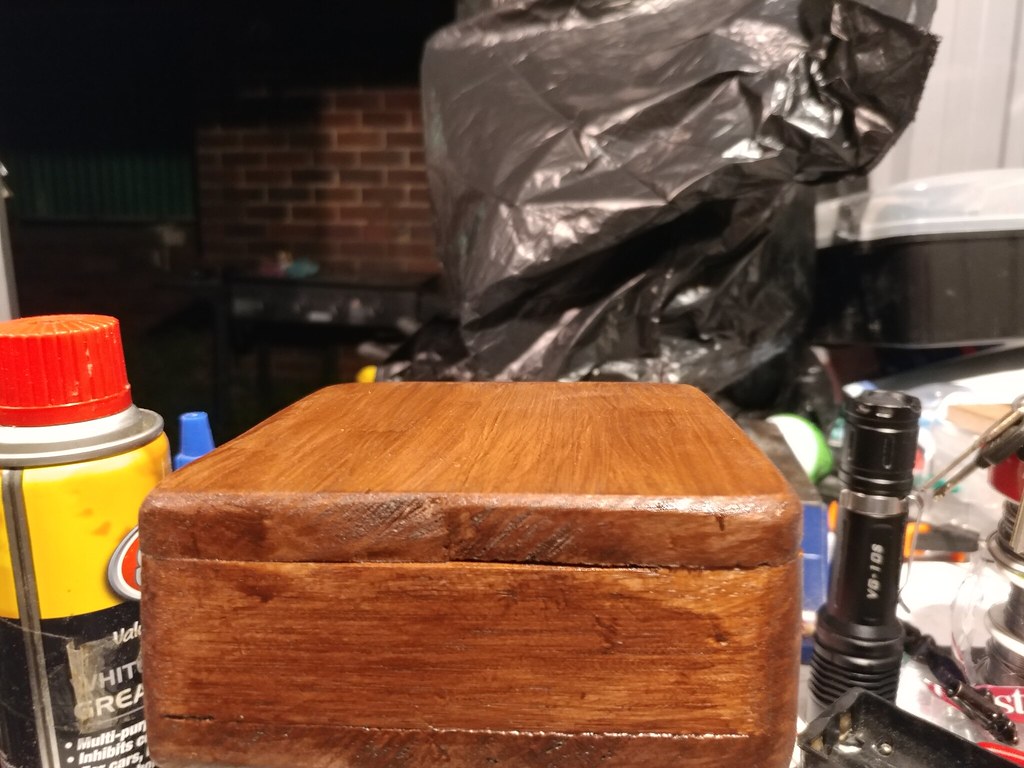
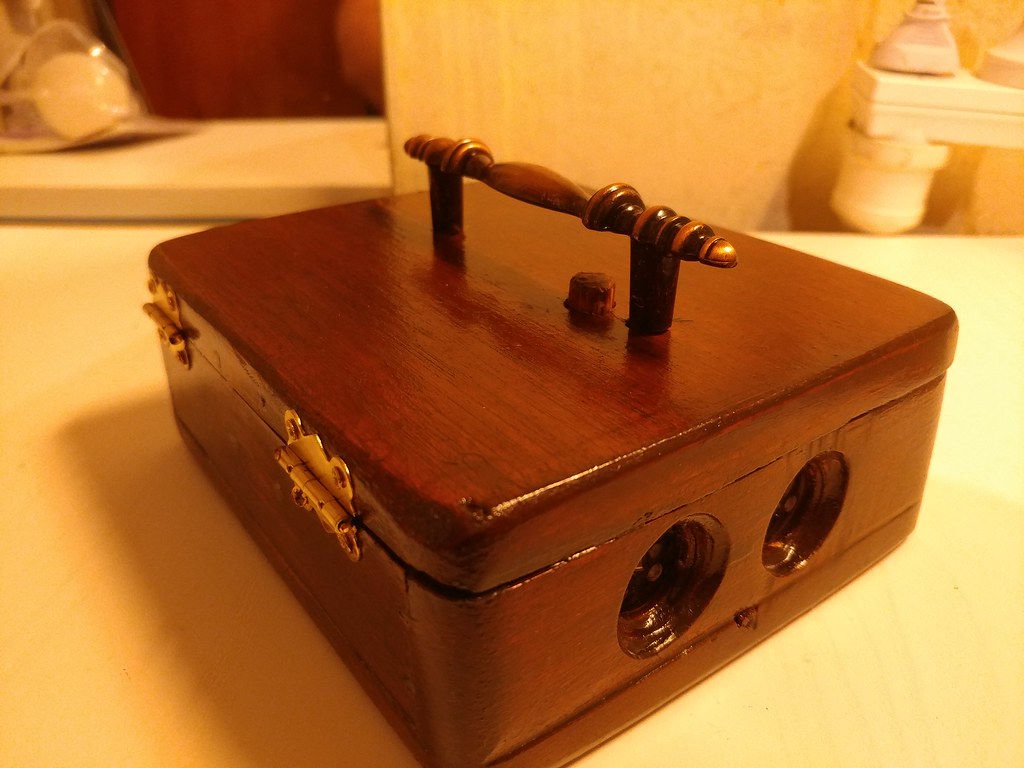
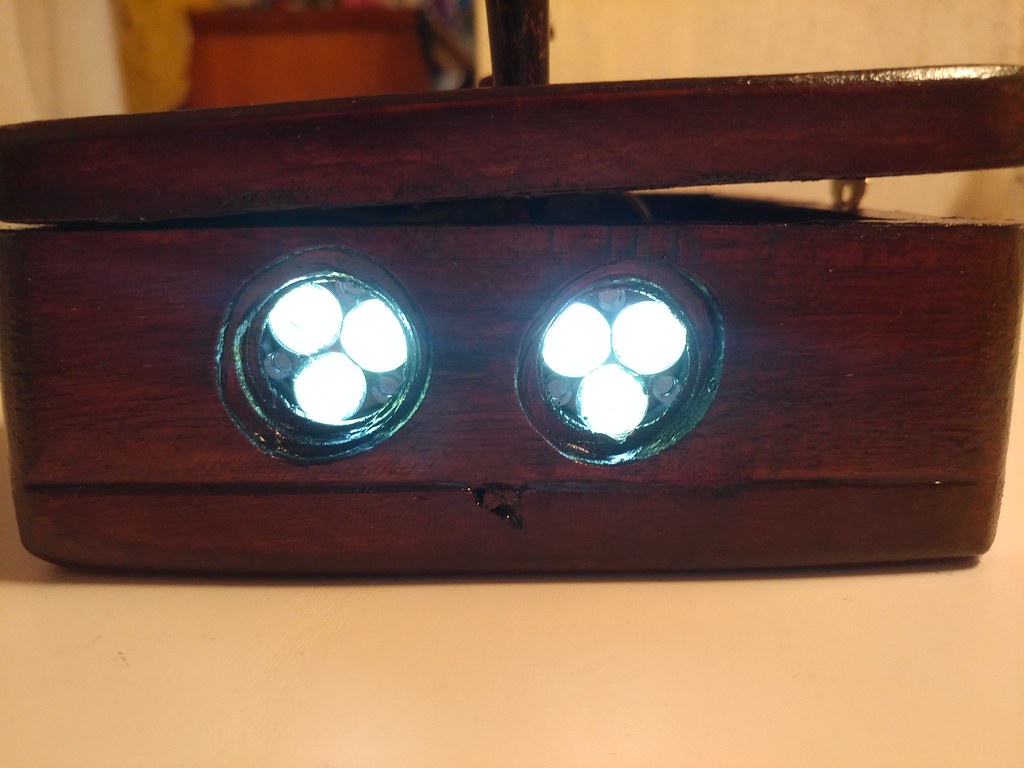
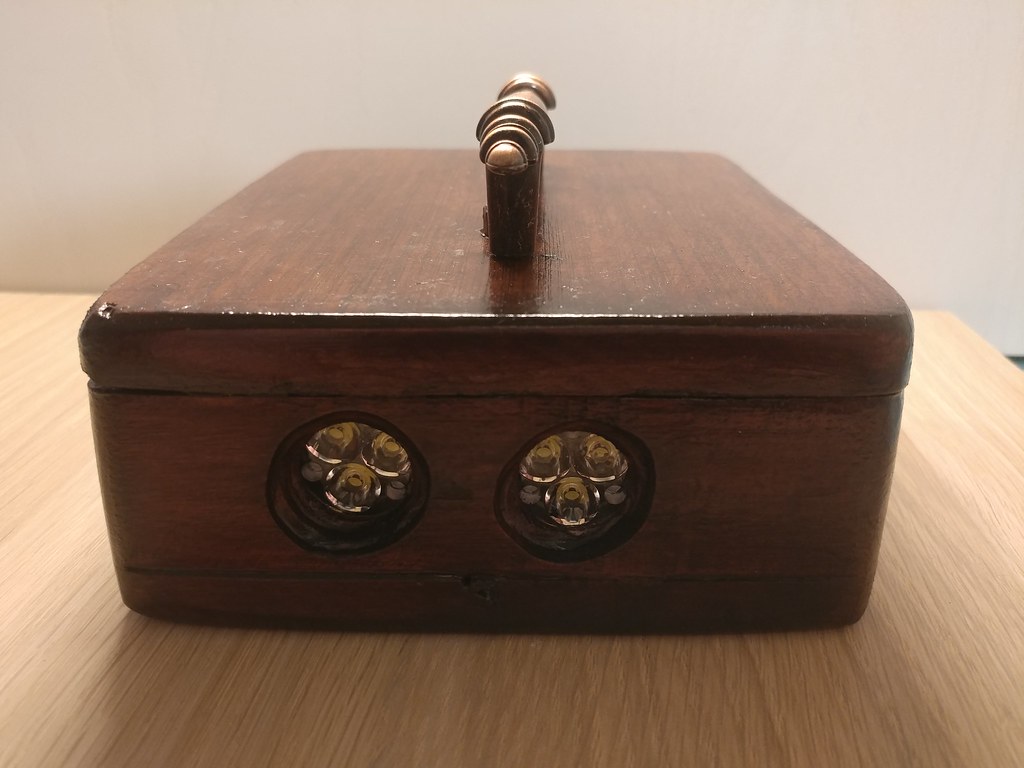
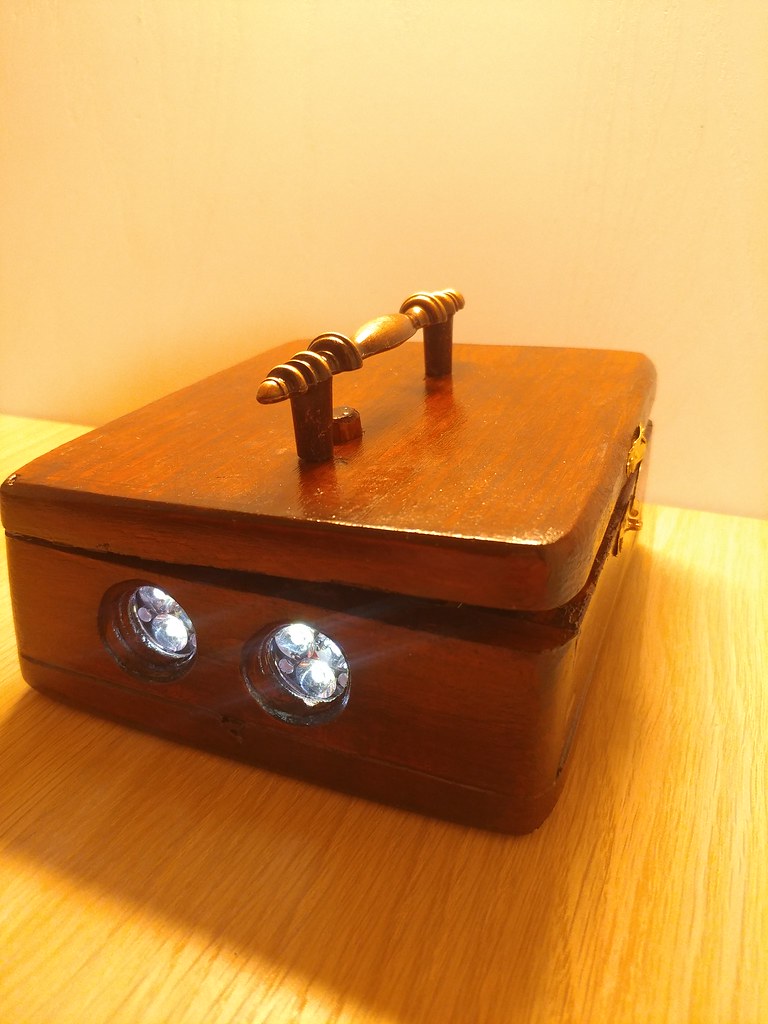
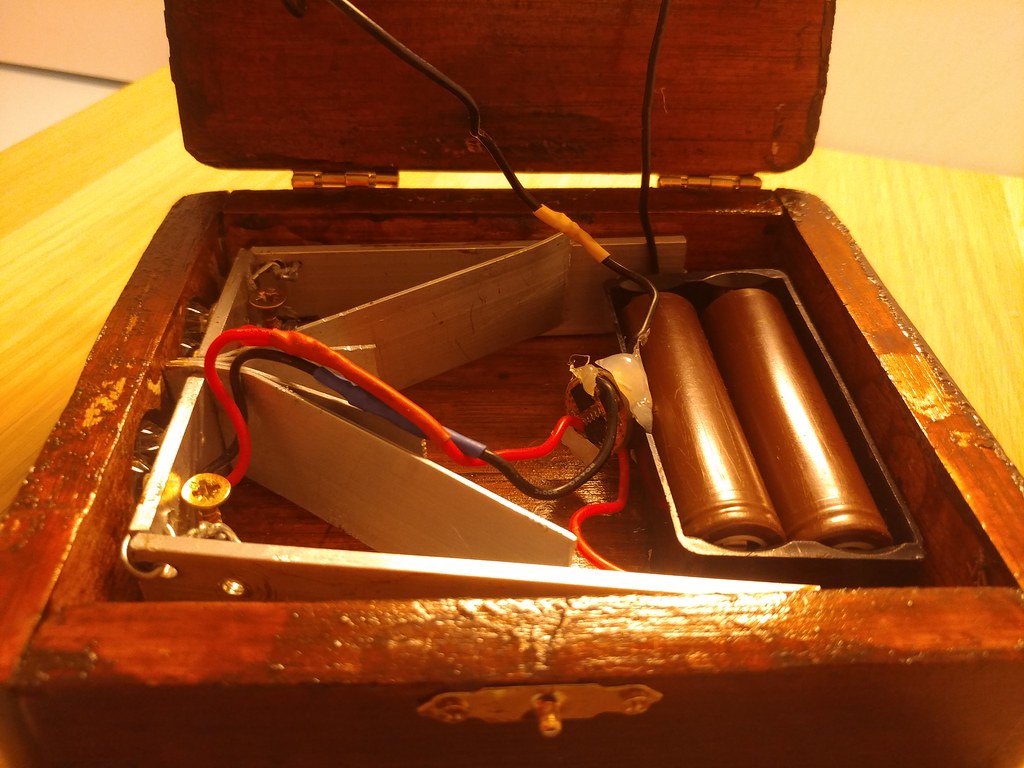
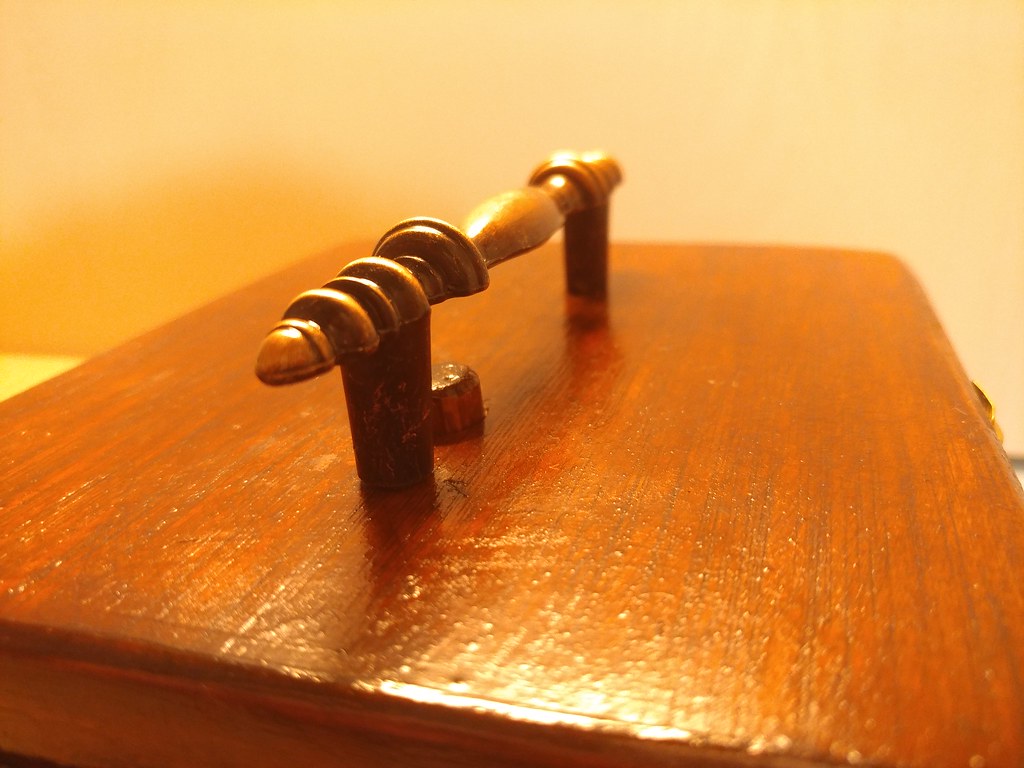
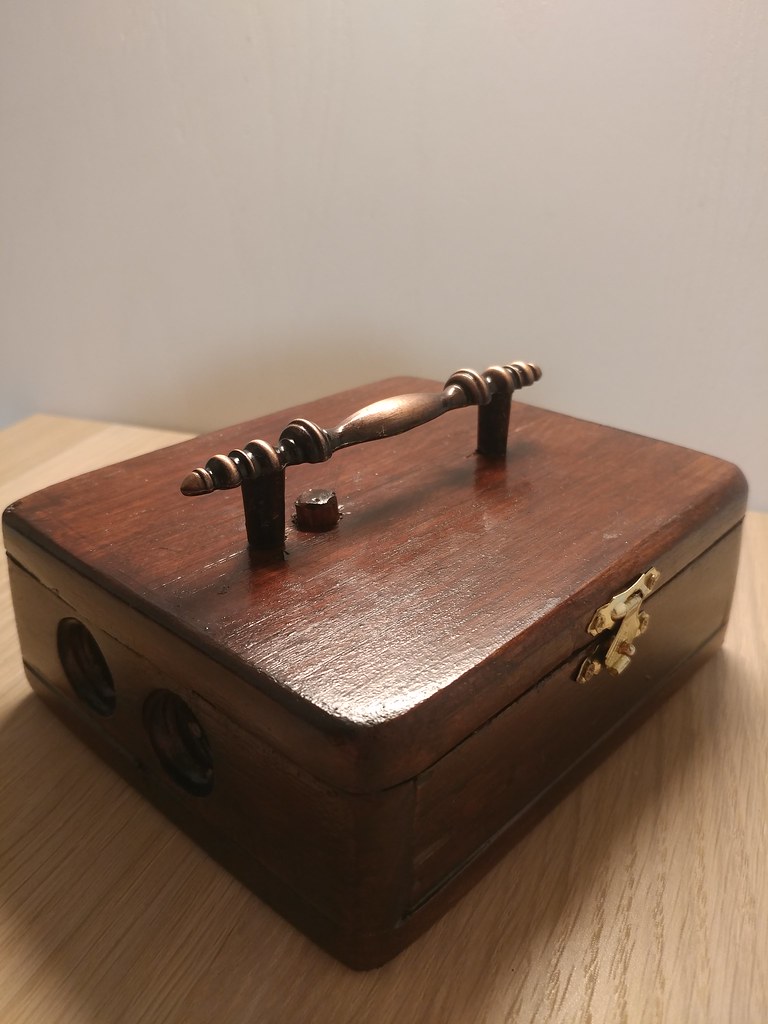
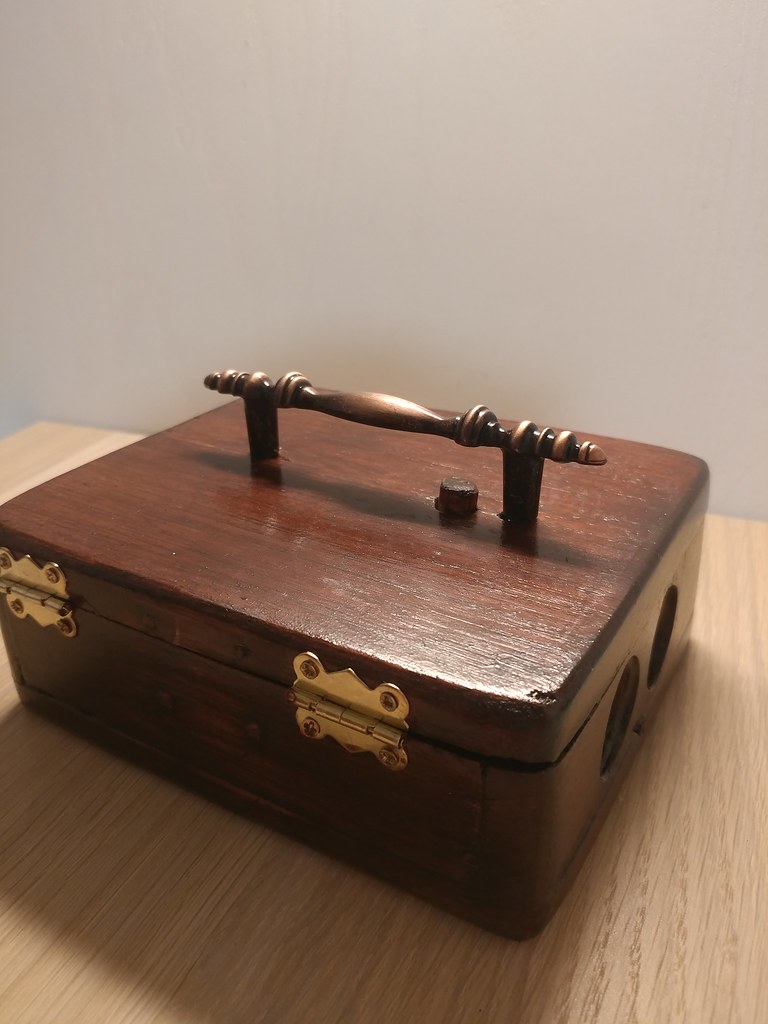
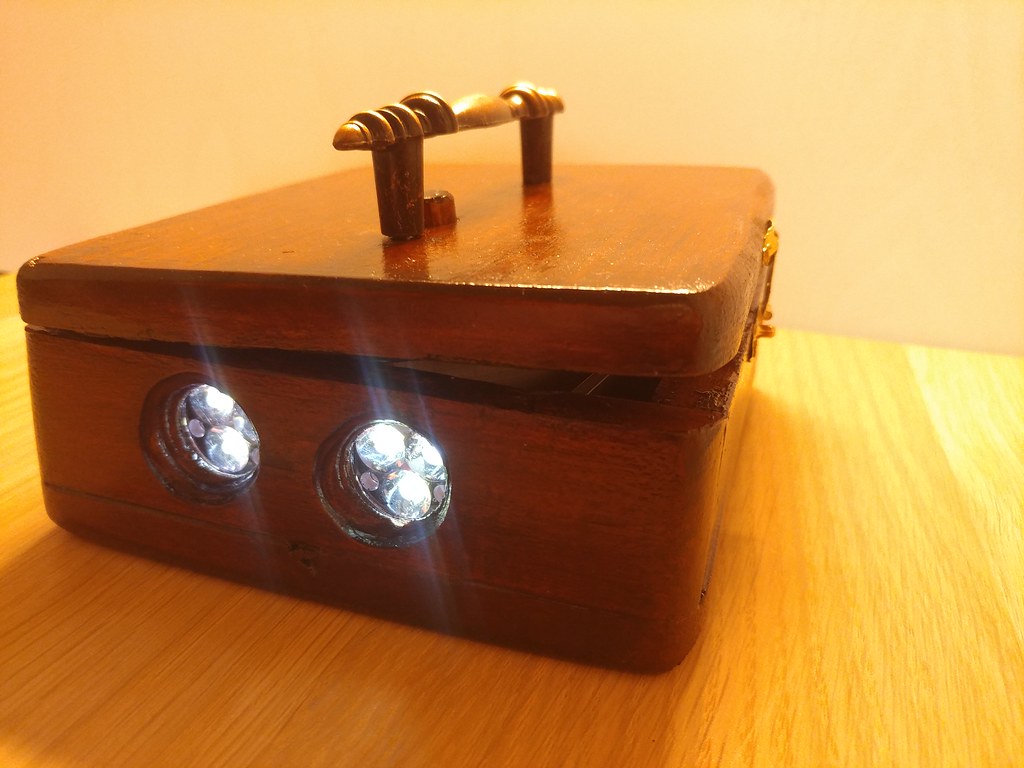
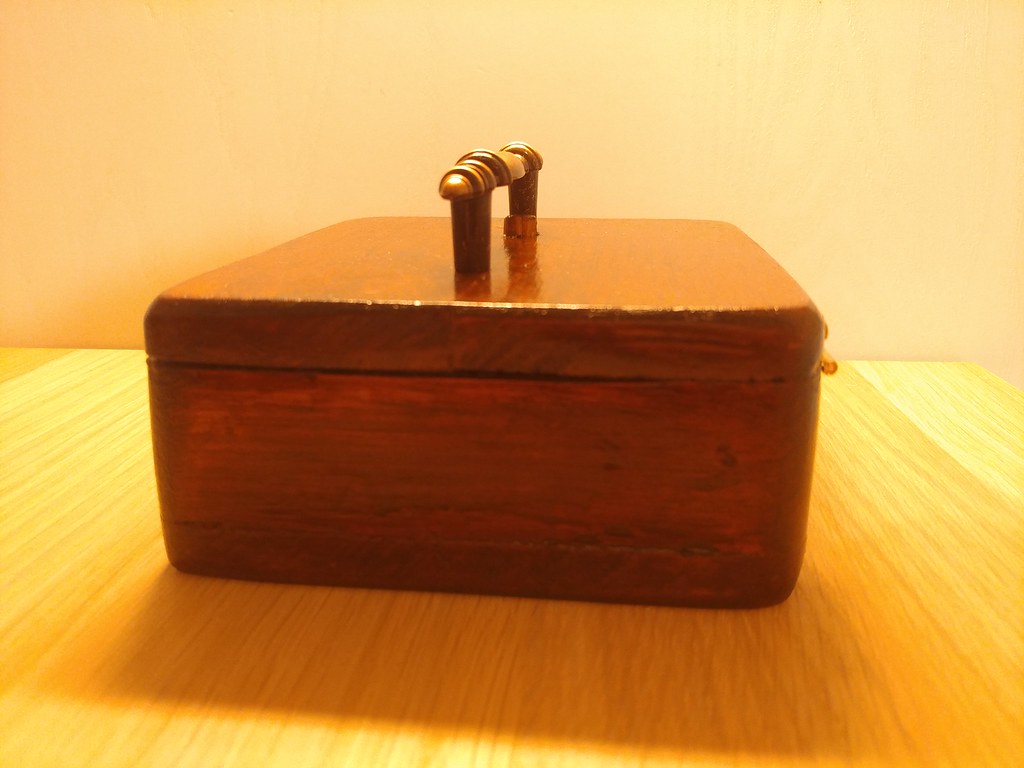
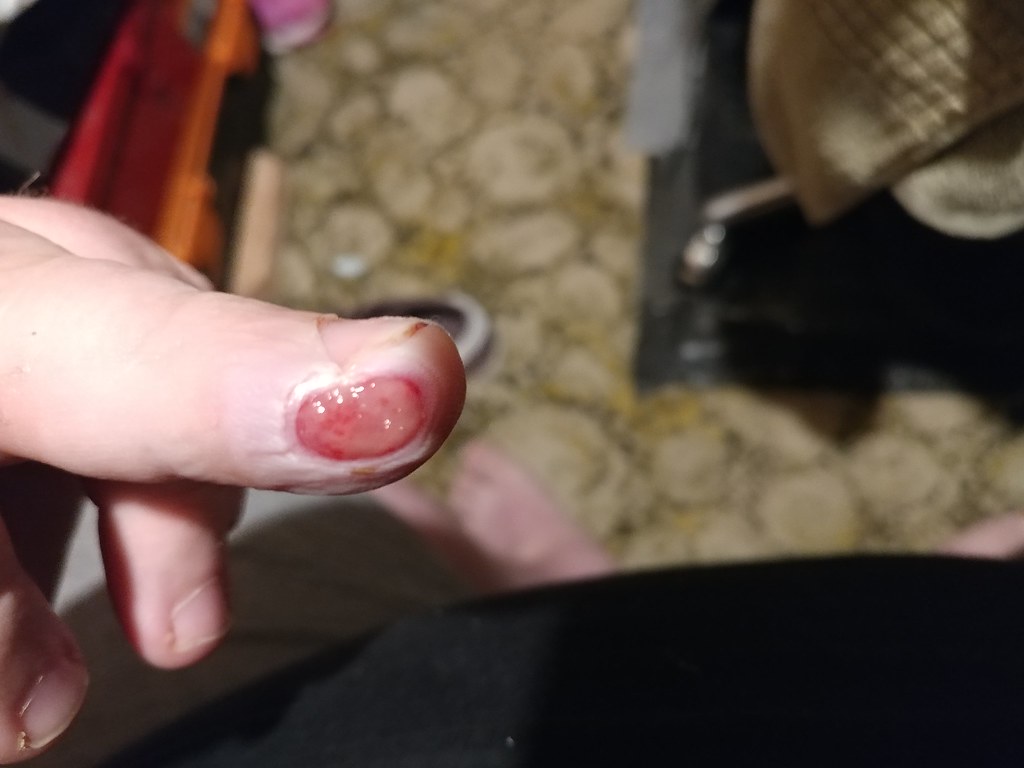
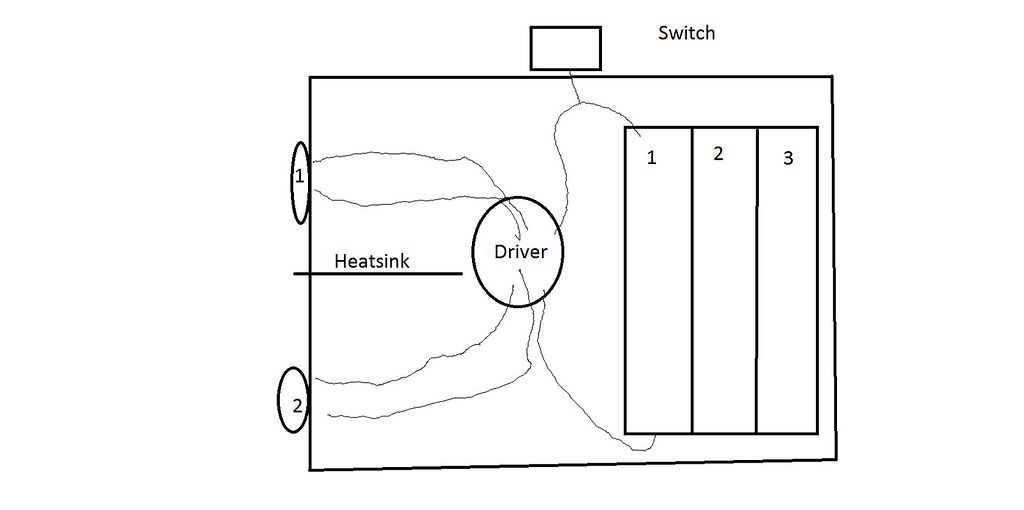
Okay we are at the end i guess, So i am fixing this thread up i will remove some things and post all pics from the different dates here so its easier to find. I will keep the stuff about my finger.
My build was meant to be a headlamp but i had to put that on hold because of my finger. I had the idea already in my head but it seemed like a task i couldn’t Handle at this moment.
New build is meant to be retro a flashlight/torch of some kind, i am a telecommunication technician by trade and i like all the retro old school items i used to come across at work. Some telephone exchanges still had massive wooden switch boards in place and they where awesome to look at. Old random items like analogue multi-meters with leather cases or wooden boxes and other test equipment gave me the inspiration for this build.
I am posting all the pics in the first thread this thread but i am leaving the writing in each reply please scroll down to see the progression in proper time.
My build items used
- Tasmanian oak
- Aluminum flat bar in various sizes
- Wood glue
- Superglue
- Screws
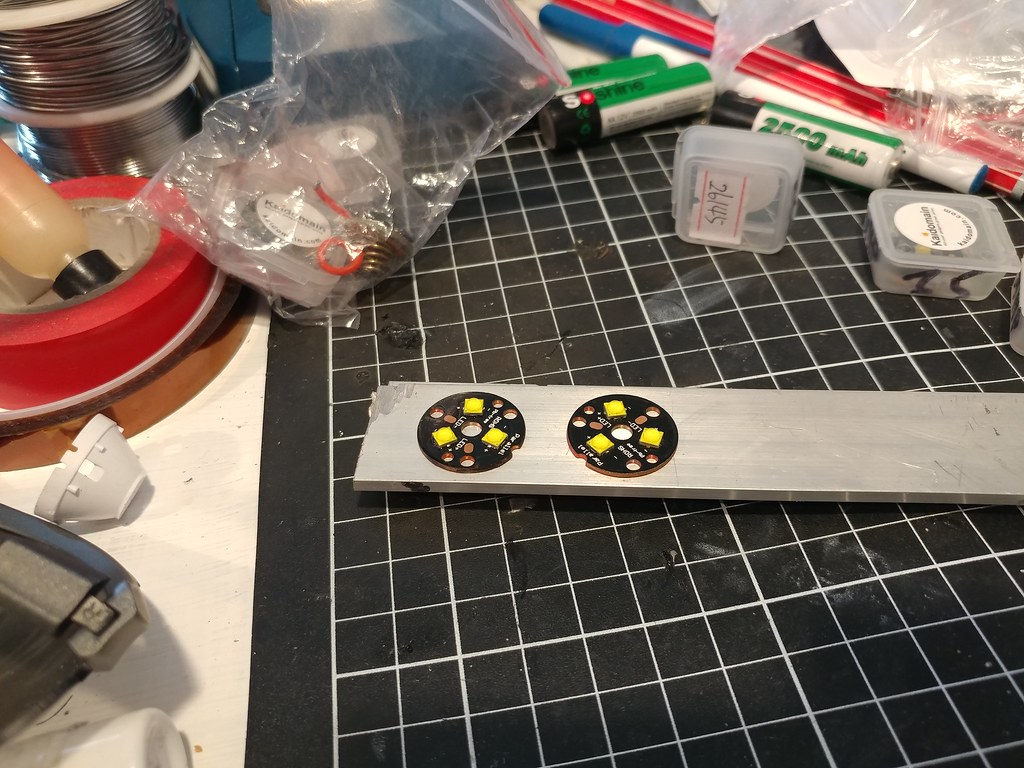
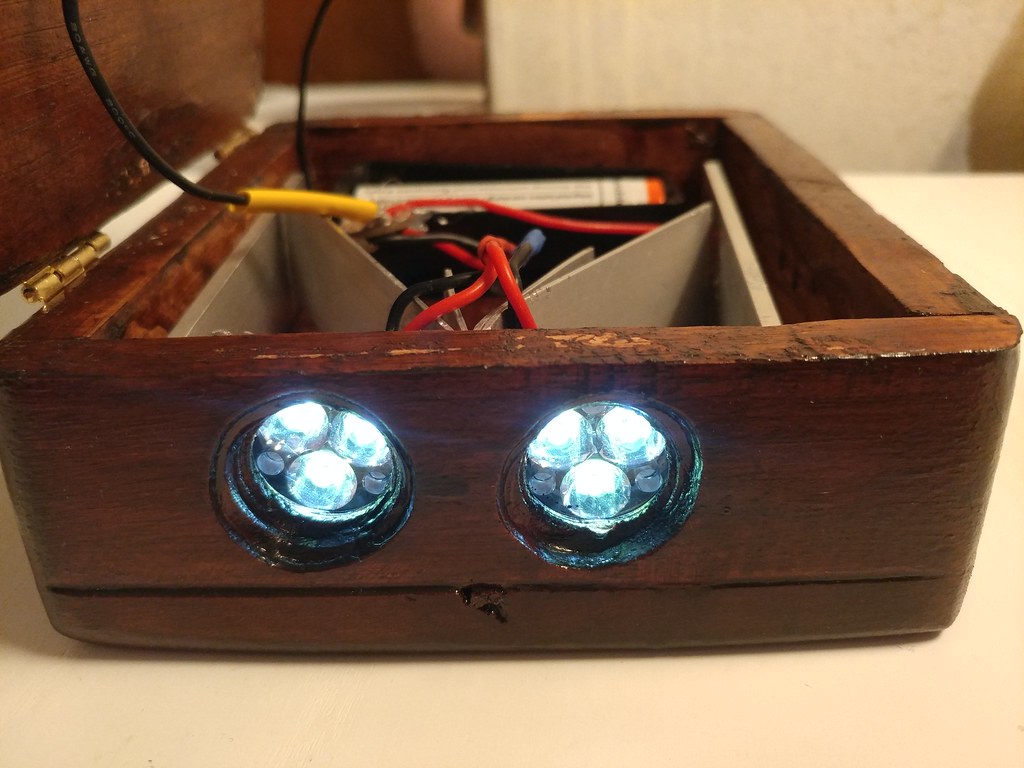
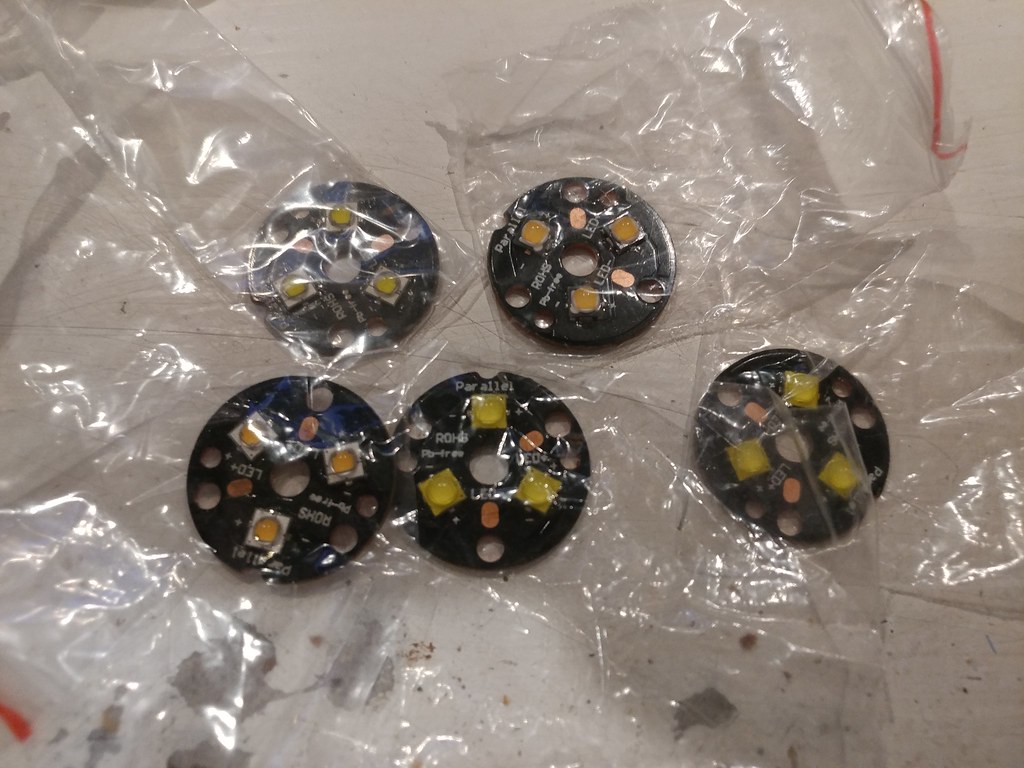
- 2 Triple XPG3 boards in cold white with optics
- BLF A6 driver
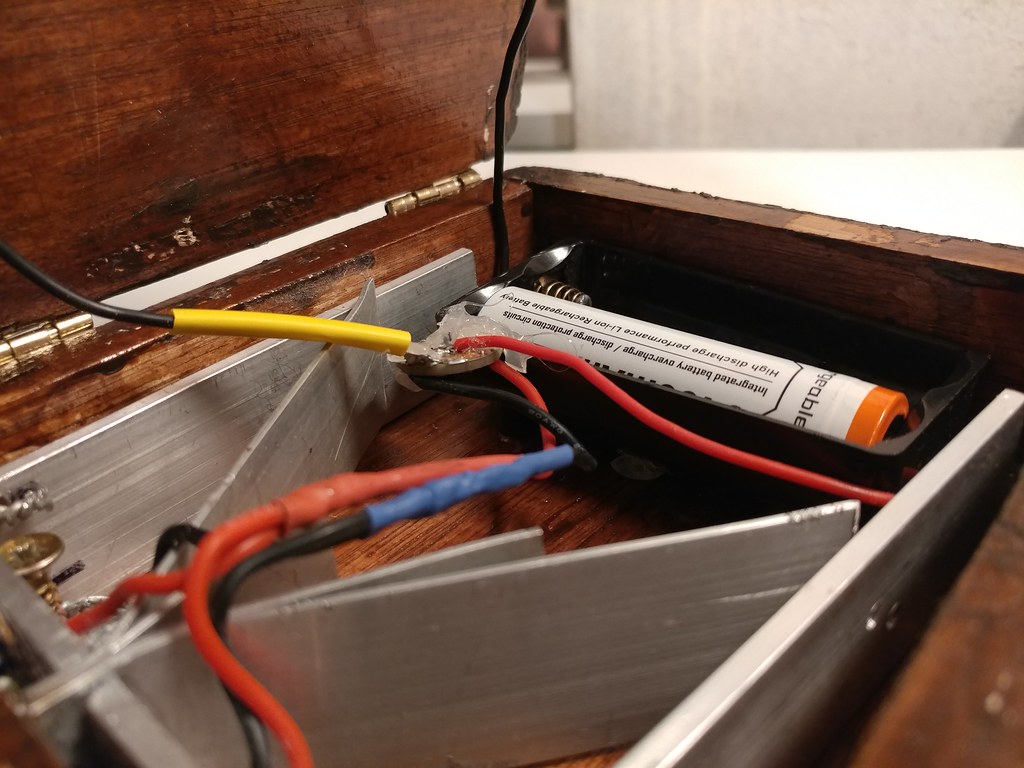
- Dual in parallel 18650 battery holder with brass terminals
- 20 AWG wire all around
- Clicky switch
- Heat shrink tube
- Brass handle, hinges and lock
- Solder
- Hot glue
- Varnish and stain
Tools used
- Saws
- Drill press + Cordless drill
- Sanders (Bench and hand sanders plus i tried an oscillating sander it was meh)
- Files
- Heat gun
- Soldering iron
- Hot glue gun
- Screw drivers
- Lots and lots of clamps
- Paint brush
- Pry bar ( i glued it together to sander the edges so i had to open it again lol
- Hammer (tapped wood straight)
- Snip and side cutters of various sizes and stuff
- Tweezers for soldering
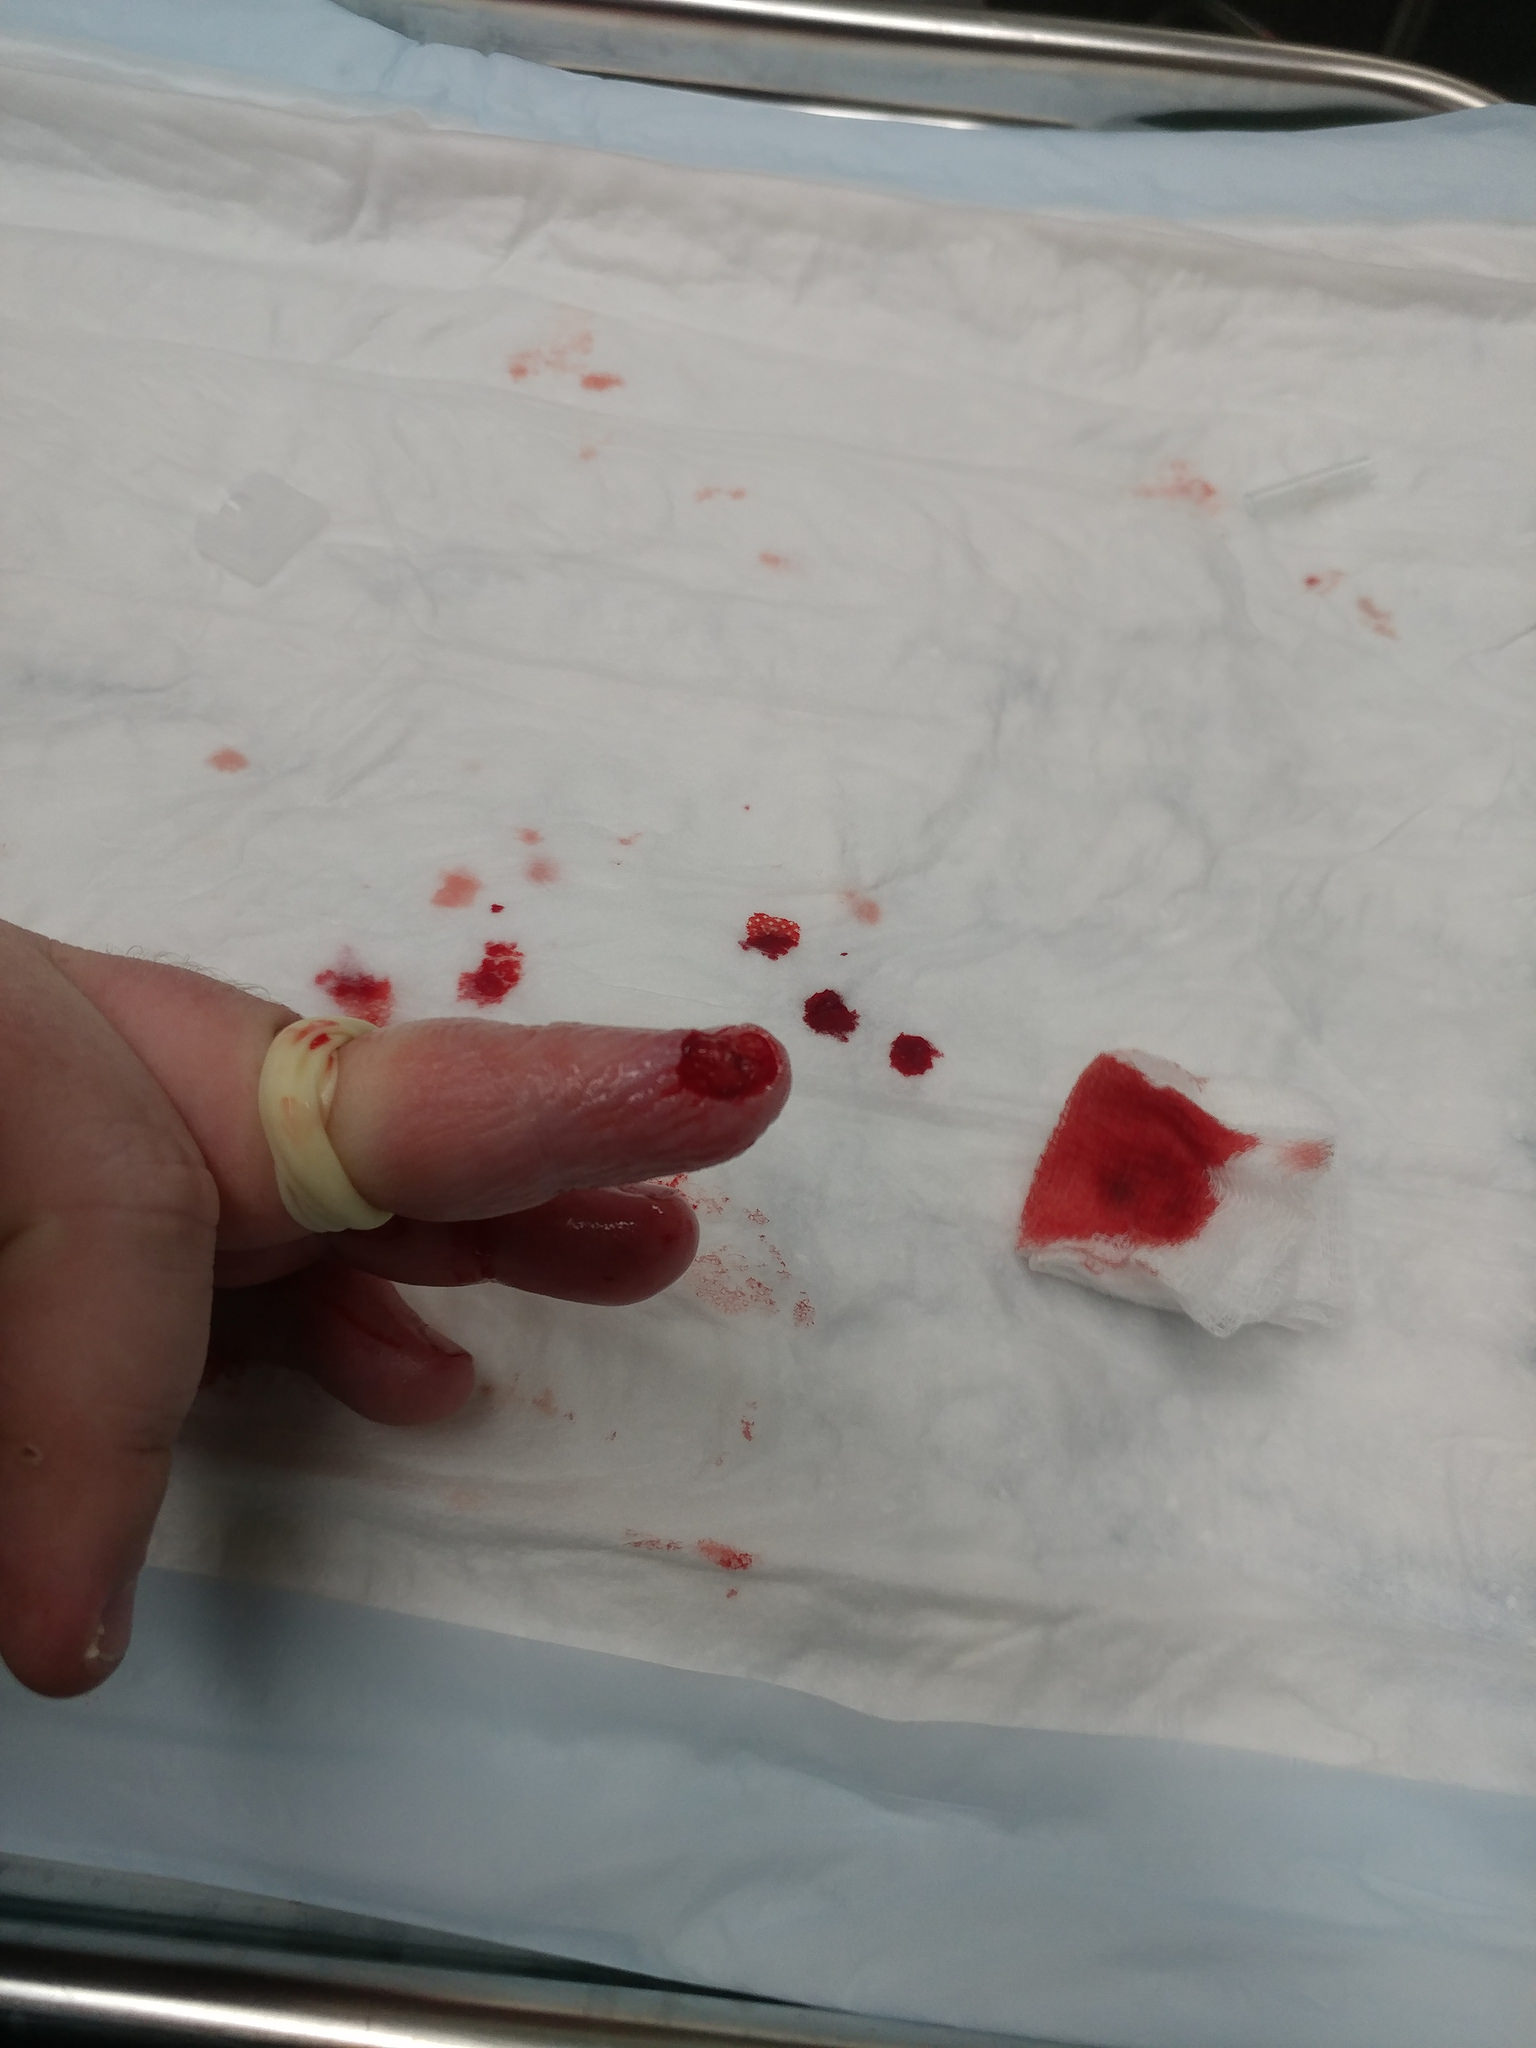
I was meant to start the build this weekend cause my girlfriend is in Western Australia for a few days but last night i made a booboo lol. I sliced of part of my finger so i can’t lift much today probably for a few days. I just hung out the washing and its sore and bleeding a tad.
p=.I lost enough blood to make me laugh at every thing fairly cheap high hahaha.
!!
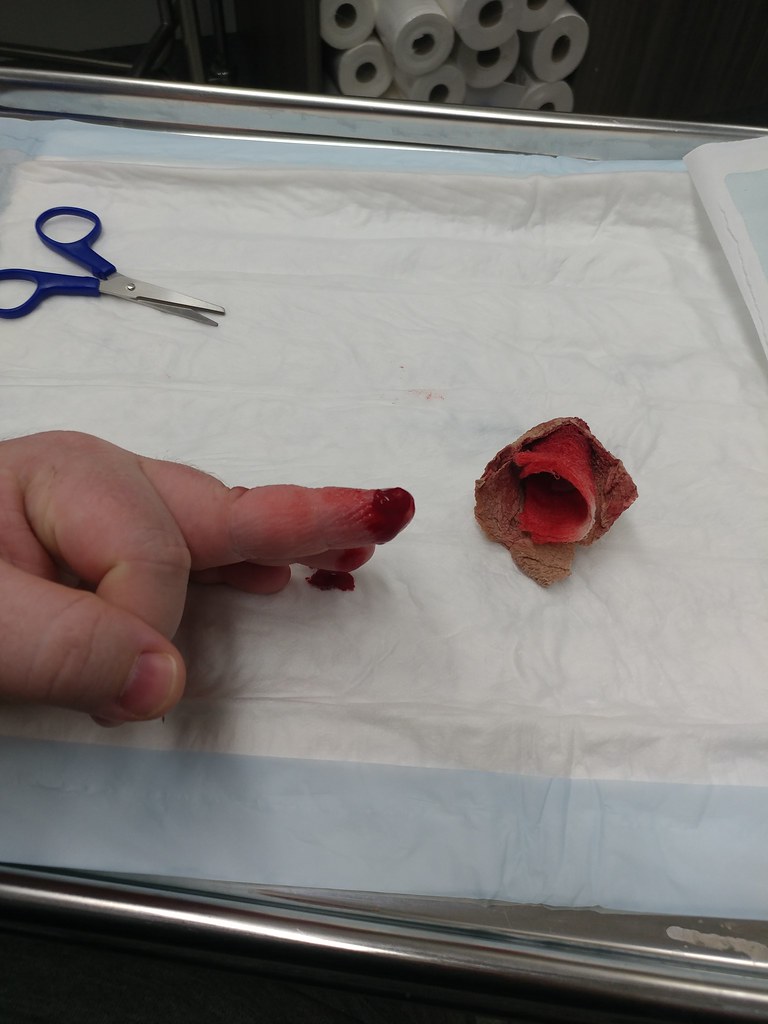
I was trying to walk it of but it wouldn’t stop bleeding.
!!
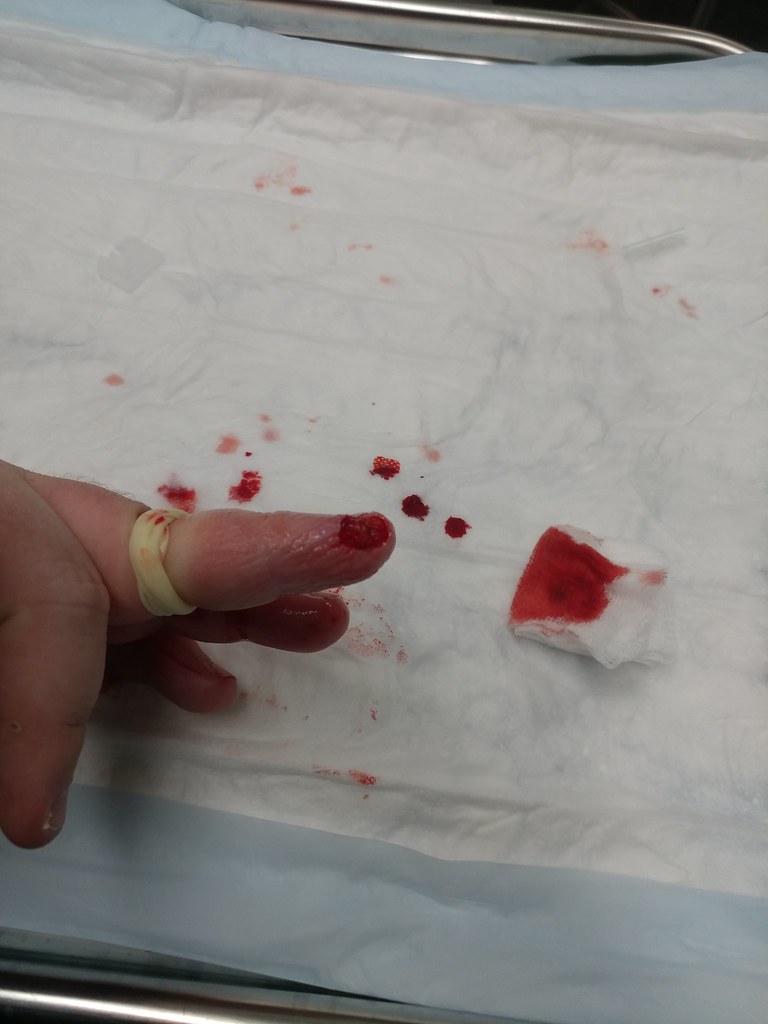
Build thread starts here it can also be found in the comments on various days
Day 1
Day 2
*Night 2 *
Day 3
Early morning day 4
Late night day 4
Day 5
Day 6
One whole day of sanding lol
Day 7
Day 8
Finally!
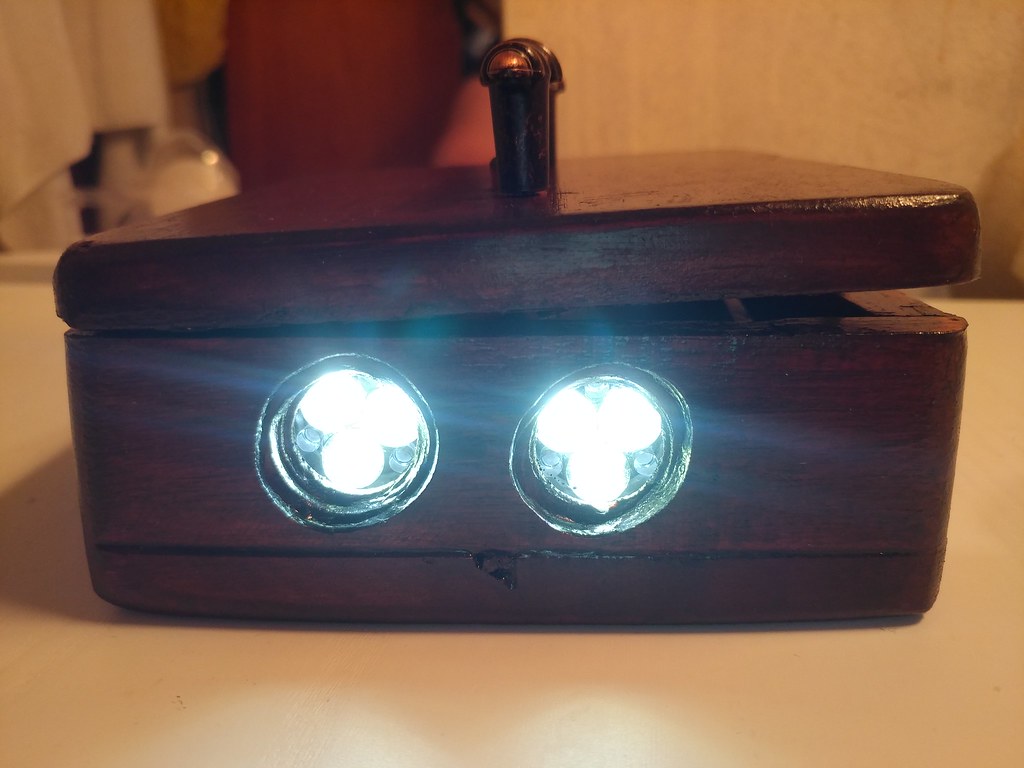
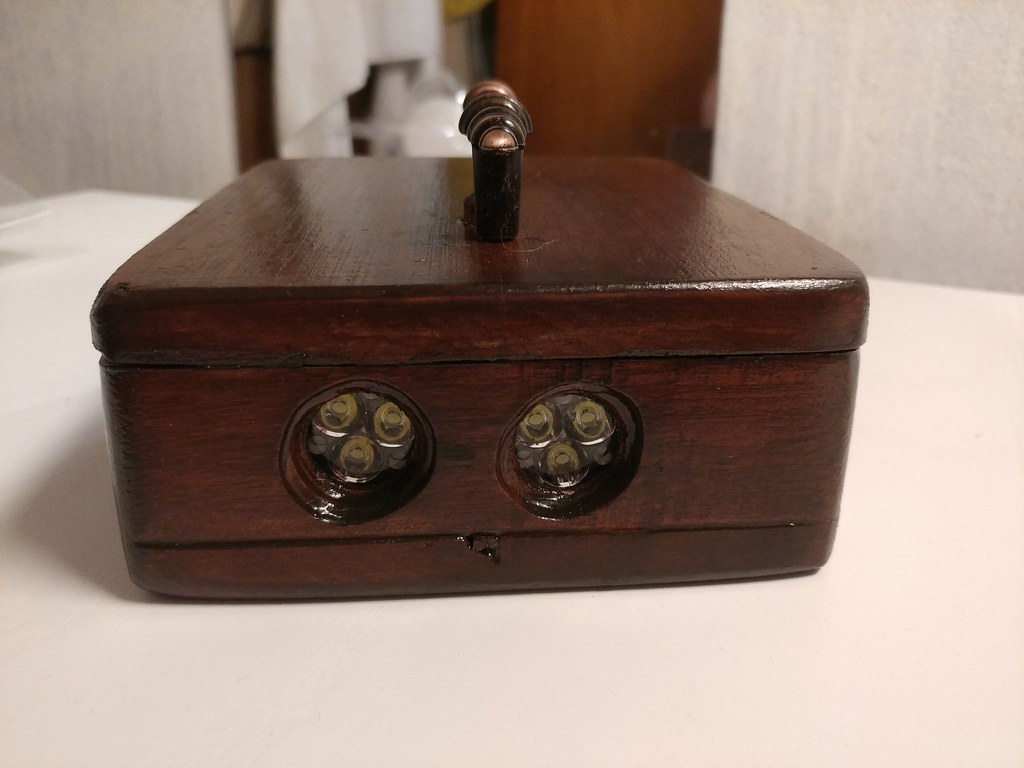
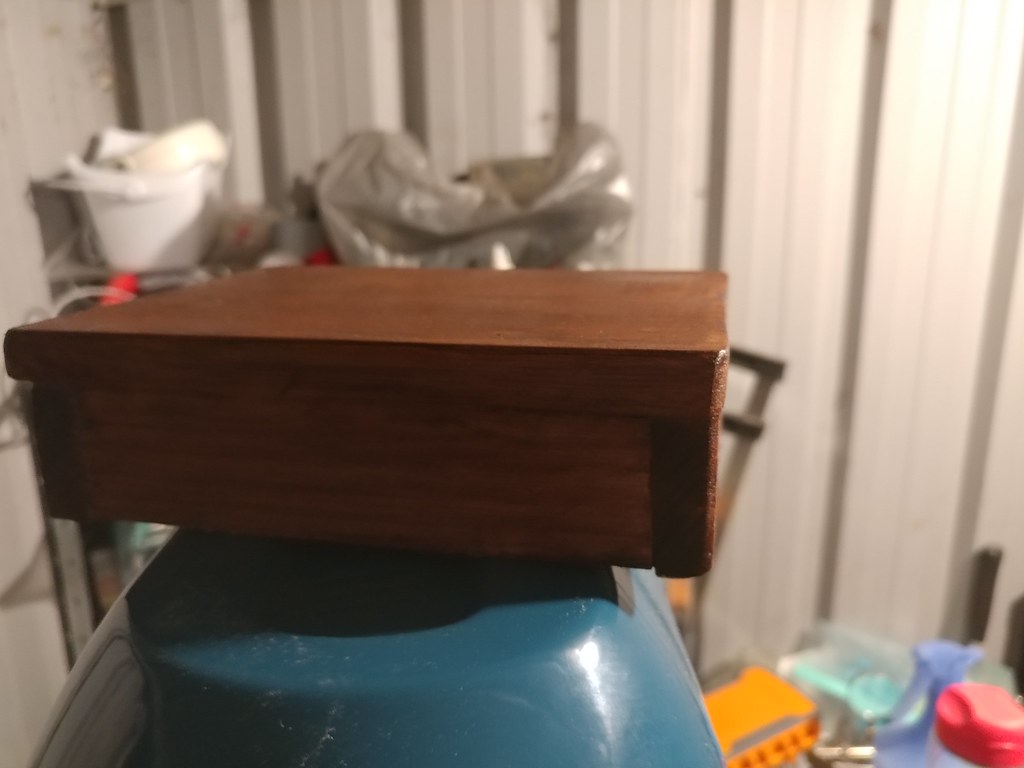
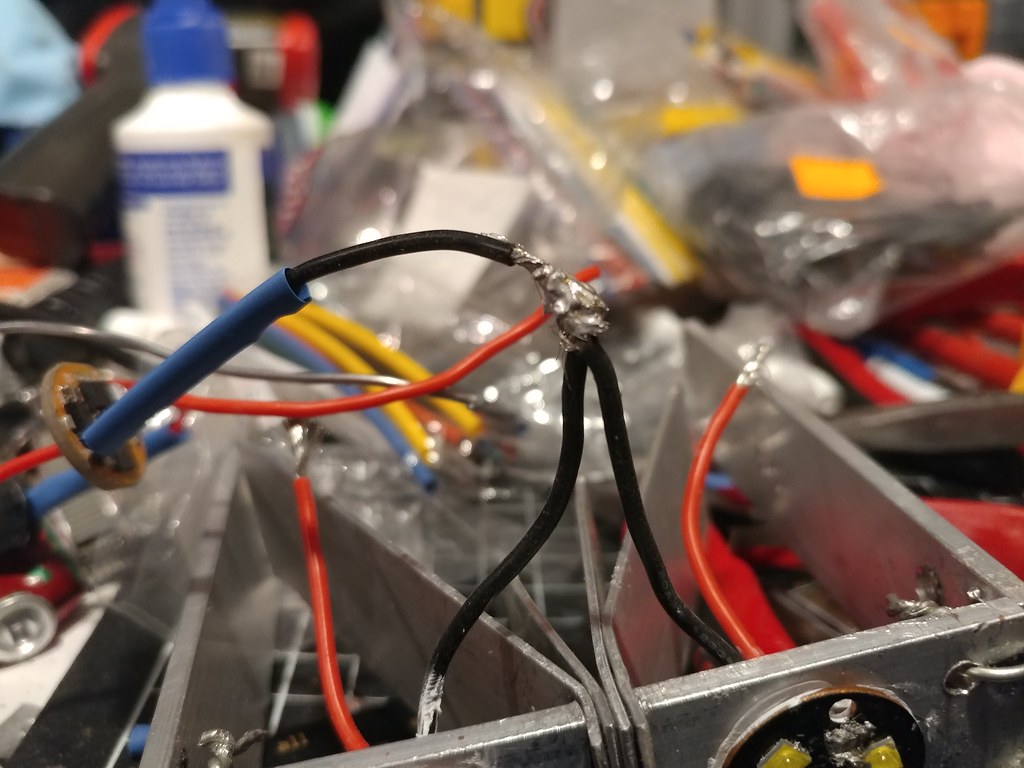
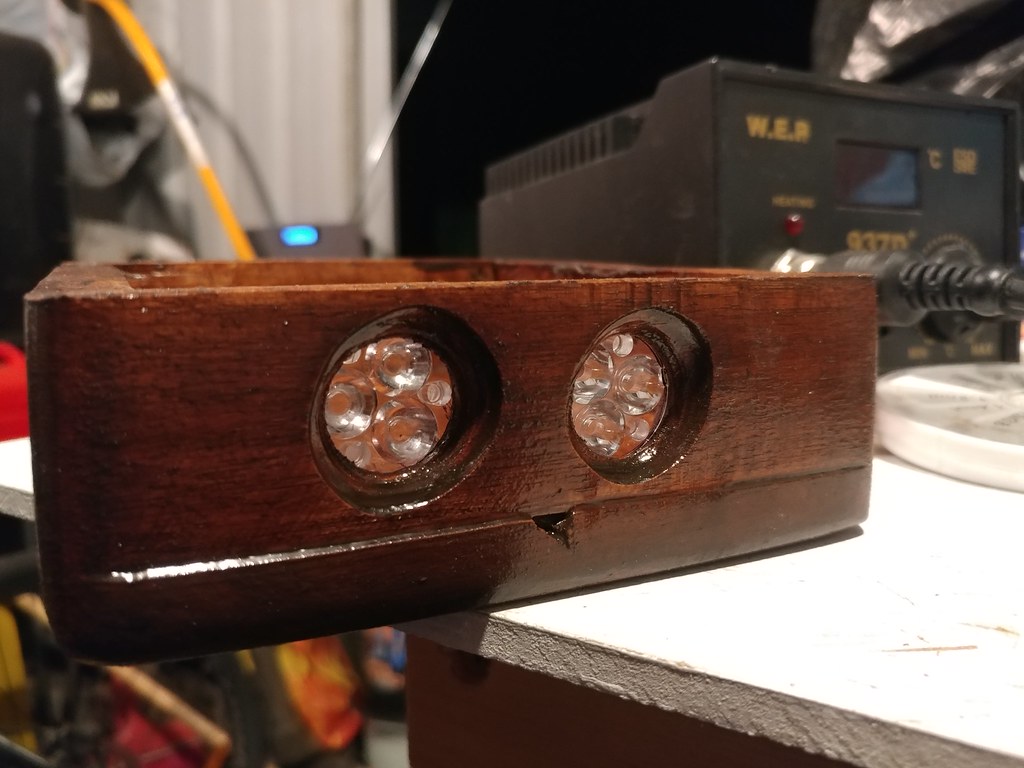
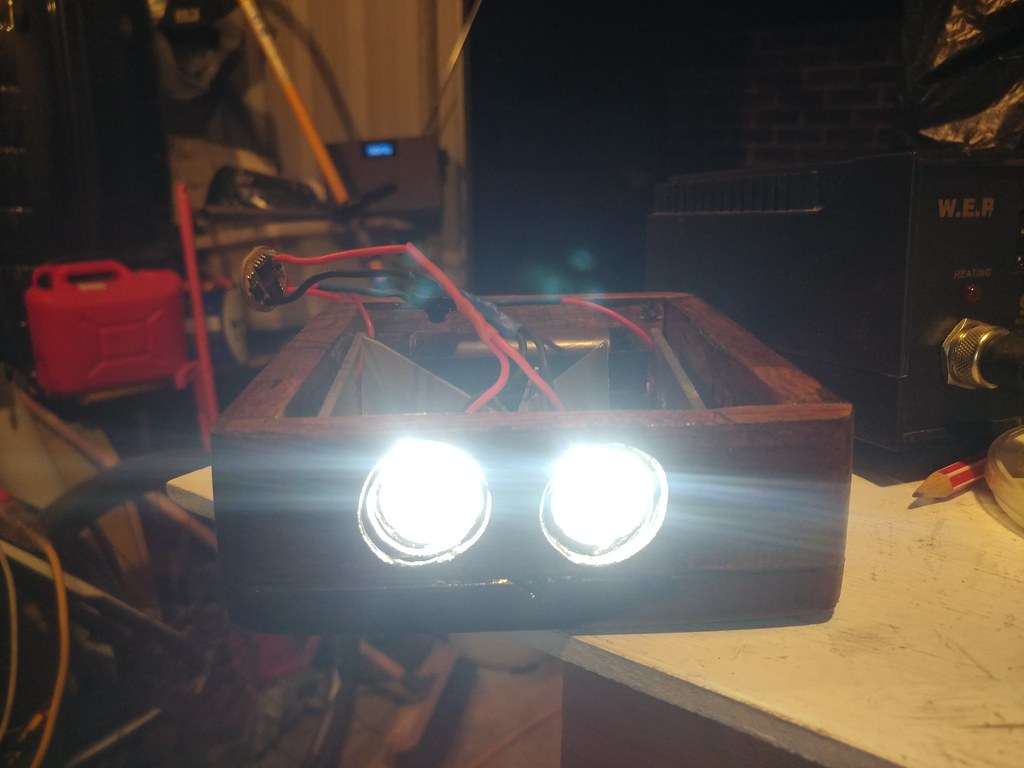
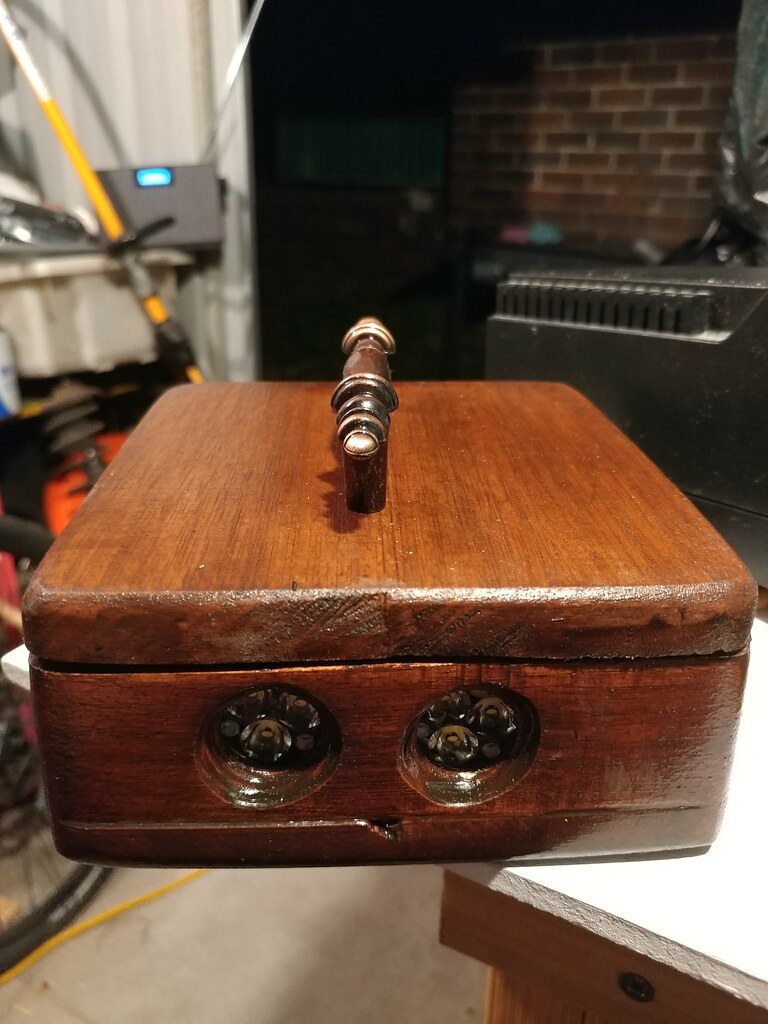
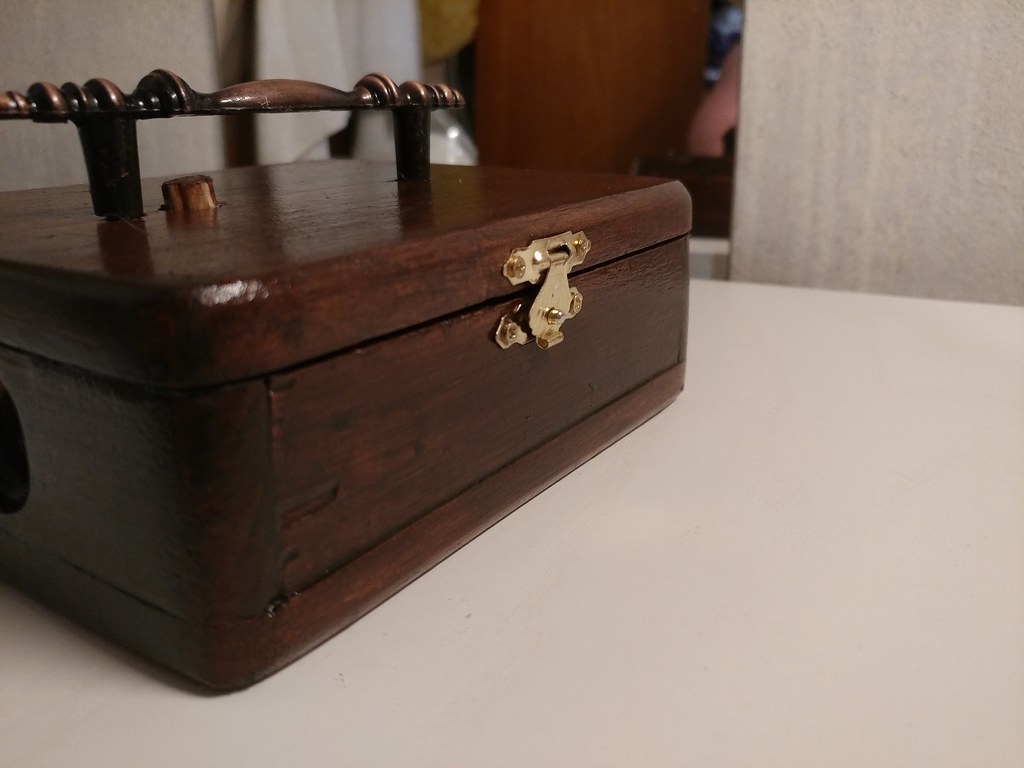
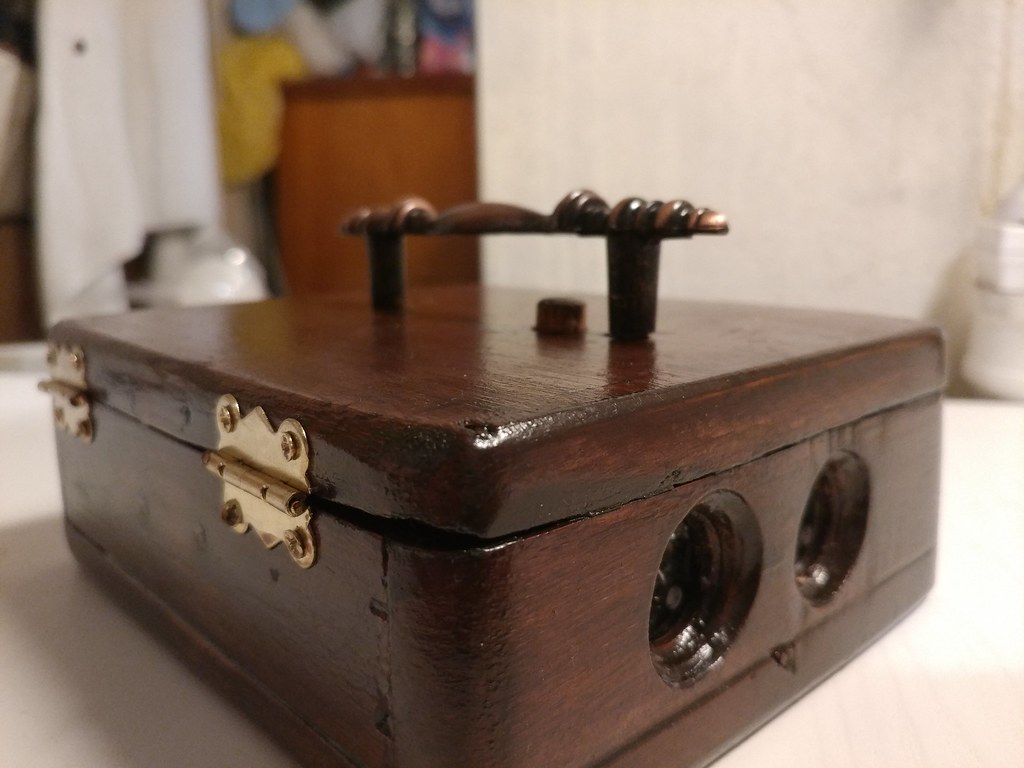
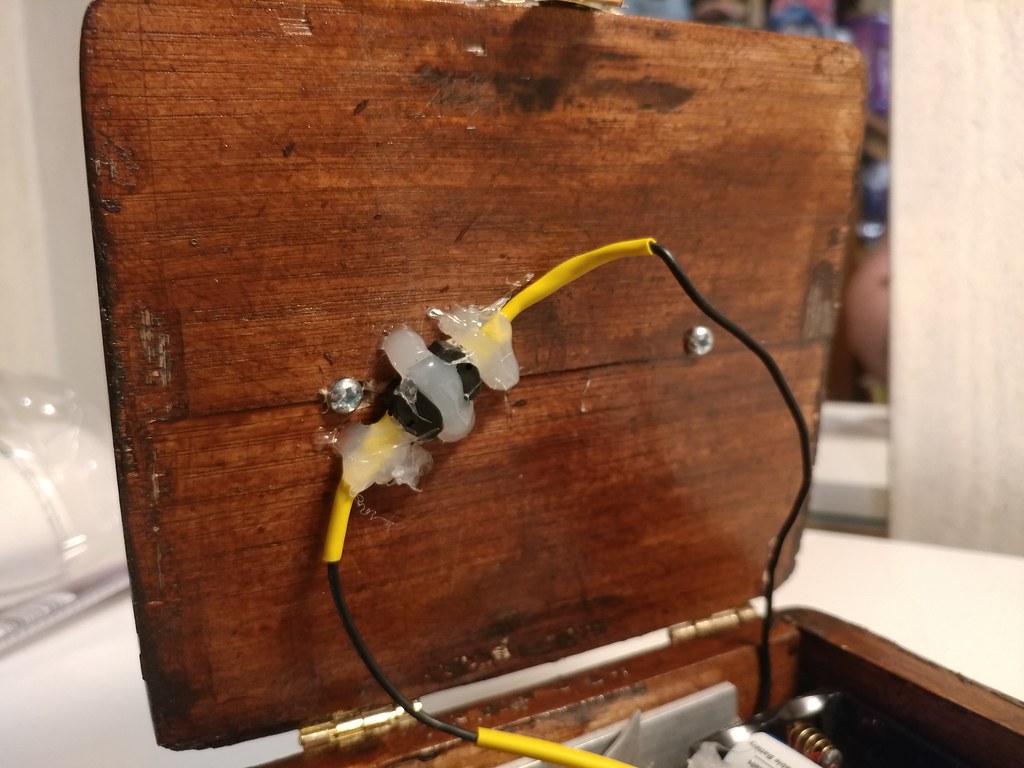
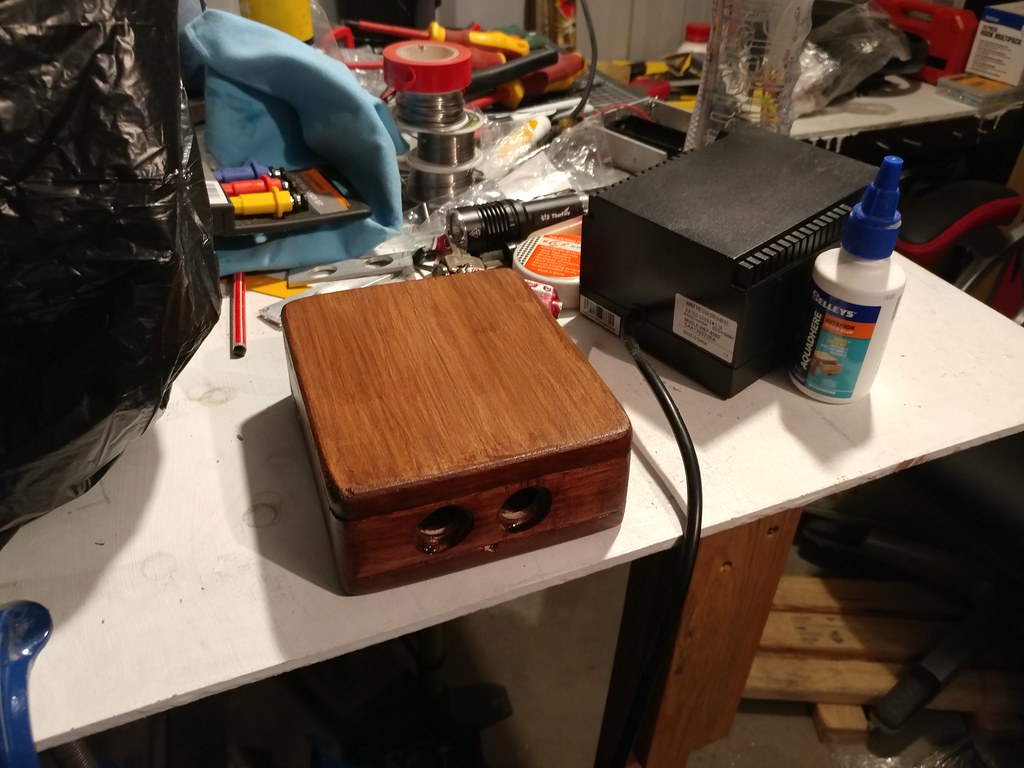
This is the very end product i varnished a few odd areas and the switch to make it all pretty. I also extended the negative cable to the switch cause it was a tad short
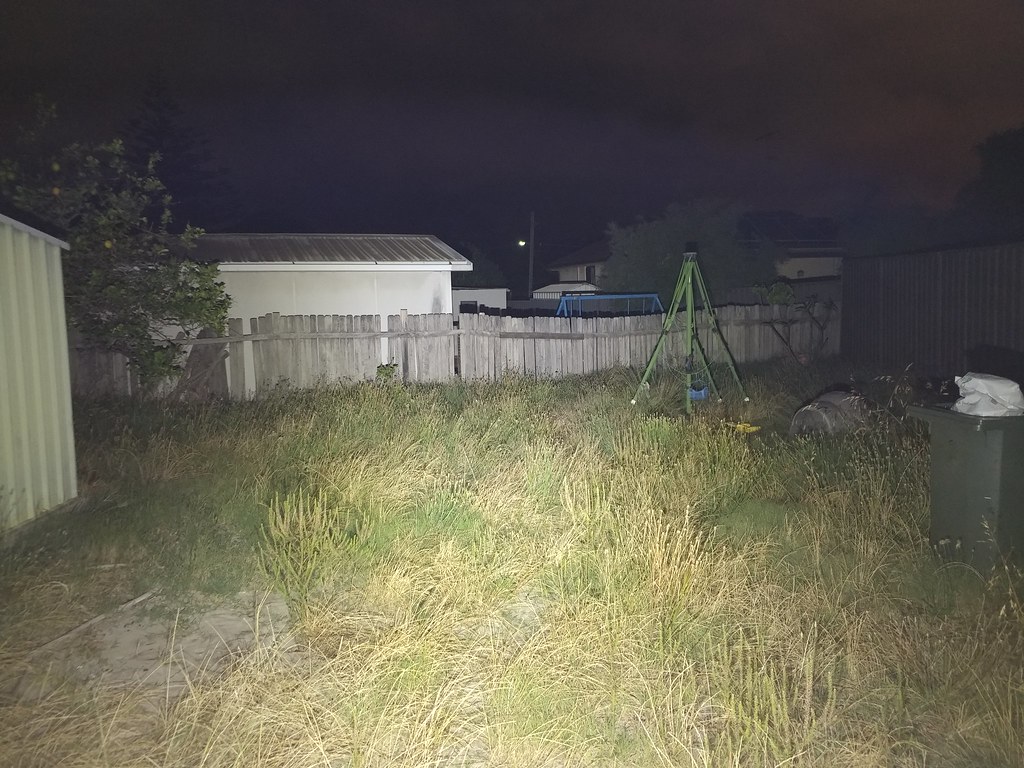
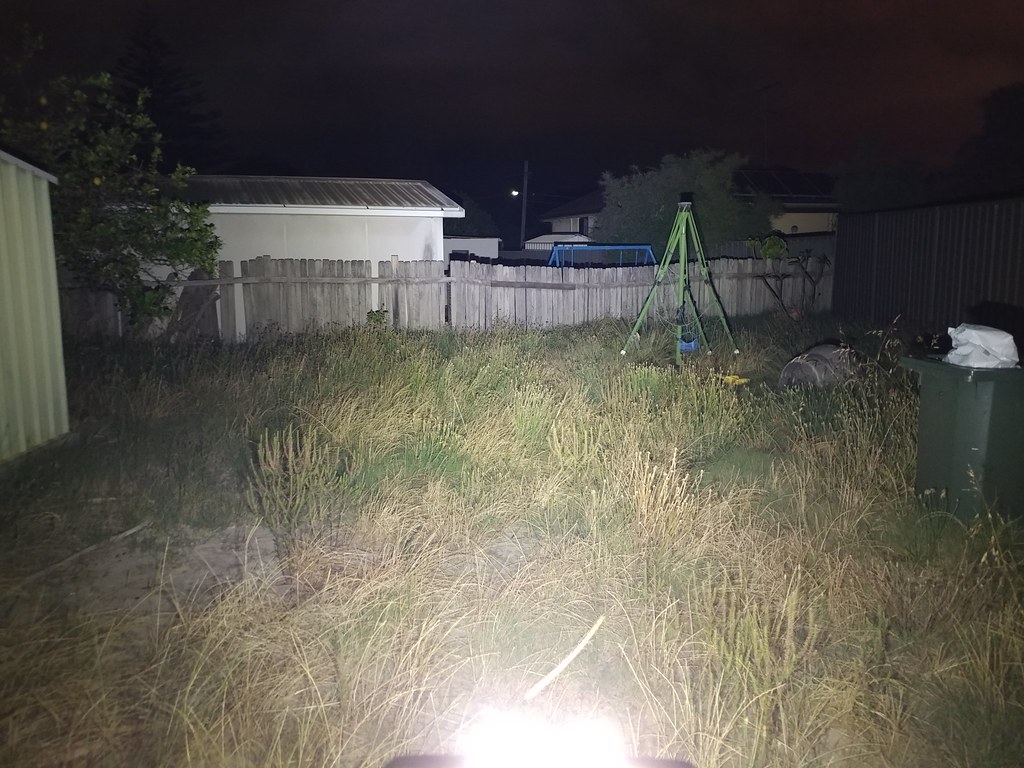
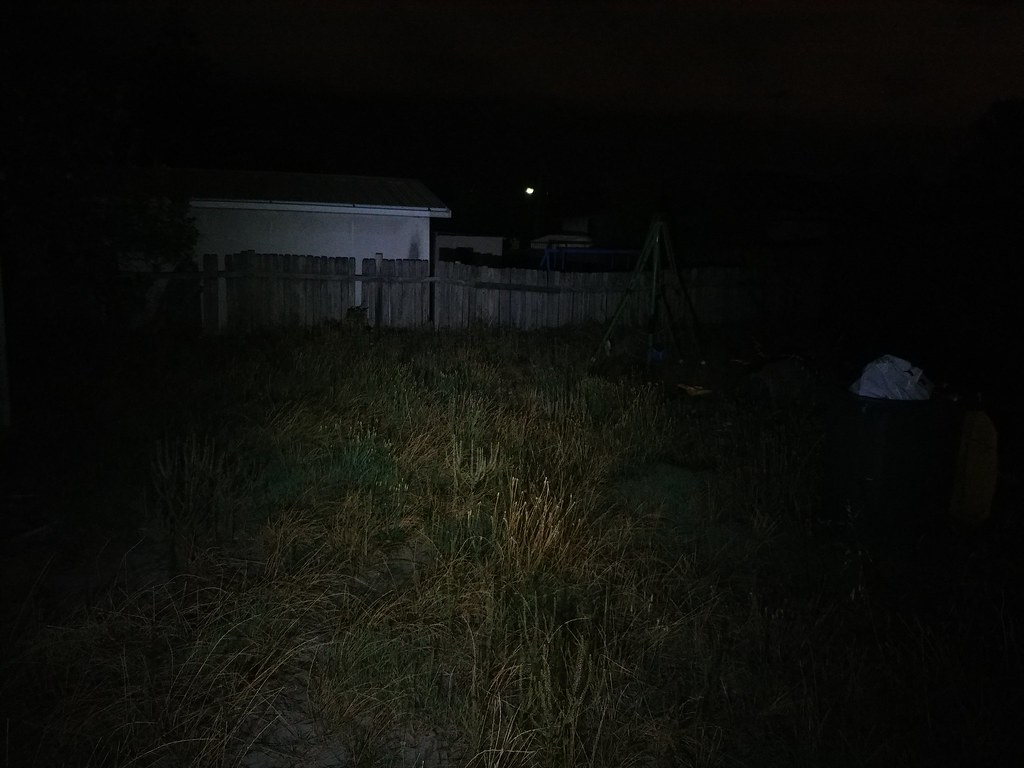
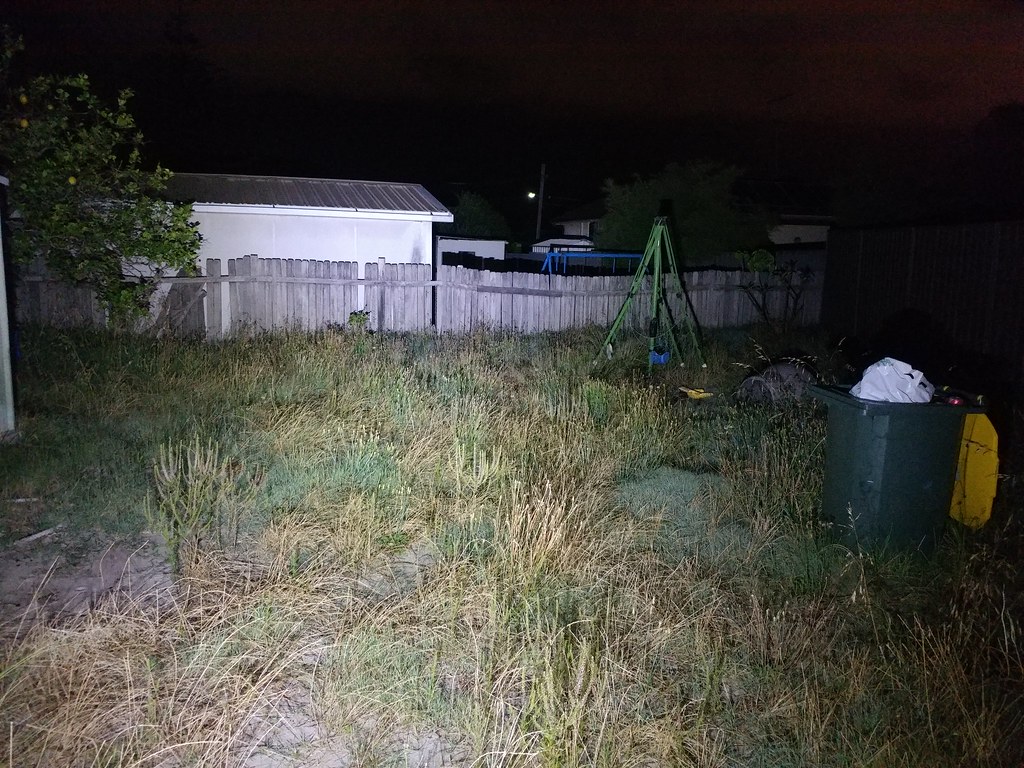
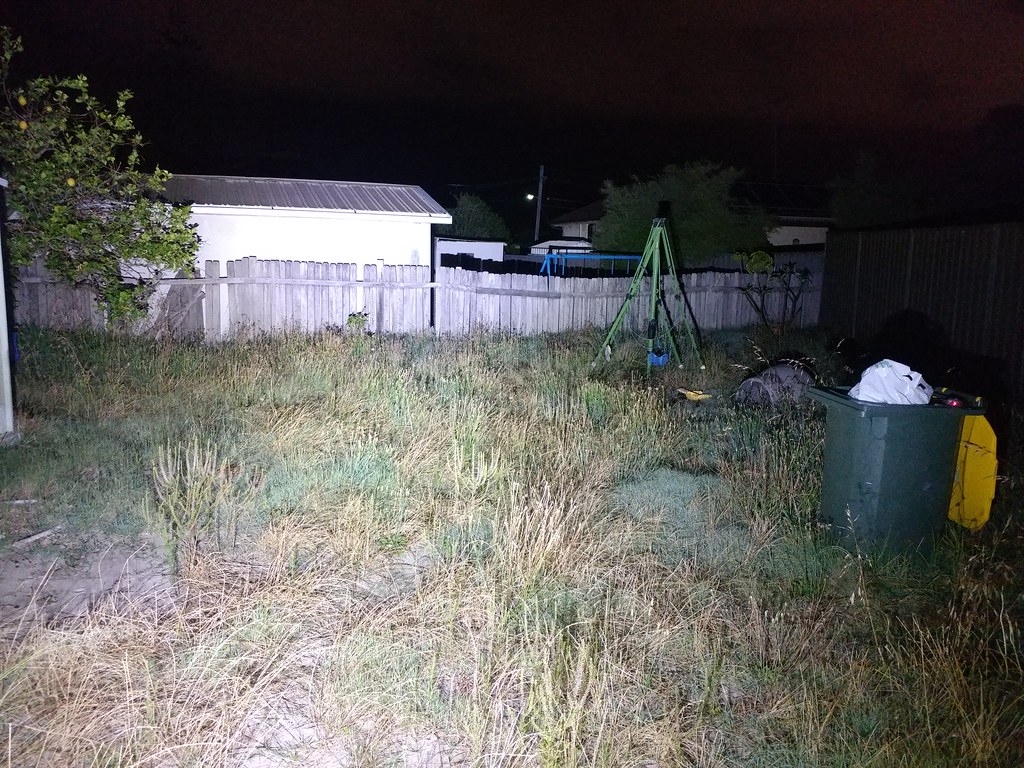
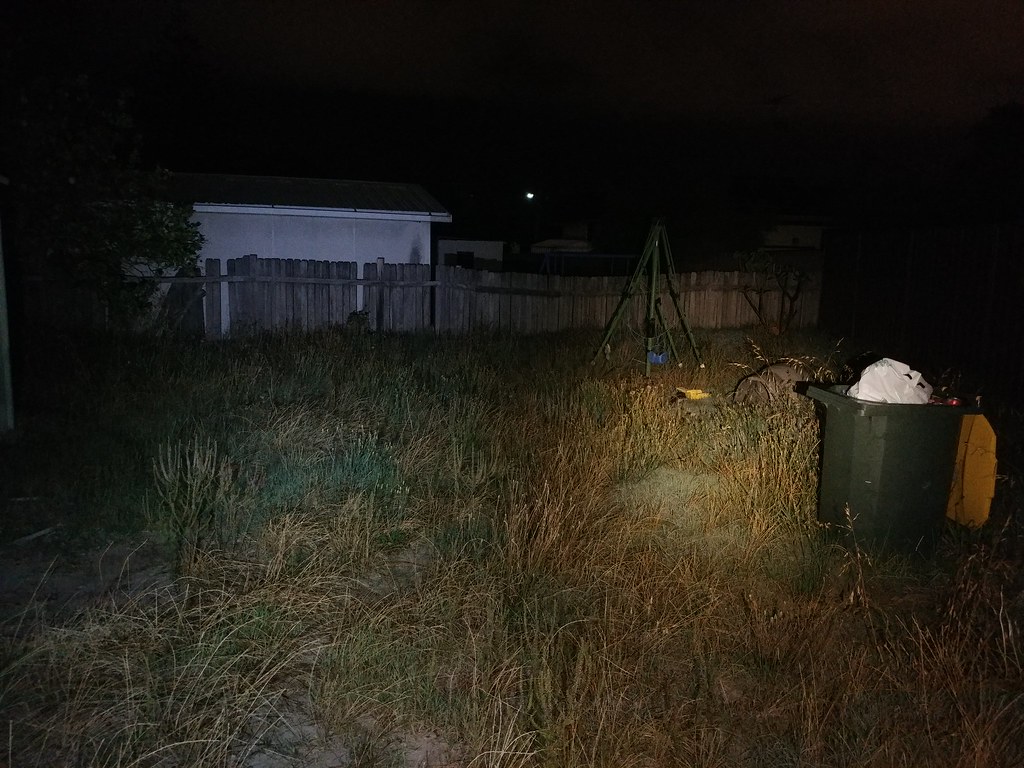
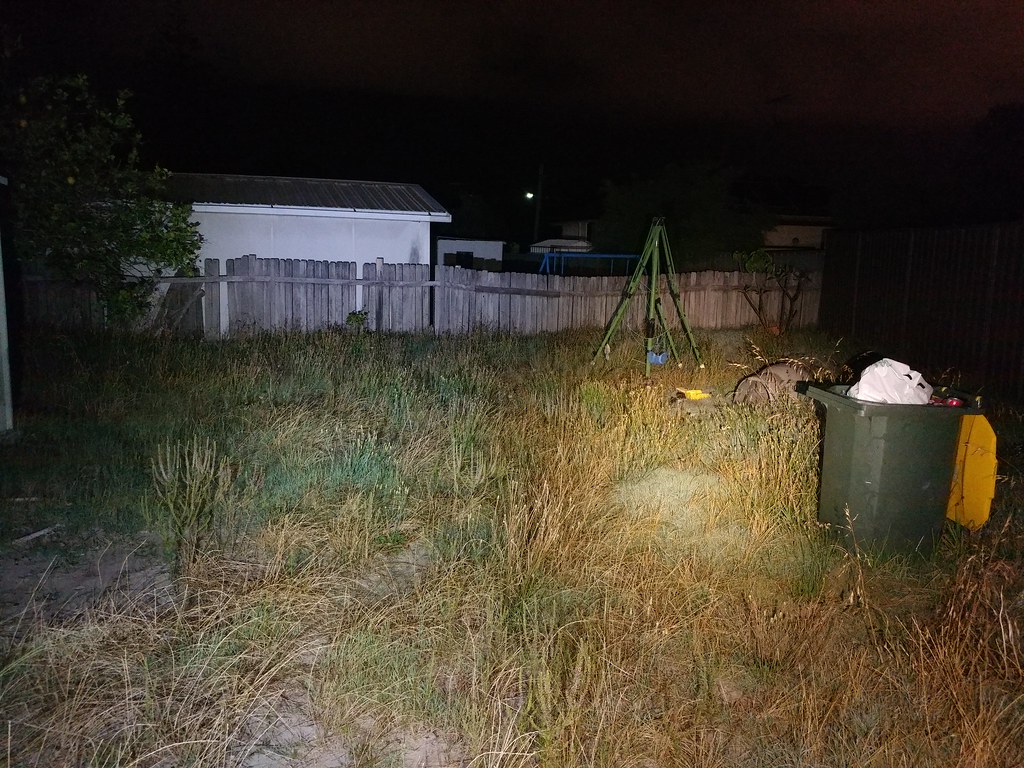
Beam shots
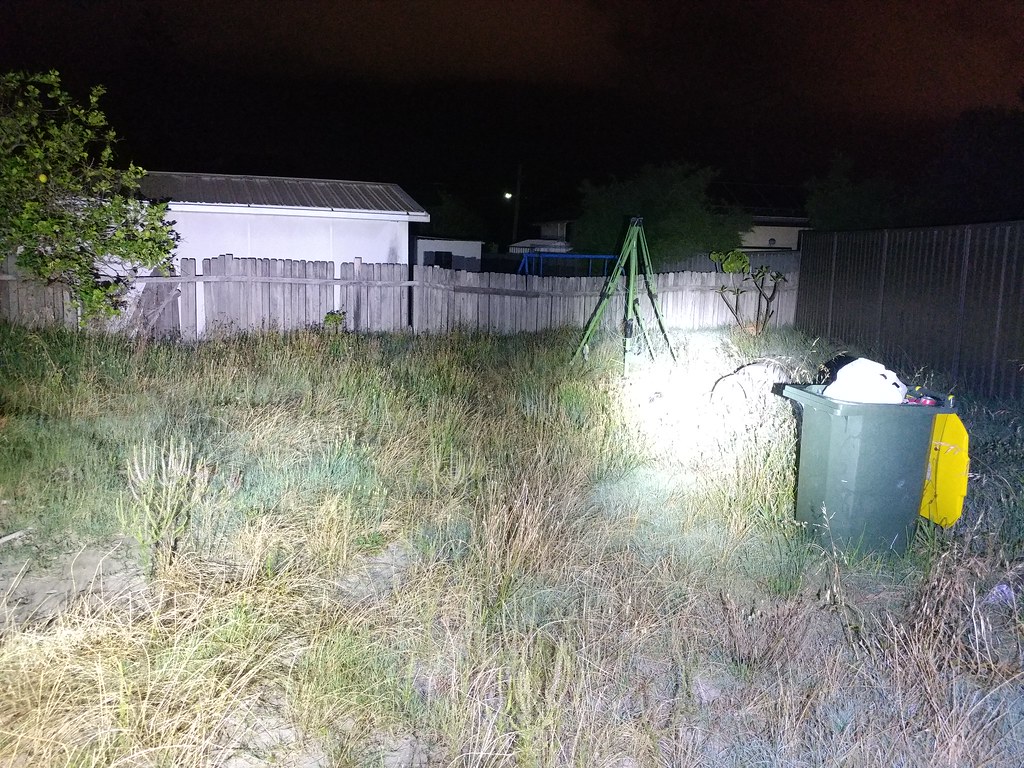
The light is using the BLF A6 driver. Seeing as the light has 6 LEDs its super efficient and bright in the lower modes. All these pics are taken at ISO800
Usually the yard doesnt look that big but its the camera playing trick with the wide angle you can see the length to the fence
!!
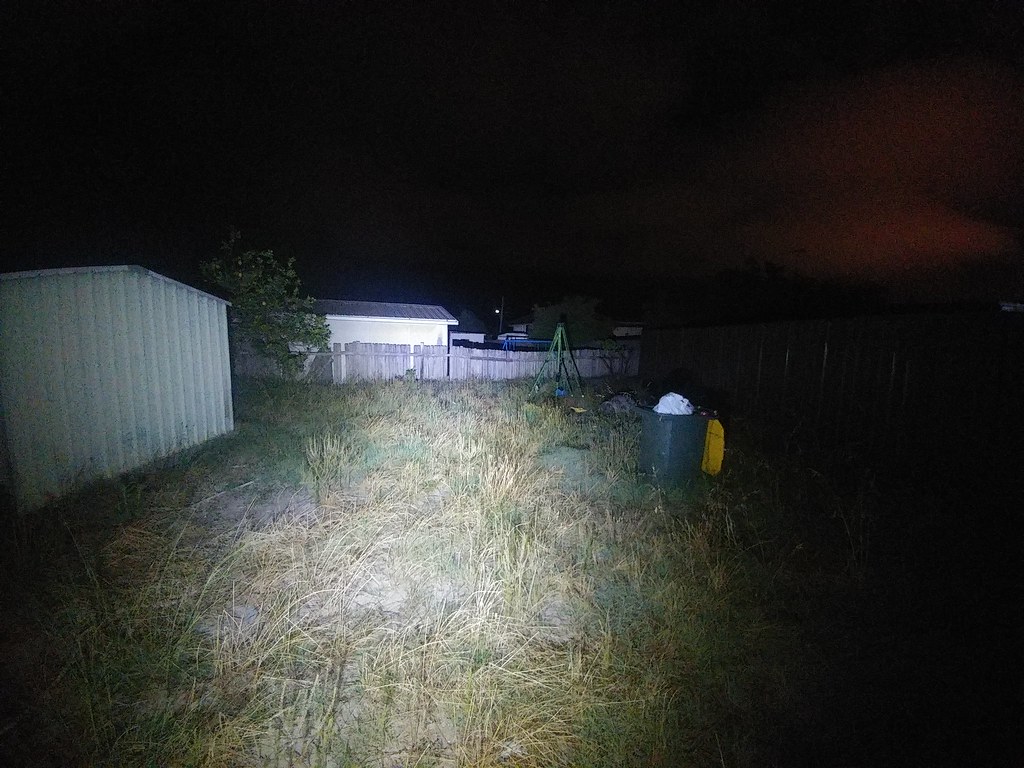
Just for comparison we have my comp build to the left and an actual BLF A6 to the right you will see the tint difference
Mode 6 the difference here is clearer then the rest of the pics
!!
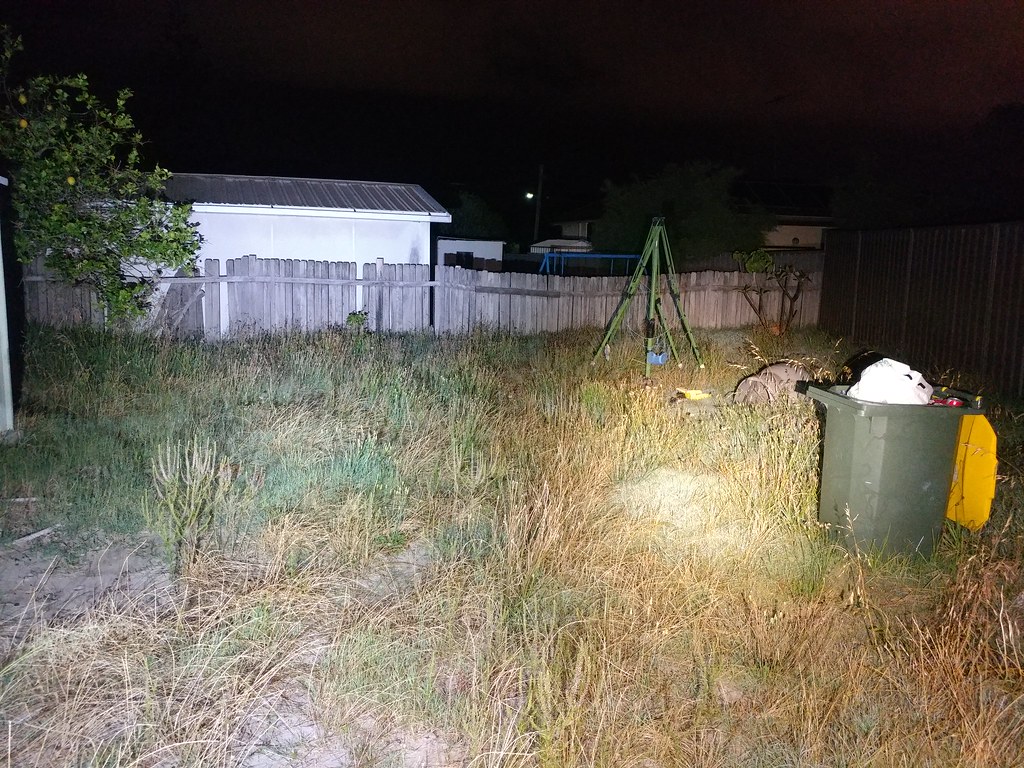
Both lights in direct drive you can see the A6 is washed out by the build but you would expect that.
!!
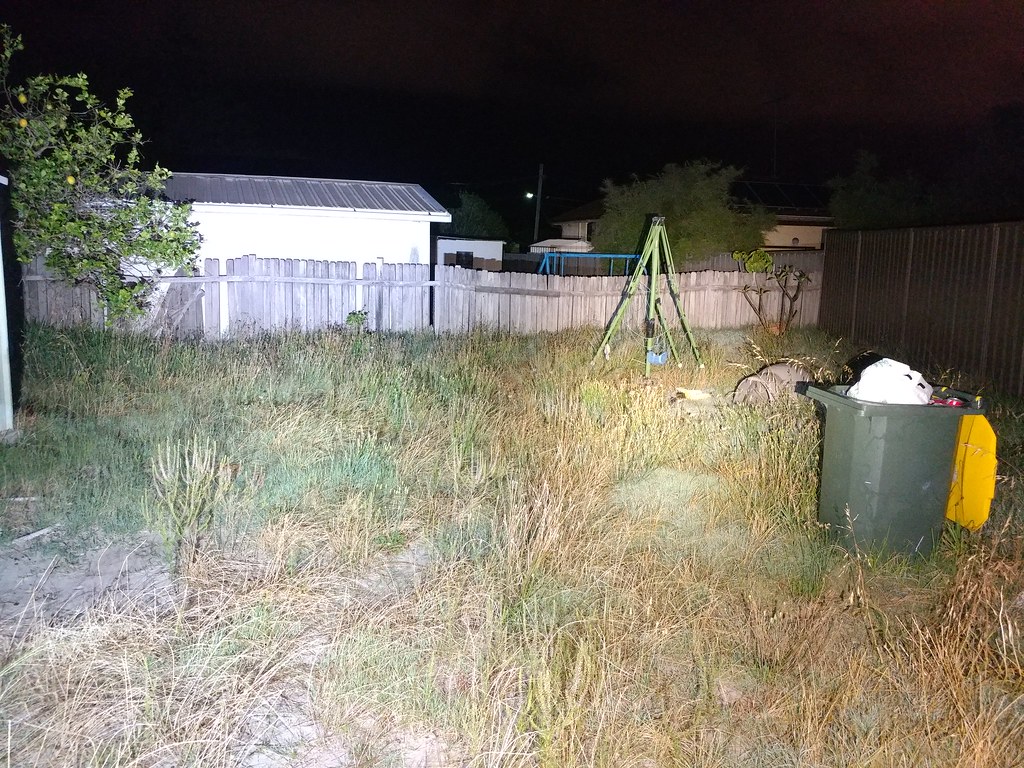
Way to much light for the yard the Convoy L6 is on the right and my build on the left. Plus you have a hot spot vs pure flood
!!
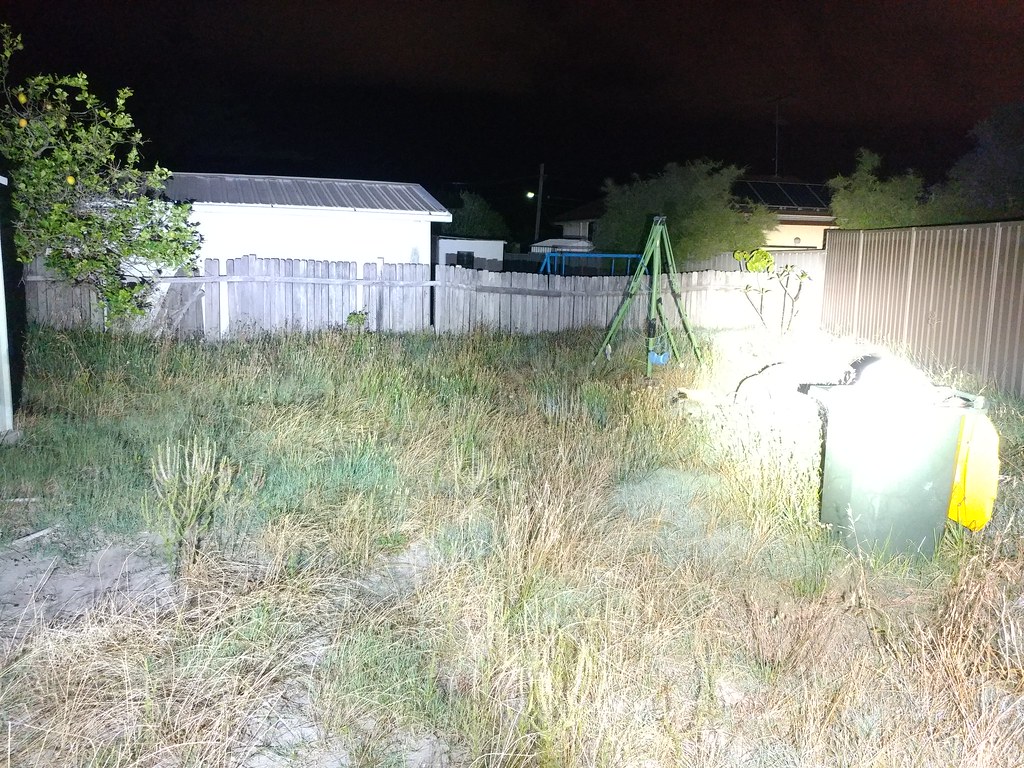
Very last pic for now Eagle Eye X6 with a SST40 Direct drive to the right and my build to the left. Interesting note is the difference in tints between the two both cold white.
!!
Making flashlights is dangerous work!
How to Post Images on BLF // Many knives for sale (USA only)
How to move a thread
Man, you got it all over CRX when it comes to the injury points!!
Looks like you had an ingrown fingernail, and instead of going to the doctor, you decided you would take care of the problem yourself!
How to Post Images on BLF // Many knives for sale (USA only)
How to move a thread
We should start a thread on injuries sustained during our beloved modding endeavours
- LEDs & Other Stuff - - UI CheatSheets - - CRX Flashlight Builds - - CRX Stuff for Sale -
Good luck with the build…and the recovery
MY REVIEWS THREAD /// My Flashlight Collection ///
Mods: 1 / 2 // TIR: 1 / 2 // Others: Biscotti 3 + 1*7135 / Triple TIR w/ XP-G2 /// My Review's Blog (PT) /// OL Contest 2019 /// OL Contest 2020 /// GIVEAWAYs: 1 / 2
Thanks mate!
I thought who ever had the worse injury wins a prize? lol
I am going to try and move my drill press and sander out of the shed blow away all the metal chips with my mini blower. I will try not to stick my fingers in the blades lol
Light Reviews
Cheap Flashlight Durability Test
Convoy S2+ Written review
Brinyte T16 Artemis tear down
YouTube Reviews
Sofirn D25S Review
Xmund XD-FL3 Review
World band shortwave radio review
Mods and Builds
6th Annual Old Lumens Scratch build entry
7th annual Old Lumens scratch build entry
Ouchie
I though you were doing the halloween prank.
Hope speedy recovery for u mate.
Nico -.-
Heres to a speedy recovery edsg and on wards with the build. All the best.
djozz quotes, "it came with chinese lettering that is chinese to me".
"My man mousehole needs one too"
old4570 said "I'm not an expert , so don't suffer from any such technical restrictions".
Old-Lumens. Highly admired and cherished member of Budget Light Forum. 11.5.2011 - 20.12.16. RIP.
This might be a good opportunity to mod your finger.
Good luck with finger and build!
BLF Q8 Janus --- Emisar D4 RGBW --- Green Lantern and HAL 9000
6th Annual Light Contest Entry --- 7th Annual Light Contest Entry
Thanks lads! Went back to hospital and they cleaned and fixed it up again now its up to me to maintain lol.
Choosing an LED option
!
!
I bought all 3 SST20s tints to try and i have 2 left the 4000k and 6500k so ill probably use one of them. Or might use the XPG3 if i just want it bright.
Light Reviews
Cheap Flashlight Durability Test
Convoy S2+ Written review
Brinyte T16 Artemis tear down
YouTube Reviews
Sofirn D25S Review
Xmund XD-FL3 Review
World band shortwave radio review
Mods and Builds
6th Annual Old Lumens Scratch build entry
7th annual Old Lumens scratch build entry
Are you better, mate? Back to the build or not for now?
Get better soon!!
MY REVIEWS THREAD /// My Flashlight Collection ///
Mods: 1 / 2 // TIR: 1 / 2 // Others: Biscotti 3 + 1*7135 / Triple TIR w/ XP-G2 /// My Review's Blog (PT) /// OL Contest 2019 /// OL Contest 2020 /// GIVEAWAYs: 1 / 2
Nice selection there
- LEDs & Other Stuff - - UI CheatSheets - - CRX Flashlight Builds - - CRX Stuff for Sale -
Hey mate still not the best its still bleeding here and there after almost 2 weeks but its healing. You can see it closing in.
!
!
Light Reviews
Cheap Flashlight Durability Test
Convoy S2+ Written review
Brinyte T16 Artemis tear down
YouTube Reviews
Sofirn D25S Review
Xmund XD-FL3 Review
World band shortwave radio review
Mods and Builds
6th Annual Old Lumens Scratch build entry
7th annual Old Lumens scratch build entry
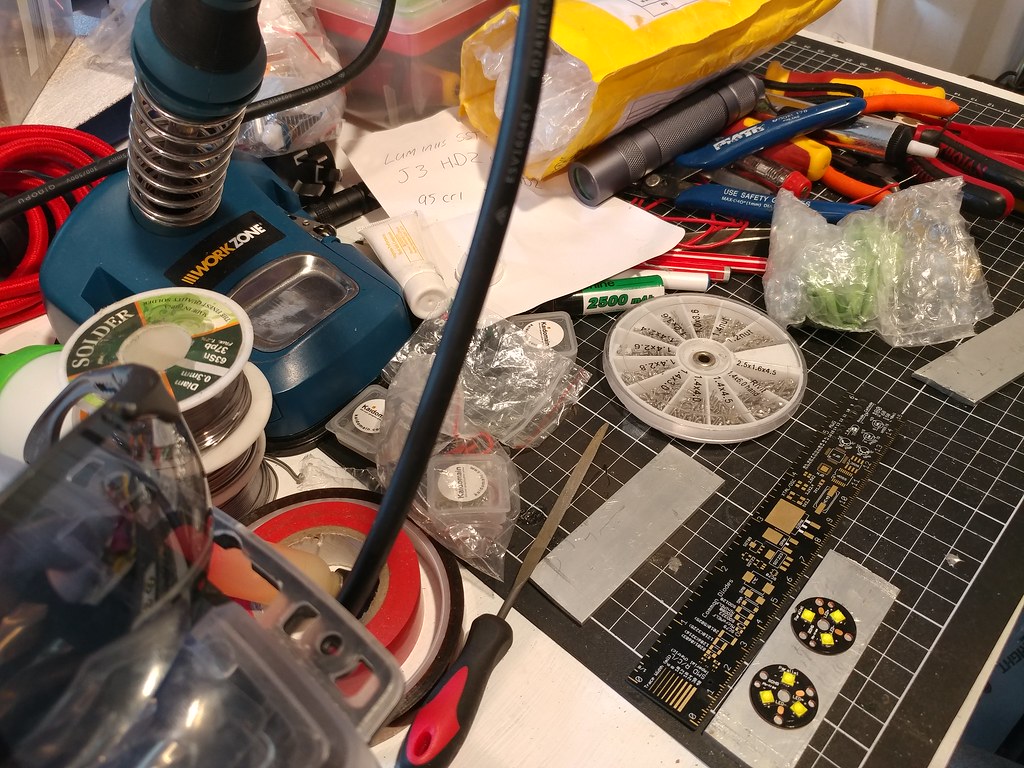
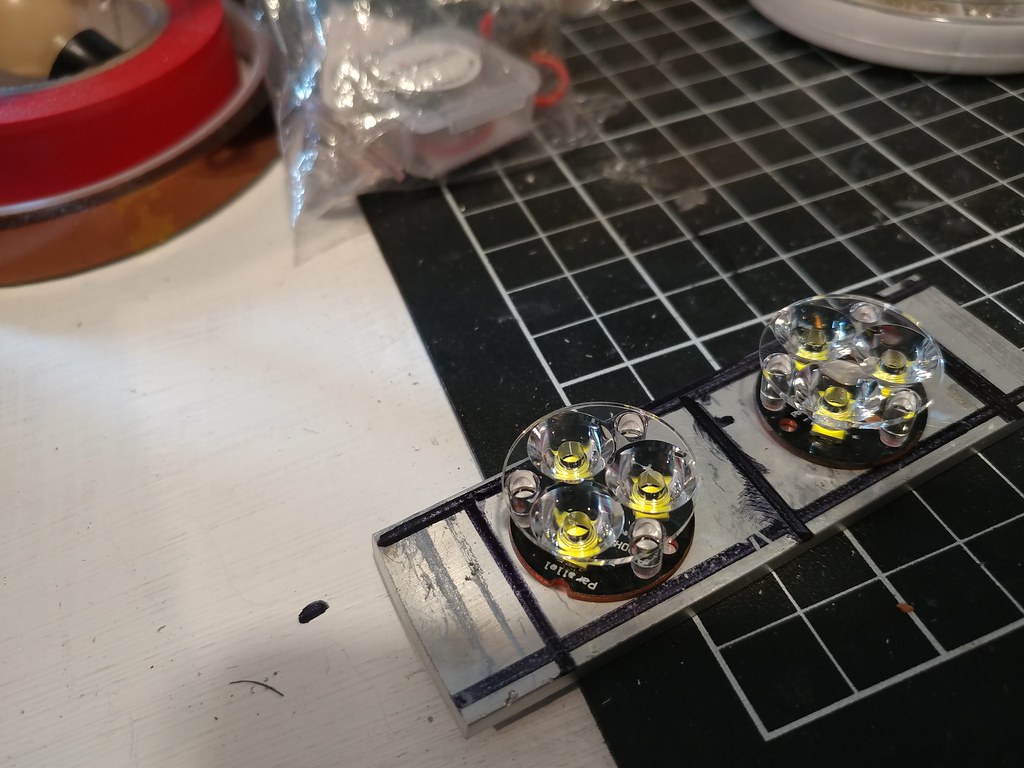
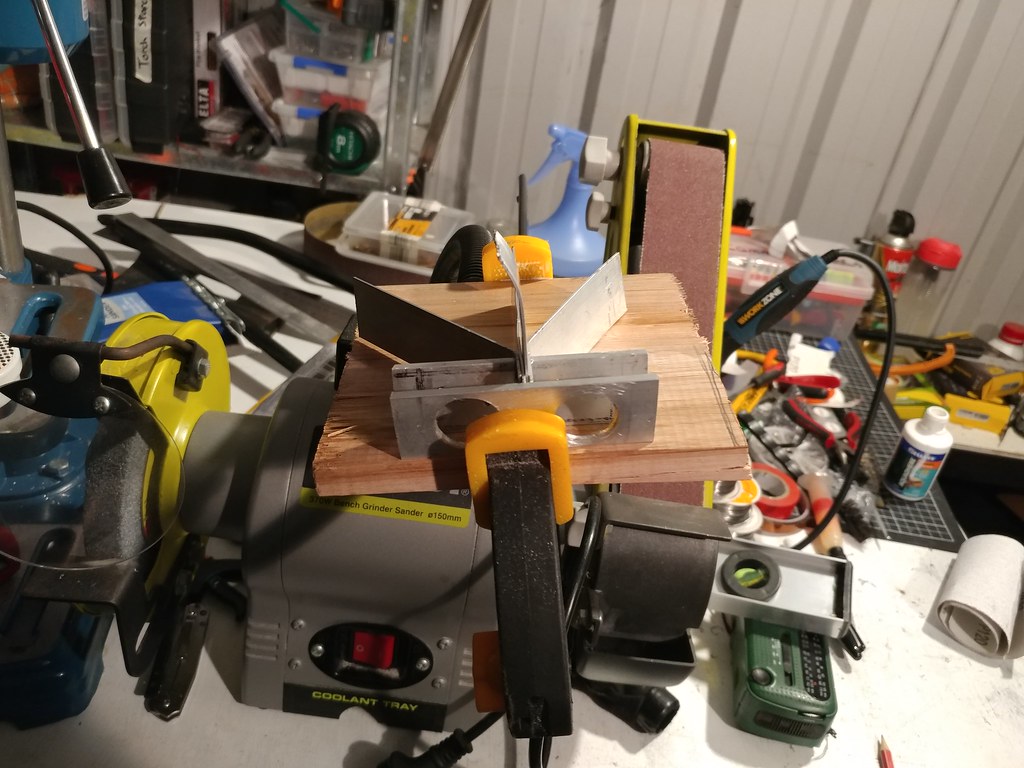
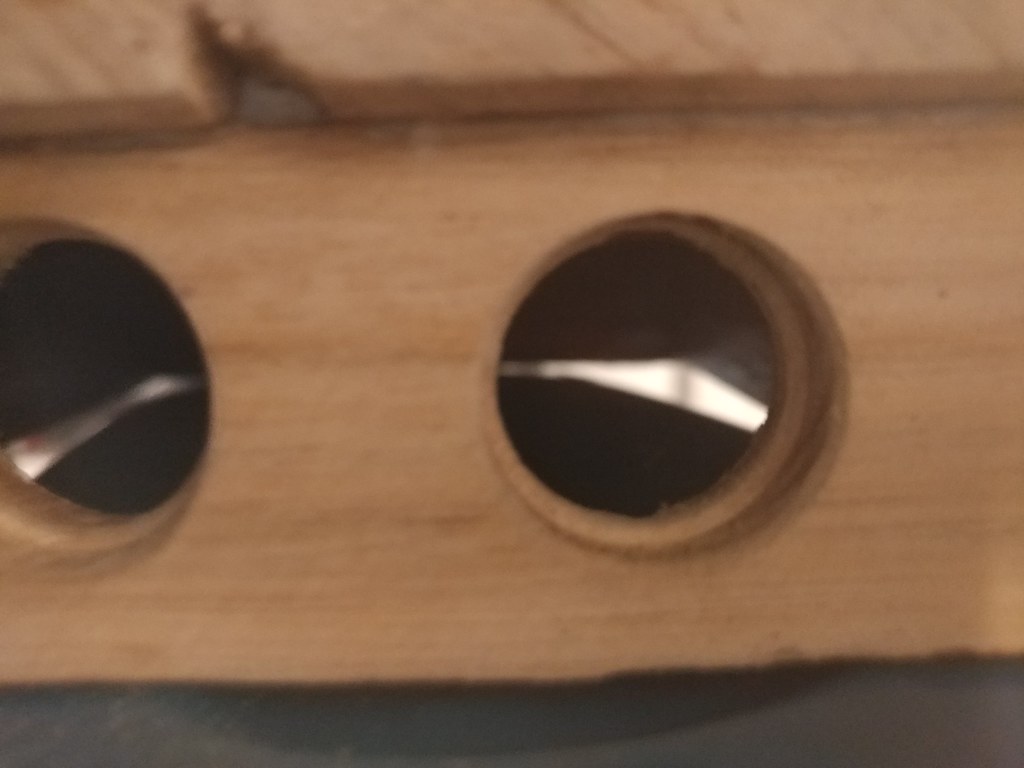
Starting the build slowly. Cut the alloy down to size in two 8cm strips and sanded the sides nice and flat.
!
!
Shout out to my cheap soldering iron that stays outside. No way i am leaving the good one in the shed
!
!
Trying to get the LEDs centered lol
!
!
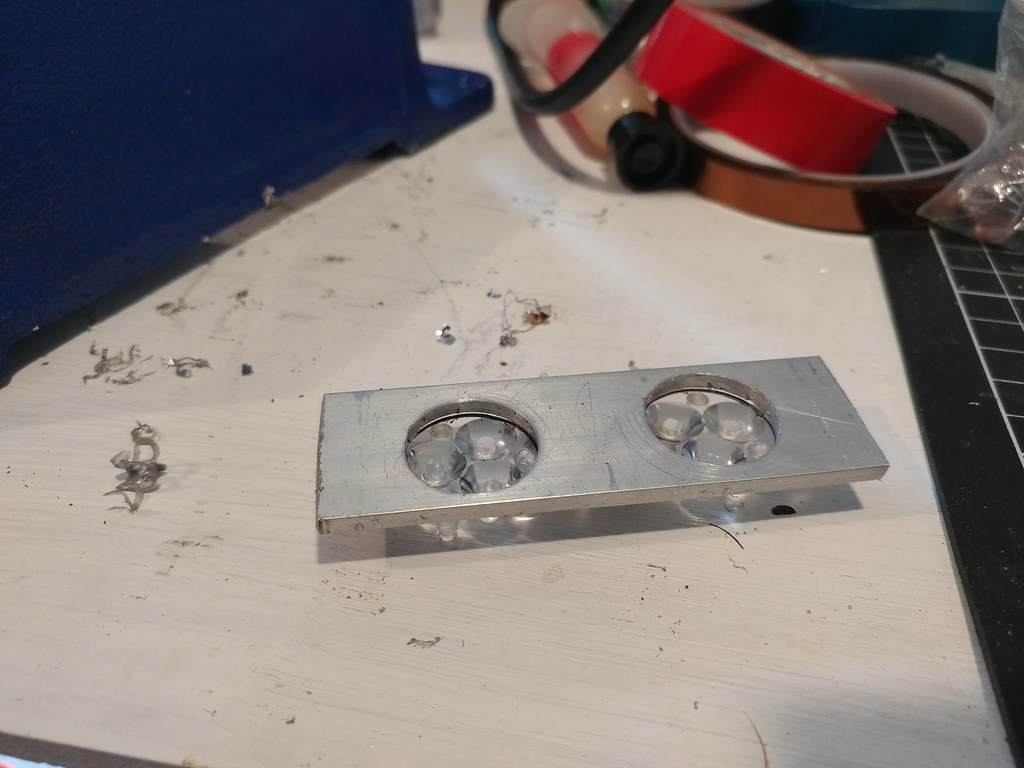
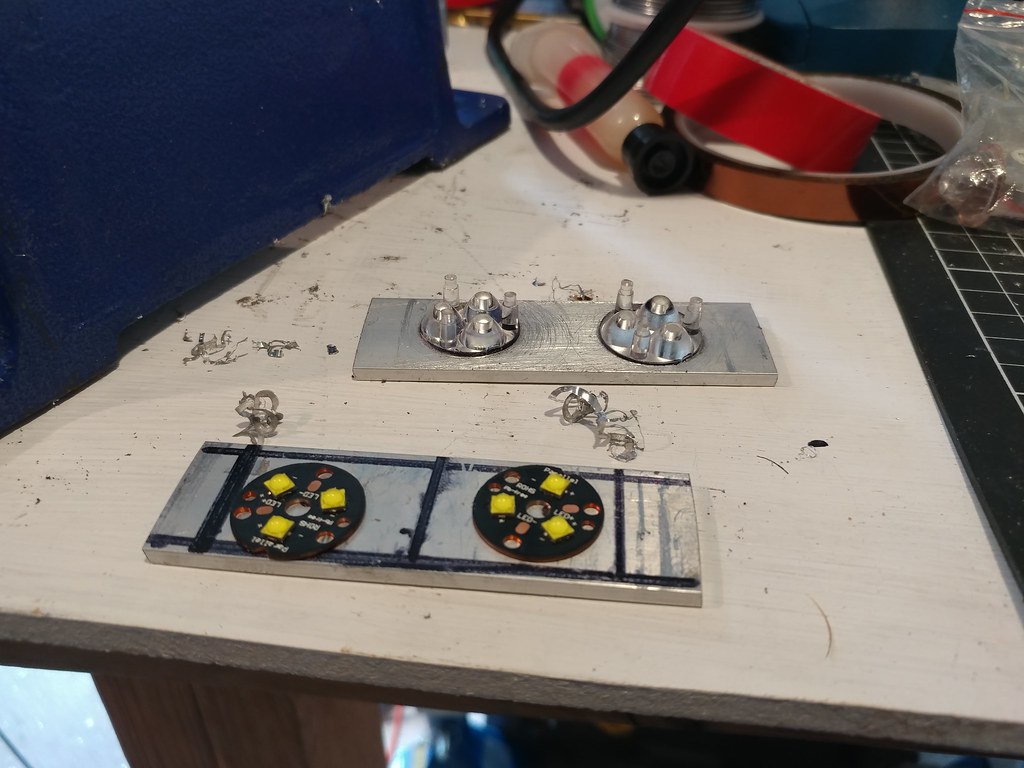
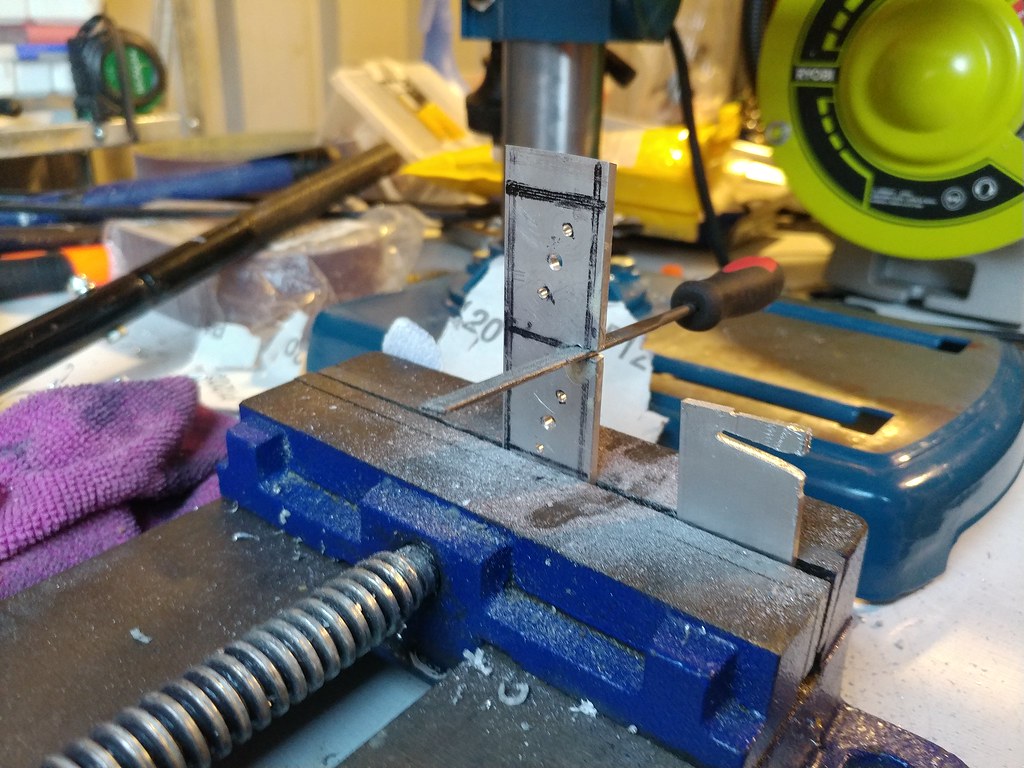
Okayyyyy don’t laugh but i stalled my drill press 3 times doing this to much RPM i think so i changed it to the 500rpm setting i am still getting use to owning a drill press. I used s stepper drill bit to get the optics to fit inside the front bezel. I find i have no feedback from the drill press i was using a vice to hold the bezel steady while drilling.
!
!
One drill press later lol
!
!
Light Reviews
Cheap Flashlight Durability Test
Convoy S2+ Written review
Brinyte T16 Artemis tear down
YouTube Reviews
Sofirn D25S Review
Xmund XD-FL3 Review
World band shortwave radio review
Mods and Builds
6th Annual Old Lumens Scratch build entry
7th annual Old Lumens scratch build entry
Its good to see you back on the road to recovery and the build continuing.
djozz quotes, "it came with chinese lettering that is chinese to me".
"My man mousehole needs one too"
old4570 said "I'm not an expert , so don't suffer from any such technical restrictions".
Old-Lumens. Highly admired and cherished member of Budget Light Forum. 11.5.2011 - 20.12.16. RIP.
Due to my injury i deiced to make a normal torch i wanted to make a custom headlamp but i can’t work with my finger to well so i planned this on the go.
!
!
Light Reviews
Cheap Flashlight Durability Test
Convoy S2+ Written review
Brinyte T16 Artemis tear down
YouTube Reviews
Sofirn D25S Review
Xmund XD-FL3 Review
World band shortwave radio review
Mods and Builds
6th Annual Old Lumens Scratch build entry
7th annual Old Lumens scratch build entry
Bugger about your injury, but kudos to you for persevering
Looking at your finger, make sure to let it ‘breathe’ once in a while!
That white wrinkled skin is a sign of having it too long covered, or having it to tight on your finger.
+1. All the best Chris.
djozz quotes, "it came with chinese lettering that is chinese to me".
"My man mousehole needs one too"
old4570 said "I'm not an expert , so don't suffer from any such technical restrictions".
Old-Lumens. Highly admired and cherished member of Budget Light Forum. 11.5.2011 - 20.12.16. RIP.
A re-design at the 11th hour?
Glad I’m not the only one flying by the seat of their pants
Thanks for the support lads!
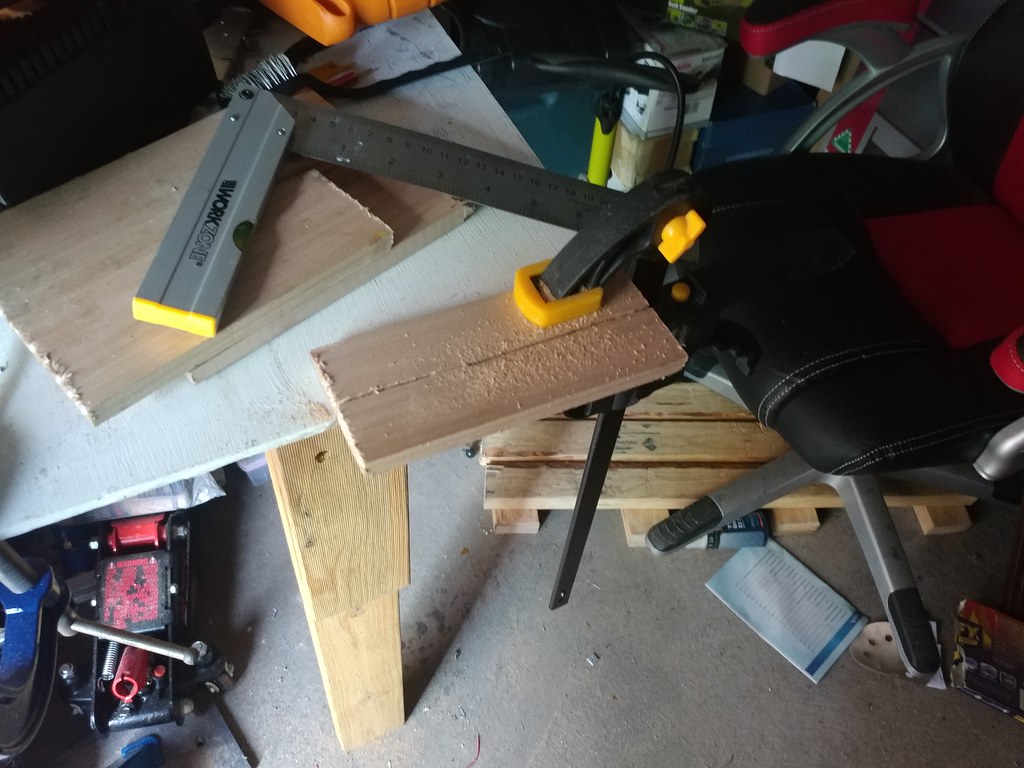
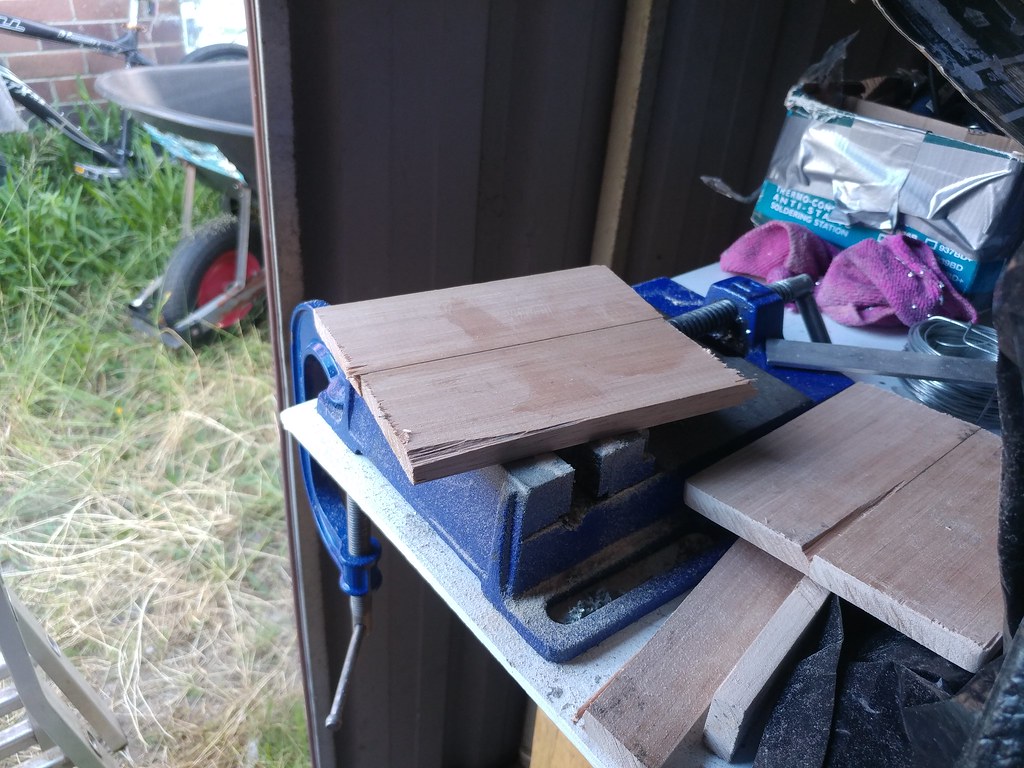
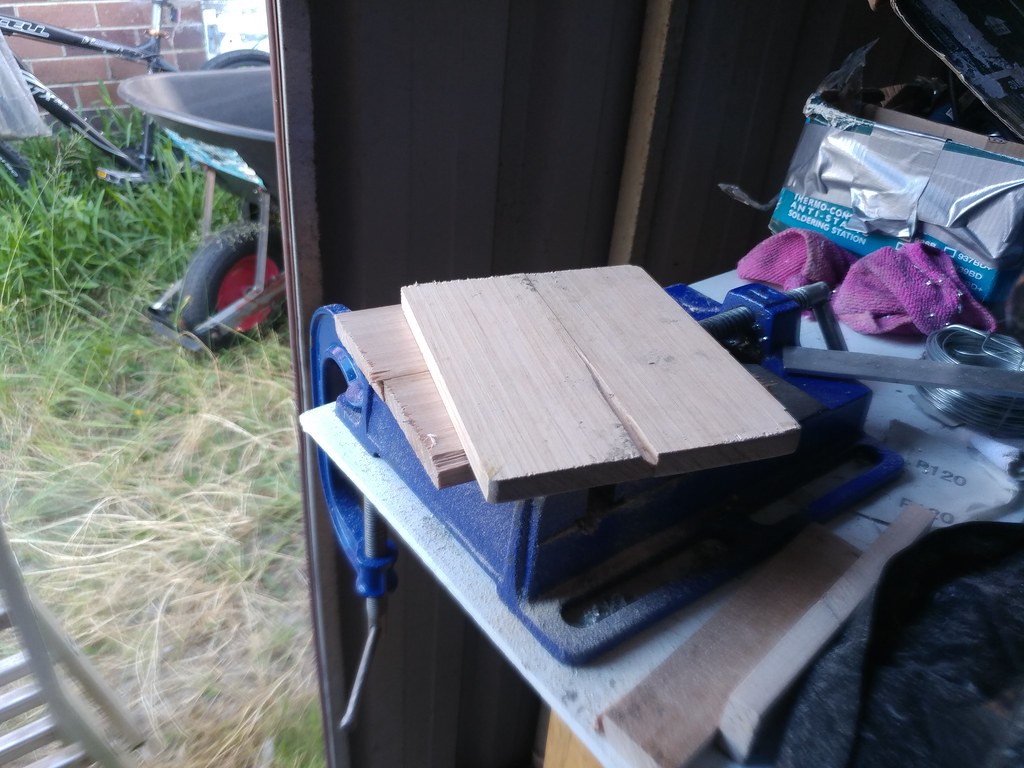
Yea i went to Bunnings and got some Tasmanian oak to use should be easier to use some wood i had to get more flat bar either way. The oak is mediocre i liked the western red cedar it has a good pattern on it but i couldn’t find a size i could work with.
I am wondering how fast my plastic battery holder will melt if its going 15amps lol.
Light Reviews
Cheap Flashlight Durability Test
Convoy S2+ Written review
Brinyte T16 Artemis tear down
YouTube Reviews
Sofirn D25S Review
Xmund XD-FL3 Review
World band shortwave radio review
Mods and Builds
6th Annual Old Lumens Scratch build entry
7th annual Old Lumens scratch build entry
I will put this all together when i am done with the thread!
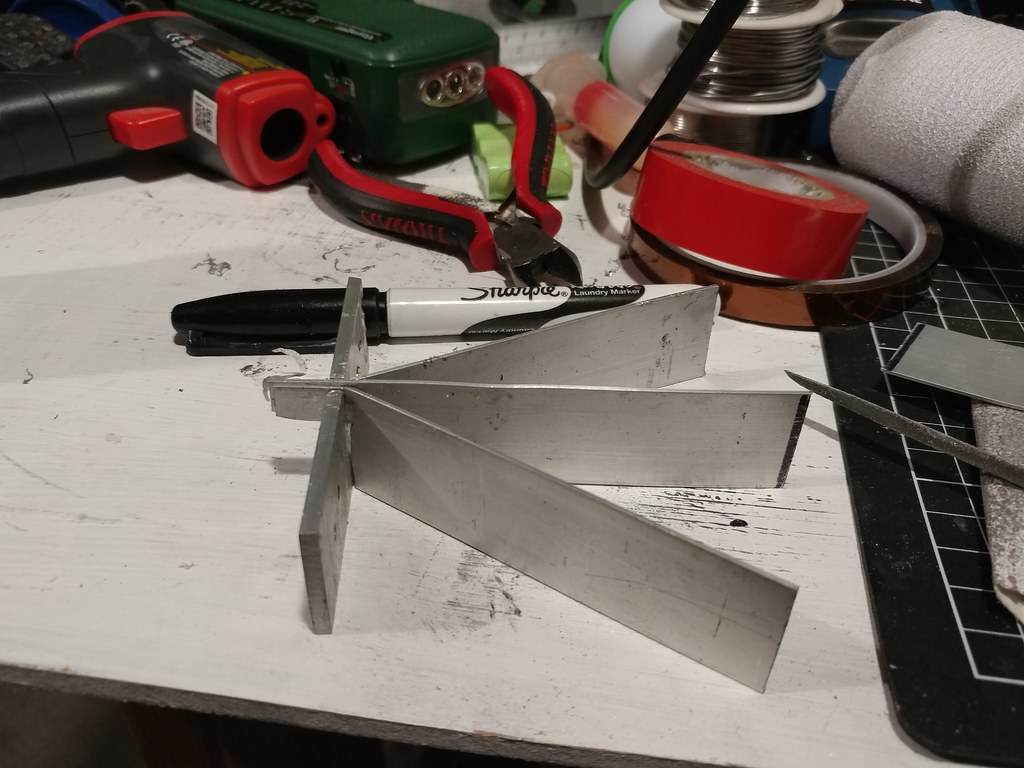
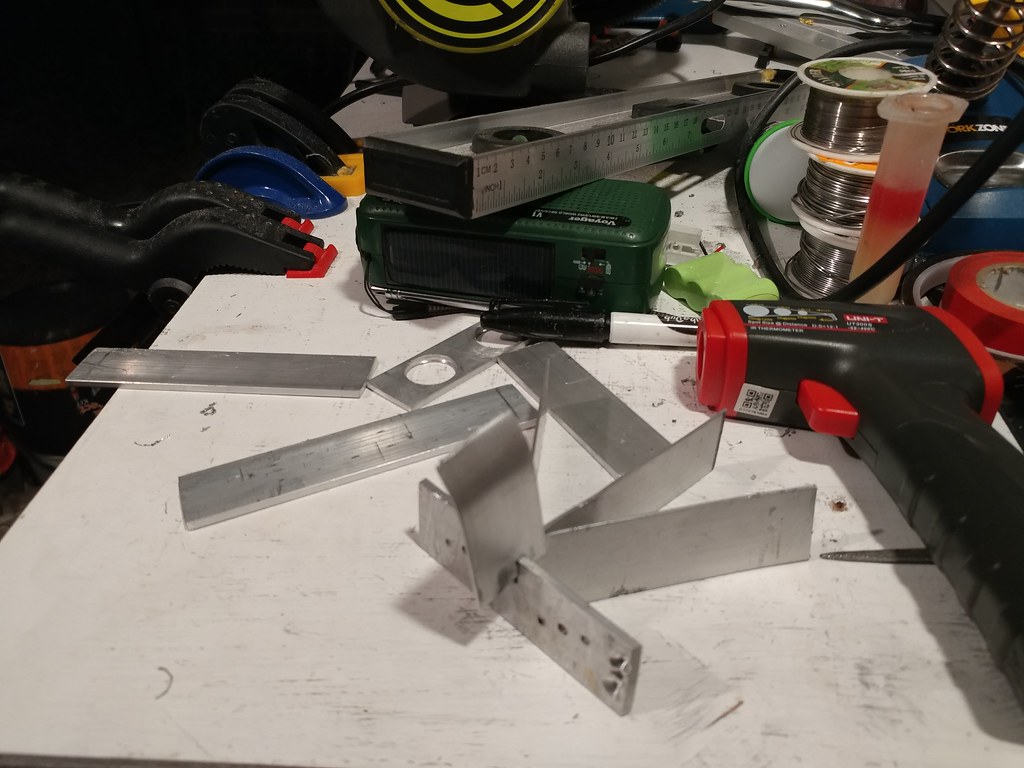
trying some heat sinks
!
!
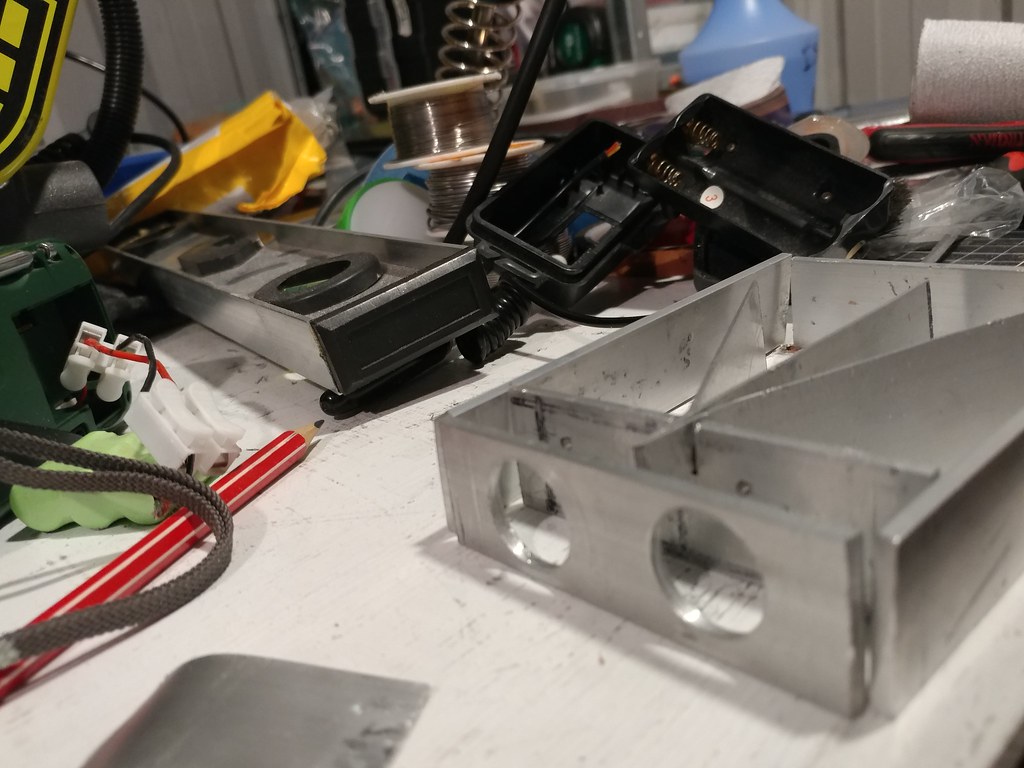
With 6 XPG3s running from 2 cells in direct drive it may get hot so i am trying to make a heat sink
!
!
The gap is almost 4mm and the heat sink are only 3mm so i have to shimmy some shims in
!
!
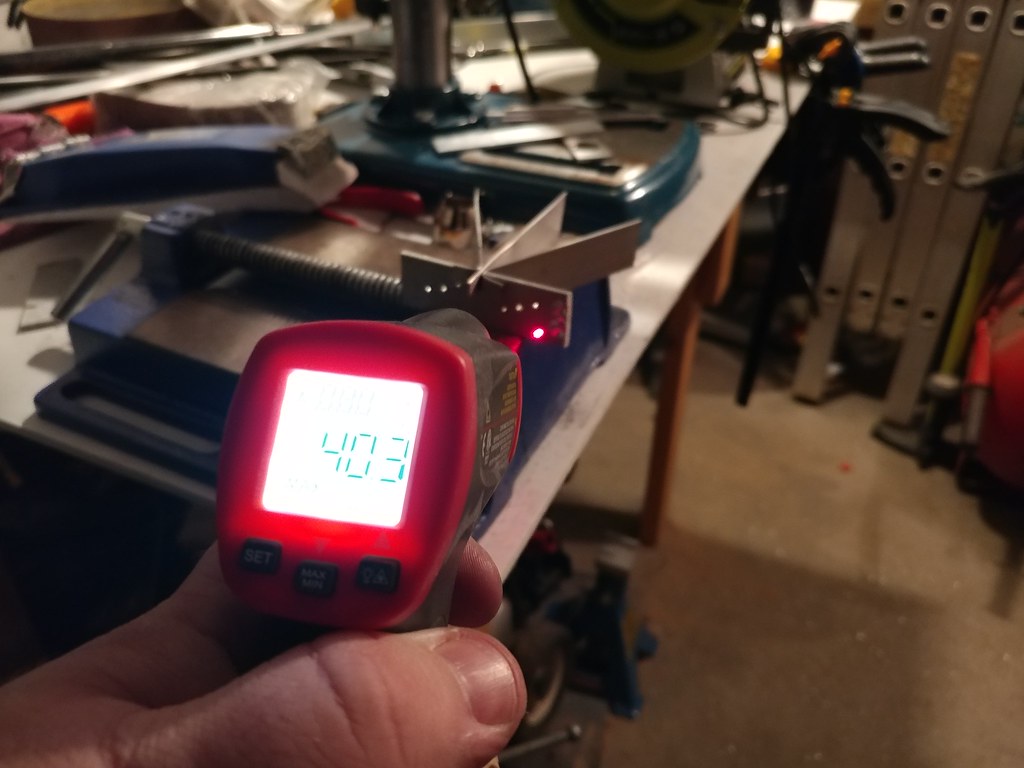
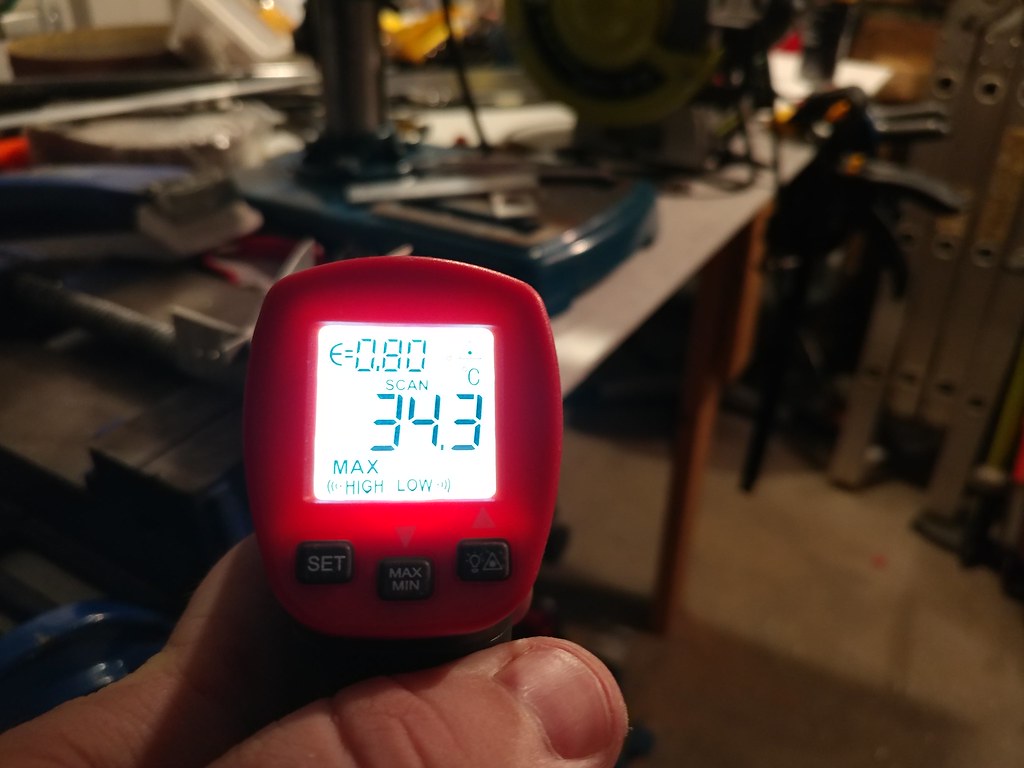
testing if the heat sink even works lol I used my heat gun to heat up the shelf
!
!
Seems to work not the best but better than nothing? First pic the shelf is 40 degree Celsius and this picture the back of the first heat fin is 34 degrees Celsius
!
!
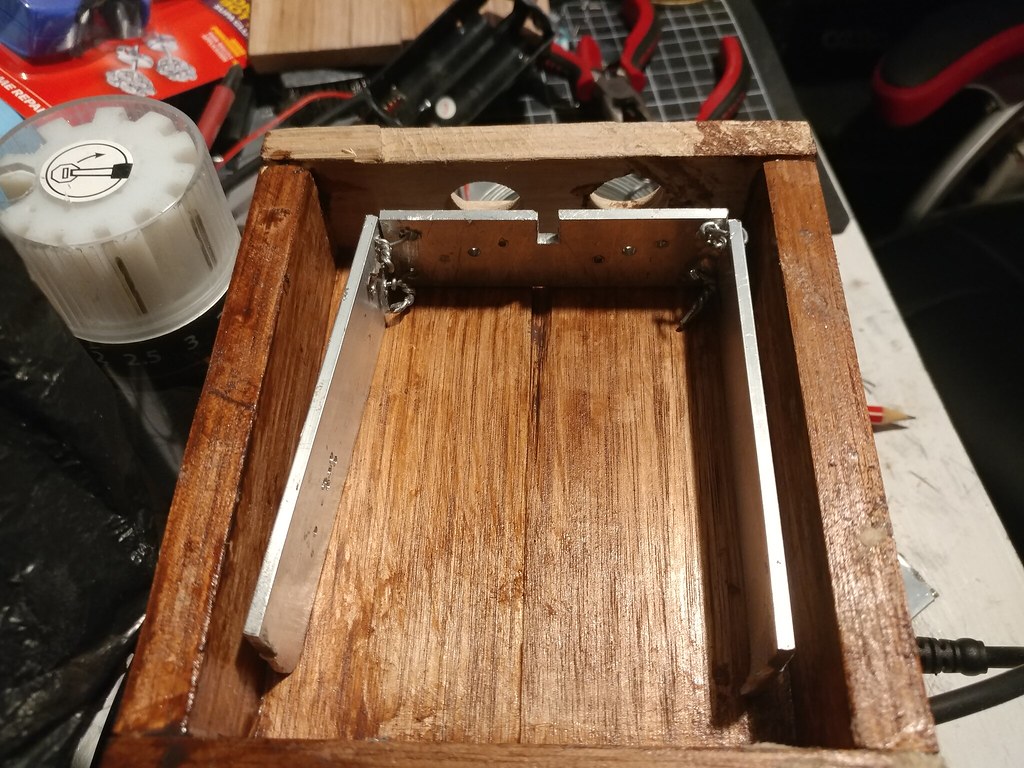
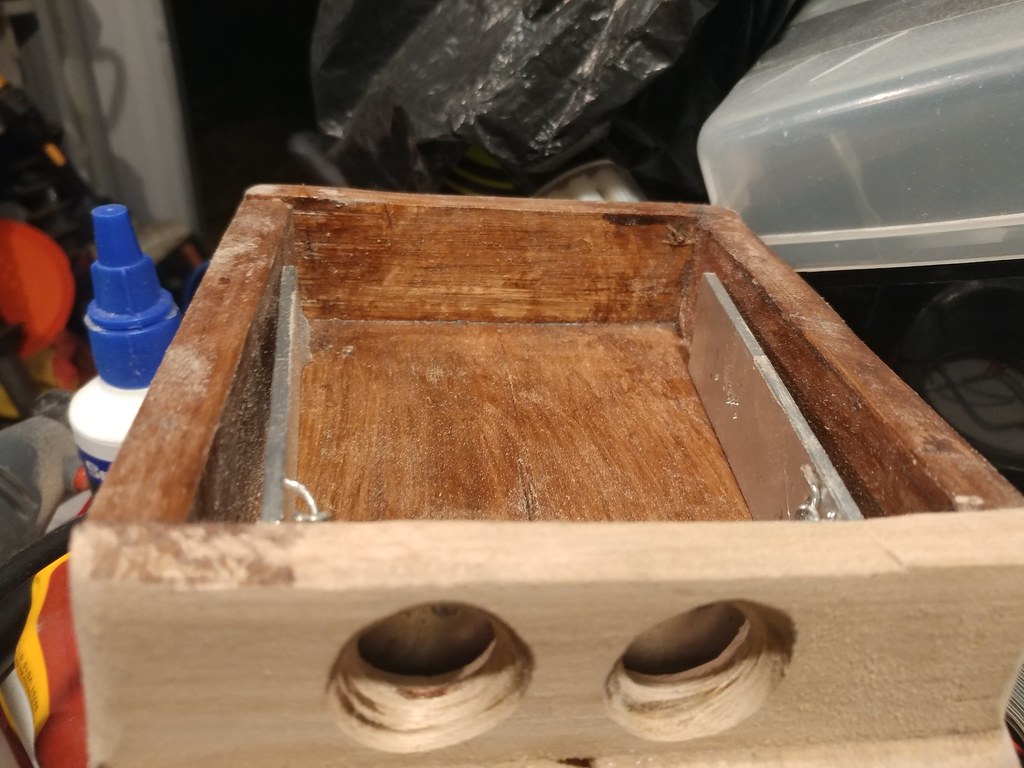
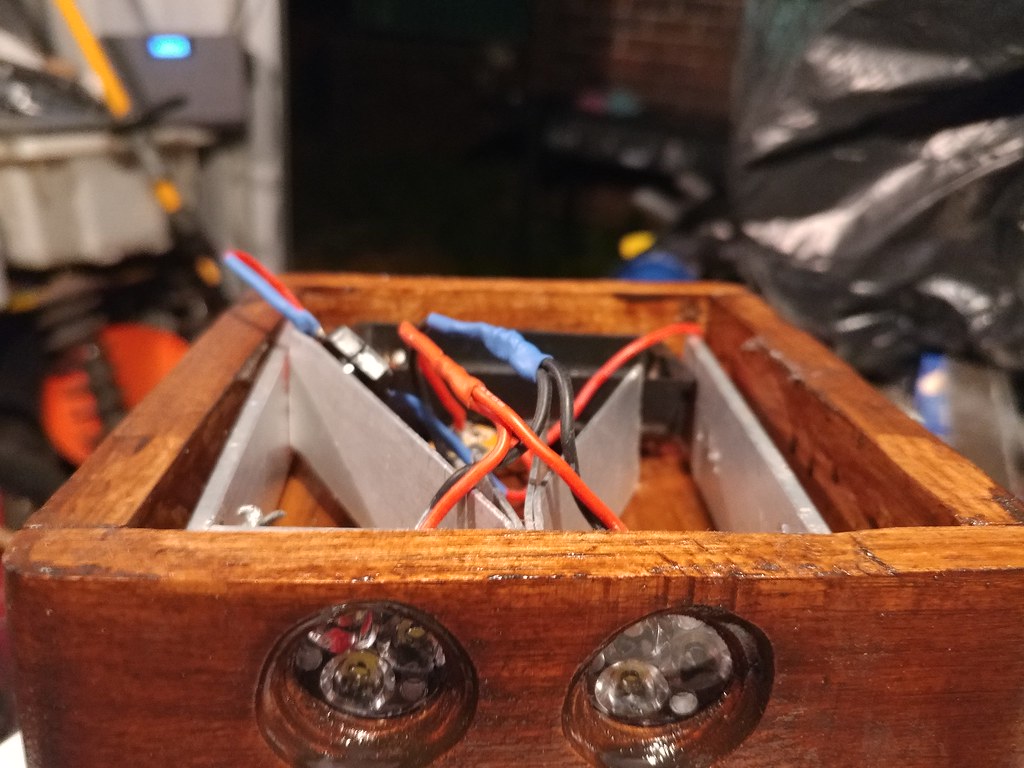
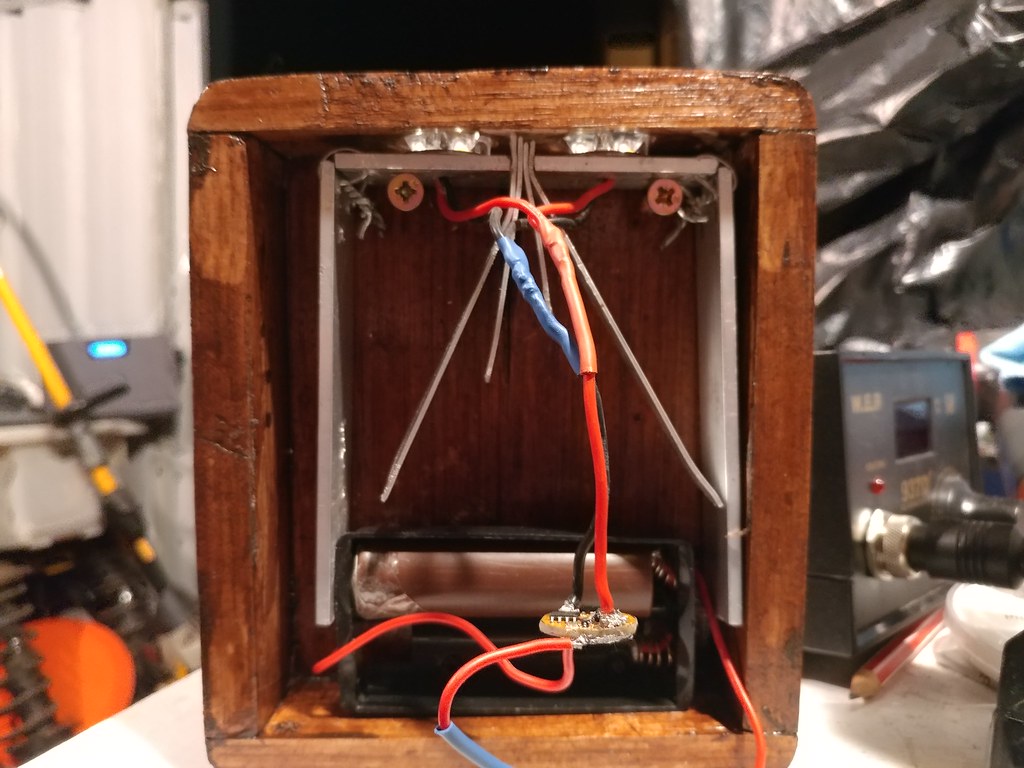
Inside should look like this except i will cut the middle heat fin so i can fit driver and battery pack in
!
!
It will have a wood top and bottom but the sides i have not decided yet i will polish the aluminum and see how it looks
!
!
I may keep the front alloy or use wood it depends on what looks best
!
!
Light Reviews
Cheap Flashlight Durability Test
Convoy S2+ Written review
Brinyte T16 Artemis tear down
YouTube Reviews
Sofirn D25S Review
Xmund XD-FL3 Review
World band shortwave radio review
Mods and Builds
6th Annual Old Lumens Scratch build entry
7th annual Old Lumens scratch build entry
Nice progress. Got ya motor on now
Yea i might go fishing this weekend so i am making time when i can.
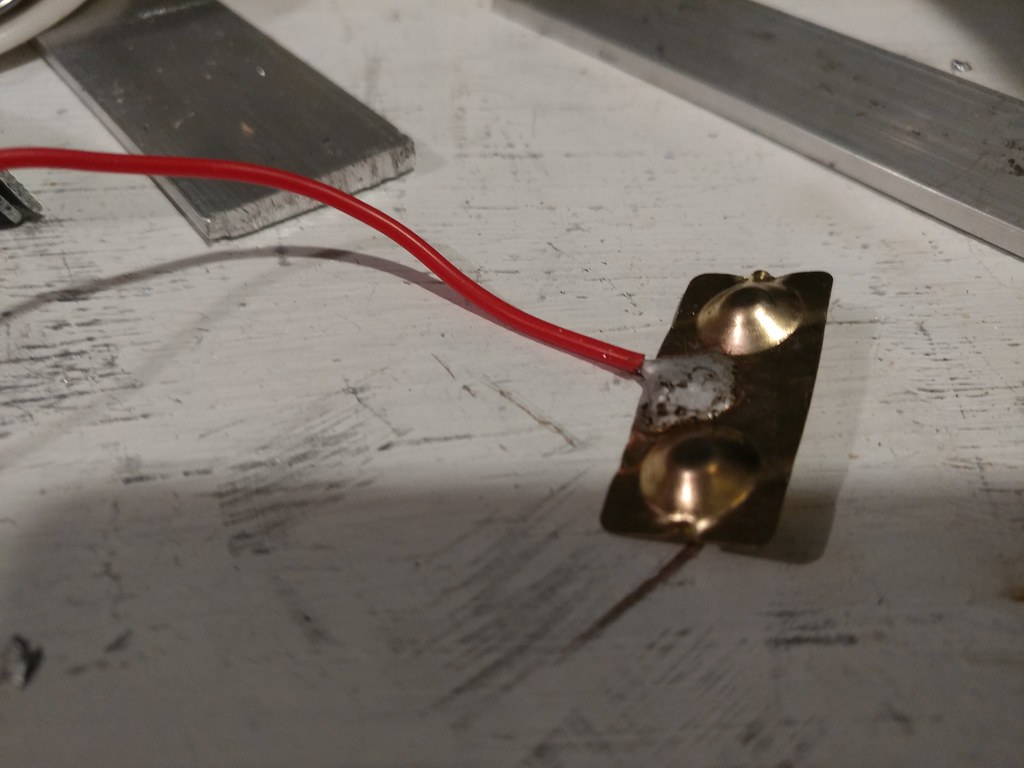
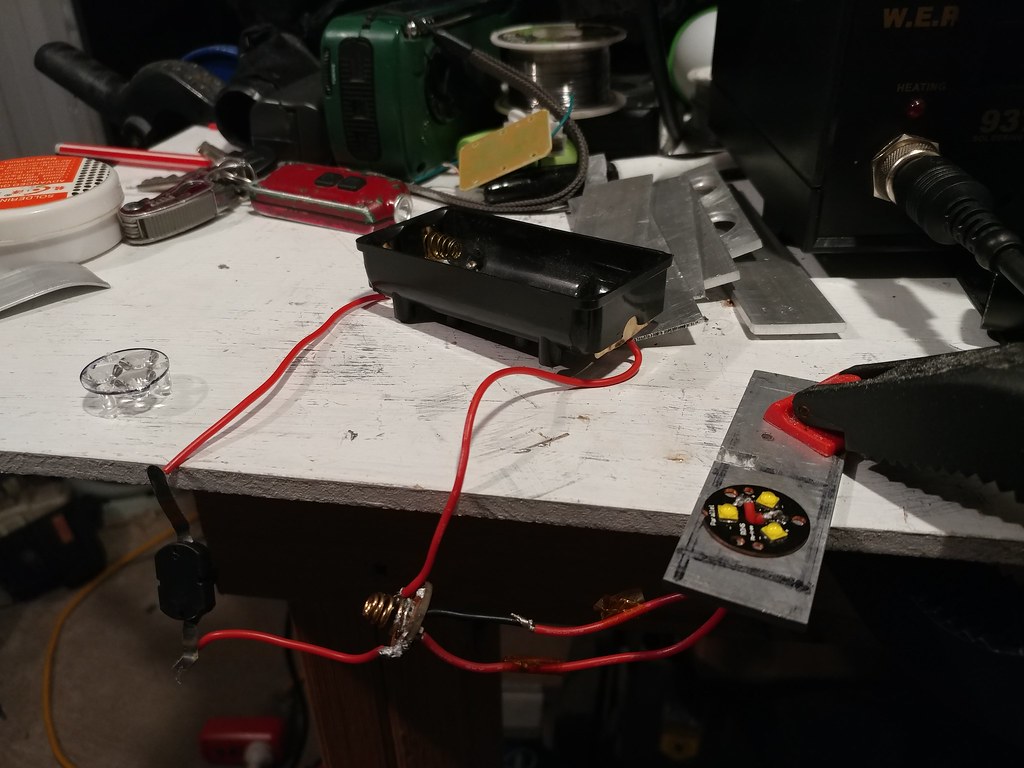
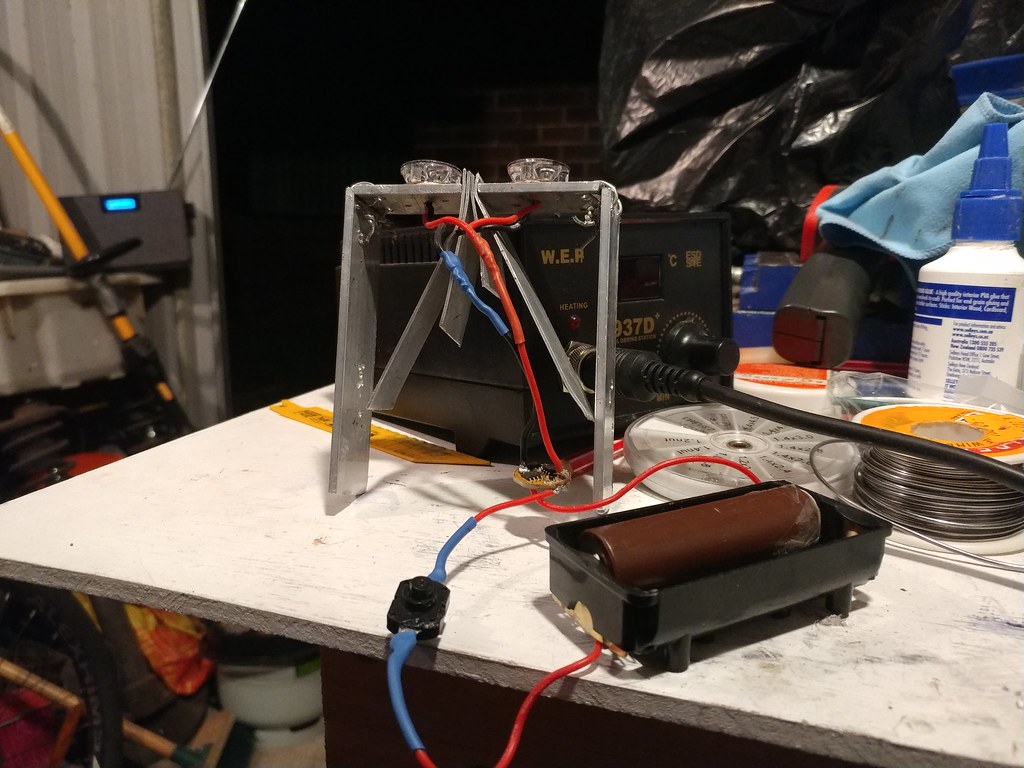
I found a better battery carrier with brass looking inserts so i hooked up what appears to be 20AWG wire to both sides. !
!
looks mad dodgy but it works i got 3k lumens with one set of LEDs and 1 18650 so ill see how it goes when i add the other side.
!
!
I ended up doing spring bypass on the battery holder to see how it goes and it helps but i either have to get bigger gauge wire or shorten it a fair bit.
I guess i will be happy with 4-5k lumens
Light Reviews
Cheap Flashlight Durability Test
Convoy S2+ Written review
Brinyte T16 Artemis tear down
YouTube Reviews
Sofirn D25S Review
Xmund XD-FL3 Review
World band shortwave radio review
Mods and Builds
6th Annual Old Lumens Scratch build entry
7th annual Old Lumens scratch build entry
Good you’re working through the pain
- LEDs & Other Stuff - - UI CheatSheets - - CRX Flashlight Builds - - CRX Stuff for Sale -
Nice work from your little workshop Chris.
djozz quotes, "it came with chinese lettering that is chinese to me".
"My man mousehole needs one too"
old4570 said "I'm not an expert , so don't suffer from any such technical restrictions".
Old-Lumens. Highly admired and cherished member of Budget Light Forum. 11.5.2011 - 20.12.16. RIP.
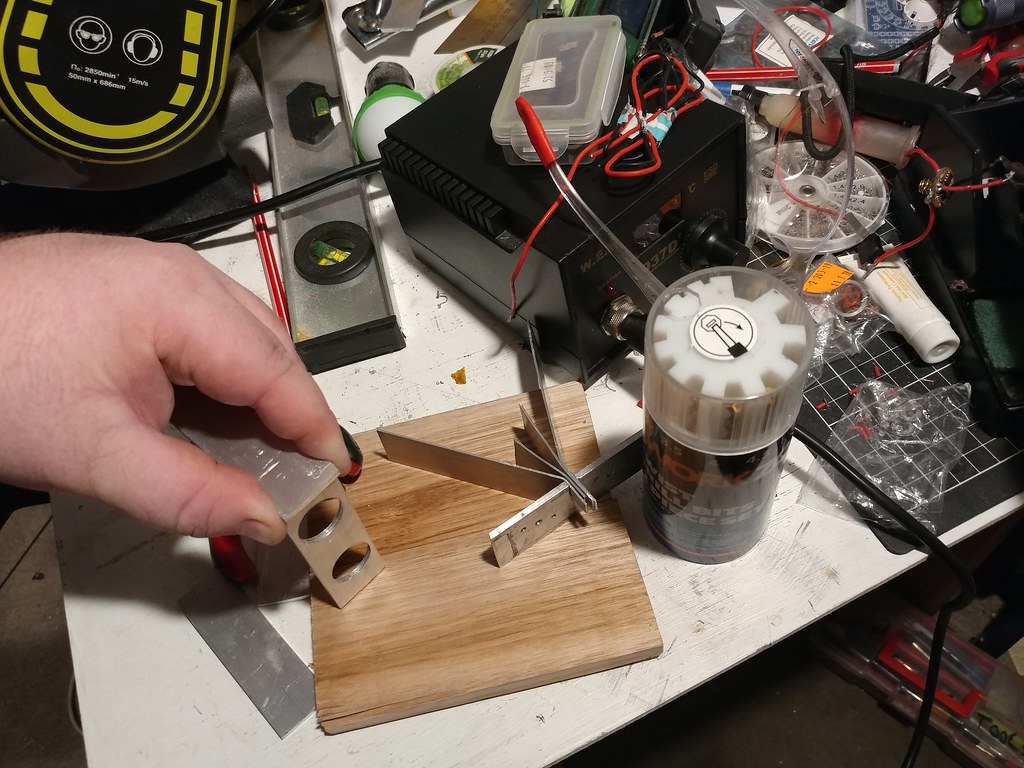
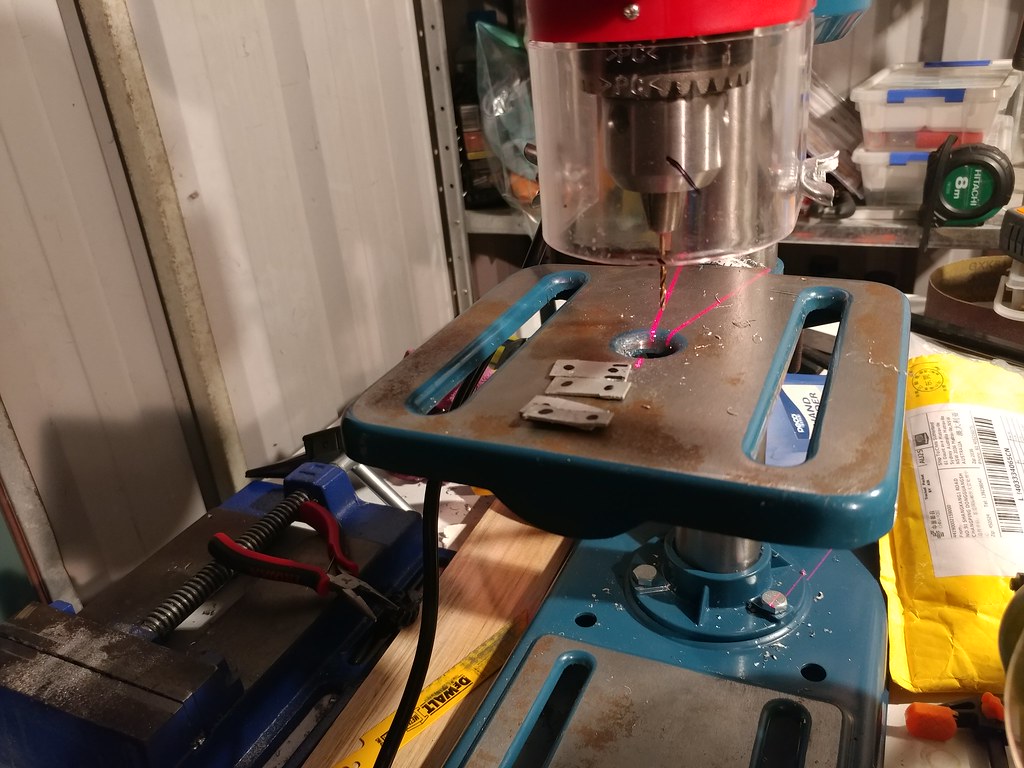
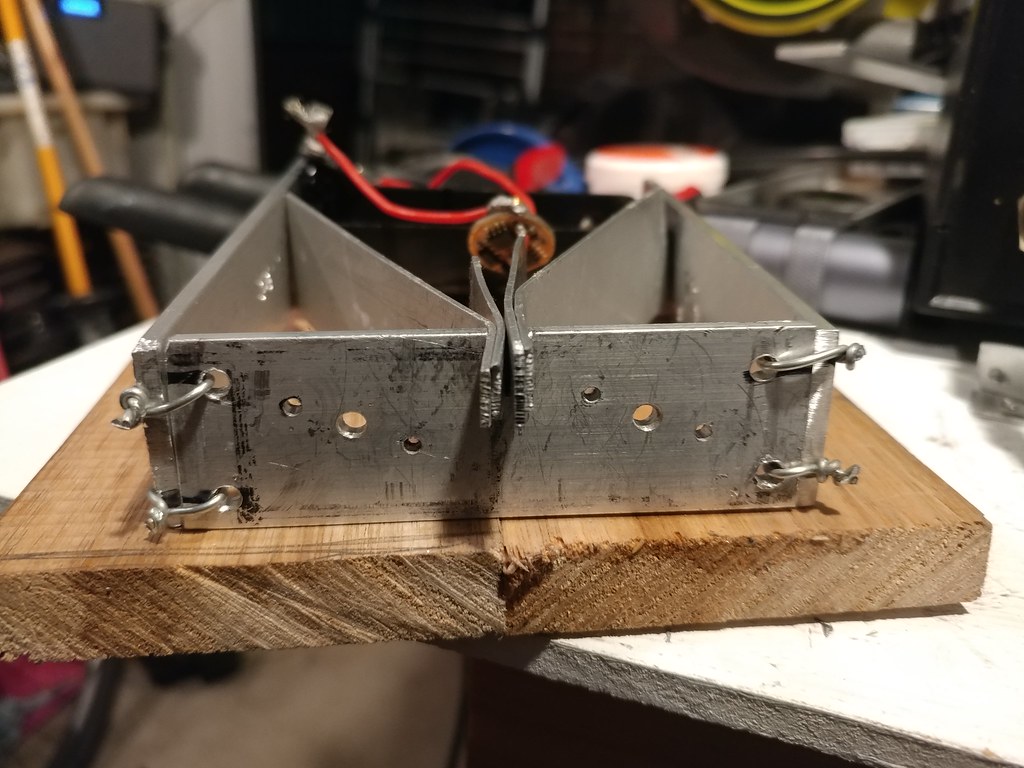
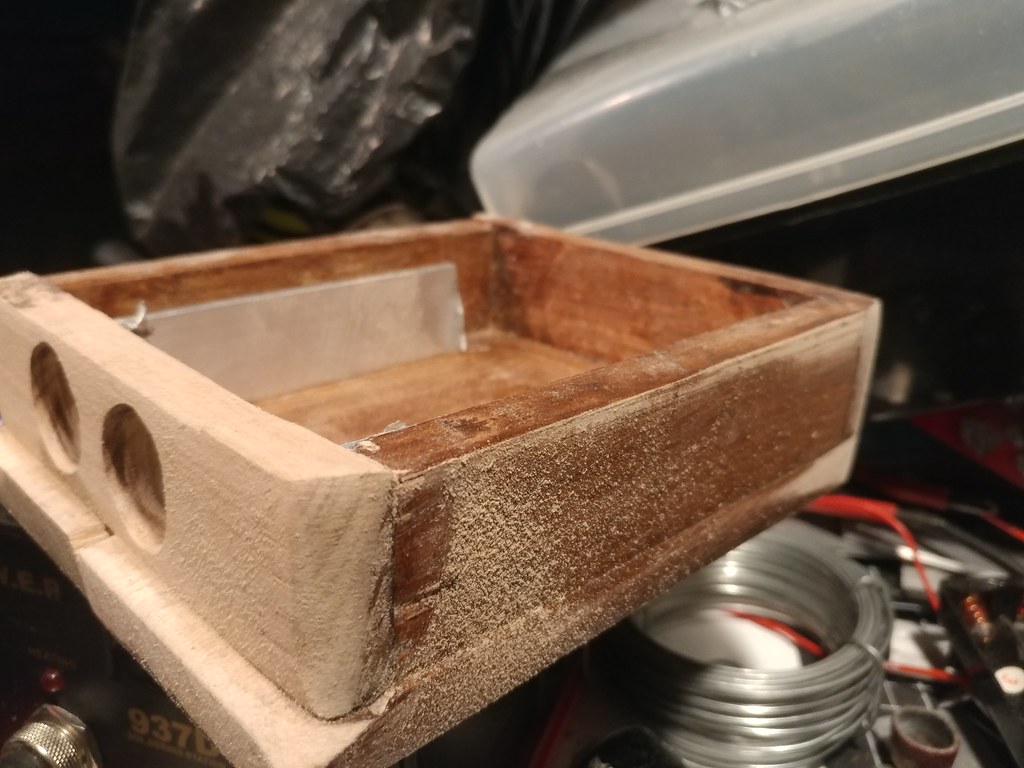
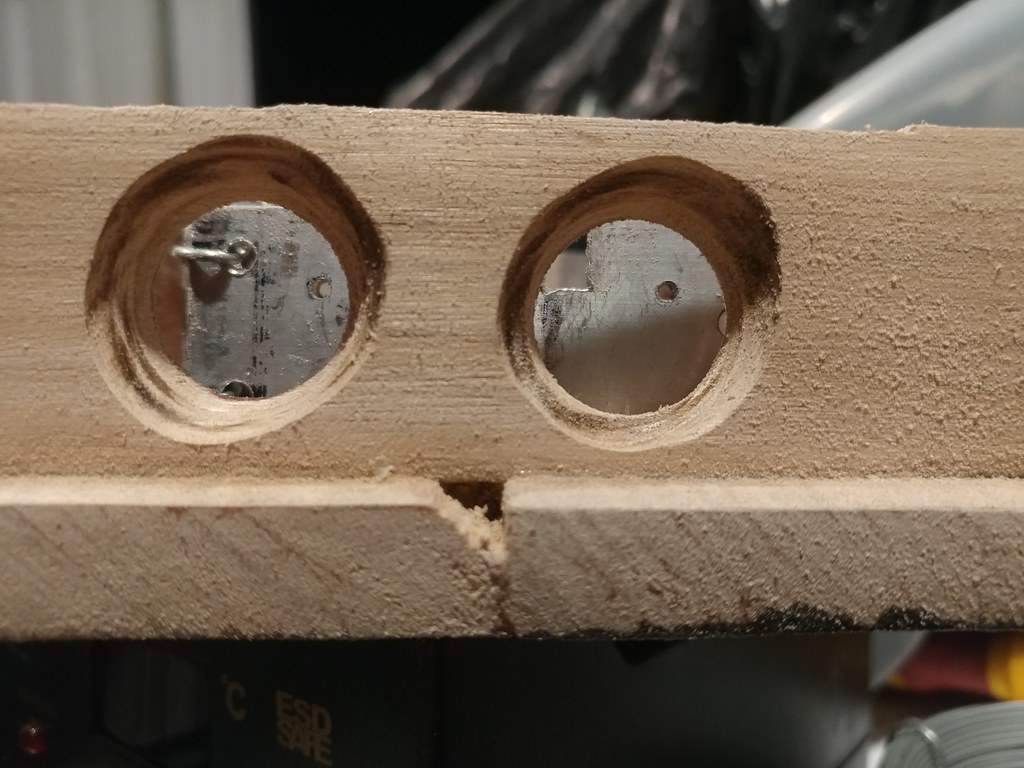
So another day has come and i needed to join the aluminum frame together, Monday i tried brazing the frame which was a fail. Yesterday was d day i needed to have the frame together first up i tried drilling holes with a 1.5mm drill bit into 3mm aluminum which was not working so i quickly gave up on that.
Issue is the drill press has some run out its not that much but seeing as the dimension are so small its an issue. I currently don’t have the time to fix before doing this project but that is next up on my list. This was supposed to be a none issue cause i was going to use 5mm+ thick flat bar which i never got around to buying!
!
!
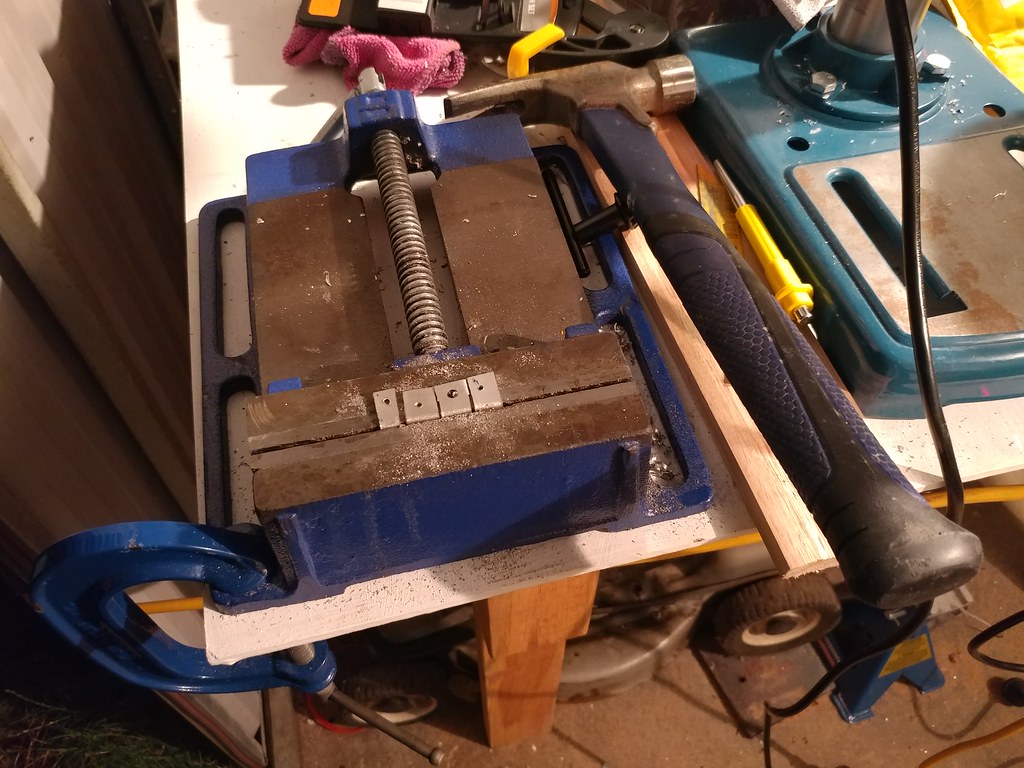
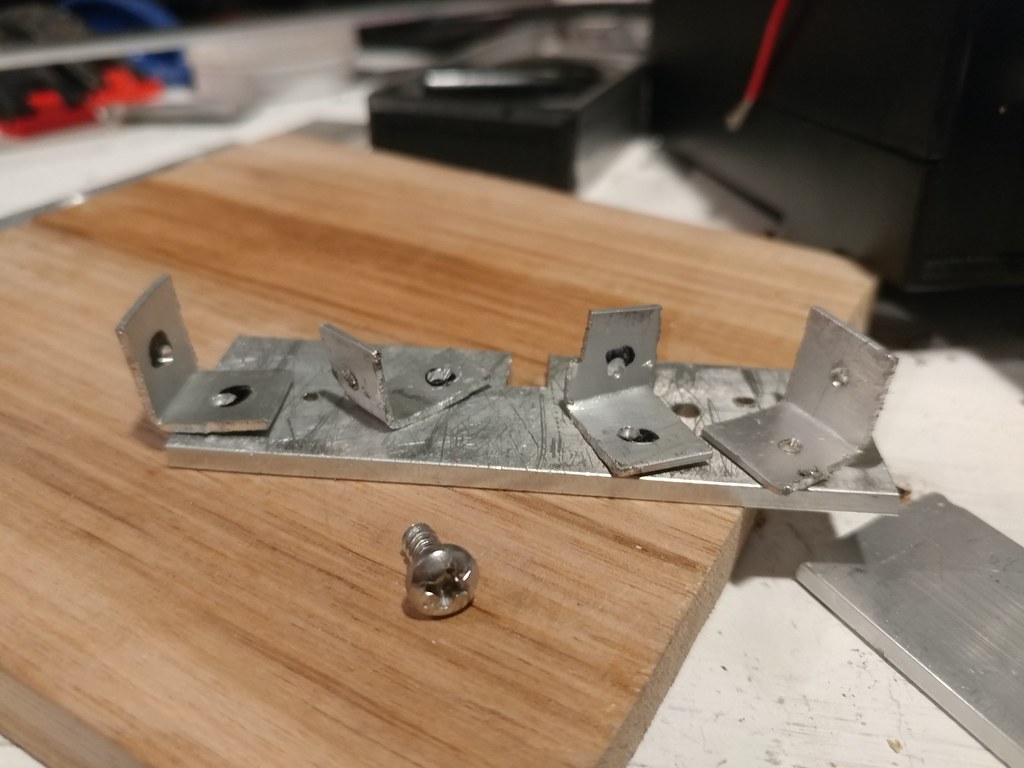
Okay so best i idea ever! make some custom brackets all well and dandy if i had used steel lol. The aluminum ones snapped lol i tried to make the brackets with 1mm thick aluminum flat bar. Honestly i wasn’t expecting much but i was still disappointed when they broke! They are strong enough so i couldn’t break them by hand but once you attach them to the longer flat bar frame you they break easy. Steel would over come cause it can hold strength while being bent but i have no steel on hand.
!
!
I was a proud parent for a while till they disappointed me like all children hahahaha For a moment i though id start a business fabricating custom parts hahahaha
!
!
!
!
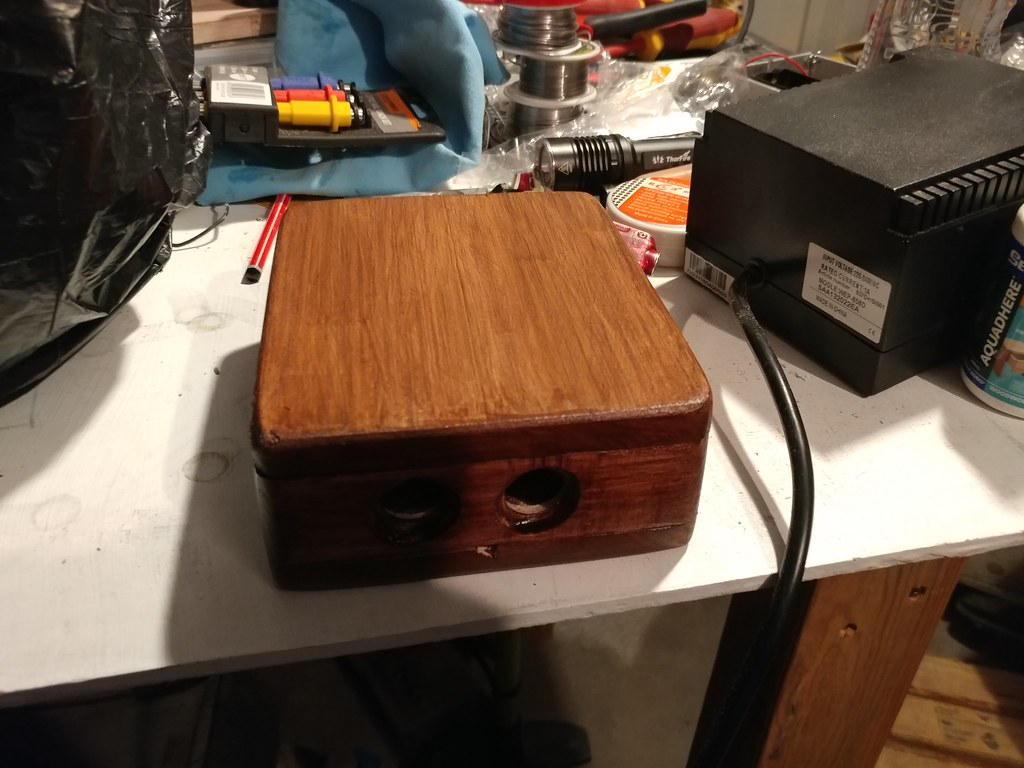
Okay so the brackets didn’t work. whats next? Bunnings trip maybe? Think monkey think! Googles gluing aluminum to aluminum lol This whole time knowing i don’t need the frame as such because it will be covered in wood. I didnt want to glue because the whole point of the frame is to help heat sink the LEDs. So a mechanical joint is the best way to go.
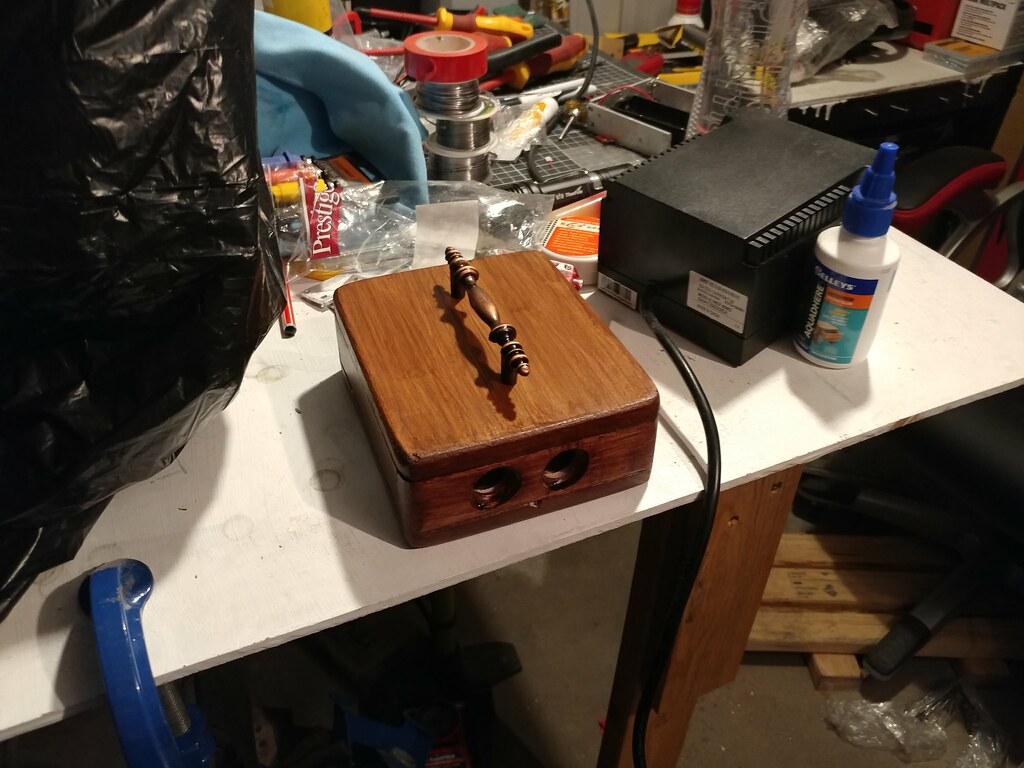
I fixed my back fence so the niece and nephew wouldn’t jump down the ledge with steel rope.
I mean who am i to judge ones beauty?
!
!
!
!
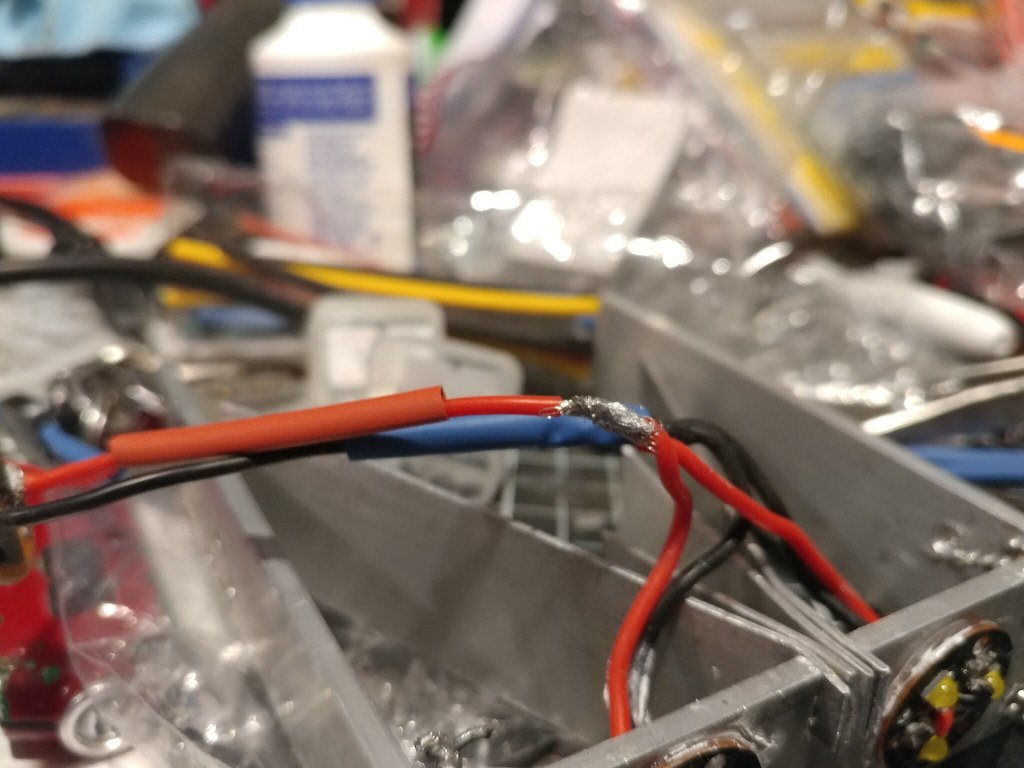
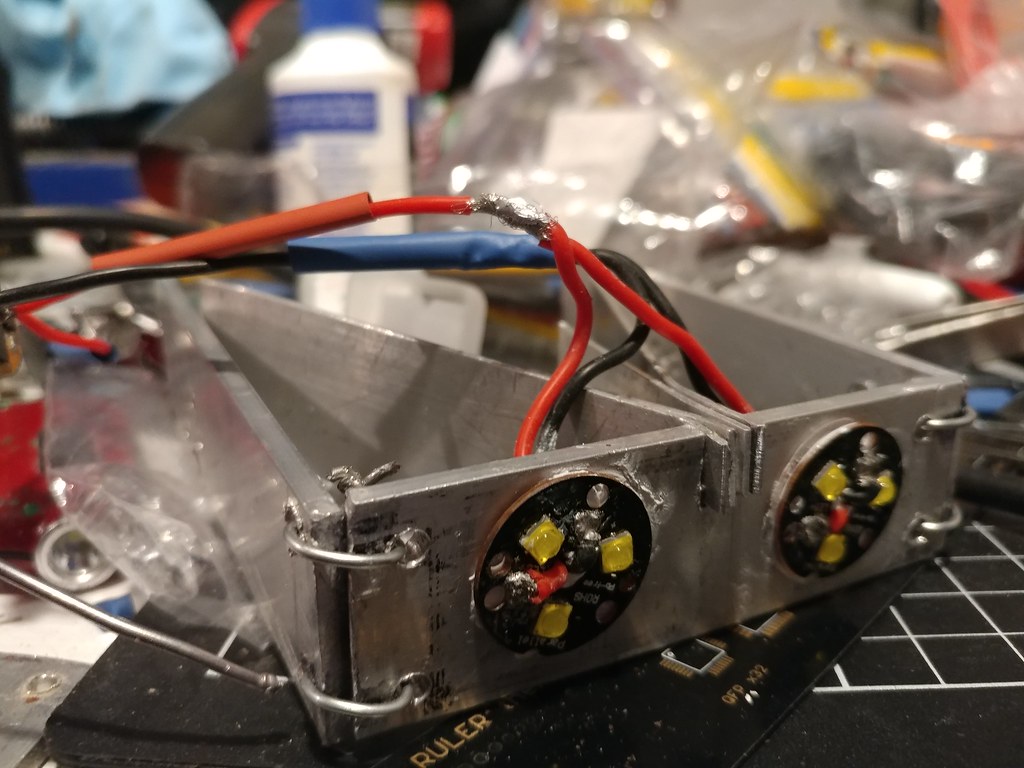
I done more work after this i cleaned up the front of the LED shelf and made the heat sink fins shorter on both ends. I have glued some wood together with wood glue which will be the top and bottom of the light. I also rewired the driver with 20 gauge wire and i soldered the LED wires to the driver wires i thru in 2 cells and gave it a burl. Not tee bag!
Light Reviews
Cheap Flashlight Durability Test
Convoy S2+ Written review
Brinyte T16 Artemis tear down
YouTube Reviews
Sofirn D25S Review
Xmund XD-FL3 Review
World band shortwave radio review
Mods and Builds
6th Annual Old Lumens Scratch build entry
7th annual Old Lumens scratch build entry
Heat and JB Weld can do wonders
- LEDs & Other Stuff - - UI CheatSheets - - CRX Flashlight Builds - - CRX Stuff for Sale -
Love your thinking Chris. Your going to get there yet.
djozz quotes, "it came with chinese lettering that is chinese to me".
"My man mousehole needs one too"
old4570 said "I'm not an expert , so don't suffer from any such technical restrictions".
Old-Lumens. Highly admired and cherished member of Budget Light Forum. 11.5.2011 - 20.12.16. RIP.
Take care of that finger.
Another trip to bunnings for some aluminium angle would make life a bit easier.
Pages