I found this old-school beauty in a drawer at home. One of my favourite lights ever :heart_eyes: but it is toast and have been in the drawer for several years now. I can’t remember exactly what happened with it but I recall something happened with the circuit board (?). In this modern world of high-tech lights I want to see if it is possible to go old-school again and revive it and make it my edc again. The Ex11’s and I have a special bond that go long back.
Do you think it is worth trying to revive? I am completely and 100% unable to try to fix it myself so i’m checking with you guys. Is there anyone out there (i’m in EU region) that thinks it’s worth a try and also willing and able to do so? I will of course compensate accordingly Send me a PM if you think it’s possible to save my darling.
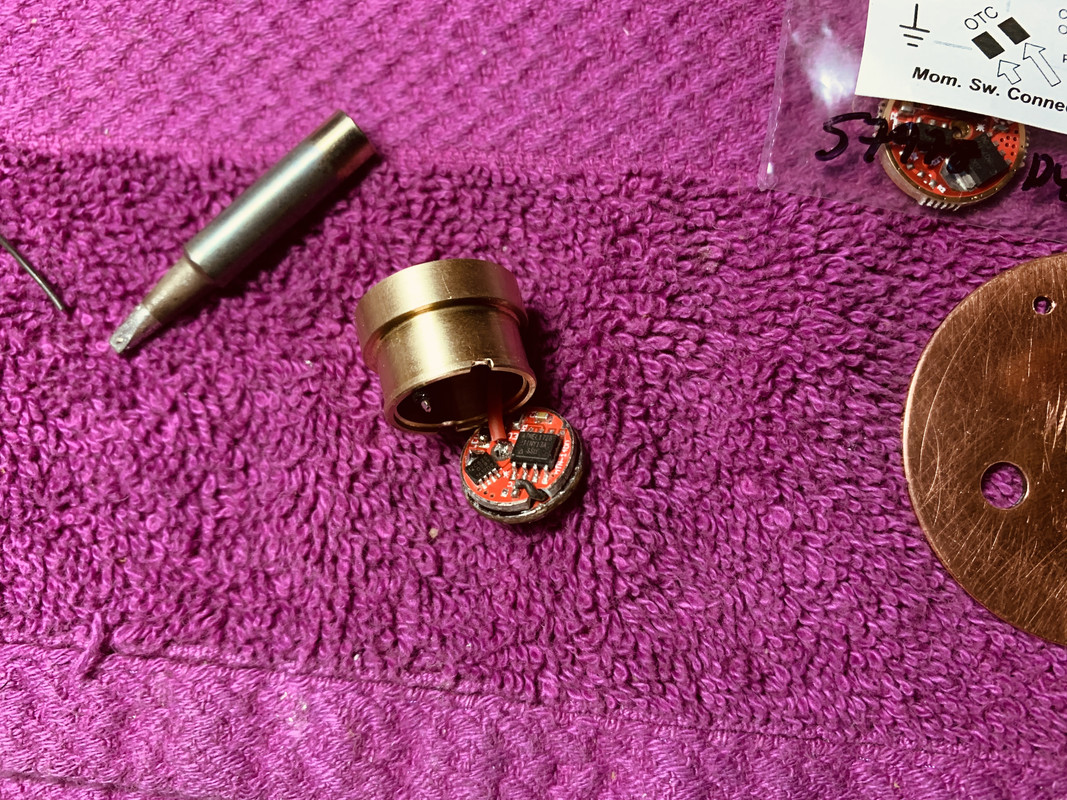
I used a 14mm E-Switch Mtn. FETDD driver with Moppydrv. UI (Mtn.Electronics D4 UI is on 17mm and up drivers) knocked off the nobly bits and filed it down to 12mm and piggy backed it onto the old EX11v2 driver board… it works flawlessly now!!!
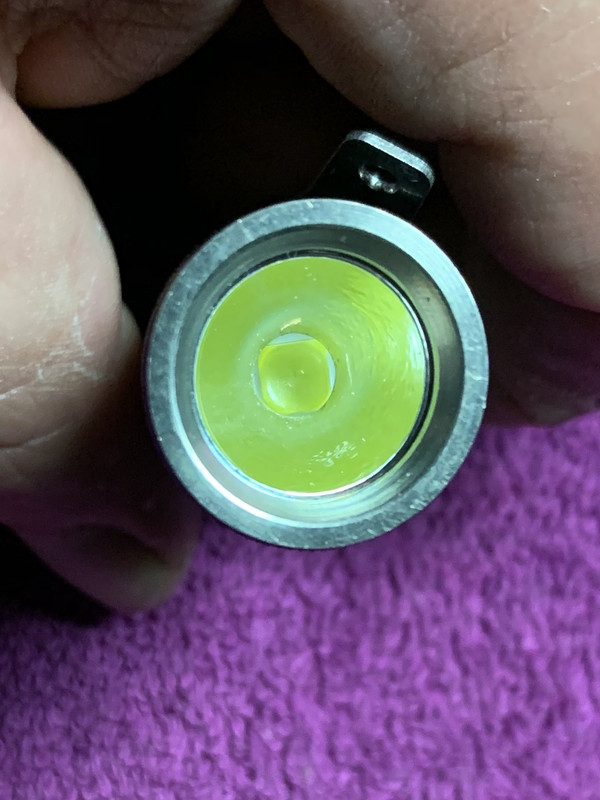
I fit the board for a XM-L to the brass pill and flowed a 50.2 3v emitter, opened up the reflector to fit…
Added a cheap $1.50 SS clip and now it’s making 1800+ lumens…
BLF member Lexel is making 3x12mm Anduril drivers for the other EX11v2’s I have…
BLF member CRX would be the man to do the modding for you…
Yep … also the nice thing about Mtn.Drivers…. you can order No LVP… you can run down CR123 lithium to almost nothing if need be…like for vehicle/glove box lights, but it’s on you if your run Li-ion’s….
So, if I wanted to have an Anduril 11.2 light, I would need a 14mm driver with Anduril from Lexel, and then? Piggy back it onto the original light PCB?
No 14mm is the stock driver size there abouts… you can take a 14mm and file it down to 12mm or a bit more to fit inside the pill. Lexel is making 12mm drivers… easy peasy just have to center the piggy backed driver to the old board so it fits inside the pill…
I have the 4” T/A Maukka Lumen Tube it will not read accurately at that low of a level… it says ZERO but looks to be about 2 Lumen…not as LOW as you like my man!
I am afraid I am still not quite clear on the process. So, I order a 12mm Anduril driver from lexel, and then use that in conjunction with the original board, after I remove the electronics or something like that? Would you be able to provide some explanatory pictures of the process please?
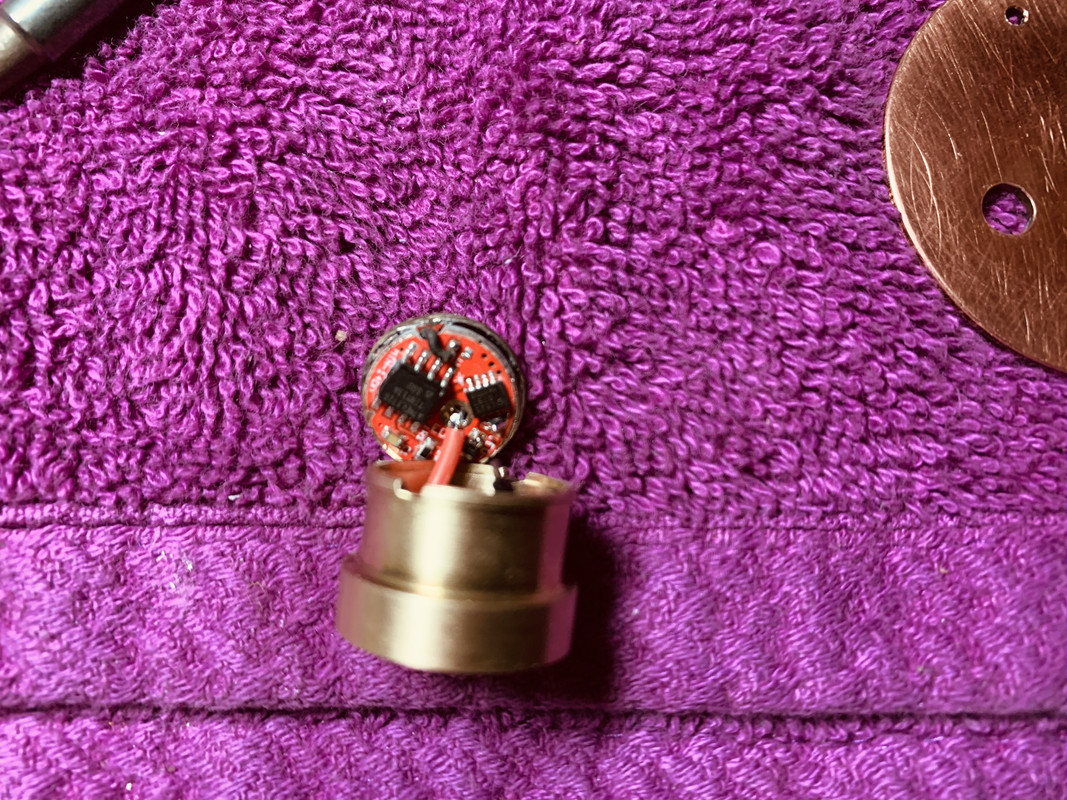
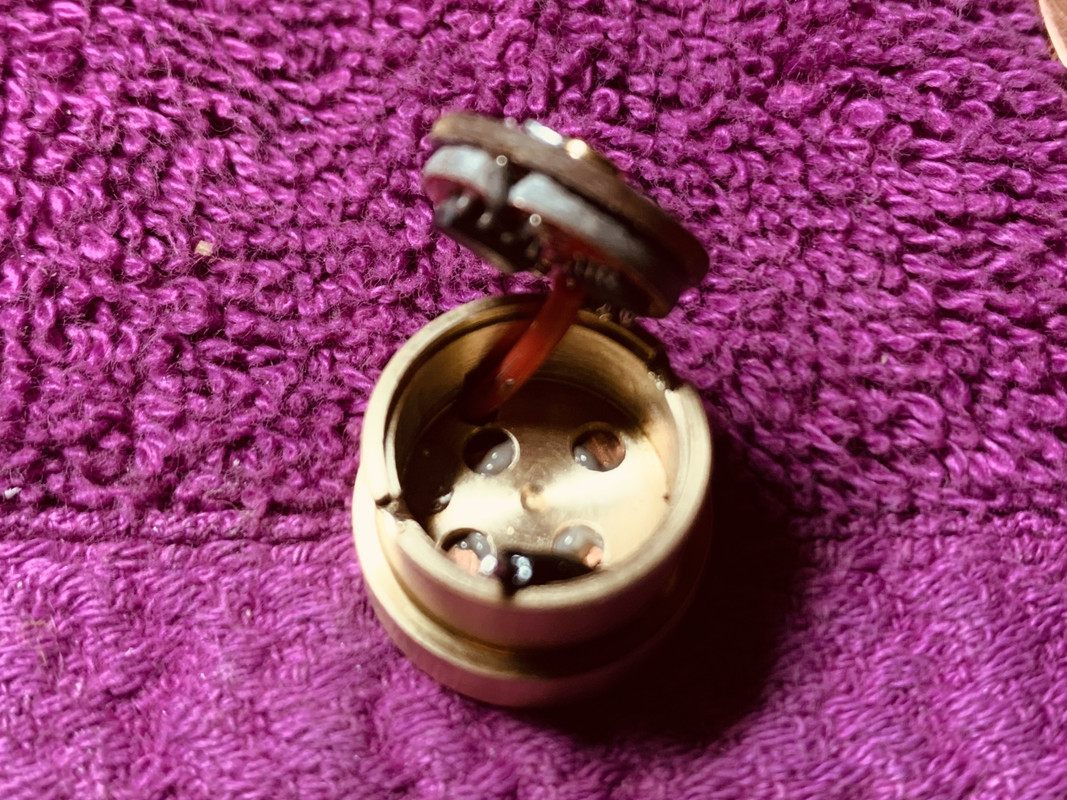
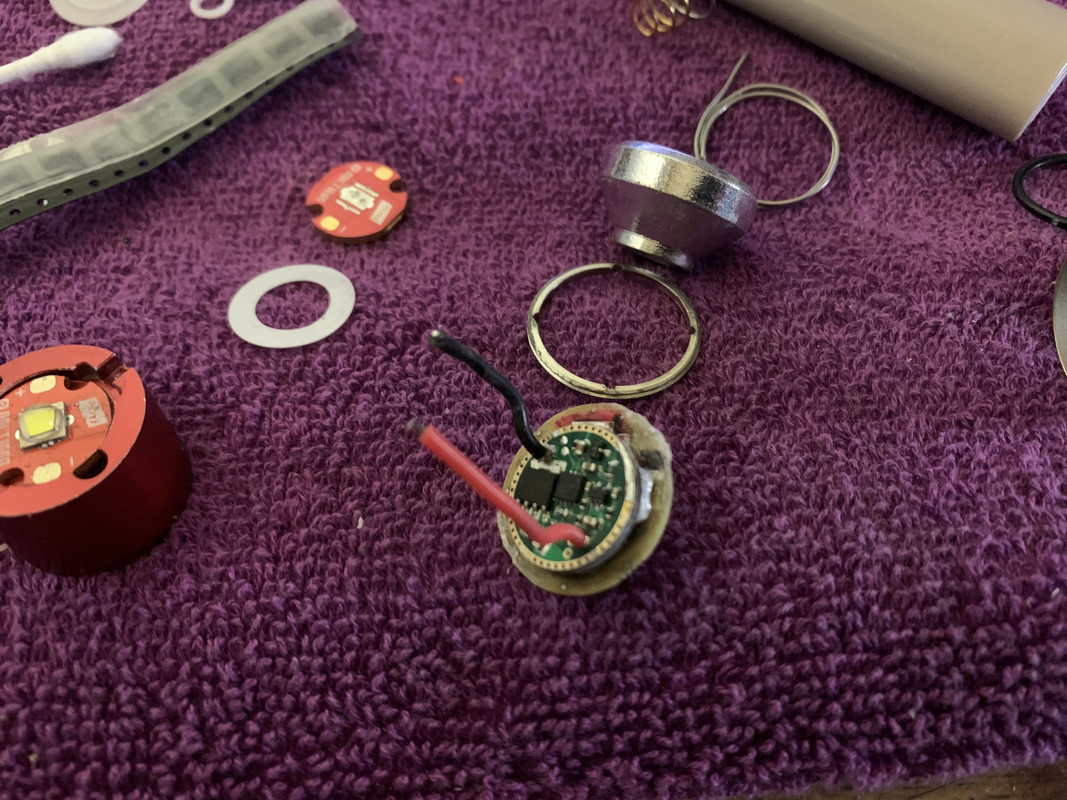
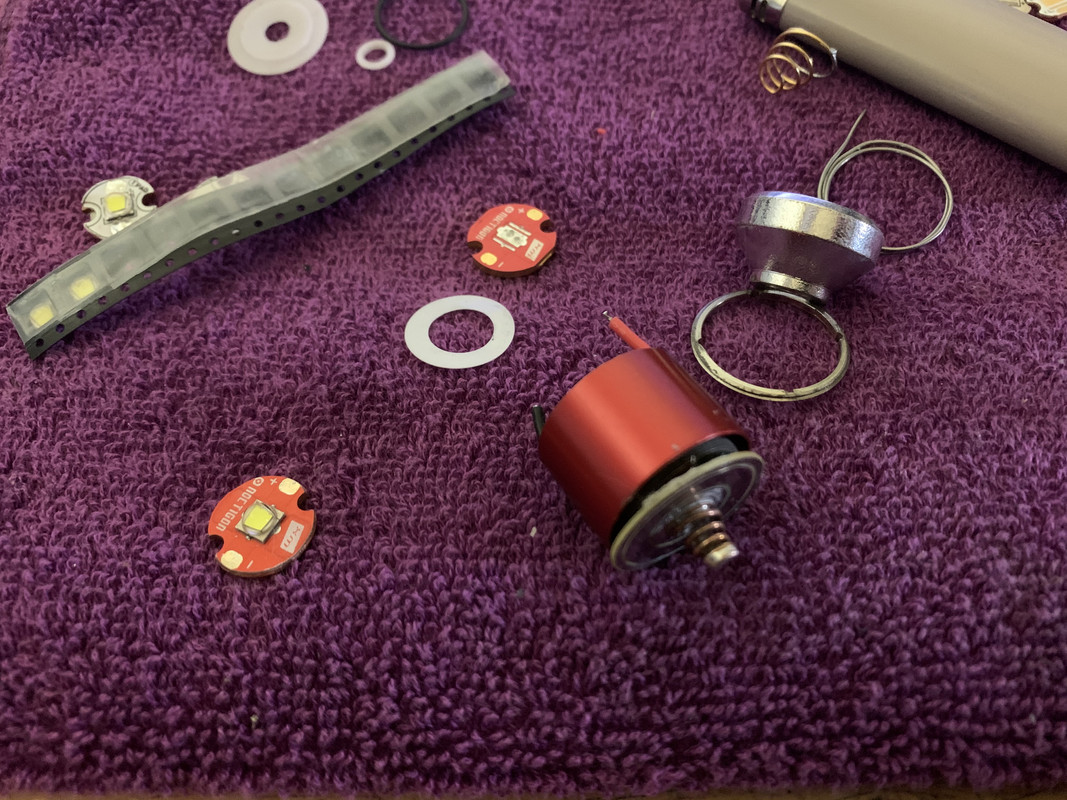
Yep… you connect the piggy backed driver to the wiped old driver board… you need a meter/wiggy to find the trace location that suits best for the three connections to each other then just attach your leads from the piggy backed driver to your LED board… I have provided pics above…you can blow them up…I didn’t take step by step pics because I do this a lot… But it is easy once you wipe the board out…and ring out the traces…
Here is a pic of a different light but the same mechanical e-switch driver as the 11v2 this is a LD-4 6amp linear e-switch driver to a NovaTac board…
On this driver board… the center trace is + the other 2 longer traces are Grnd - and the small blue trace at the far right…closes to the edge is the signal trace you connect (wire) to the piggy backed driver e-switch pad… you can see the only wire used was for the e-switch to signal trace… in the below pic…
Nope… no problem… the 2 are joined together by solder… the only wire I have to use is the signal trace wired to e-switch pad. I blob + and - on both and either use a big Iron or Hot Air to melt them together. So say for the top driver connection to the wiped contact board I blob both and from the battery side of the contact board I’ll use a heavy Iron and melt them together thru the battery side of the board using that trace or pad… the ground is easy… load up the tip of the Iron and melt to 2 previously blobbed points or solder bridge them together… the main thing is you have to plan, lay everything out, prep, check, then execute… that is the beauty of it… :+1: