Is this possible?
No, led will burn with temperature required for aluminum solder.
Install LED after soldering
Possible but not practical from manufacturing approach and no significant saving in performance with many drawbacks for repair. The best is to use a good quality MCPCB, and make the flashlight unibody for better heat conduction to body of flashlight. The head screw interface is usually a thermal bottleneck.
Not sure why you would want to solder the driver to the shelf. What would be the purpose of doing that?
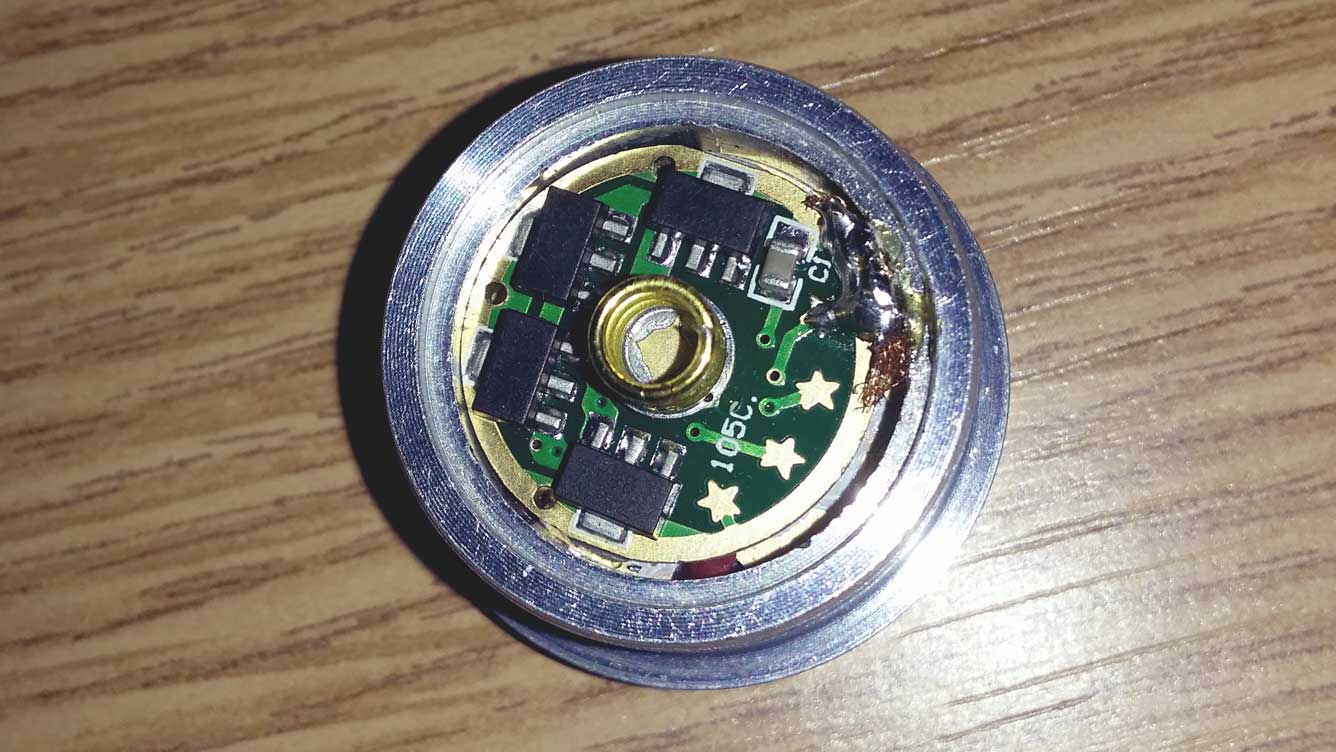
Back in the day of the birth of the amc7135 driver alot of lights had the driver outside ring soldered to the aluminum pill. Most mods required that you solder it there, its the way the pill was made to install it. I have done it several times and its not easy. It helps to scrap or sand or file the aluminum right where you intend to solder it to the pill. If the aluminum has any oxidization on it, it just seem to not want to stick. Aluminum ozidizes in air so you have to do it fairly quickly after removing the ozidization. It also helps to have a soldering iron with lots of heat or power. Rubbing the solder dragging it across the aluminum to the driver ring seemed to help me. Back then I used a acid flux so that could have helped also, not sure. I haven’t really tried with my newer flux (Amtech NC-559-V2).
Not exactly the same pill that I use to use but its soldered.
I understand why a driver needs to be connected to a pill, either soldered or via a retaining ring. But I don’t understand why a driver would need to be soldered to a shelf. I consider a shelf as to what’s in a C8 or S3 vs a pill in an S2 or S2+.
A pic would probably help out here. Im like you, not sure about soldering to a shelf, especially if its anodized.
We also use to use another method for press fitting the driver to the pill, could possible work in a shelf.
More info would be helpful.
I gave up on trying to solder to aluminum. Regular solder doesn’t stick to aluminum so this was an exercise in frustration.
Instead I attach contacts to the sides of the driver.
- File 3 shallow notches on all sides of the driver.
- Place a solder braid piece in each notch and folded it over the top and bottom of the driver. Cut the solder braid into a U-shaped piece that only overlaps the edge contact rings on the top and bottom of the driver.
- Apply solder paste to each contact ring above and below the solder braid and solder each end of the braid to the contact rings.
This method produces excellent contact between the driver and aluminum pill. It is very durable and can securely hold the driver in place if you fine-tune the friction fit. Because there is a solder braid contact every 120 degrees or so there is always good contact.
Takes a little practice, but much easier and stronger than trying to solder a driver to an aluminum pill.
I just soldered several pieces of thin wire to the bottom edges of the driver and then folded them over the driver’s top and then pushed it down into the pill. With the right choice of wires the friction fit is enough to keep the driver from popping out.
No need to solder anything to the pill.