Since I have 3 to 4 weeks waiting for components, I figure I might as well get the hosts done, so I can assemble them quicker when the parts arrive.
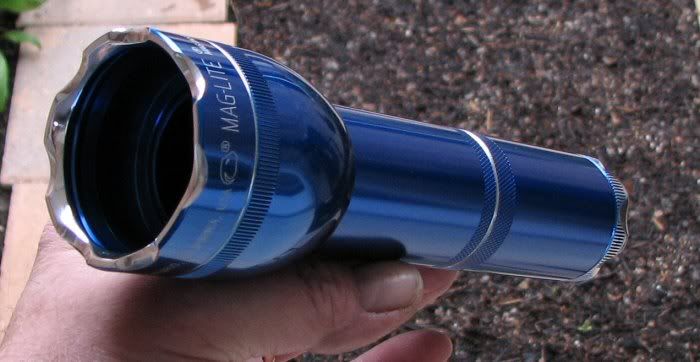
This is a 2D Blue Maglite and it will be another shorty 1D, when I am done.
I really like the blue, but I have found that it seems much harder when working on colors other than black. The least little mark in the wrong place, on this blue one and it's all over but the crying.  I've been crying for two days now...... That and swearing!
I have thrown this light out 3 times now and have gotten it back out. Good thing the trash can is plastic and doesn't mark the light.
I decided to make some areas of the light polished since I think the polished look accents the blue, so here's a couple of photos of the progress??
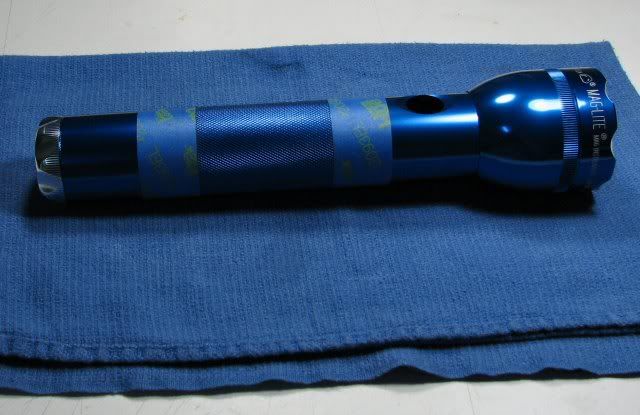
The light marked where I will remove part of the barrel. This one will retain the stock switch, so that's 40mm longer than one with a tailcap switch.
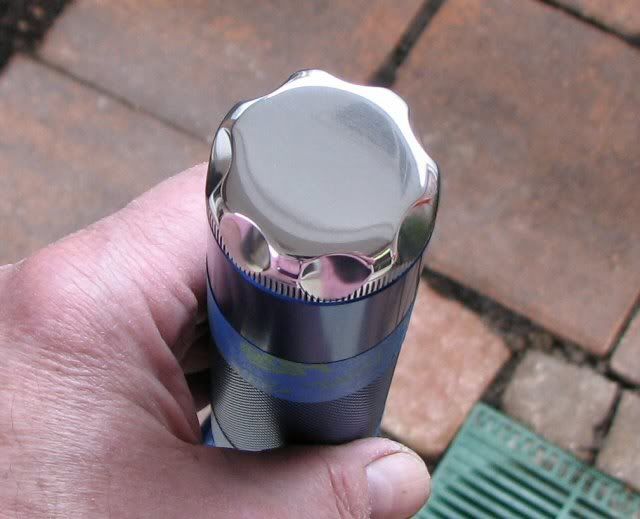
Polished tailcap with the crenulated style depressions.
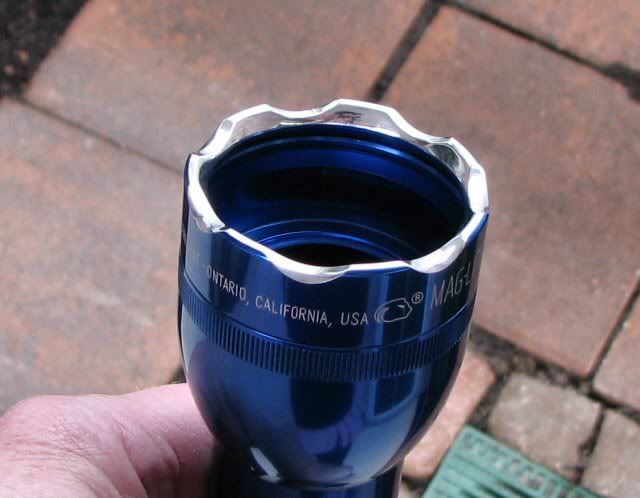
Polished crenulated bezel.
I polish by hand, so there are still marks in the finish, I just hide them well... 
I am also going to try out some other ways that I have been thinking about, on how to make some polished rings in the barrel without a lathe. All I can do is ruin the barrel and it's already been tossed 3 times, so it's used to trash can storage.
------------------------------------------------------------------------------------------
Alrighty Then!!
The host is now shortened and I have finished doing the cosmetic mods. Here's a couple more photos of the finished host.
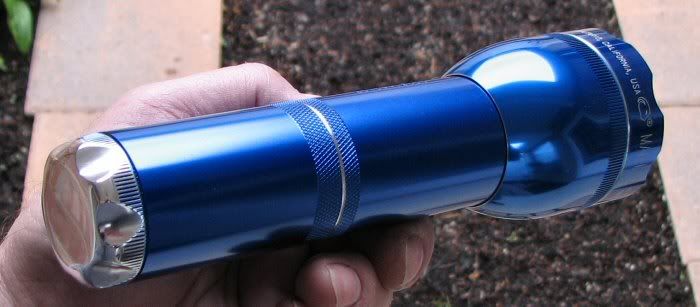
I'll call it the Blue Shorty or B.S. for short...
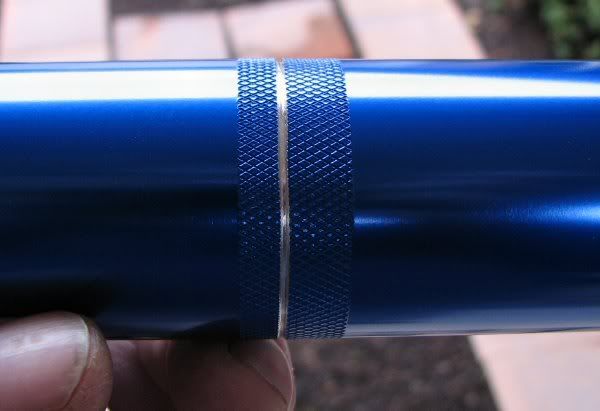
This is the actual seam where I shortened the barrel. I have always painted these, but I just love that blue color and the way the polished aluminum offsets it, so I decided to try something different. I managed to get a decent seam when I put the two pieces together, so I took some triangular files and a diamond "knife blade" file and opened up the seam. Then I sanded, steel wooled and polished it. I sort of like it!
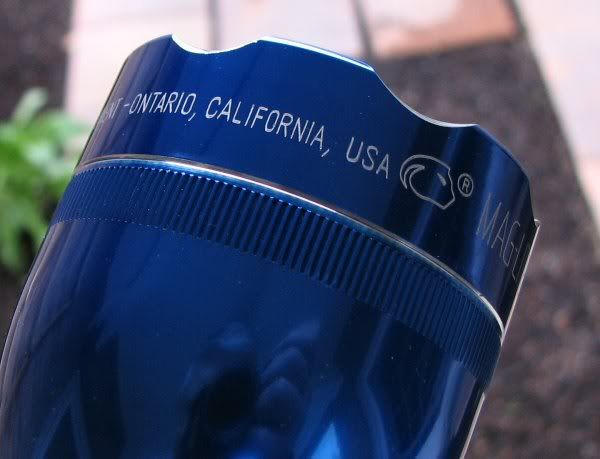
I also made a shiny ring where the bezel meets the head in much the same manner. I think overall, this is probably the best looking light I've done. I hope it works well.
--------------------------------------------------------------------------------
That's all for now. I now have two shorty hosts waiting for components (which have shiped by the way!), so now I wait to finish these mods and find new homes for them. I'ts going to be very hard to let this one go!


