I stumbled upon ATmega/ATtiny 51 AVR ISP USBASP USB Programmer Downloader at Fasttech. Now all I need is a EEprom clip and I’m ready to program some NANJG 105C to my liking. Simple 8) Or is it ![]()
Do I need special software :~
You can use AVRdude for the USBASP.
You also can integrate AVRdude as external tool in AVR studio, so you don’t have to use command line if you don’t want to.
That’s not news.
Programmers are cheaper on Ebay.
Clips can be made at home.
Yes you need software to edit and update the driver. Probably the biggest hassle is to get it working.
Ordering 2 parts is not.

I would have to say its easy after a bit of learning curve. Sometimes you may have to ask for help, like I had to do. Once you get everything setup and the perfect configuration of code its quite a rewarding project. Of all the things I have modded, being able to program my own driver for perfect modes is truly one of single best mods. It can turn a OK light in to a great light. I really like the moonlight mode in my flashlights. Have fun!
I bought this clip,and it’s useless because I can’t attach it to soic on pcb because there aren’t any hooks at the plastic ends.
You can see sign Pomona in the picture,but I received it without any signs,so it looks like very bad copy of pomona and quality is really terrible.
I ordered the same clip linked on the "perfect modes" thread. You do have to mod the cable though - we had to move wires around on the ribbon cable of the USB programmer side and re-crimped a new connector on - the 10 pin connector is the cheap type that breaks when you remove it. On the clip (PIC) end, it's easy to move pins around because they are push/pull type pin connectors. I should take pics and post, maybe this evening if you are interested...
I bought exactly the same programmer but I haven't used it yet :( installed AVR Studio 4...
I also ordered this little thing, I think it will be useful once I get new Atiny chips
Regards ;)
Best of luck. Ask questions as you hit snaggs. It took alot of trial and error for me to get everything connected and talking.
I’ve tried to write a no memorory program that does 3 simple things as follows:
- Ramps up and stops at max if not interupted by a half click.
- Ramps down to min on the next half click or the first half click after max has been reached. EDIT: Also stop ramp when interupted by half click. Next half click resumes the cycle.
The above program would give a lot of flexibility in light level and would be kind of fun too. Problem is I’m no C programmer and time is short these days. For now I just have a very abbreviated version on Tido’s program with 5 modes and memory, but returns to lowest mode after first half click. I like it for now, but really want to have a nice ramp program like above.
Sounds very useful and actually not that complicated. If you want to show what code you already have, I probably could give you a bump in the right direction if you like.
I am interested in anything that could make this easier. Thanks TomE!!!
That is a very generous offer. My C knowledge is so light that my attempts are childish and the programs I wrote need way, way more than bumps. I’ve read some C tutorials and such on line, but I just have too many gaps in my knowledge. For my lights that I use, I get by by taking (not illegally) other peoples code and adjusting it. None of these modified programs have ramping. Thank you for the offer. When I get to a better place knowledge wise, I may see if I can still take you up on your offer. Thank you ![]()
Can we start from beginning! How to connect the programmer to MCU?!
RST->MCU pin 1
GND->pin 4
MOSI->pin 6
MISO->pin 5
SCK->pin 7
right?
Correct. You will also need to connect pin 8, VCC. the below is copied from the following tremendously helpful link:
http://flashlightwiki.com/AVR_Drivers
ATMEL ATTiny13A pins
8 VCC 7 SCK 6 MISO 5 MOSI
1 RST 2 INP 3 INP 4 GND
The programmer is 10 pins however which are set up this way:
AVR Programmer ribbon wires Pin Function Function Pin
1 MOSI VCC 2
3 NC GND 4
5 RST GND 6
7 SCK GND 8
9 MISO GND 10
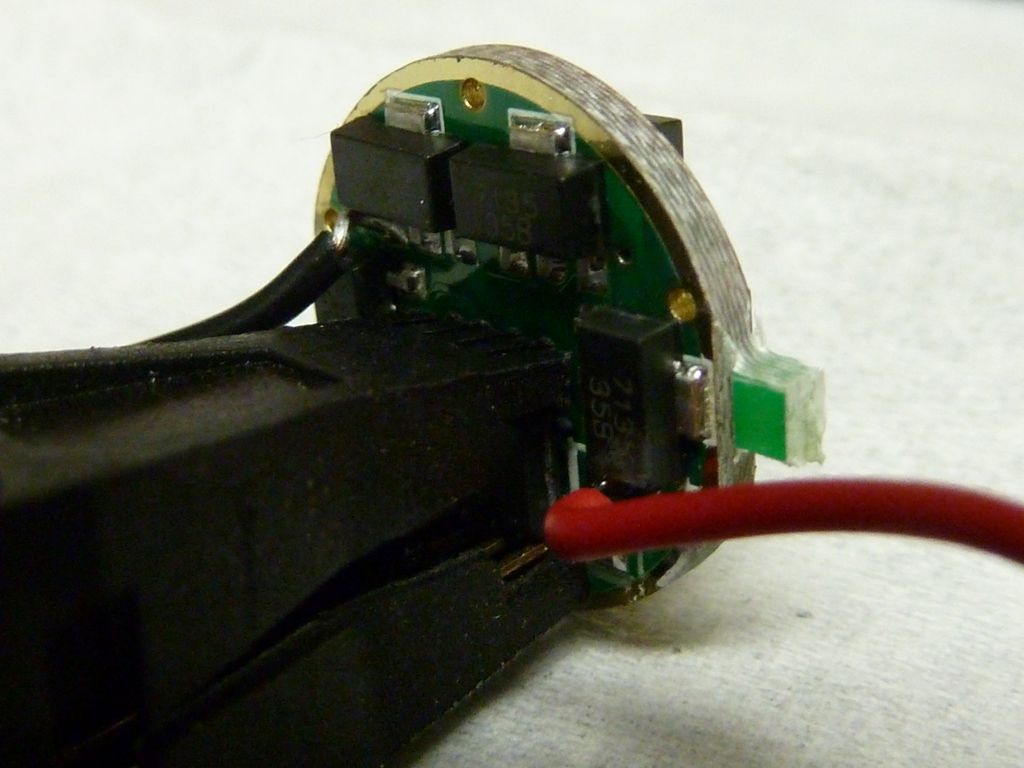
Pics - Pin #1 of the cable is always on th left in all the photos:
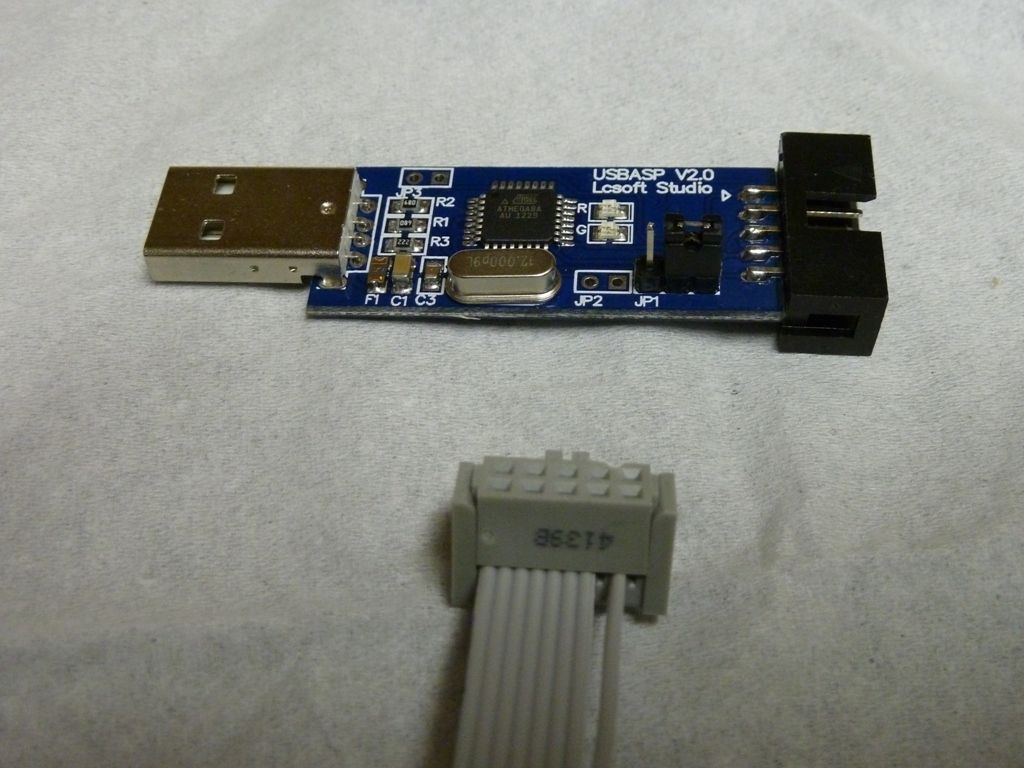
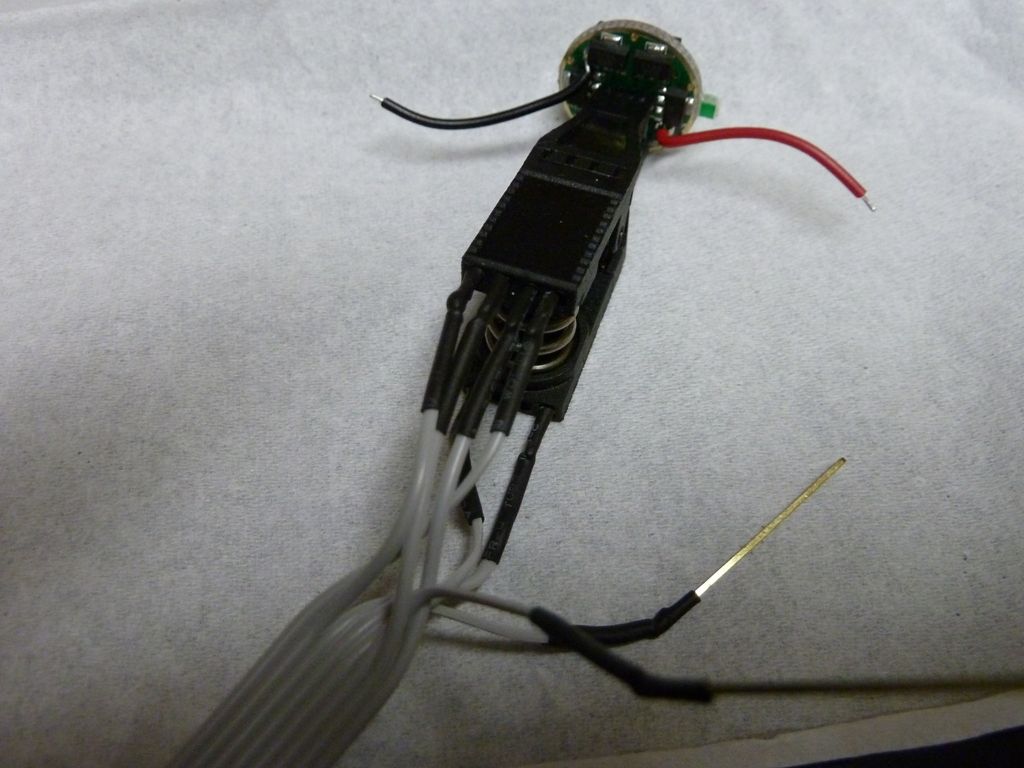
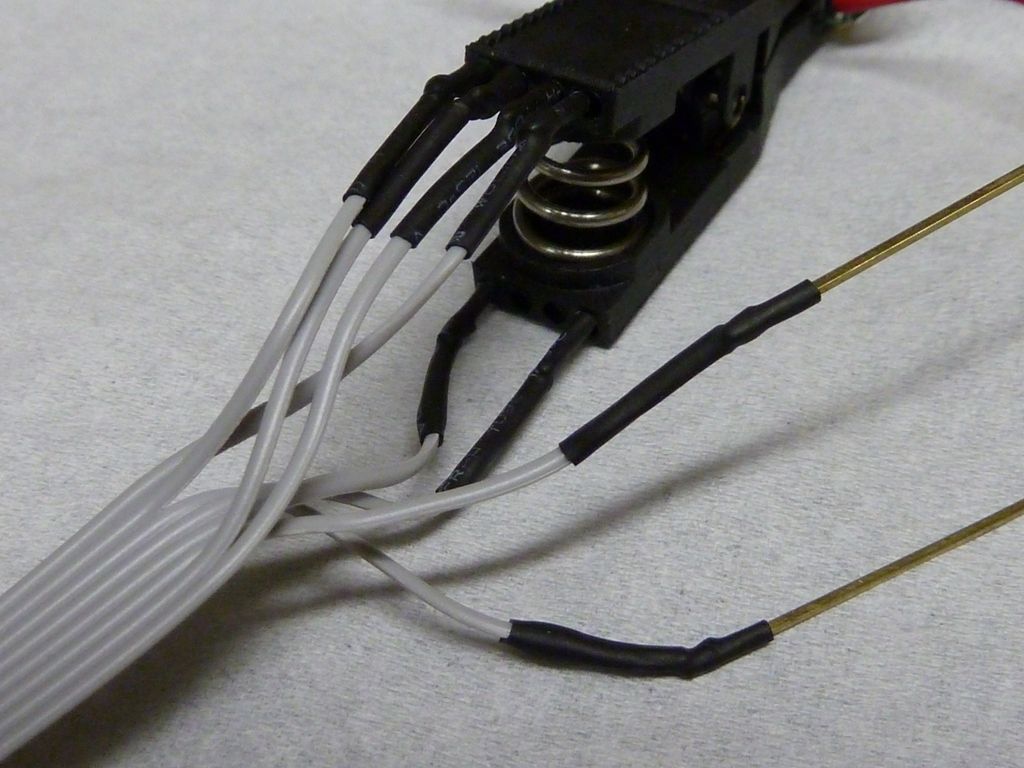
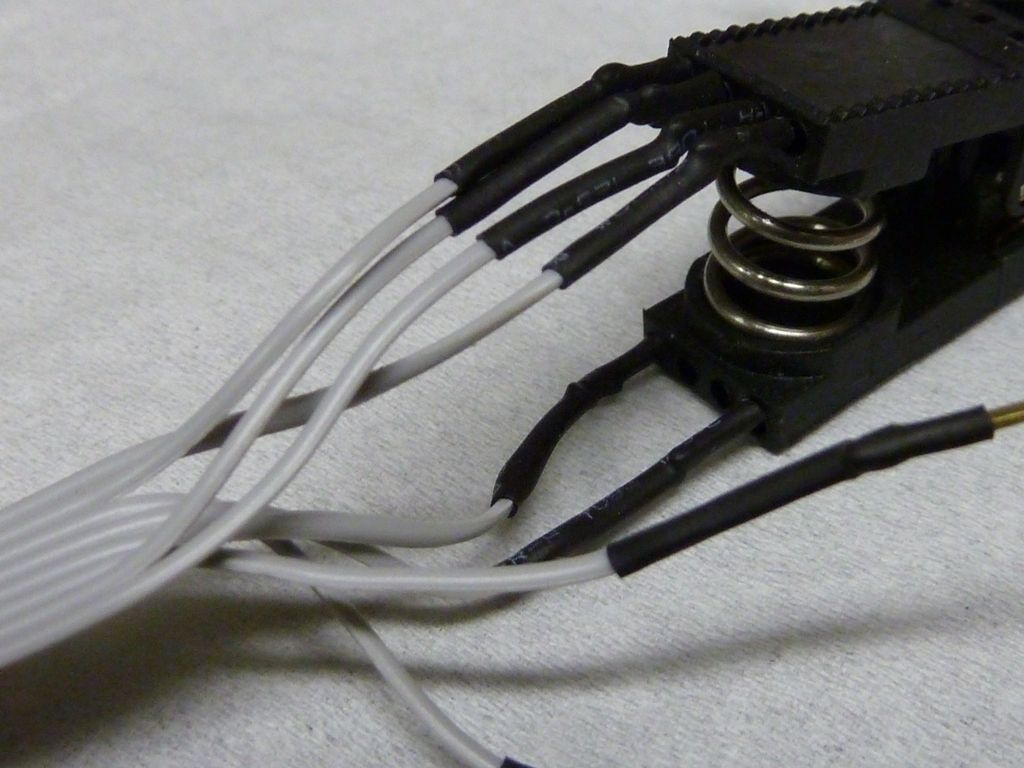
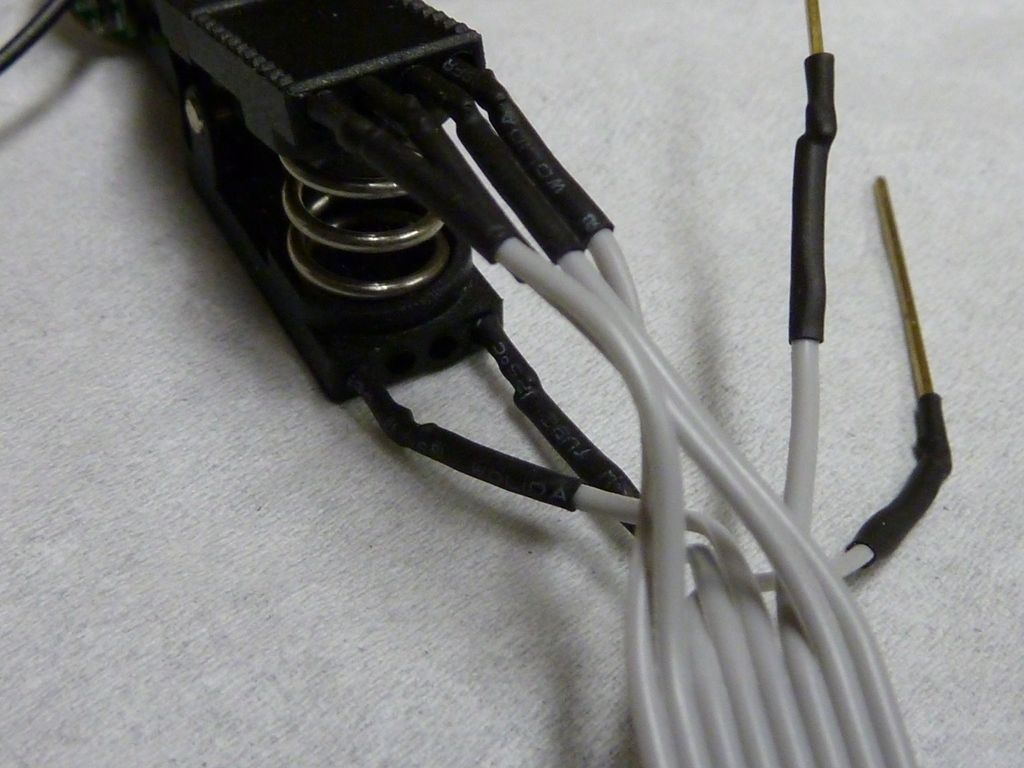
Notice it's a 10 pin header and only a 8 pin ribbon cable, and also only 6 of the wires are needed (not sure even if all 6 are really needed). Not how pin 8 of the cable had to be split out to position 9? That press-on gray connector we added - cut off the old one, pressed the new one on. The rest of the cross-overs on the clip connector end followed the guidelines in the flashlightwiki ImA4Wheelr referenced above.
It all went quite smoothly, the tools, compiling, etc., but of course I am a software engineer by trade and worked with many micros, downloaders, emulators in the past.
The programmer shown is the exact Fasttech one - I at first spent over $20 on the same exact thing from protostack.com.
Here's a link for the clip: ebay clip. I think I bought mine here: ebay original clip, but theat bid is no longer active.
I've done maybe 20-25 drivers with this setup - love the modes, been tweaking med and low percentages, and love the moonlight.
Let me help a bit with that:

Nice labeling! Thanx!!
Right click > save image as... :p