Ever since I followed this thread Just off the CNC - Update: It's Alve!
and this 6 Xm-l light bar build, I saw a want need for something similiar for my zero turn.
Of course being lazy and cheap, I didn’t want to go to all the bother and expense of a full fledged professional looking and performing light bar as in the examples referenced above. I have been thinking about how to go about it for some time now.
My first thought was to use 6 of the MR16 bulbs similiar to the one I used in my $2.24 triple emitter Mag mod , I even ordered 6 of them from FastTech and have had them laying around now for awhile. 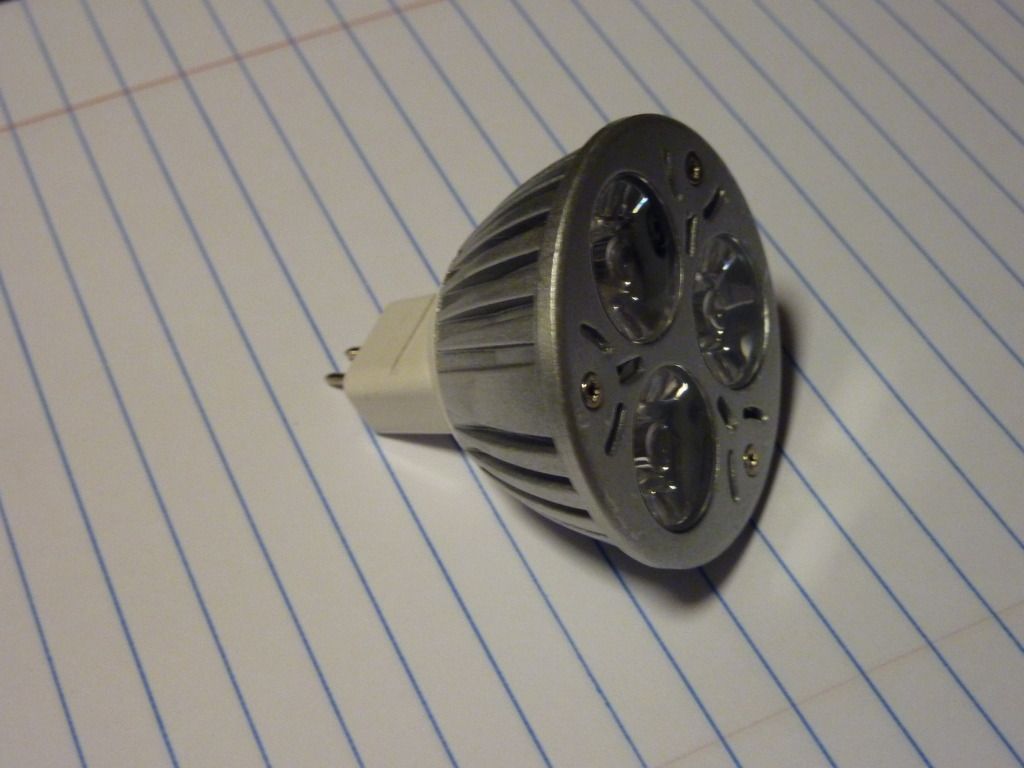
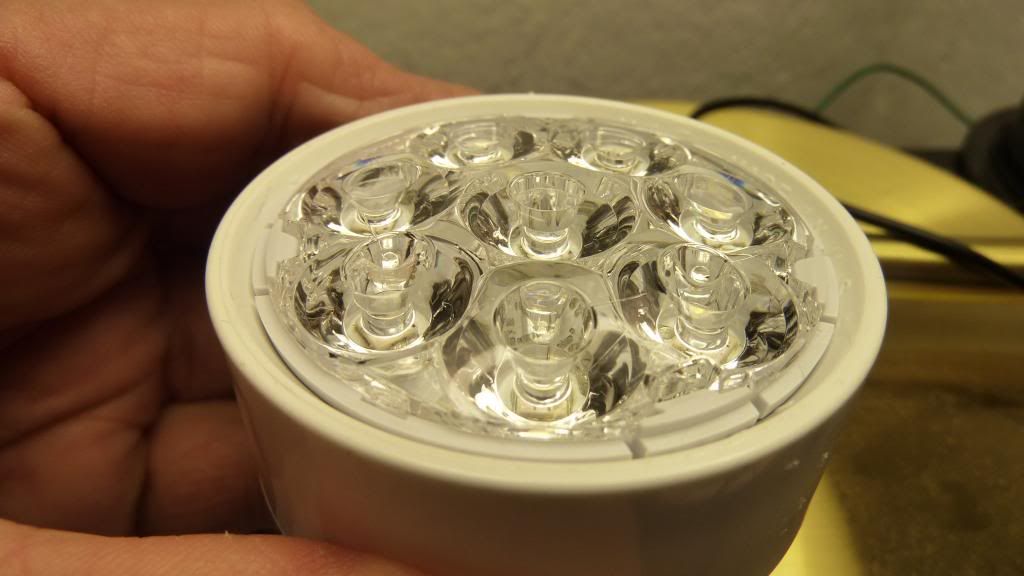
This type of light is perfect for my zero turn as it has a 12V system and these MR16s run on 12V in stock form. The MR16s even have a built in 12V driver that will deliver a constant 12V to the emitters even though the input will vary (the charging system) These lights are rated, without modification, at about 220 lumen each. 6 of these, i figured would be about 1200 lumen, but being Chinese lumens who knows? Bottom line I estimated that the toal output would be about the same as a single XM-L. That was my plan until about 2 weeks ago when I found these at Lowes on clearance for $1.25 each. These can be found on the internet for about $15, so $1.25 each is a bargain. Lowes had 7 and I grabbed them all. I want to say right now that this will be a “Lowes build” I got the main component, the LEDs at Lowes and I think that it would be bad Karma to use anything else other than Lowes componets, especially Home Depot.
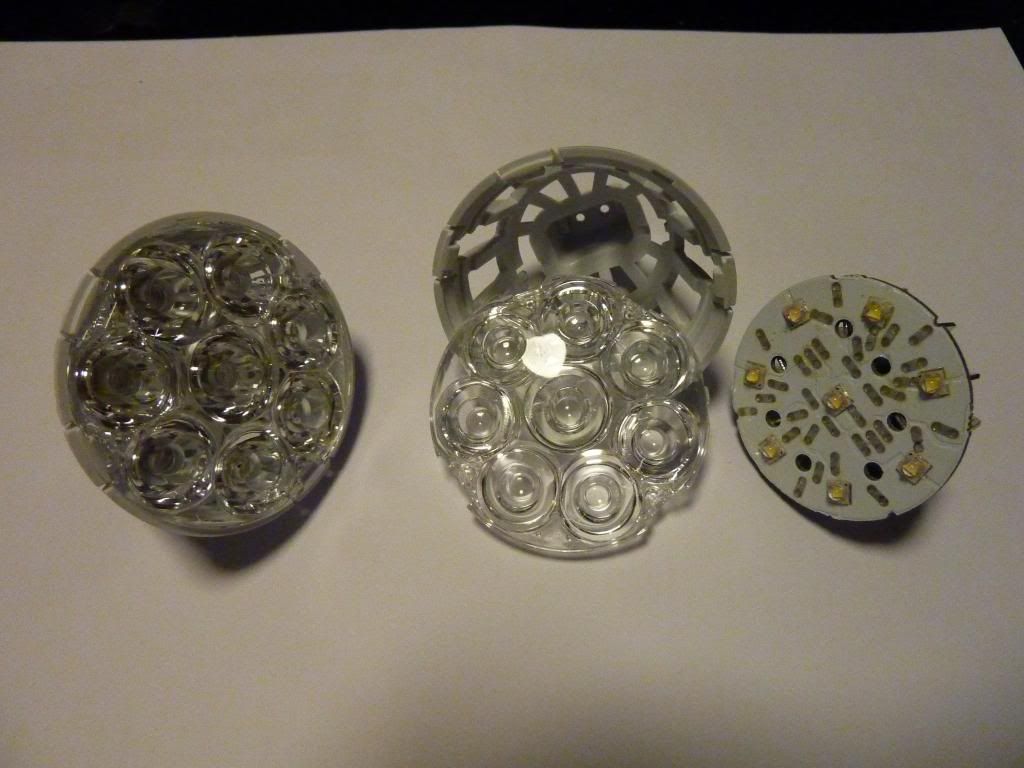
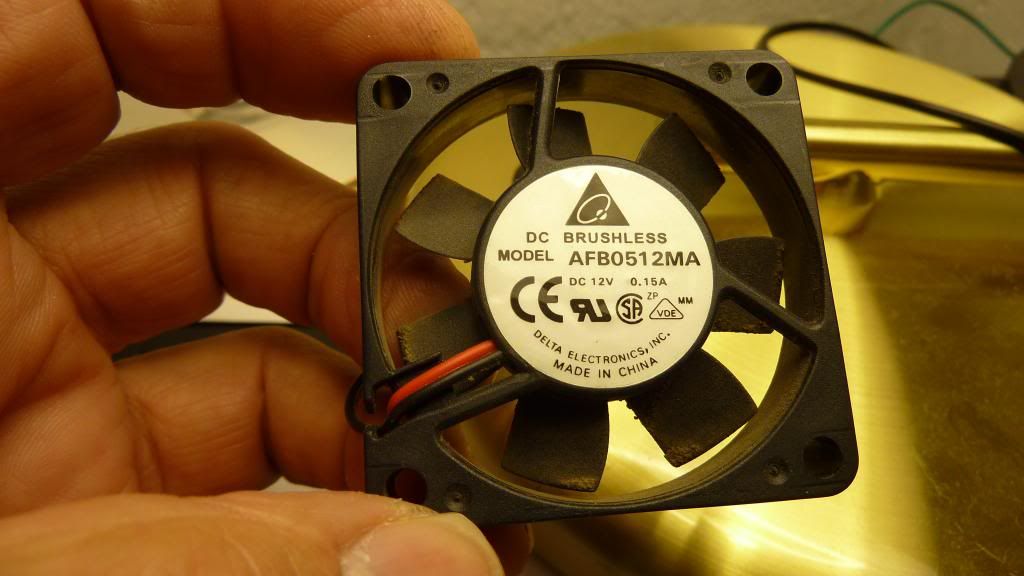
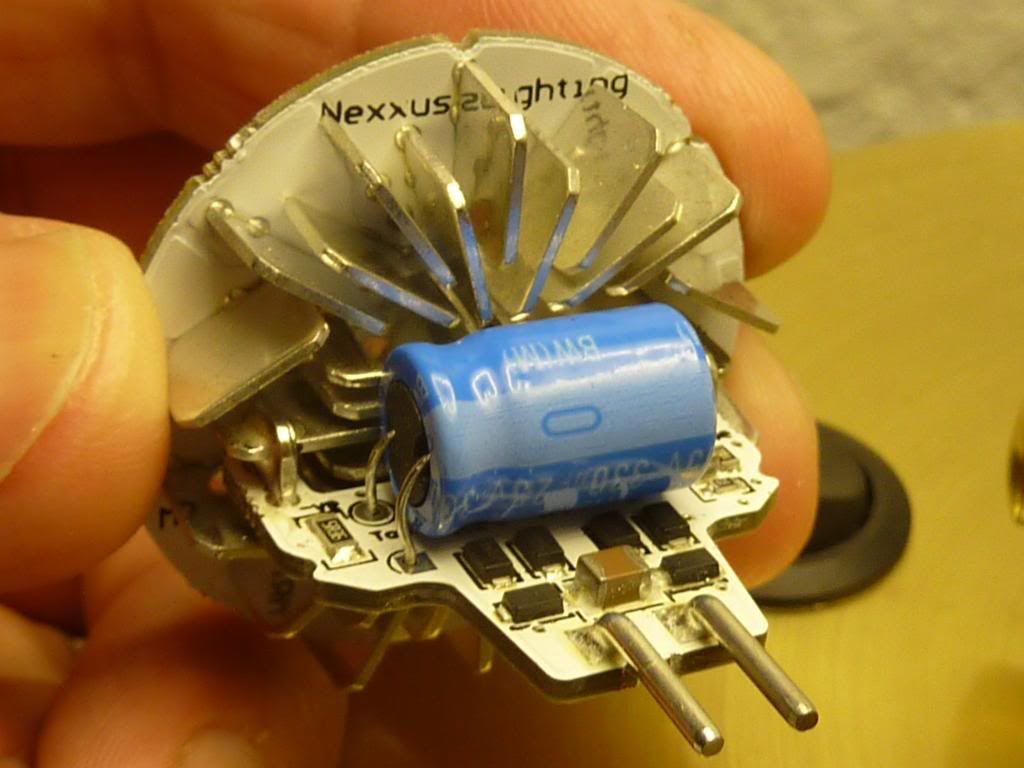
The star contains 8 LEDs’ that seem to be connected in series, so there is no way to separate them for another Mag mod. When I saw the 7 on clearance, I thought perfect! 6 for the LB and 1 for another Mag mod, but no go. These lights are rated at an honest to goodness 310 lumens each, no Chinese lumens here. Nexxus Lighting had a hand in these and they do not fib! Here are pictures of the drivers in each and also the connections of the LEDs.
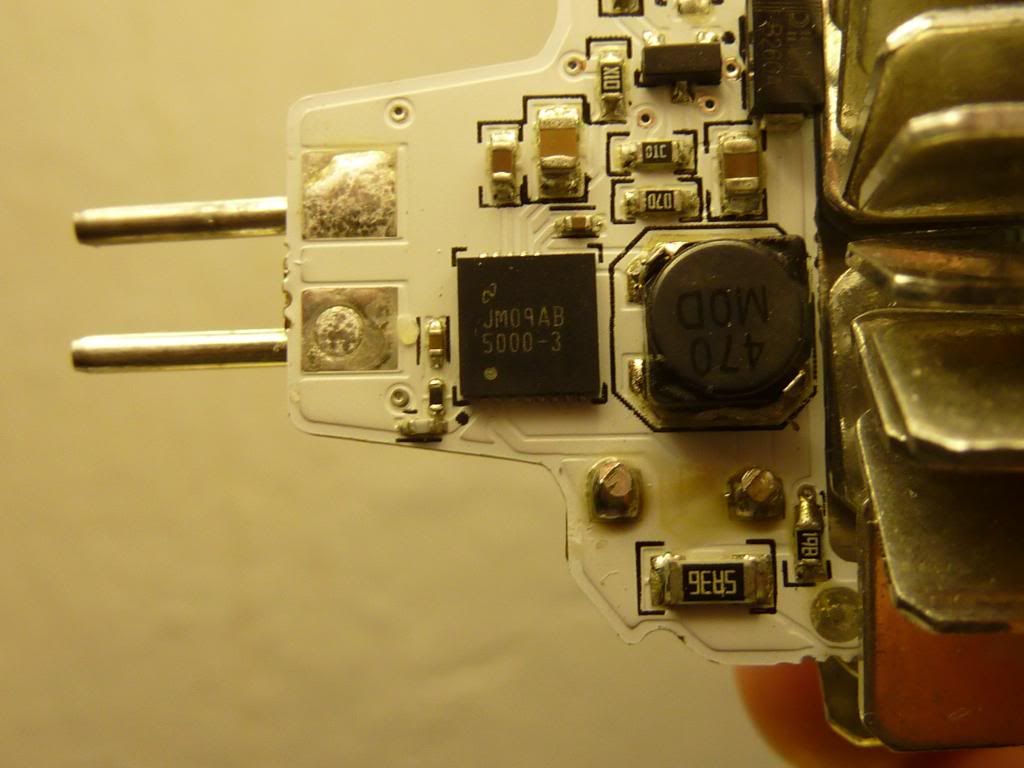
There is a full wave bridge on each, that means AC or DC.
Here is a pic of the top of the star, the 8 LEDs seem to be connected in series, for a forward voltage of 1.5V each. I do not know who manufactures these.
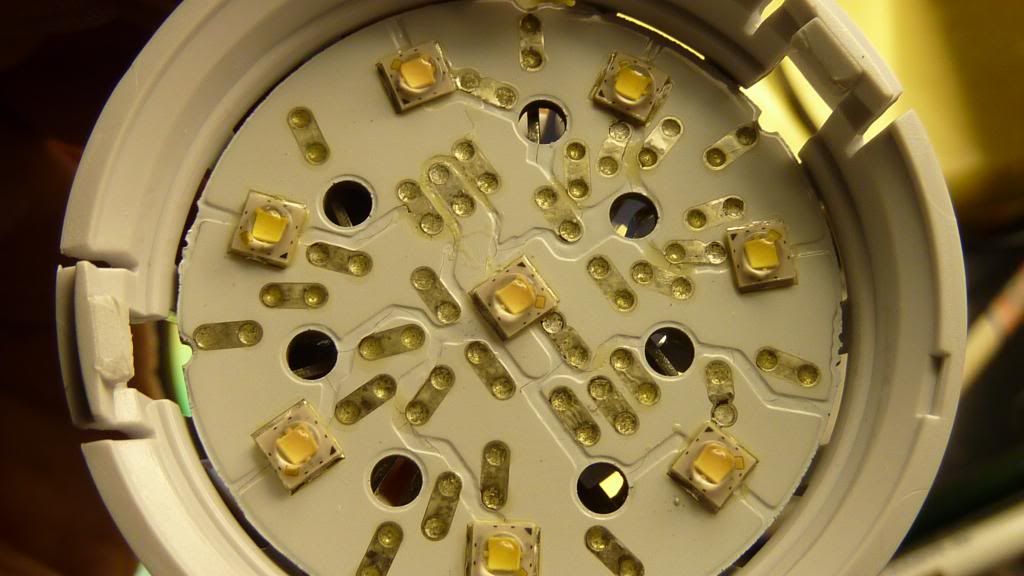
The soldiering that you see is mostly through holes that the individual heat sinks are soldered to. Some are jumpers connecting the 8 LEDs to each other in series.
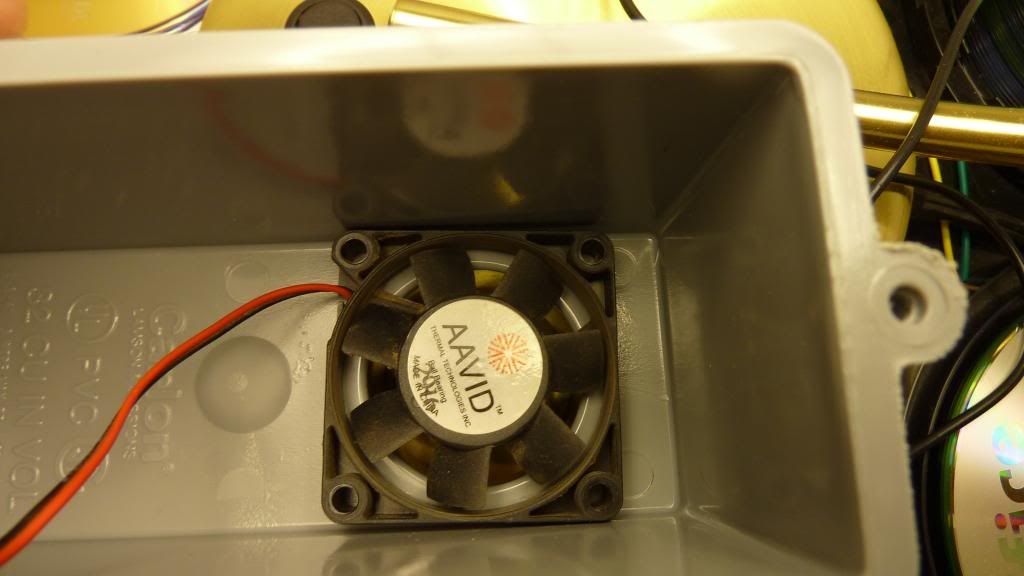
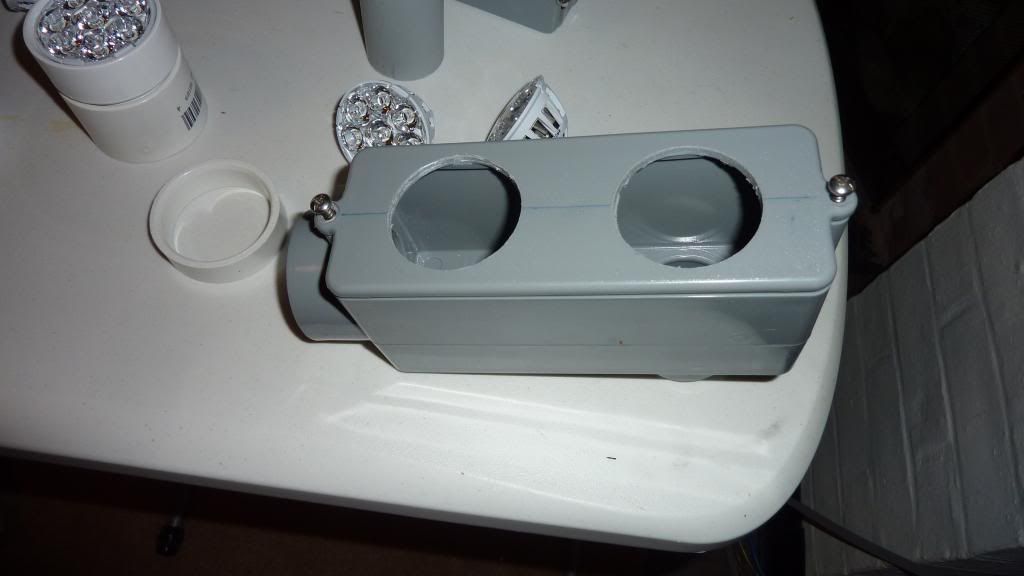
The hard part of this is what to use as a suitable enclosure for it all. Over the weekend, I was burying a cable underground for a lamppost, working with PVC electrical conduit pipe and its related componets. I came across this part, a “conduit box” and thought what a great enclosure for an LED.
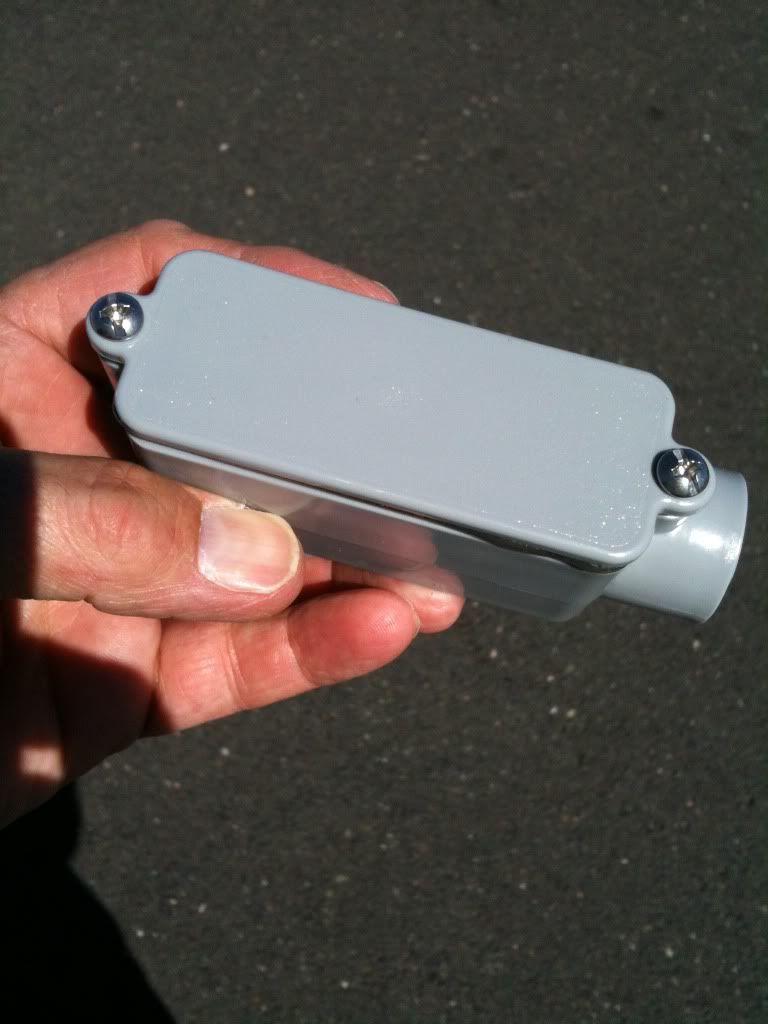
BUT, they come in larger sizes! The one pictured above is for 1/2 inch conduit, the box for my build is for 1 1/4 inch conduit.
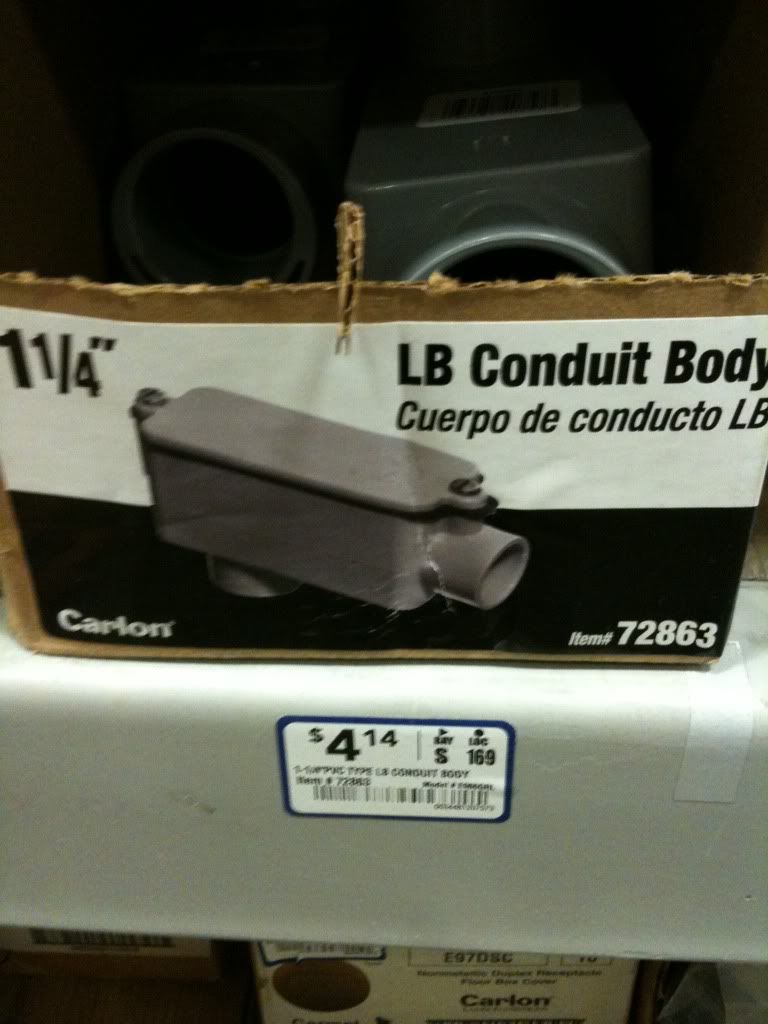
Price is cheap enough, only $4.14 each
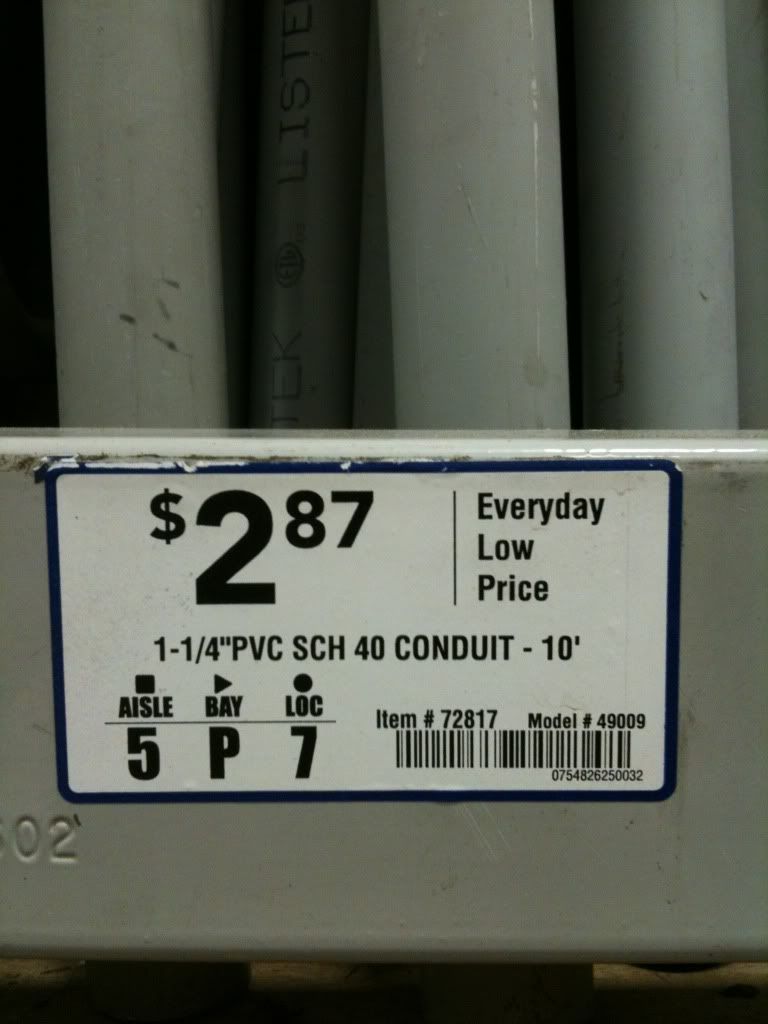
I needed 4 inches of 1 1/4 conduit pipe to connect the2 boxes but it only comes in 10 foot lengths, but that’s not a problem because 10’ only costs $2.87
Here are the parts of the build

2 conduit boxes, 4 MR16 HO lights (that’s all that could fit), 4 inches of 1 1/4 conduit pipe and 2 1 1/2 PVC connector, one cut exactly in half. Of course all parts purchased at Lowes.
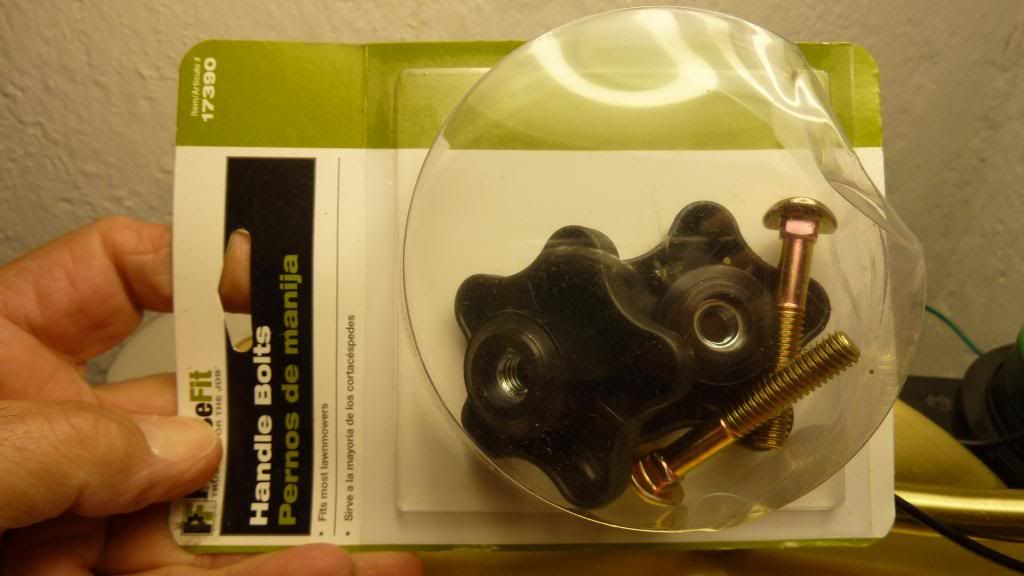 This also came from Lowes, it is a set of replacement nuts for a lawnmower handle, perfect for my application!
The first step is to cut the holes in the face plate for the lights, those are 1 7/8 holes cut with a hole saw that I happened to have. The lights fit perfectly. This PVC is easy stuff to work with!
Afterwards I cleaned the rim of the lights and the edge of the holes with CPVC cleaner and glued the lights onto the plates with CPVC cement. If any of you have ever worked with this stuff, you know how easy and well it works. You also would know how messy and sloppy it can be with the included applicators. For that reason I used Q-Tips.
Next step is to wire the lights in parallel.
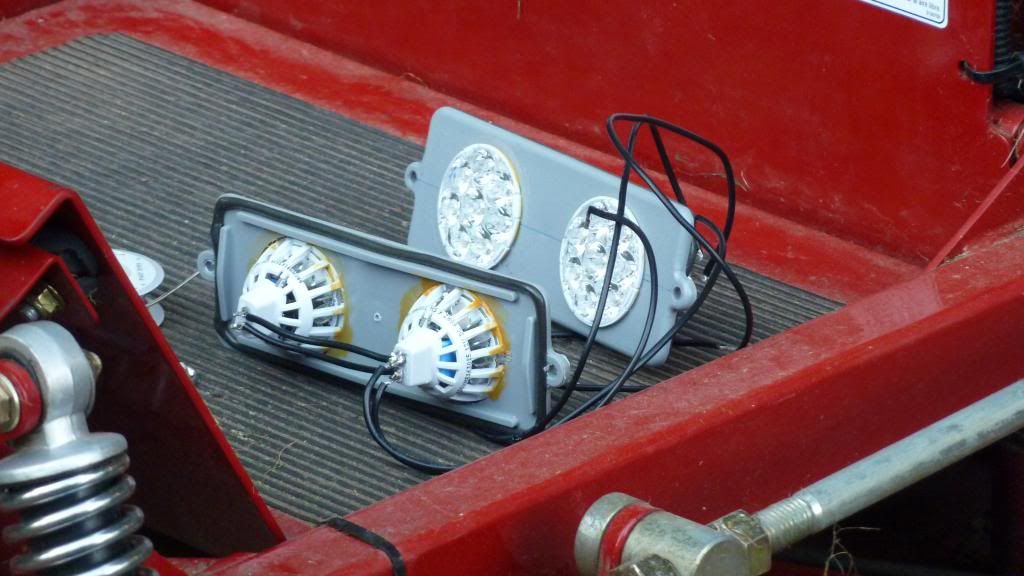
I only had black wire and besides polarity isn’t important as these lights have full wave bridges in them.
Next step is to make a mounting bracket, I almost caved and bought a piece of Aluminum stock at Lowes, but cringed at having to pay $8.35 for it. I did what I have done so many times in the past, walked the store looking for something else that could be used. I found what I was looking for when I was in the “Home and Storage” section. A support brace for a metal shelf………but wait, I have plenty of those already, I’ll use one of those and save the money! Here is a pic and a tip on how to bend a piece of metal in a vise. I used the largest adjustable wrench I have to grab the portion I wanted to bend. It’s hard to judge the scale of things here, but that is a LARGE wrench!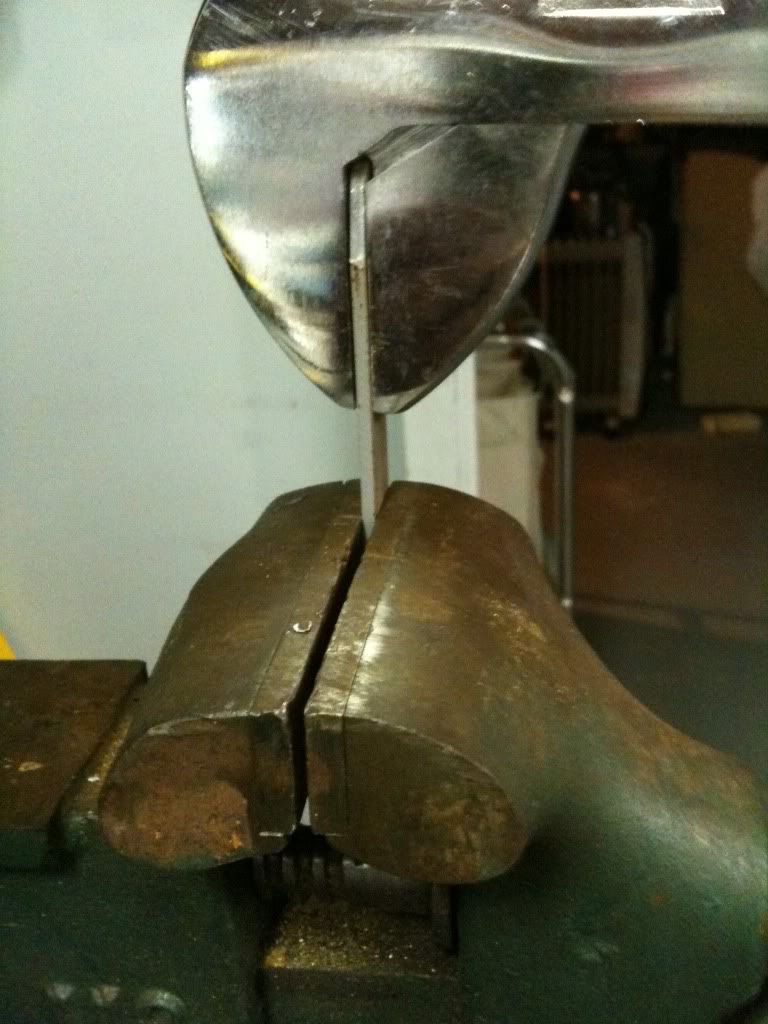
Once the bracket was made, all I had to do was mount the bracket, screw the boxes to the bracket.
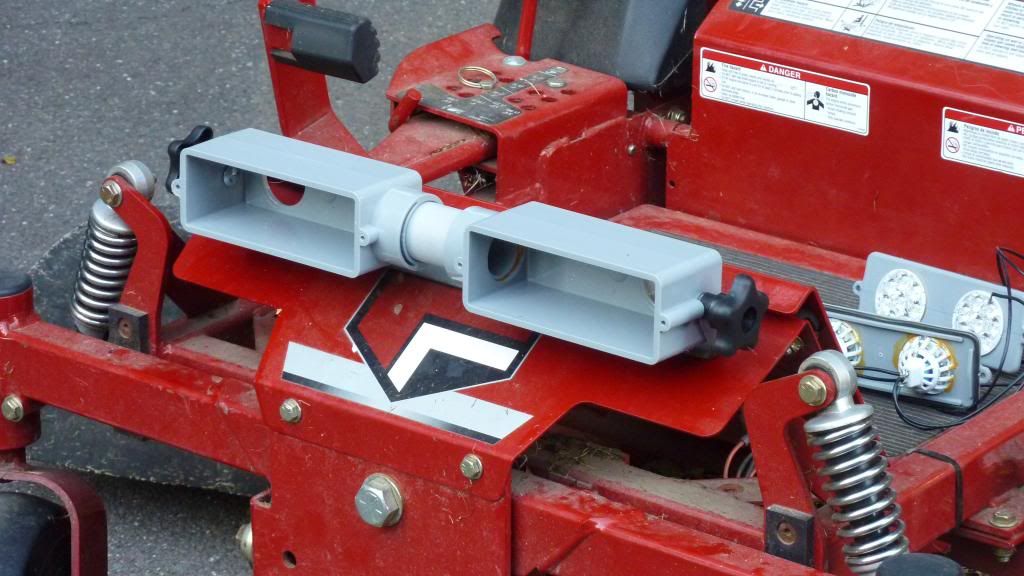
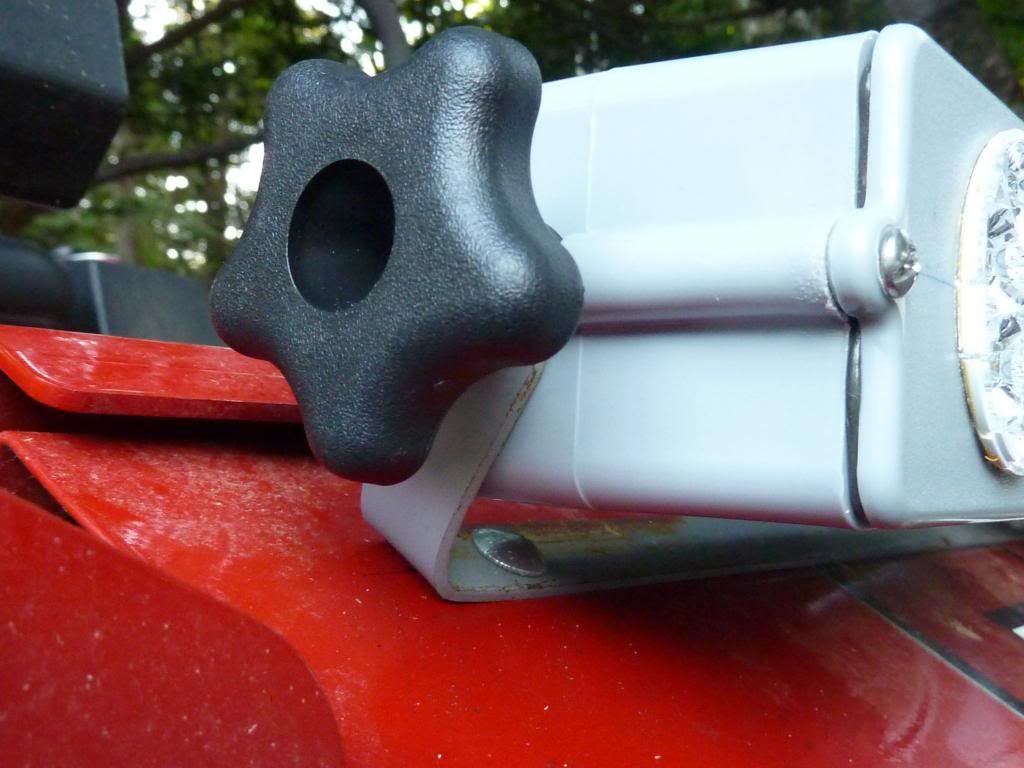
Those are the lawnmower handle nuts in the pic to allow for adjusting the beam.
And lastly screwing on the face plates and wiring it up! DONE
Not exactly, In the background, you can see that I never did finish burying the cable! :bigsmile:


 , great read!