Got bored and decided to toss my UltraFire LZZ-F15 in the oven. :bigsmile:
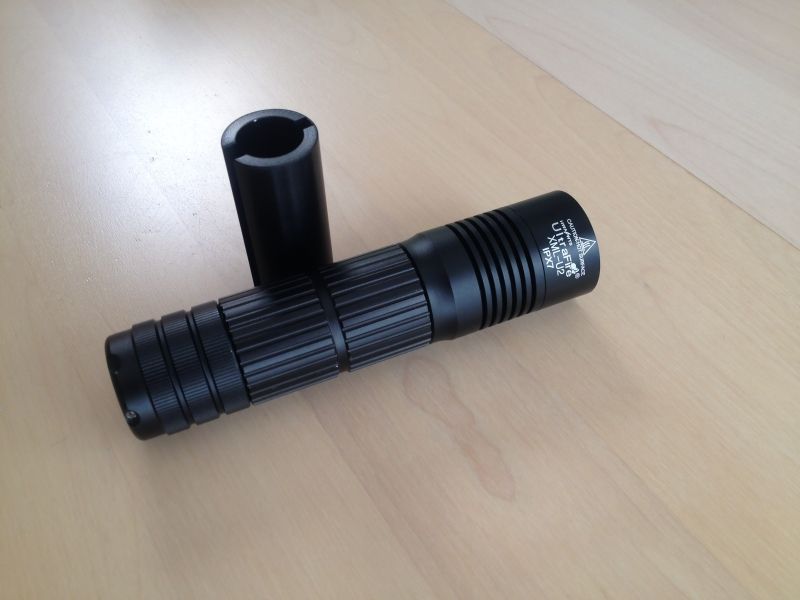
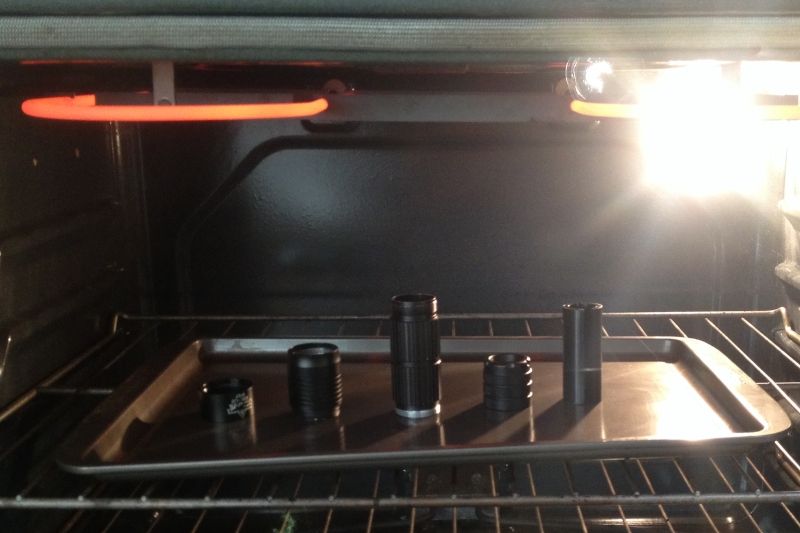
After stumbling on some pics of baked flashlights, I decided I wanted to give it a go on one of my ‘lesser liked’ torches. I decided to use my LZZ-F15. It really is a decent light, but its kinda too big for an EDC, so it mainly sits on the shelf. I have actually never used this light, apart from the day I got it. Anyway, I gutted the torch, and turned on the broiler on my oven (500F). I carefully placed the pieces on a baking sheet, and just let it do its thing for roughly 45 mins.
Here are some pictures…
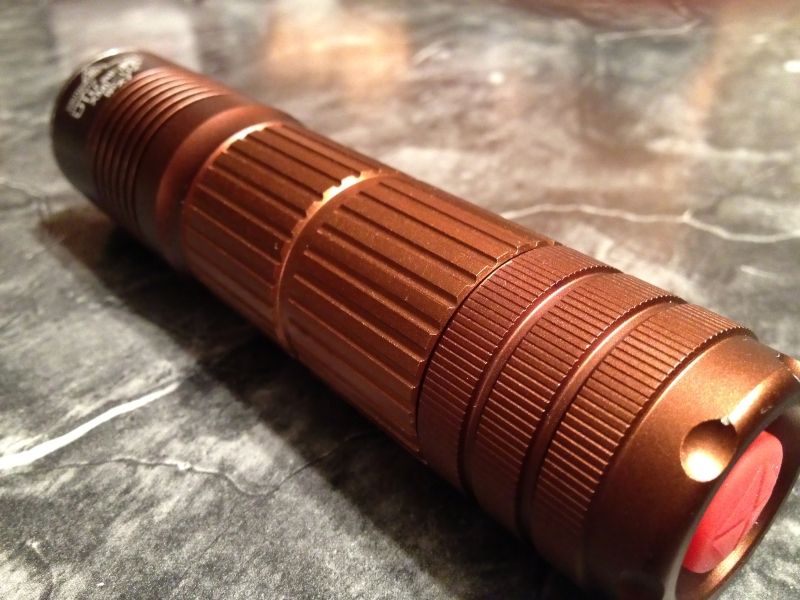
Before:
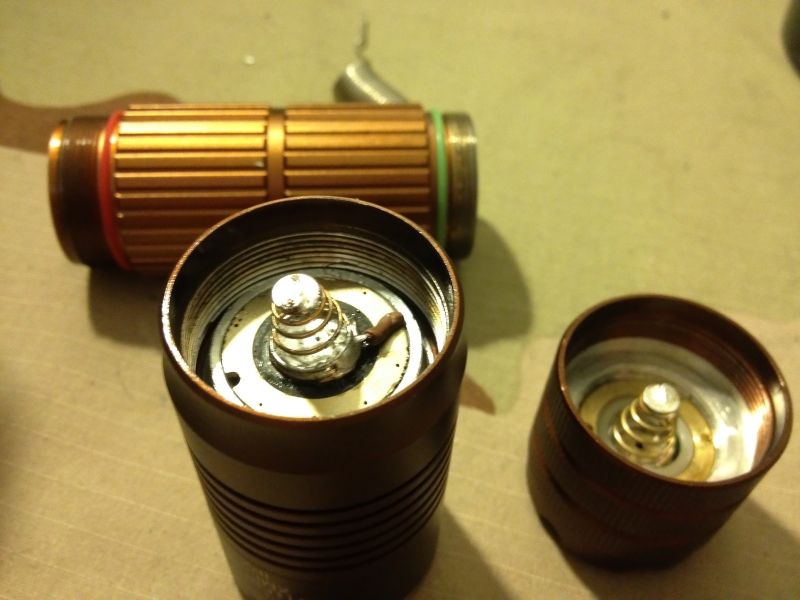
And the results:
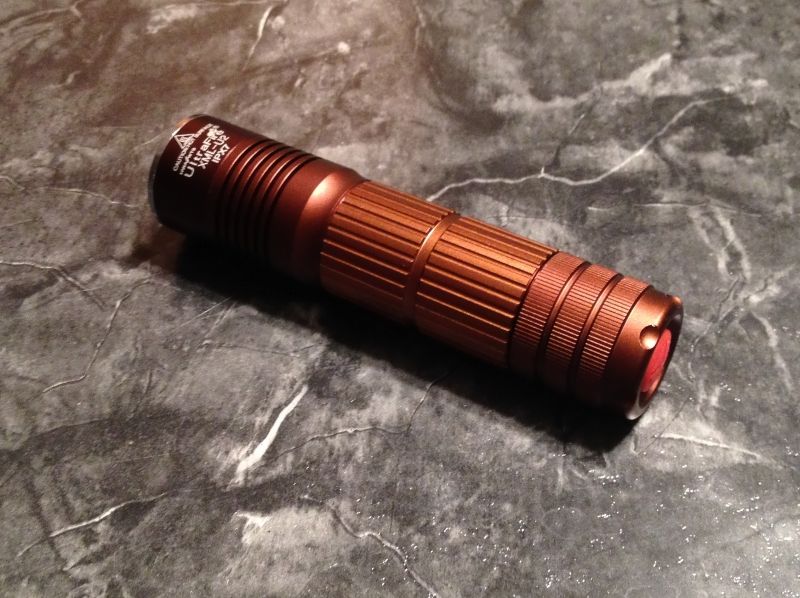
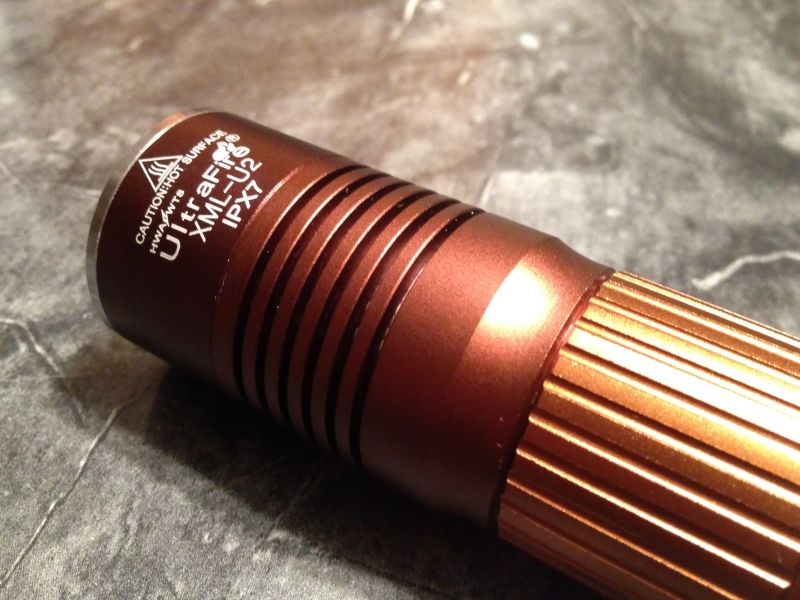
Kool! Now this thing is a looker, but we still have an issue! It’s not that bright, and it has a crappy 5 mode, next mode mem driver. Hmm, how about direct drive!
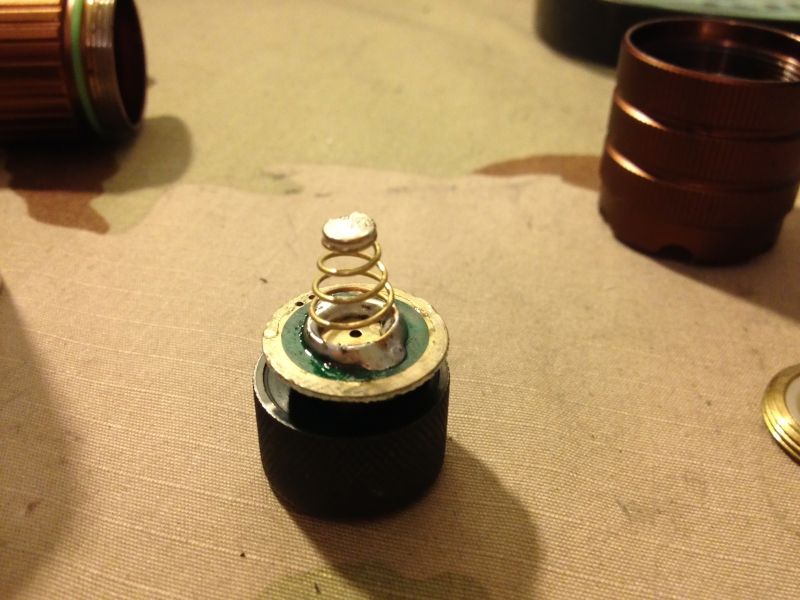
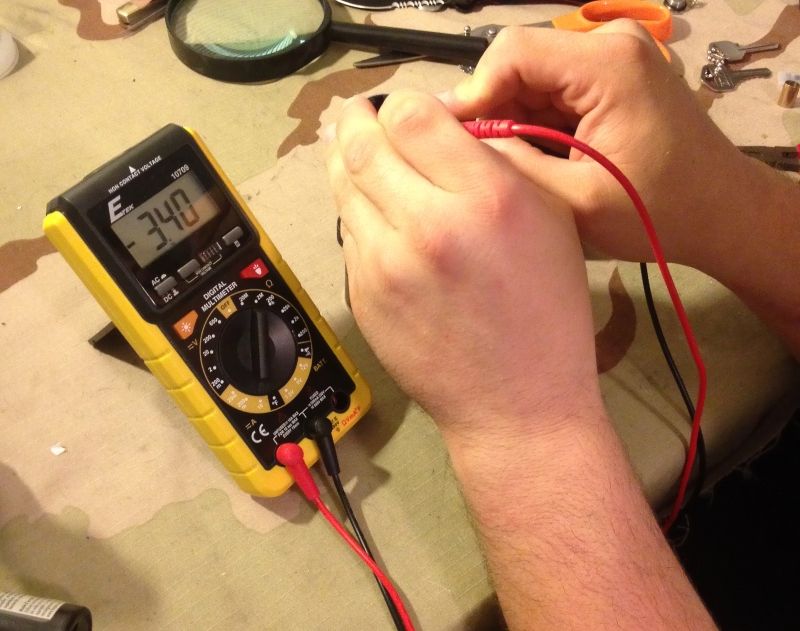
I bypassed the driver, and beefed up all the contact points on the springs. I also lapped the bottom of the aluminum star, and smoothed out the base in the pill for better contact, and added a tiny bit of AS5 (did’t get a pic of this, sorry.) It now measures 3.4 amps at the tail cap on a Efest IMR 18650, and ~3 amps on a 4Sevens 26650. Woo Hoo!! Better than the ~2 amps with the stock driver. Also, I removed the original led insulation gasket, because it covered the led up quite a bit, and was blocking a lot of sideways light. I used a normal style instead, and this improved the output quite a bit, but gave it somewhat of a dirty beam. I plan on swapping the emitter soon anyway. Probably to a XML2, something in the 4-4500k range. Too bad 26350’s don’t exist, or I’d put a MT-G2 in this baby, one can dream though…
Pics:
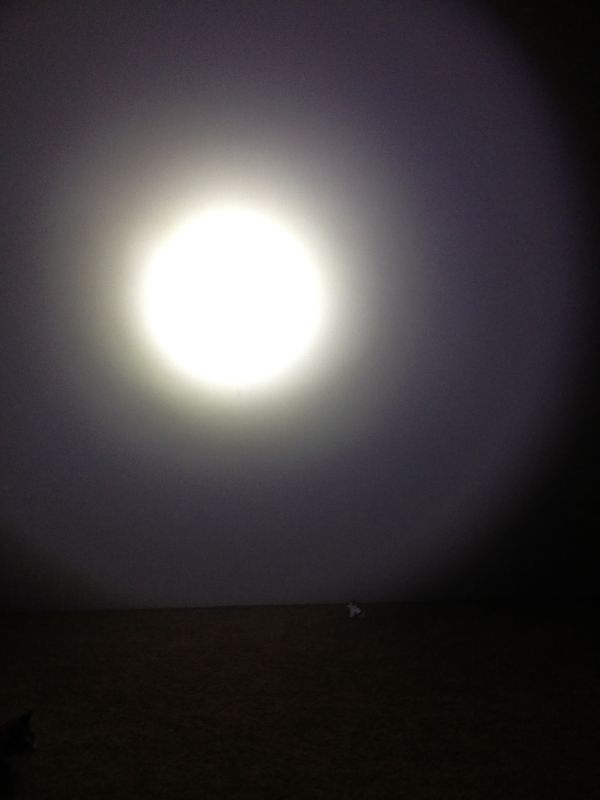
Didnt get any before shots, but here are some beam photo’s:
Wall is roughly 5ft away
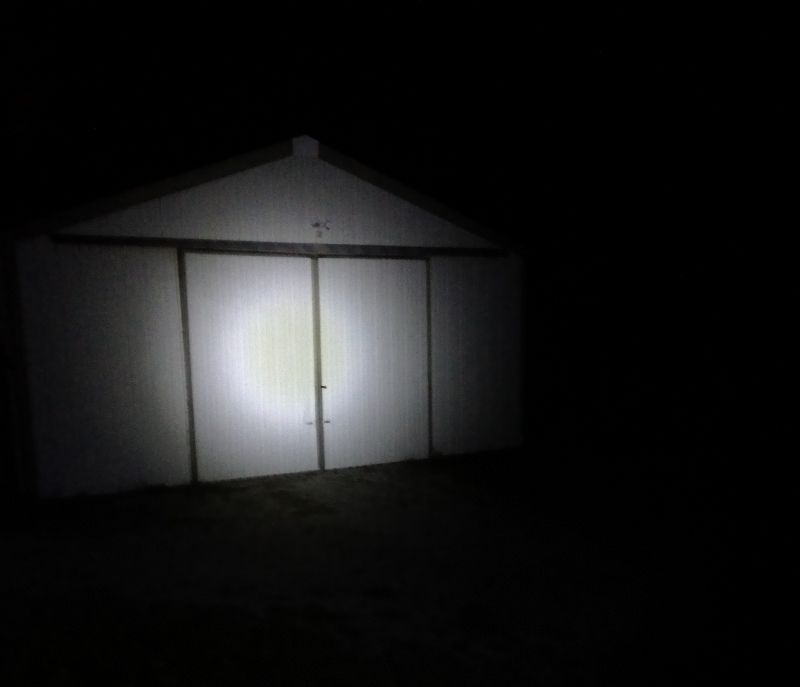
Barn is roughly 55-60ft away (zoomed photo)
Cheers


