Here is my first flashlight mod. I figured it would be fairly risk free since it was being done on a cheapo flashlight. But, I also found out that it was more work to modify due to it being a cheapo flashlight from head to tail. I received lots of great advice and info from others here on BLF: Mod Advice For a Cheapo Flashlight.
I bought a 6 pack of these flashlights several years ago for $5, so less than a dollar each. Overall they work well and are plenty bright for the money. They are a single AA battery flashlight with 1 mode and a reverse clicky switch. They have 3 aluminum sections with o-rings that screw into each other - the head, battery tube, and tail. The flashlights have been used a lot by my family without any problems. These are the flashlights I give to my kids so I don’t have to worry about them getting lost, dropped, etc.

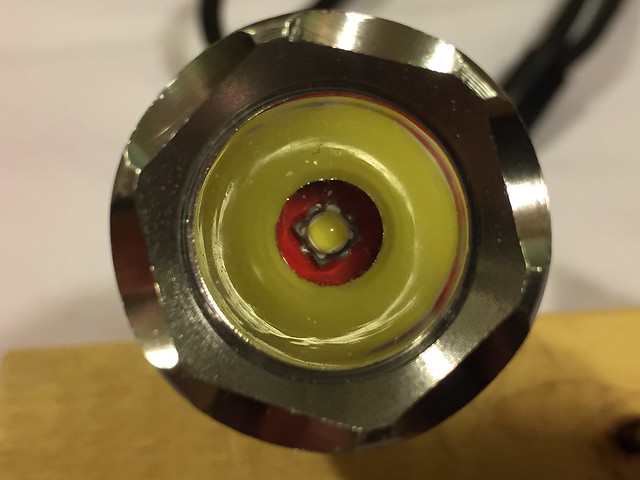
My biggest complaint about the flashlights is the awful blue tint.
Cheapo flashlight left, ZebraLight SC52w right.

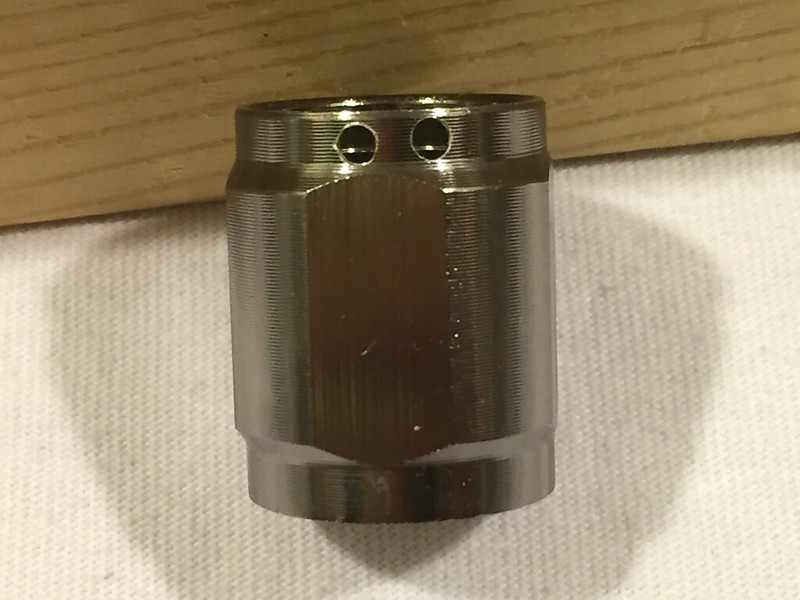
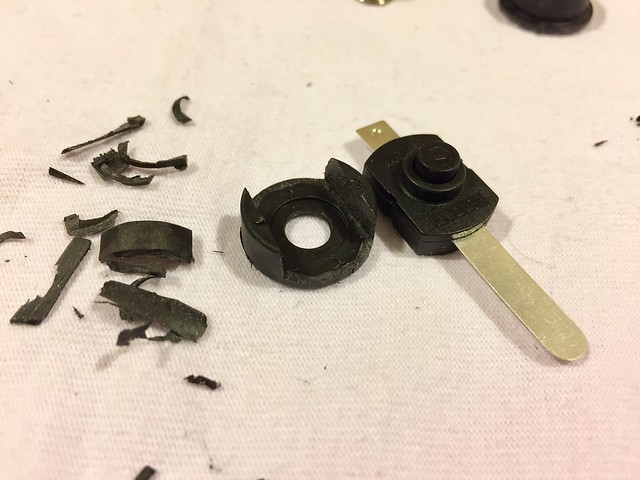
Here is the disassembly of the flashlight head.


The LED aluminum MCPCB fits in the top part of the hollow plastic pill and the driver/positive terminal fits in the bottom. Obviously not much of a thermal path here, but there’s also not much heat being produced either.
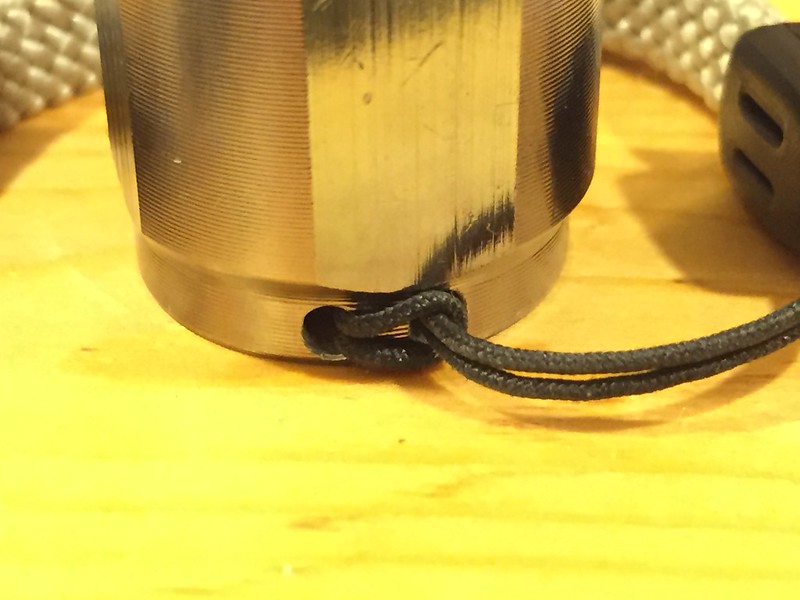
Here’s where I encountered my 1st issue. The retaining ring that came with the flashlight was not that useable. It was very thin, hard to tighten, and almost impossible to remove. Eventually it broke. So I made a retaining ring from a washer.


My main priority for the mod was to improve the tint, and a little more lumens would be nice too. I went to my favorite flashlight store Mountain Electronics and got a Nichia 219C 70+ CRI 5000K mounted on a Noctigon direct thermal path copper MCPCB and a Lumintop 3 mode (medium, low, high) boost driver.

Given that there will be more heat produced with the new LED and driver, I wanted to improve the thermal path. I got a ½ inch copper cap from a local store to replace the plastic pill. This new solid pill needed 2 holes for the LED wires and to be shortened to fit properly in the flashlight.


Since the driver is also the positive battery contact, I had to devise a way to hold it at the bottom of the pill. I used 2 washers and sandwiched the driver between them. I sanded the washers to make them thinner in order to take up less space and to make sure the AA battery was able to make contact with the driver. And I used electrical tape on 1 washer to prevent short circuits from the components side of the driver.


I used new wires to connect the LED to the driver since the wires that came with the driver were not long enough. I had to be careful when soldering the wires on to the driver due to its small size and all the electrical components on it.

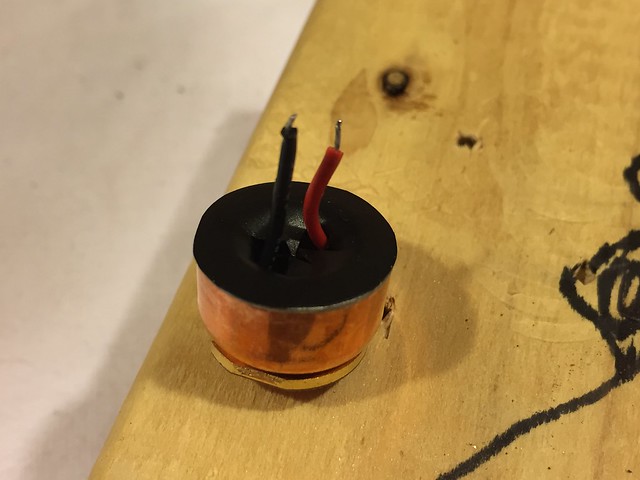
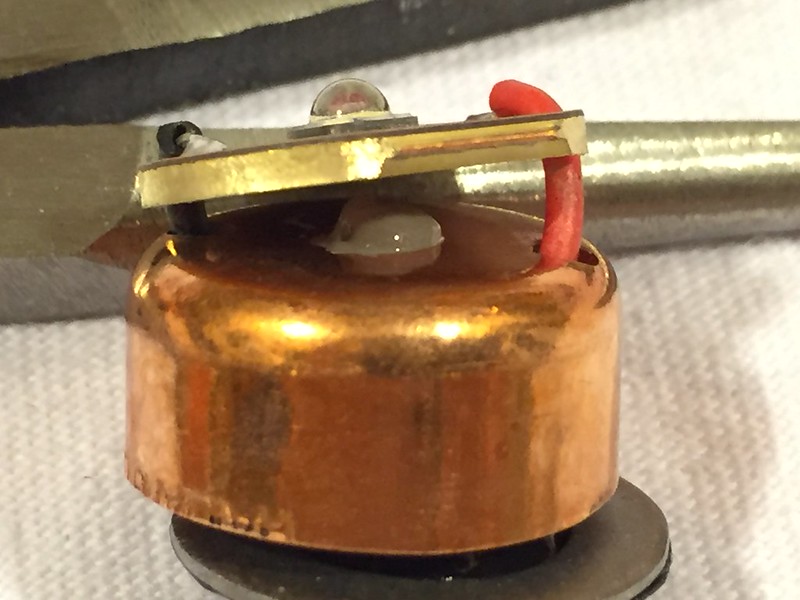
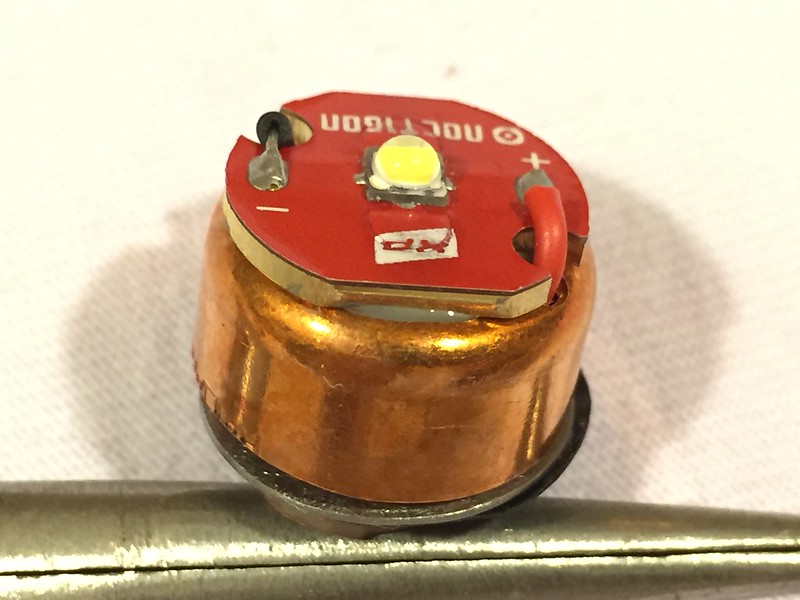
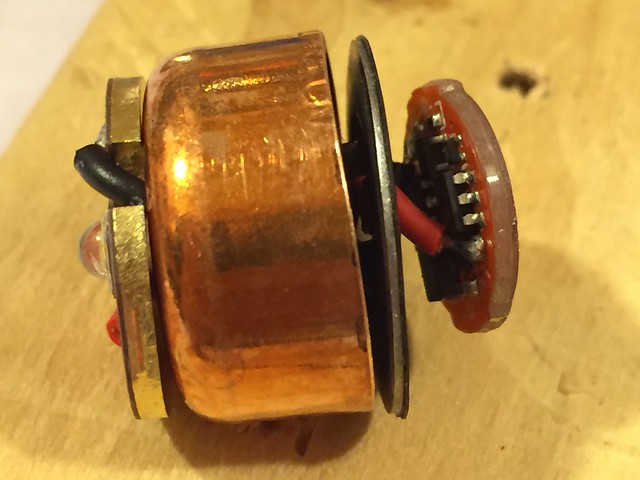
Here is the new LED and driver with the copper solid pill.
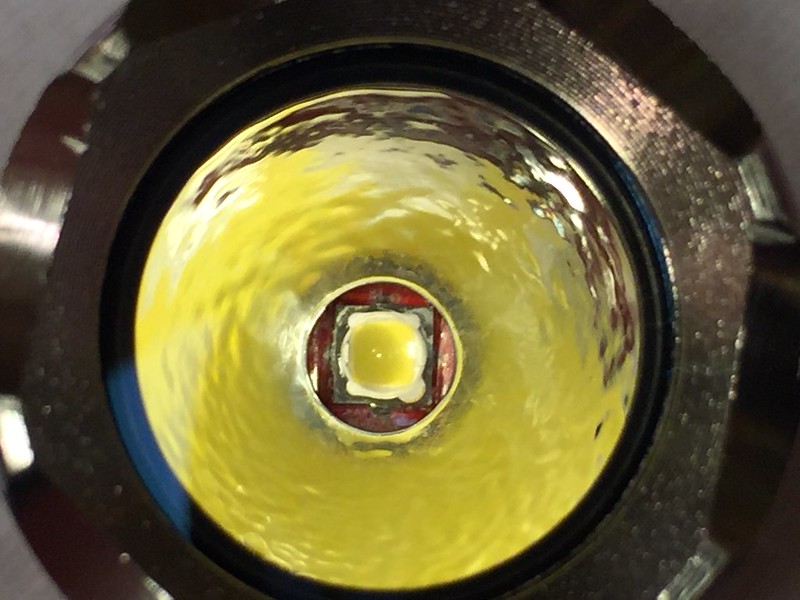
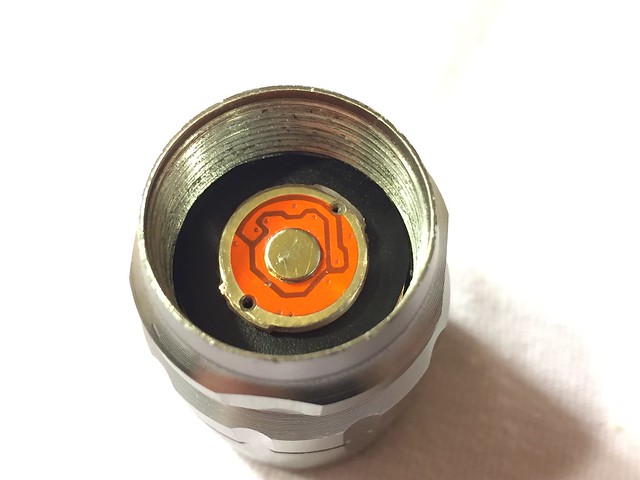
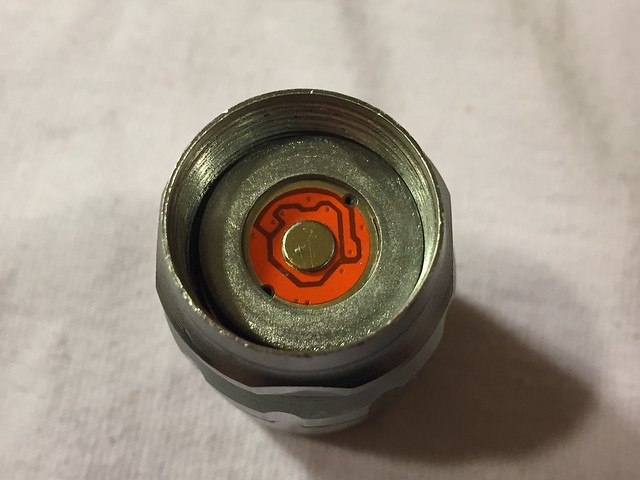
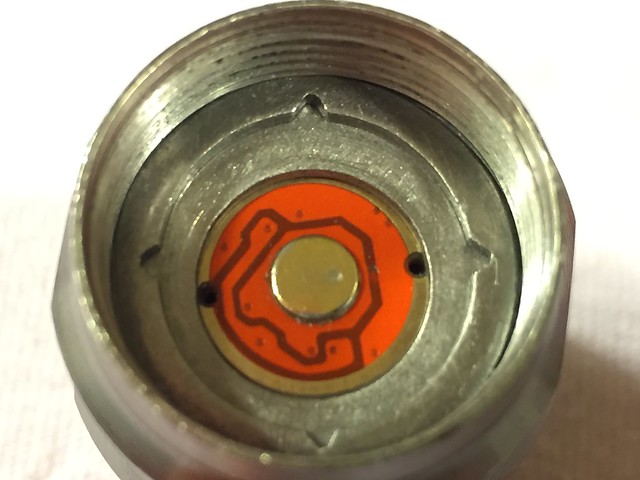
Here is the new LED assembly in the head of flashlight. With the new retaining ring, I was able to clamp everything together really tight, especially the LED MCPCB against the pill.
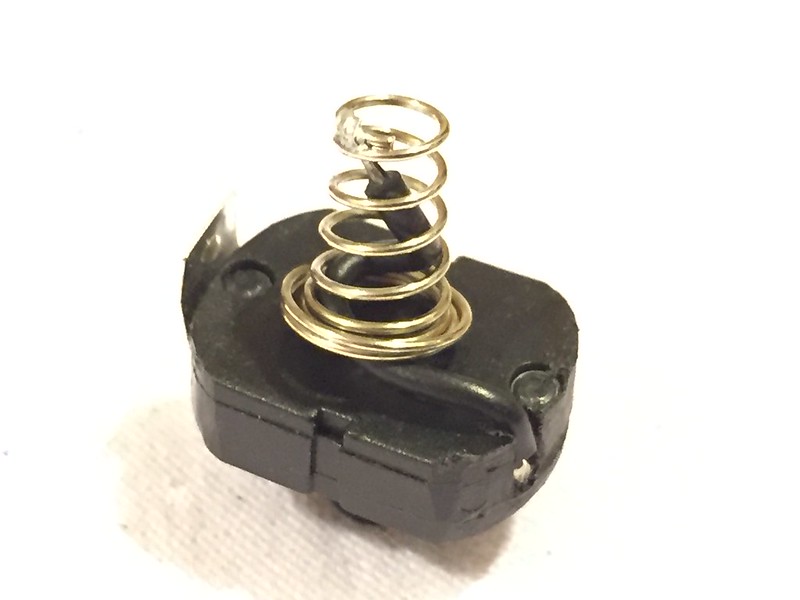
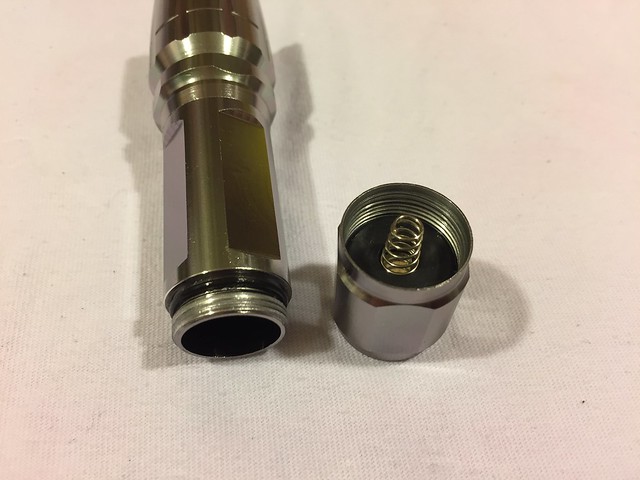
The flashlight worked, but this is when I encountered my 2nd issue. In high mode, any movement of the switch caused the LED to flicker and the lumens to fluctuate. Sometimes it was very bright in high mode, other times it was close to the medium mode. This issue was barely noticeable in medium and did not occur at low. It appeared the switch was having problems with the increased current. The switch assembly is pressed into the tail section of the flashlight. I was able to remove it by pushing hard on the button side. I got a better quality Omten 1217 reverse clicky switch.
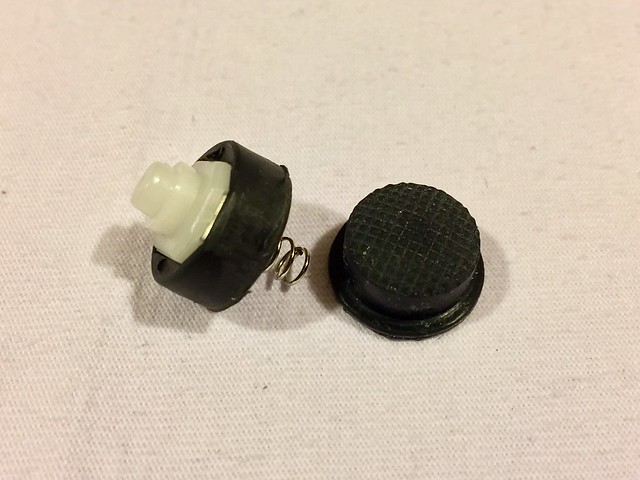
Left is the cheapo switch, right is the Omten switch.
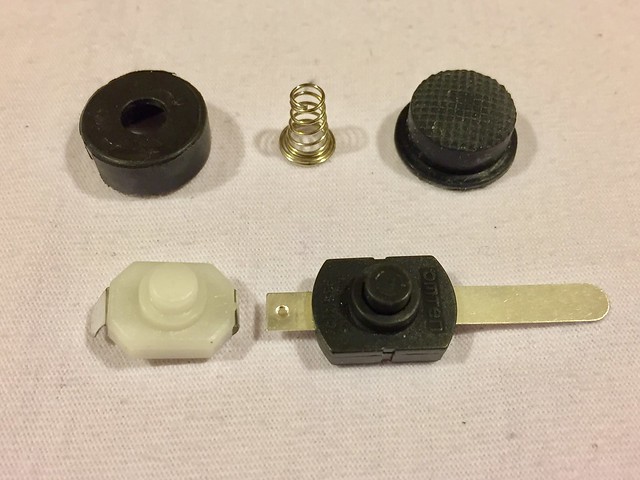
I was able to use the existing plastic holder, but had to make room for the new switch since it was slightly bigger.
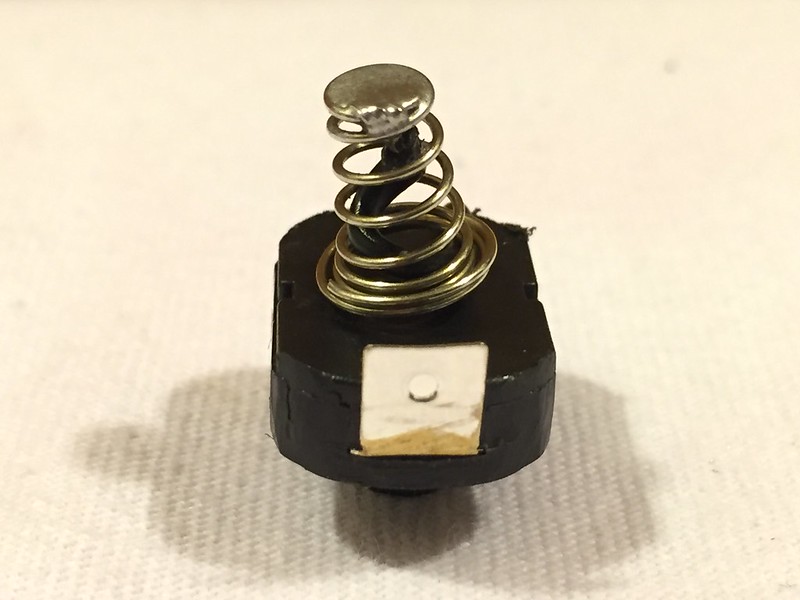
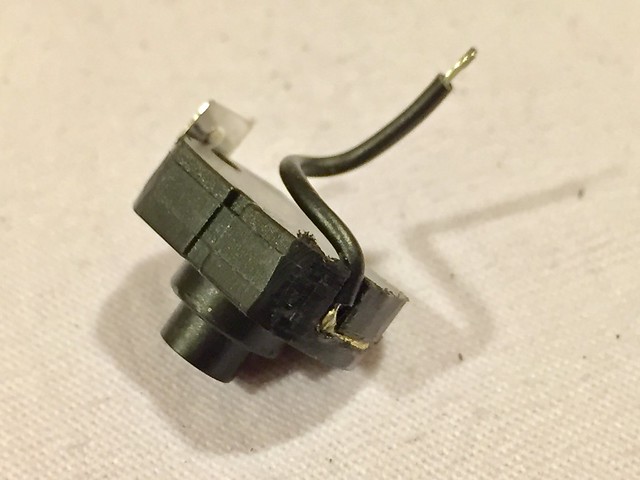
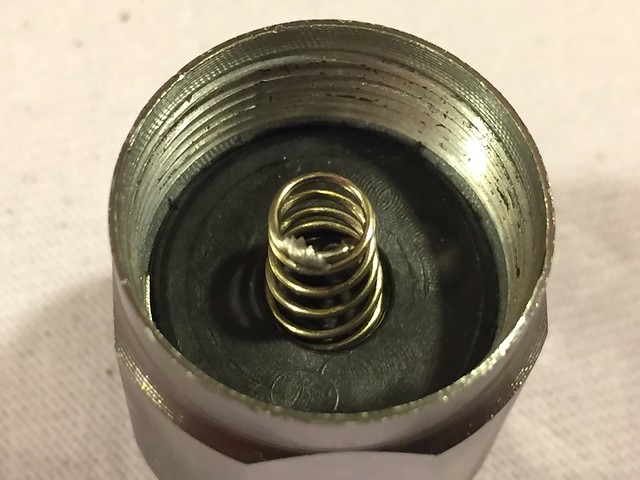
The switch was also too wide to fit into the tail of the flashlight. So I broke off the longer tab and filed the ends of the switch to make it smaller. I ground the remaining portion of the tab to make it recessed enough to not make contact with the inside of the flashlight. I then made a small groove into the side of the switch to solder a wire to the tab. I soldered the other end of the wire to the top of the spring. I guess this would be considered a spring bypass, but the only function of spring now is to help the wire make contact with the battery.

The Omten switch resolved the flickering issue and as a bonus, sits a little further in the flashlight to make it tail stand better.
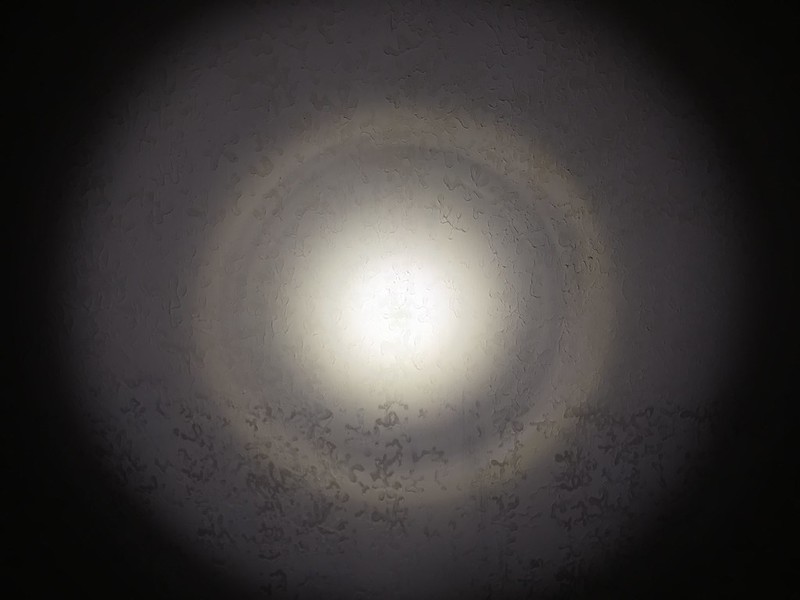
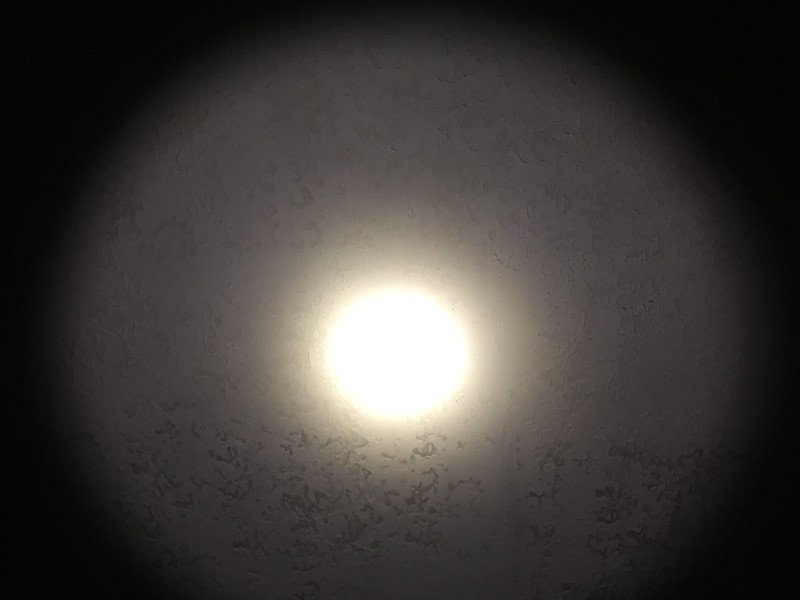
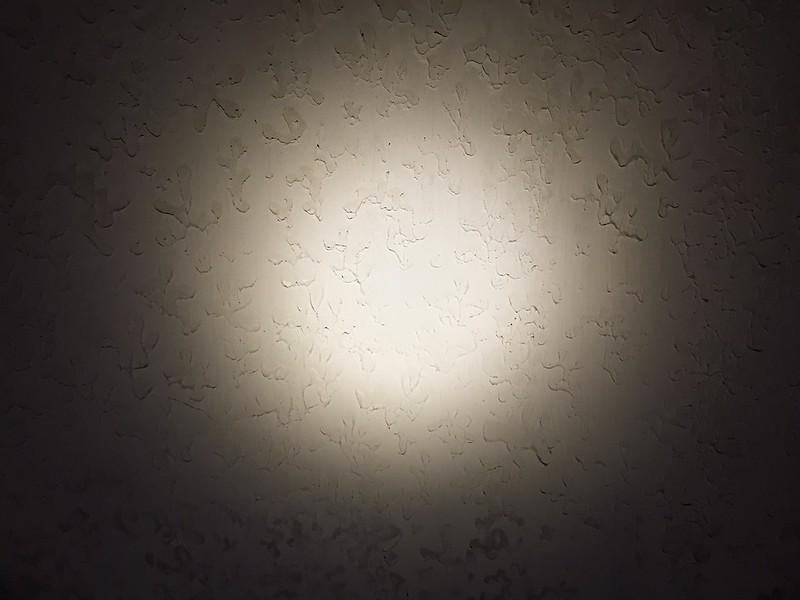
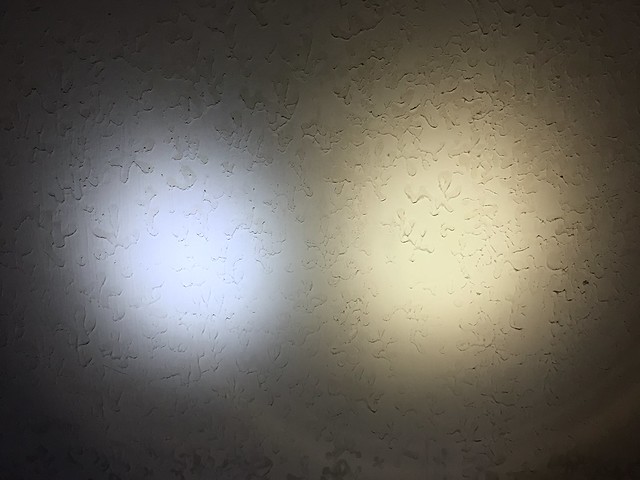
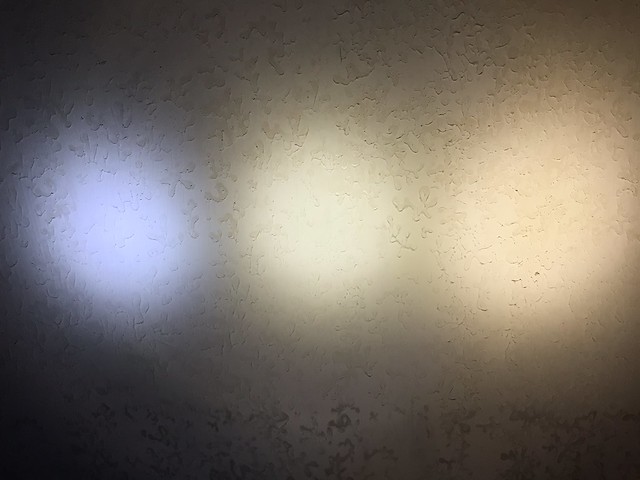
Here are some beamshots of the modified flashlight.
Cheapo flashlight left, modified flashlight right.
Cheapo flashlight left, modified flashlight middle, ZebraLight SC52w right.
In comparison with the ZebraLight specs, I estimate the lumens went from 50 lumens to 250 lumens. The tail current using my DMM went from 0.4 amps to 2.0 amps.
I am very pleased with how the flashlight turned out. The tint is great, the flashlight is much brighter, and is more useful with 3 modes. I also learned a lot about flashlight design and had fun figuring out how to make the new parts work. I do not plan on modifying the 5 other cheapo flashlights since I’d rather spend my time and money on other flashlights, but this one will now proudly be part of my flashlight collection.