I just couldn’t pass up the Sofirn SP36S deal on Amazon:
50 Bucks for a “Dumbed down” SP36 along with 3x 3000mAh 18650s. Samsung High CRI LEDs.
USB-C Charging. Such a deal!
When I ordered this it shipped from China. I thought it was coming 2 day Prime.
Oh Well. Patience is a virtue (which I apparently don’t have). It arrived in the standard bubble wrap envelope.
The box inside is just that – An unmarked plain brown box. Sort of like those other items for personal use.
Inside I found the light, 3x 18650 button-top cells, extra O-rings, USB-C charging cord, a make nice card, and instructions.
The Kit

The instructions cover the various options. Sofirn included a contact card that also states the obvious – remove the insulating disk from the batteries.

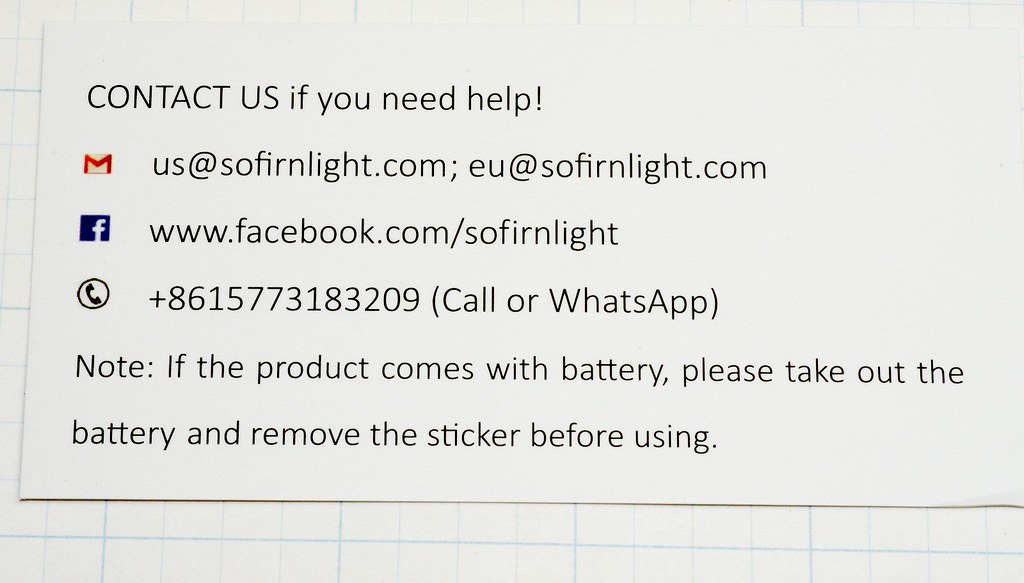
The Instructions


Batteries
The light ships with 3 button top 18650 cells that are Sofirn branded on the wrapper. The cells have a disk stuck to the bottom to prevent discharge. Two of the cells were sitting at 4.09v and the third at 3.94v.

I put the cells into the LiitoKala and set up for a charge-discharge test. I went by to check on things after a while and saw that one of the cells had somehow dropped out of the test and was doing a normal charge. Hummm.
I restarted it and the next time I checked it – it was doing the same thing.
The other cells had finished the test, so I put the bad actor into a different slot running by itself.
This time everything went as expected. This cell gave the highest mAh of the 3. All three tested higher than 3000mAh.
Cell 1 3045mAh, 37mOhms
Cell 2 3129mAh, 33mOHms
Cell 3 3158mAh, 30mOHms

The first two cells ended up at 4.17V after 24 hours. That 3rd cell was at 4.07. Hummm.
Before putting the cells in the light I equalized the 3 in parallel just to make sure nobody was going to get overheated.
If the third cell continues to act oddly, I’ll try contacting someone at Sofirn. They seem to have a good presence here.
Down the tube we see the expected Springs. Button Tops Loaded and ready to Go
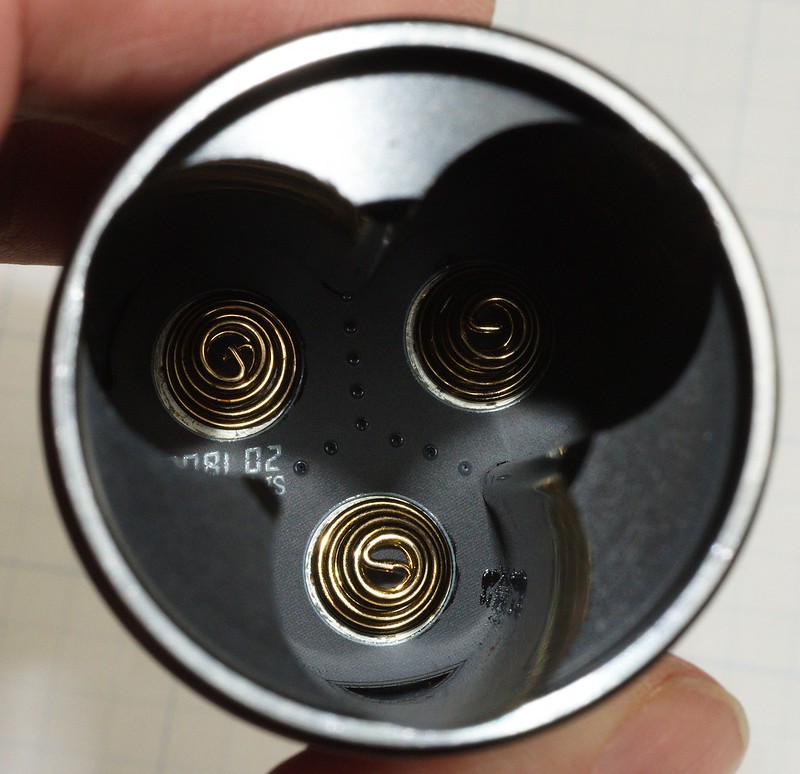

The Head has nice thick brass contacts.
There will be no rubbing this off like some cheap soda pop can lights.

The UI
There are basically 2 flavors, Stepped and Ramping. The default is stepped.
In Step mode a click turns the light on. The next press steps the brightness up. Another press before too long will step it back down again.
Double click for turbo. Click to return to last mode.
Triple click gets to strobe and then a long press gets SOS.
Not in the instructions, but a press and hold from off gets to the “moonlight” which is still pretty bright – just like the ramp setting.
The light has memory so it returns to the last used brightness (unless you use the press and hold to get to moonlight).
In Step mode a long press (half second) is needed to turn off the light.
This makes me crazy. So on to Ramping I went.
This feels like the normal SP36. Click to turn on. Press and hold to ramp up or down. Double click for turbo.
A single click from the ramp zone turns the light off.
A single click from turbo drops it to the last used ramp setting.
A single click from there turns it off.
I like to set the ramp to something lower. Then I can press and hold for “moonlight”.
A single click turns it off.
A single click from off gets me to the last ramp setting.
Then a double click jumps it to turbo.
The next click gets me back to last ramp.
The next click turns it off.
Easy to learn, easy to execute, what’s not to like.
Lockout – 4 clicks from off – 4 more to exit lockout.
Both versions have USB-C charge ports

What’s missing from the BLF version?
All the entertainment blinkies are missing in action. After I played with them on the BLF for a while I never turned them on again.
Sunset mode – I like this idea, but it needs to be easily set for brightness and time to off.
Muggle mode – I like this feature on the BLF. Not just for muggles – it keeps the light well behaved.
Battery Voltage – Another nice feature only found on the BLF.
Switch Illumination – Lets the BLF version double as a night light and makes it easy to locate in the dark. It also can indicate if the driver is in regulated or unregulated mode.
The SP36S version
Battery Indicator. The Switch lights for 5 seconds after the light is turned on.
Green – Indicates sufficient charge.
Red – Batteries are low.
Blinking Red – Batteries Critical, Charge ASAP.
What’s it look like?
Just like the Sofirn BLF SP36. This has been well covered in other threads and my beam shots suck. So take a look at the other reviews to see what others think.
This Porridge is Just Right
My first 18650 light was the original Thor Fire BLF Q8. I couldn’t pass up the discount price. It’s a great light, but it’s just too large and heavy for my needs.
The SP36 is like a Goldilocks package sitting in between the big pop can lights and the single cell EDC lights. It’s not too heavy. It handles well. It has more and longer output than the EDC lights.
It’s what I reach for most often when I need a light that’s not in my pocket.
Play Misty for Me
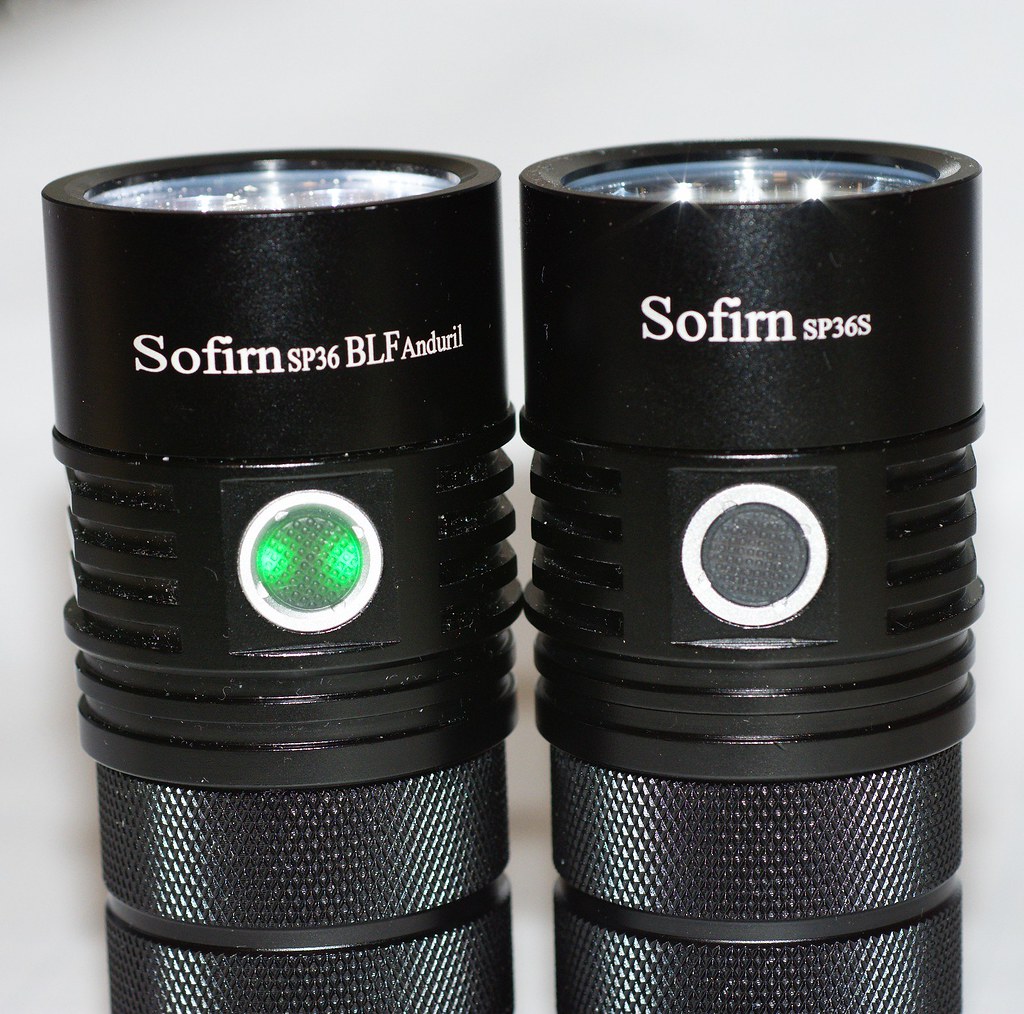
One thing I notice in the BLF version was some sort of foggy deposit on the inside of the glass. I can clearly see it when the light on. Looks like something outgassed and put a film on the inside.
On the SP36S version this film is even heavier.
Here is a shot of the BLF and the 36S

I wish there were an easy way to pop out the lens and clean it.
Reading the efforts of (more skilled and brave) members… It would take celestial intervention to get inside as far as my skill level is concerned. So I’ll just live with it.
Looking at the two beams, I think the 36S might be just a hair softer because of the film.
The Samsung LEDs have no green to them that I can see. I’ve been looking at a lot of 70.2 lights lately and I’m all greened out. A very pleasant color to use.
Compared to my D4 with 219Cs it looks cooler. The original Thor Fire Q8 looks warmer to me also.
Which to Choose?
The BLF version can be had without batteries for the same price as this kit with batteries.
If you have cells at home and like the extra features of the BLF – you can’t go wrong.

The 36S kit is a great of a way to jump into a quality flashlight for anybody. It would make a heck of a gift to give to someone who you want to start on the path of flash-aholism.
I hope Sofirn keeps this going through the X-mass season.
This is one of the best deals around – a great light at a great price.
All the Best,
Jeff

