Well, I was originally thinking I’d enter in the Hand Made division again, but I’m switching it up and going with Machine Made.
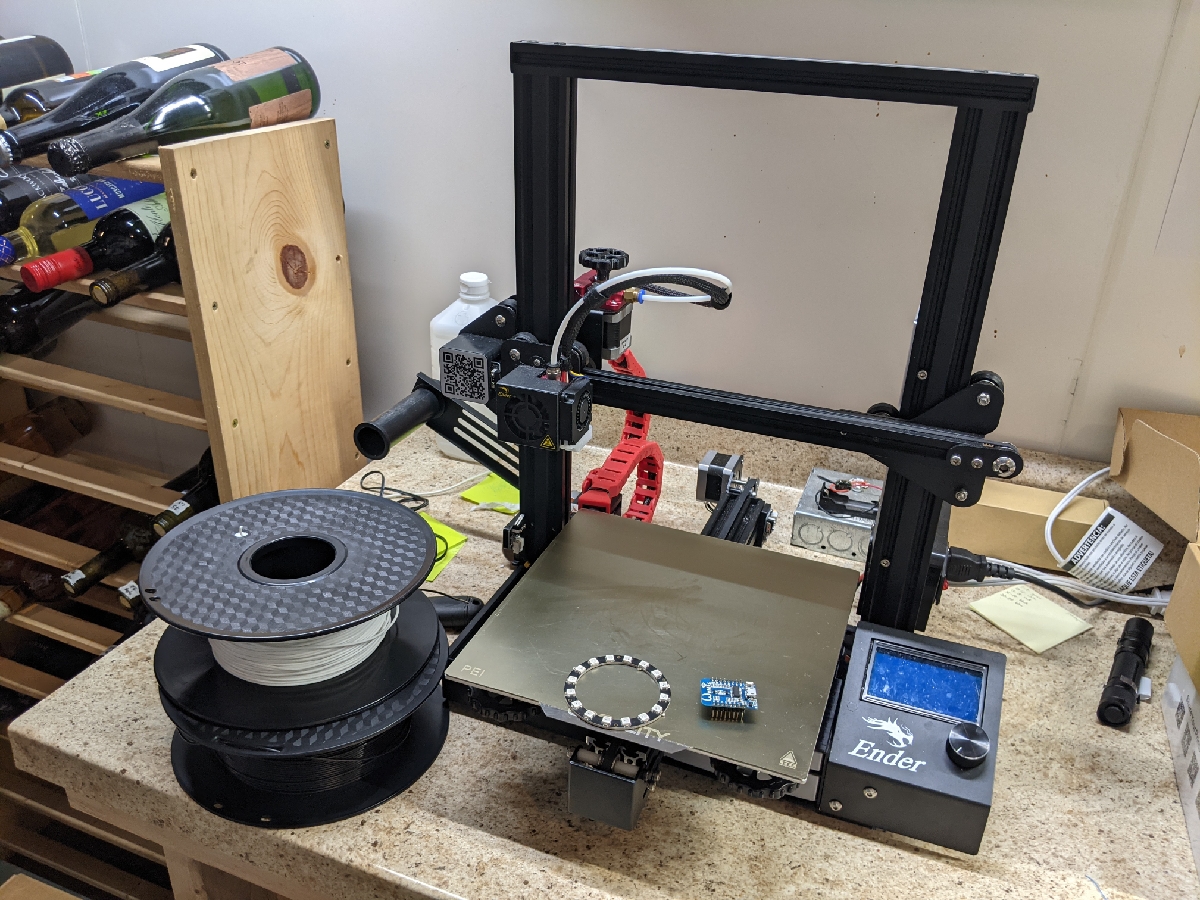
My original thought for the housing was to use a steel canister to do a tin can punch lantern. I still think that’d be cool, but I’ve never done it before and I seem to have less time than ever. So… I’ve decided to let a machine do some of the work for me. My 3D printer that is. Enter Exhibit A, the main components and tools for my entry:
Wemos D1 Mini
NeoPixel 16-LED ring
Ender 3 Pro with filament
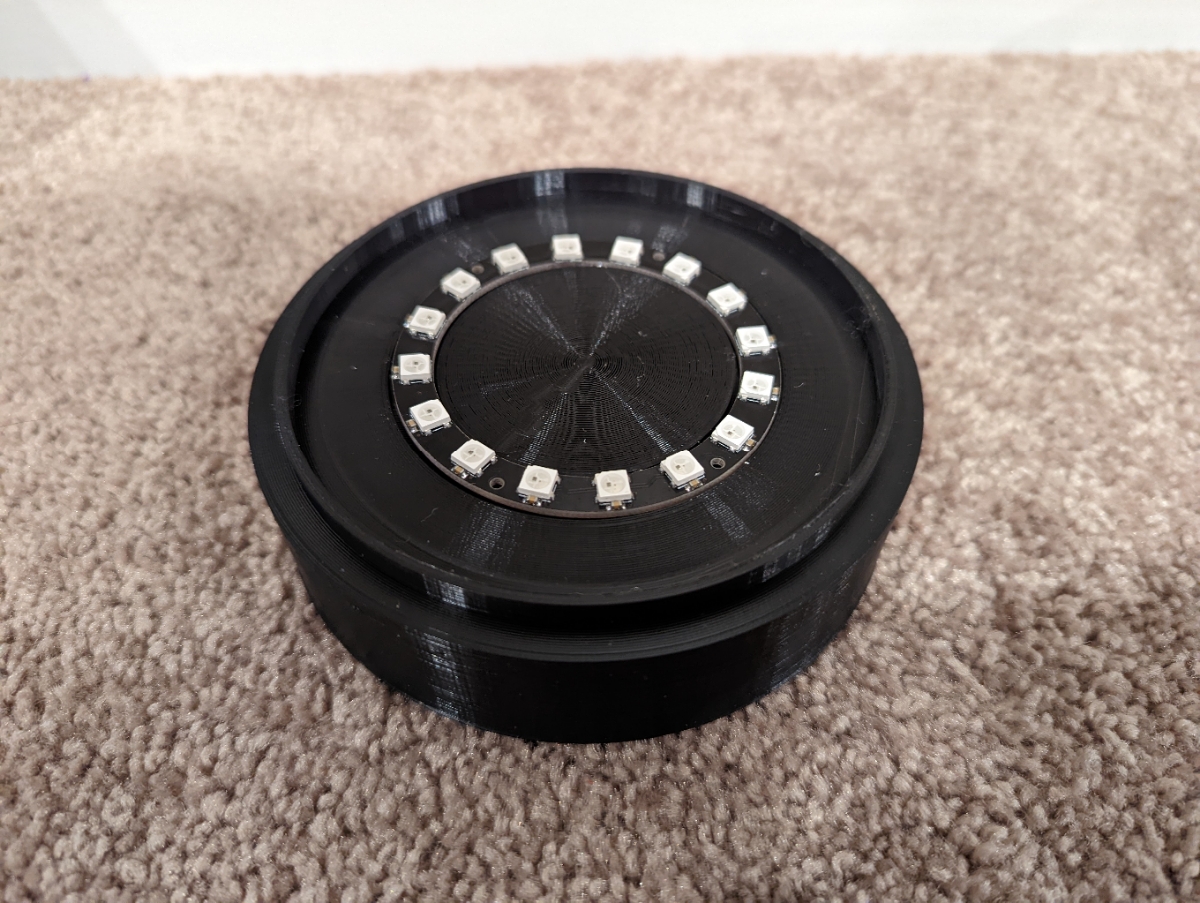
Build is complete!
Check out post #16 for the full update. Control the project HERE and watch it update in real-time HERE
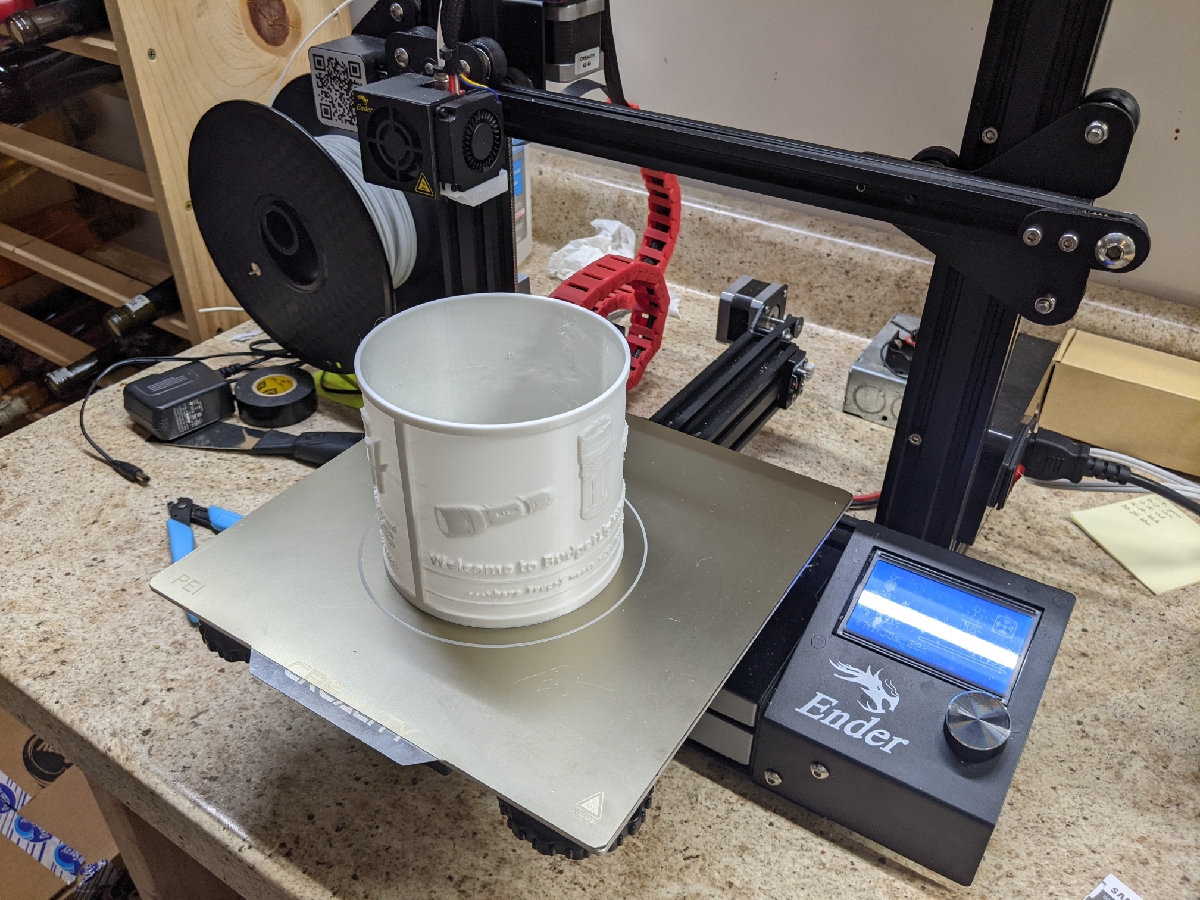
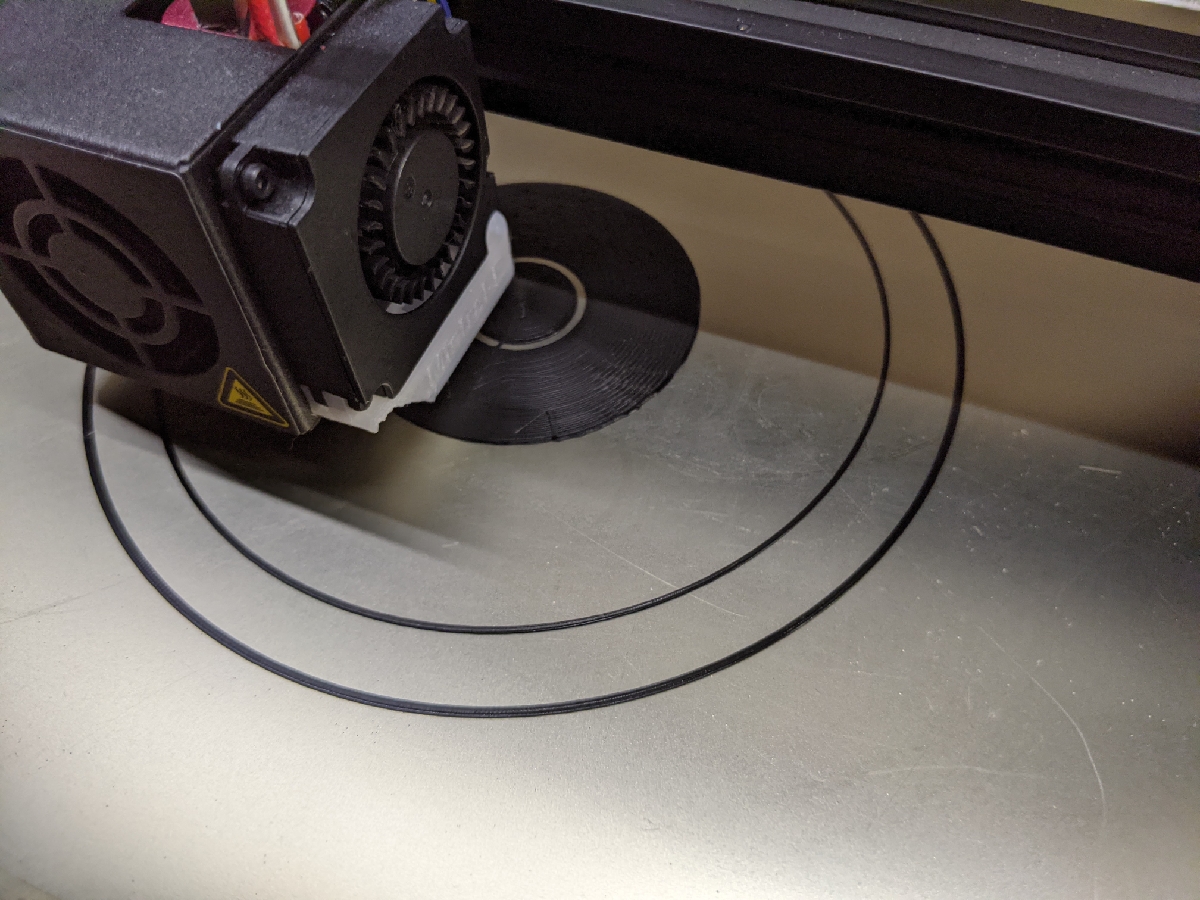
First off, a clip of the first piece being printed:
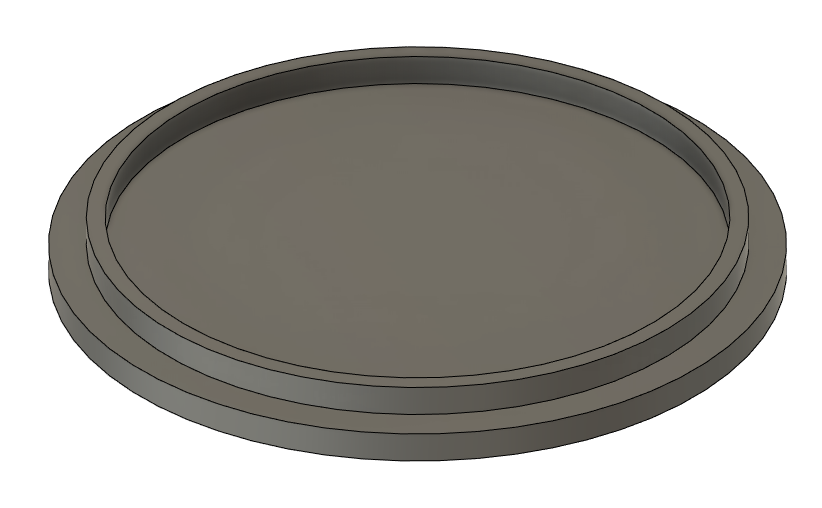
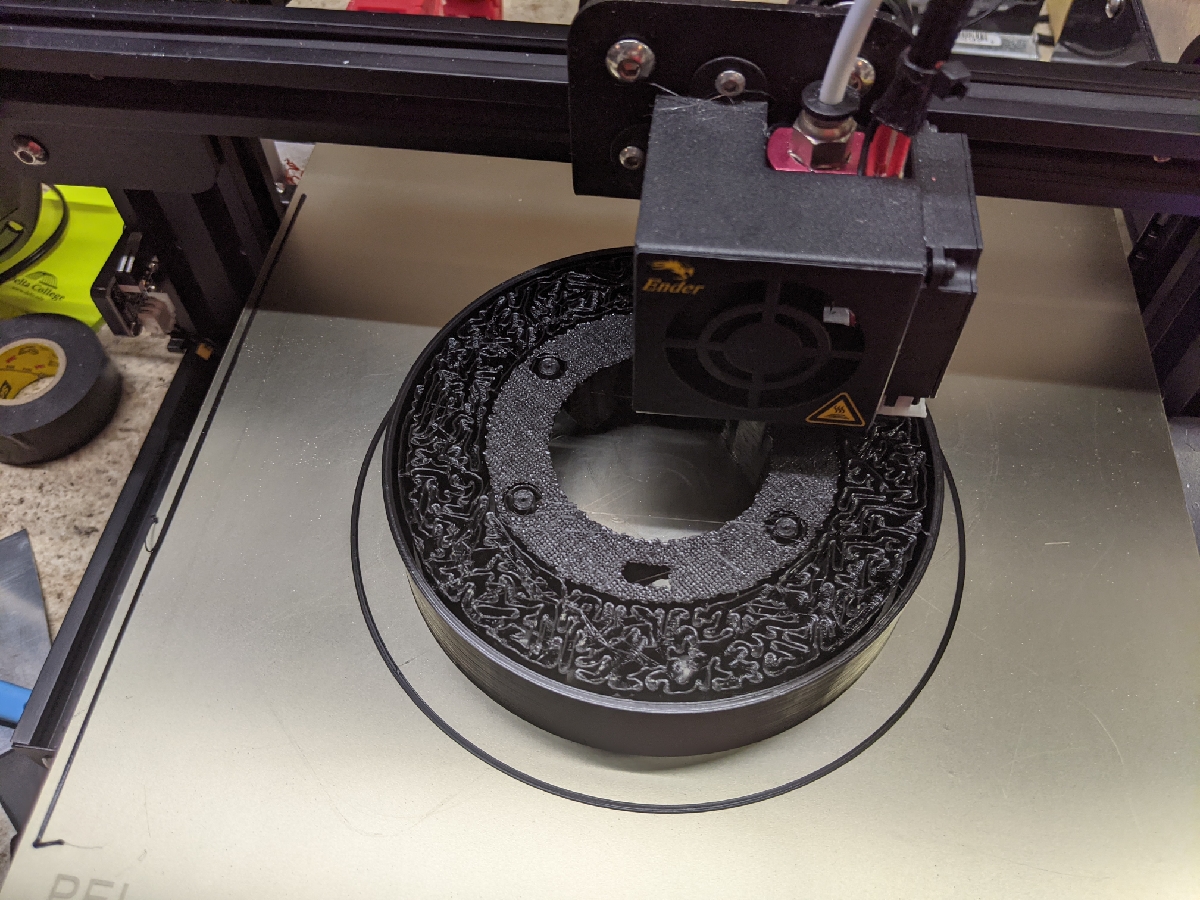
And here’s the end result of that:
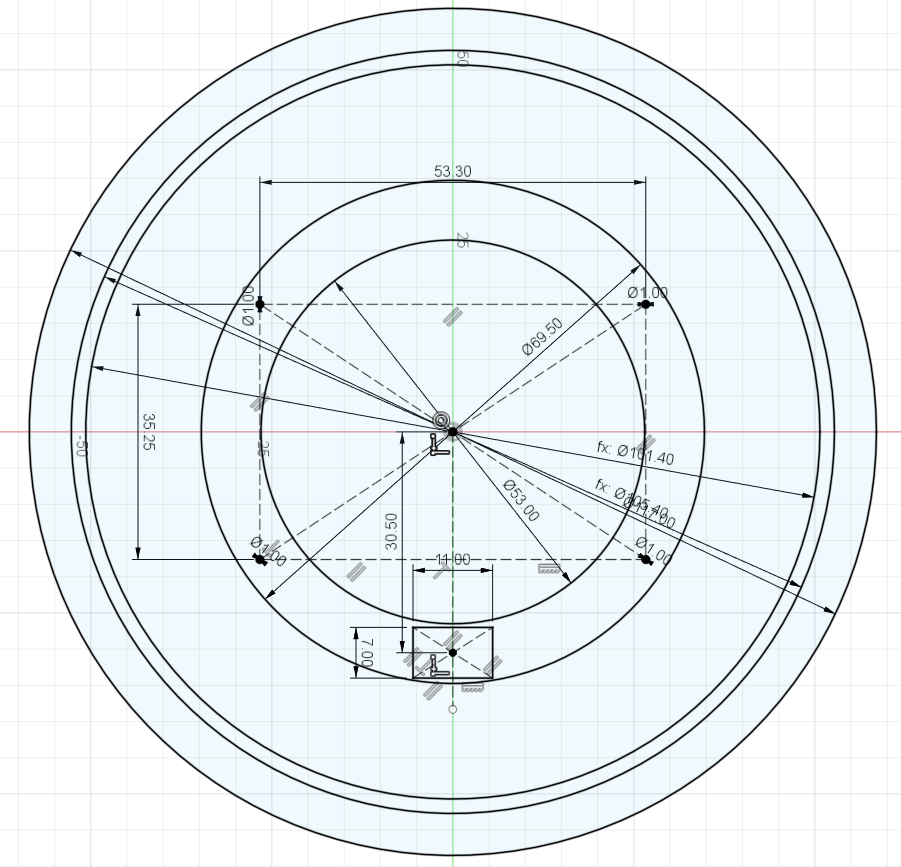
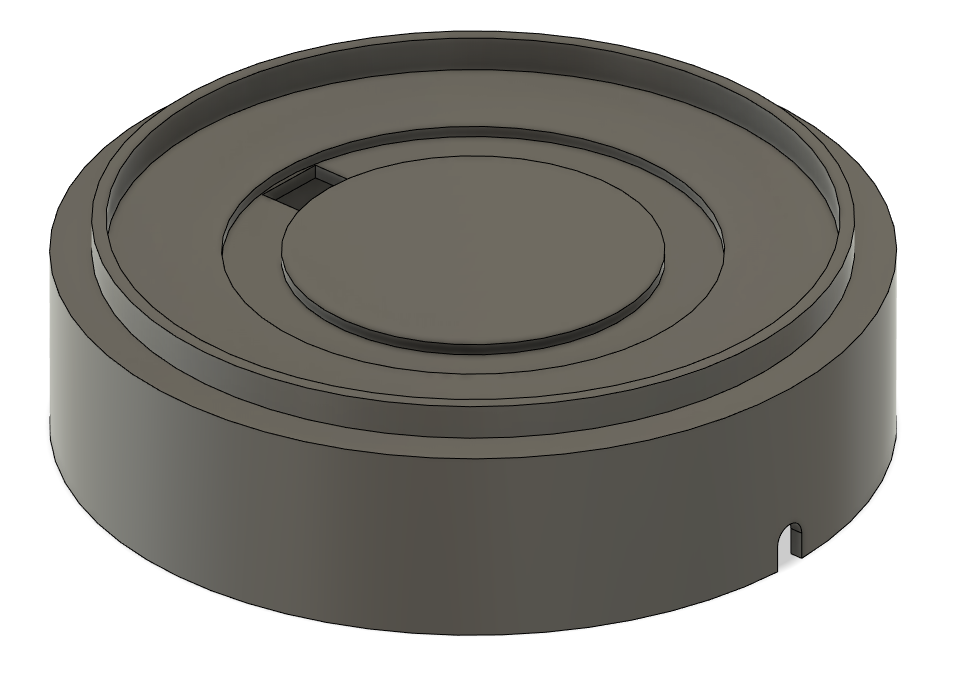
With the middle section complete, time to design the top and bottom pieces using Fusion 360:
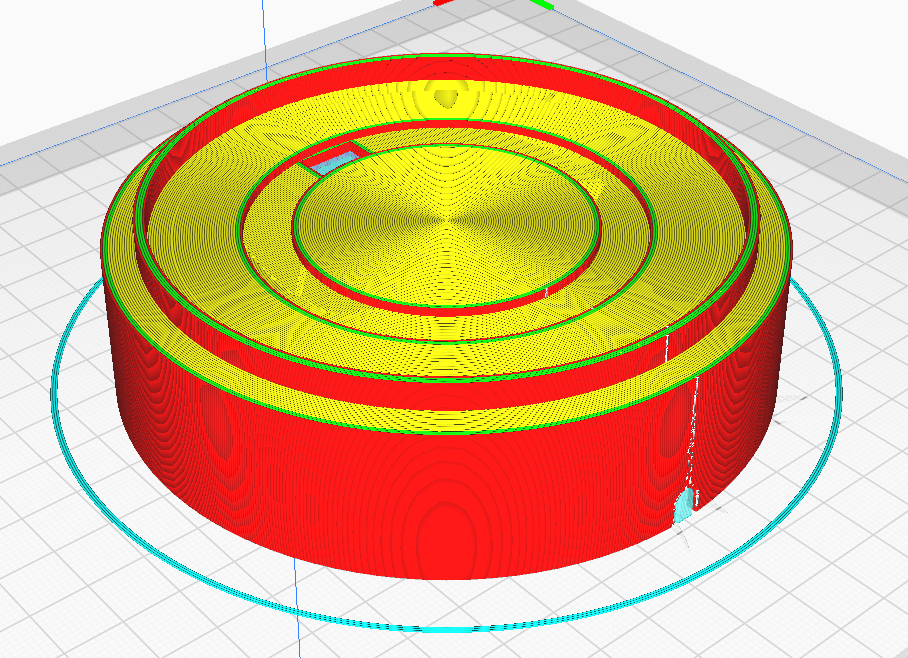
And here’s a shot of that lower section being “sliced” in Cura (taking the 3D model and turning it into 3D printer instruction code):
Here’s a shot of that top cap being printed:
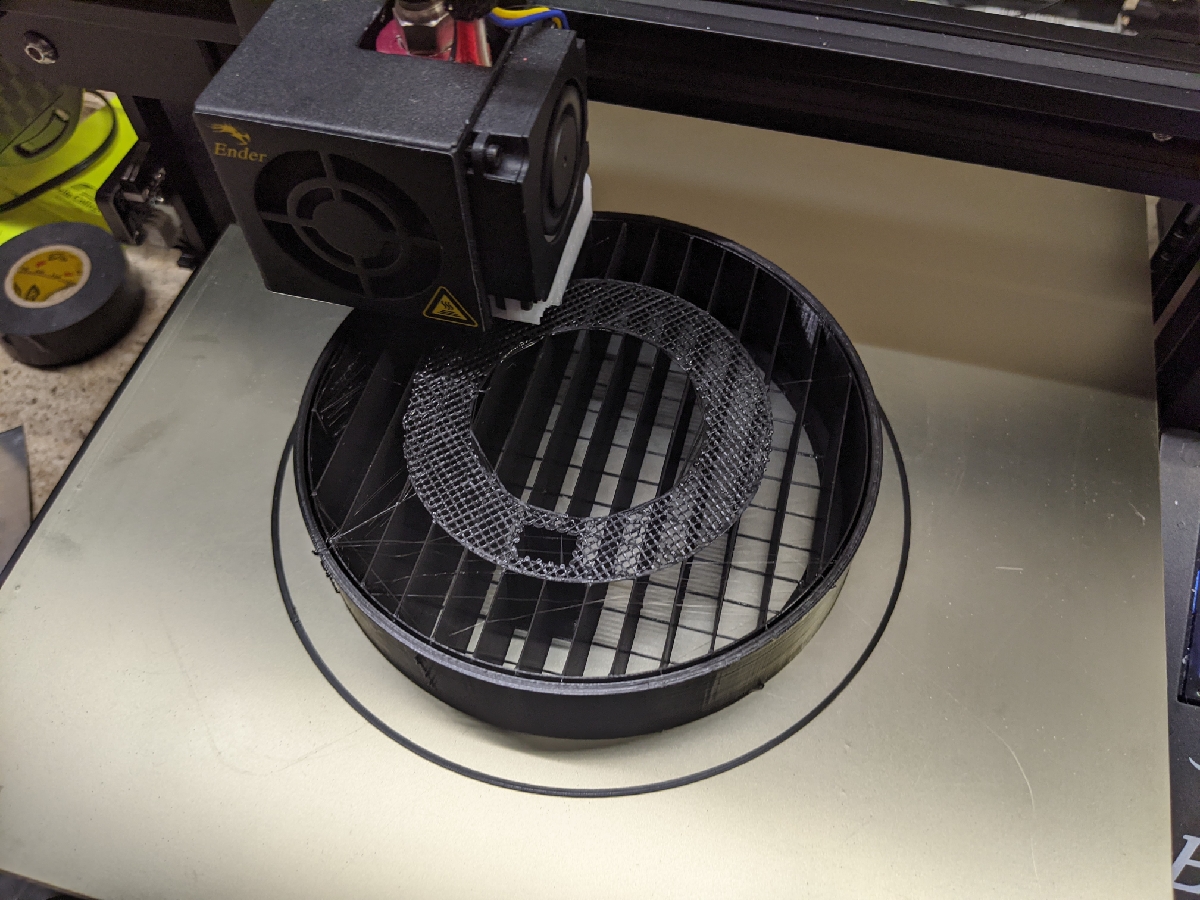
The first iteration of the base being printed. Notice the organically looking structure in that middle. Those are “tree supports” that give overhang something to print onto. You can’t just print in mid air!
And, well, I didn’t get a couple pieces of the design perfect on the first try. So back to Fusion 360 for a couple adjustments, and back to the printer. This time I used a more “normal” support structure of lines. The original print of the base took 18 hours. I didn’t want to wait that long for the revision so I greatly increased the speeds and played with the support structure settings to get it down to 6 hours. What a difference some of the settings came make. Generally speed comes at the expense of quality, but it worked out fine for this model.
Interesting seeing what you are doing, I have one of those colour rings myself I haven’t utilised. I love that you are using a 3d printer, something I keep toying with buying, but luckily have made a good friendship with a guy who already has one who offered to do things for me.
Amazing machines, and by the looks of it an amazing light is coming out of it!
My wife would love the different colors. No 3d printer, but I may have to learn how to wire an microcontroller and write code for it I can hardly wait to show her your final product!
After long delay, I’ve finally made it a priority to get this finished up!
The pieces:
Top of the base with it’s Neopixel ring
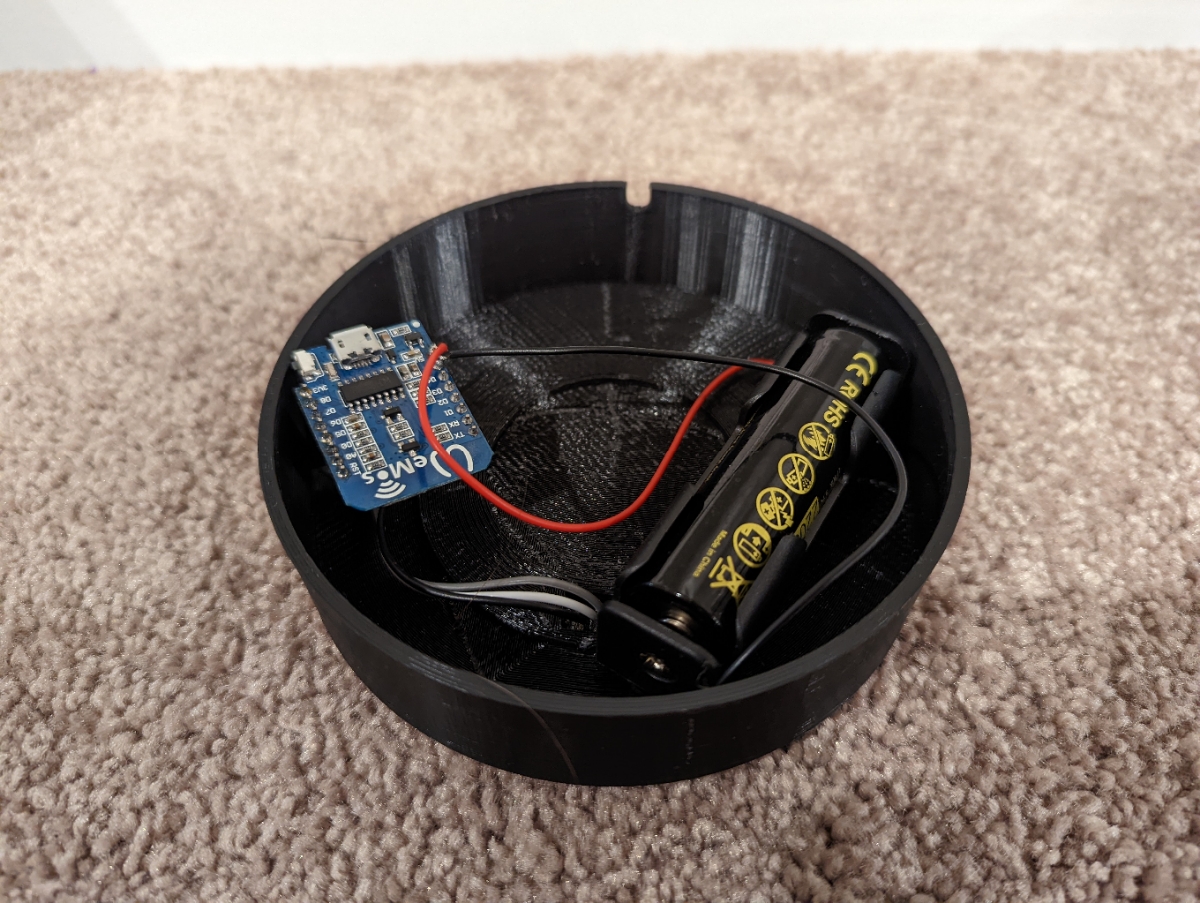
Underside of the base with the Wemos D1 Mini (an Arduino-capable board with wifi) and a battery
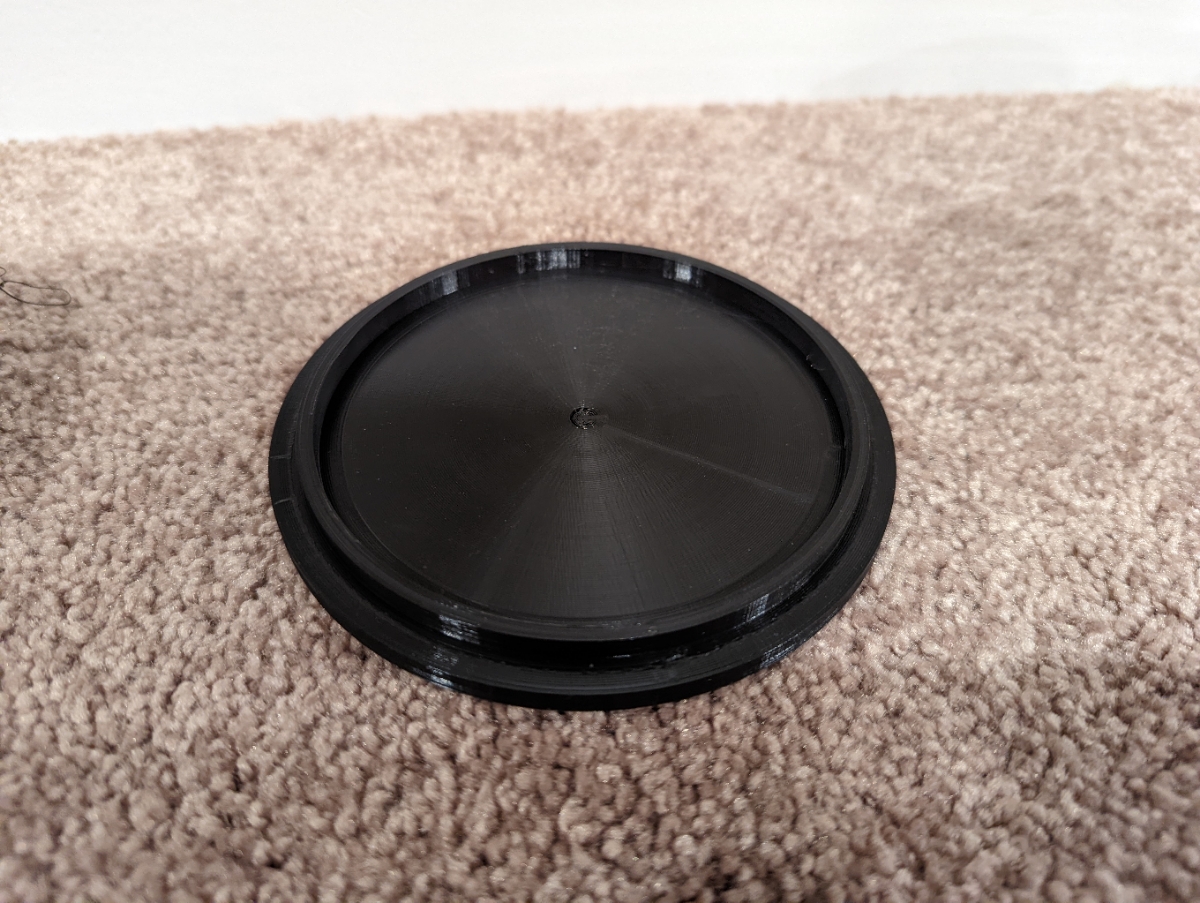
Top cap, nothing too special
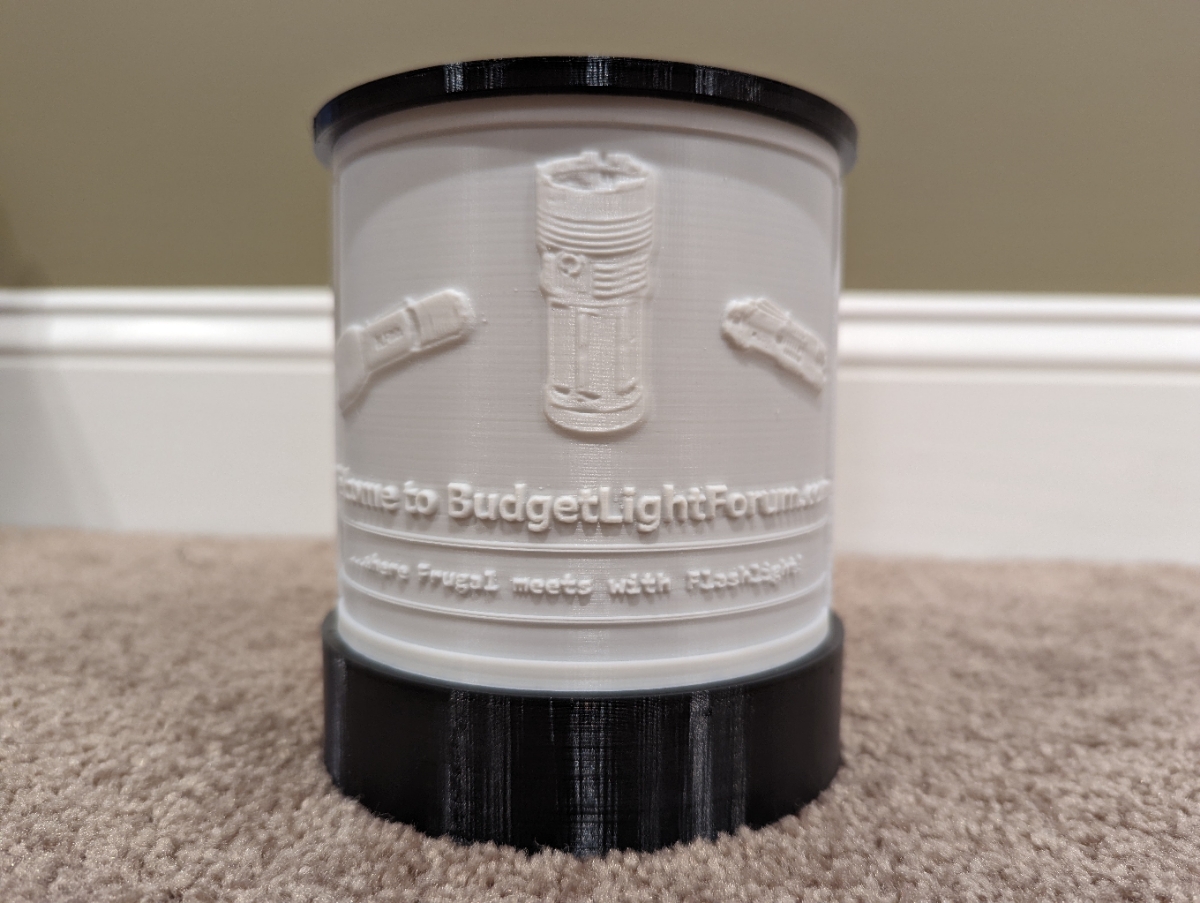
Lithophane, panel 1: the BLF web banner
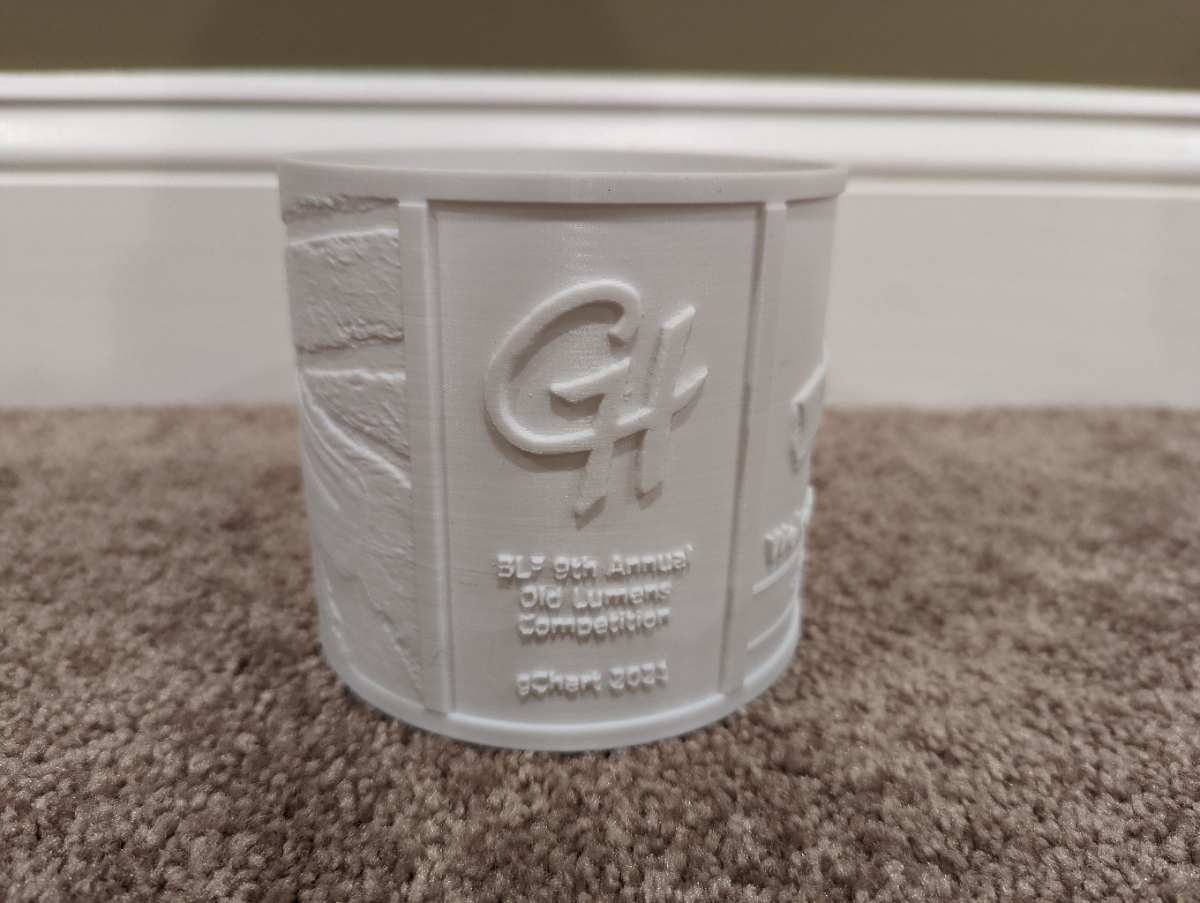
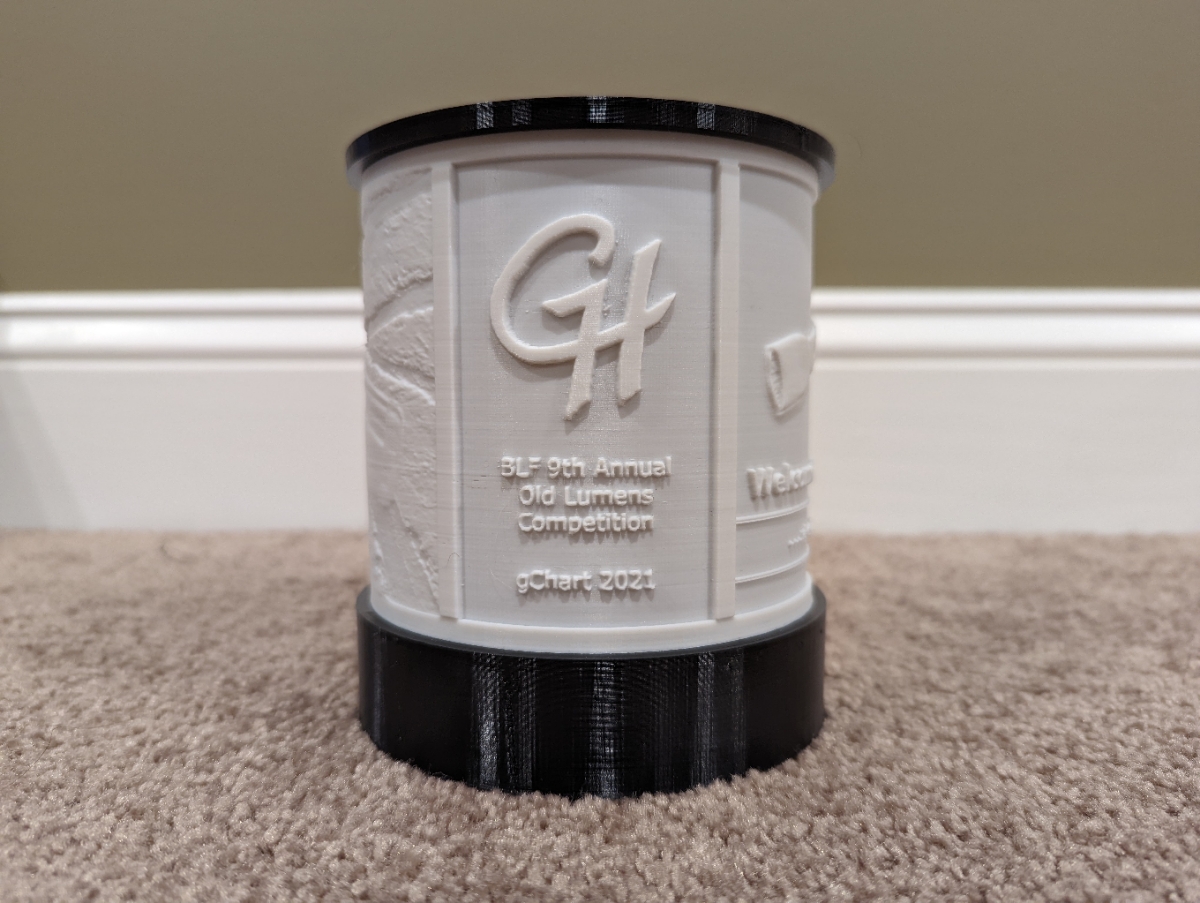
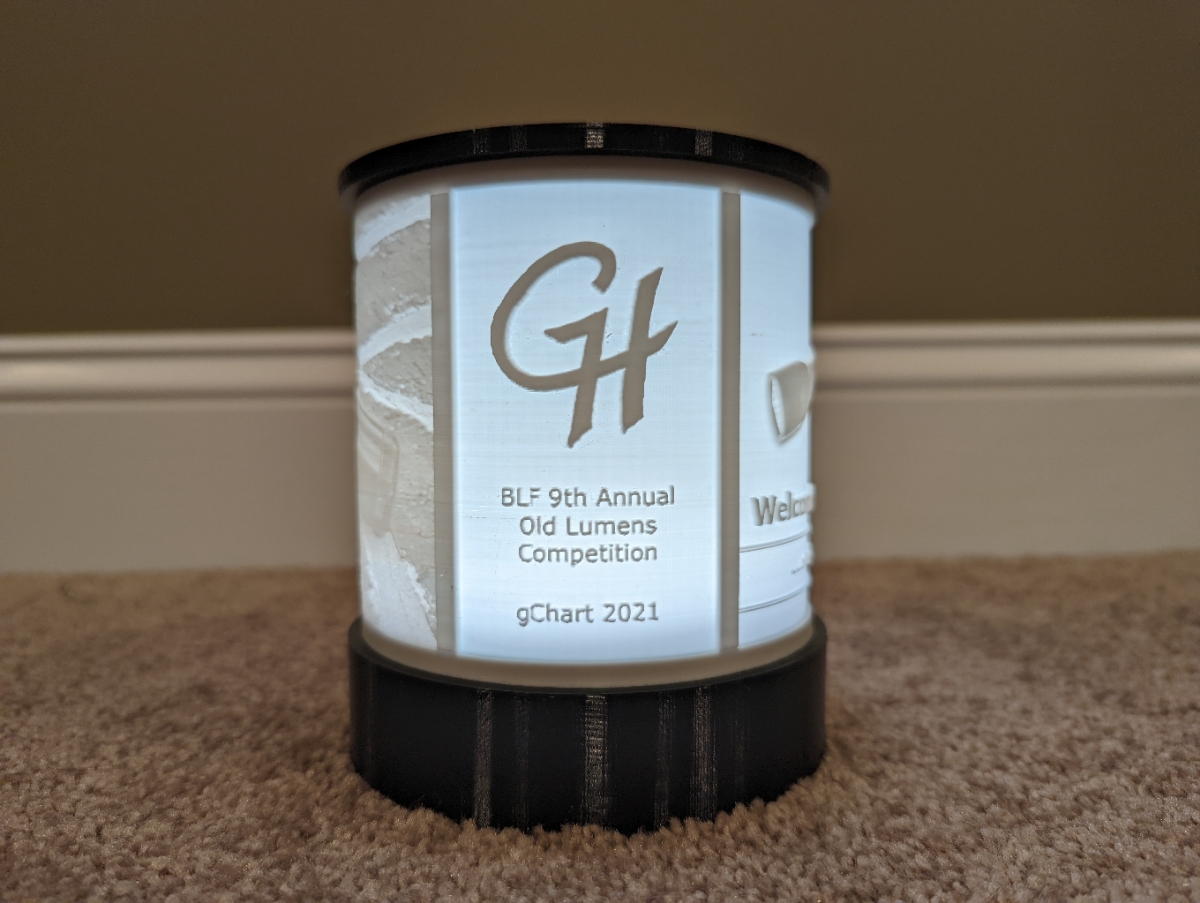
Lithophane, panel 2: my initials and info about the contest
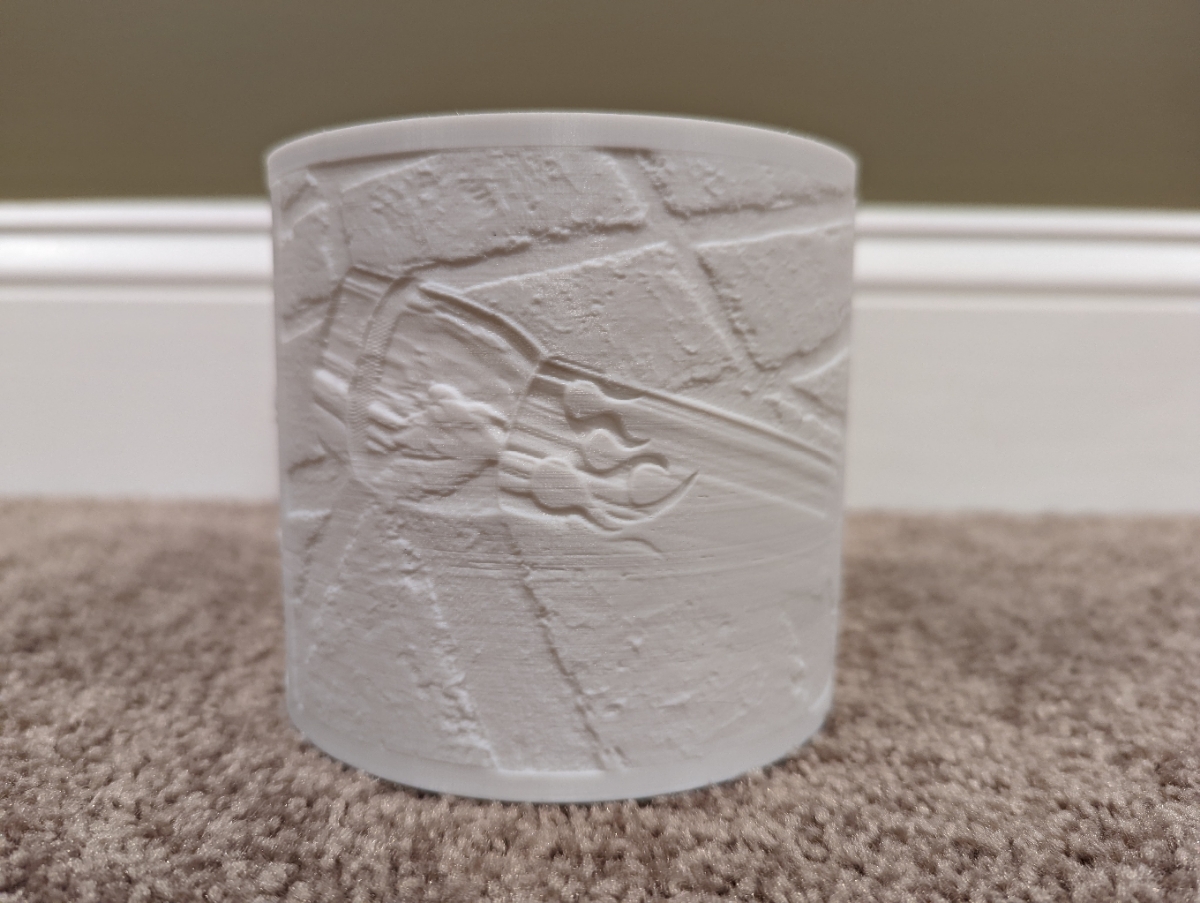
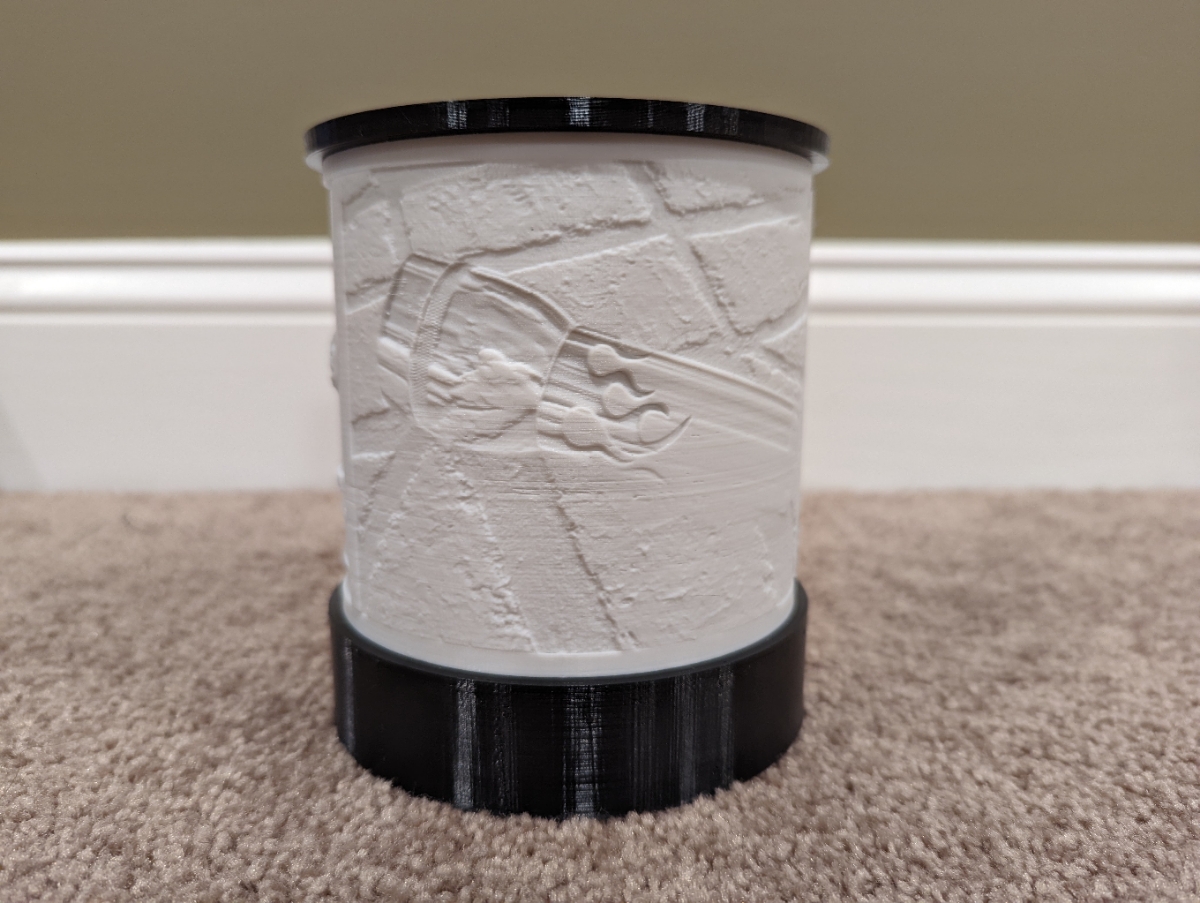
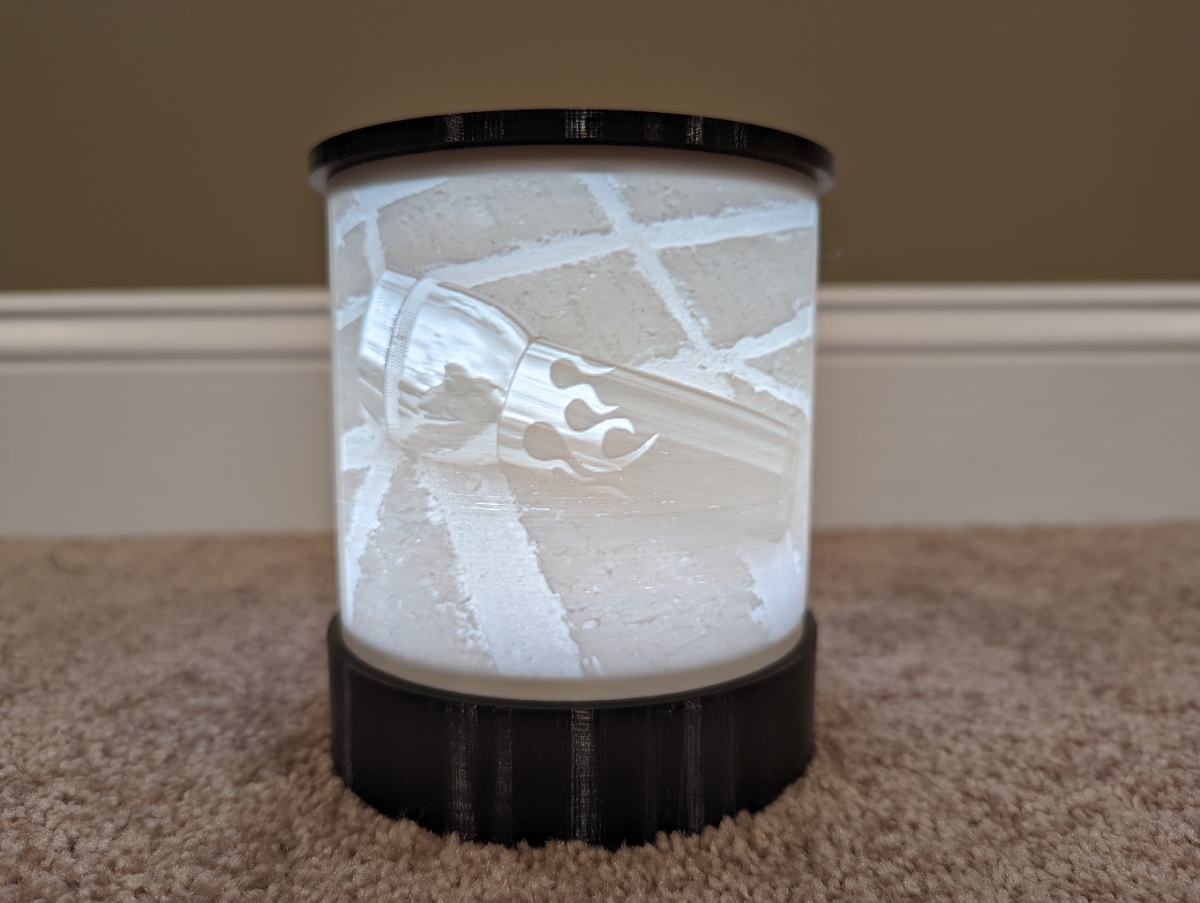
Lithophane, panel 3: the awesome flamed MagLite that you see in Justin’s (Old Lumen’s) avatar. What a special and great looking build!
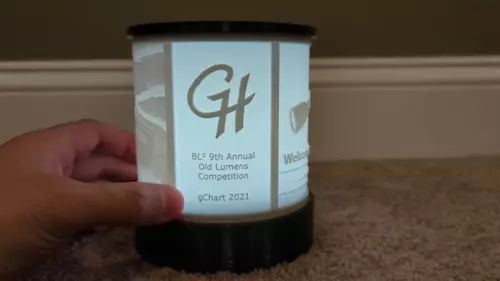
All assembled, unlit
Here are the three panels of the lithophane with everything assembled but unlit
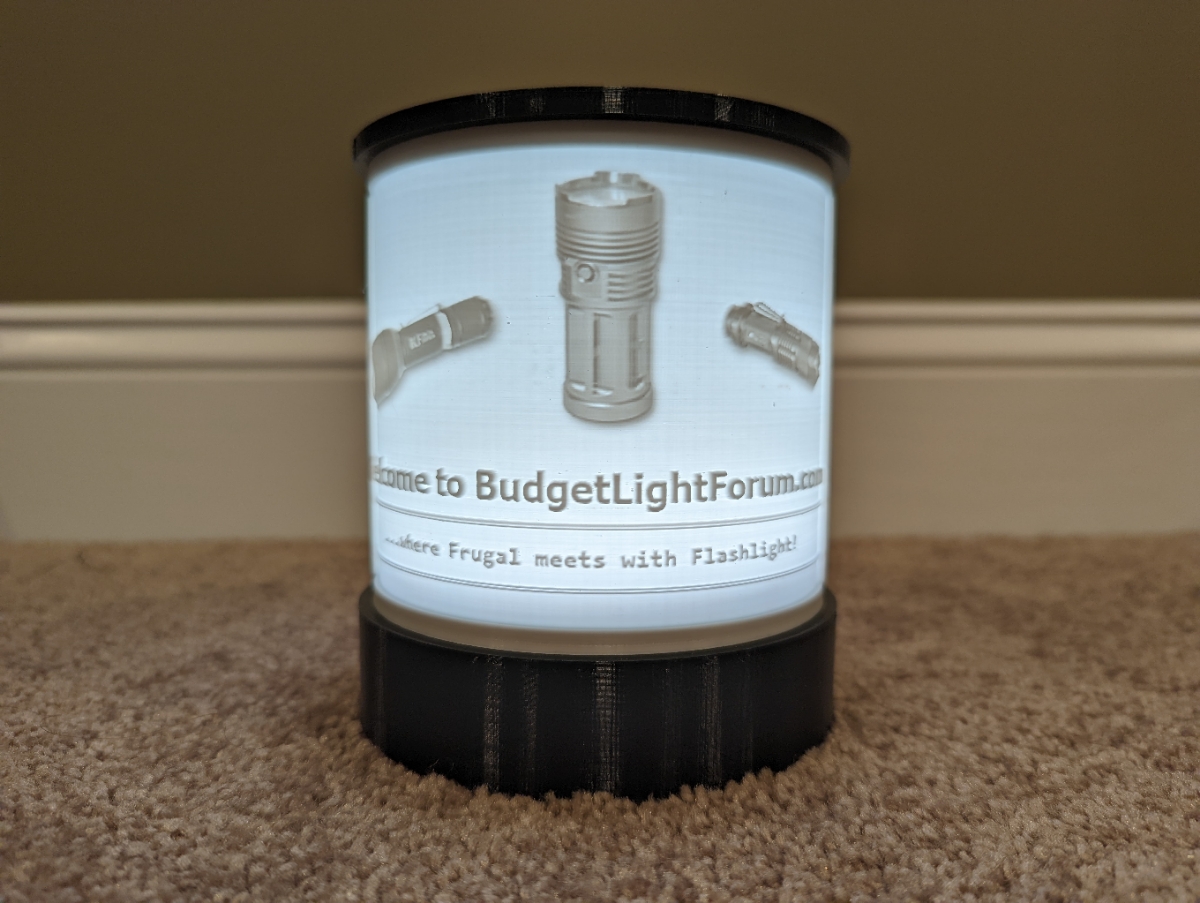
All lit up
Same thing, but now lit up!
A quick animation of the lithophane in action
A video of the build in action
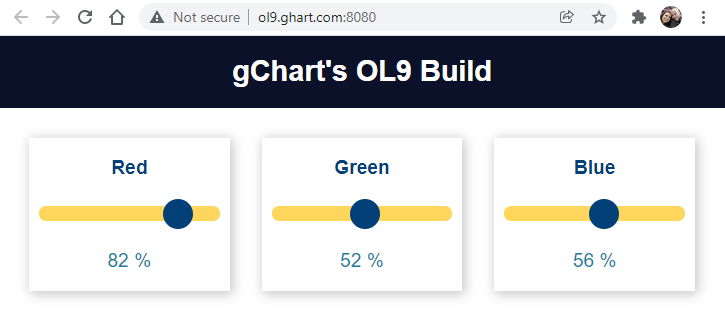
Web controller interface
But wait. there’s more… want to control the color of the lamp? Just head here and go for it! http://ol9.ghart.com:8080 But what good is it to control it if you can’t see what you’re changing? You can tune in here: http://ol9.ghart.com:8888/video
Attribution: much of the controller code was borrowed from this tutorial
Super job, gchart!! That is really cool, and including Old Lumens’ avatar light is very touching as well. I’ve seen them before but I didn’t know lithopanes were called lithopanes, so I learned something again. Very cool project, and I’m saying that as a guy who is totally not in to lanterns. Nice work.