So i had an idea for a no cost build. From things around the house/my electronic stash box. I like the idea that you can build something from nothing. unfortunately i have no access to good tools other then myself right now. Also, if you think mines poop enough for you to enter and it can do better -frickin sweet! show me, id love to see more in here.
Its been a year since i built anything…life has gotten way busier then id like. I actually had a light built last year for the modified category, but was unable to make a type up for it in time. since then I’ve spent a whole year thinking about this. I have 10 hours over the course of the last 2 days cobbling it together. we will get this one finished and submitted, bear with me…
0 cost, 0 real tools (flush cutters, diagonal cutters, couple drill bits, soldering iron, 63/37 solder, iso alcohol, paper towels, 60 grit sandpaper)
I was going to use sch 40 pipe for this but decided that would be a cost as I have none on hand. Improvise. Adapt. Cobble. That is how it goes, right? ![]()
The build list goes something like this:
(pic 1) 
mtn 17mm ddfet driver
osram 1mm2 on 20mm copper pcb
fresnel lense
3 tin cans, Hunts tomato paste, great value carrots, Busch beans (sorry only two pictured)
3 samsung 30b cells
tp4056 charger
3 red 1206 leds
3 1206 150ohm resistors
aluminum insert/spacer
random tiny fan
20 awg silicone wire
cardboard (rachael ray wet dog food box)
maxwell coffee container lid
handfull of 3mm screws / nuts / washers
random tail switch
1 plastic straw
1 16 oz great value water bottle cap
some cermaique 2 thermal paste
Enough hot glue that RED GREEN himself would be proud
on to the build………
(pic 2) 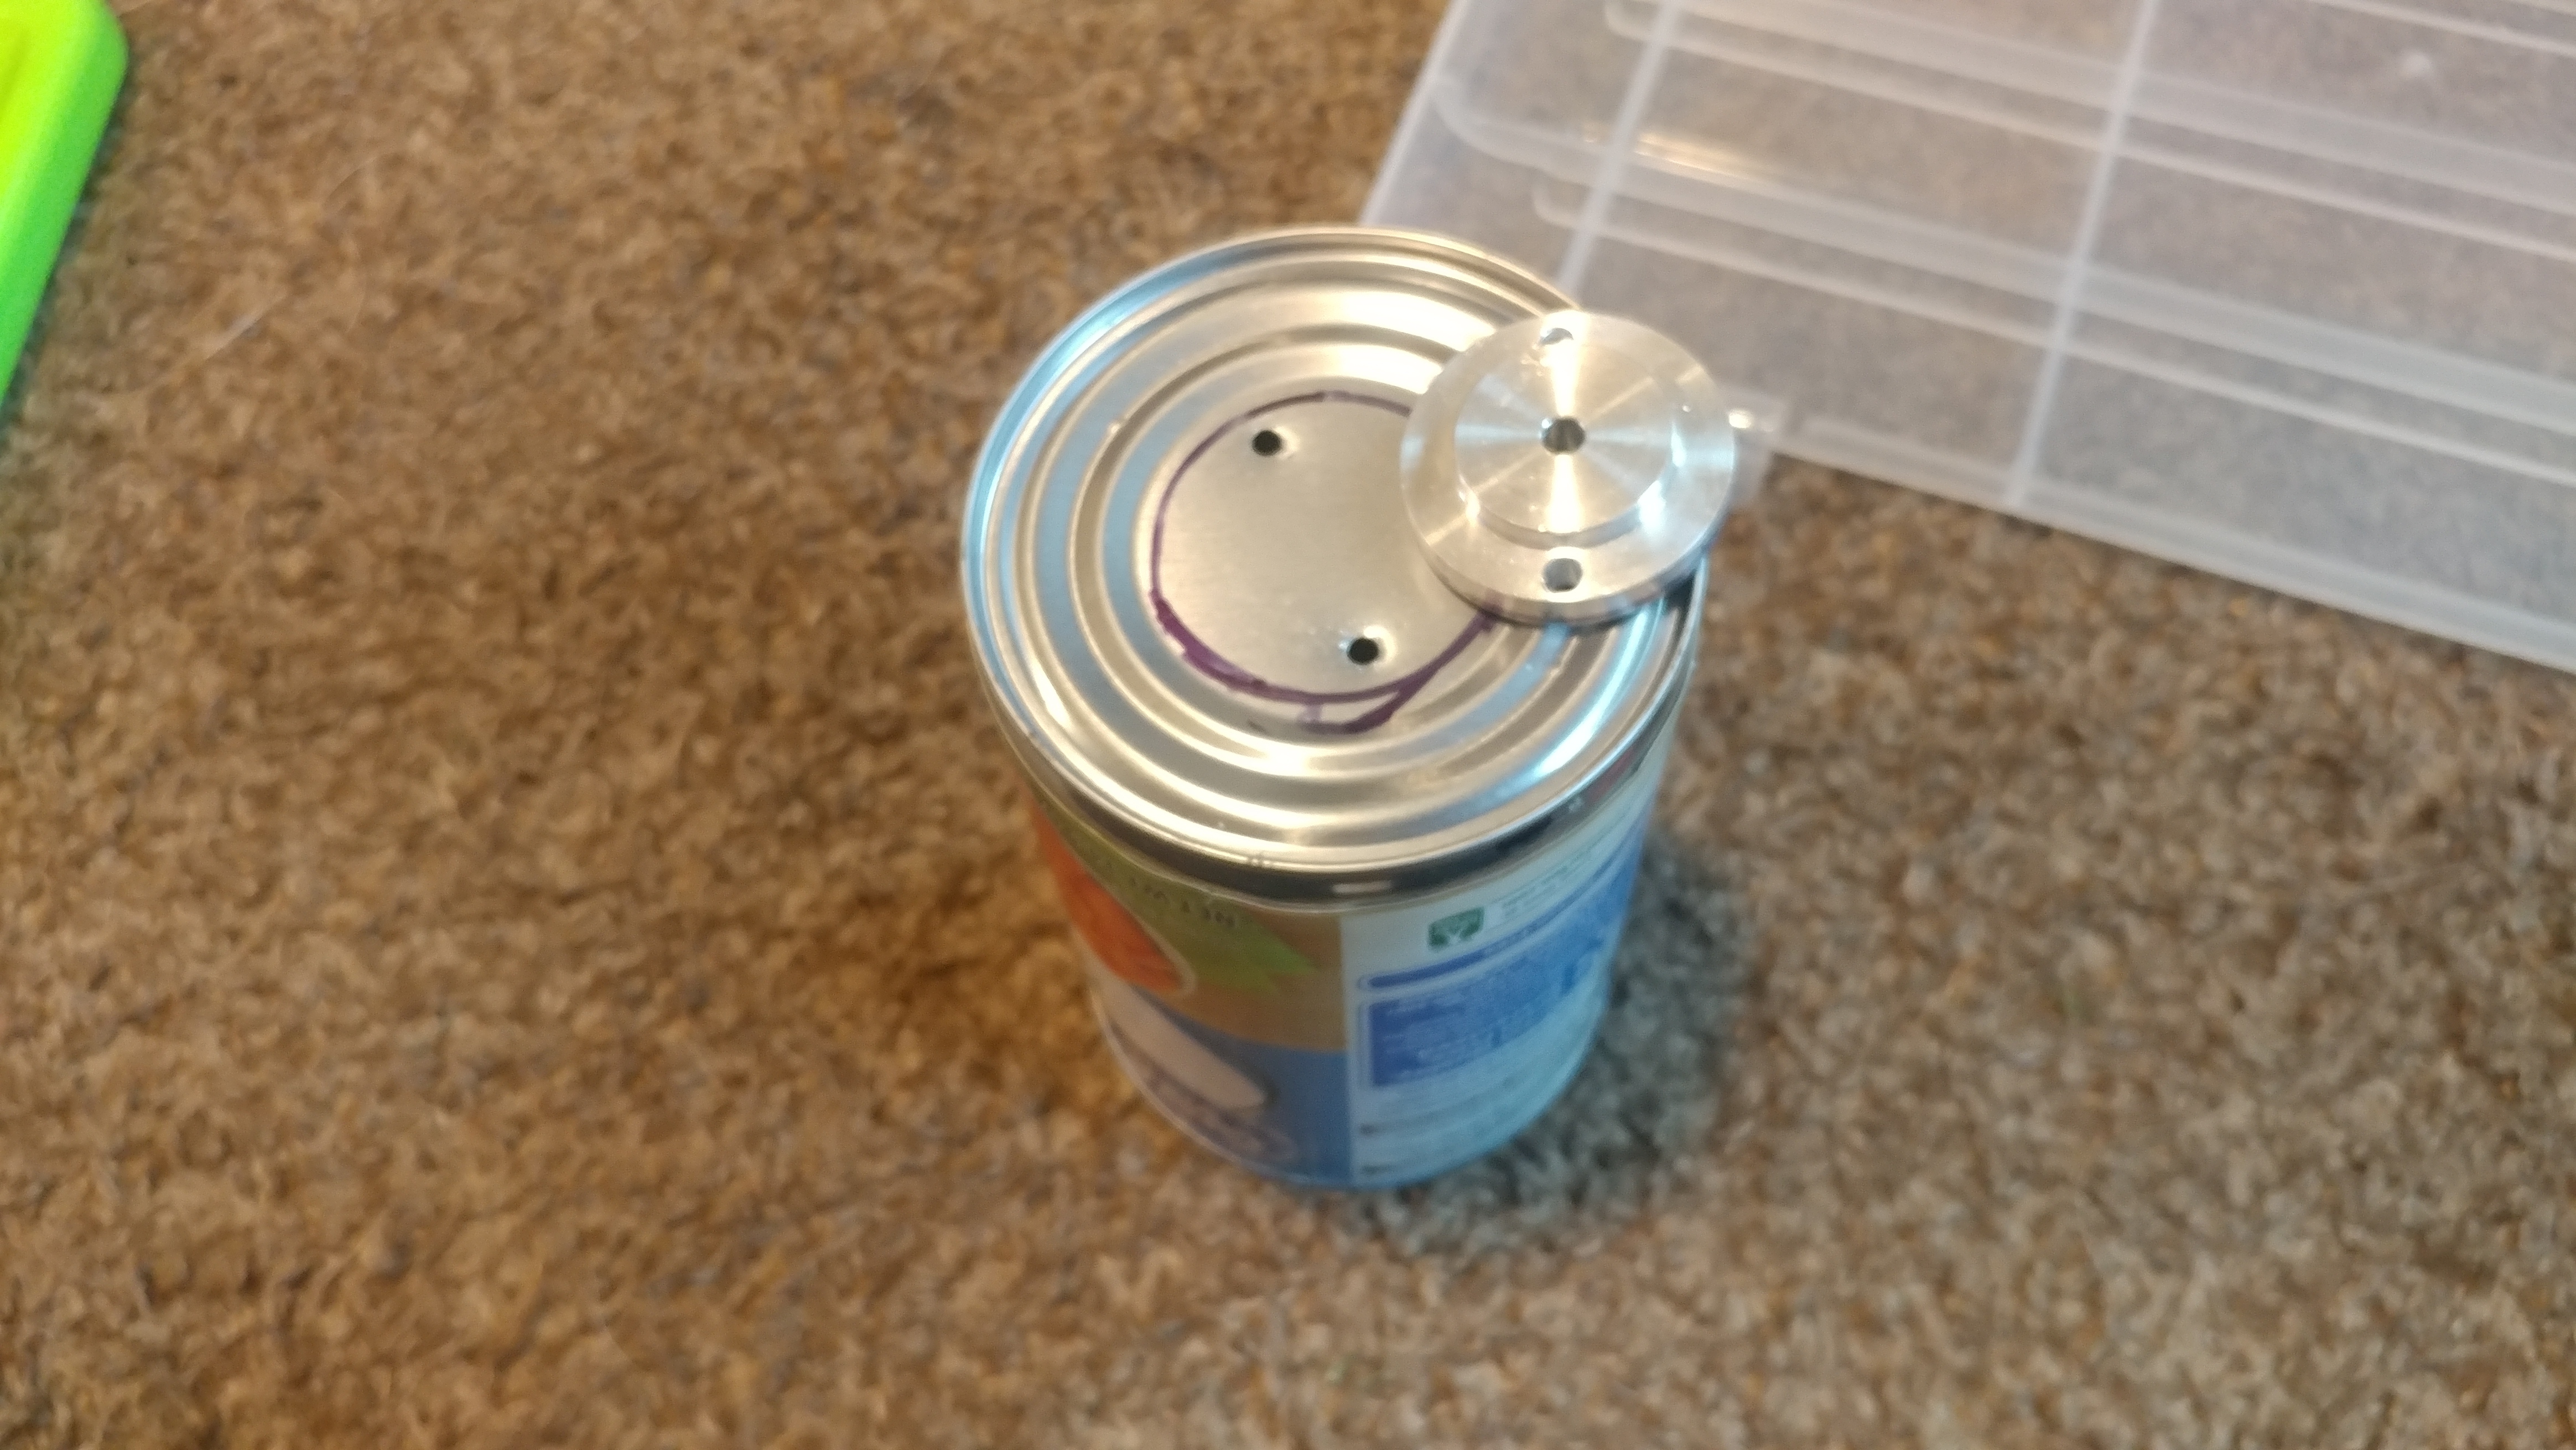 drilled 2 holes into the alum inser and the bottom of the can, to hold the led/heatsink/can together. that mightve been for a triple, but not anymore
(pic 3)  drilled an additonal hole for wires, placed a straw in the hole first to act as conduit (sharp edges)
(pic 4) 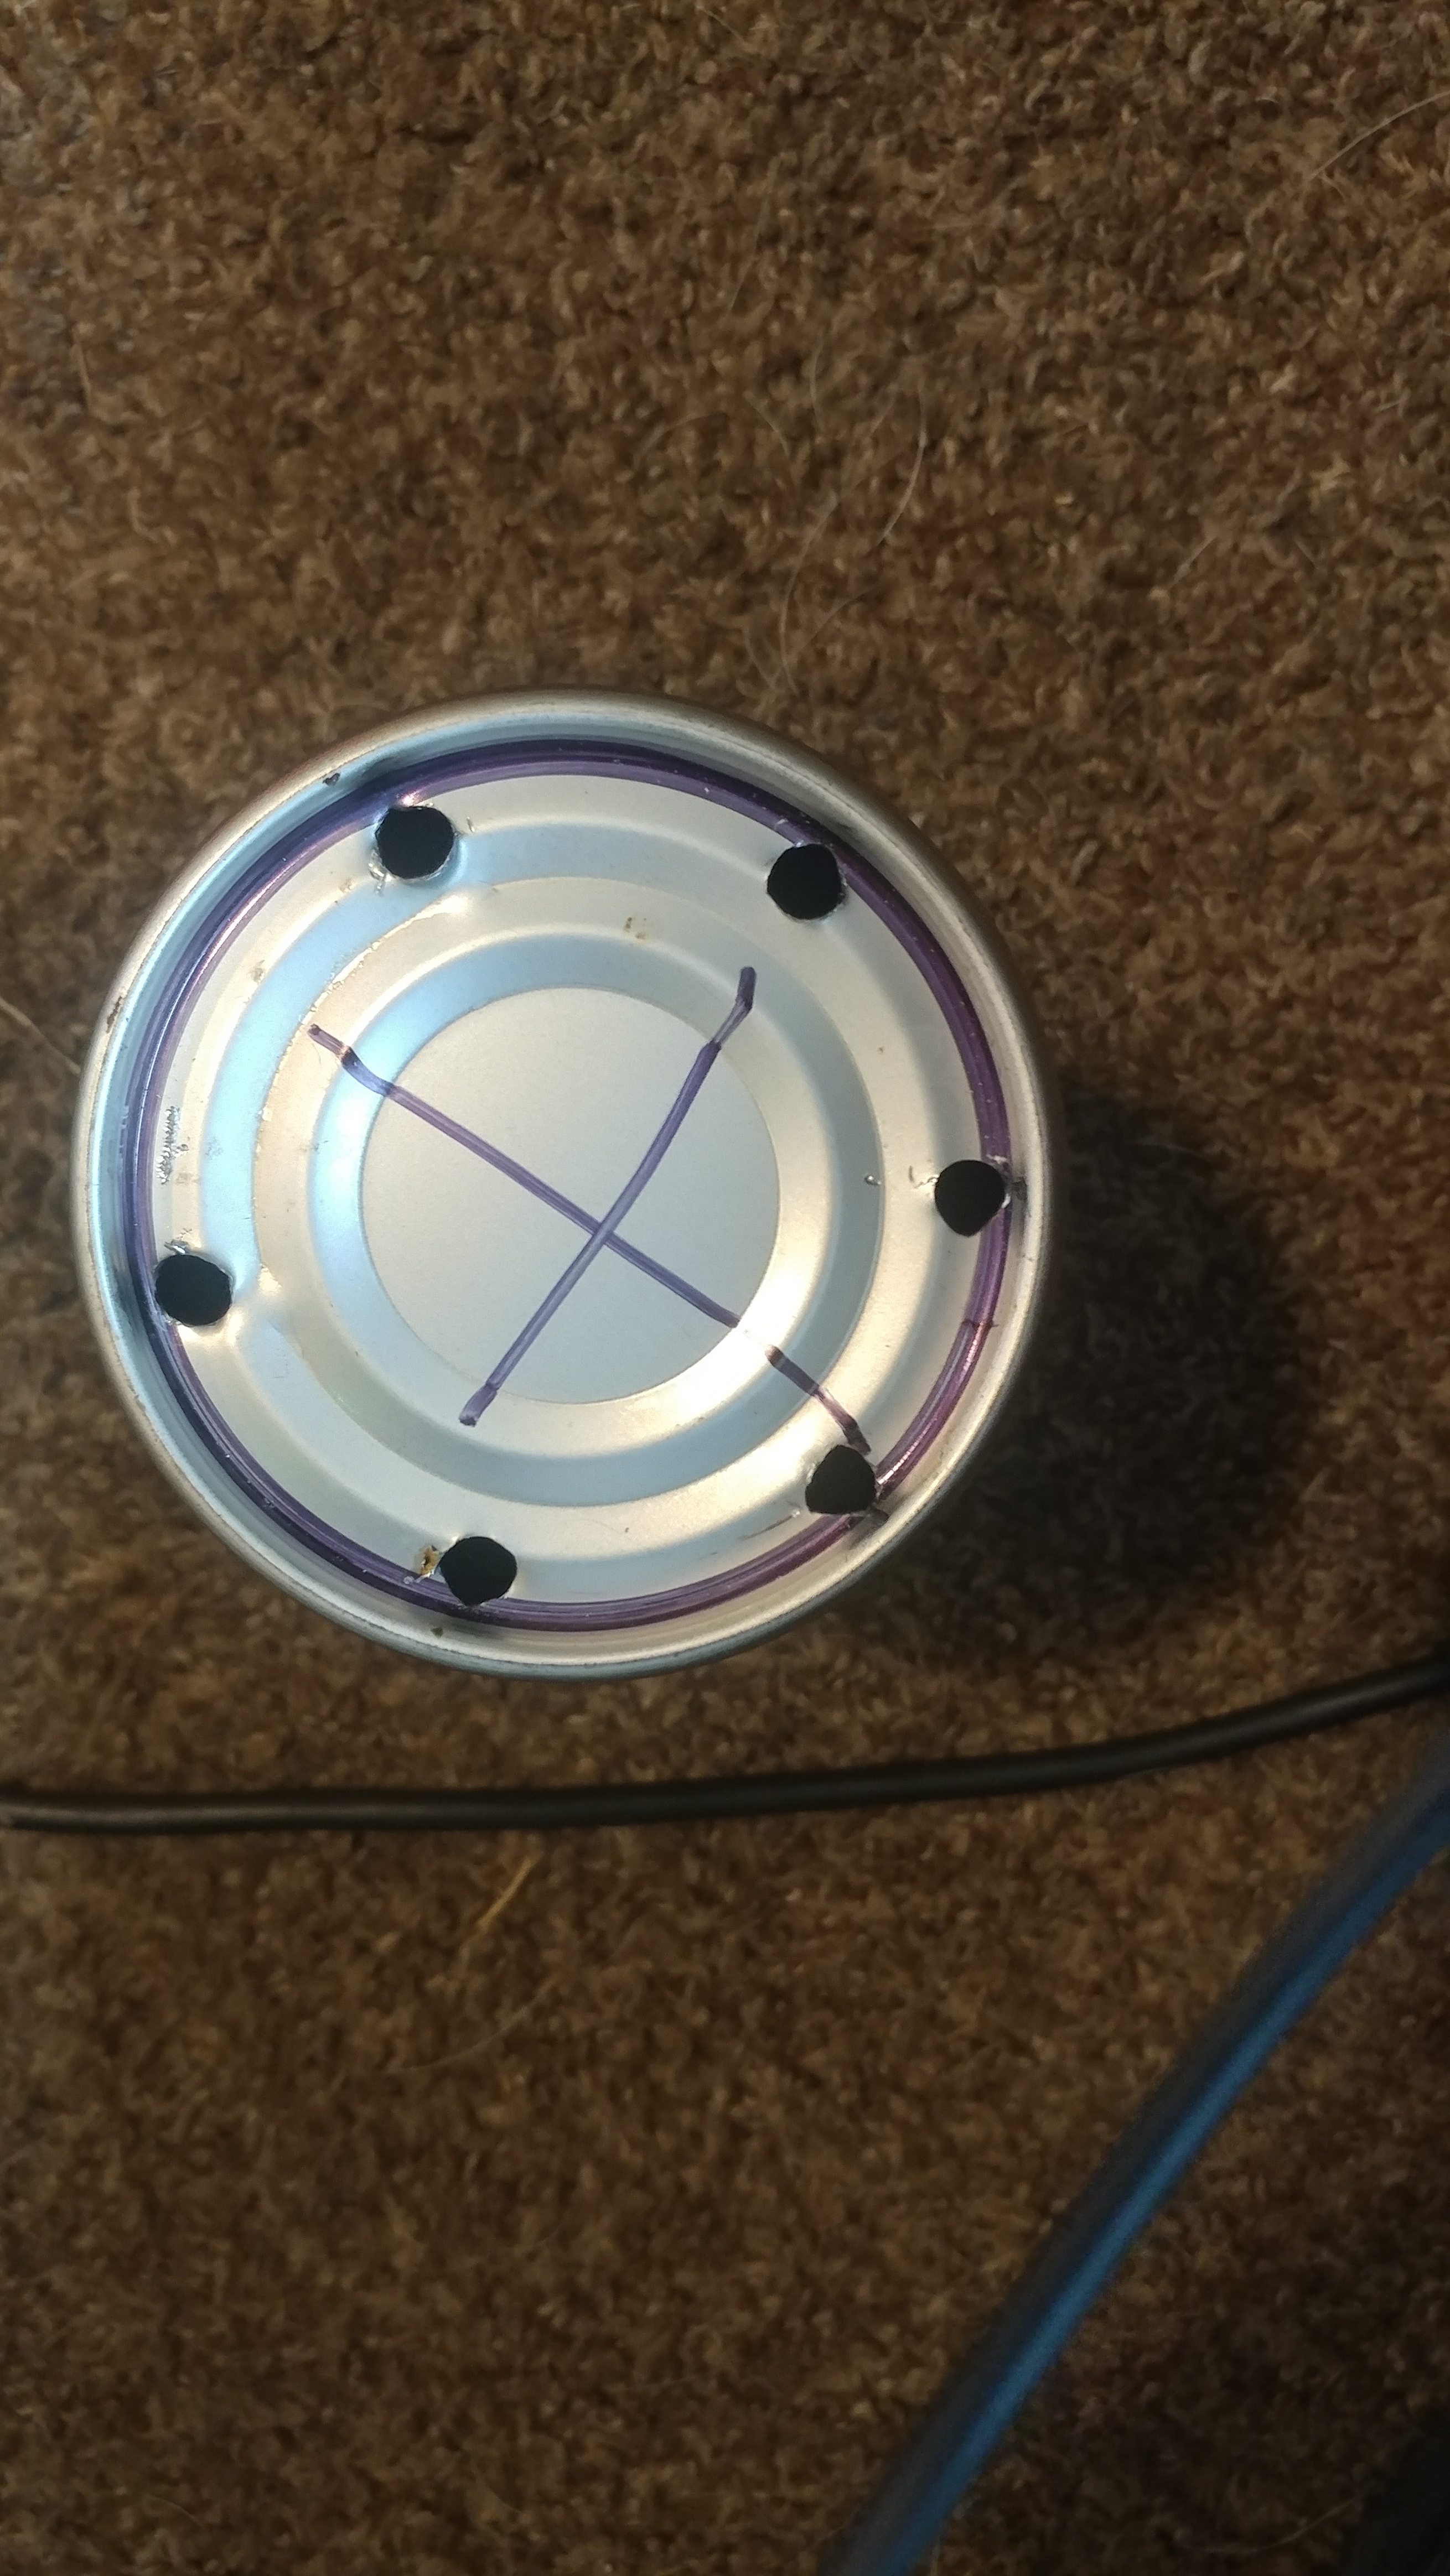 well, if youve never met me, i cant draw a circle or a straight line to save my life… drilled a bunch of holes and then used flush cutters to remove the rest of the bottom of the can
(pic 5) 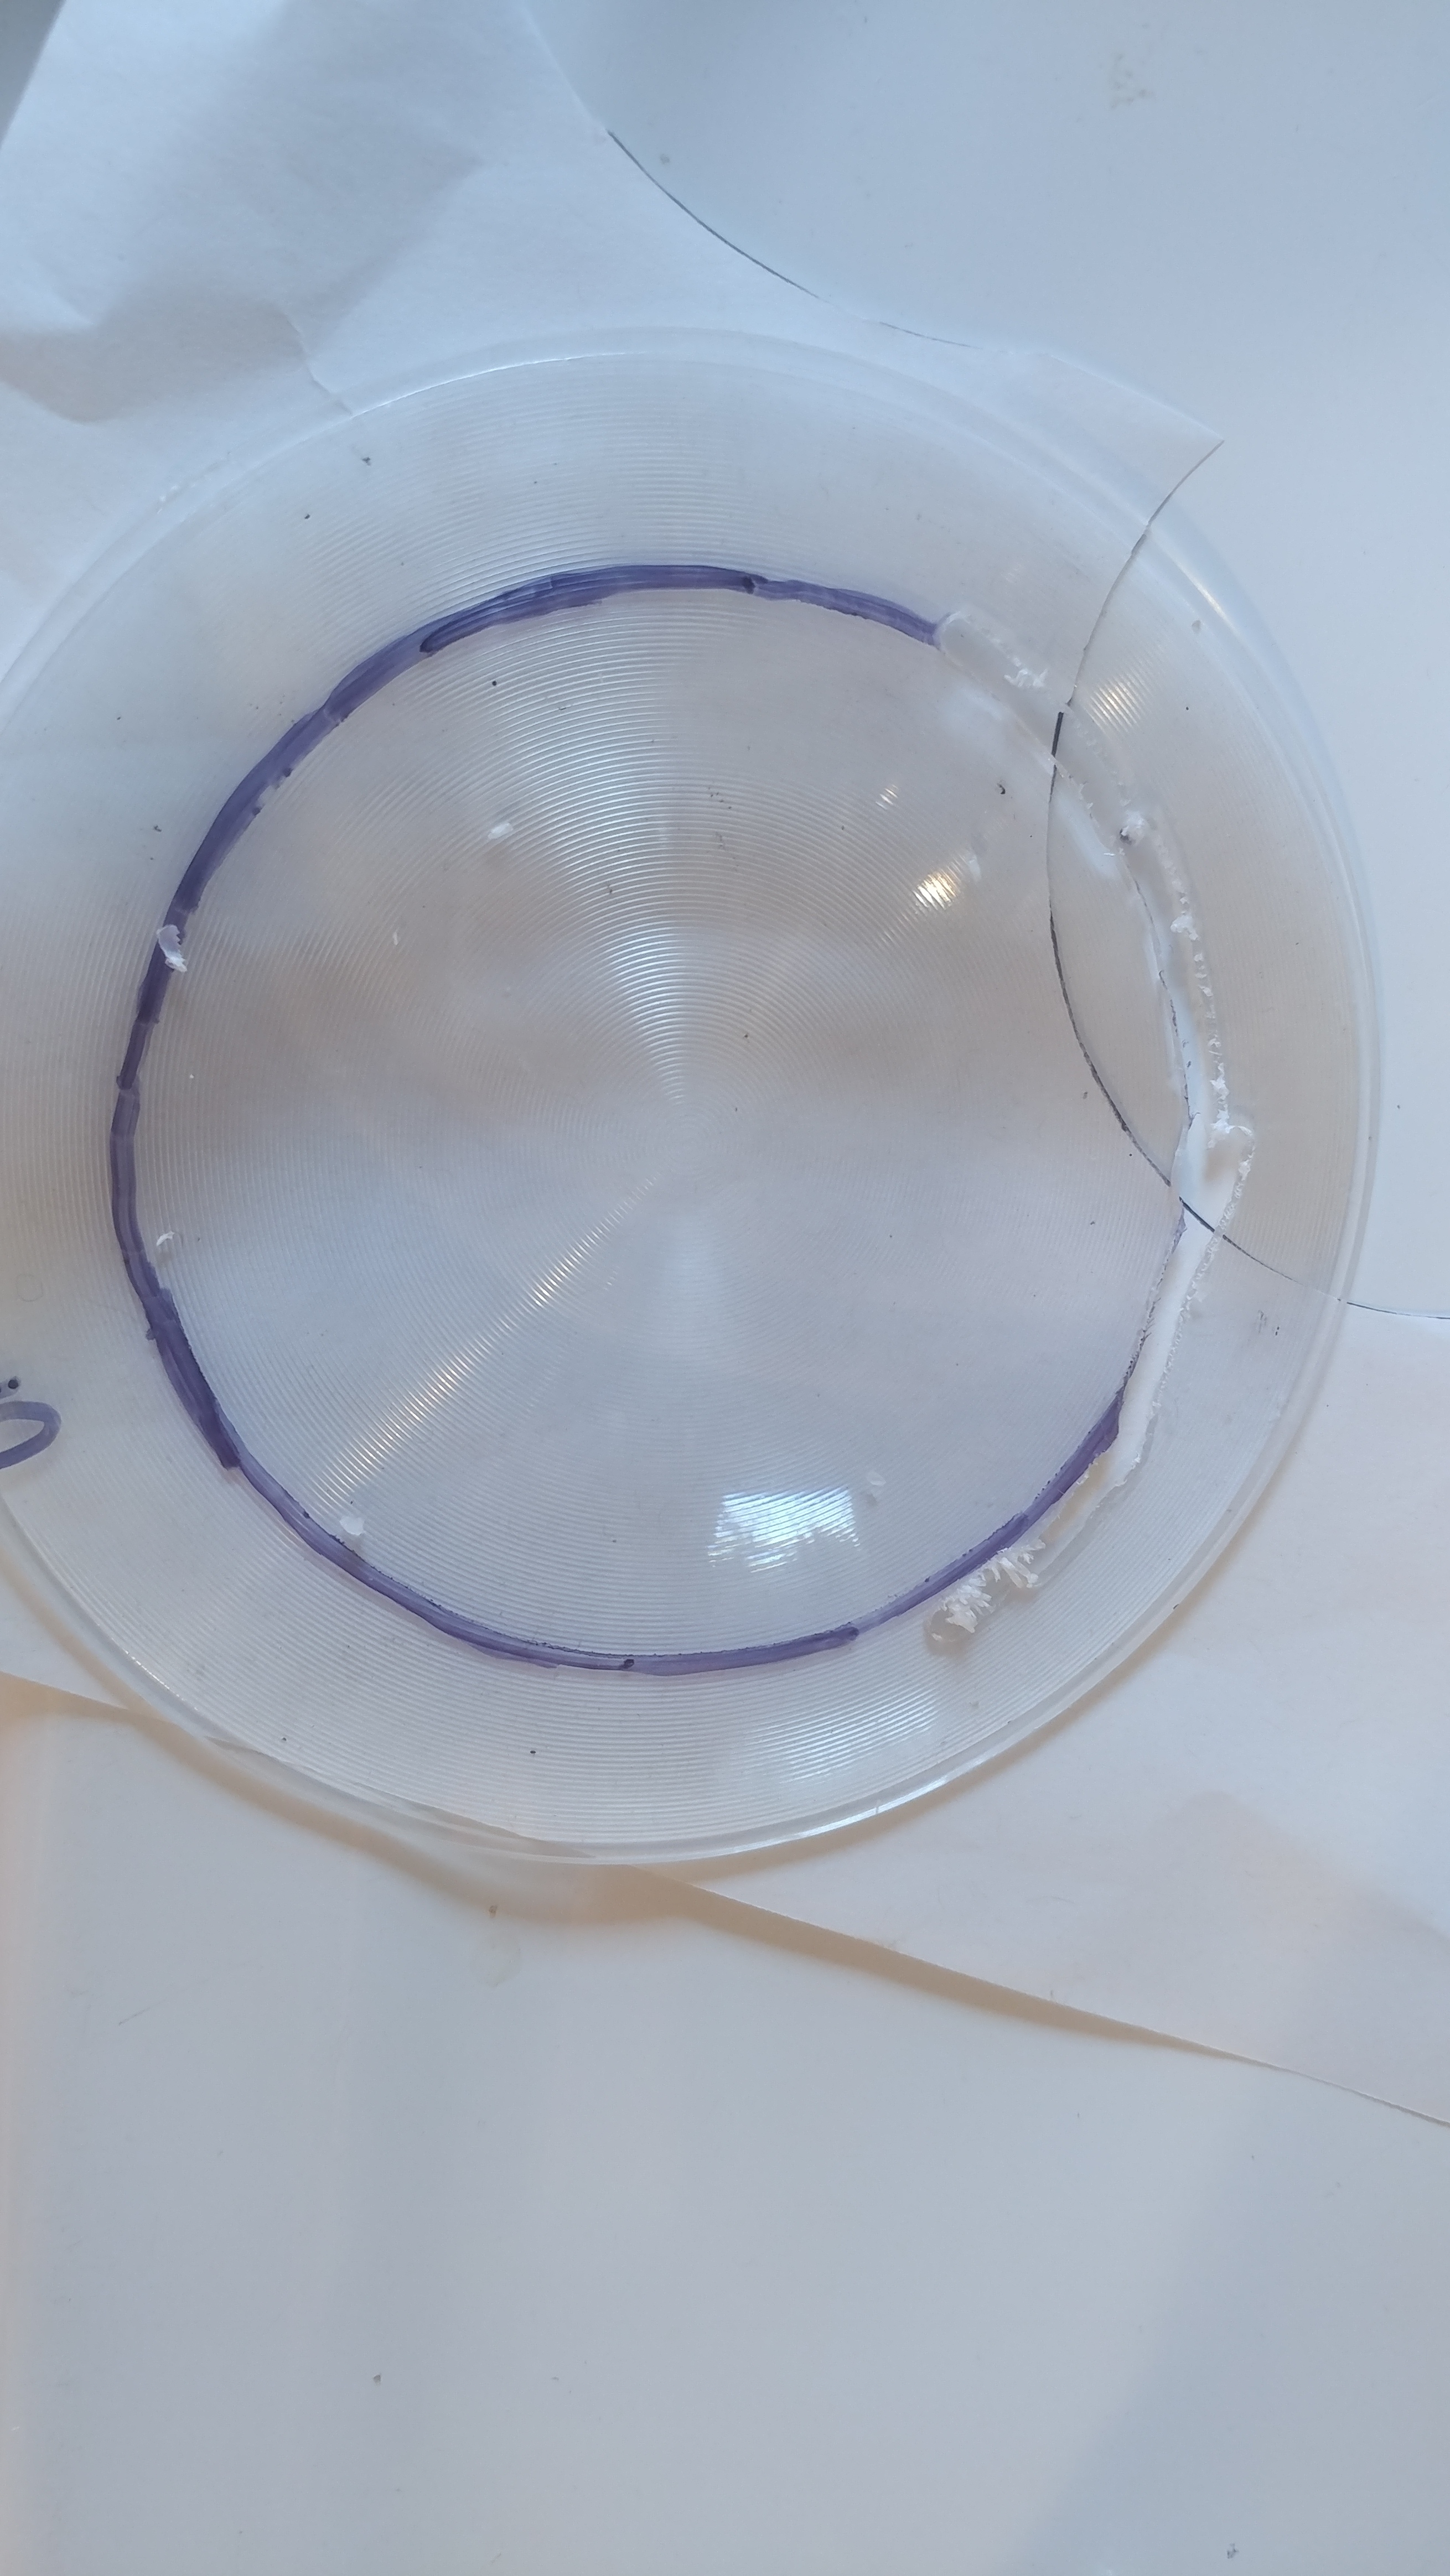 fresnel lens (from a broken discovery kids art projector if your curious) being cut down to size… with a drillbit. almost broke it, two small cracks on the outer edge. such is life, right?
(pic 6)  not pictured is HOURS of sanding to get it just right (circles are not my friend). clogged sandpaper very often.
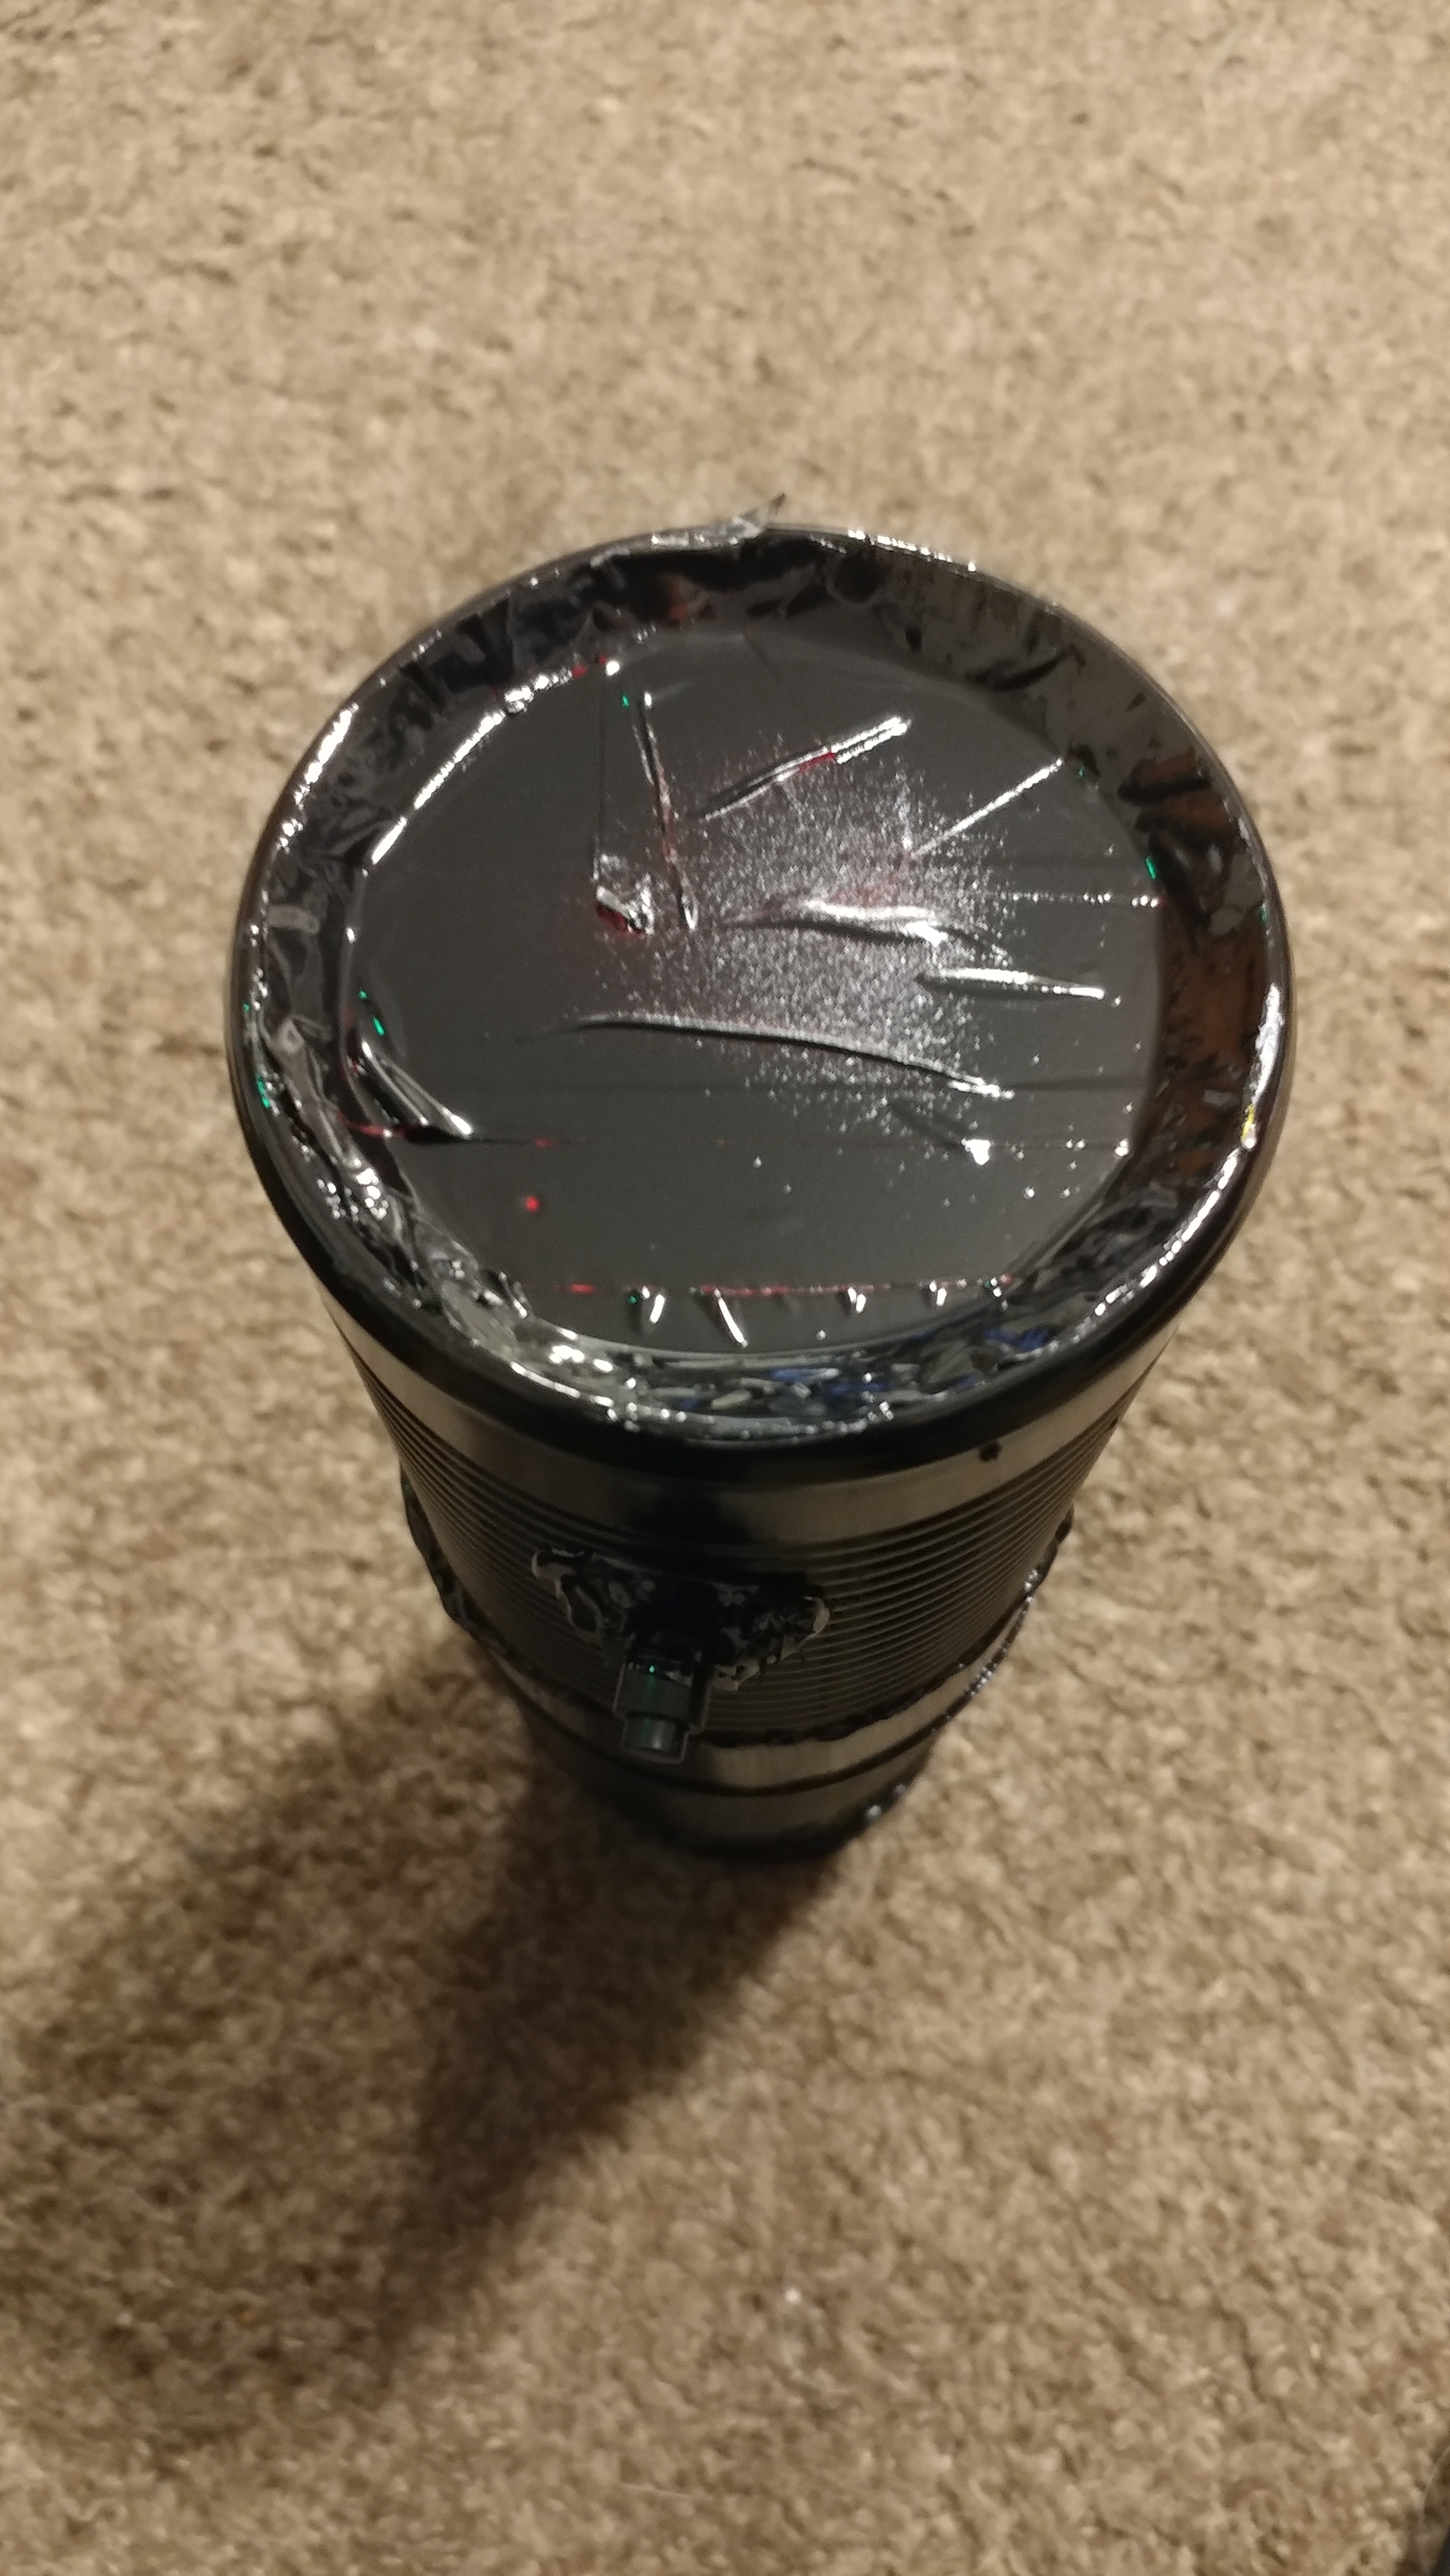
(pic 7)  fresnel lens fits, yay! that sanding took too dang long.
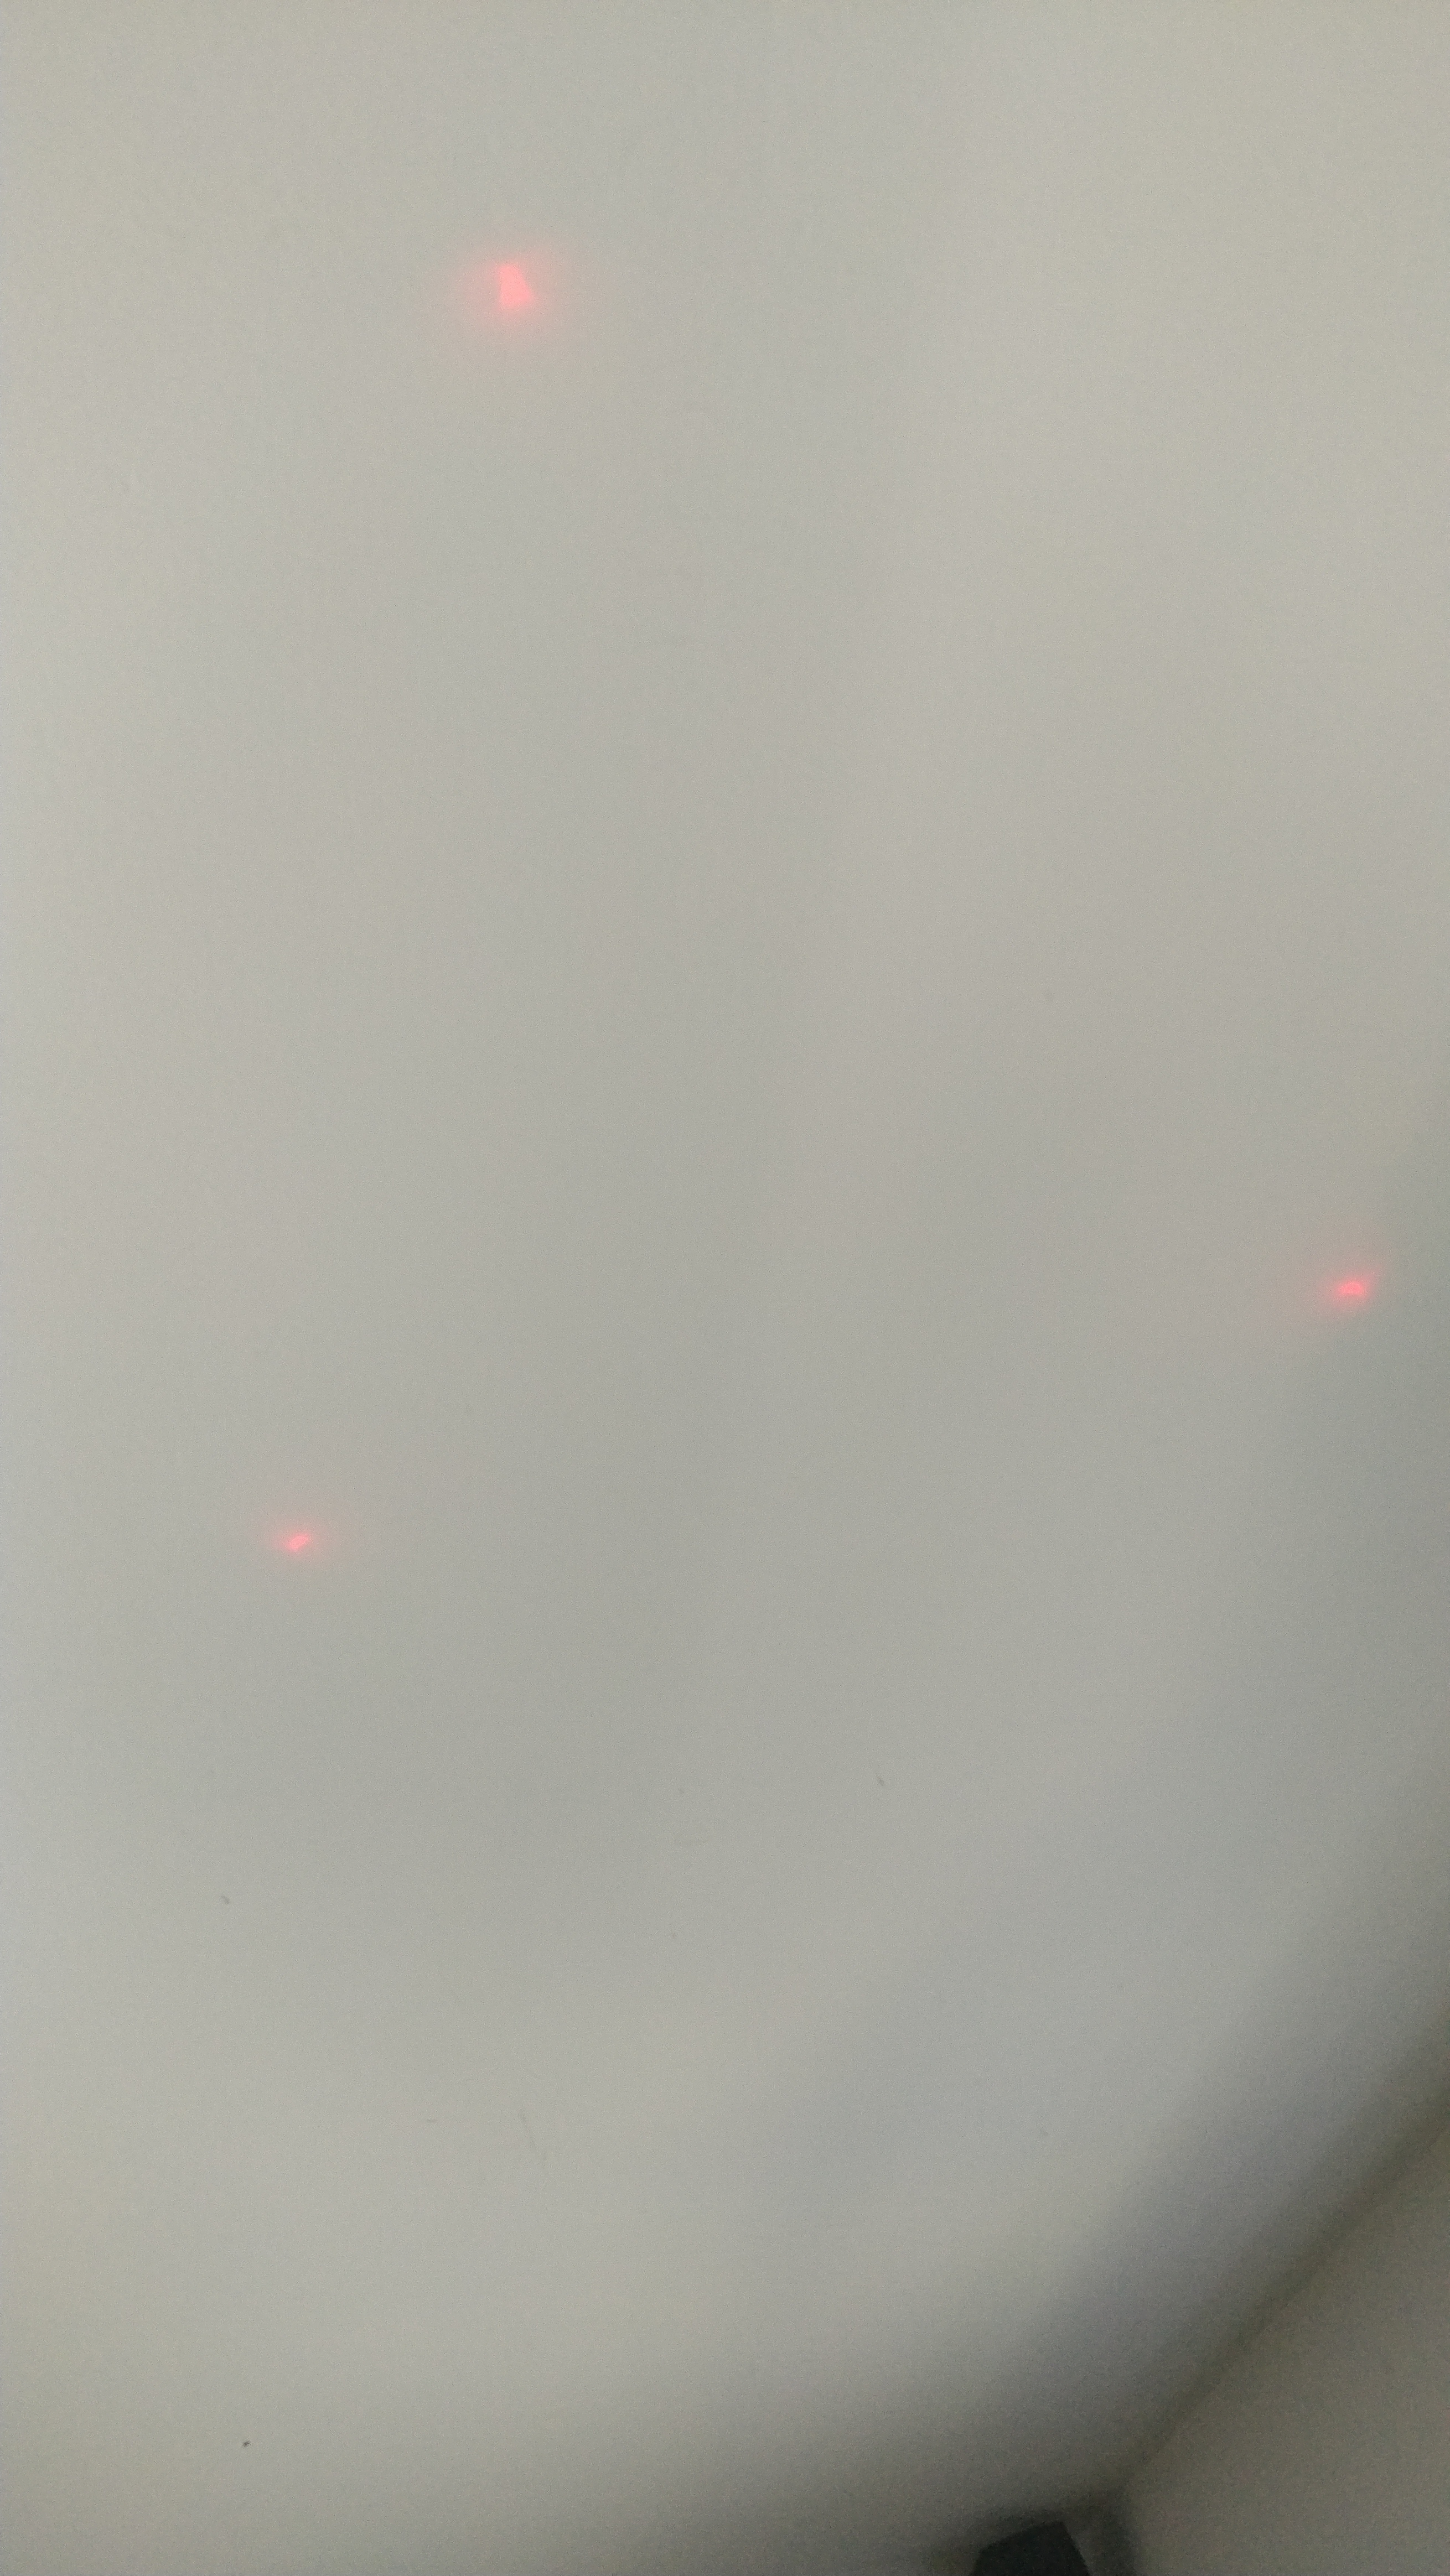
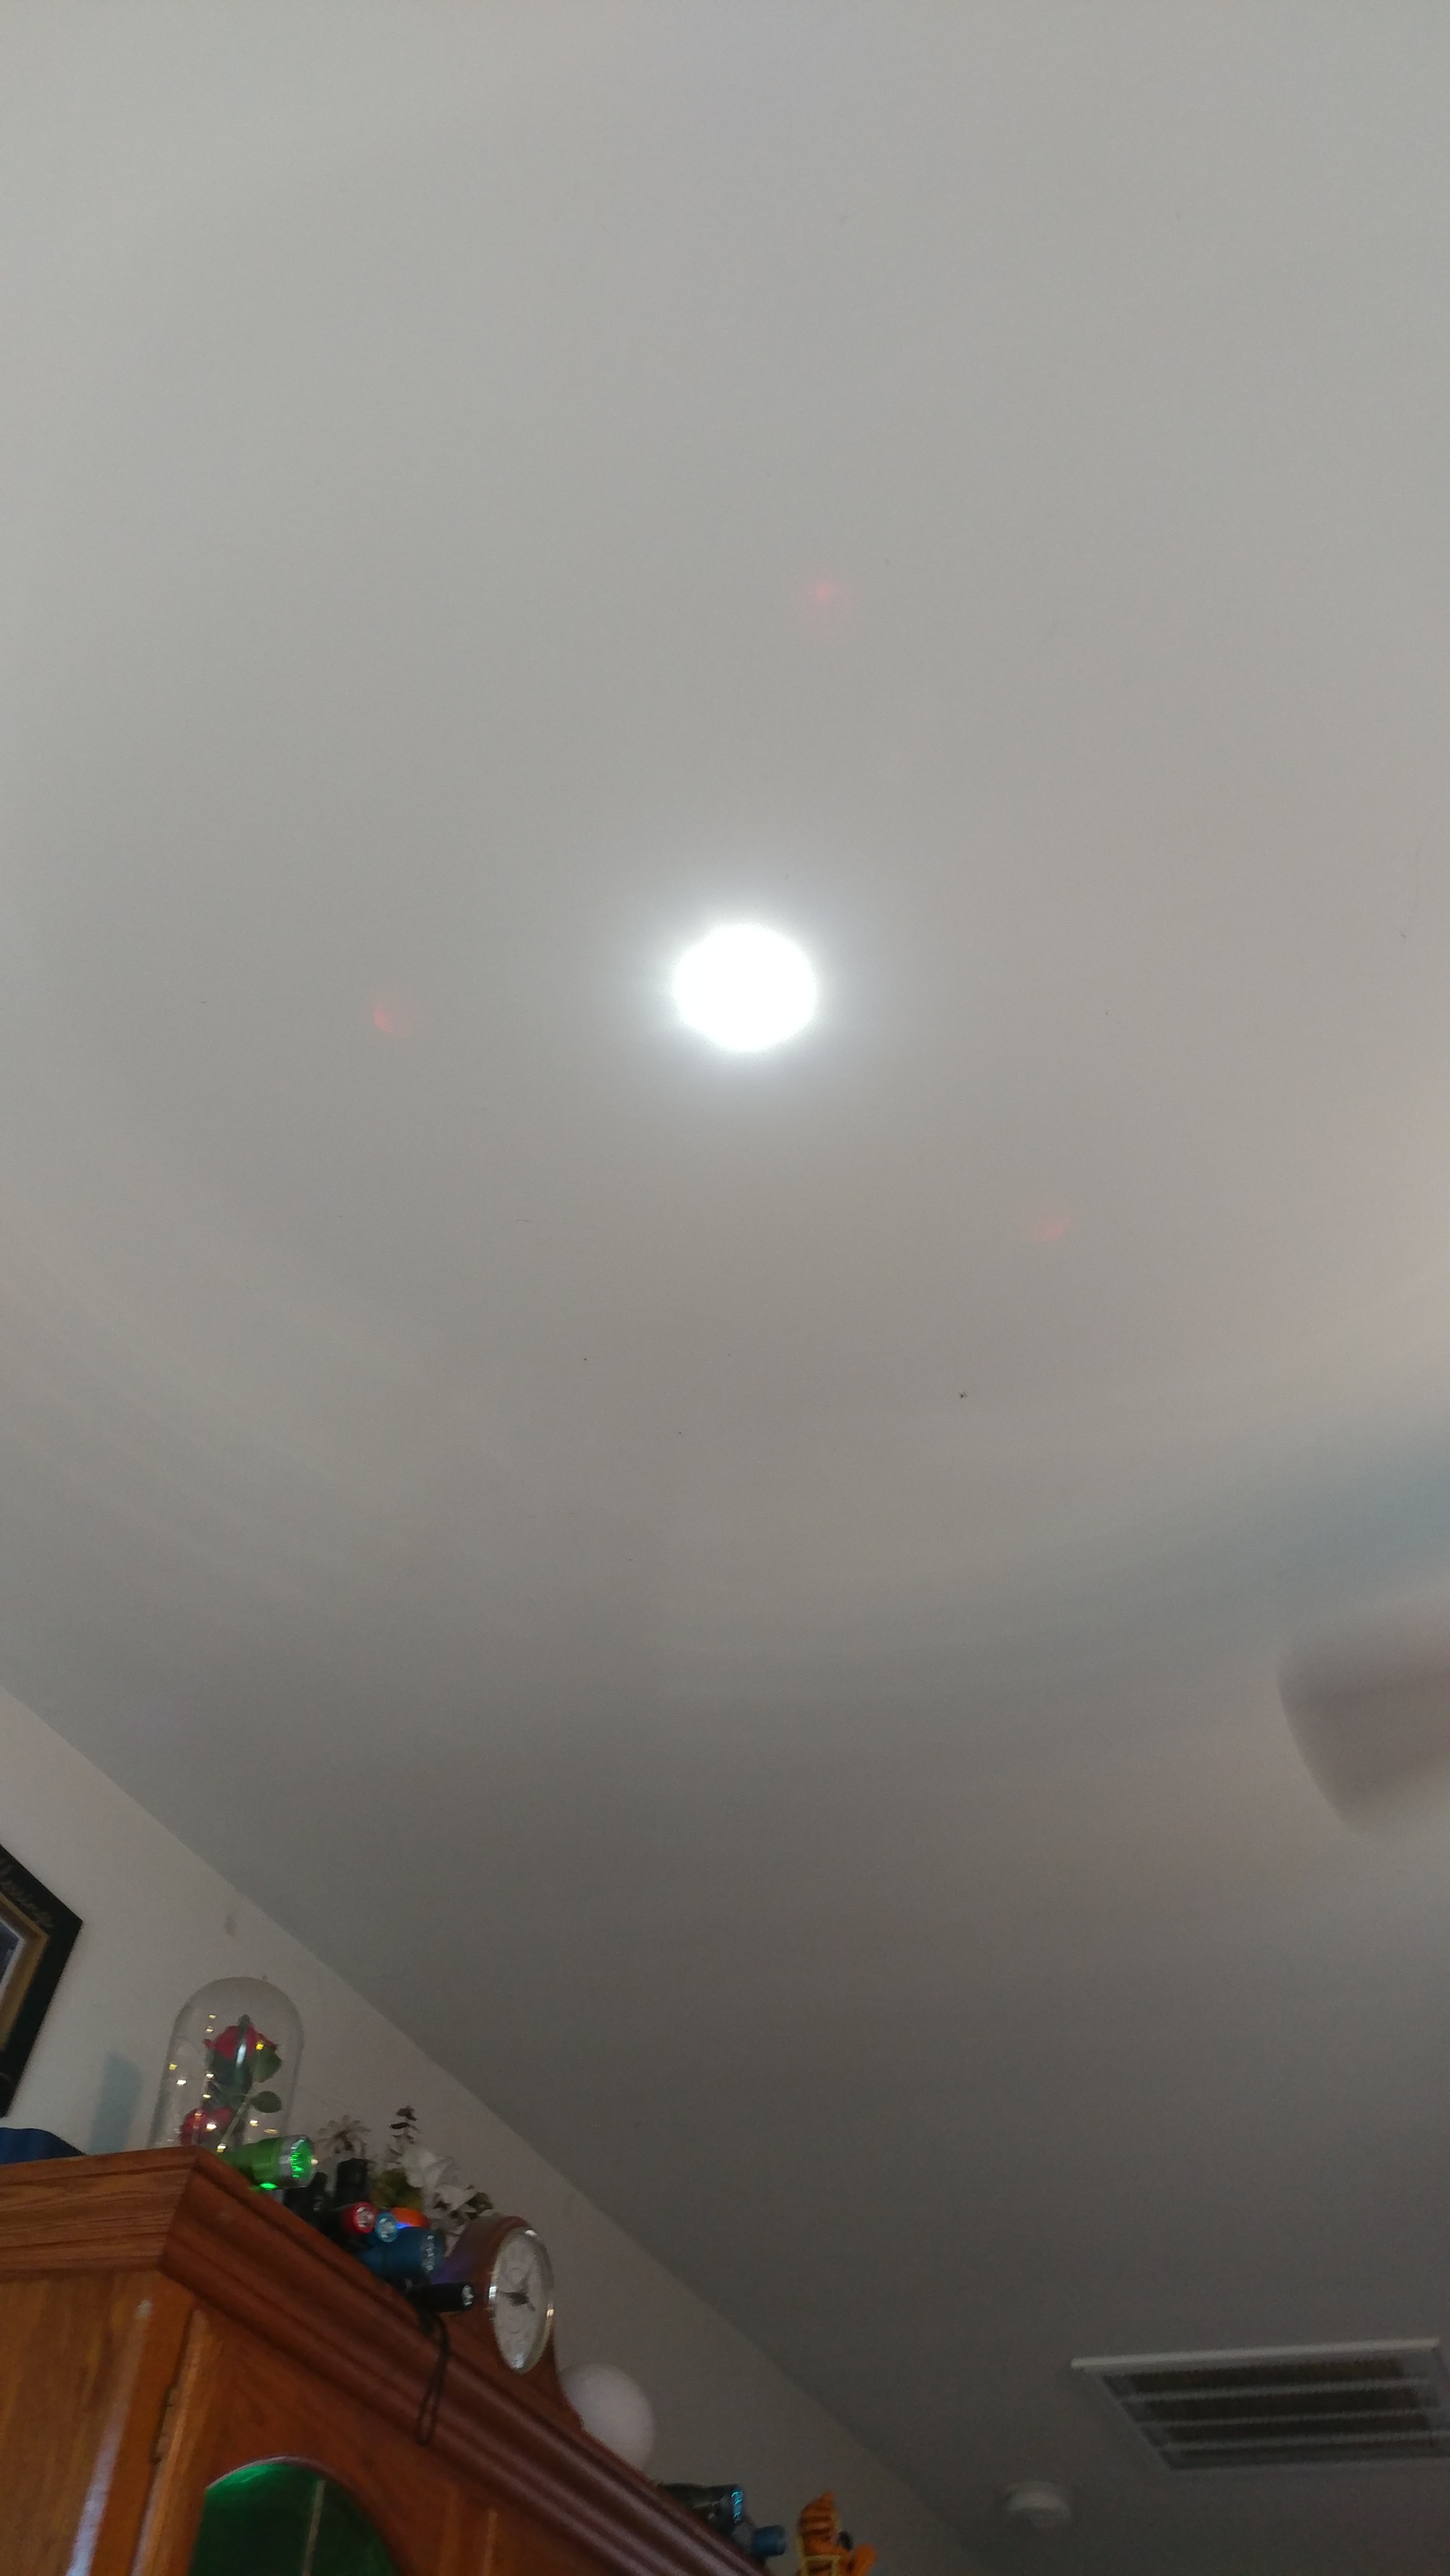
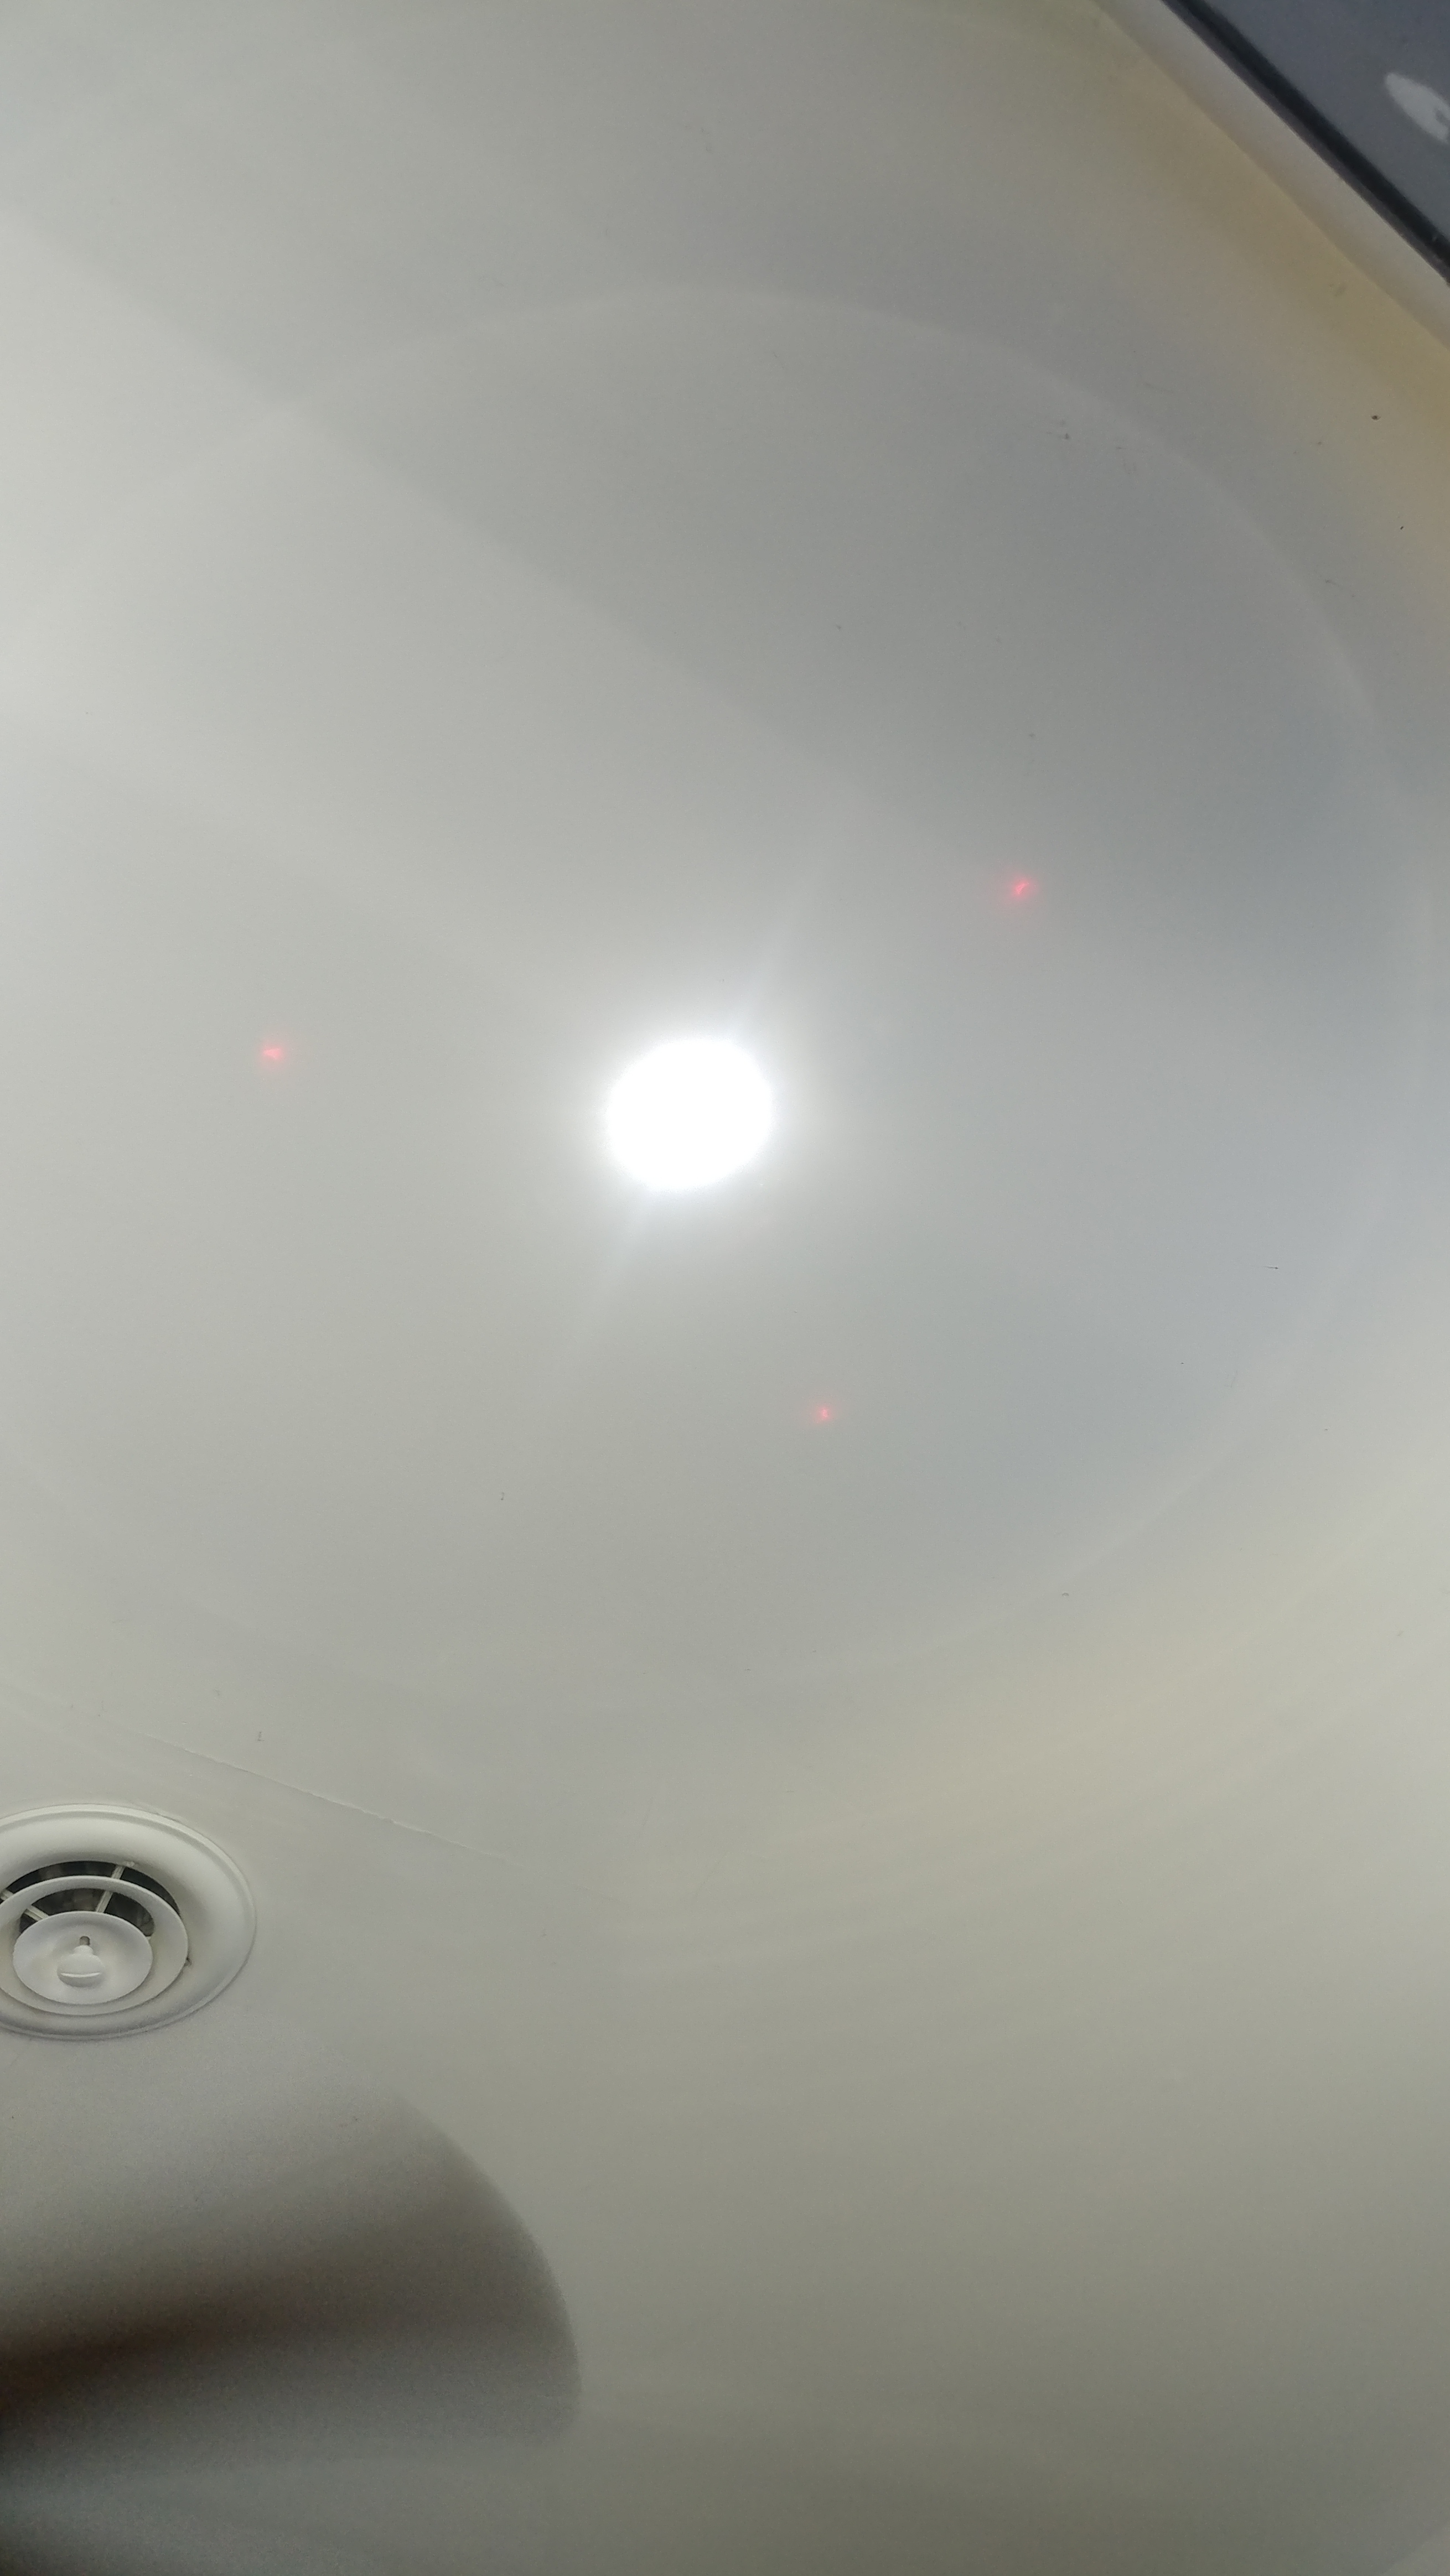
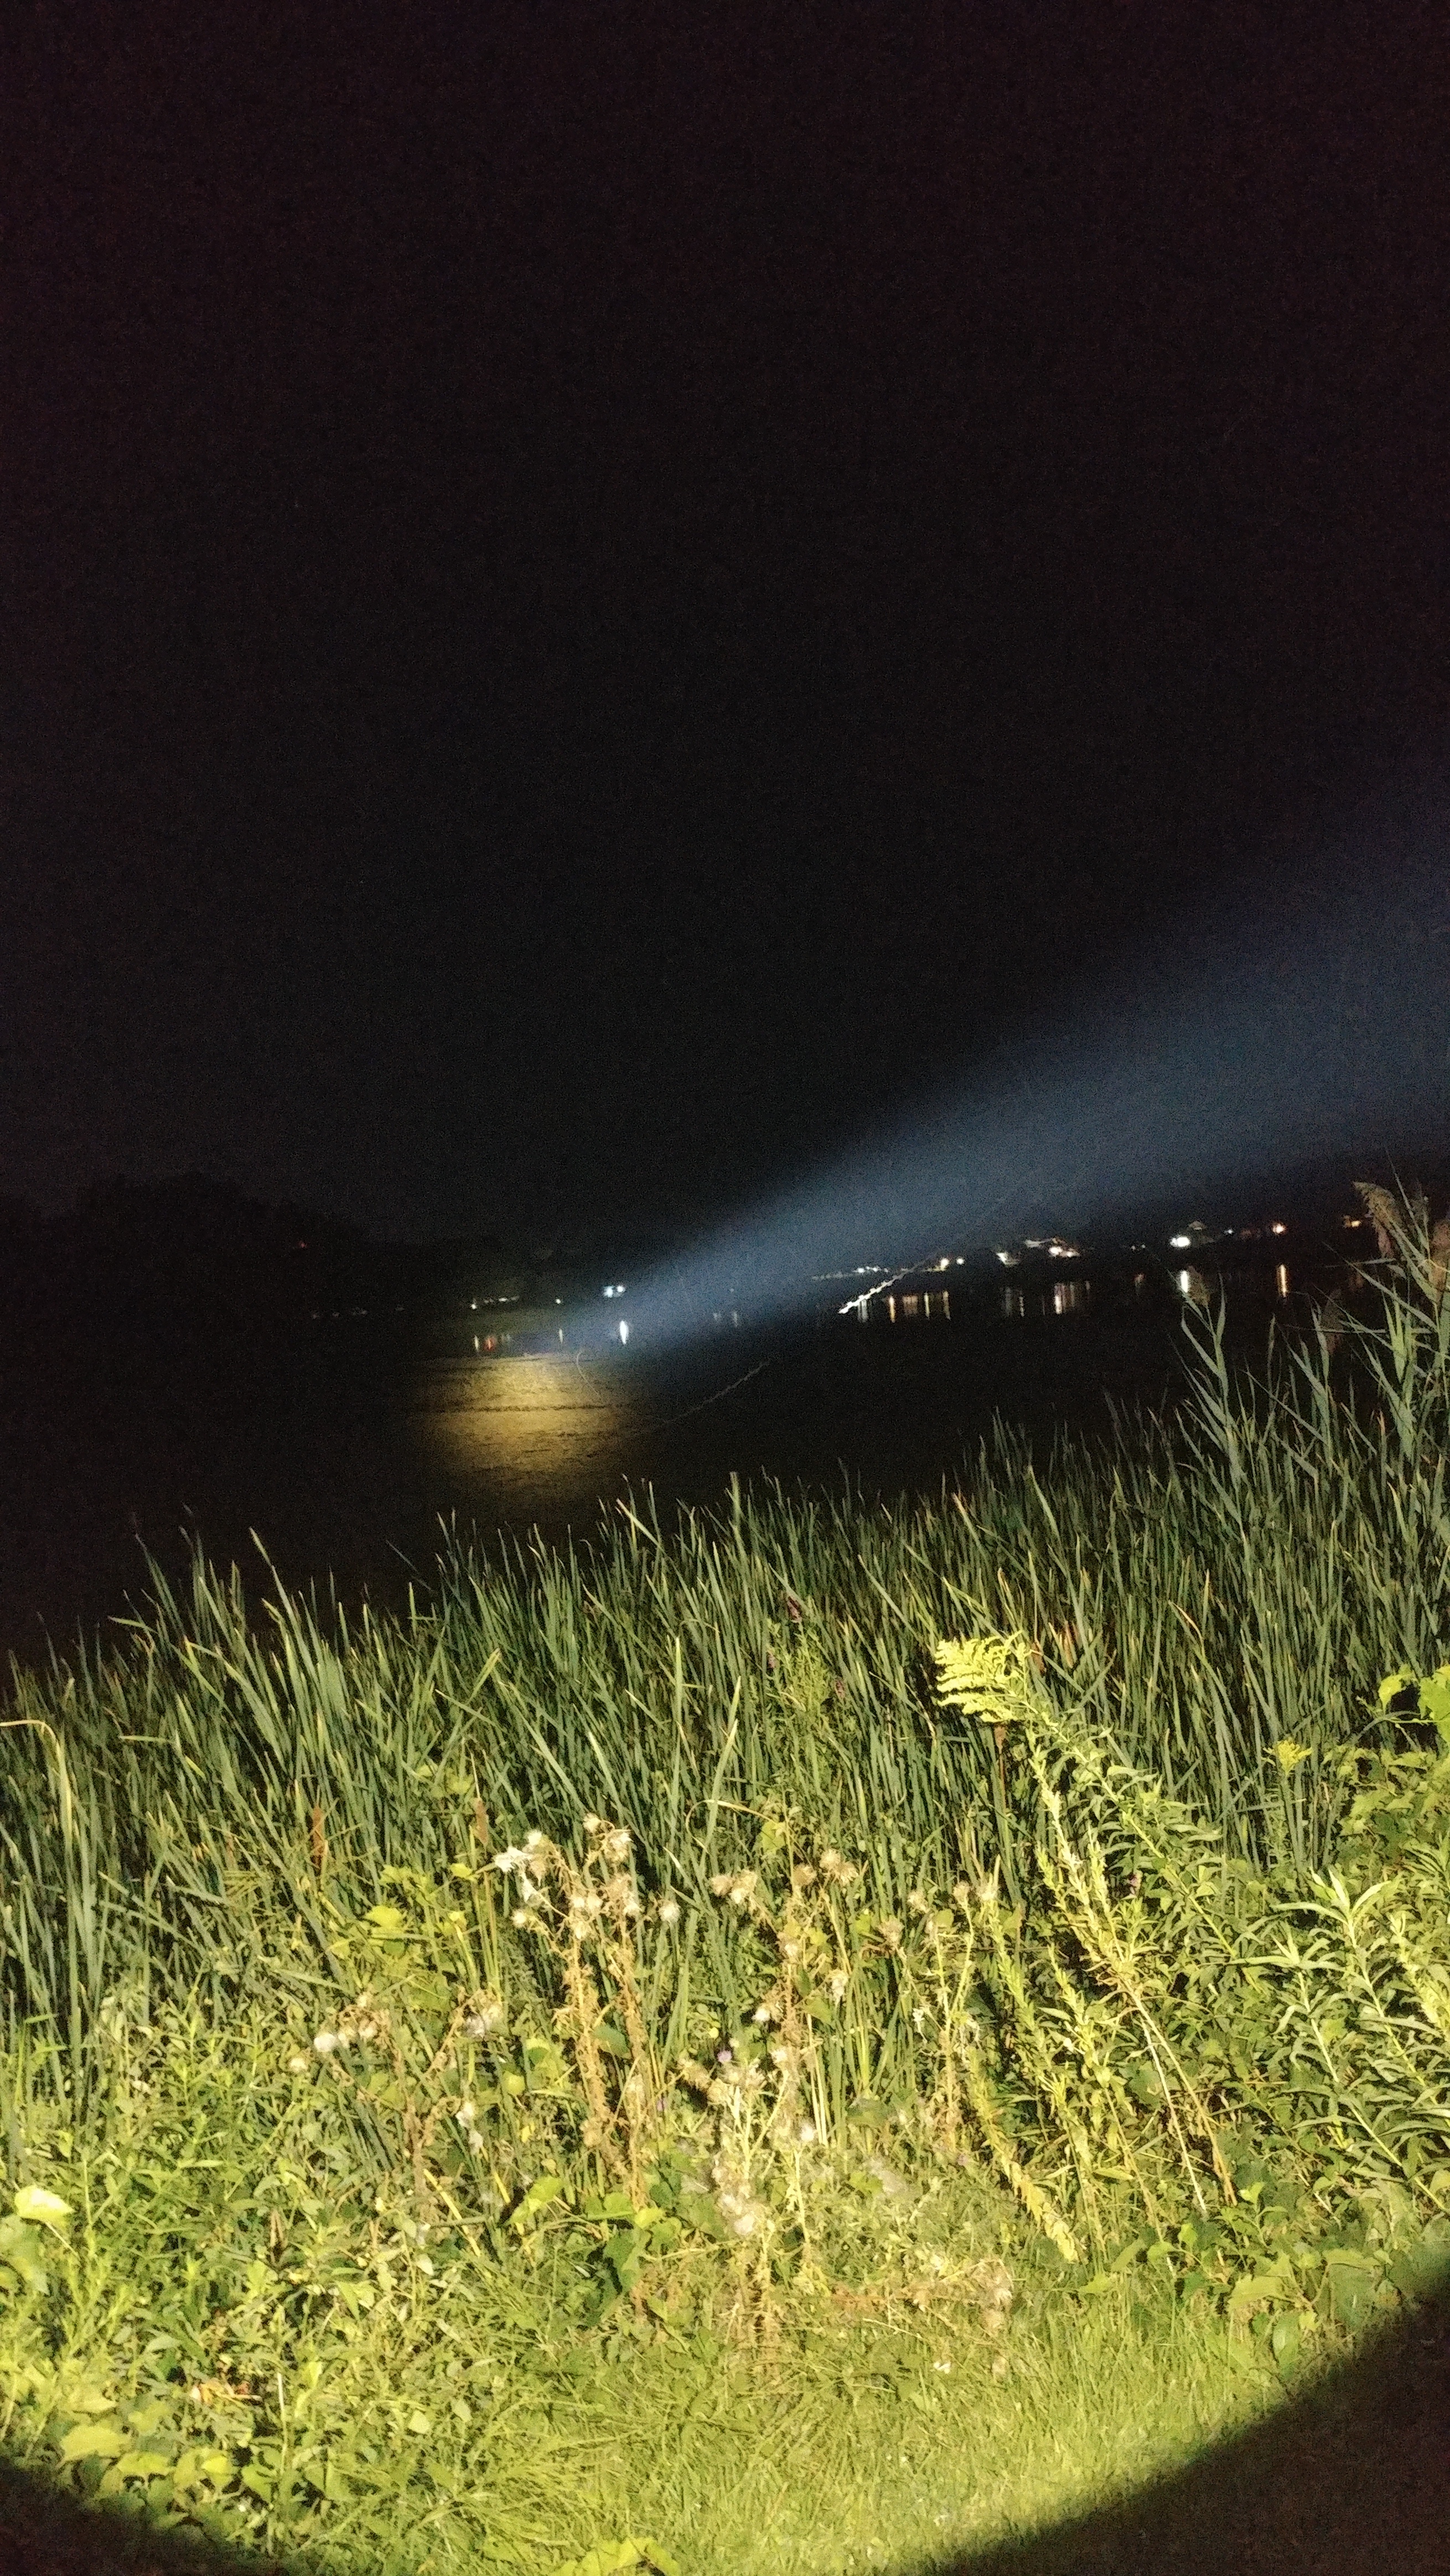
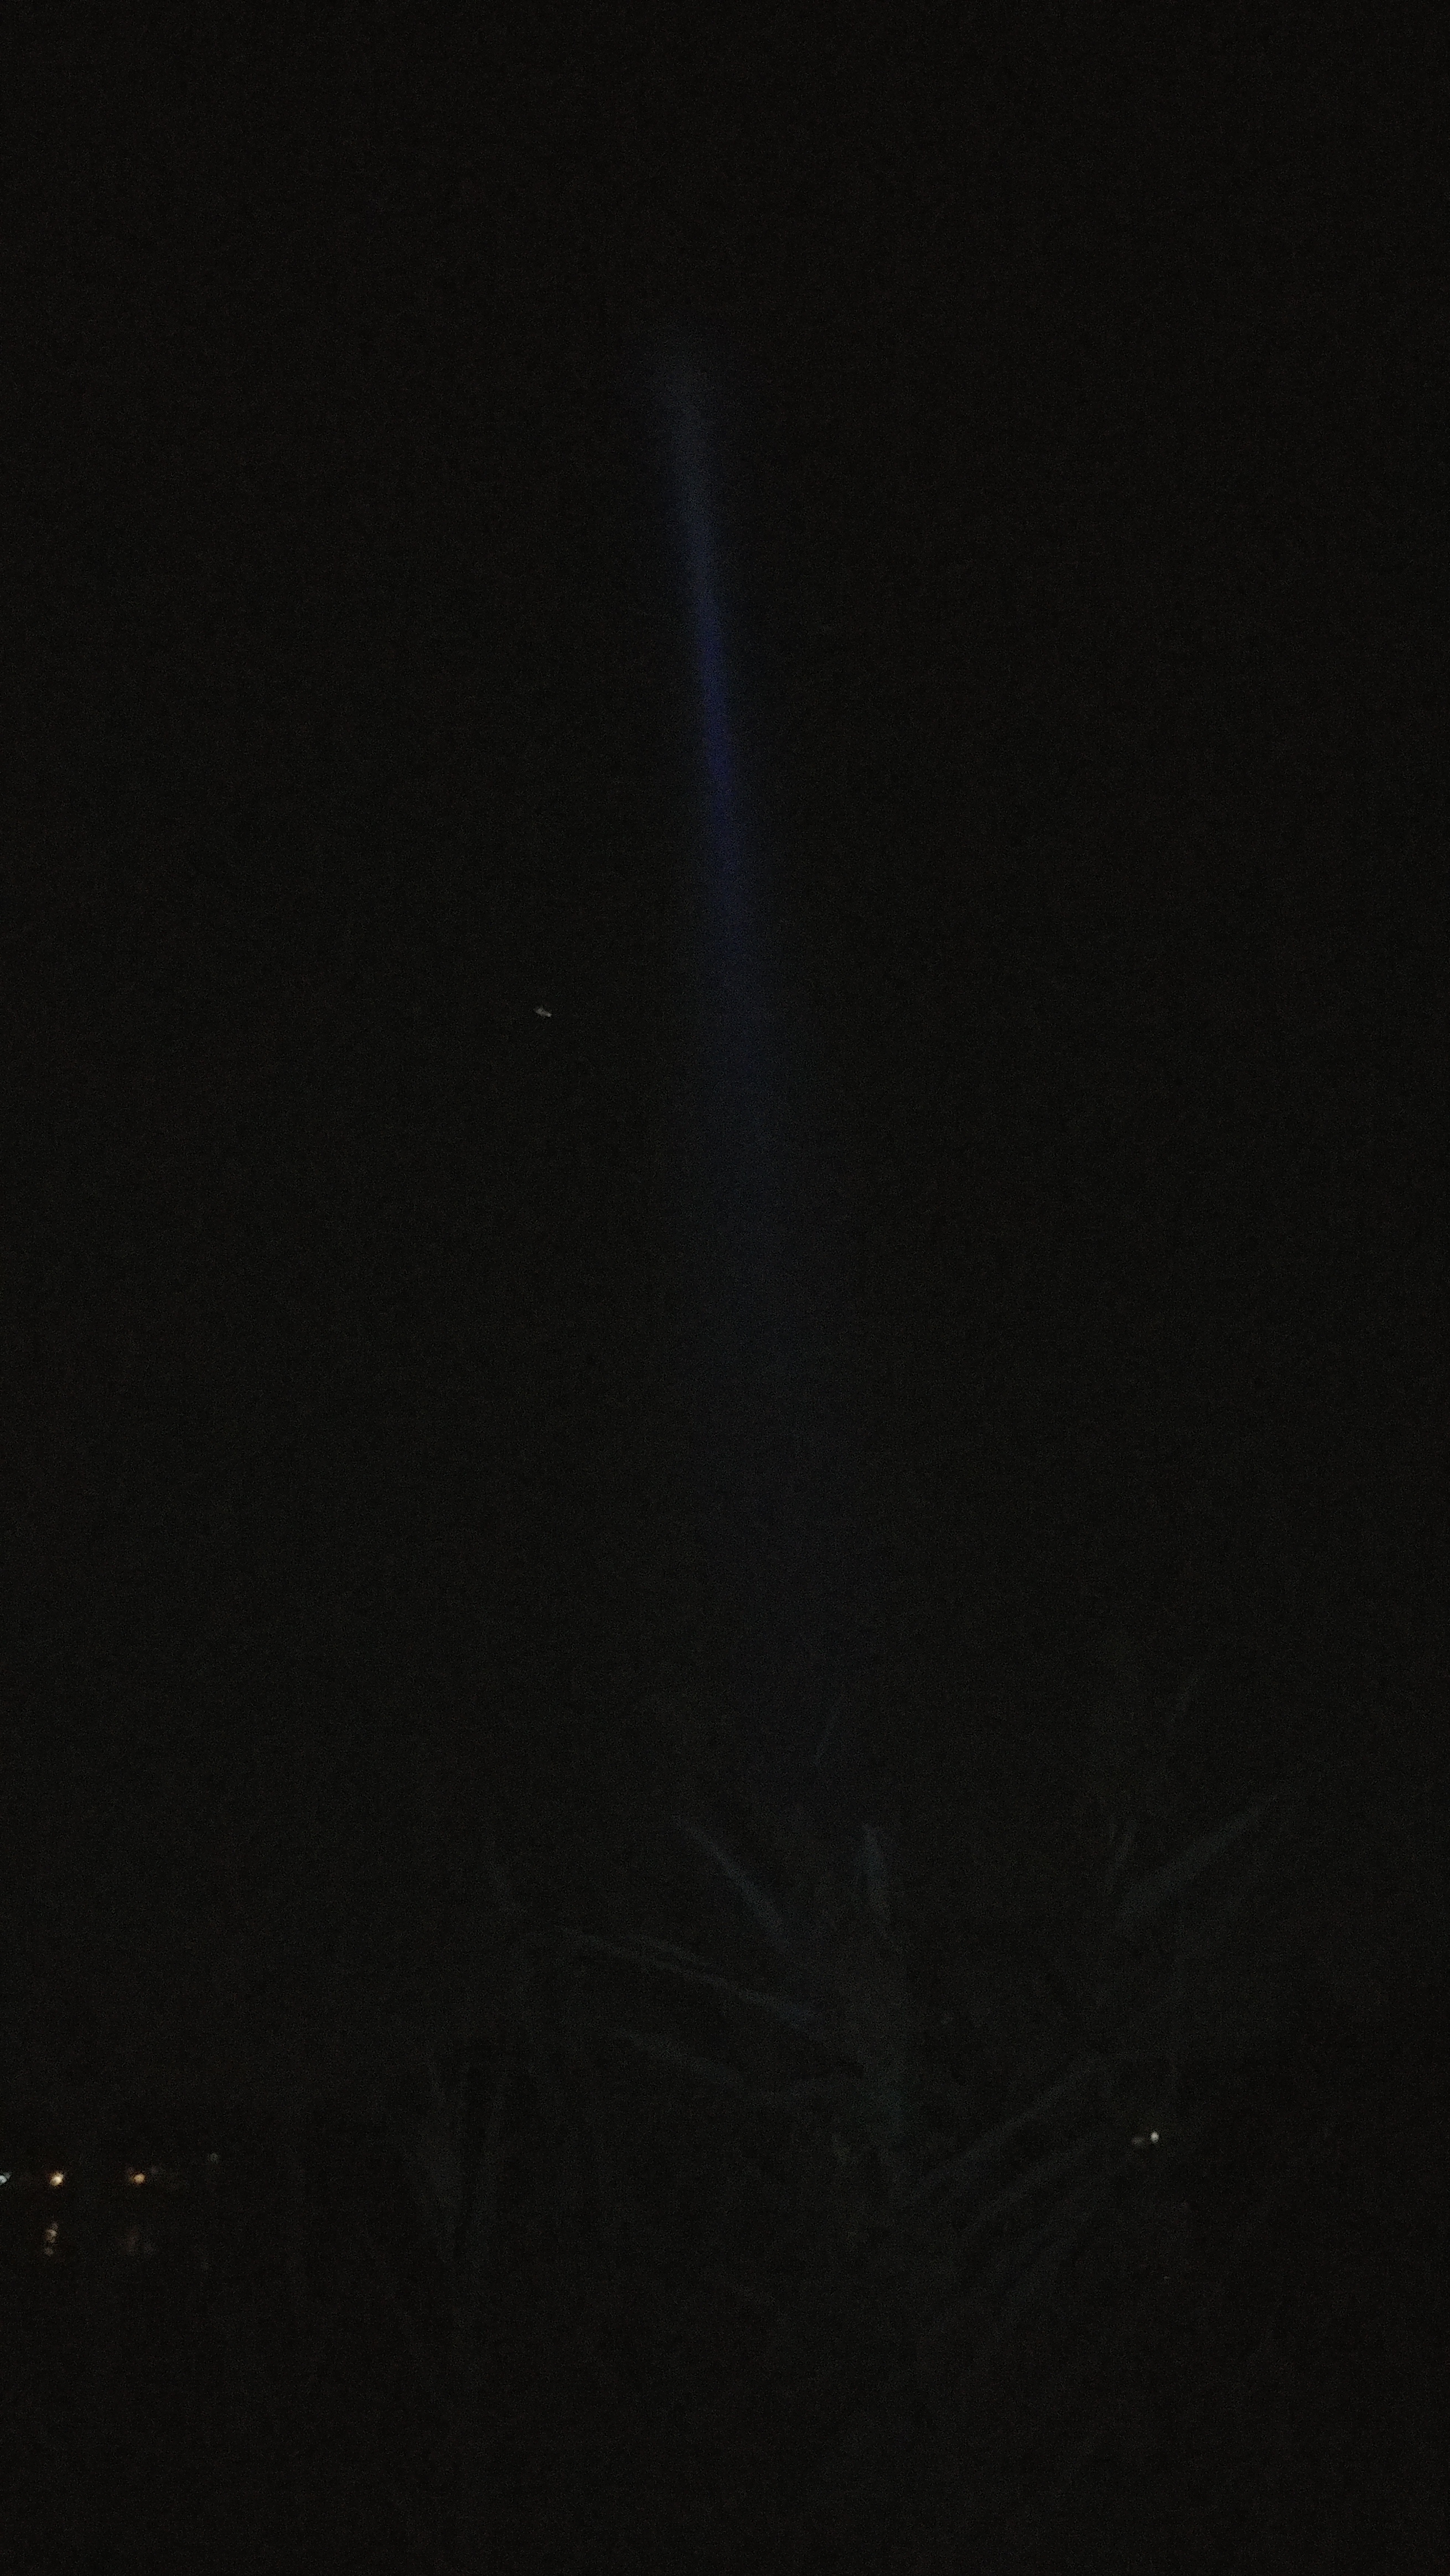
(pic 8)  just focusing the ceiling light, about 6” off the ground
(pic 9)  Back to the can, time to get the thermal paste out and assemble stuff.
(pic 10) 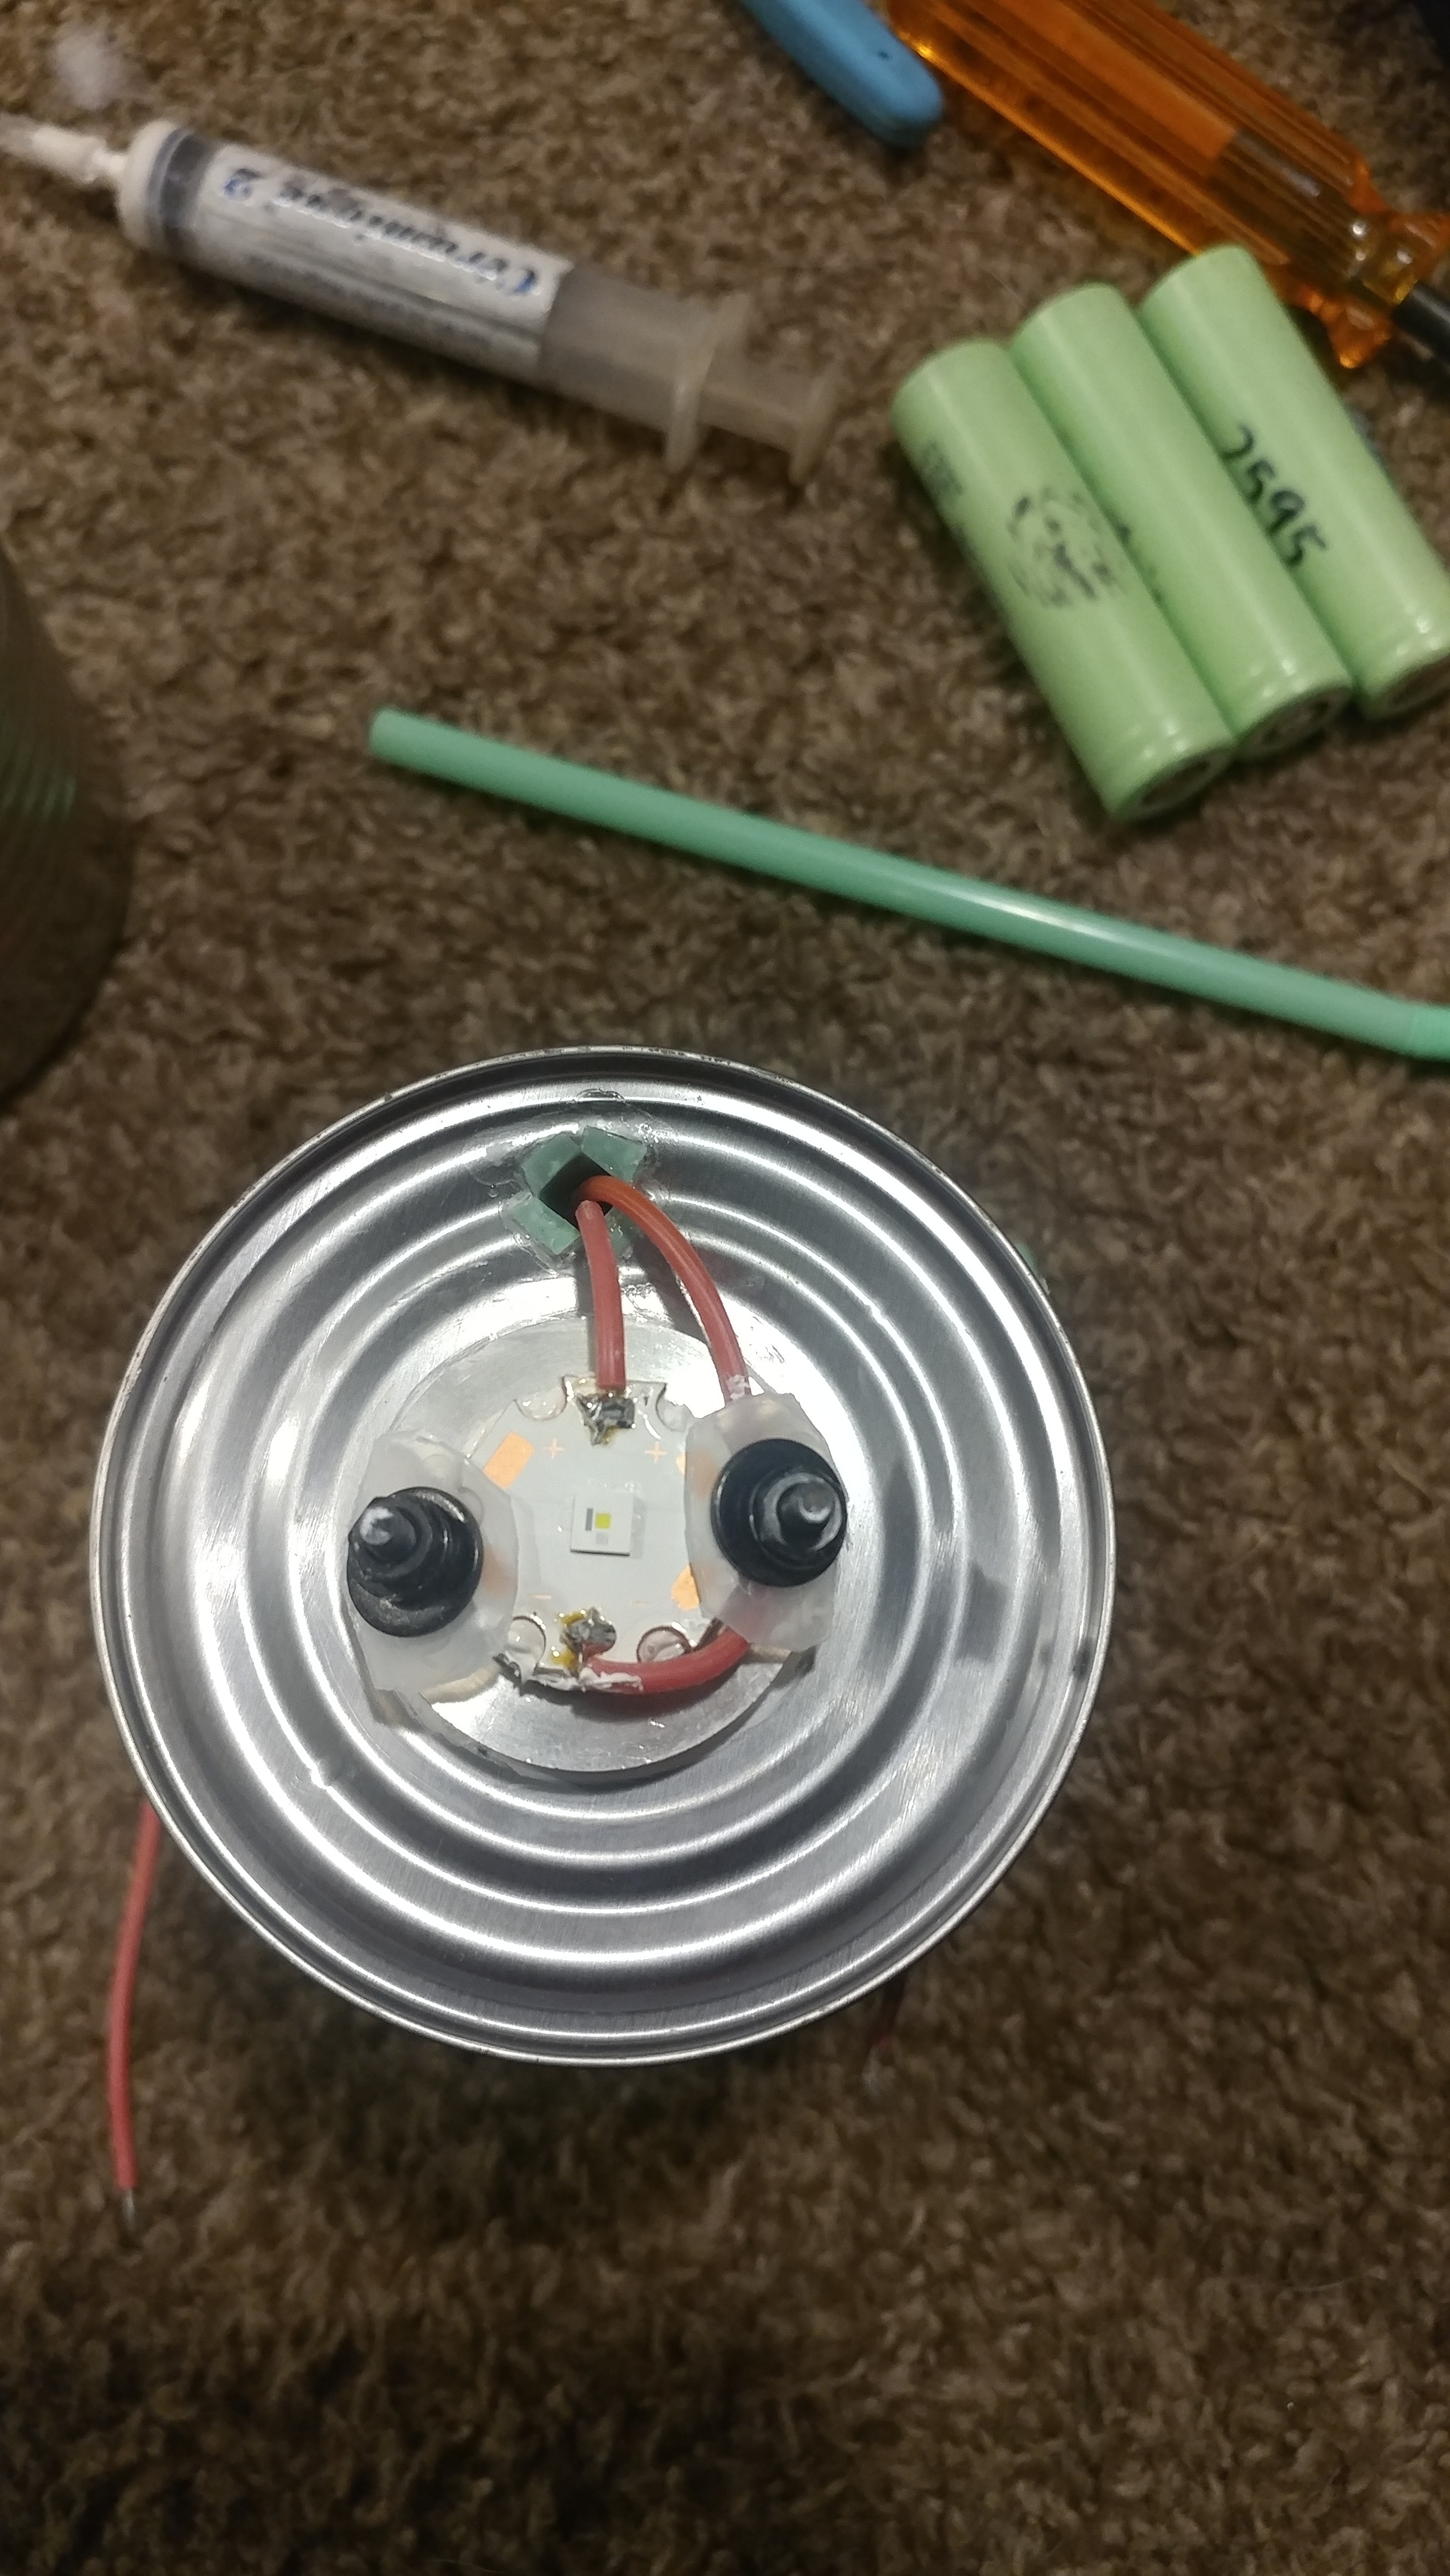 didnt want anything to short out, so i cut out two washers from the water bottle cap. had a nice channel to tuck a wire, one less thing to glue!
(pic 11) 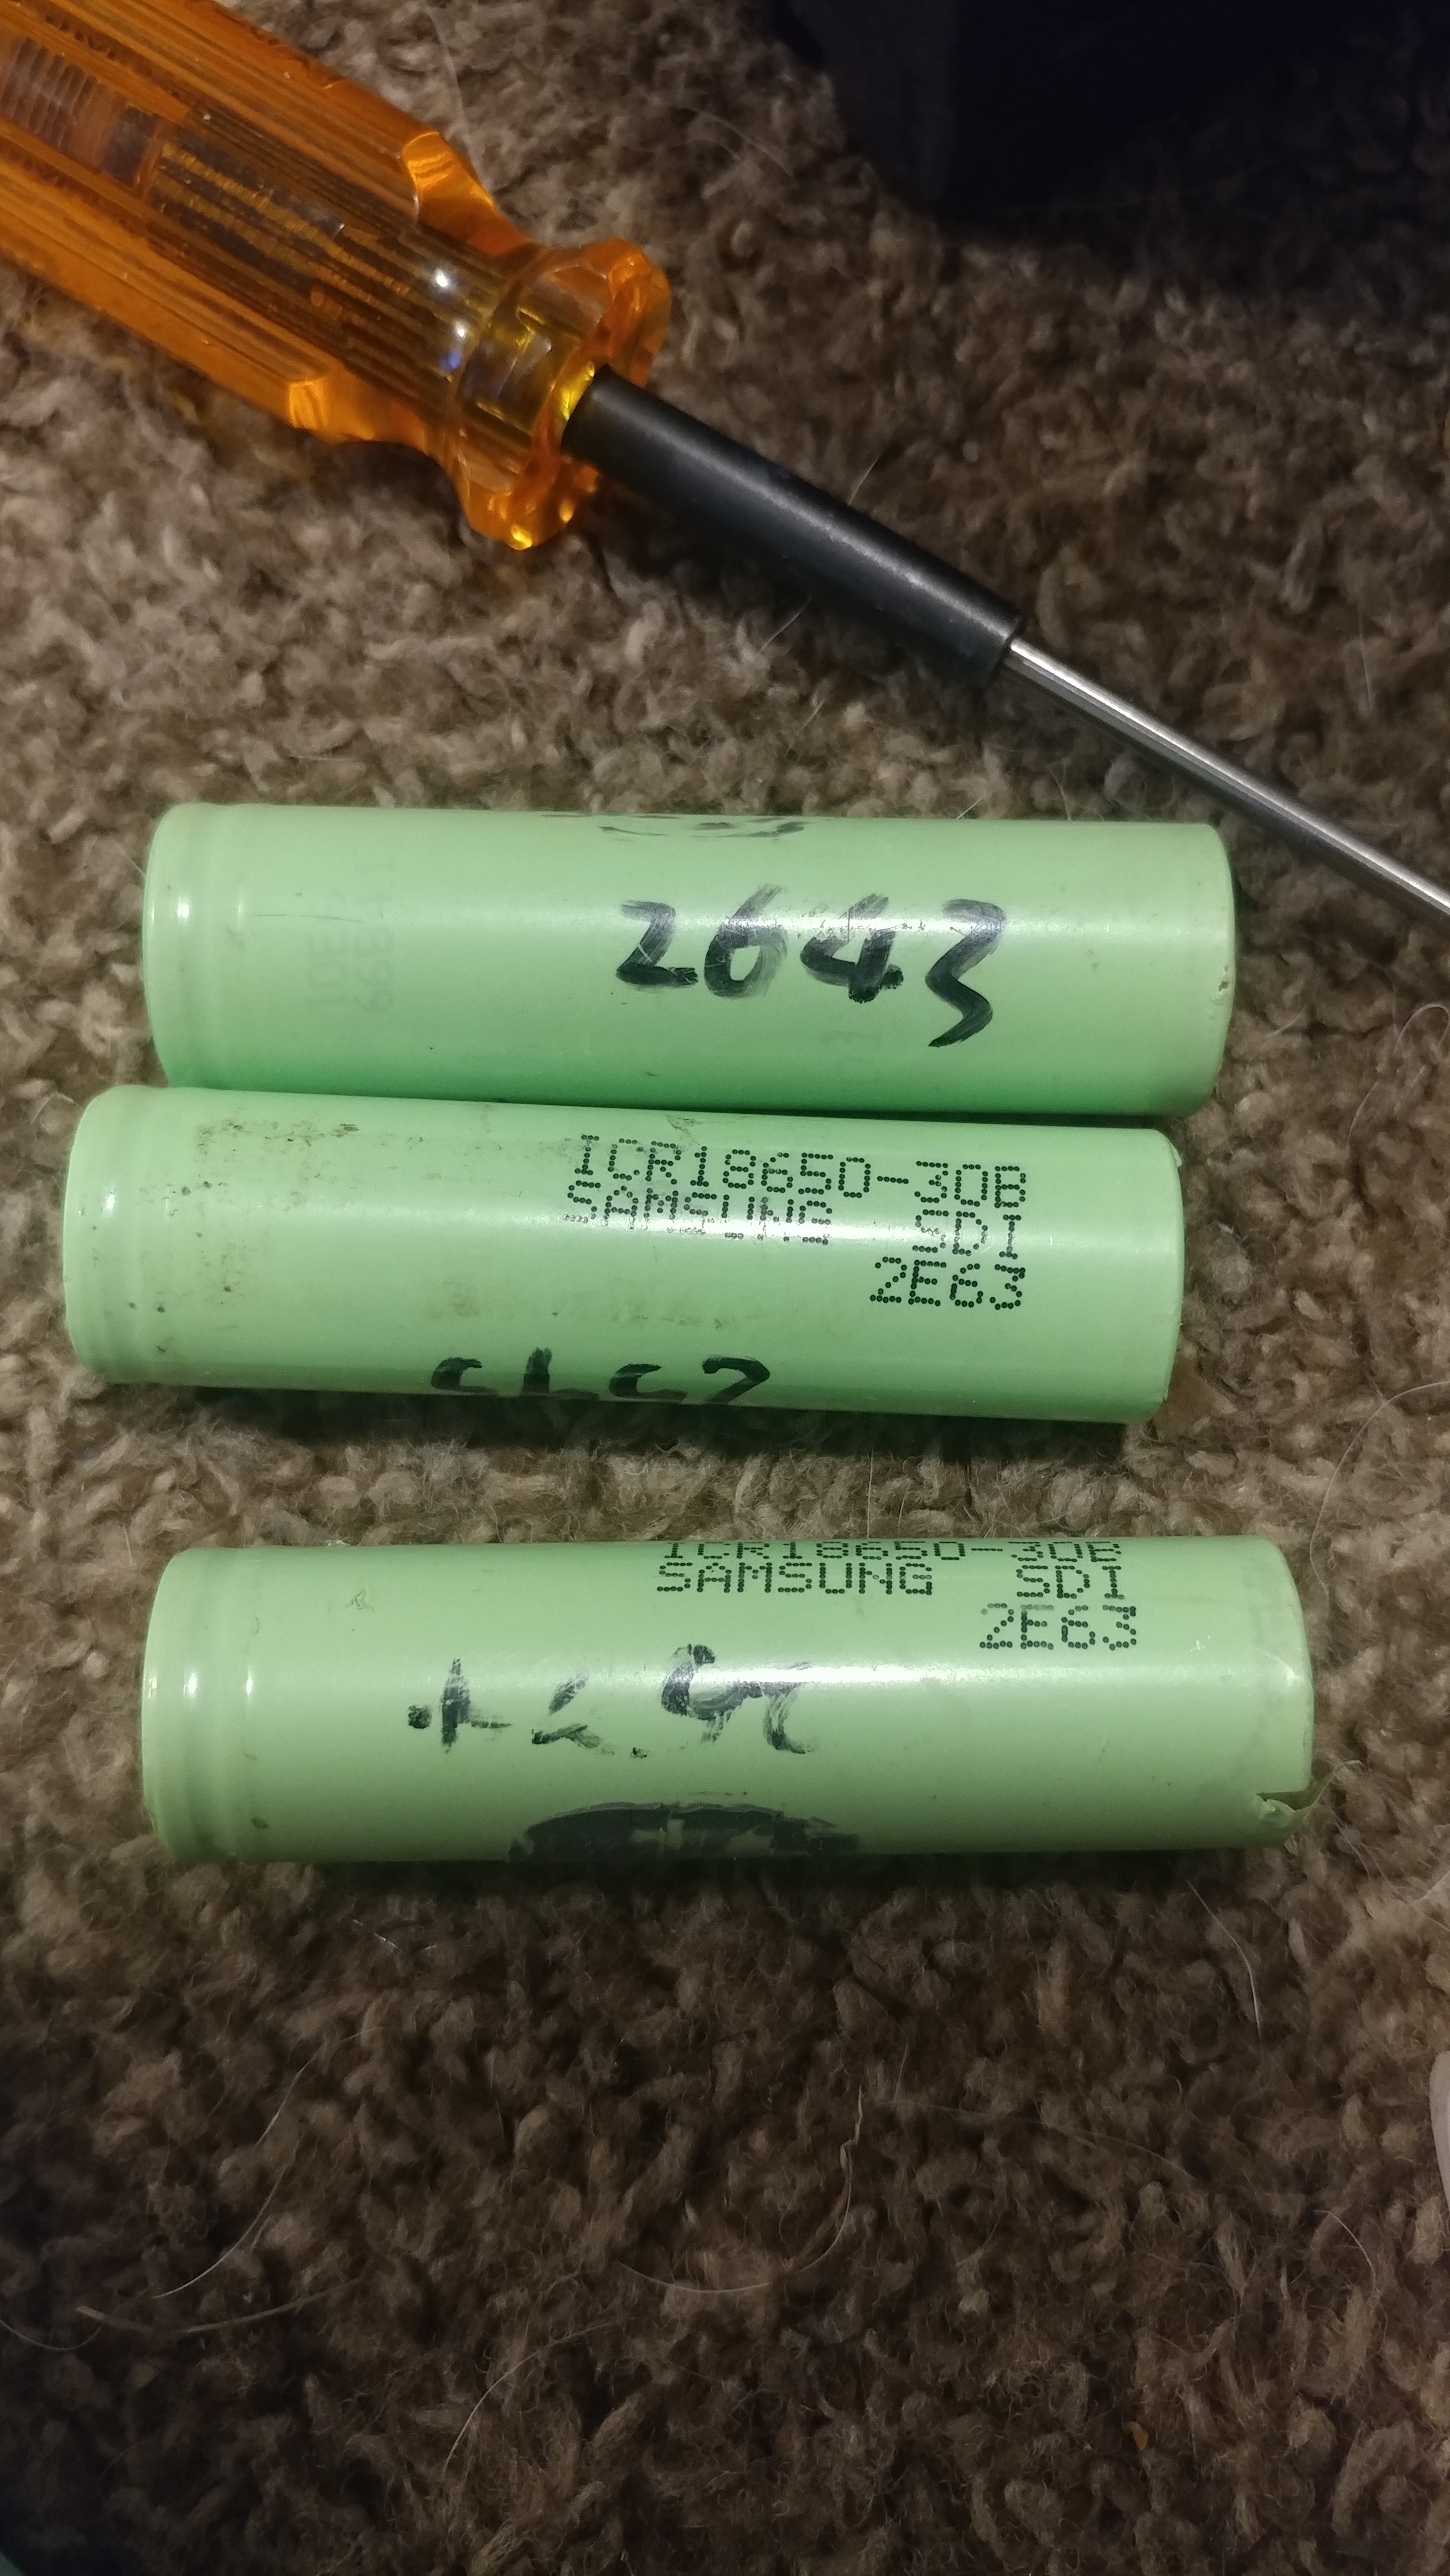 3 samsung 30b batteries, laptop pulls. still test approx 2600mah. I wont show the pictures of soldering the cells (dont do it its really bad pratice, you should spot weld them).
(pic 12)  mmmmmm begins the hot glue adventure. Go figure the glue sticks we have are clear, but dry yellow. Oh well full send. Lens glued in place
(pic 13)  mtn 17mm driver running guupydrv rev 2. gotta remove the spring. well, guess i dont have too, but i will.
(pic 14)  tp4056 charging module hot glued into place. I applied some kapton tape to the back of it before i glued it in.
(pic 15)  random switch i found in my drawer. back is covered in kapton tape, then hot glued. Also cut another piece of straw for conduit here.
who would of guessed, it ended up being a forward clicky switch. still shifts through modes so works for me.
(pic 16) 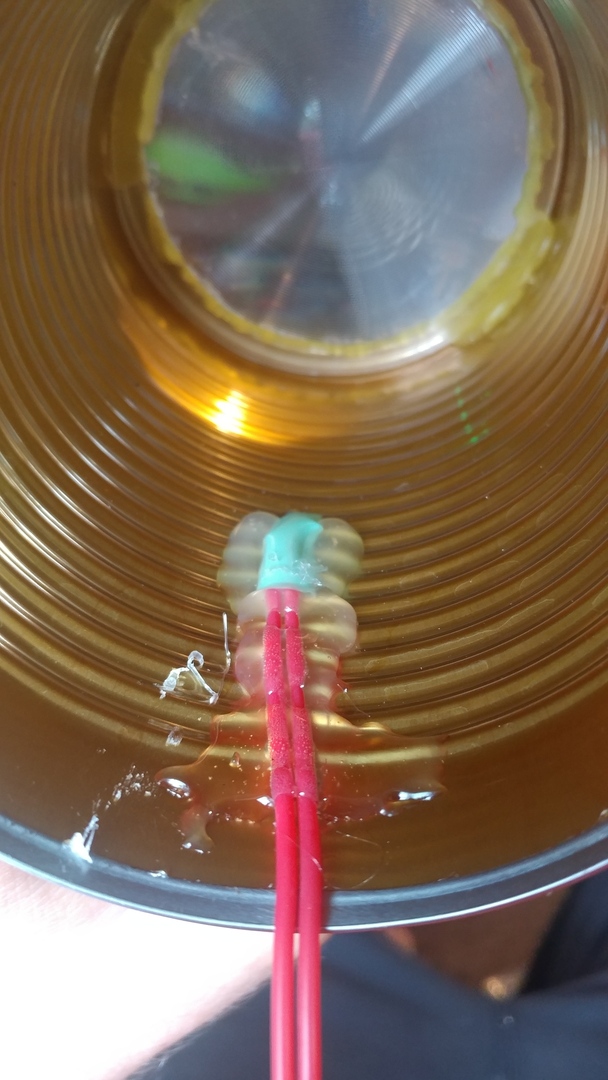 mmmmm more glue to keep things in place. it was at this point in writing this that imgur wouldnt let me upload any more photos. if abload doesnt work ill try to figure something else out… thanks google translate!
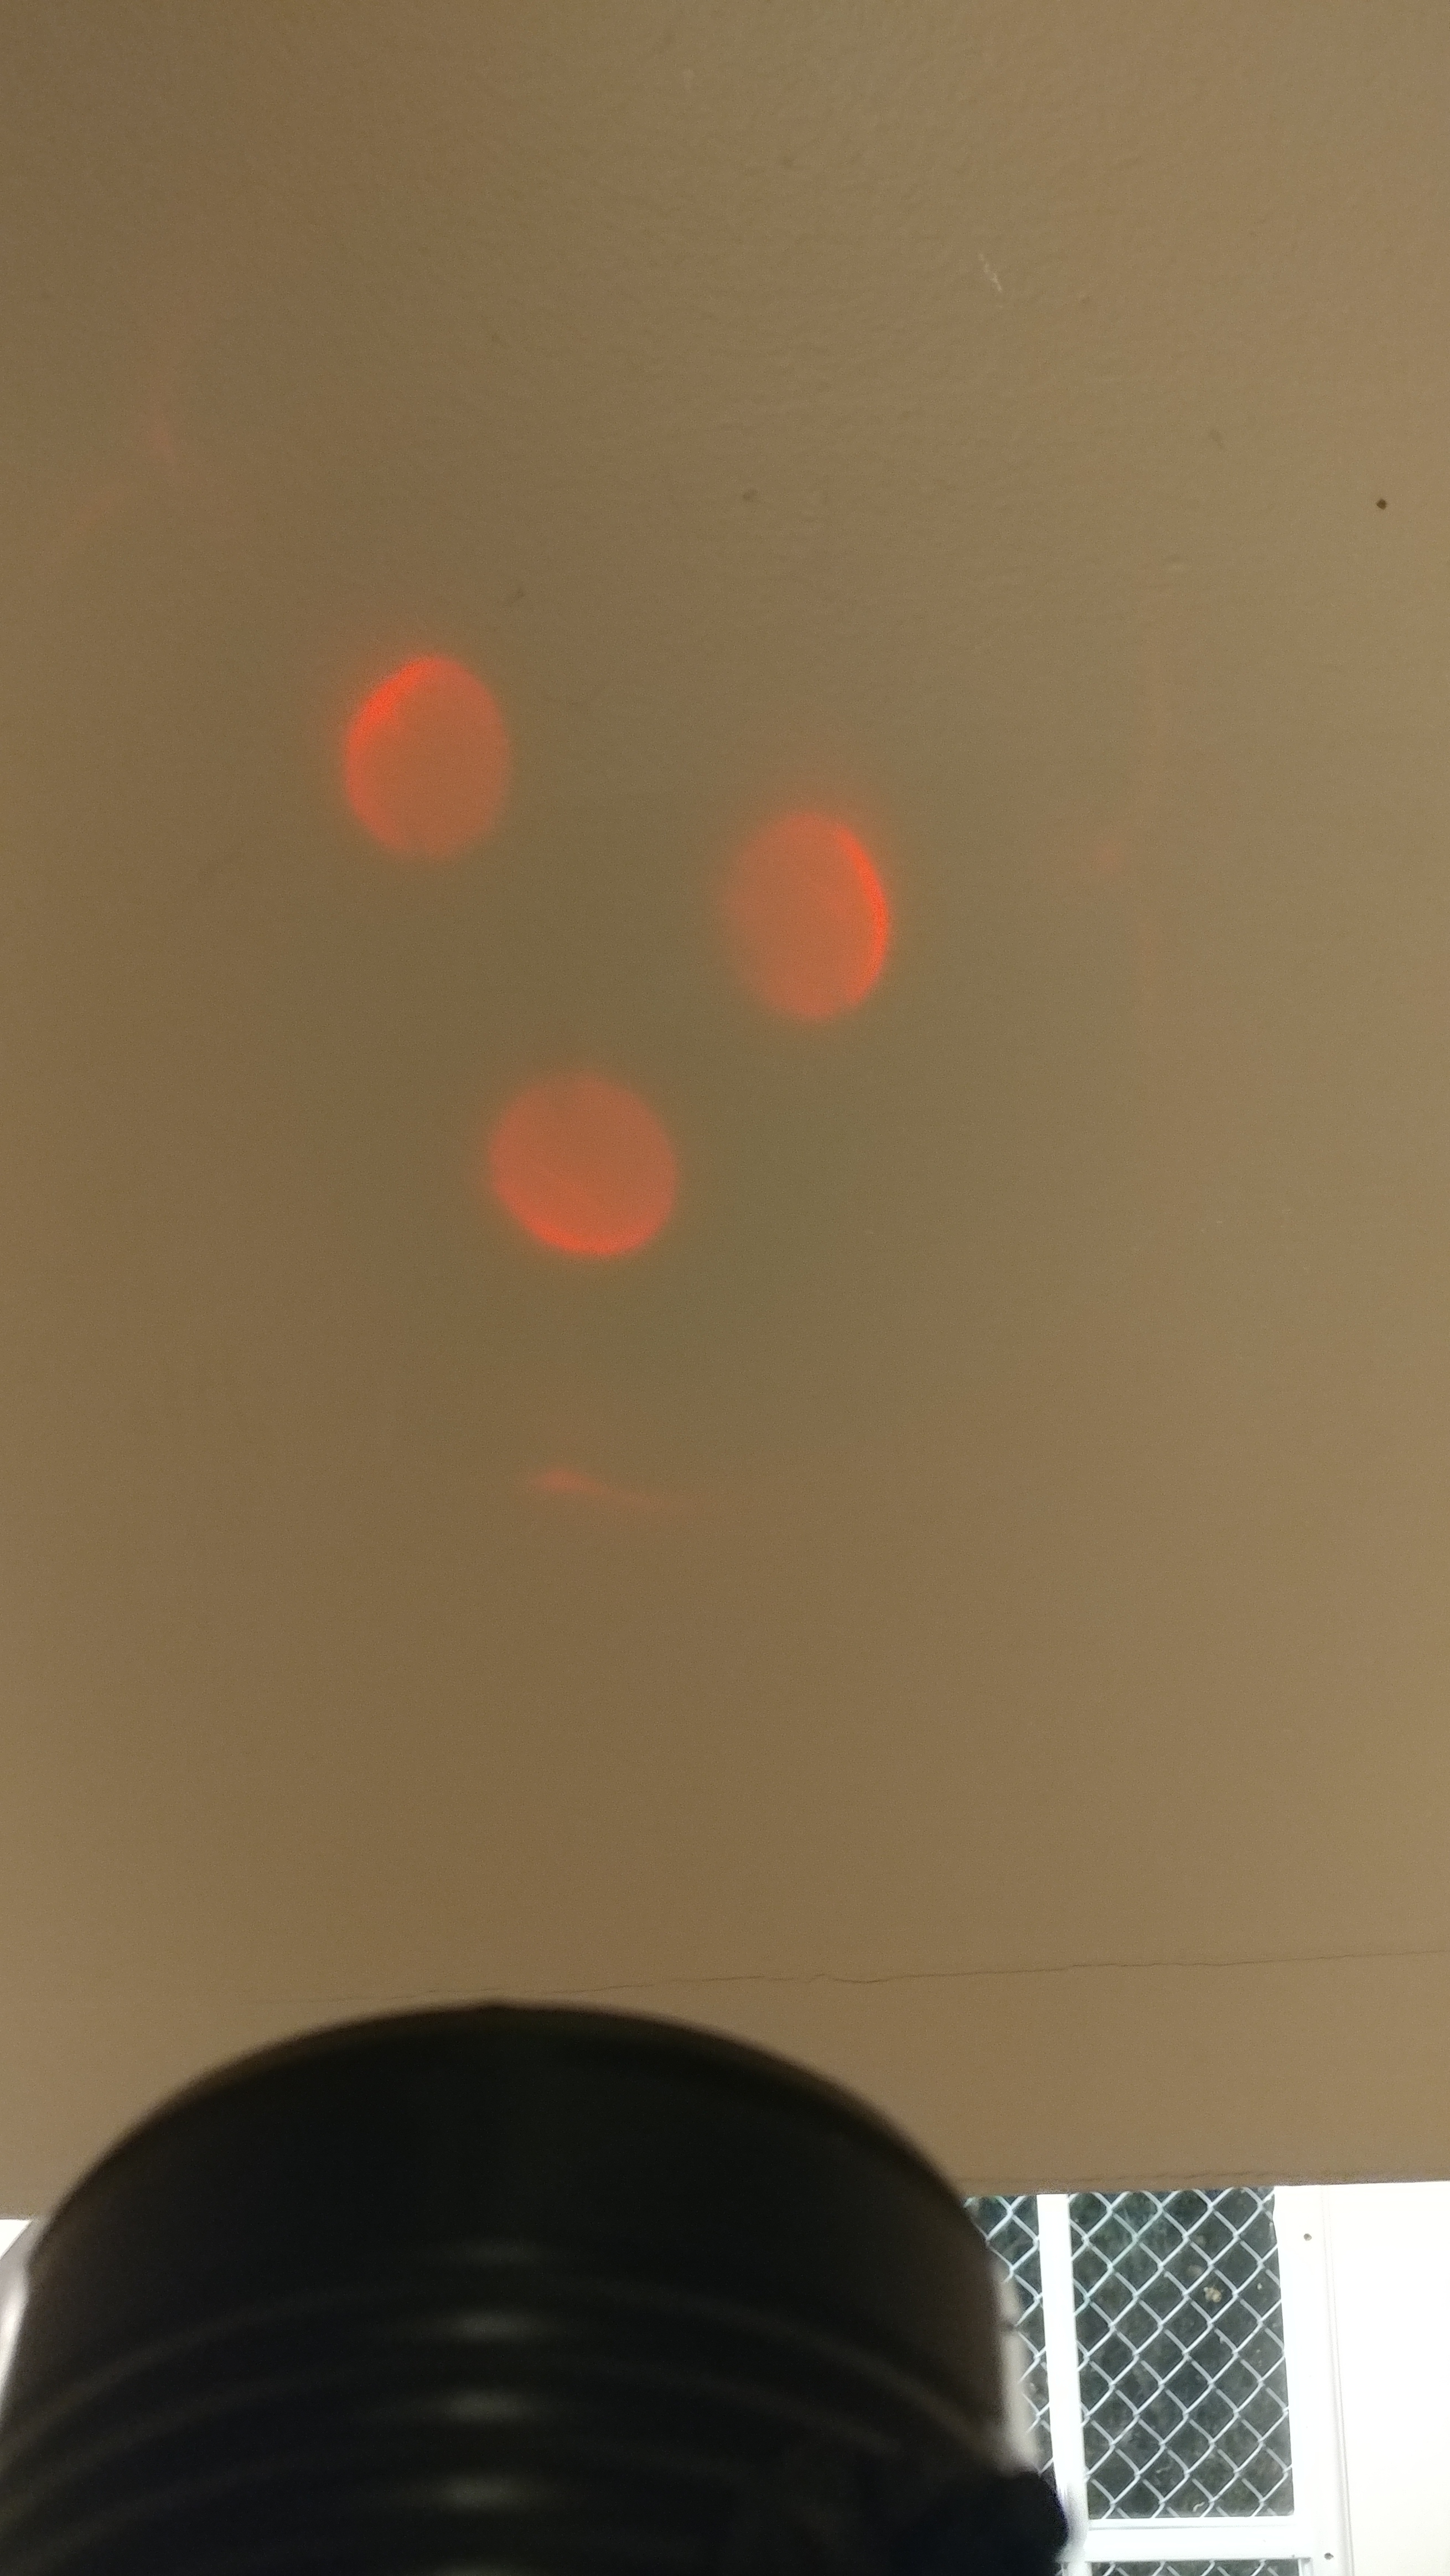
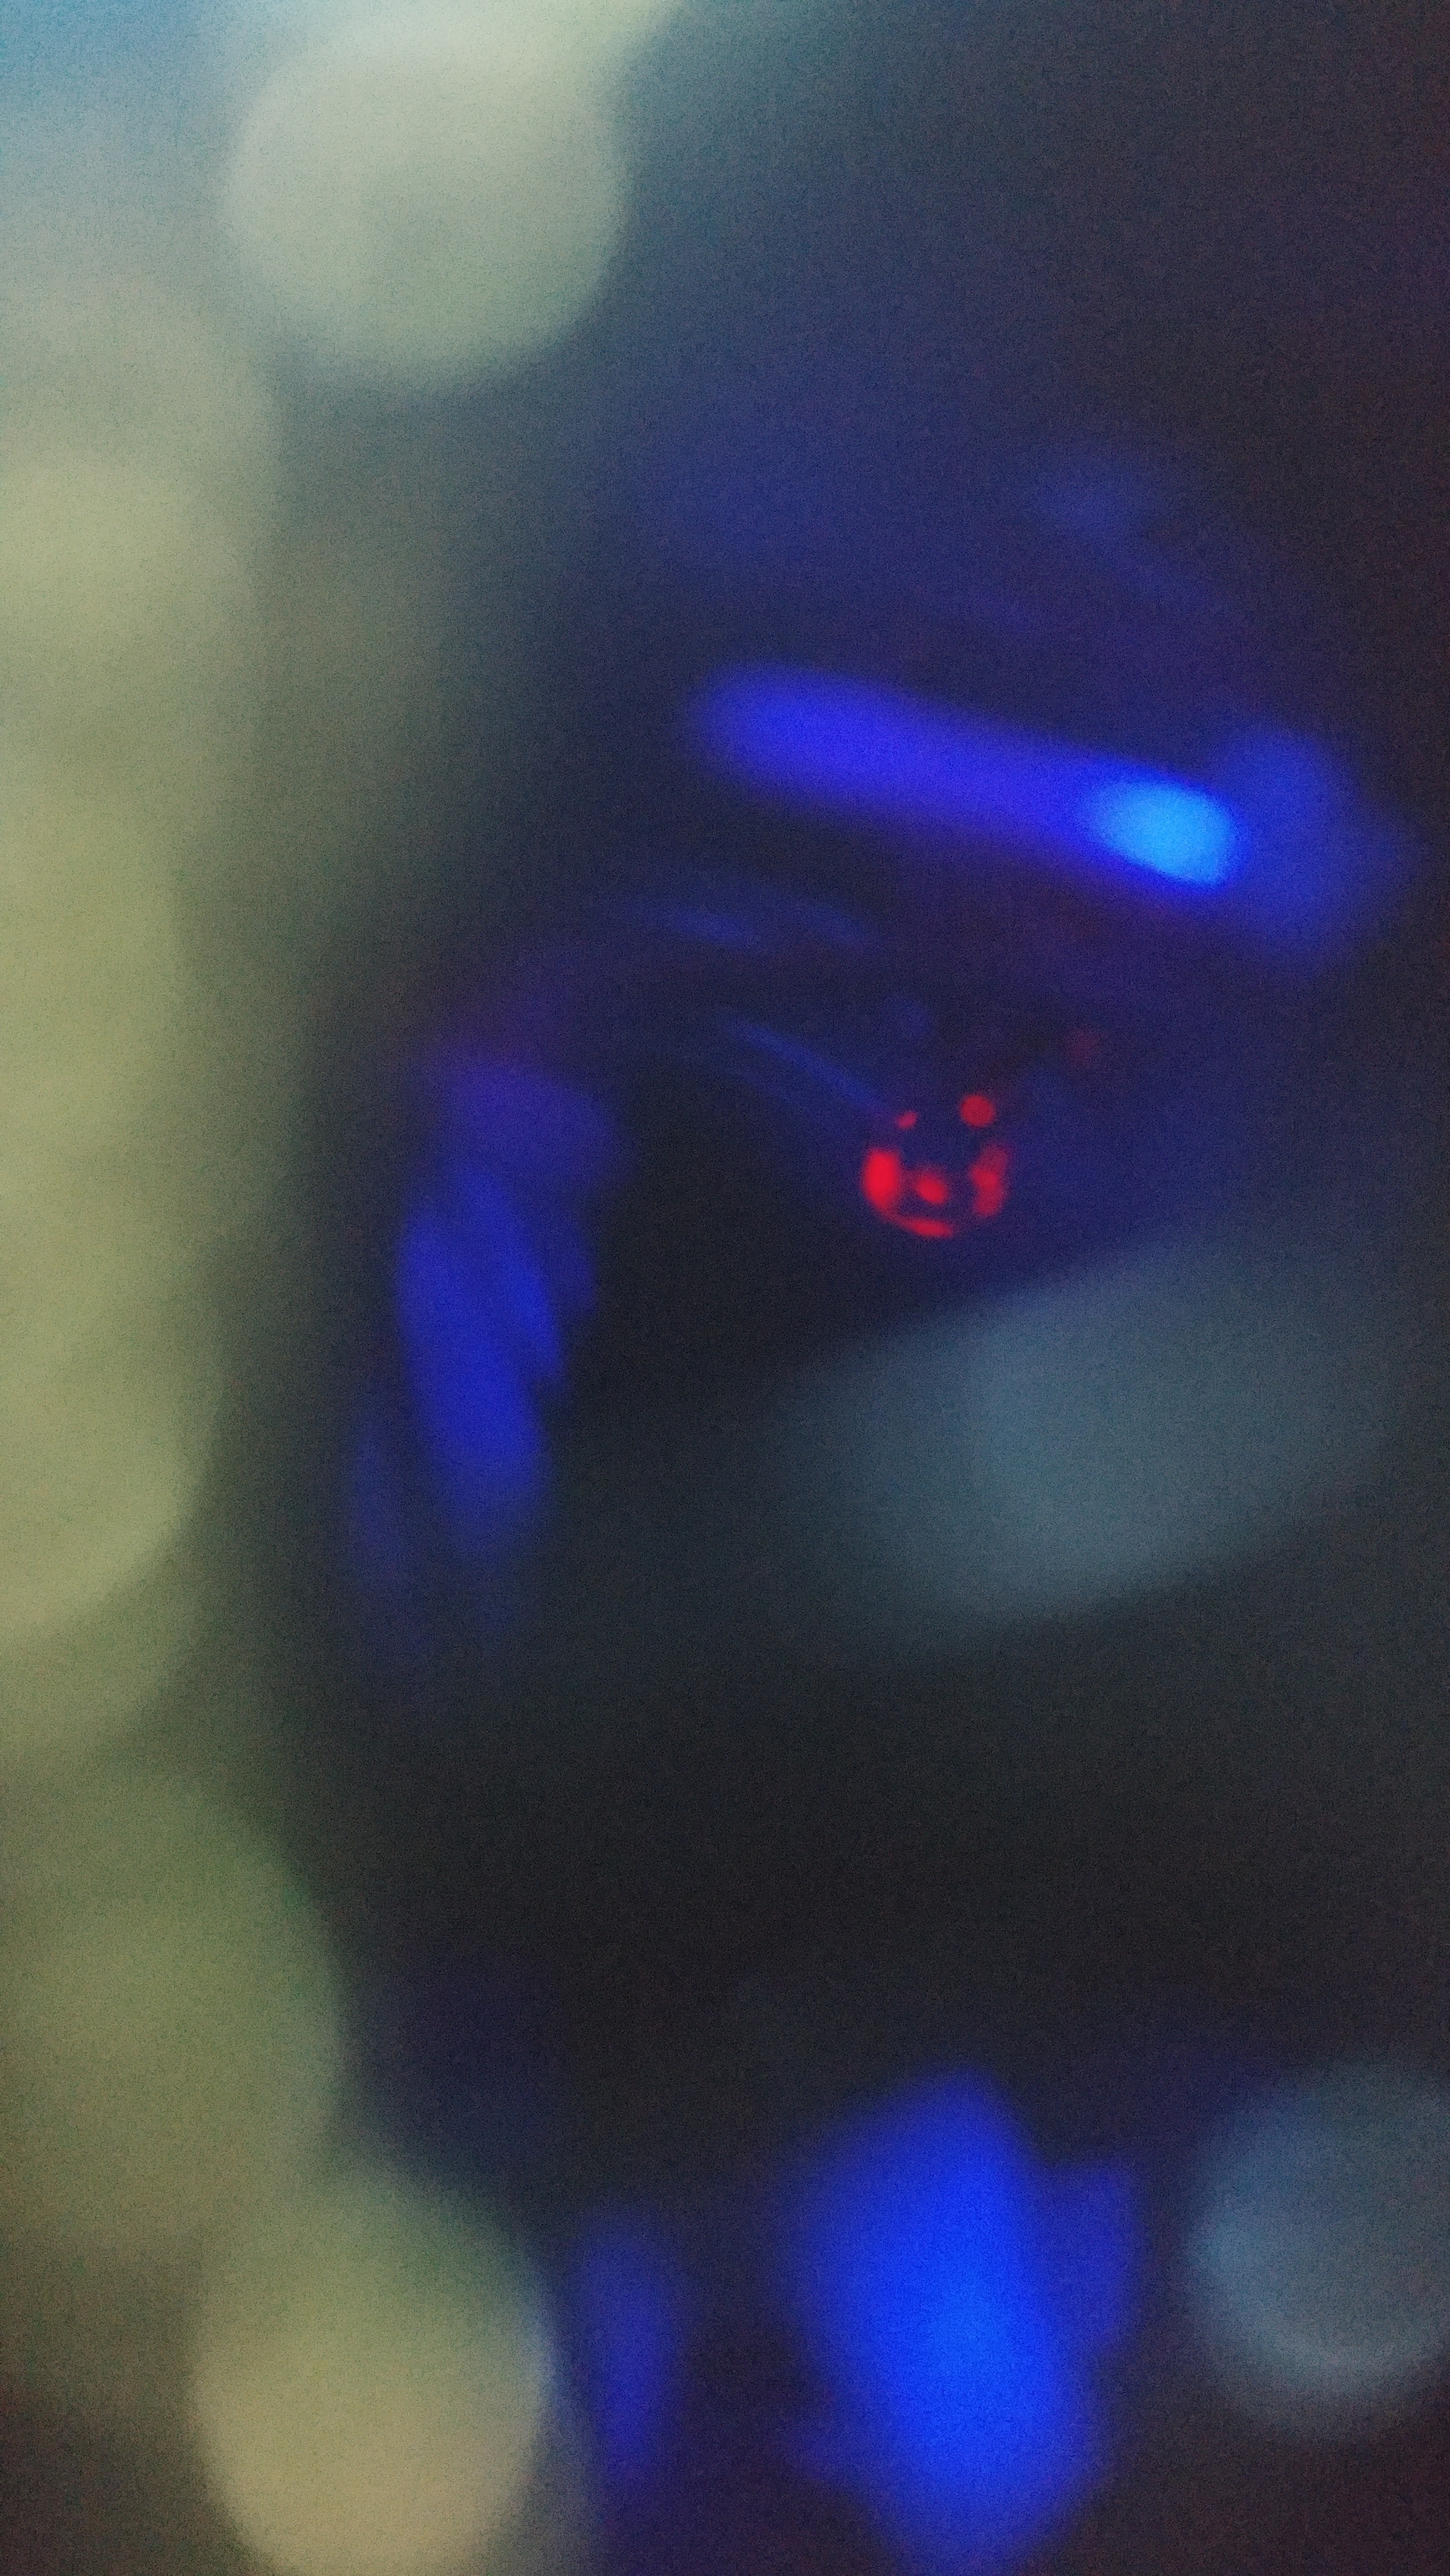
(pic 17) 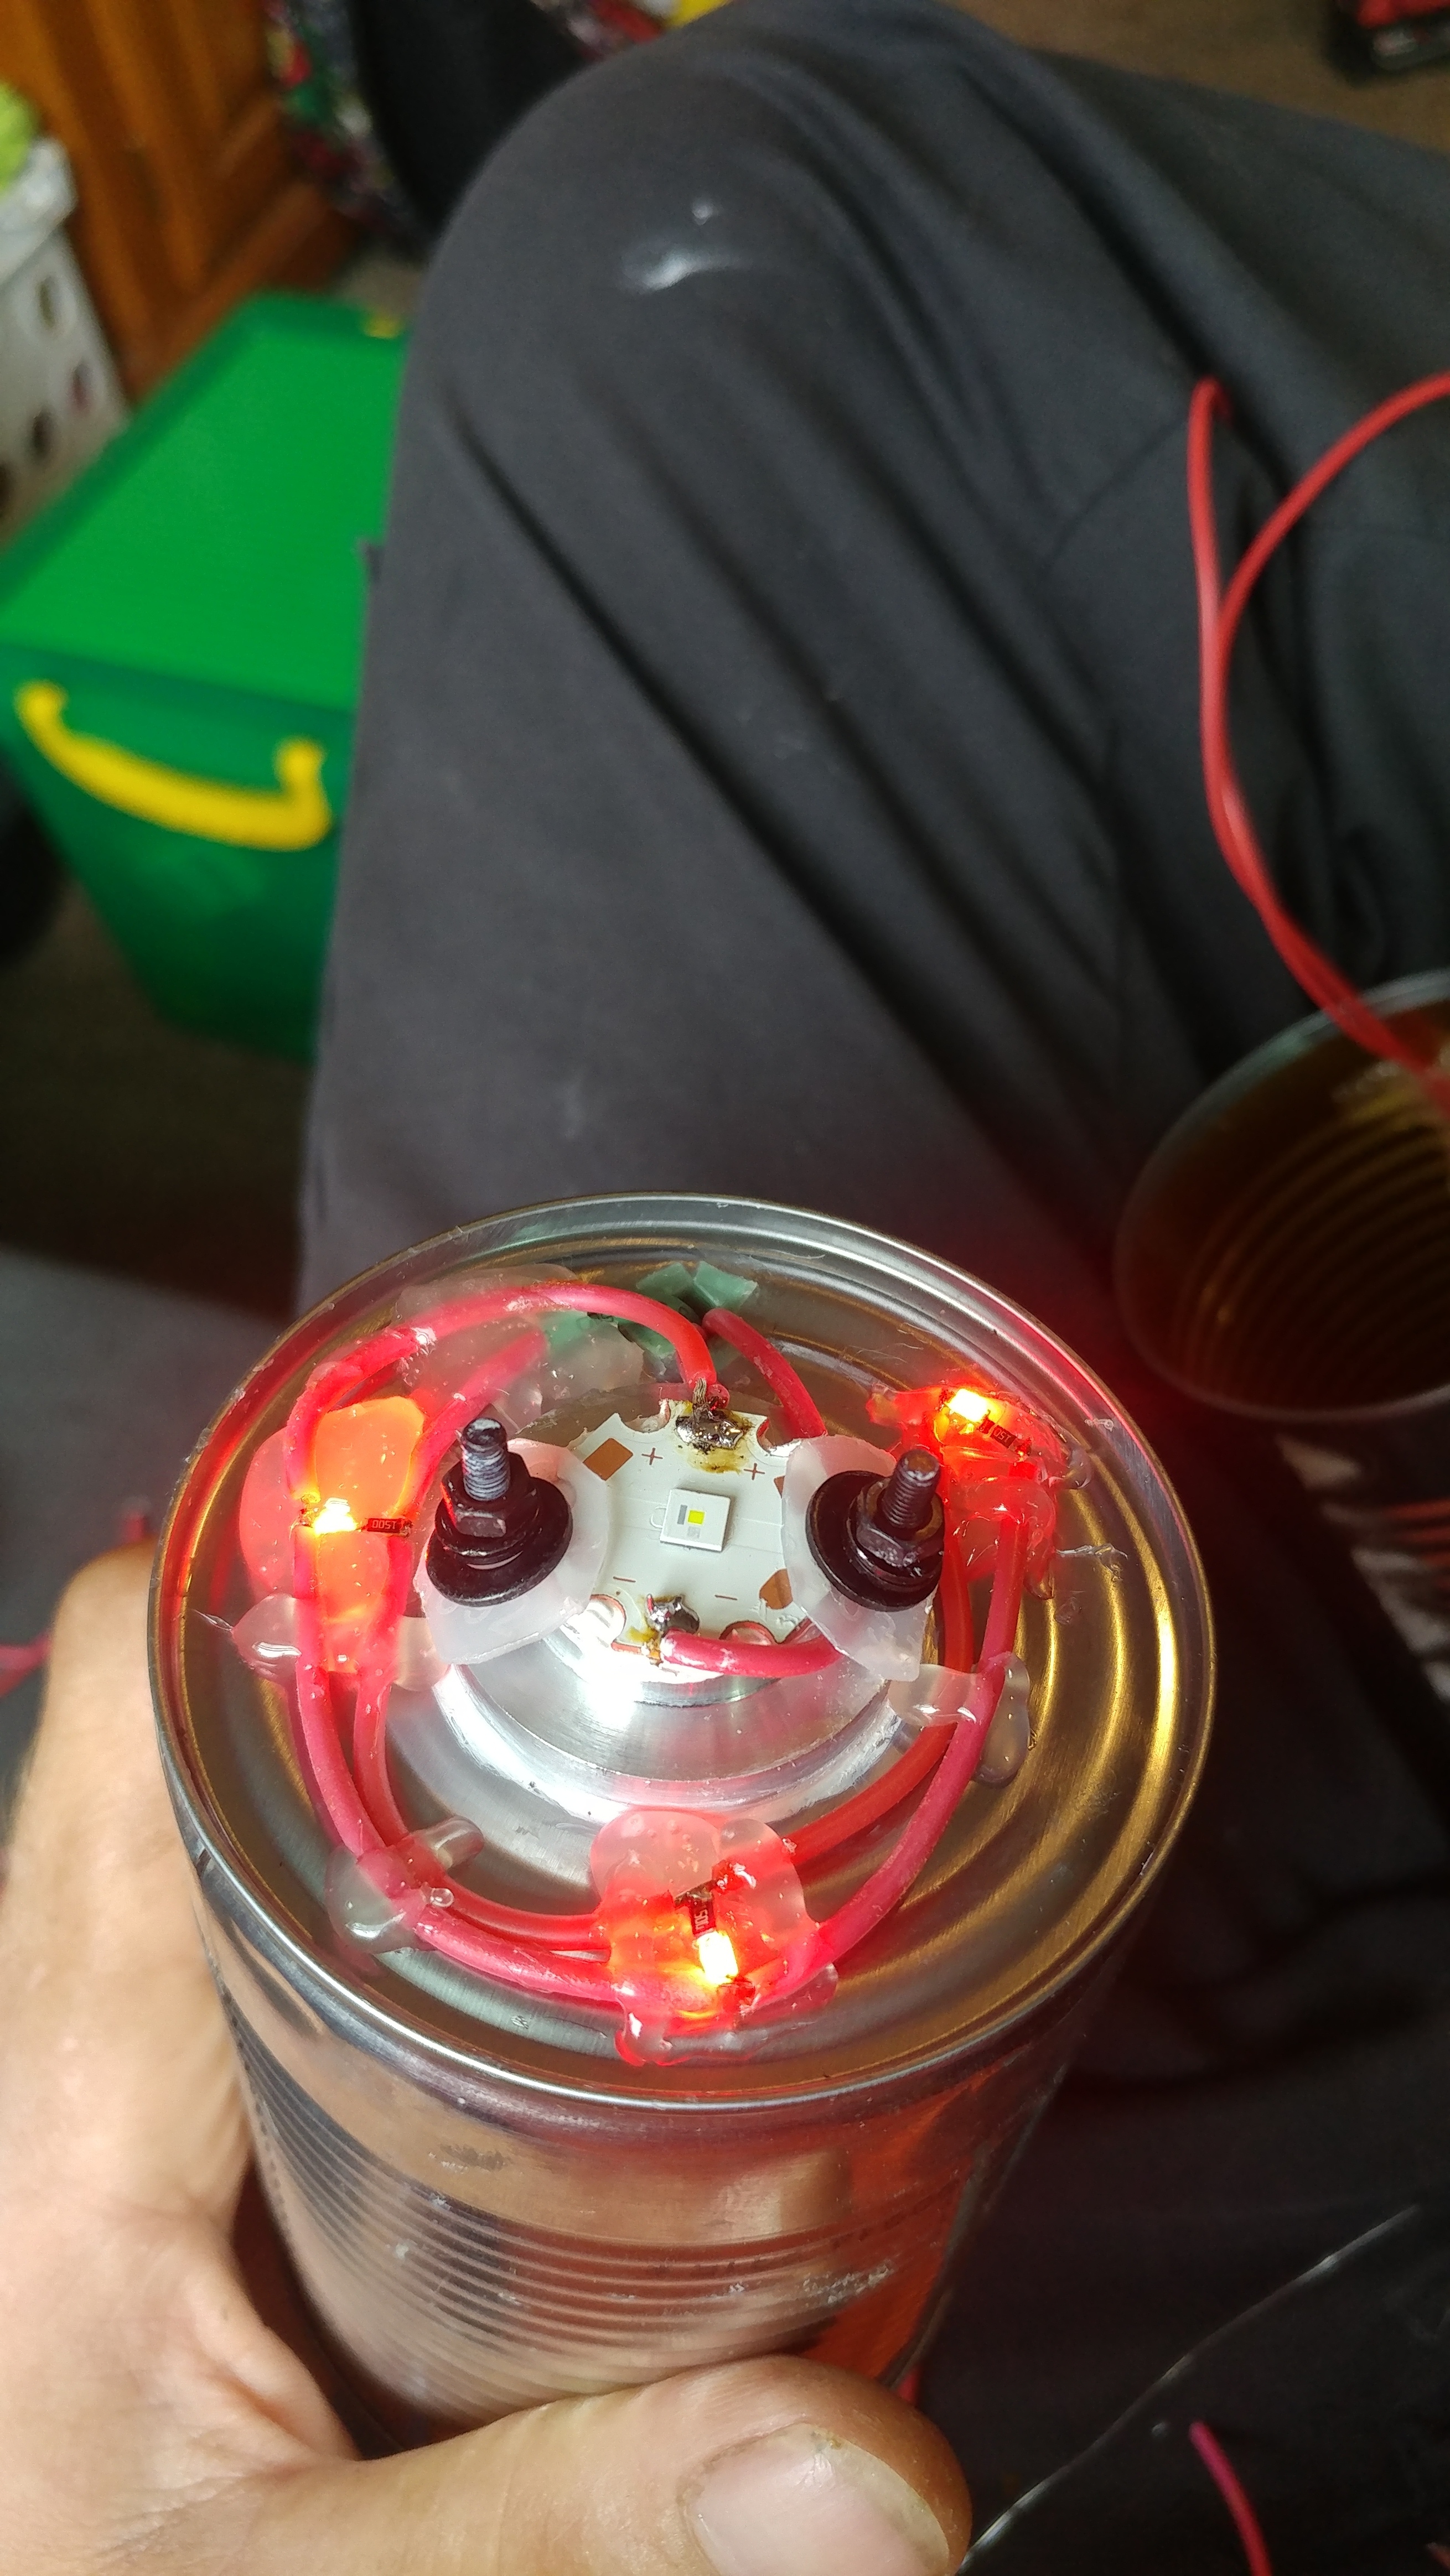 aux lights are cool, so why not. asked the household what color, and red won. 150ohm resistors, i dont need them being SUPER bright. theyre actually quite bright at as is @ 10ma.
(pic 18)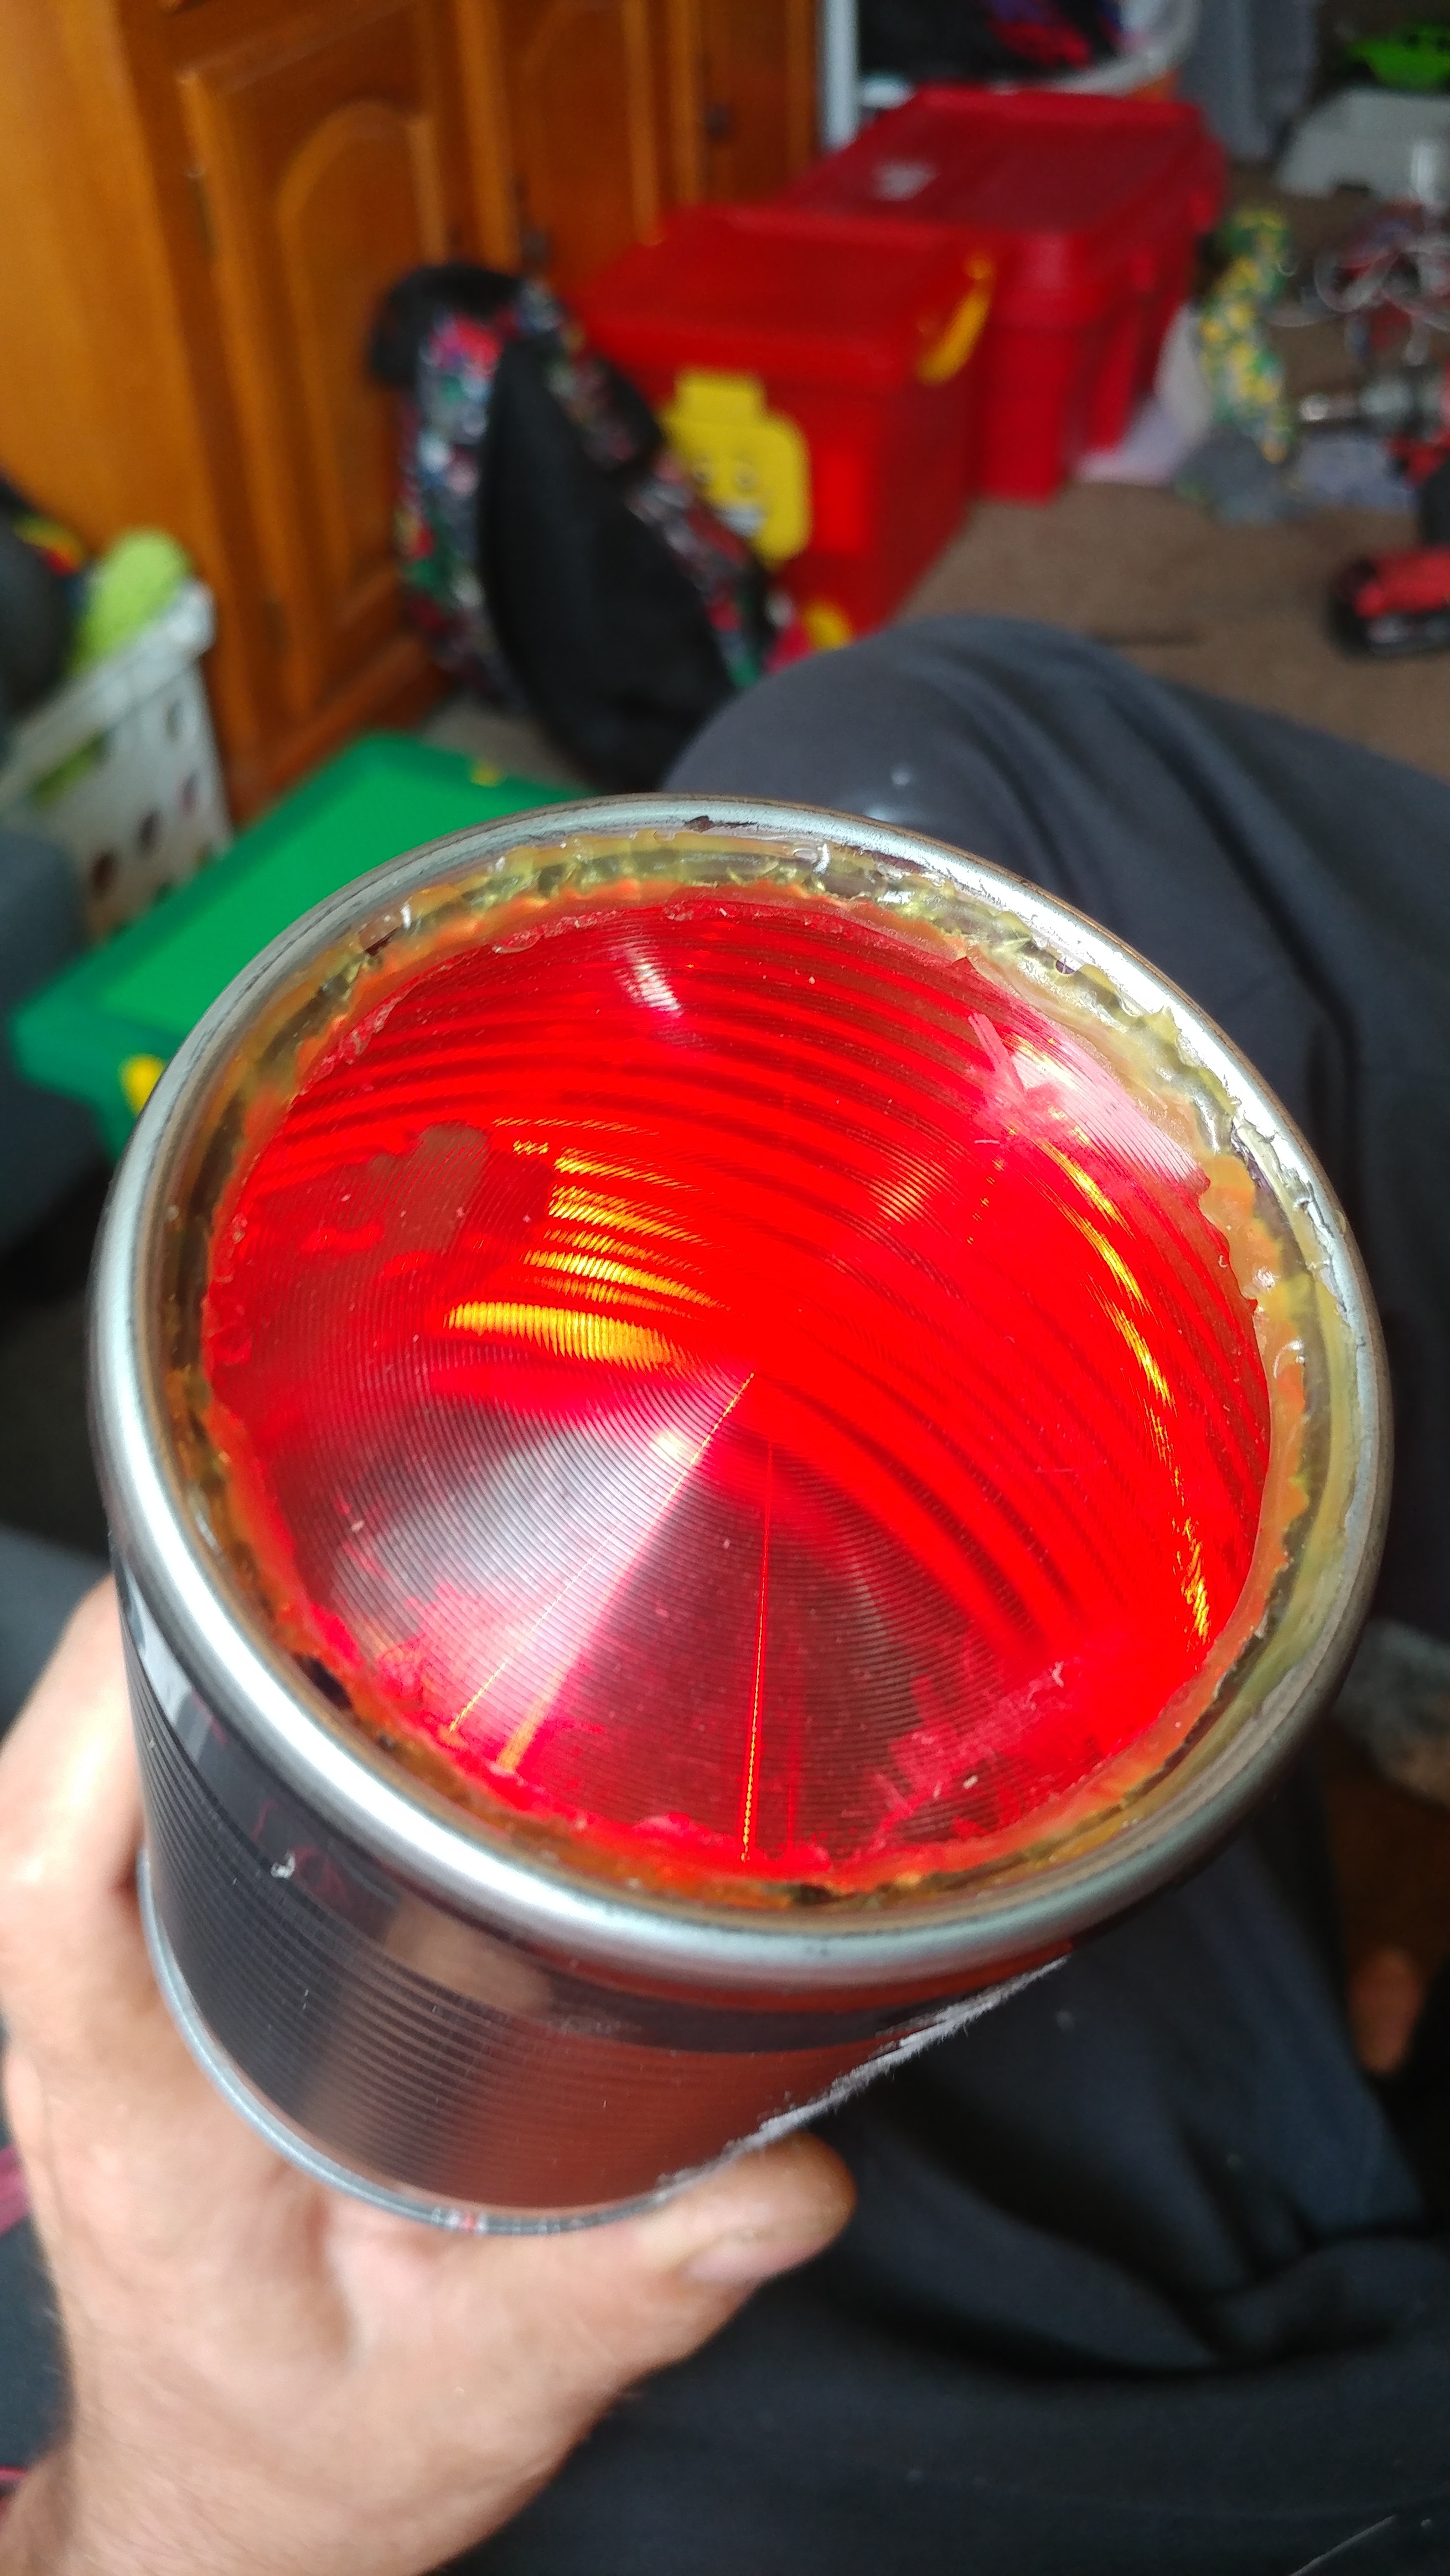 isnt it pretty? i am such a sucker for aux lights.
(pic 19) 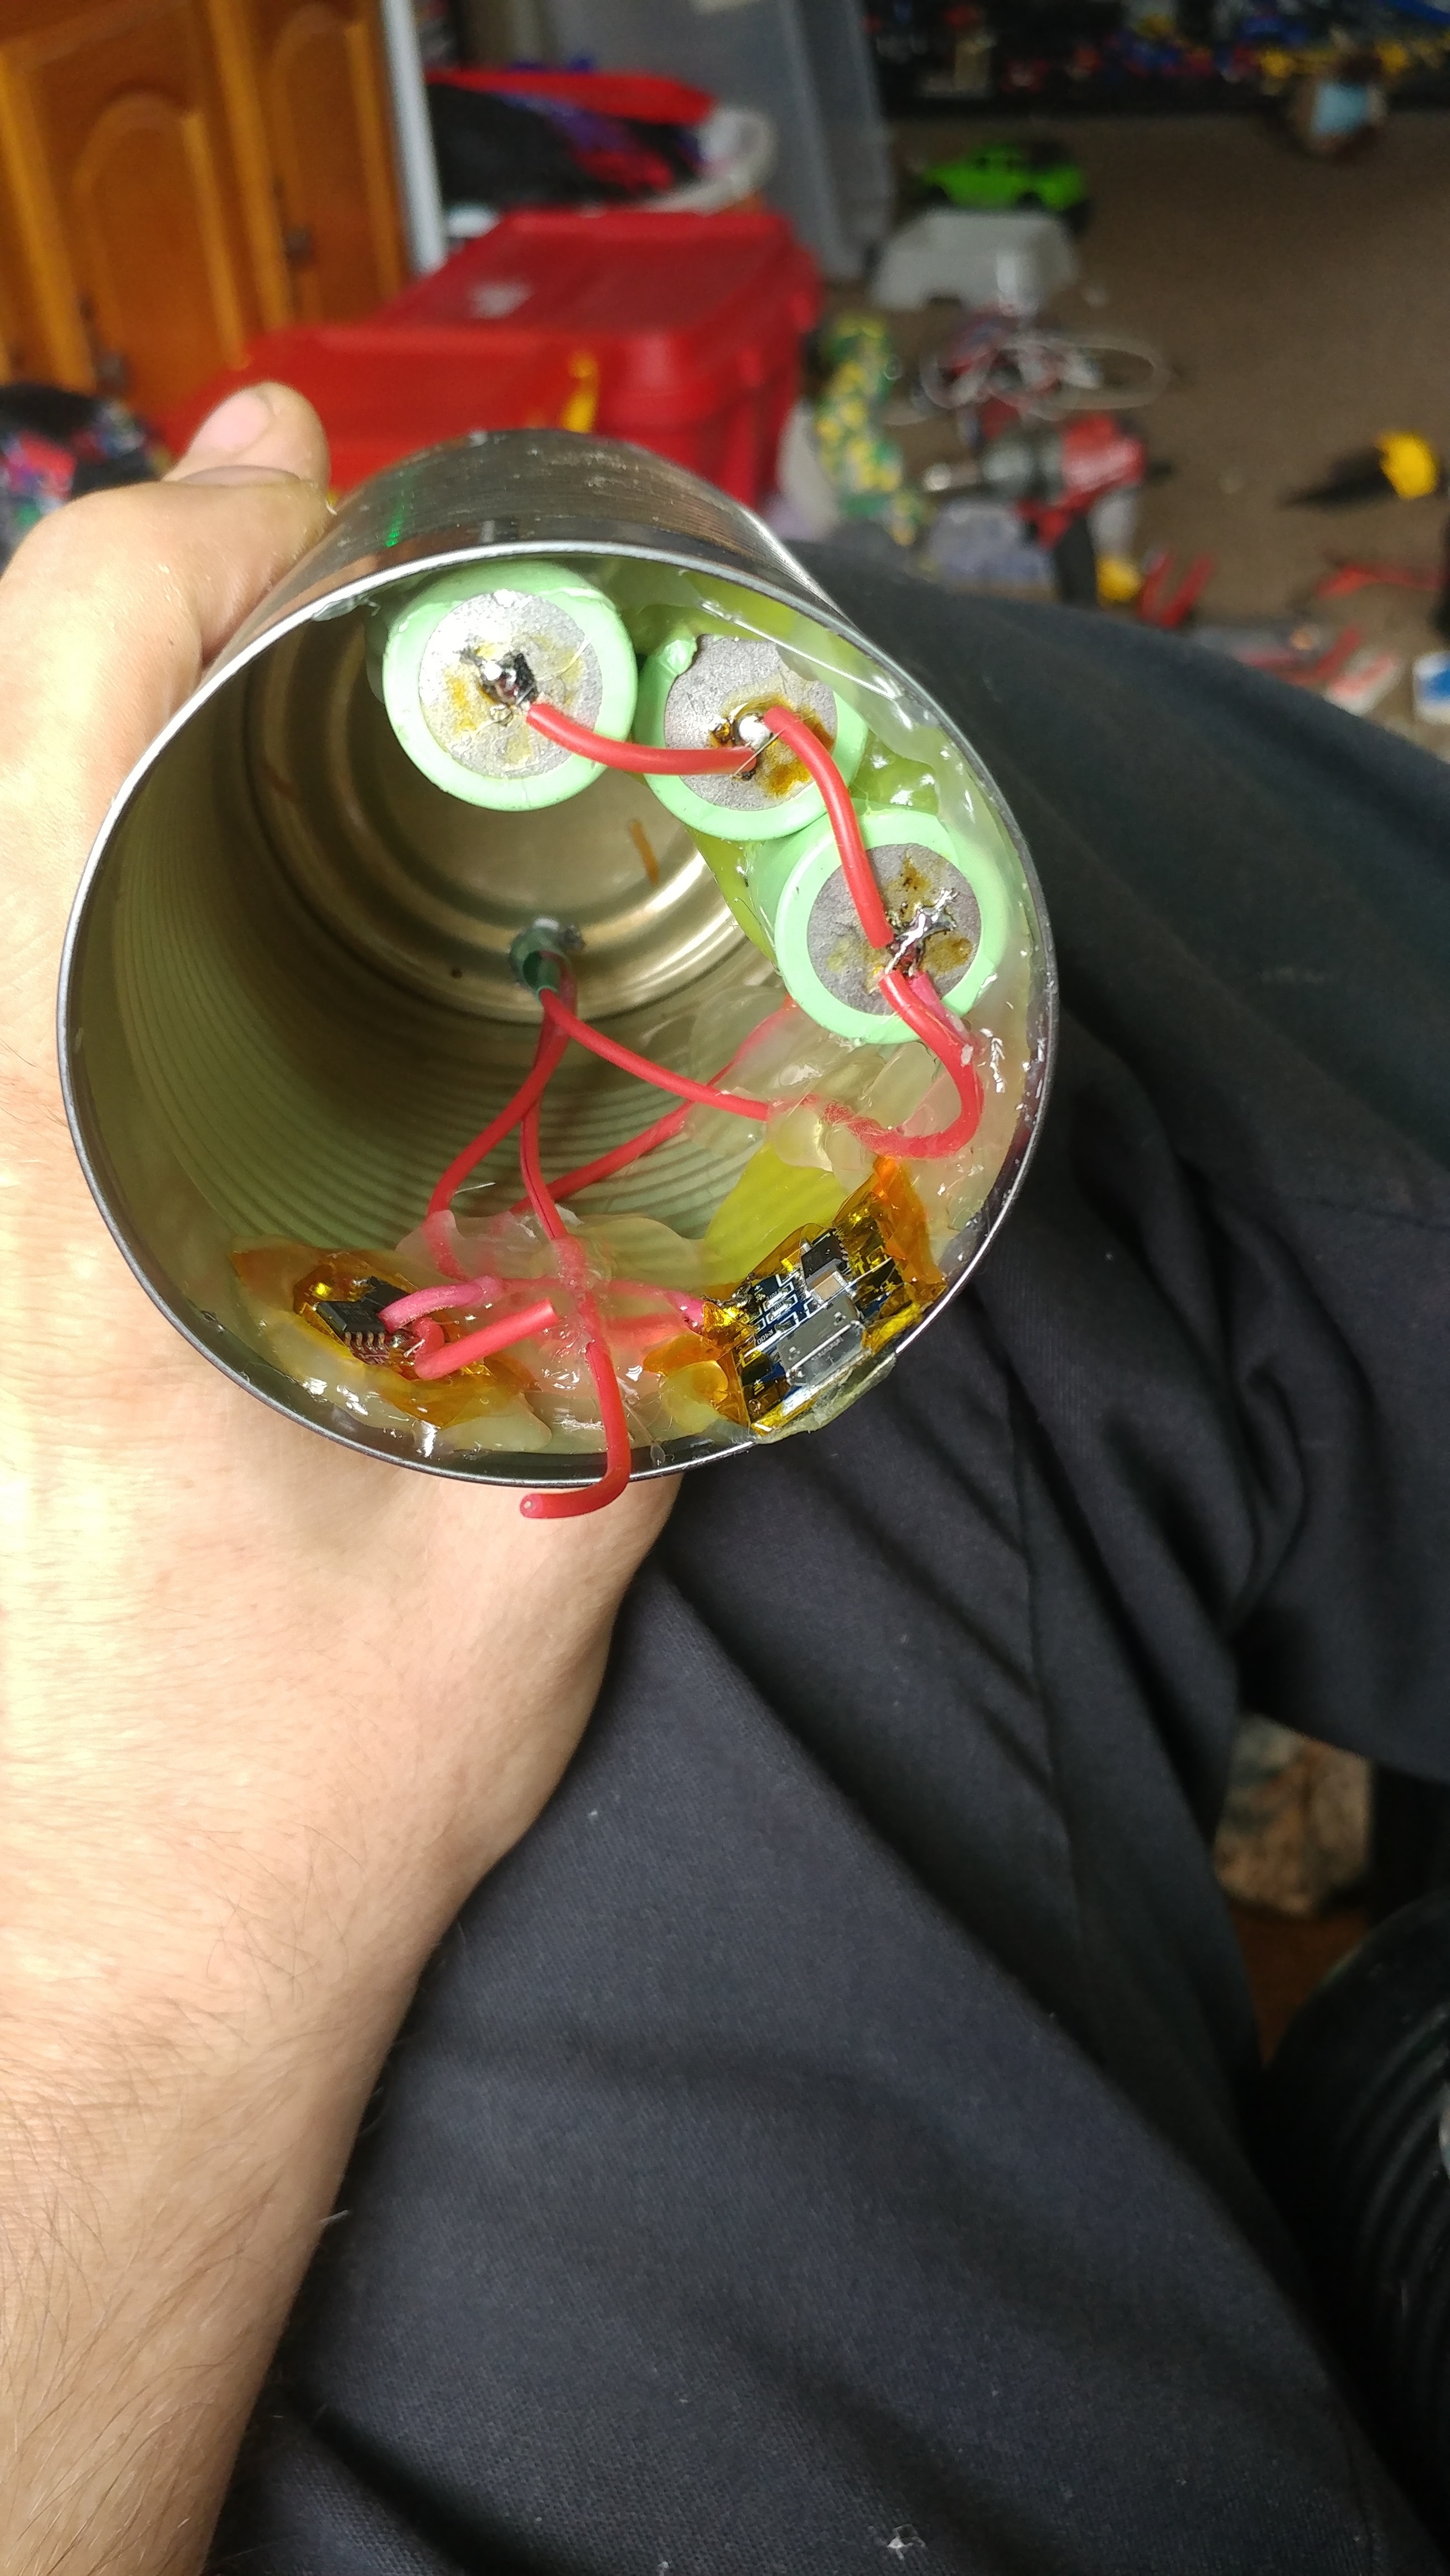 guts n glue
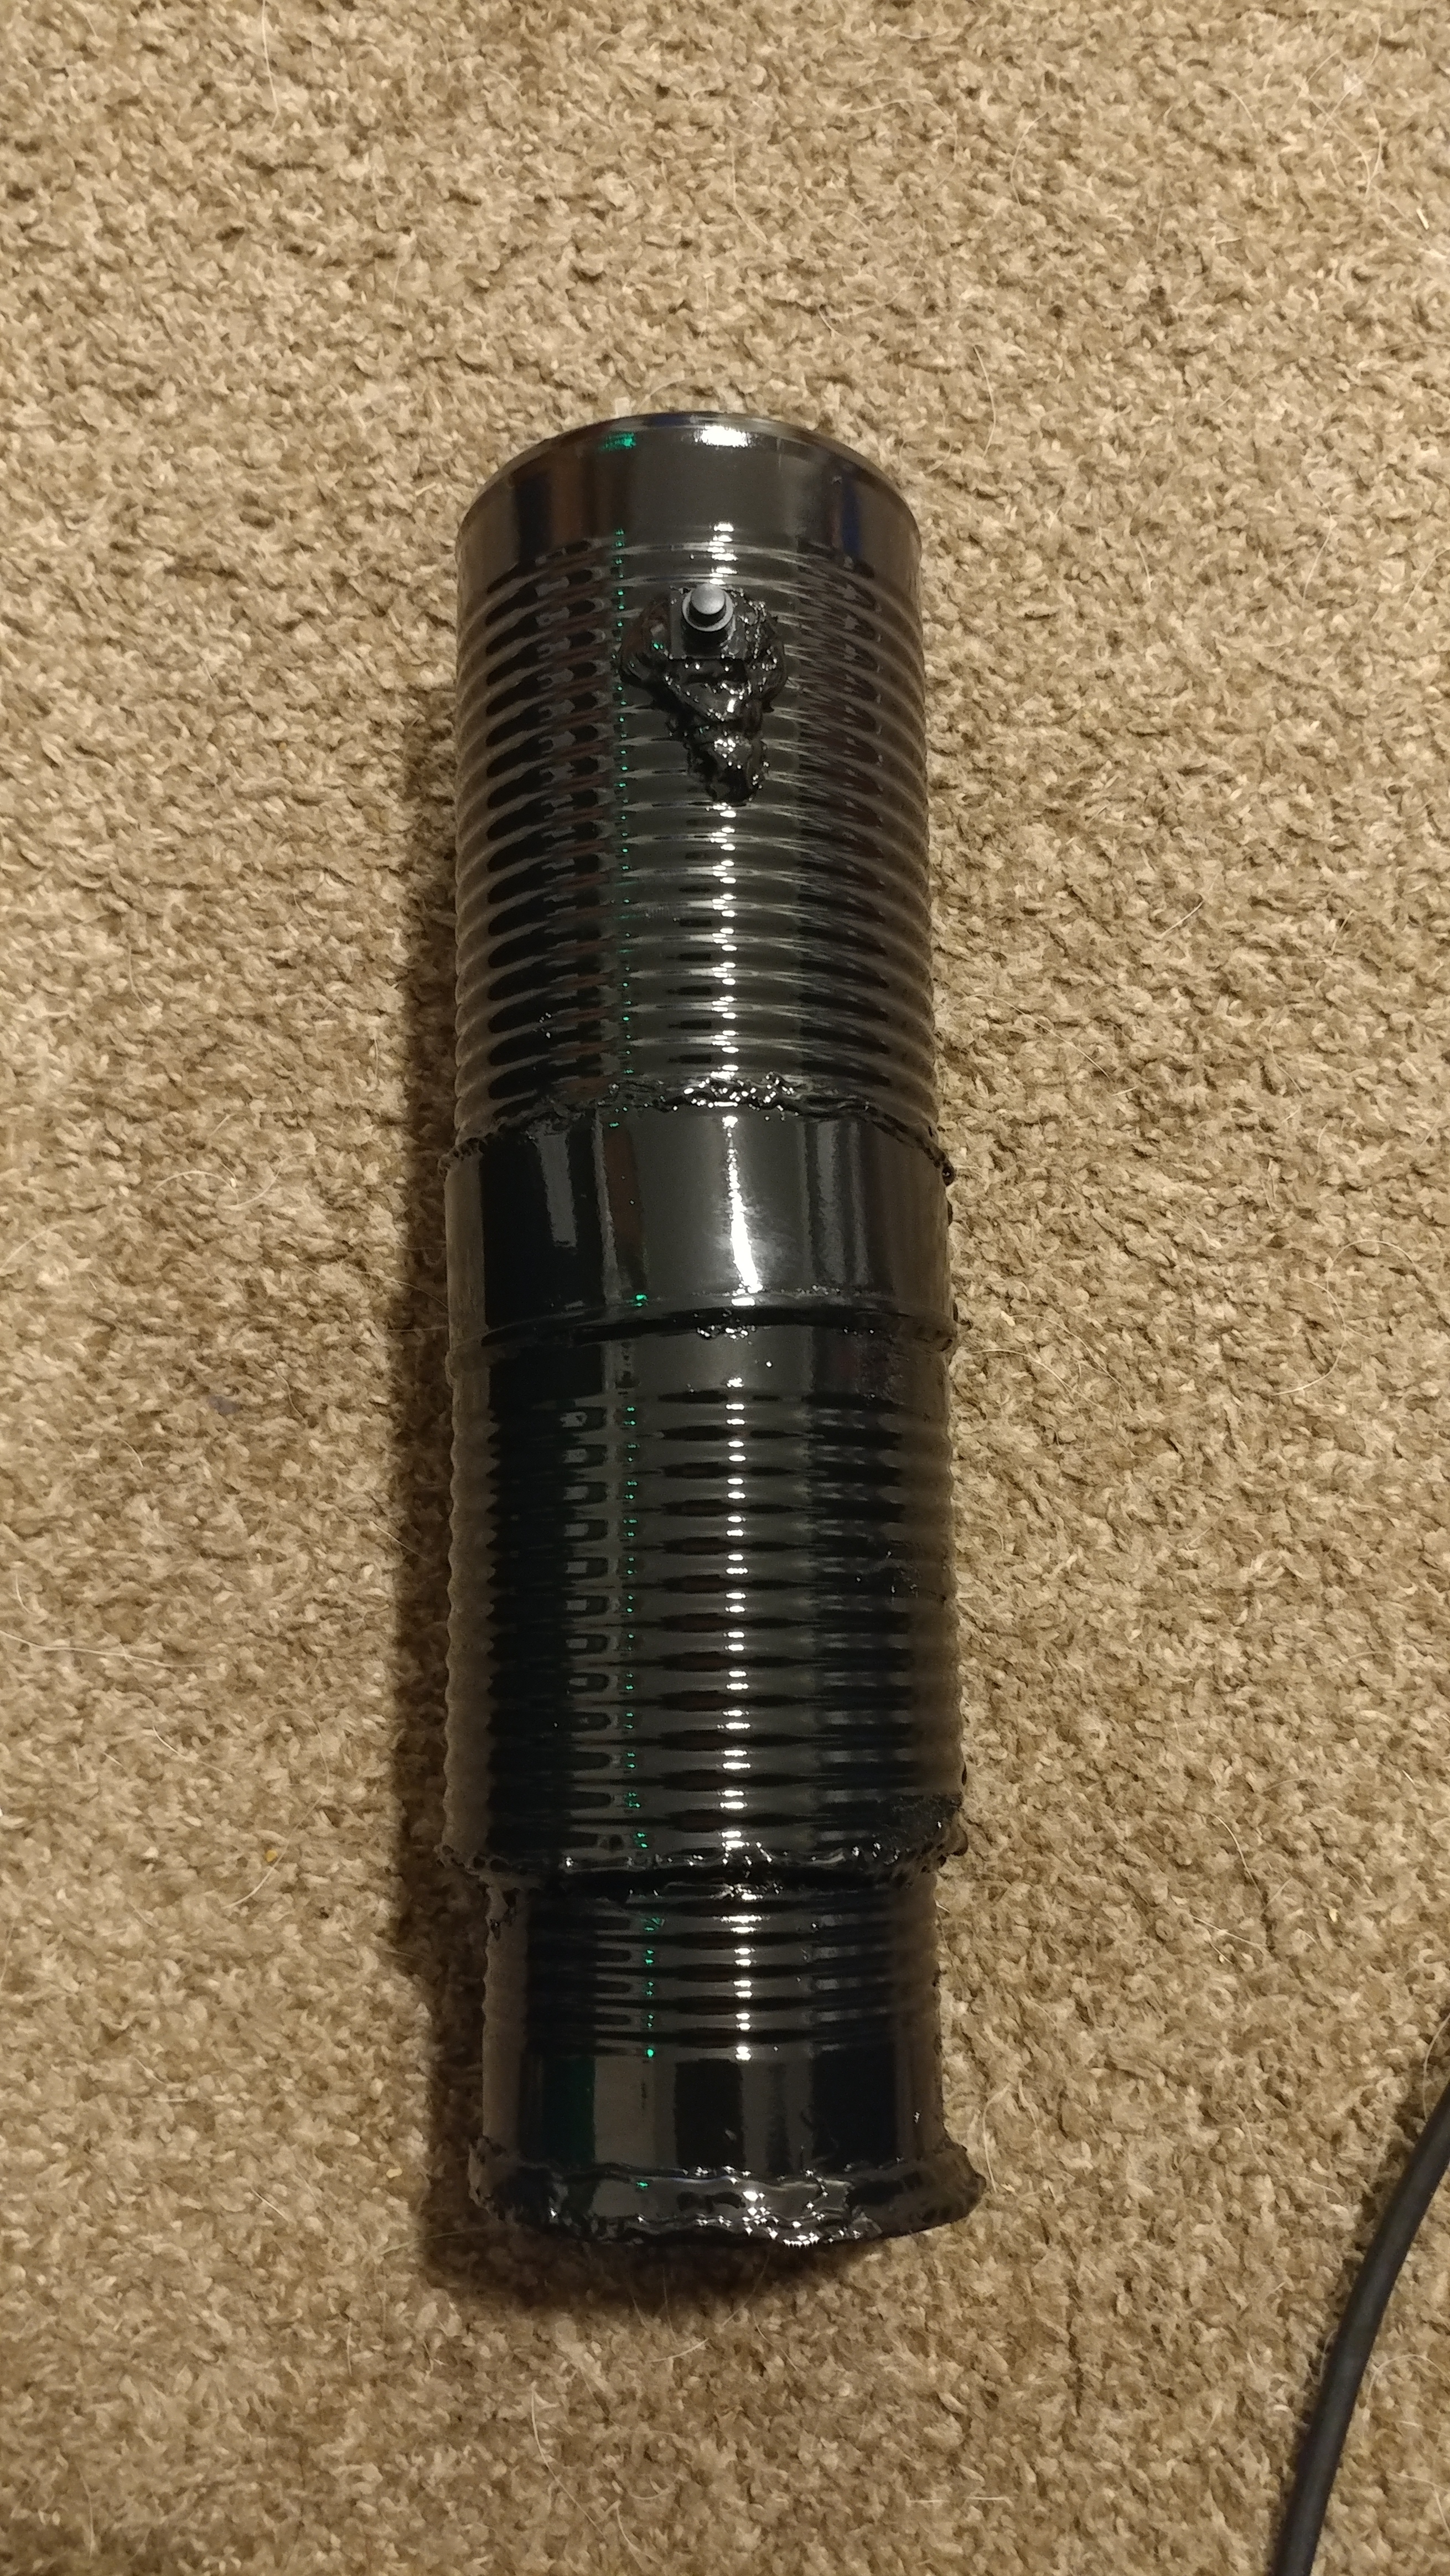
(pic 20)  cut can #3 to hold can #1 and #2 together. Hotglue to ‘temporalily’ hold, and some bolts/nuts to make sure it stays tight. All those gaps? you guessed it. HOT GLUE!!!
(pic 21)  used some thick nuts as washers to keep the can ‘centered.’ that gap? yeah dont worry we got that. points to hot glue
(pic 22) 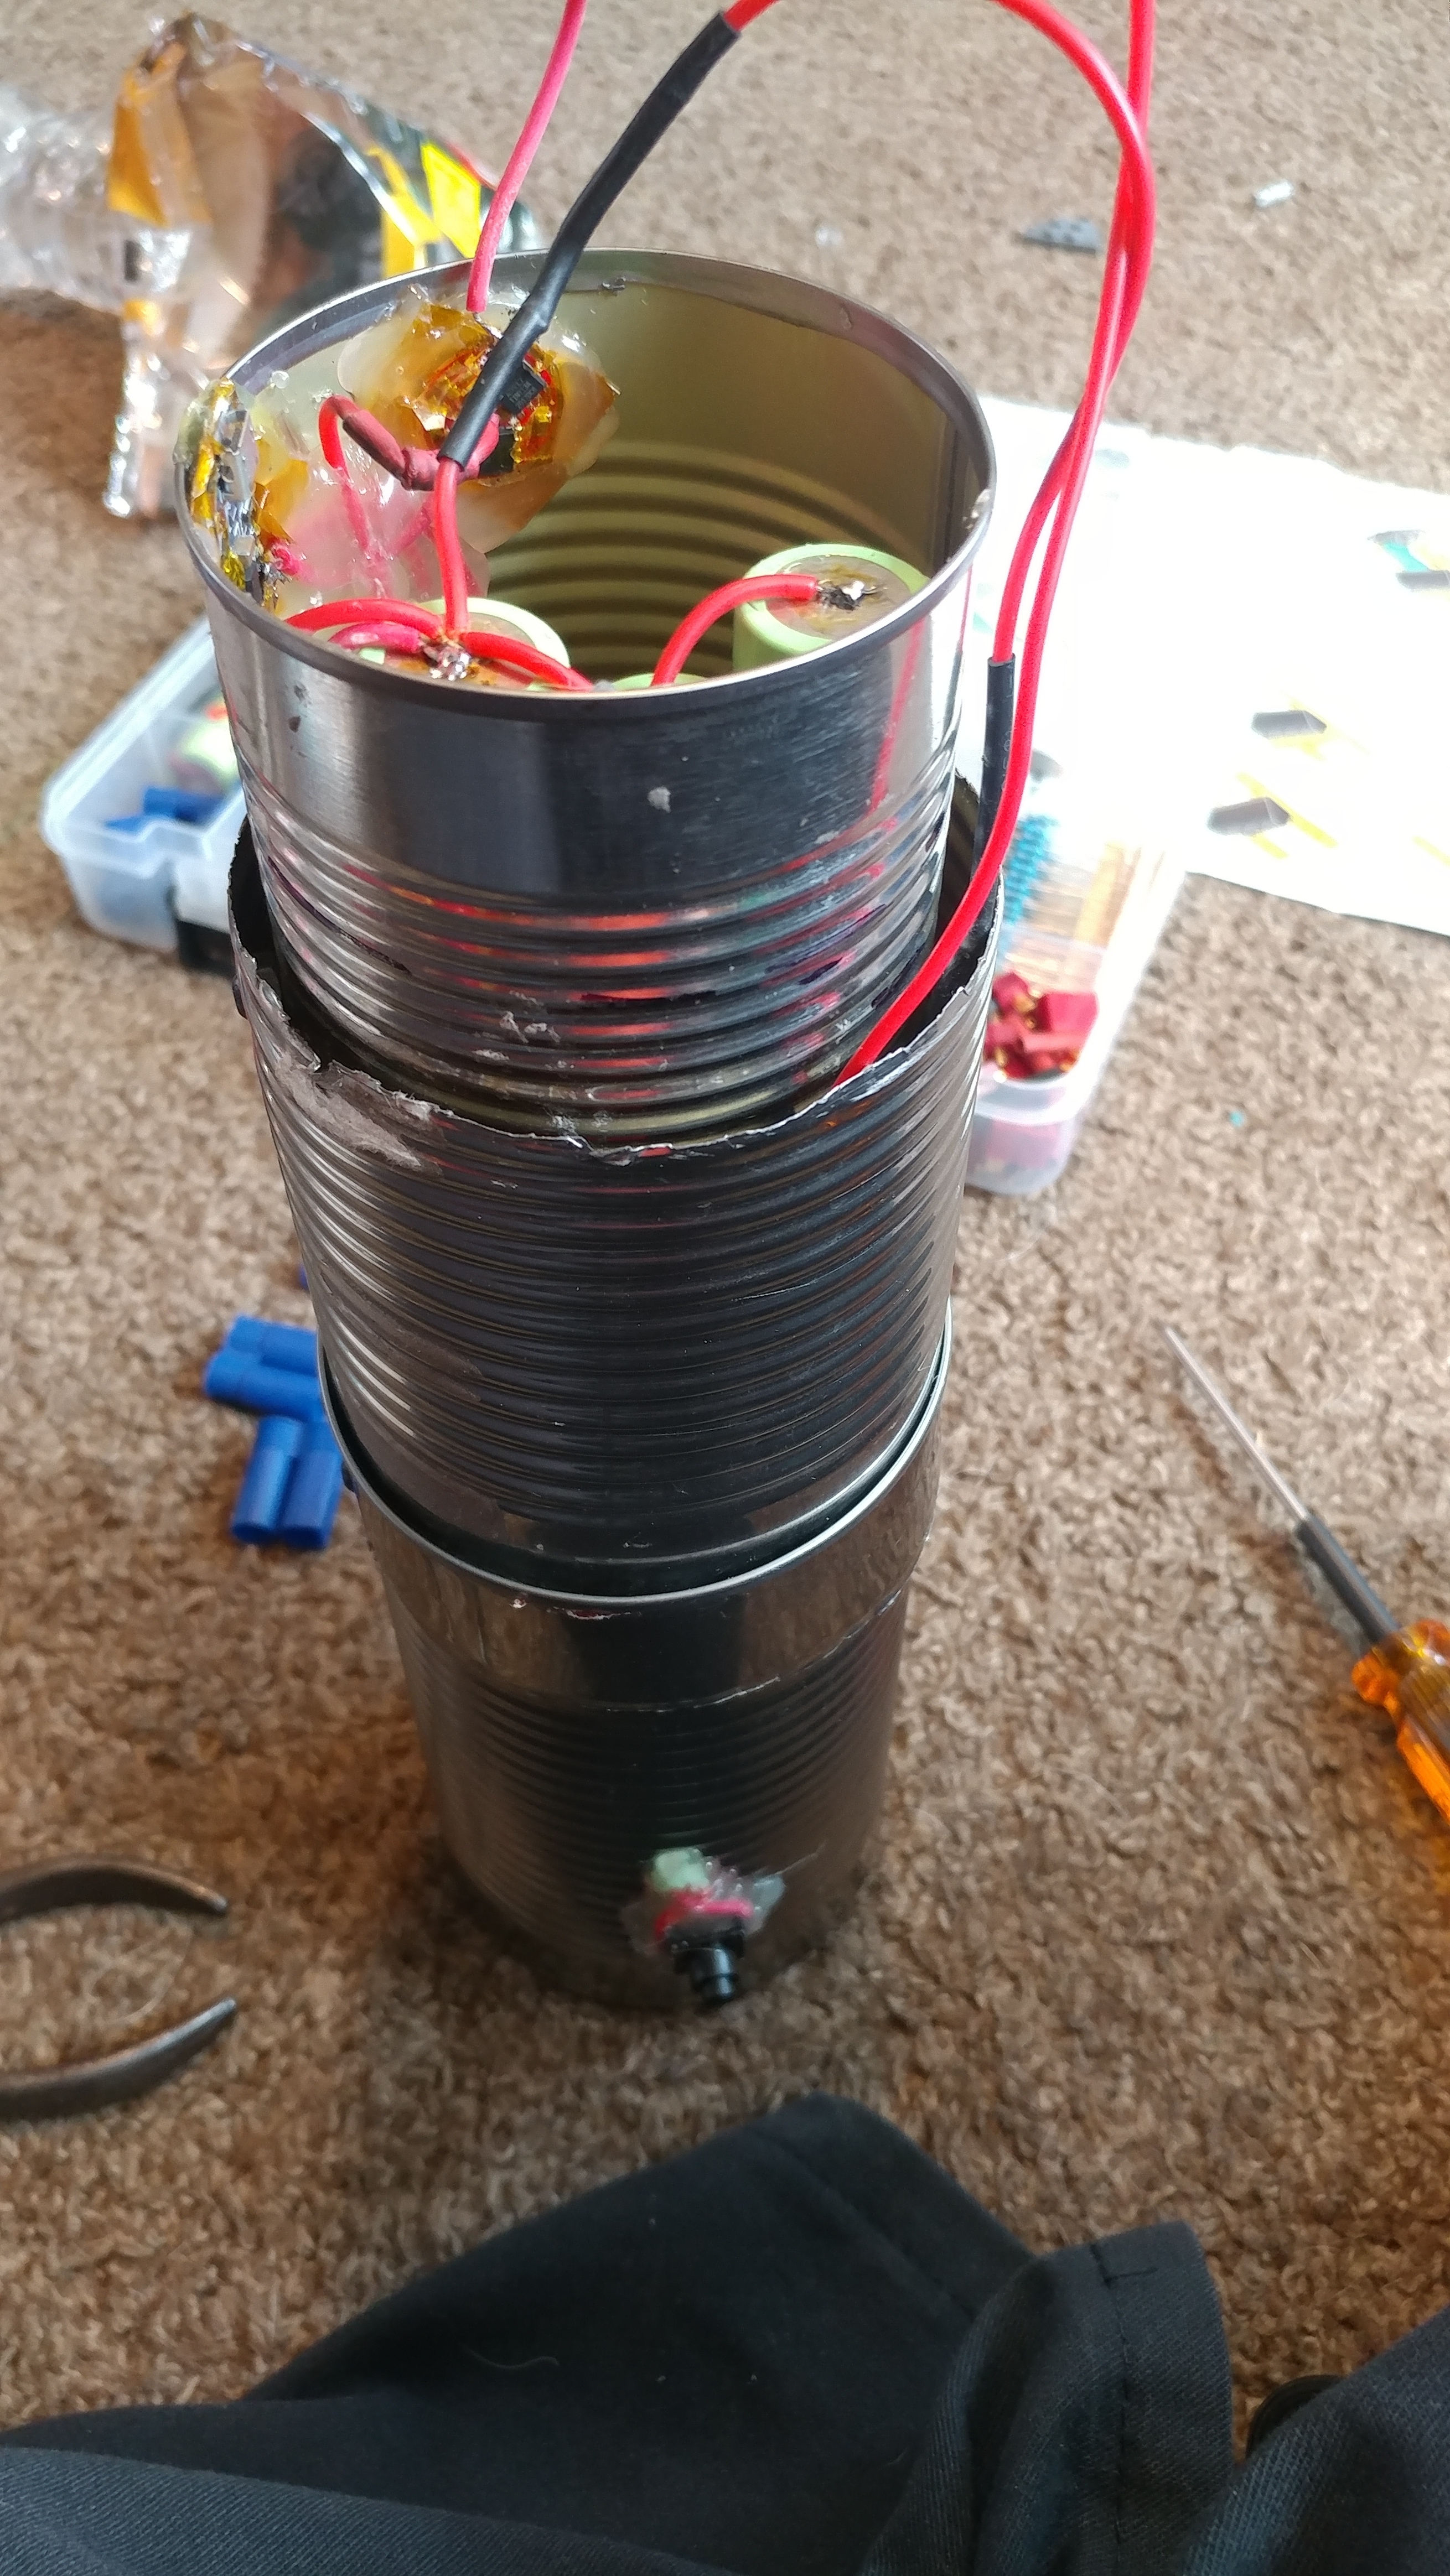 its so crudely alllliiiivvveeeeeeee. it needs a name, and i havent figured it out yet. frankinbeans? idk
(pic 23) 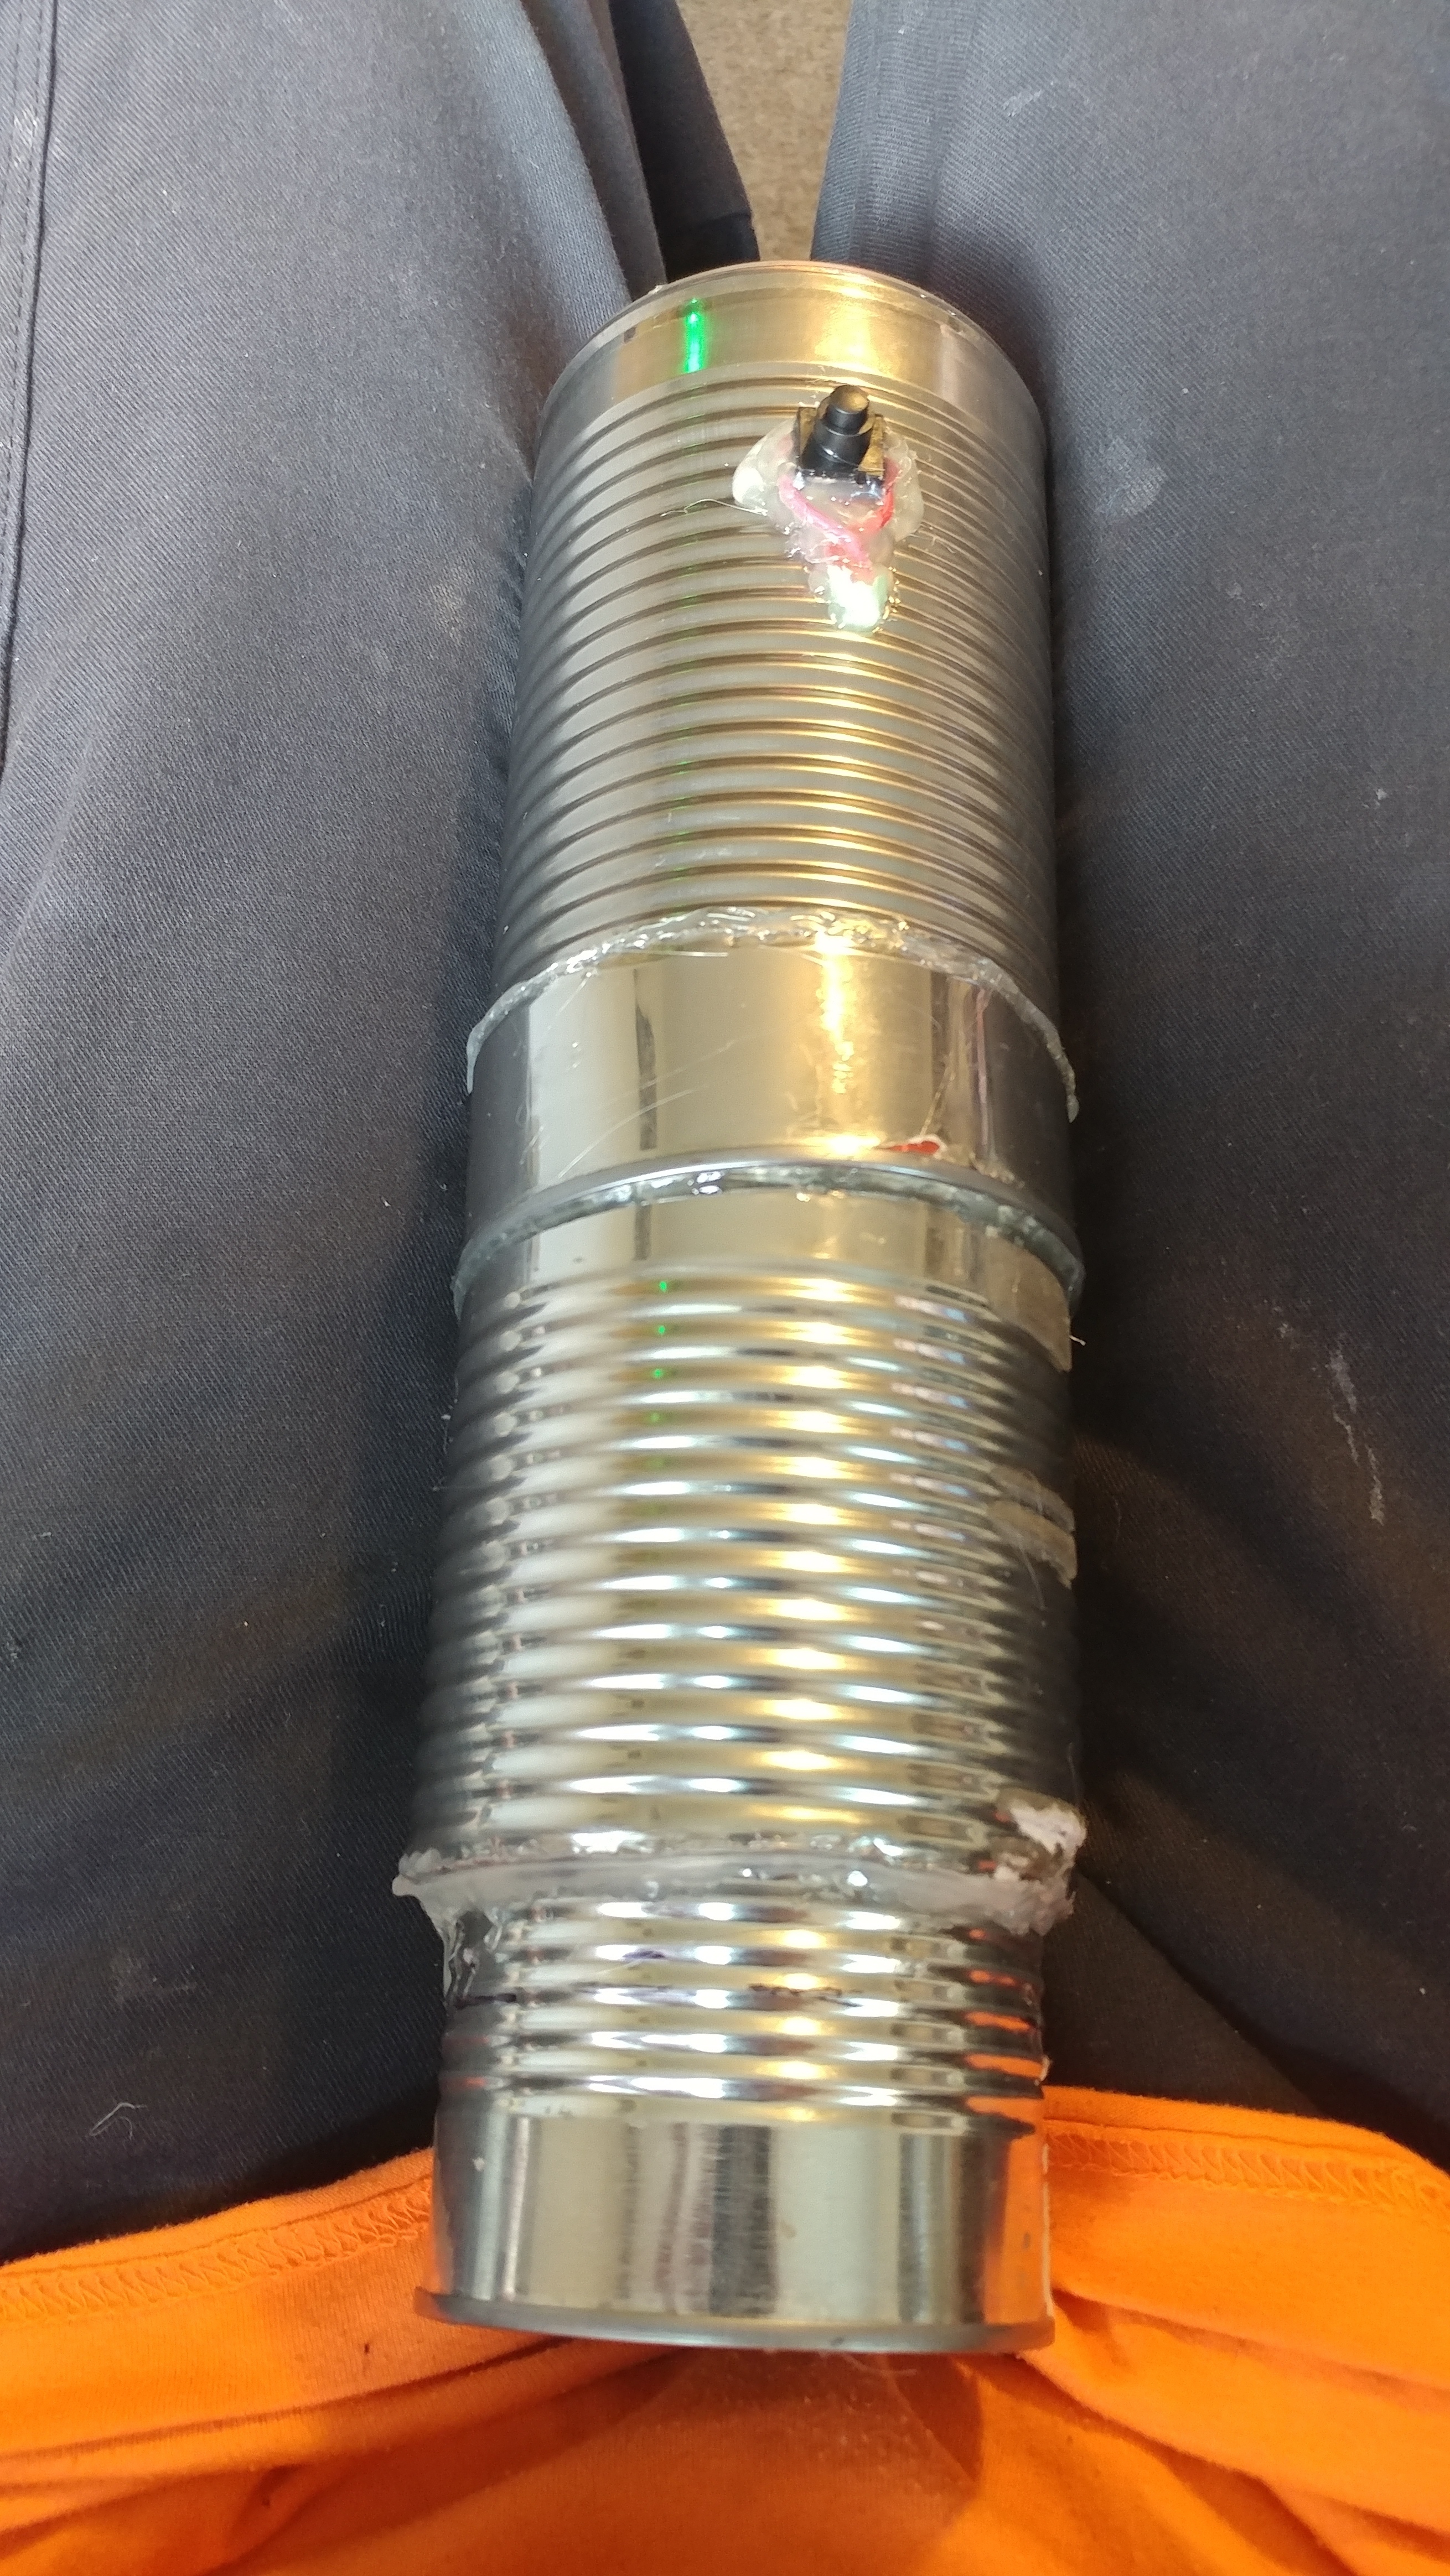 i uhh… didnt realize the particular placement of the light prior to taking the photo, and if i offend anyone - my apologies i will remove.
(pic 24) 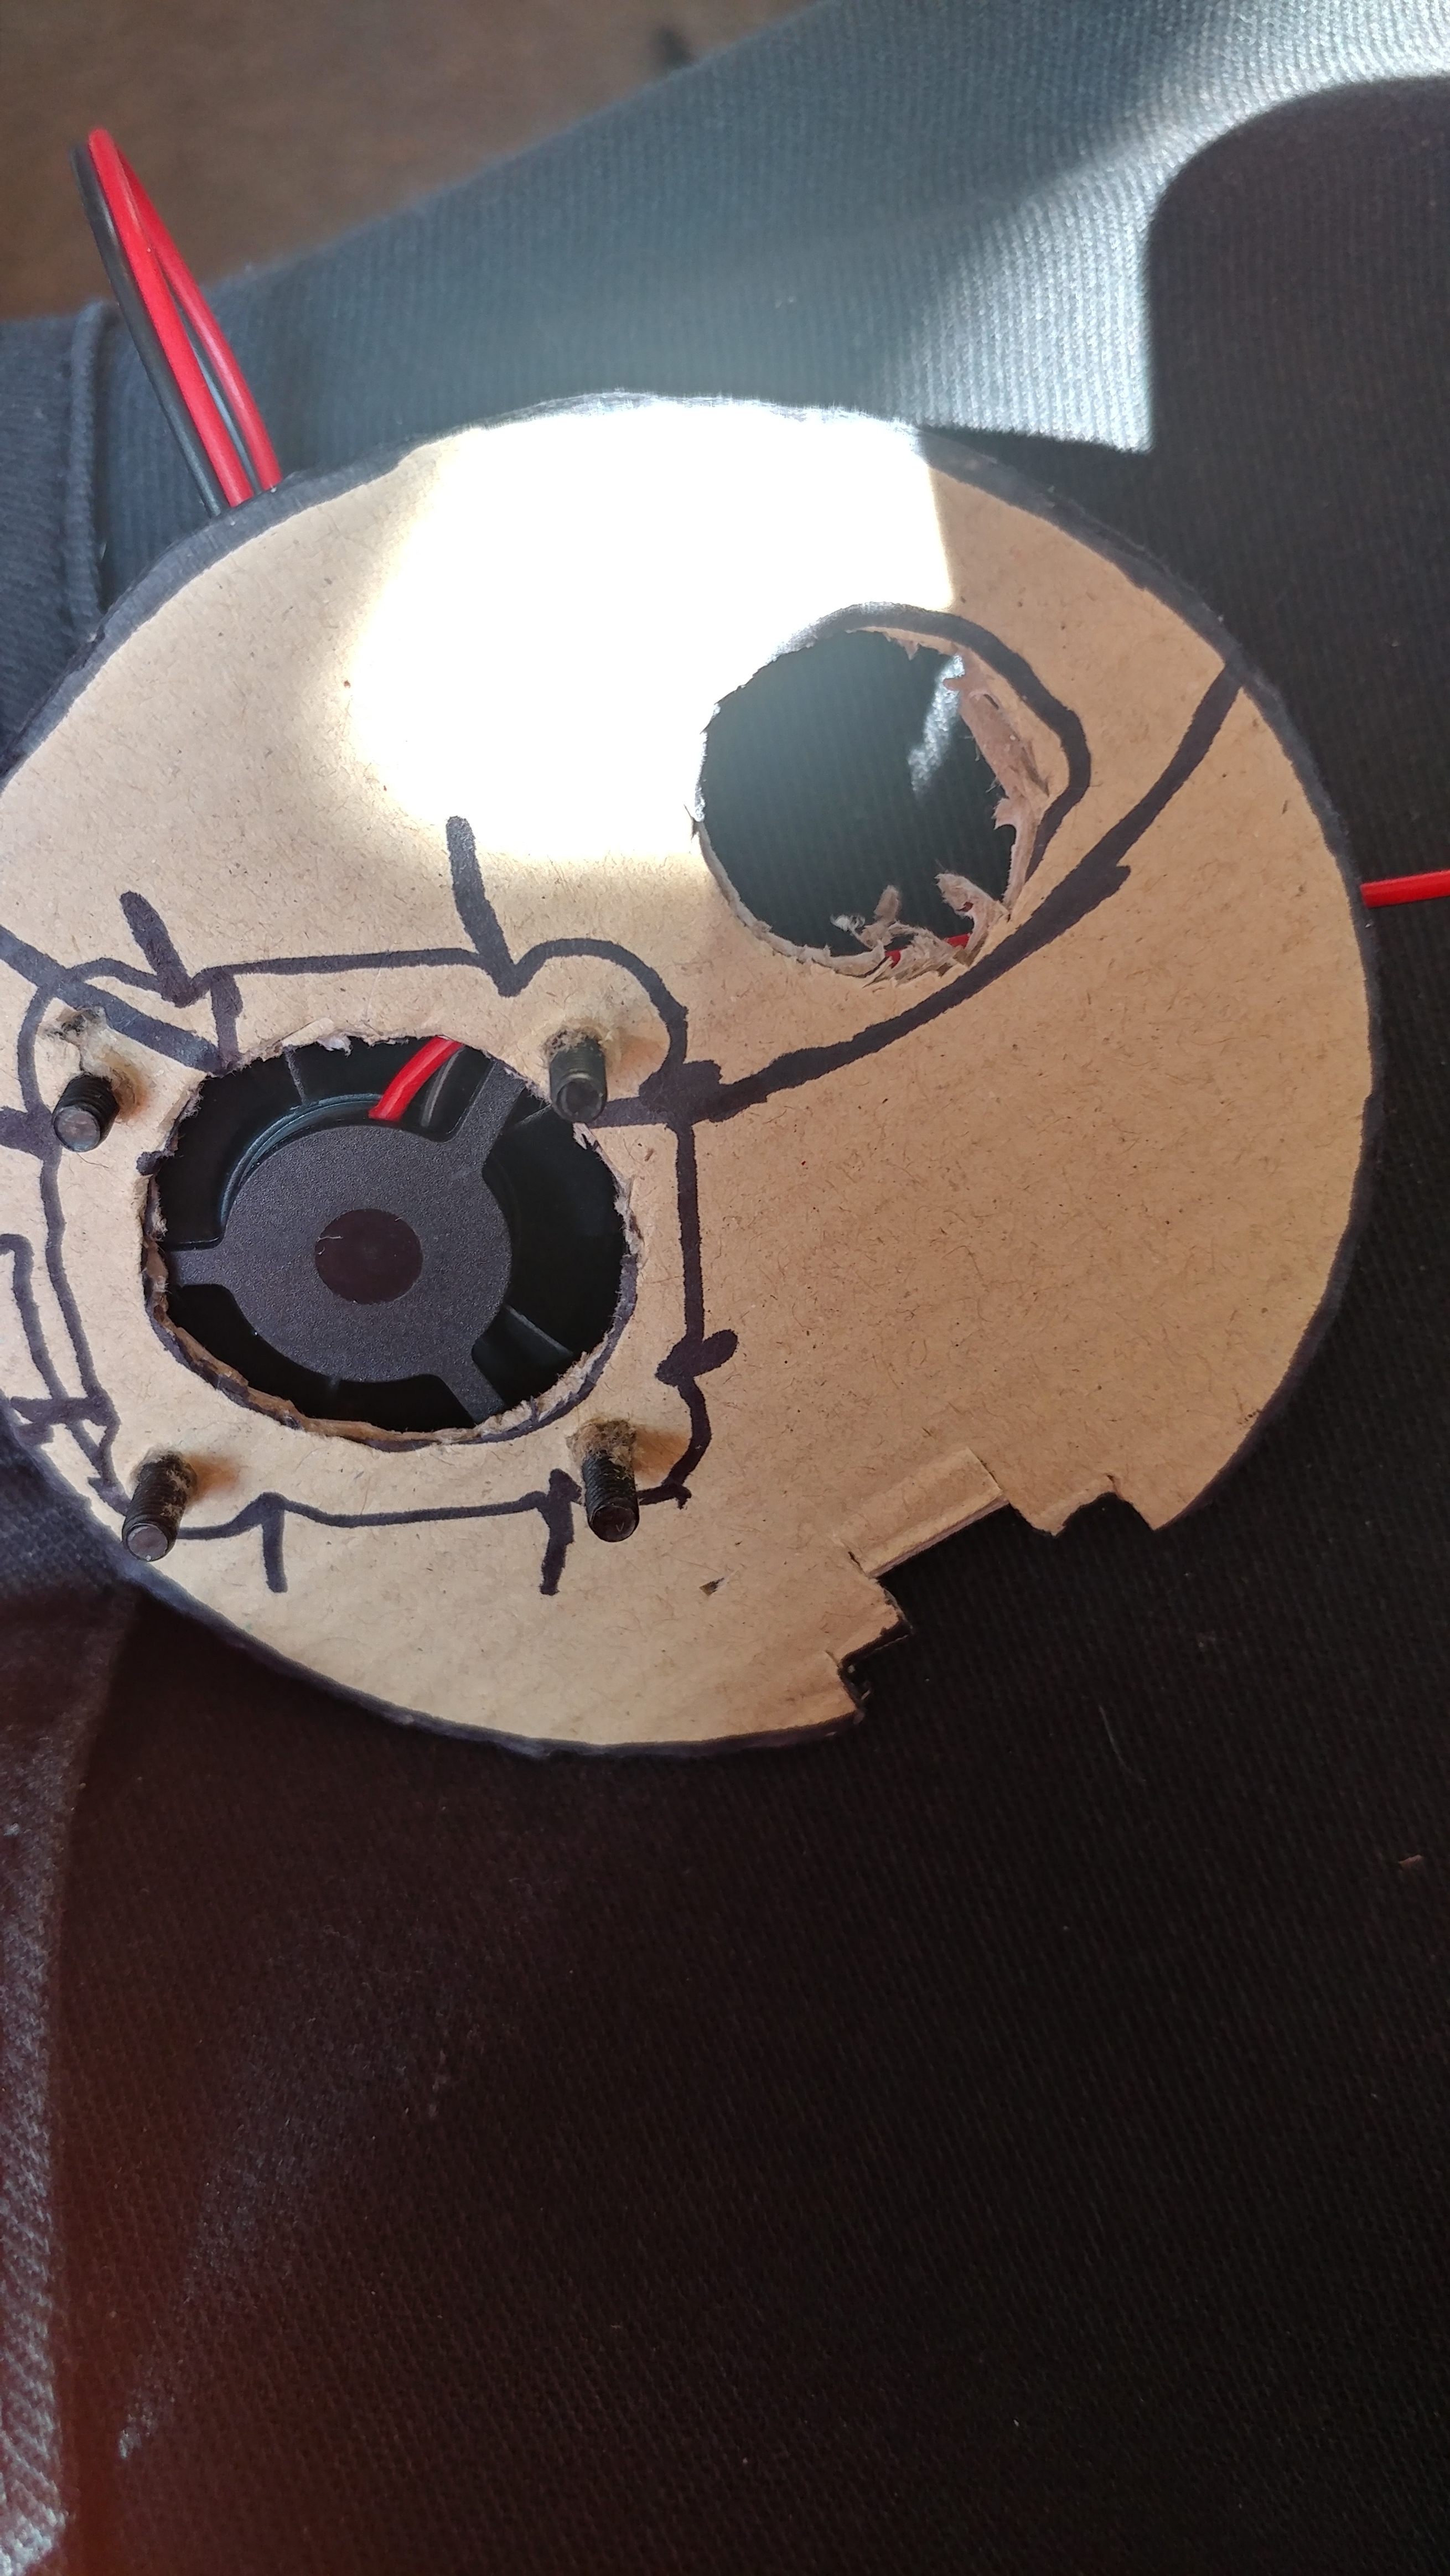 heres the beginning of the base of the unit. cardboard base, gotta make the fan fit and actually function.
(pic 25) 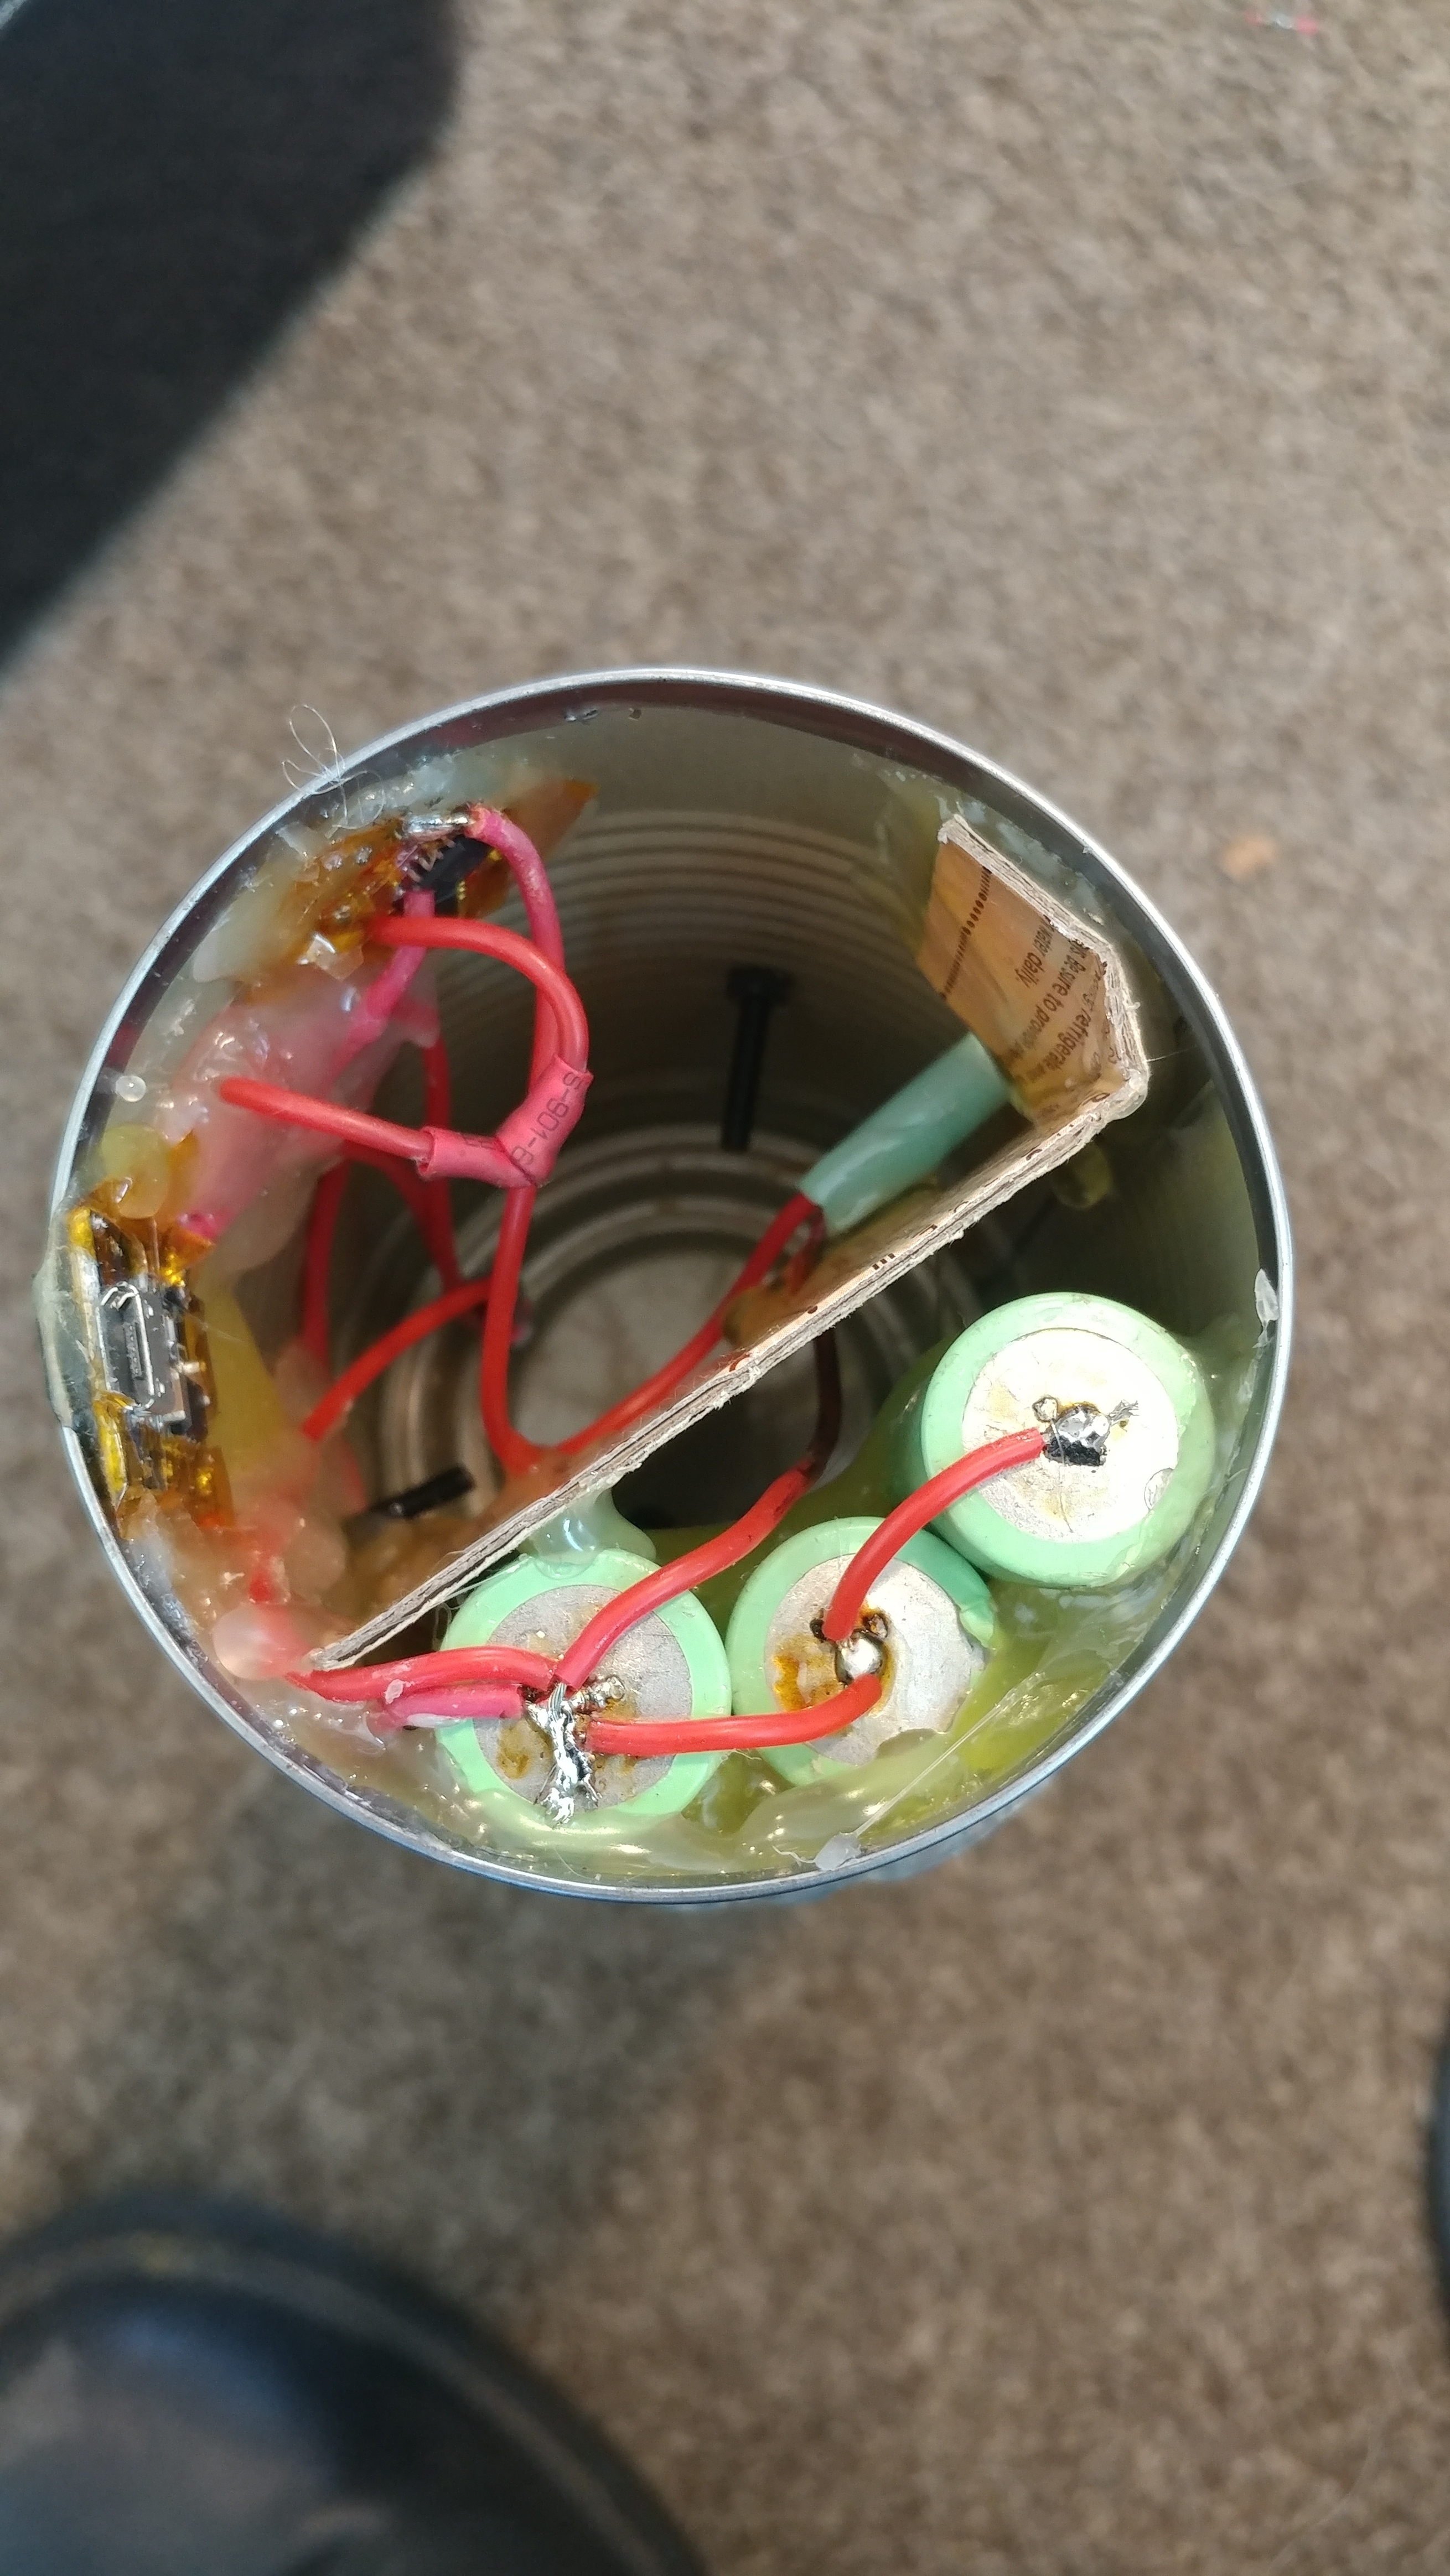 added a piece of cardboard to force ventilation through/ around the can. it wasnt working right without it.
(pic 26) 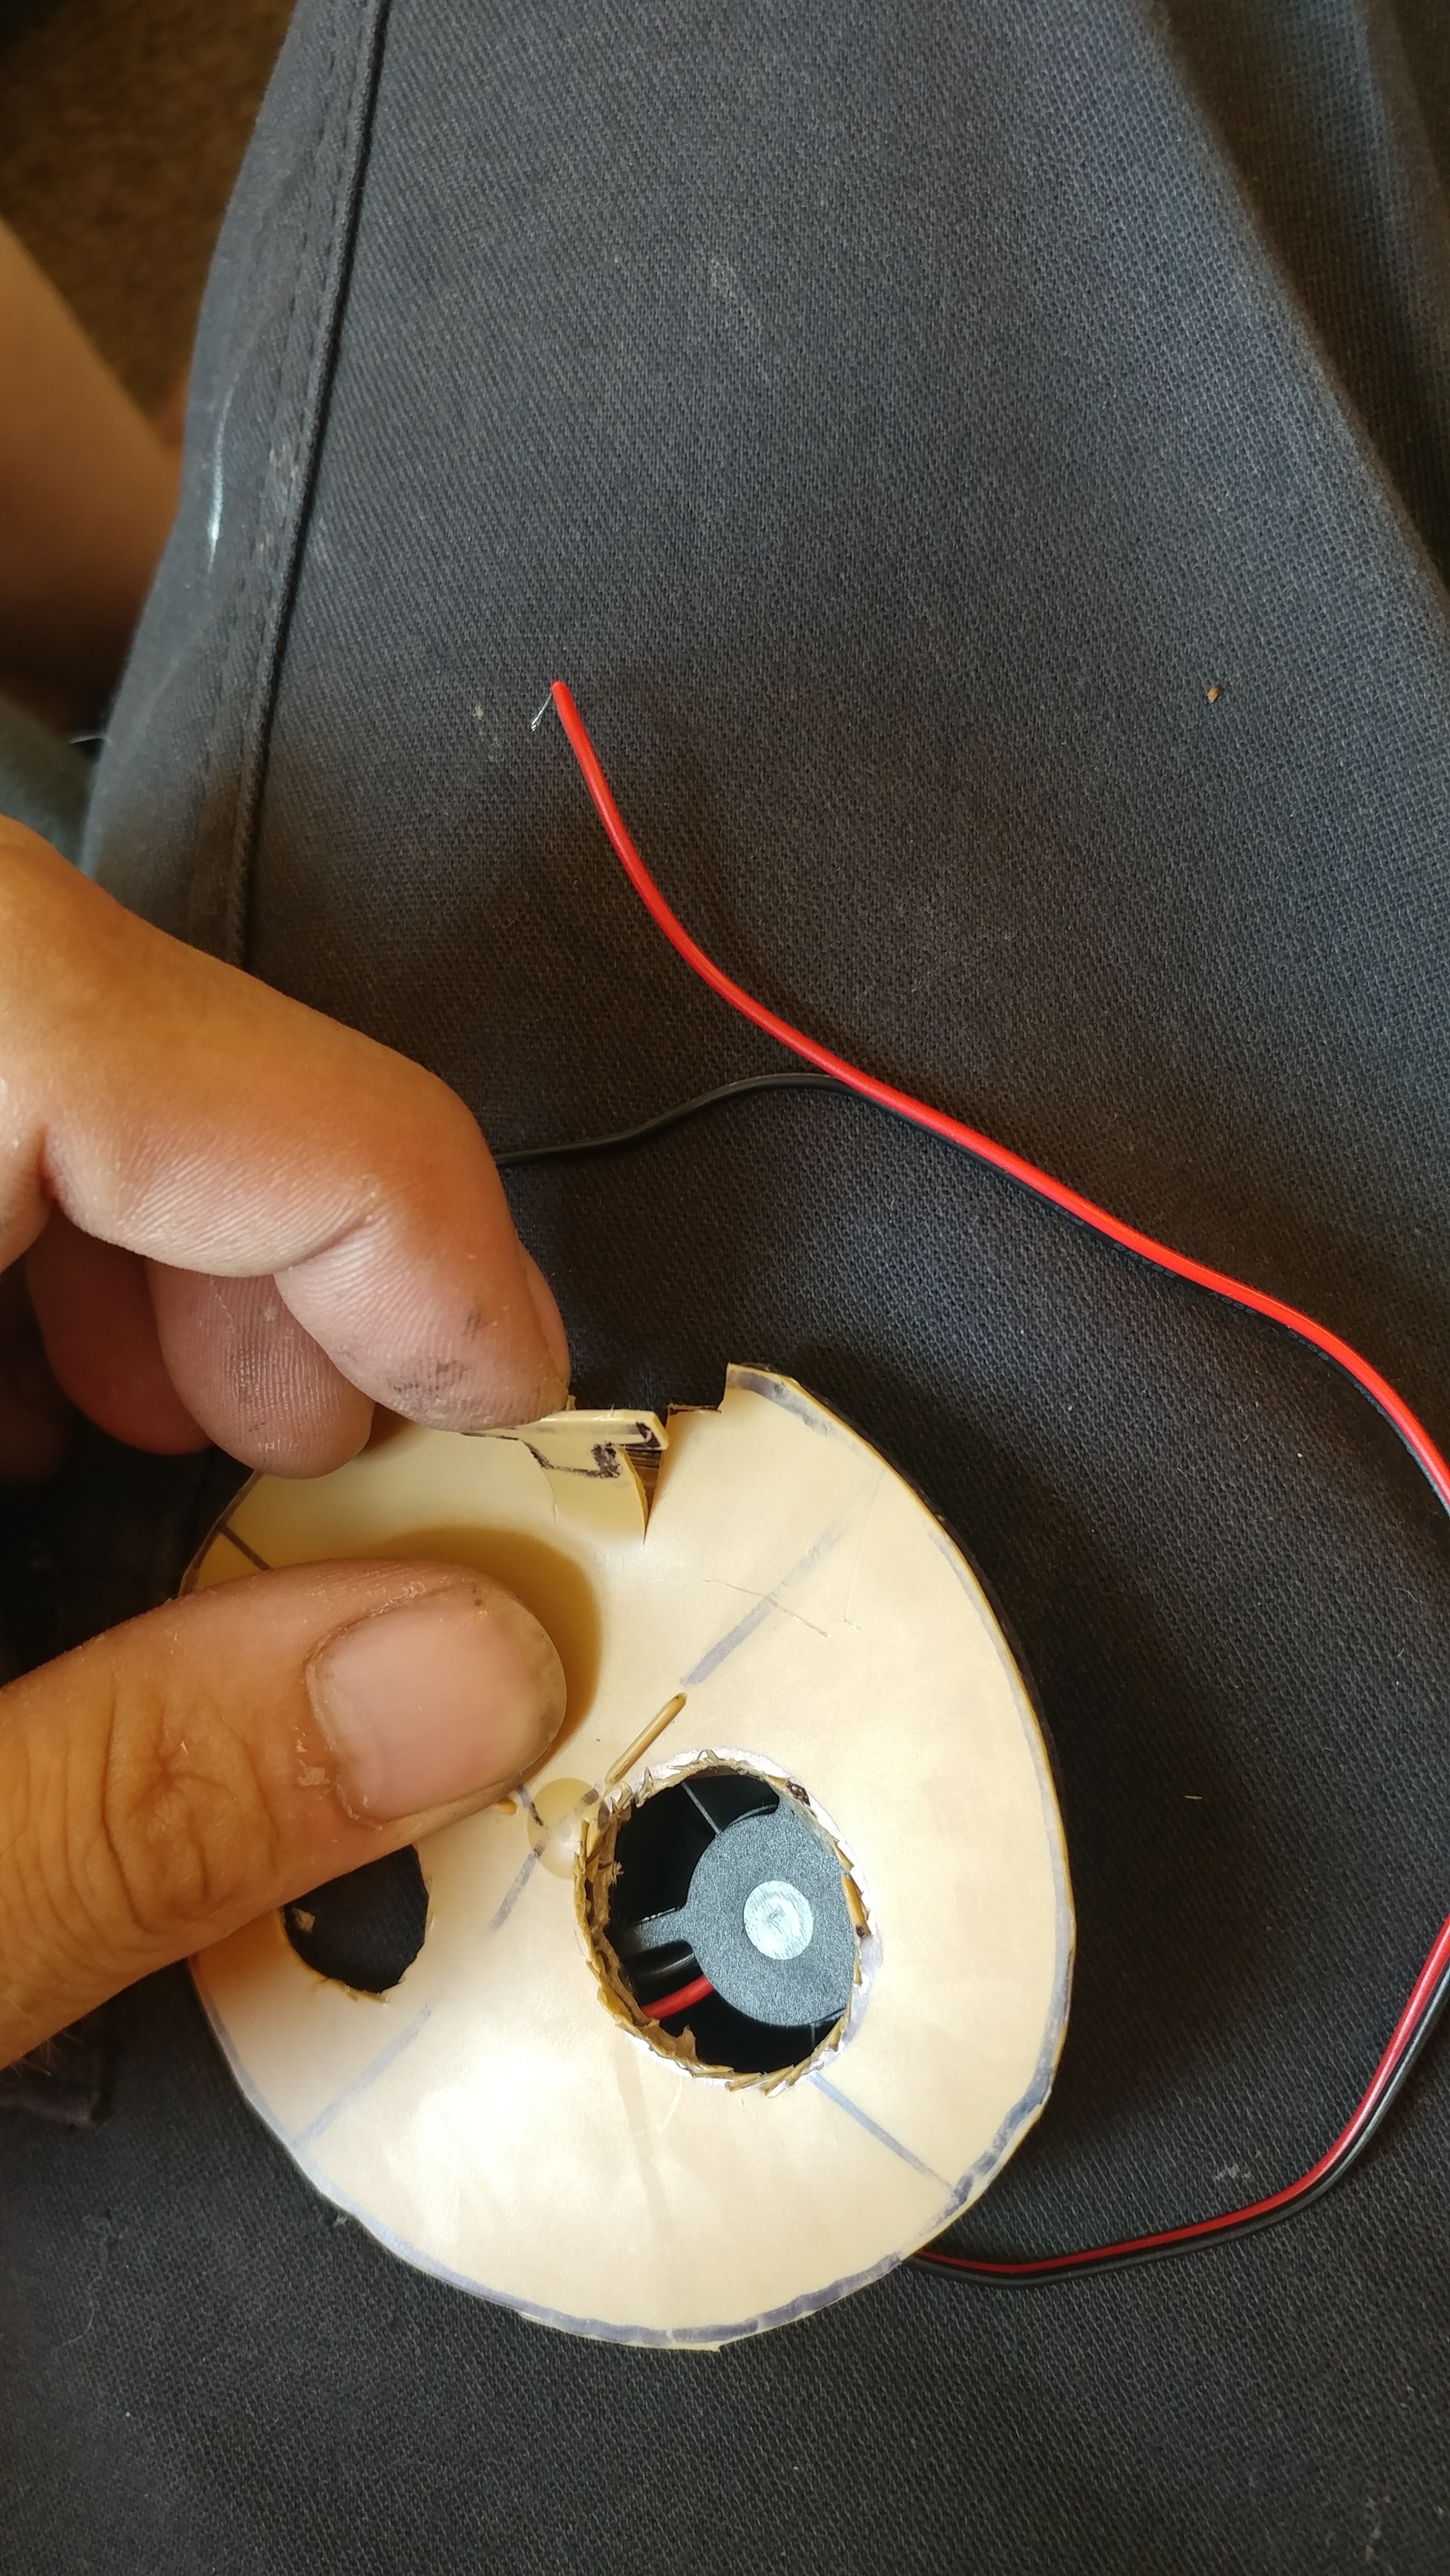 so i decided maybe the usb port should have a cover of some kind as its exposed right now. found a empty coffee can in the kitchen scoreeeee. cut a flap and bend it to cover the port and slather on that hotglue!!!
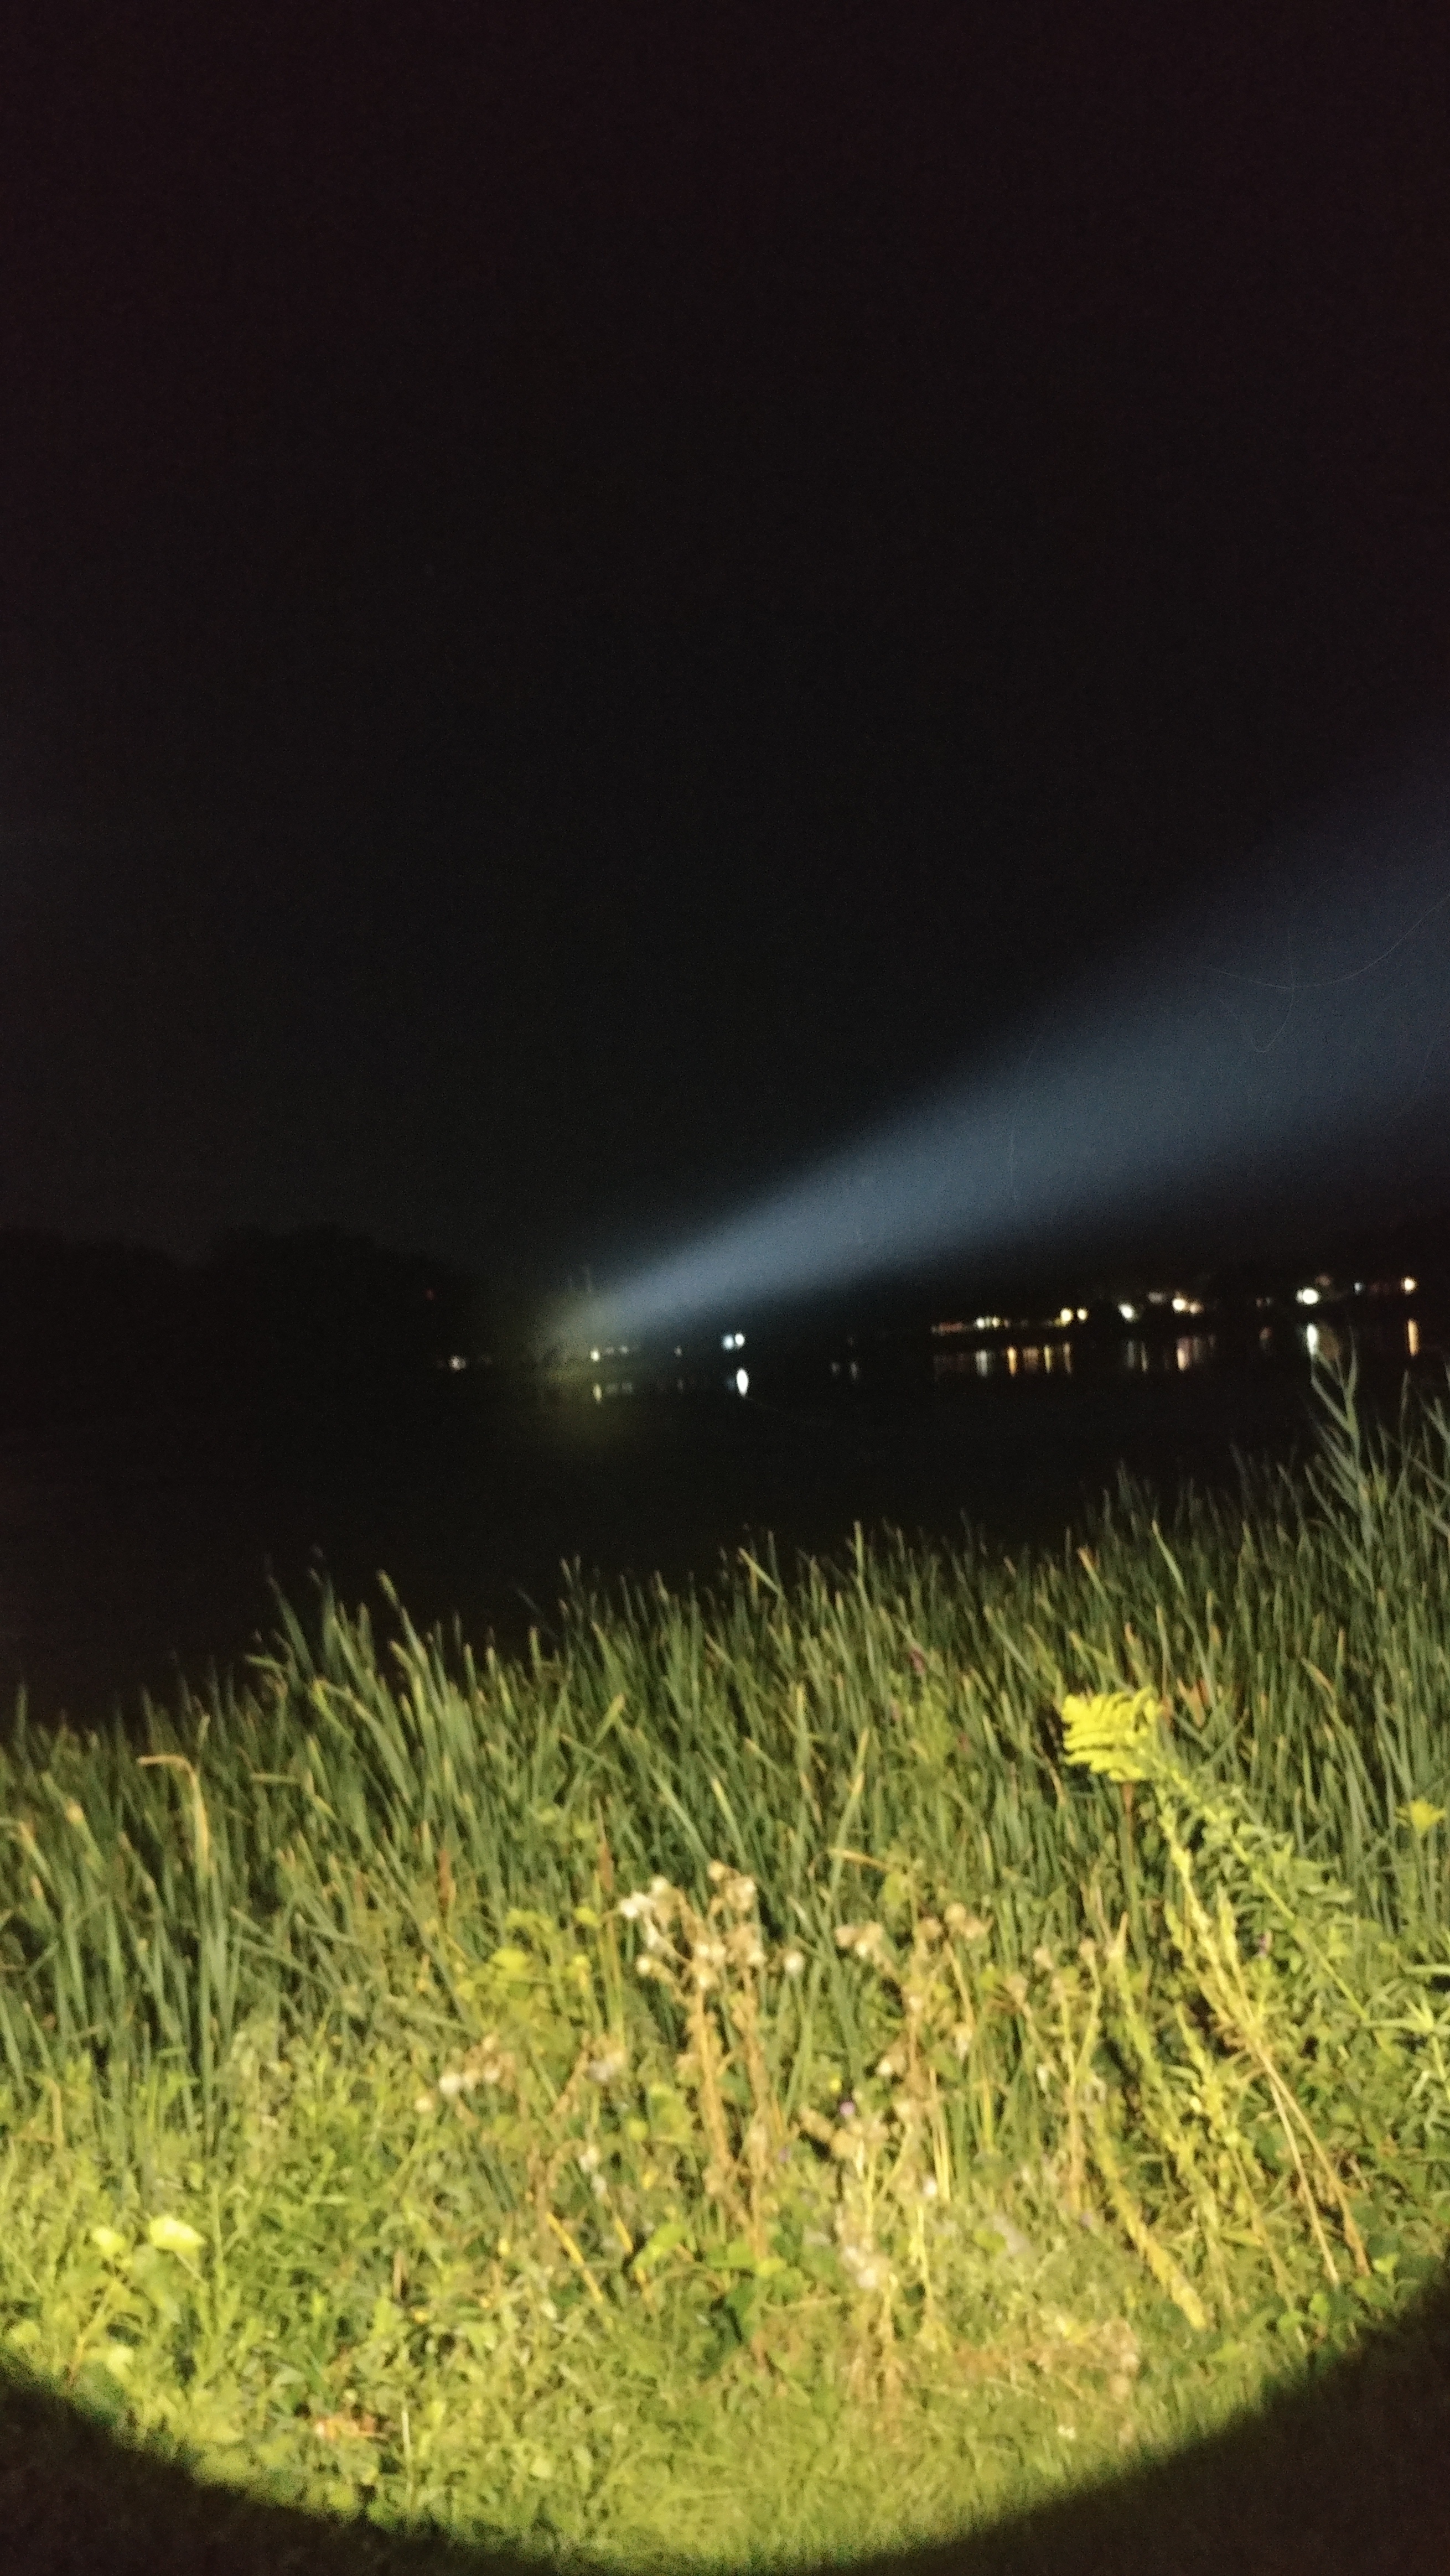
Now you might be asking, is that it? nope, still stuff to do. well, i seem to be missing a few photos, such as a photo of gluing the plastic base to the cardboard, and gluing that to the base of the light. i apologize about that. Im writing this up as the paint is drying. I still have to peel the tape over the lens and recharge the cells, and im not sure if im going to change anything. The sun has about set here, and hopefully it will be dry enough to atleast get beam shots with tonight. If not, it may not be until monday evening (late). But we will see what happens.