Saik SA-305 and Nichia 219 meet - Mod is finished

I got a Saik SA-305 in the mail today from keltex78. Great buy and a simple mod.

1

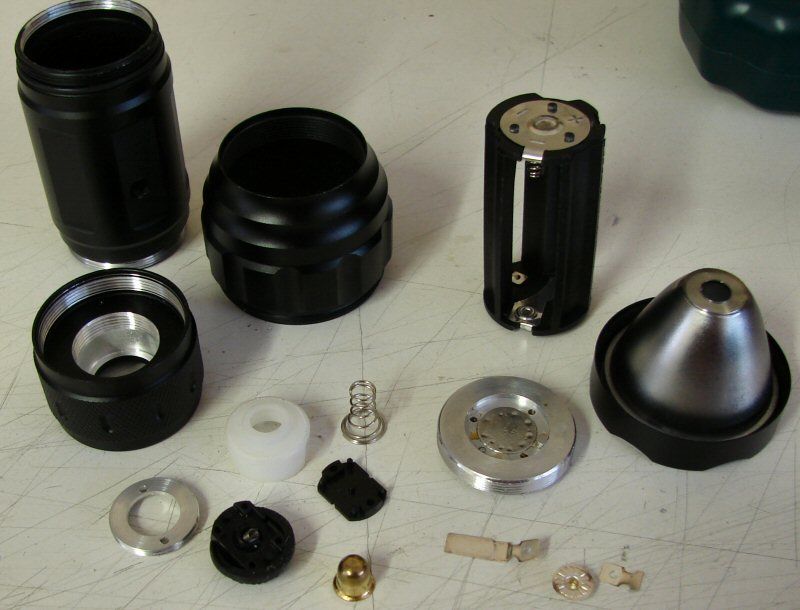
Yes, I already tore it down. It Barely cleared the package before I had it apart.

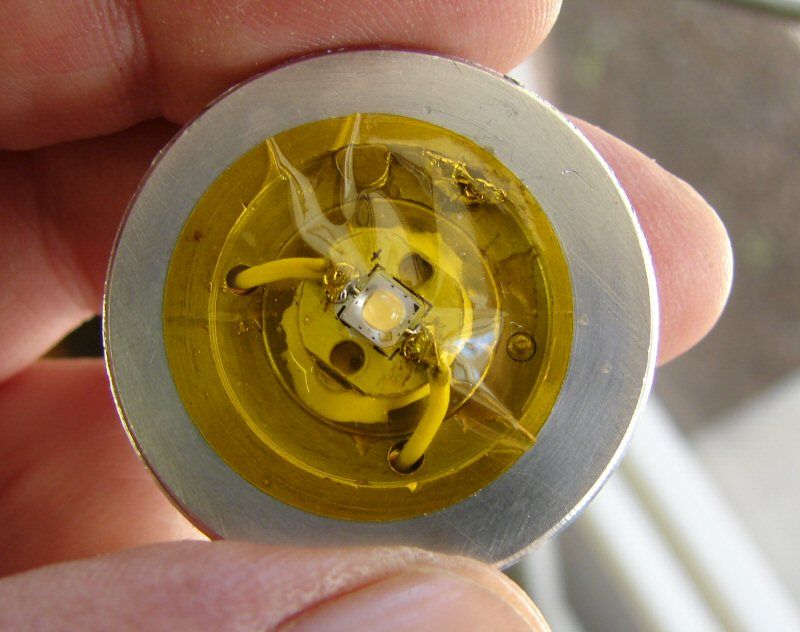
I am putting in a Nichia NVSL219AT-H1 4500K, 92 CRI, B10 Bin from Illumination Supply

I will keep the stock reflector and lens (plastic) and I will do some resistance mods to the battery holder and switch.

2

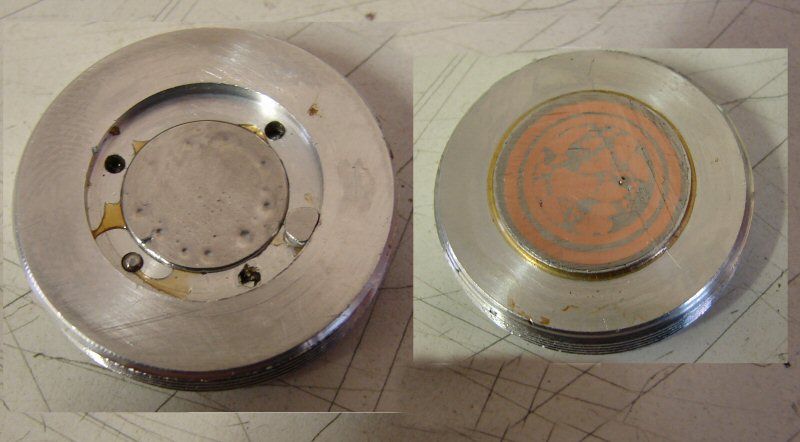
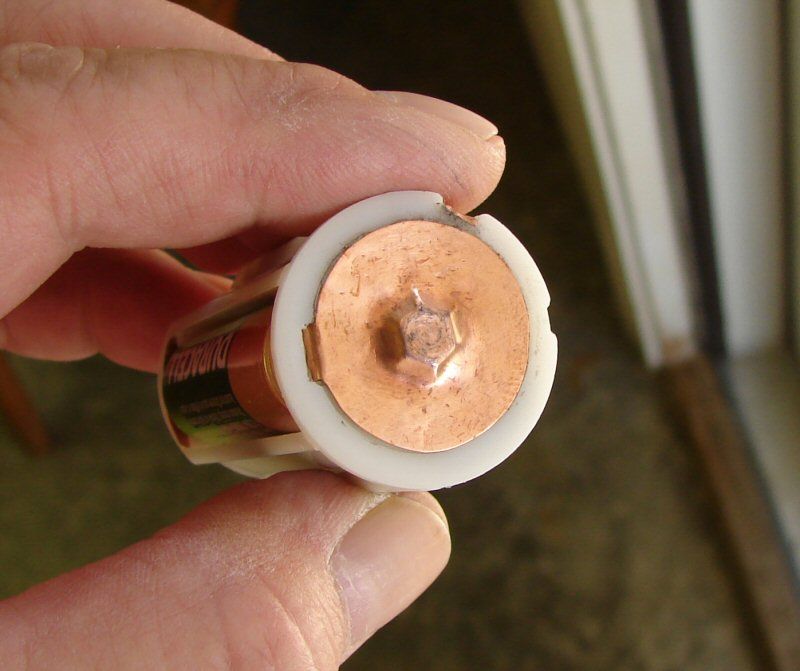
I already changed the stock heat sink into one with a little more heft to it. I used a 1/2" copper coupling, a 3/8" copper end cap and some of the copper I bought from ebay. It's copper pellets (really it's chunks of wire) and it works fine. You can see the cross section and there is solder in there, but there's still a lot of copper in there too. I cut the soldered mess flush with the bottom edge of the original heat sink. As you can see, there's a disc of solder in the top. It's overflow that found it's way around the nooks and crannies when I soldered it all together. It's a thin layer and I probably won't remove it, just smooth it down. Also some of the solder came through the holes in the heat sink and that's good, as it locks it all together in one mass.

3

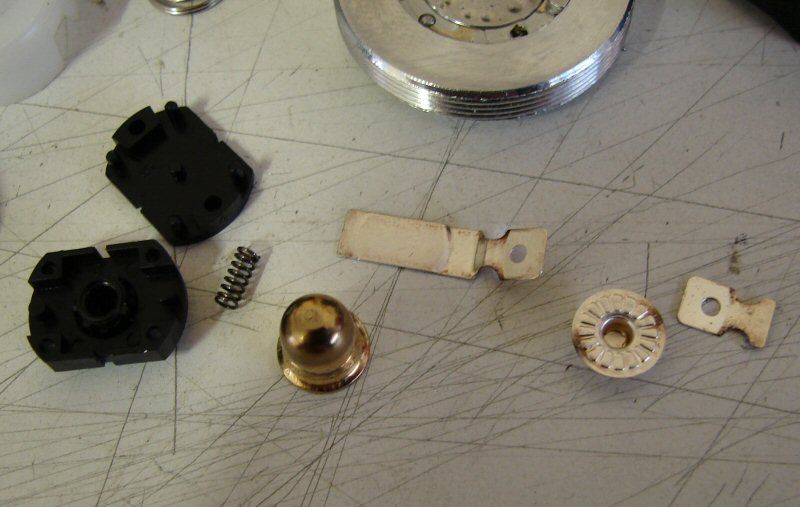
I already tore apart the switch and it will have copper replacement parts, as will the battery holder. Hopefully it will cut some of the resistance down in this light.

I'm torn between using one of the V2 8x7135 drivers and take off four 7135 chips to get to 1520ma or maybe only take off 3 and try it with 1900ma.... Or just do it direct drive. I haven't decided yet.

Hopefully, I will have this done this week-end.

Later...........

OK, let's finish this thing up!

p1

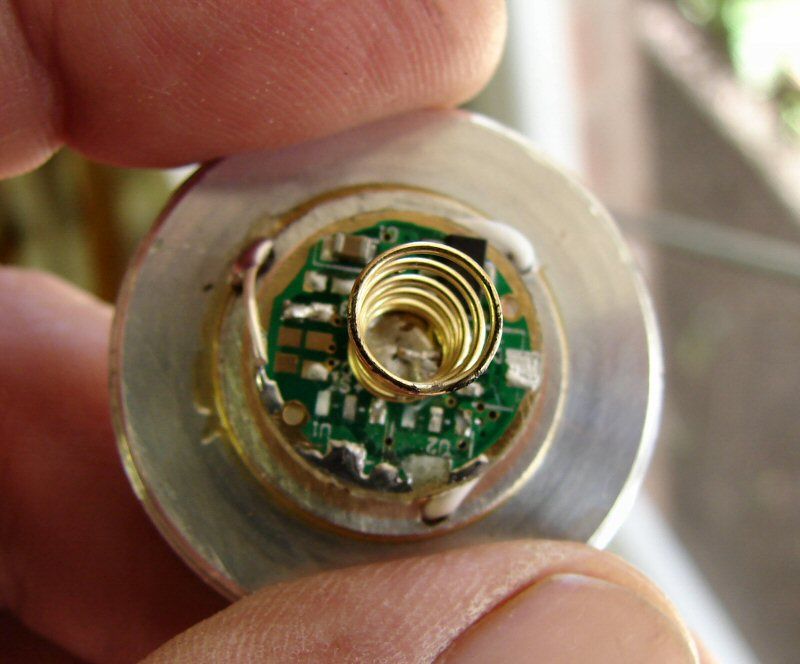
V2 8x7135 board, with 3 of the 7135 chips removed, leaving 1900ma. I am using solid wire more and more. The Teflon coated 22ga solid wire I bought from (ebay-navships) is very nice wire. It is not brittle at all and I can bent it to suit with no fear of it breaking. Soldering is so much easier for me now. All you have to do is just touch solid wire and it's immediately hot enough to melt solder. I don't think I will go back to stranded unless there's some need to.

p2

I happened to have some Kapton tape circles, for another project, so I used one to cover the terminals on top. I think this is the best heat sink I have done, as far as heat transfer. When I was soldering this together, I found that as I soldered the + & - on the star, the heat was already out to the edges of the heat sink, as in hot to the touch! That means very rapid transfer of heat all the way through the heat sink.

ba1

I stole the battery carrier out of my wife's cut down 2d and replaced hers with the stock carrier. After all, she will never know.
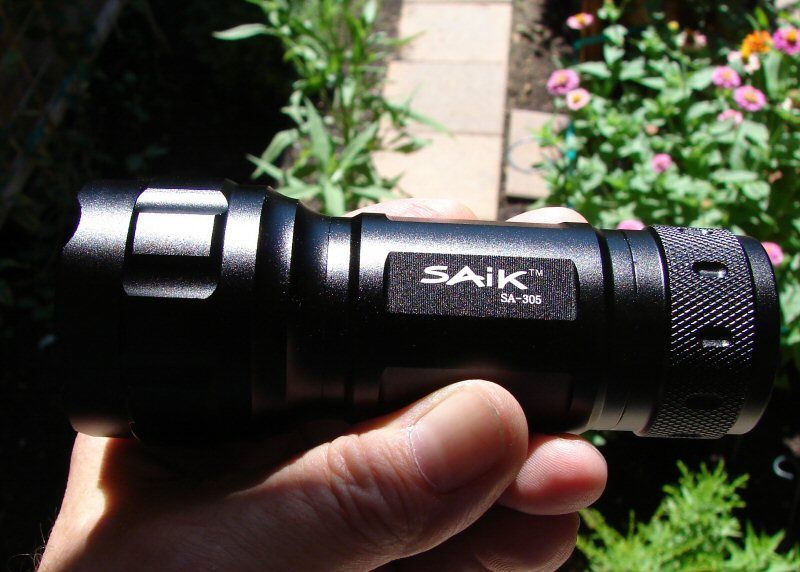
sa1

Finished light

sa2

sa3

sa4

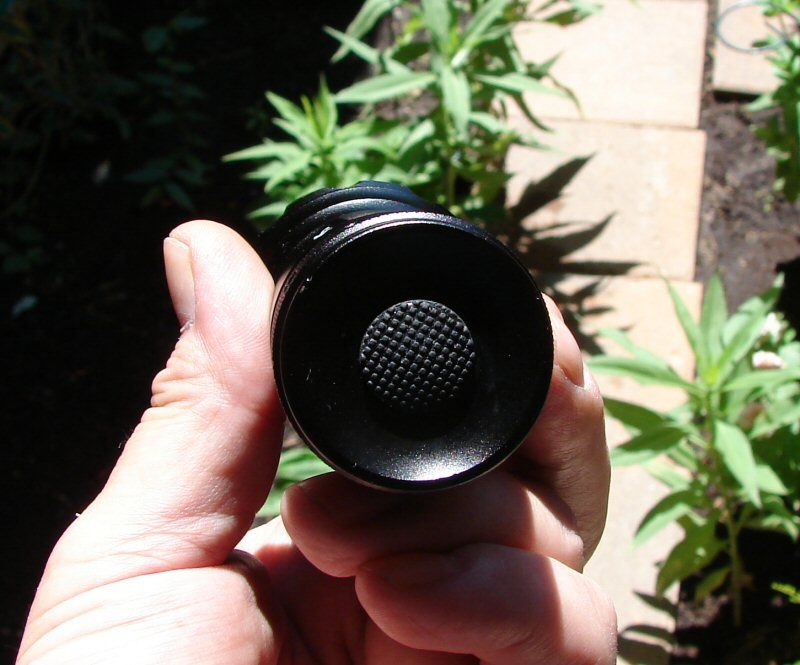
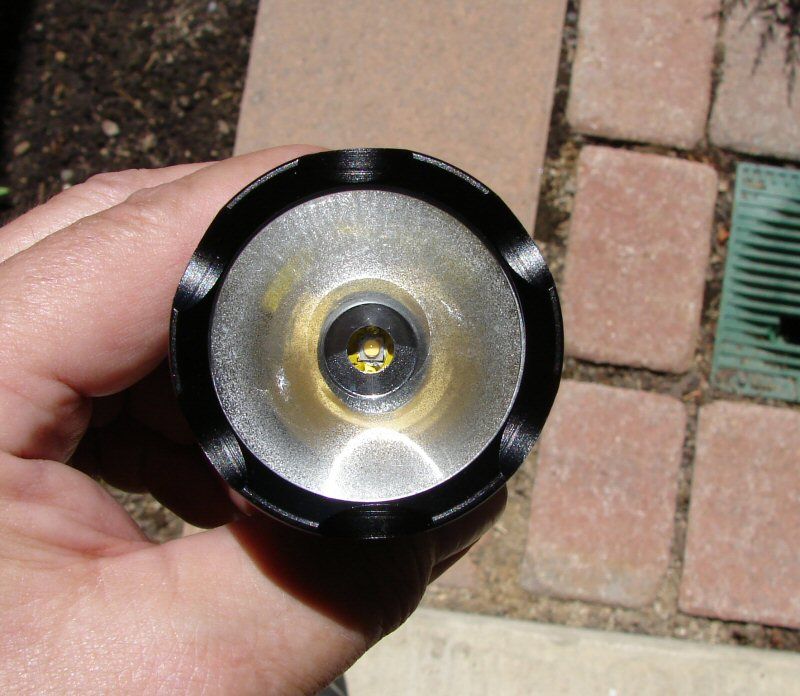
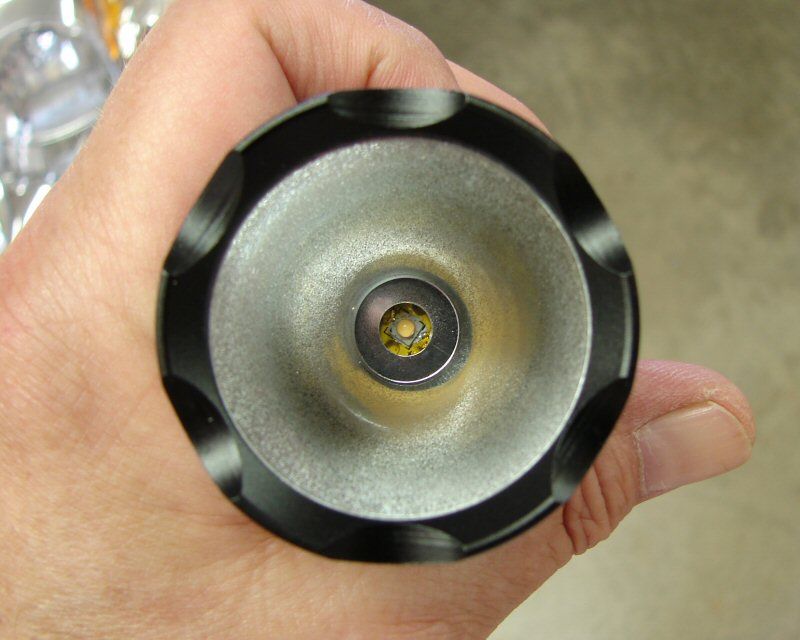
Yes, another reflector with the Krylon treatment. I just can't stand those ringy beams and this one had rings.
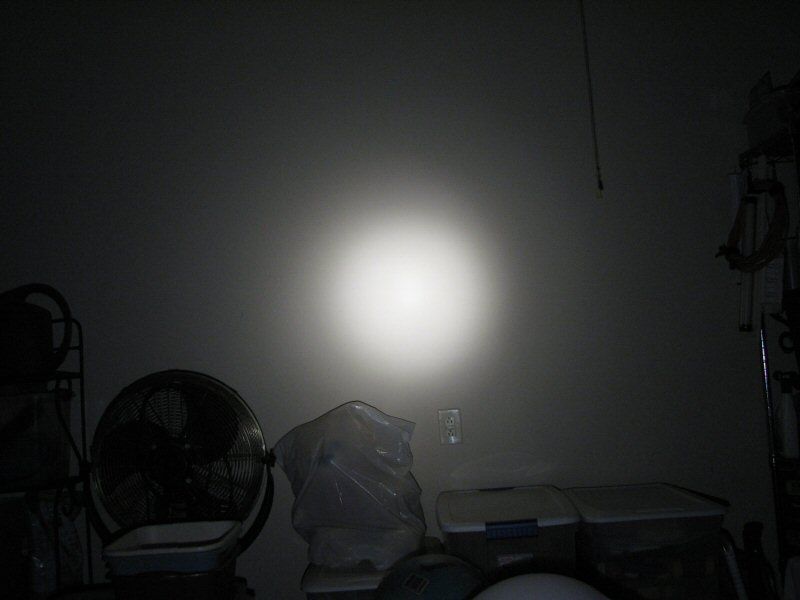
Beam Shots

b1

High

b2

Medium

b3

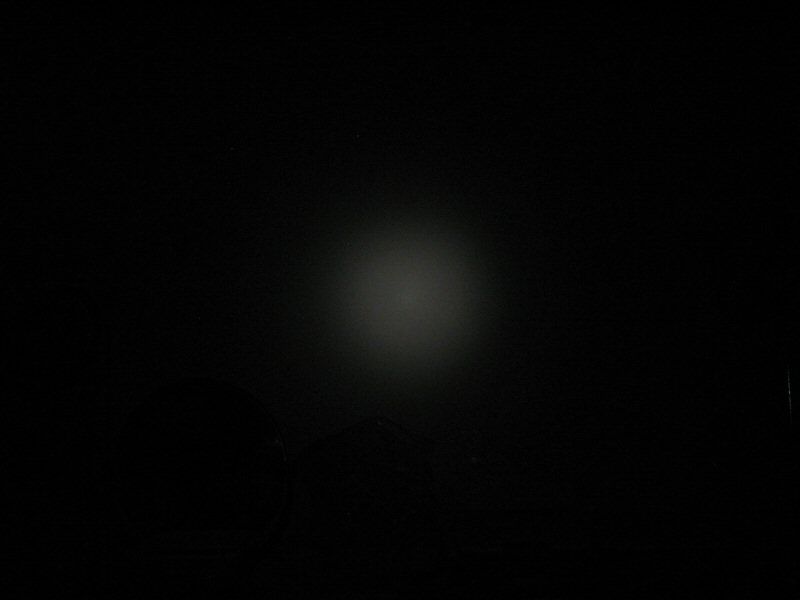
Low - very low - too low for me, but it would be a great night light

b4

High

b5

Medium

b6

Low

That's it! pushing 1900ma into the Nichia seems to work fine. No, I haven't checked the tail cap draw yet, so I can't verify 1900ma, but with five of the 380ma chips, it should be close to that. At least from what the other Nichia I had at 1.4amps was like, I will say this one is definitely brighter. I can feel the body of the light changing temperature in less than a minute, so the heat sink is pulling heat out well. Glad to see that it's doing so good. EDIT: 1.8a+ off the tailcap reading with my analog amp gauge.

Carry on...

Wow. That didn’t take long…

I dropped the light off at the Post Office before noon on Tuesday. These pics are up just after noon on Wednesday. OL must have had this light apart before the empty box hit the floor…

:open_mouth:

Wow, OL you’re on a roll! Let’s see whether I can beat other people to it and buy this one. :stuck_out_tongue:

This time I'm especially interested in what you come up with for the switch. Btw, how did you get the switch apart without breaking it?

Go for 2A. :P

All (or all I have seen), of these switches have a two part housing. Many times they are just snap together and many times the mfg does not sonic weld them together. Usually you can use an exacto knife blade and get the edge in the crack (seam), then you can flex the blade a little until the seam starts to open. Do the same thing on the other side, till you can get something like a jewlers screwdriver blade in there and work it apart.
If they are sonic welded, it’s usually at the posts in the ends and they can be melted ot cut, to let the switch come apart.

1900ma is what I am going to try (5 of the 380ma 7135 chips). The worst that can happen is POOF!

Good work, I love these sort of posts.

The light is done, all the info is in the Updated Original Post.

Is there a wire at the bottom of the driver?

No pictures of the clicky mod or didnt you do it after all because its too much hassle for too little improvement on a light thats drawing <2A?

Nice build, congratulations, you now have a firefly-mode. :P

That light will tailstand easily so that low-low would make a good night-light mode…

Is your garage door made out of duct tape? Red Green would be proud…

I love that new driver and it’s firefly low! I have one in one of my lights and it’s great! I just wish it would have 4 modes so I could keep a regular low in the mix.

Great work with the light! I have a few of those Nichias I haven’t done anything with…yet.

Red Green was my Dad!Tongue Out

Nope, it is insulation board. I bought a couple sheets from HD and cut them to fit in the panels. It really helps in the colder weather, not so much in the warmer weather.

1.8a at the tailcap. I use an analog amp gauge and short pieces of 12ga wire. It was just a hair over 1.8a with a fresh set of eneloops, after short run on high (3 minutes), then I tested amp draw.

Love it O.L.! Now I want to build one! I’m finding out more and more that I just don’t have the time for flashlight mods during the summer! Between the pool, the projects with the house / yard, etc, etc. . . Argh! It’s frustrating! Gonna have to do something with these nichia’s soon though.

-Garry

There is a ground wire running from the bottom of the driver, to the heat sink.

After playing around with the switch I felt that I could not duplicate the little “top hat” center and didn’t think it was worth it, to make the spade terminals without making the center, so I cleaned them all up with an eraser and used a heavy gold plated spring.

Whatever the resistance, it is what it is. It’s plenty bright for a Nichia, brighter than a stock Nichia, so it works for me.

Why are you running it to the bottom of the driver?

I'm also waiting for some Nichia LEDs to play with. I think DICK's Nichias topped at about 2.3A.. so you are well within the sweet spot. And thats a really nice amount of light from AAs. :)

I'm glad you are not exclusively doing Mags anymore, so many great ideas..

He had to run ground to the pill because the driver is epoxied to the bottom of the heat sink and has to be wired to complete the circuit.

Sharp-eye Johnny saves the day, thank you. :)