Look at the led under magnification. There should be 2 thin gold wires.
Borrowed pic
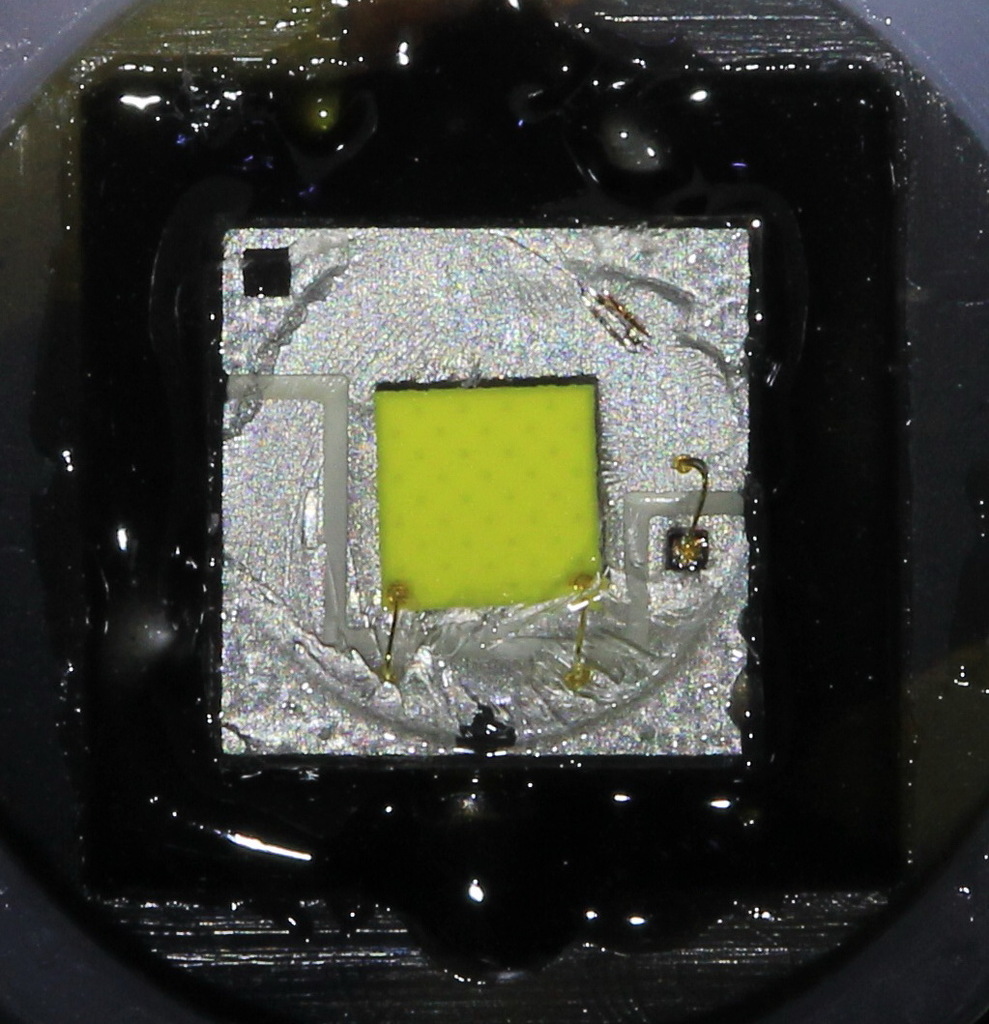
The black square off to the side with a wire is ESD protection, the led will still work if that’s broken.
Look at the led under magnification. There should be 2 thin gold wires.
Borrowed pic
The black square off to the side with a wire is ESD protection, the led will still work if that’s broken.
Should work using his approach even in the shorty tube and unprotected battery. My cut down pill, triple board and triple optics actually work with the 18350 tube too, but there's too little spring tension to be comfortable. Not cutting the pill would make enough difference.
It appears they have dissapeared. I remember them being there when I got the flashlight, as I was checking if it was an XML or XM-L2, it was the latter on the silver backing. Looks like I melted through them wires.
In future, if I do any modding. especially heating the pill, is there a way to remove the bloomin LED? If I take of the red and black wire connecting it, does it come off easily? As I have one coming now, but I also wish to use this body, as I wont scatter its body to the heartless sea, I will turn it into a diamond ( Hope some of you get this :D).
You shouldn’t need that much heat to just put a driver in. Either use the threaded retaining ring or sometimes if it is difficult to solder because it’s drawing the heat too quickly I get a length of copper braid fold it in half and wedge it between the edge of the driver and the pill so that it’s tight enough that I need to push pretty firmly to “pop” the driver in. Then I just fill the braid with solder and solder it to the edge of the driver. Very easy and has worked very time.
If I had to guess I’d say the wires were torn off when you accidentally dedomed it. If it actually got hot enough to melt those wires it was probably more than hot enough to desolder the LED from the board too. If you had the pill upside down, resting on the LED, while you soldered it that would tend to make me think you heated it up too much and bumped it which tore the dome off the LED.
And don’t forget, flux is your friend! ![]()
The solder was part flux, I had to heat the pill to a high temperature as I always got taught you heat up the object you are soldering-you don’t apply it straight from the iron to the part that needs soldering. I got the pill hot enough to melt the solder in place, and in doing so turned the LED into gloop and it melted off.
Well, lesson learned there lol.
Always add extra flux. Don’t rely on the flux core of your solder, it doesn’t provide that much.
Ok, I did not know that. I will order some flux, does it come on a roll like solder or is it different? I guess it is what makes the solder easy to move around?
I only know how to solder basic joints, so have never bought flux before, but I will add it next time.
There are two kinds of flux that I know of. There’s a liquid in a syringe that you can apply in small amounts directly to whatever you are soldering. Then, there is a paste that comes in a tin or a jar, that you apply with a brush, so it is a little less precise. I don’t know of any flux that comes in a roll. But, that’s not to say it can’t exist, just that I never heard of it myself!
Edit: Oh yeah, my personal preference is for the liquid flux in a syringe. When you are working on tiny things in tiny spaces, it is nice to be able to point a syringe at the exact spot you want to solder and give it a squeeze and get just the right amount of flux where you’re going to use it.
You want rosin flux. I use kester liquid flux, it comes in a dropper bottle. You can also get it in paste form. Extra flux isn’t necessary for every single joint, but it’s helpful when soldering to a hunk of metal like a pill
My favorite comes in a pen - - It is just like a felt tip pen. Make sure not to use plumbers flux that you get at the hardware store.
Too much flux is not a problem, just a bit wasteful. Too little and the solder doesn’t “wet” to the contacts and you get a cold joint. It also seems to draw the heat out of the tip and into the solder more quickly. A bit of alcohol cleans it up if you want pristine pics. One trick with brass pills is to tin the area where you will ground the driver before you add the led(s) and driver. Then it’s just a quick hit with the iron to finish the job.
Btw, a new led will cost a lot less than £9. Don’t toss the host, use it to practice your mods. Desolder the led wires from the led mcpcb and pry it off. Then practice removing replacing the led using whichever reflow technique suits you(hot plate, small torch, soup can lid on stove, etc). I clamp the mcpcb to a 1/16” alu sheet and heat that with a small butane torch but some have programmed their toaster oven to reflow oven specs. If you overheat the mcpcb, the solder mask will darken and you can burn the dielectric and/or traces loose from the core metal. Best to practice this a bit to get a feel for the heat needed to do the job.
Ok I will keep the body as a host to practice on. Is the LED more than just the two wires (red and black) then, is there solder behind the actual LED?
And Flux is what makes solder flowy yeah? Sorry for newbie questions, I have only done basic solder on wires before.
EDIT: Also, i know the LED is probably shot, but there is no chance one is a cold solder is there?
The led sits on a square substrate that is only slightly larger than the dome. The substrate is soldered to pads on the metal core printed circuit board(mcpcb) which has copper traces and pads that the red and black wires are soldered to. The mcpcb is either glued, pasted, screwed, or soldered to the pill. Some modders prefer to use paste under the mcpcb and adhesive just at the edge to secure it but still make removing it for mods relatively easy. Desolder the wires first, then see if the mcpcb will come away easily(paste only). If not then glue of some type was used often fujik which is a cheapish high temp adhesive. Try to avoid marring the surface of the pill under the mcpcb as this is difficult to lap if the pill has a lip. Lapping is just sanding and polishing a surface to a flat smooth finish. Alternating heat and cold sometimes helps but usually wrapping the pill to protect the threads and placing it in a vice to protect your hands and allow you to apply sufficient leverage is what it takes. For moderate currents the original aluminum pcb is sufficient but for higher current mods you should replace it with a DTP copper mcpcb. DTP means that the center pad under the led has no insulating dielectric layer between it and the metal core as the outer +/- pads do. With DTP copper boards the center pad is actually a milled or extruded part of the core so heat from the led is pulled from the die as quickly as possible.
It’s barely possible you have a cold joint but if the led was working before and you didn’t remove it then it’s much more likely the bond wires are broken. To tell for sure a much larger and clearer image of the led is needed to zoom in on. A magnifying glass or jeweler’s loupe helps inspecting LEDs and drivers.
Thank you for your informative replies :). Well, the two wires are not there. They must of got removed during the accidental de doming, I didn’t realise how quickly the pill heats up with a soldering iron on it, like a good few minutes after soldering it was untouchable.
Definite broken LED, now where do I get something else to put in it that is easy?
Check out OL’s reflow video to give you an idea of what to expect when re-flowing.
There’s other ways of doing it - I usually go for the quick blow torch method.
Ok, that seems like I may be able to do that. Now, where would I purchase a new LED?
Also, when you talk about re-flows, are you talking about heating it to sufficienct temperature to make the old contacts ‘flow’ again, allowing it to adhere to the backing?