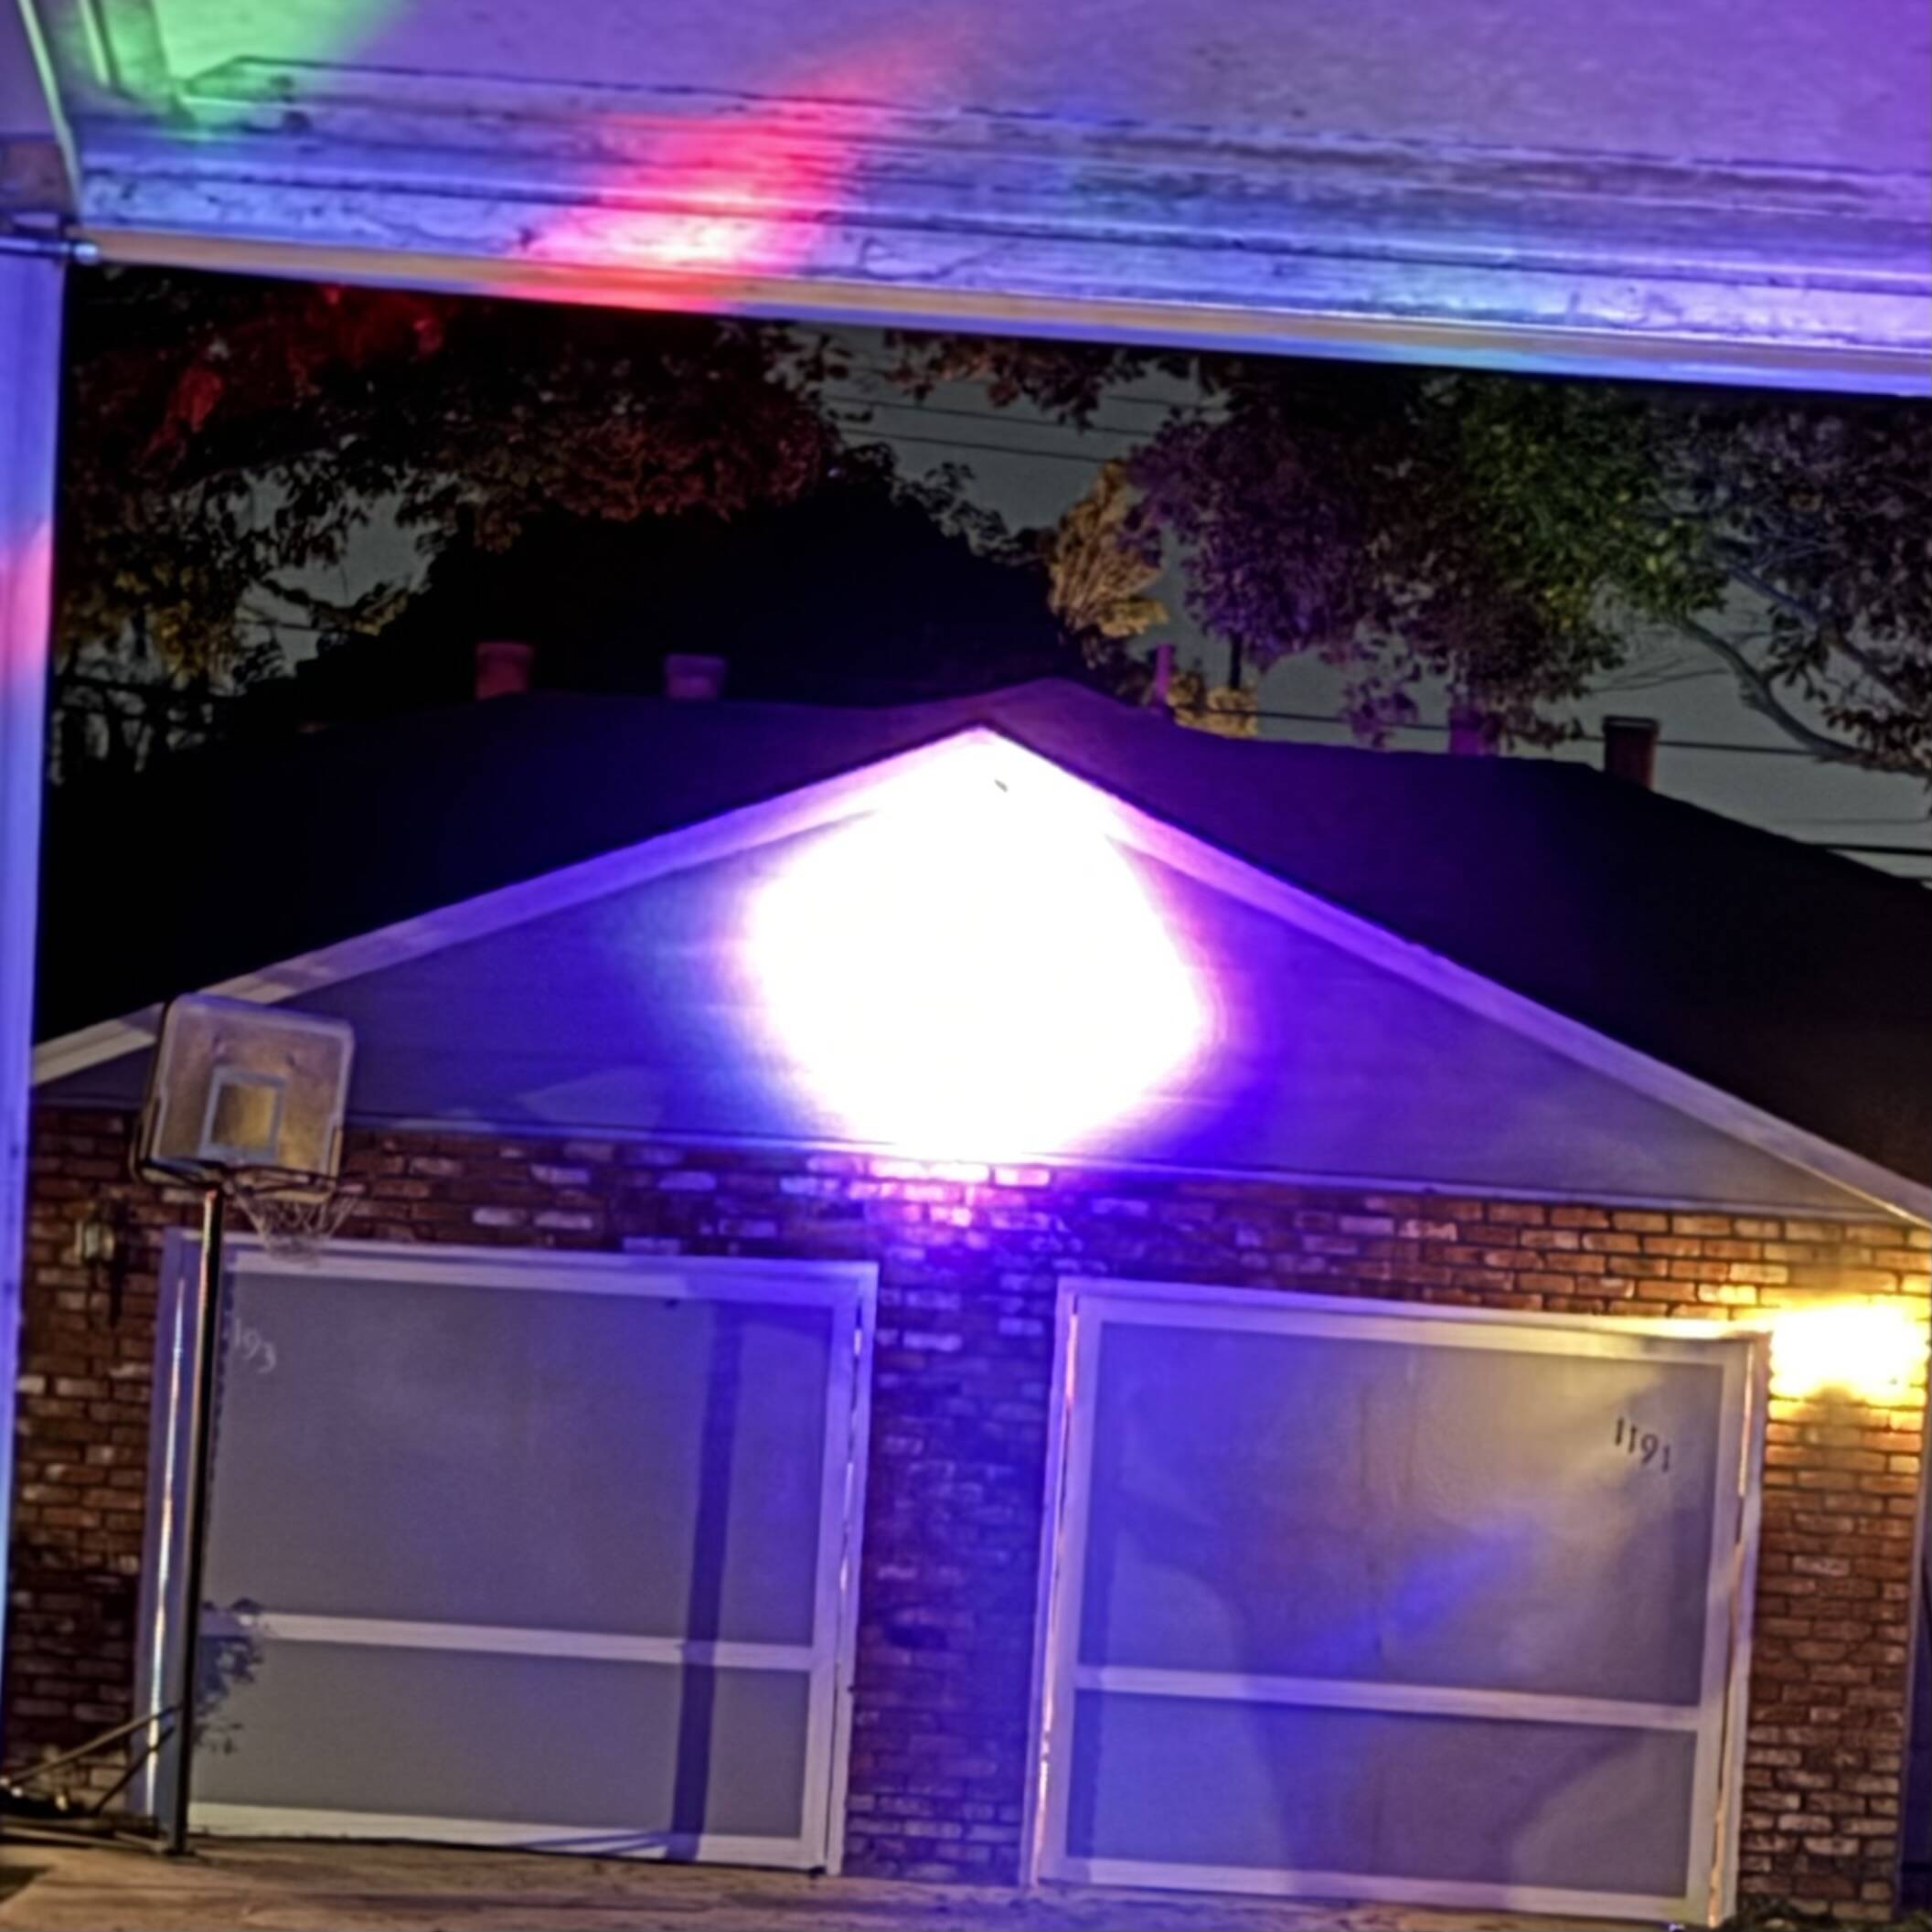
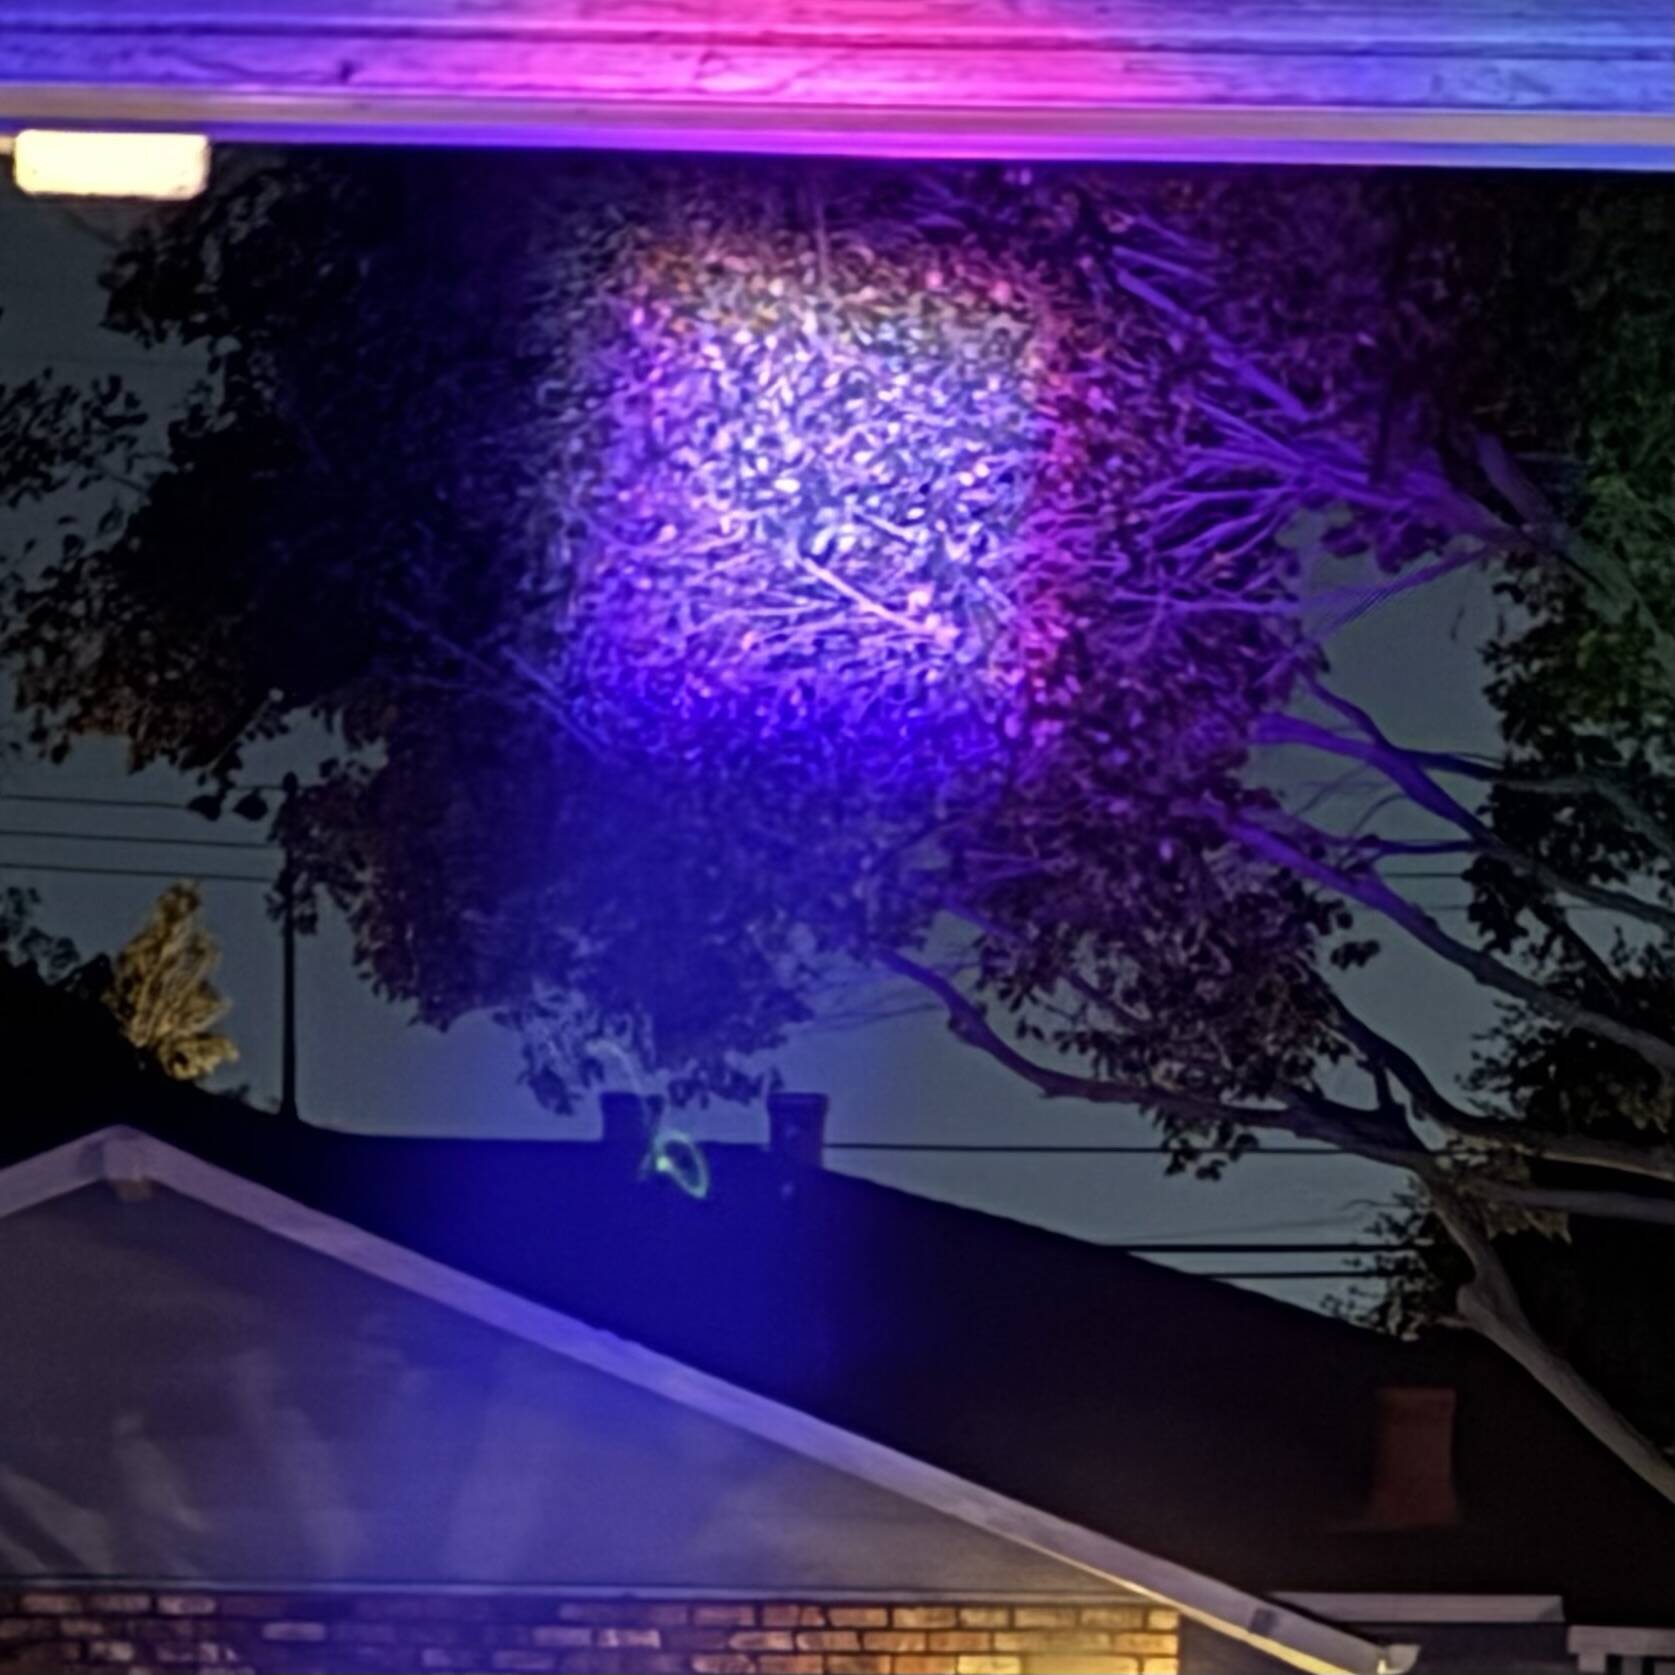
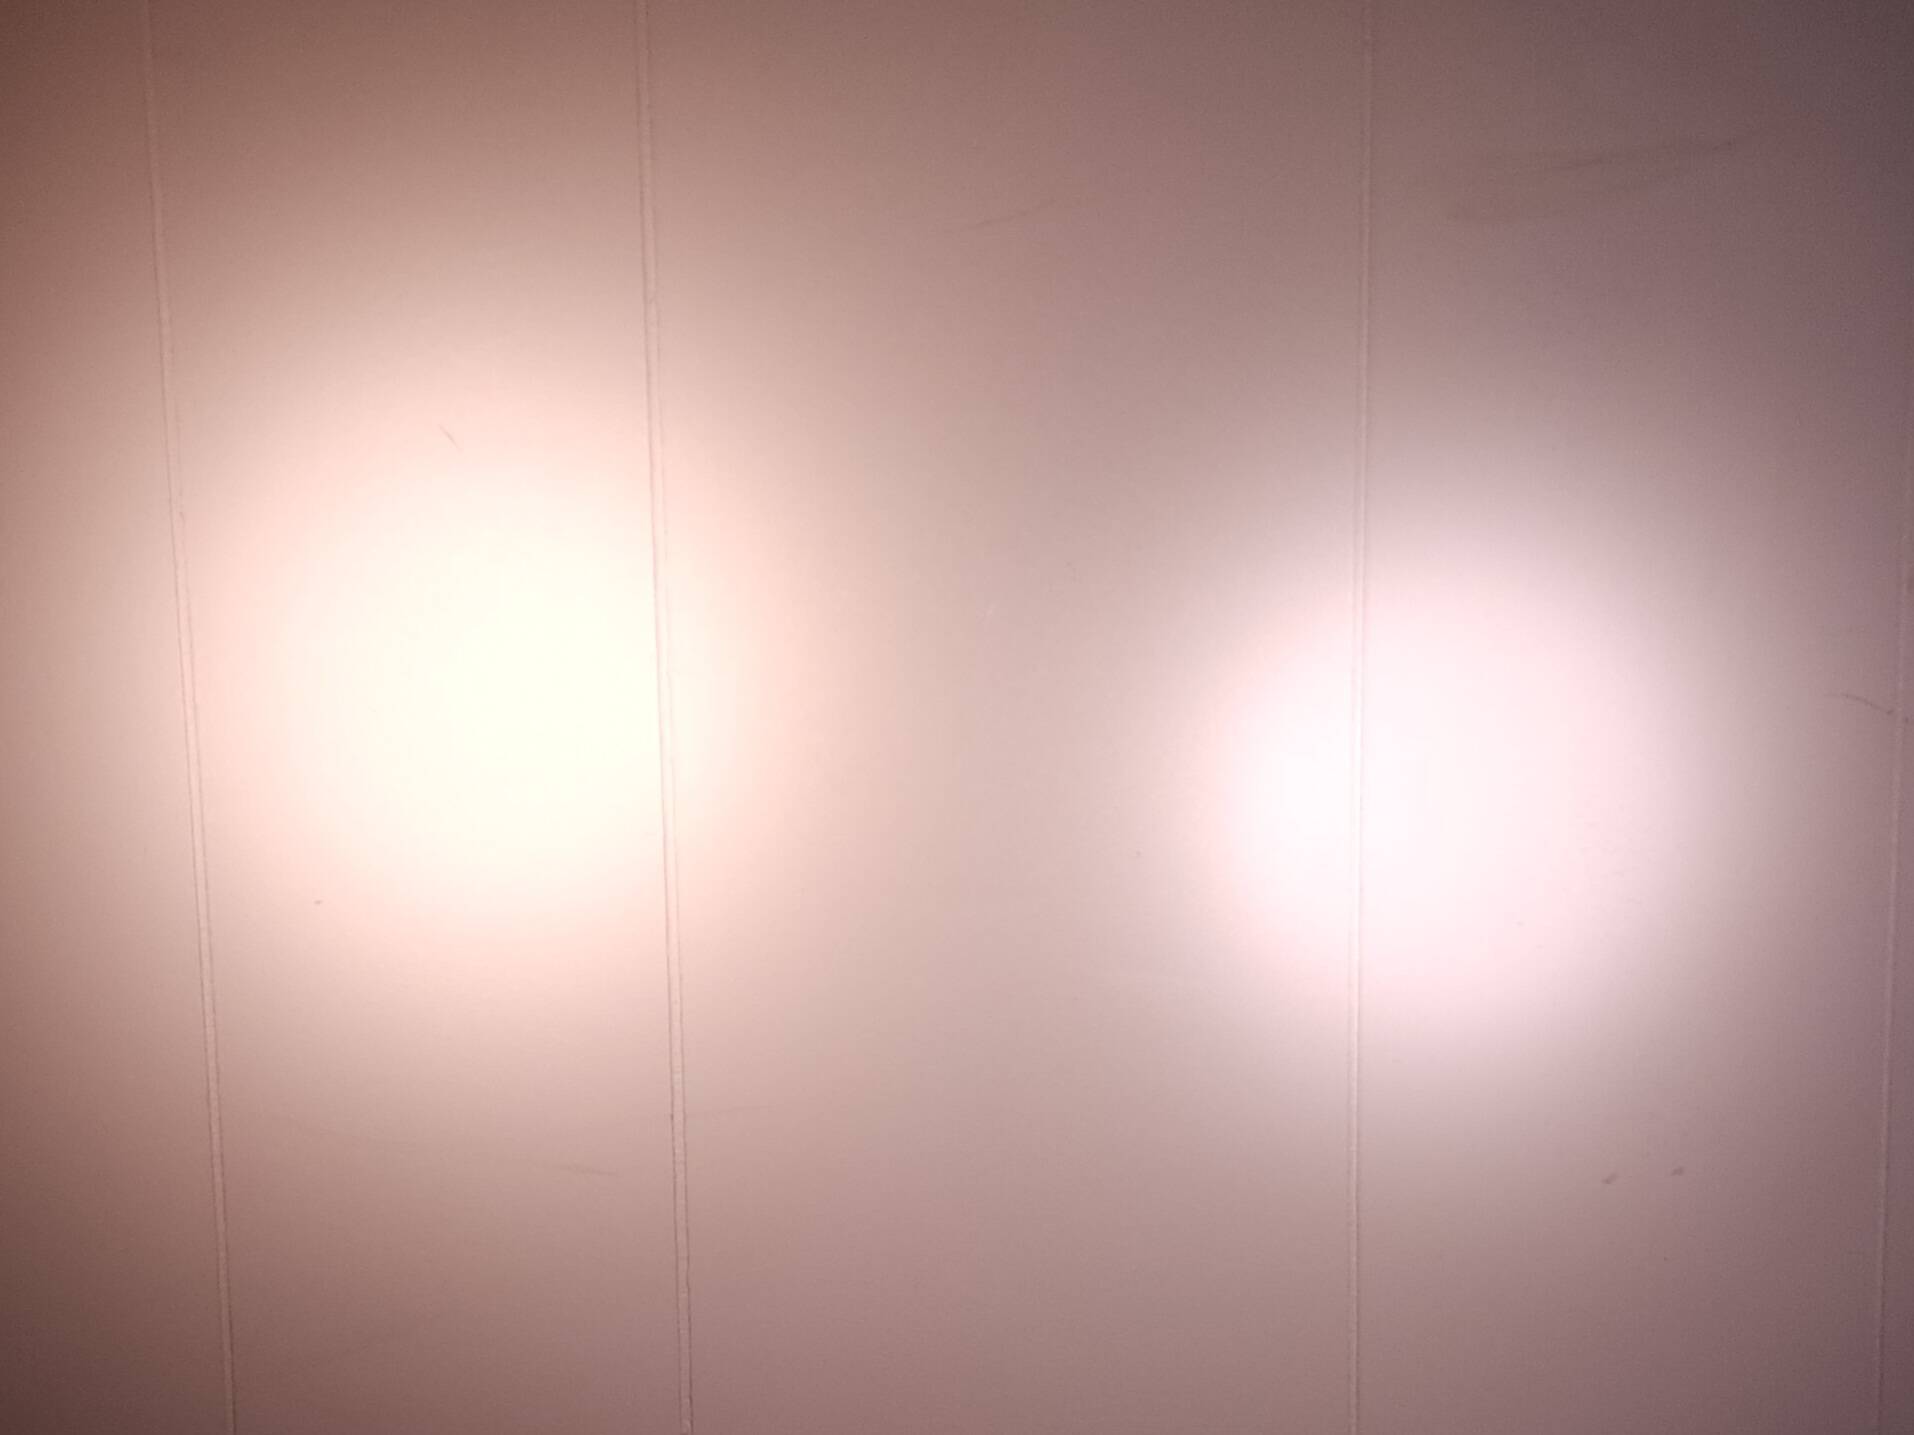
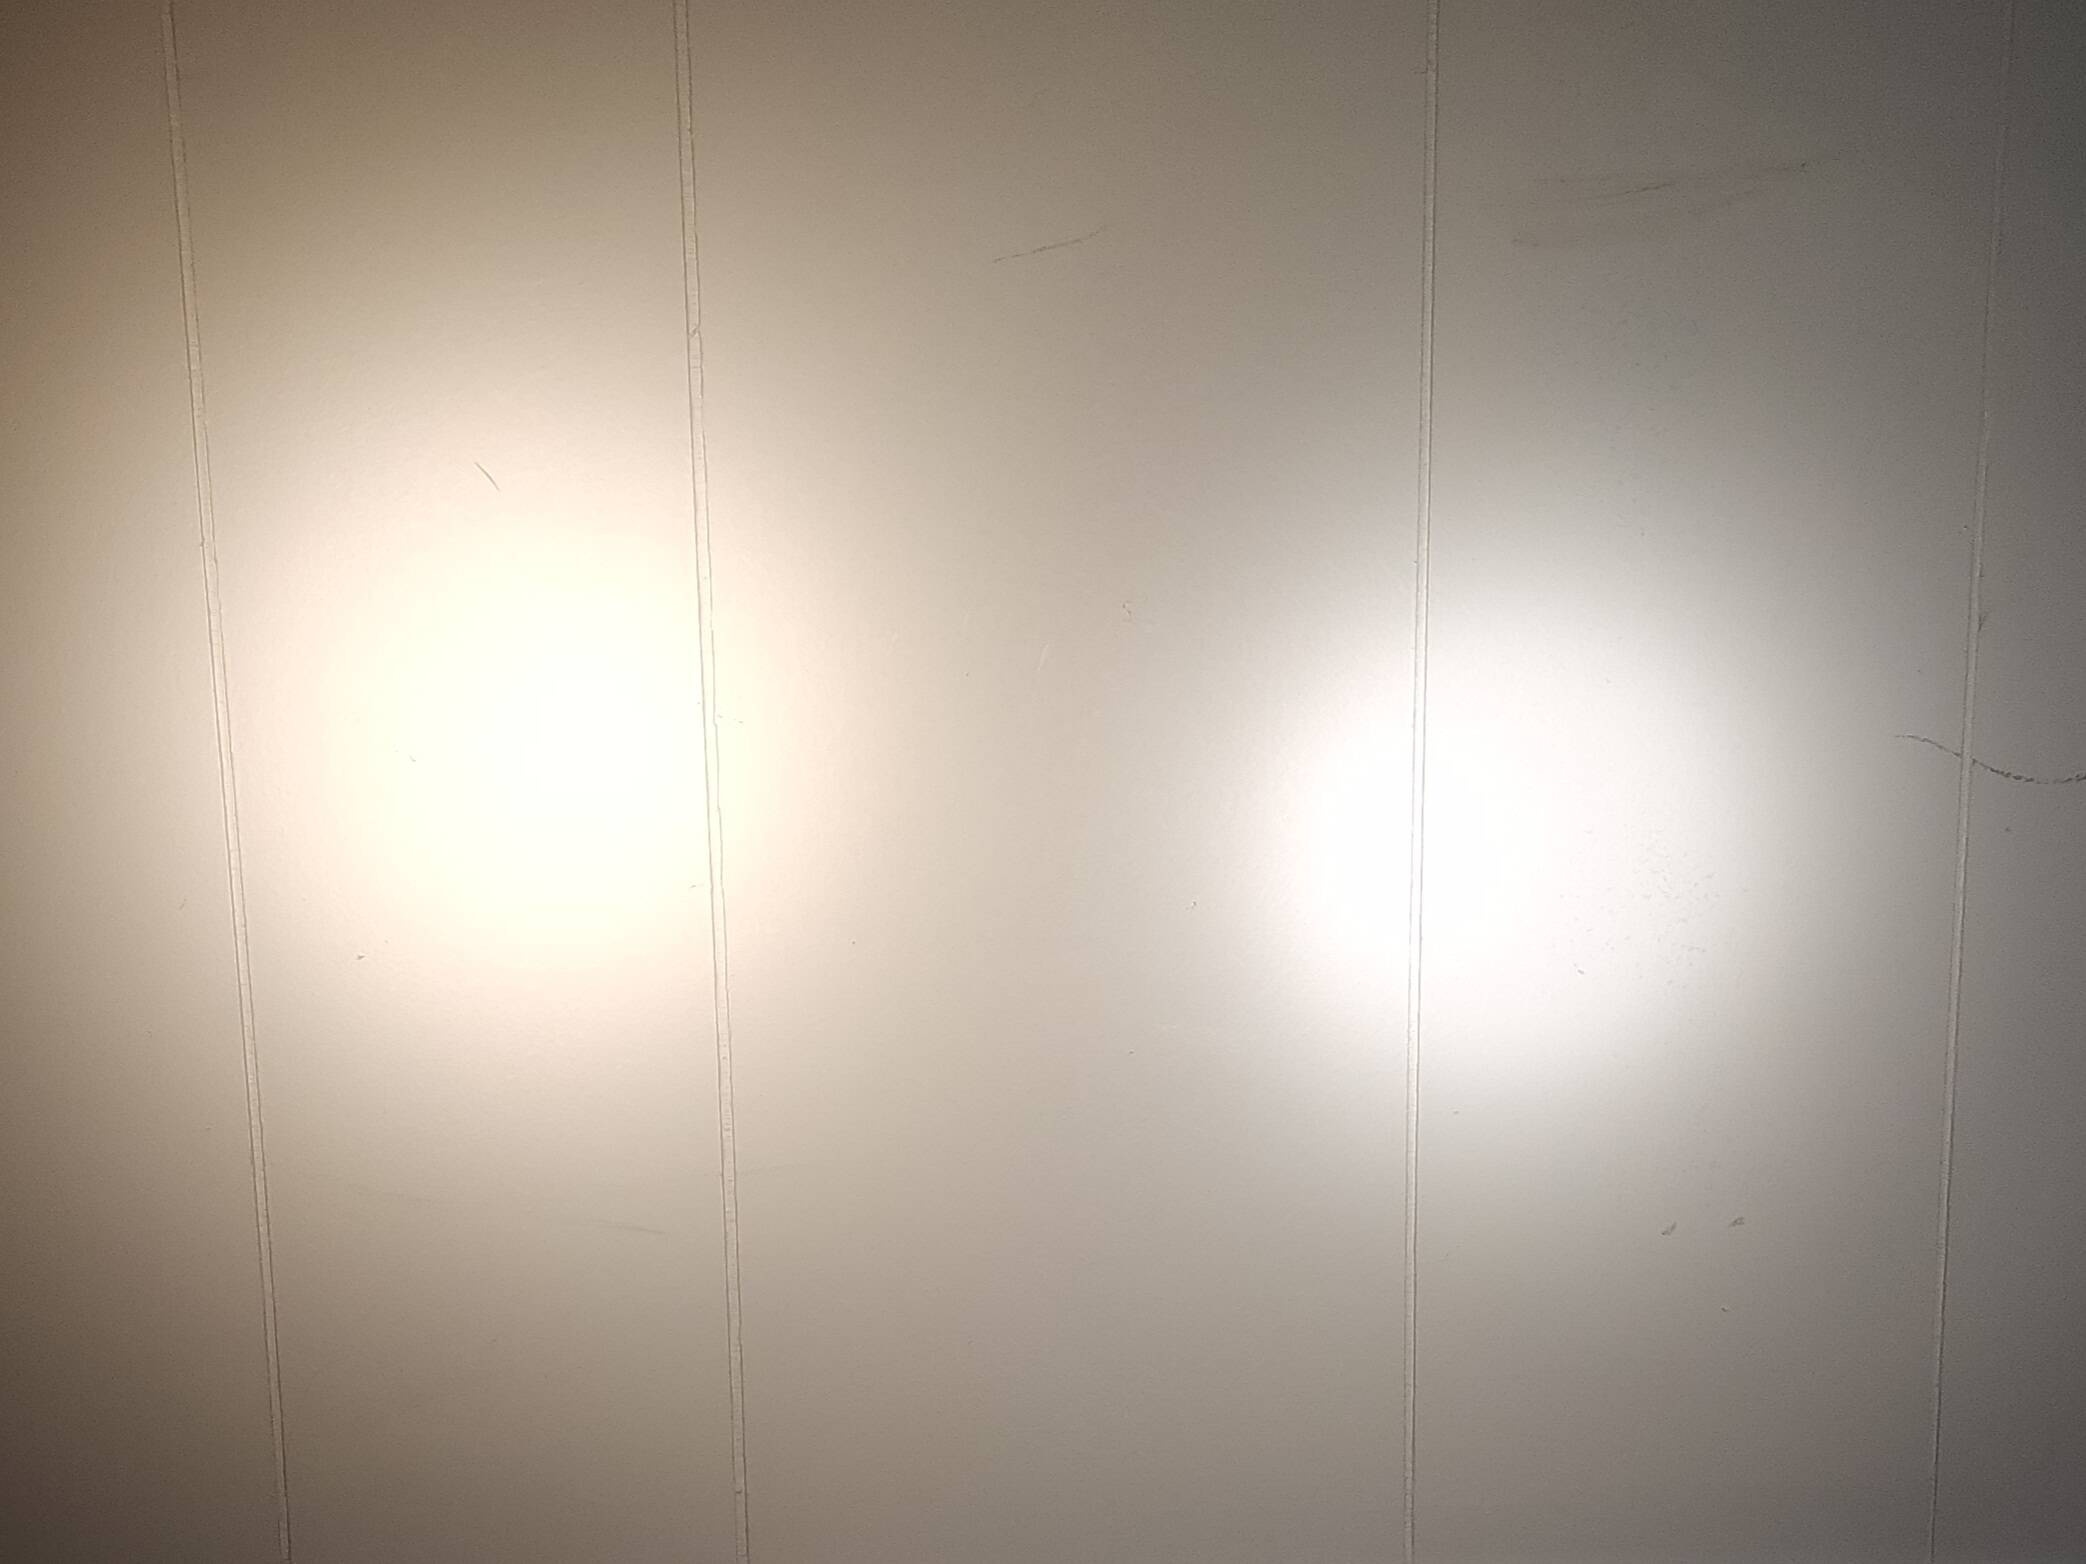
Yes, but in this case, the corona is the equivalent size of the stock domed hotspot with a lens flare hotspot appearance…I get that the flaring comes from a square die in a round reflector…I’ll compare a side by side with the same dupe dropin domed vs dedomed later.
Typically true, but in “extreme” conditions where the emitter has a stock collimation/projection, such as a 5mm yuji, there are angles at which a “hotspot” doesn’t necessarily facilitate a center focused beam. With those domes or projection apparatus, they can form a halo with a pseudo hotspot…such topographical info can tell you whether an LED is off center, non-optimally focused, or a reflector has malformations or is poorly designed…With quality “optimized” components, however, the issue becomes more about tuning rather than hardware, which is what I believe to be the issue in this particular case. If I could just get the reflector deeper into the head and better center the LED, it would effectively place the emitting surface at the proper depth to achieve a cleaner hotspot and corona…
I changed out a XP-G2 dedomed LED ( yesteryear tech ) for a SFT25 today. Host is a S6 with short pill deep smooth reflector, 4 amp driver . Front Bezel is enlarged to not cover the reflector edge ( no oring ledge anymore ) Throw slightly better, Lumens 35% + better
How long has the SFT25R been available, these SFT25 I have I guess are almost 2yrs old
Damm I’m in trouble now. I’m in the process of selling off this crap, guess I’m putting that iron back in the fire again.
To detect an off-center LED or poor focus, it seems to me that examining the beam with naked eye is a much easier solution than mapping out the whole beam numerically.
It’s hard to tell–there’s a ton of variance in component quality among even variants of the same product by the same manufacturer. I’ve had consistently good luck with C8 reflectors that have 9mm opening; however, every single sample with 7mm opening I’ve ever received was defective: the reflecting surface deviates so much from a paraboloid that no amount of focus tuning can fix the beam for any emitter smaller than a SFT40.
Today, I swapped the emitter in my Loop SK06 with a 90 CRI SFT 42R 5700K.
Not the easiest emitter swap, but not the hardest either. I used the method from this Reddit thread. The hardest part was figuring out how far to Dremel the notch to lever out the black lens retaining ring. Answer: not far at all.
Overall, the results were not quite as good as I’d hoped, probably due to what I then did with the SK06’s stock emitter.
The new emitter in the SK06 is high-CRI, but the stock cool-white low-CRI emitter seemed substantially brighter. I swapped stock emitter into an old Ultrac S20 and the S20’s beam blows the SK06’s beam away.
In retrospect, this shouldn’t have been too much of a surprise since the S20 has a much bigger reflector, was using a Vapcell Z30 flat top 18650 rated for 50A draw and had been modified with a BeCu spring. I was comparing it to an SK06 with stock spring and stock 18650 battery.
Edit: I swapped out the SK06’s stock tailcap spring for a Be-Cu low resistance spring so I could try out my high drain Vapcell cell in the SK06. This greatly improved performance giving the modified SK06 similar lumen output to the modified S20.
NOTE: Loop Gear made the tailcap magnet easily removable for those who don’t want it. Just pull out the tailcap spring and the magnet falls right out. Well done!
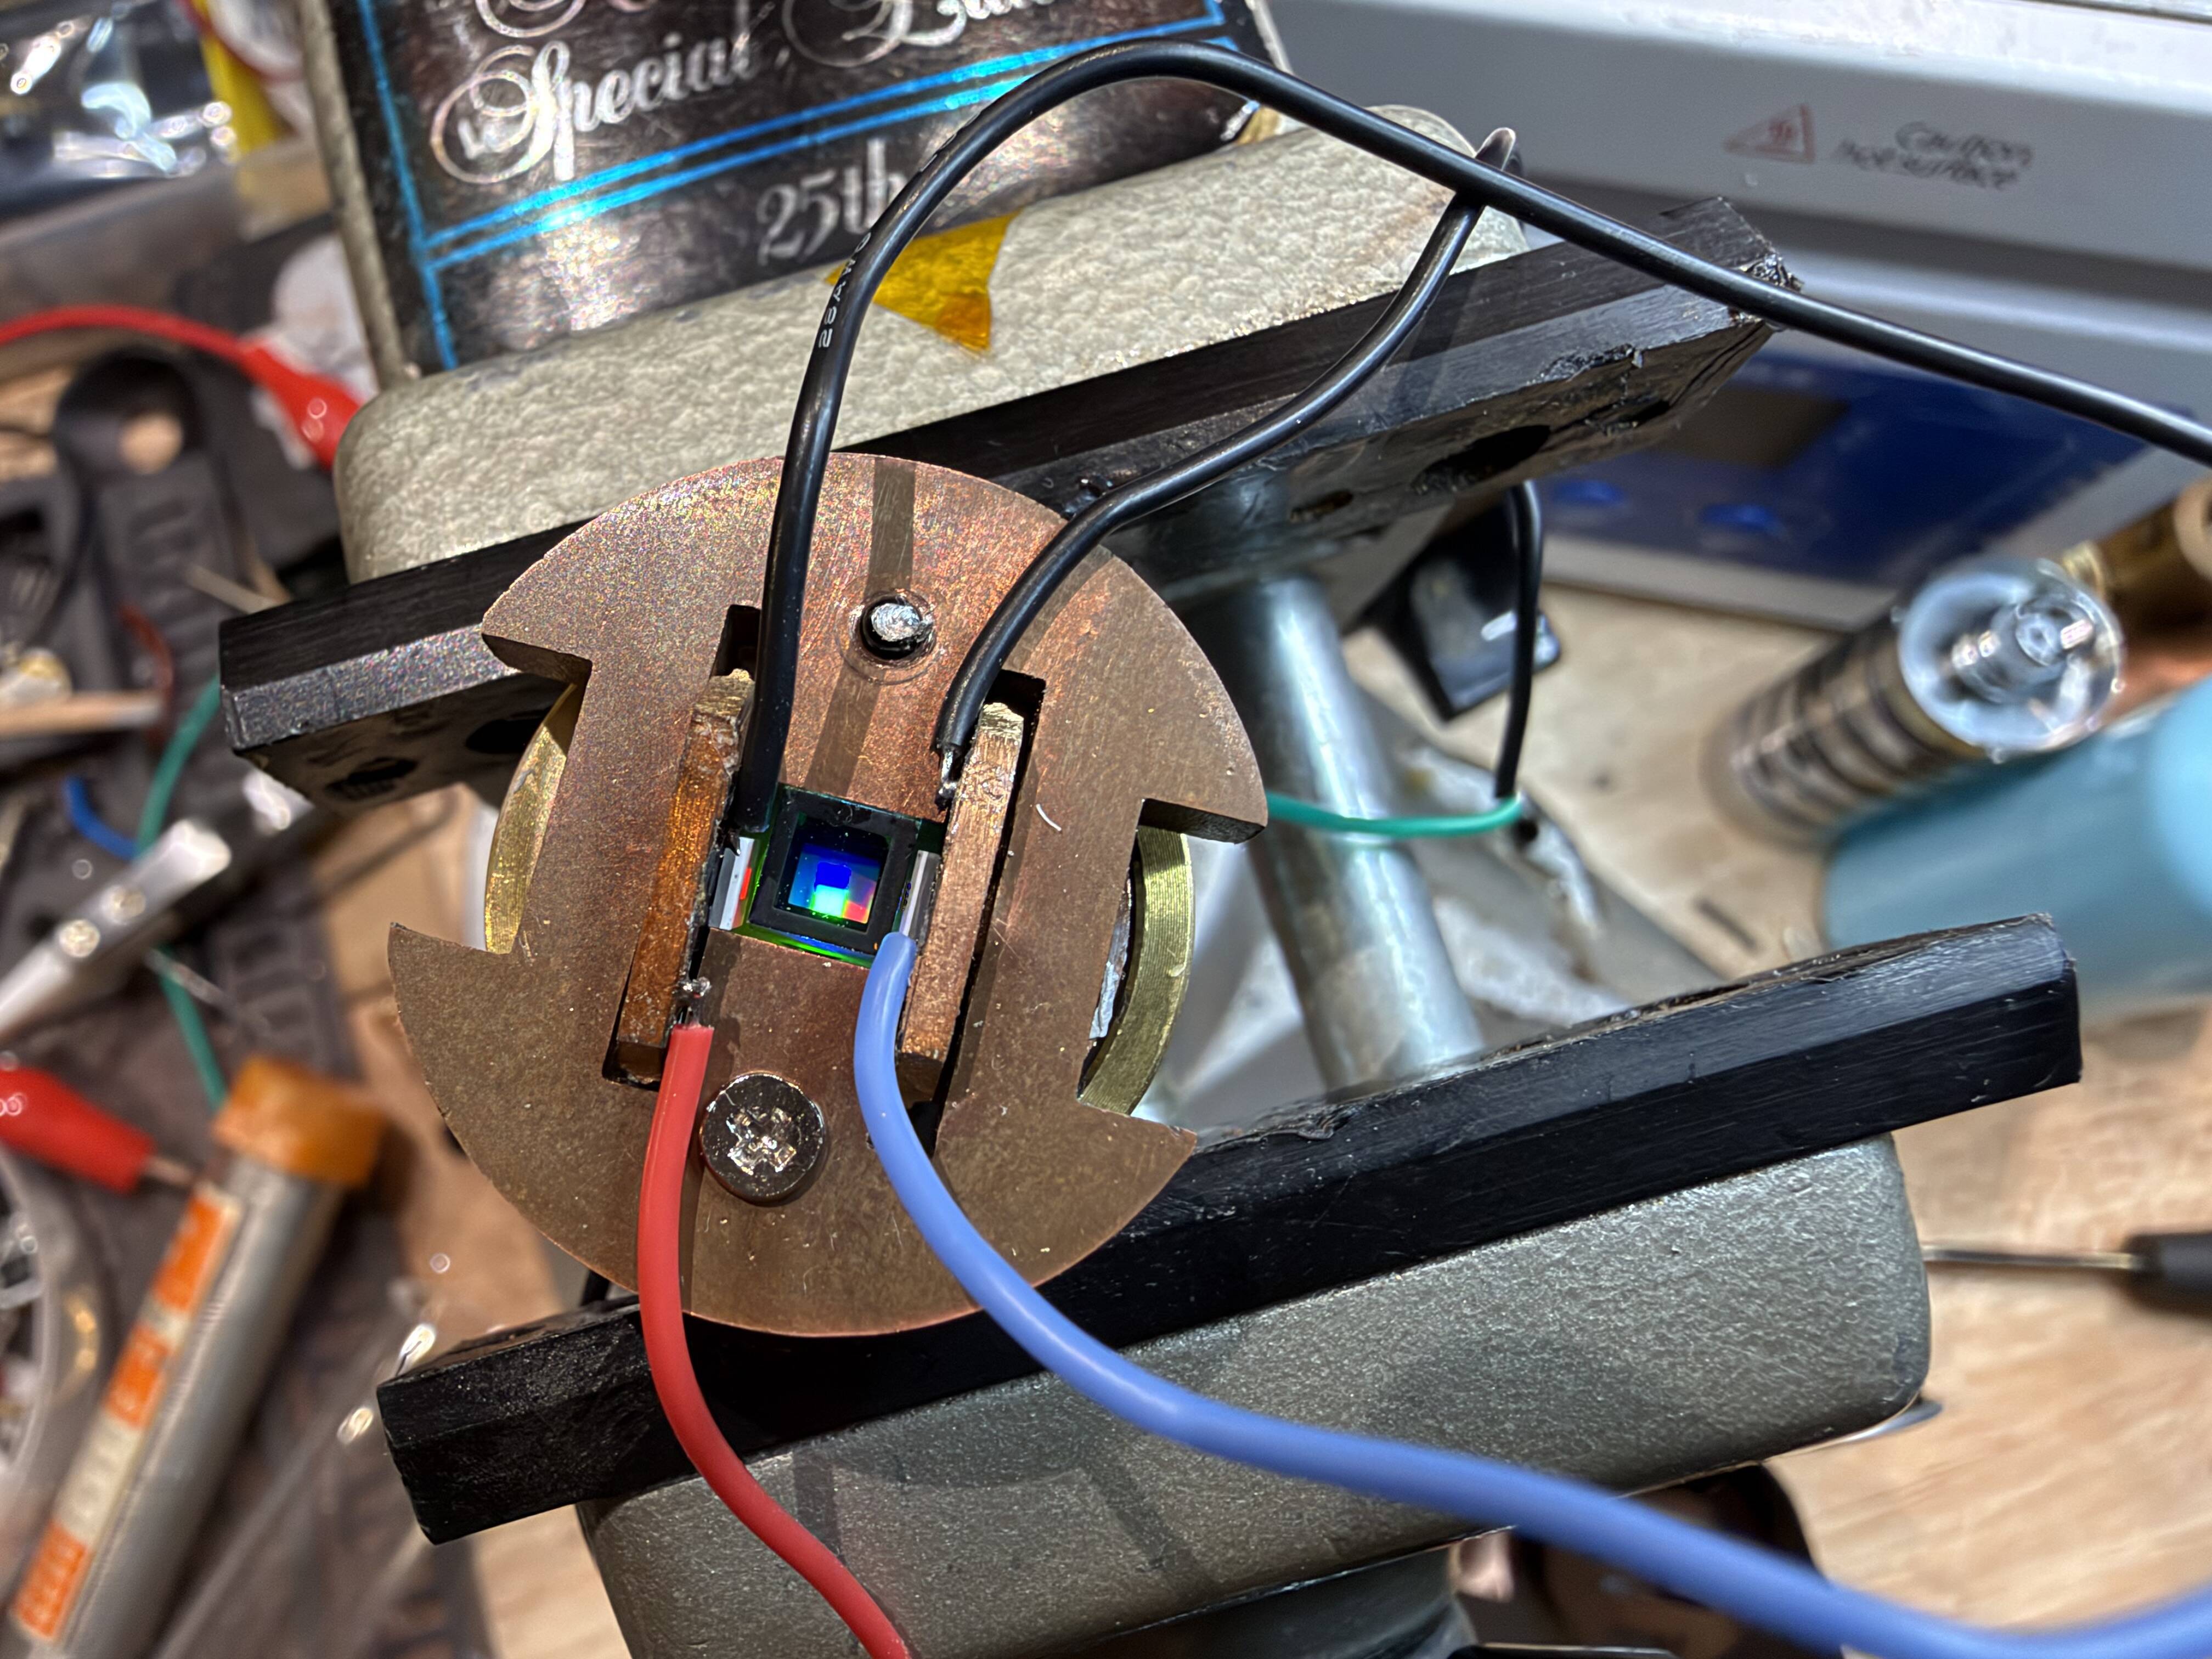
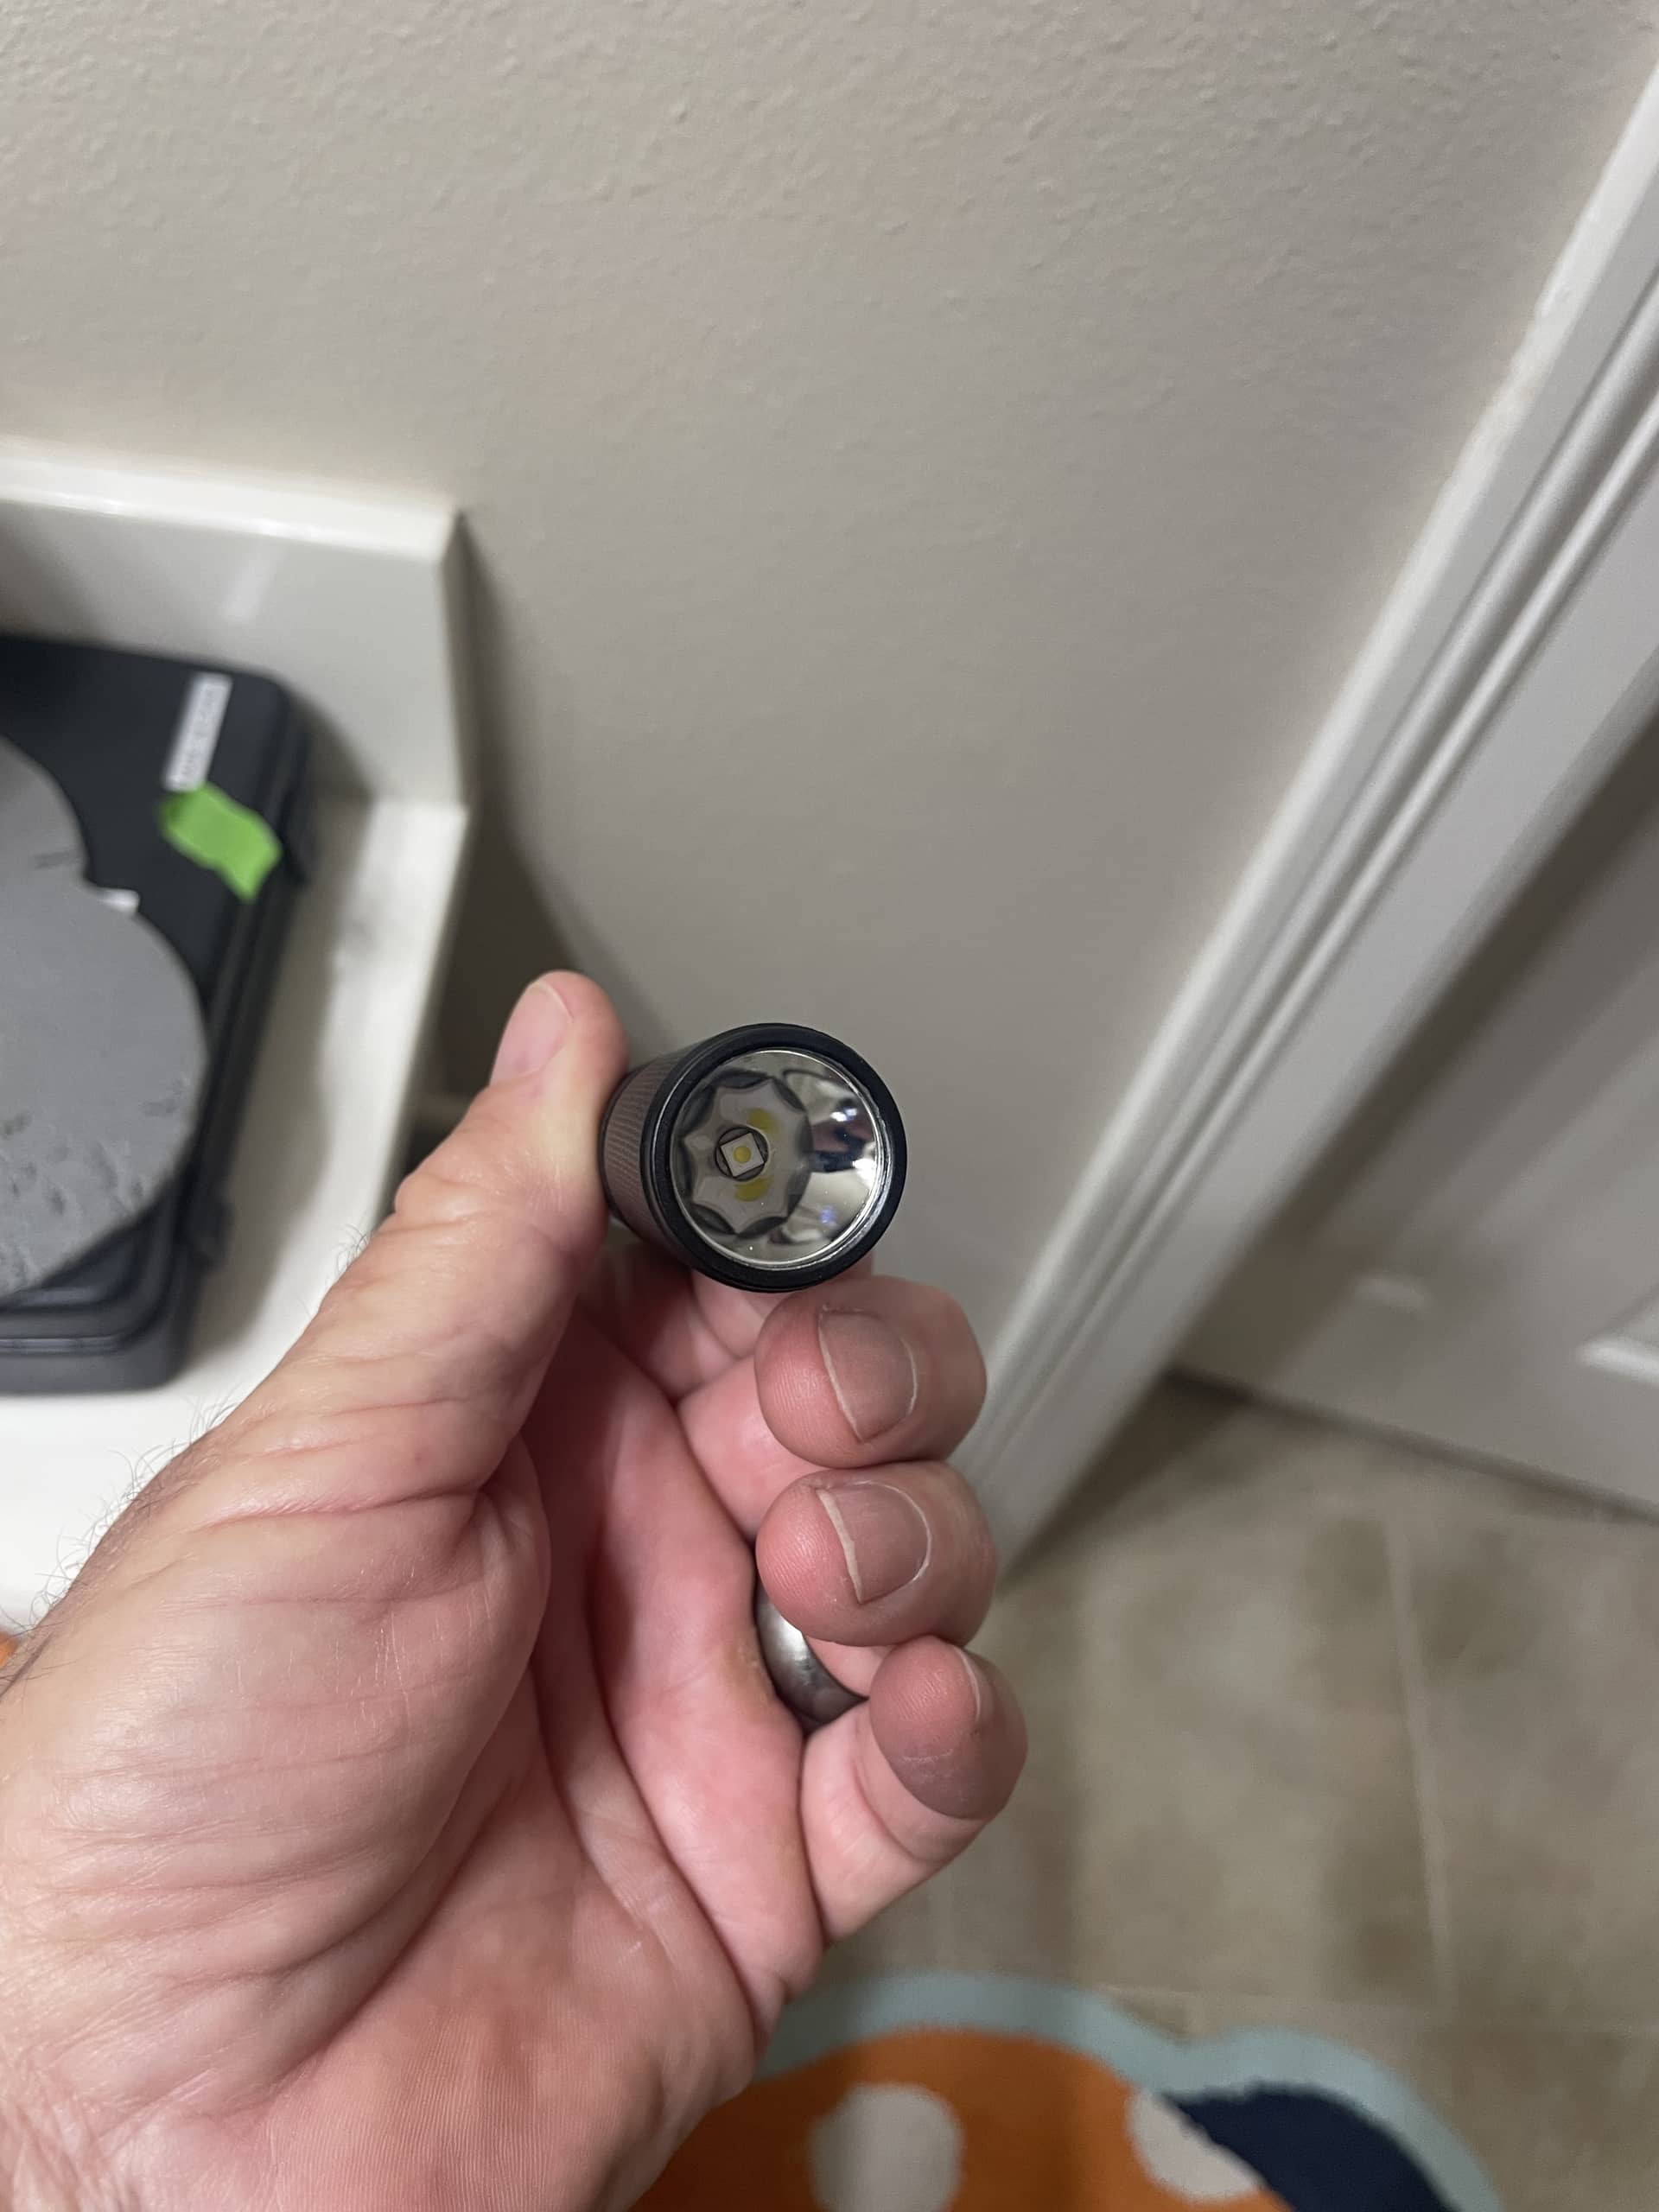
kafuter came in. I somehow managed a level flat matte finish of silicone on the glass plate of the led, raising the emitting surface by some tiny amount. It lightly addressed the darkened spots, so I’m even more inclined to believe that light from the extreme angles was escaping under the reflector because of the uncentered LED, causing that dark edge. 1 or 2 more of those layers ought to do it, but I have no clue how I did it…
That is very strange, I didn’t think it’s possible to have anything other than a smooth shiny finish. Do you have extremely high humidity or something?
No, lol…I used an isopropyl dampened q tip and dabbed at it, like a ceiling texture. Suprisingly, the fuzz didn’t stick, but the texture got applied. While I was at it, i smeared someof the kafuter (semi-purposefully, believe it or not) around the bottom third of the reflector towards the LED to haze it up a bit. The LED glass now looks like a matte scotch tape, smooth but not shiny, semi glarey. But it is definitely ever so slightly taller, because the hotspot is definitely spreading more towards the corona, and the dark edge of the corona got smaller and less dark.
I know “how” I did it, but I don’t have a good refined methodology, so I don’t really know exactly “HOW” I did it, lol…
Things I did:
Light tiny blob of kafuter, roughly 1.5mm in diameter.
1A) it wasn’t spreading, so I smushed it with a nipped off q-tip stick. That made it uneven, so i used an isoprop qtip to try and wipe off to try again.
1B) it didn’t wipe completely, so i dabbed at it, made contact with the reflector, and thought that I rather liked the hazing effect, smeared around the reflector, kafuter thinned with isoprop.
Lightly dragged a new isoprop qtip across the surface of the glass, it took off any remaining peaks and settled onto the glass. Surface Kafuter “sets” pretty quickly…
Unknowns:
Time between actions, which I assume plays a HUGE role, especially since kafuter dries so quickly on the surface.
I don’t know how this will affect the longevity of the die, whether any dark spots will form, etc, but the dropin doesn’t exceed 200 lumens . I WANT to keep tinkering and try to raise the “dome” a bit more, but I’m not confident that I can keep applying the layers without some kind of contamination getting in there, nor am I confident with maintaining the level height, My hands are the furthest possible thing from a surgeon’s. The only other thing I can think to do is to drip some silicone onto a clean surface, probably teflon, level it out thinly, then cut them into squared die sized wafers, to which I would independently silicone glue and layer onto the glass…I’ll muck about it eventually. Might even just stuff kafuter into the cavity around the LED and reflector to build a solid base, level to the top of the LED chip, THEN start stacking the wafers…I dunno. I need some time to let it incubate, as I have a tendency to be efficaciously destructive.
p.s., I also can’t capture the full texturing, the apparent shadows and textures change substantially when rotated, different peaks appear.
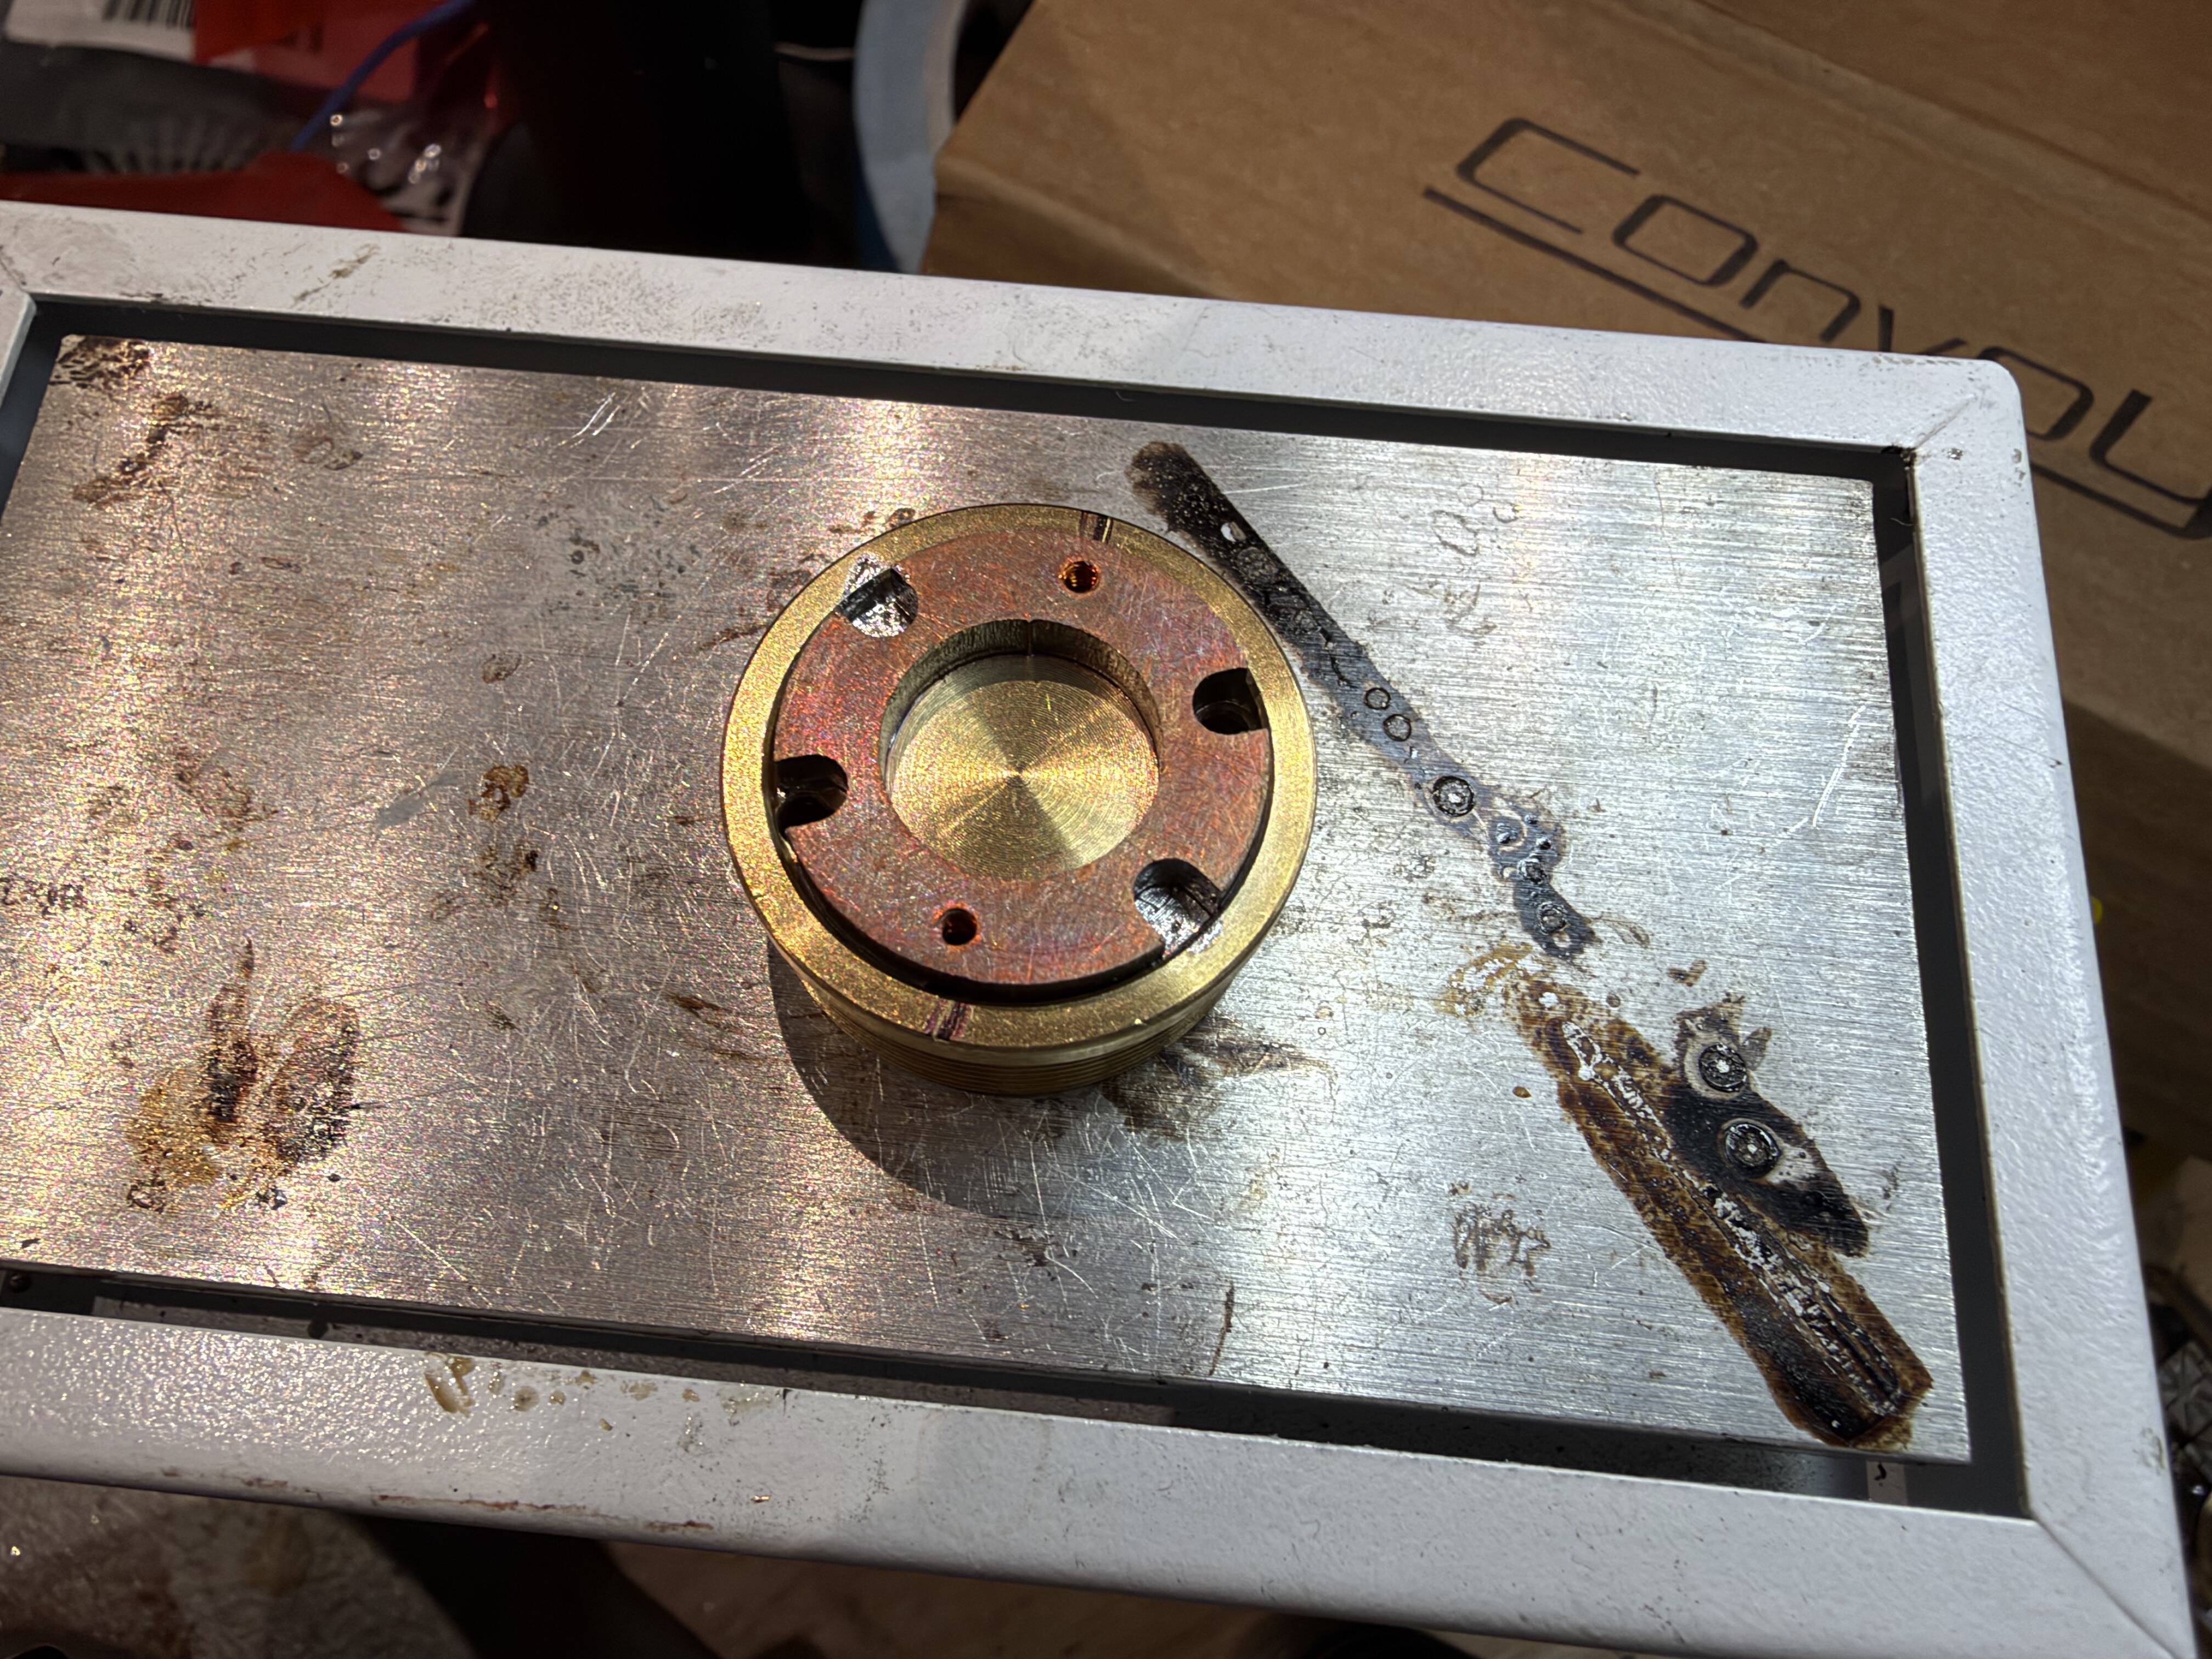
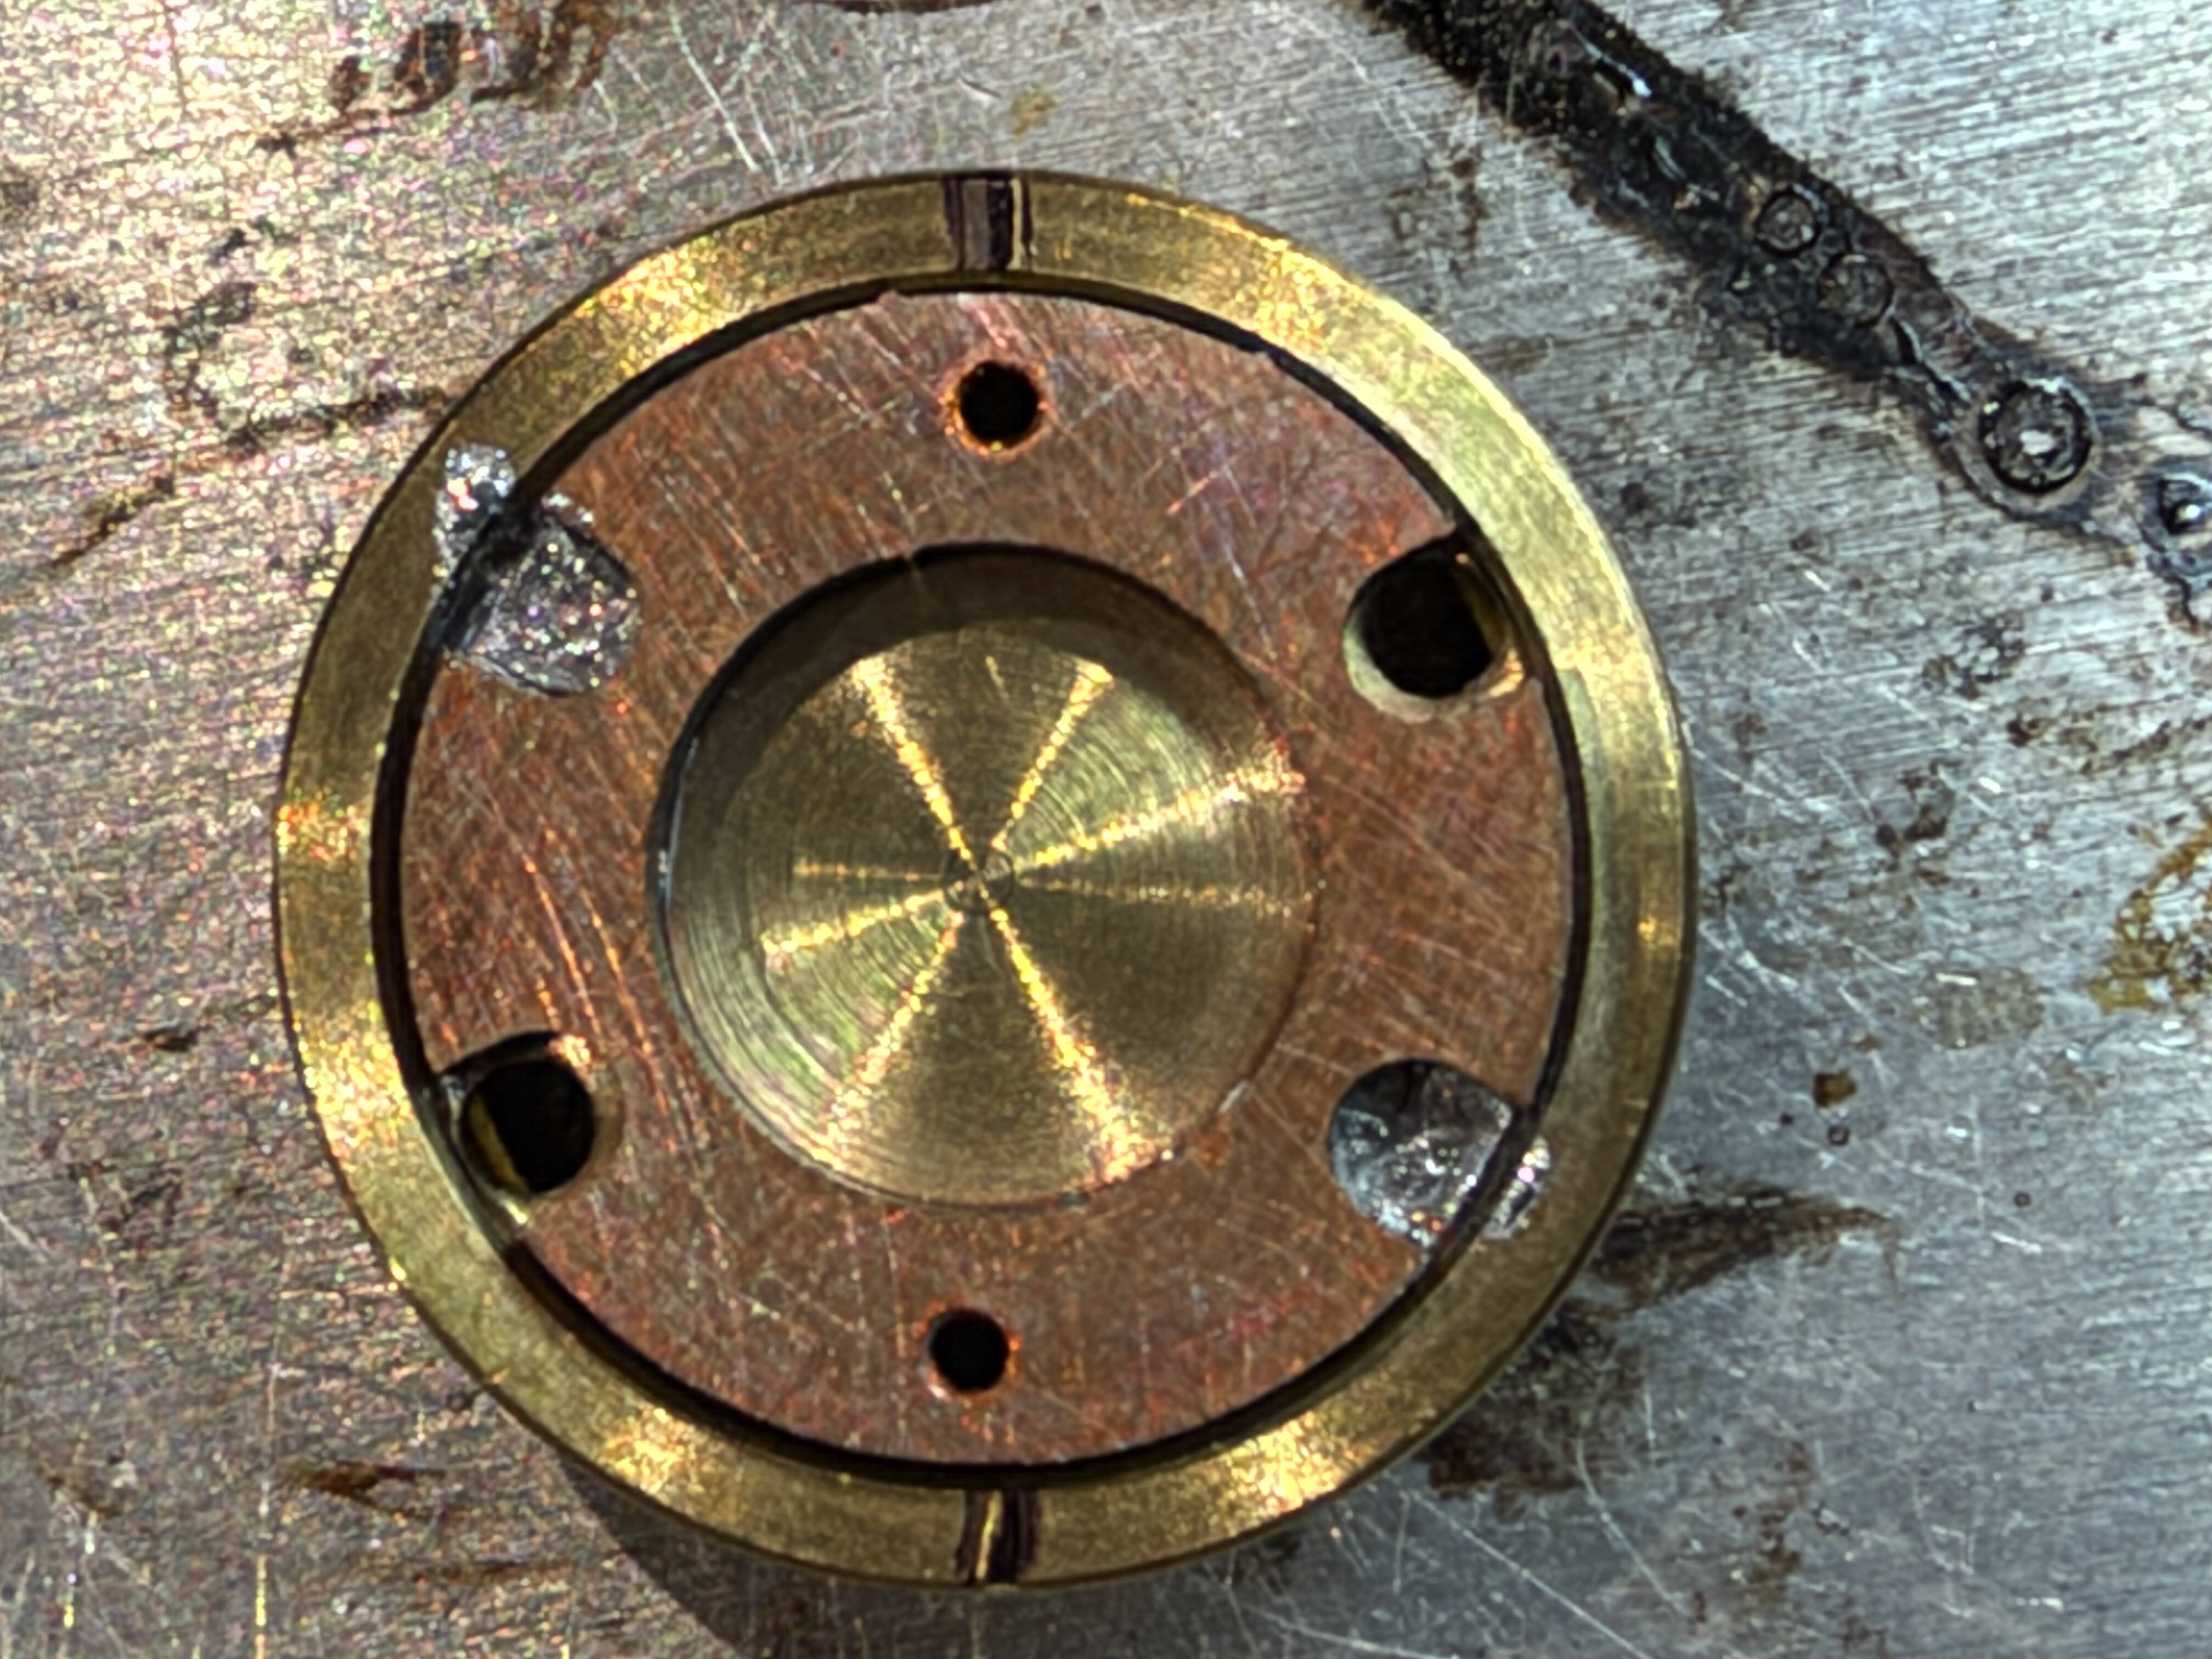
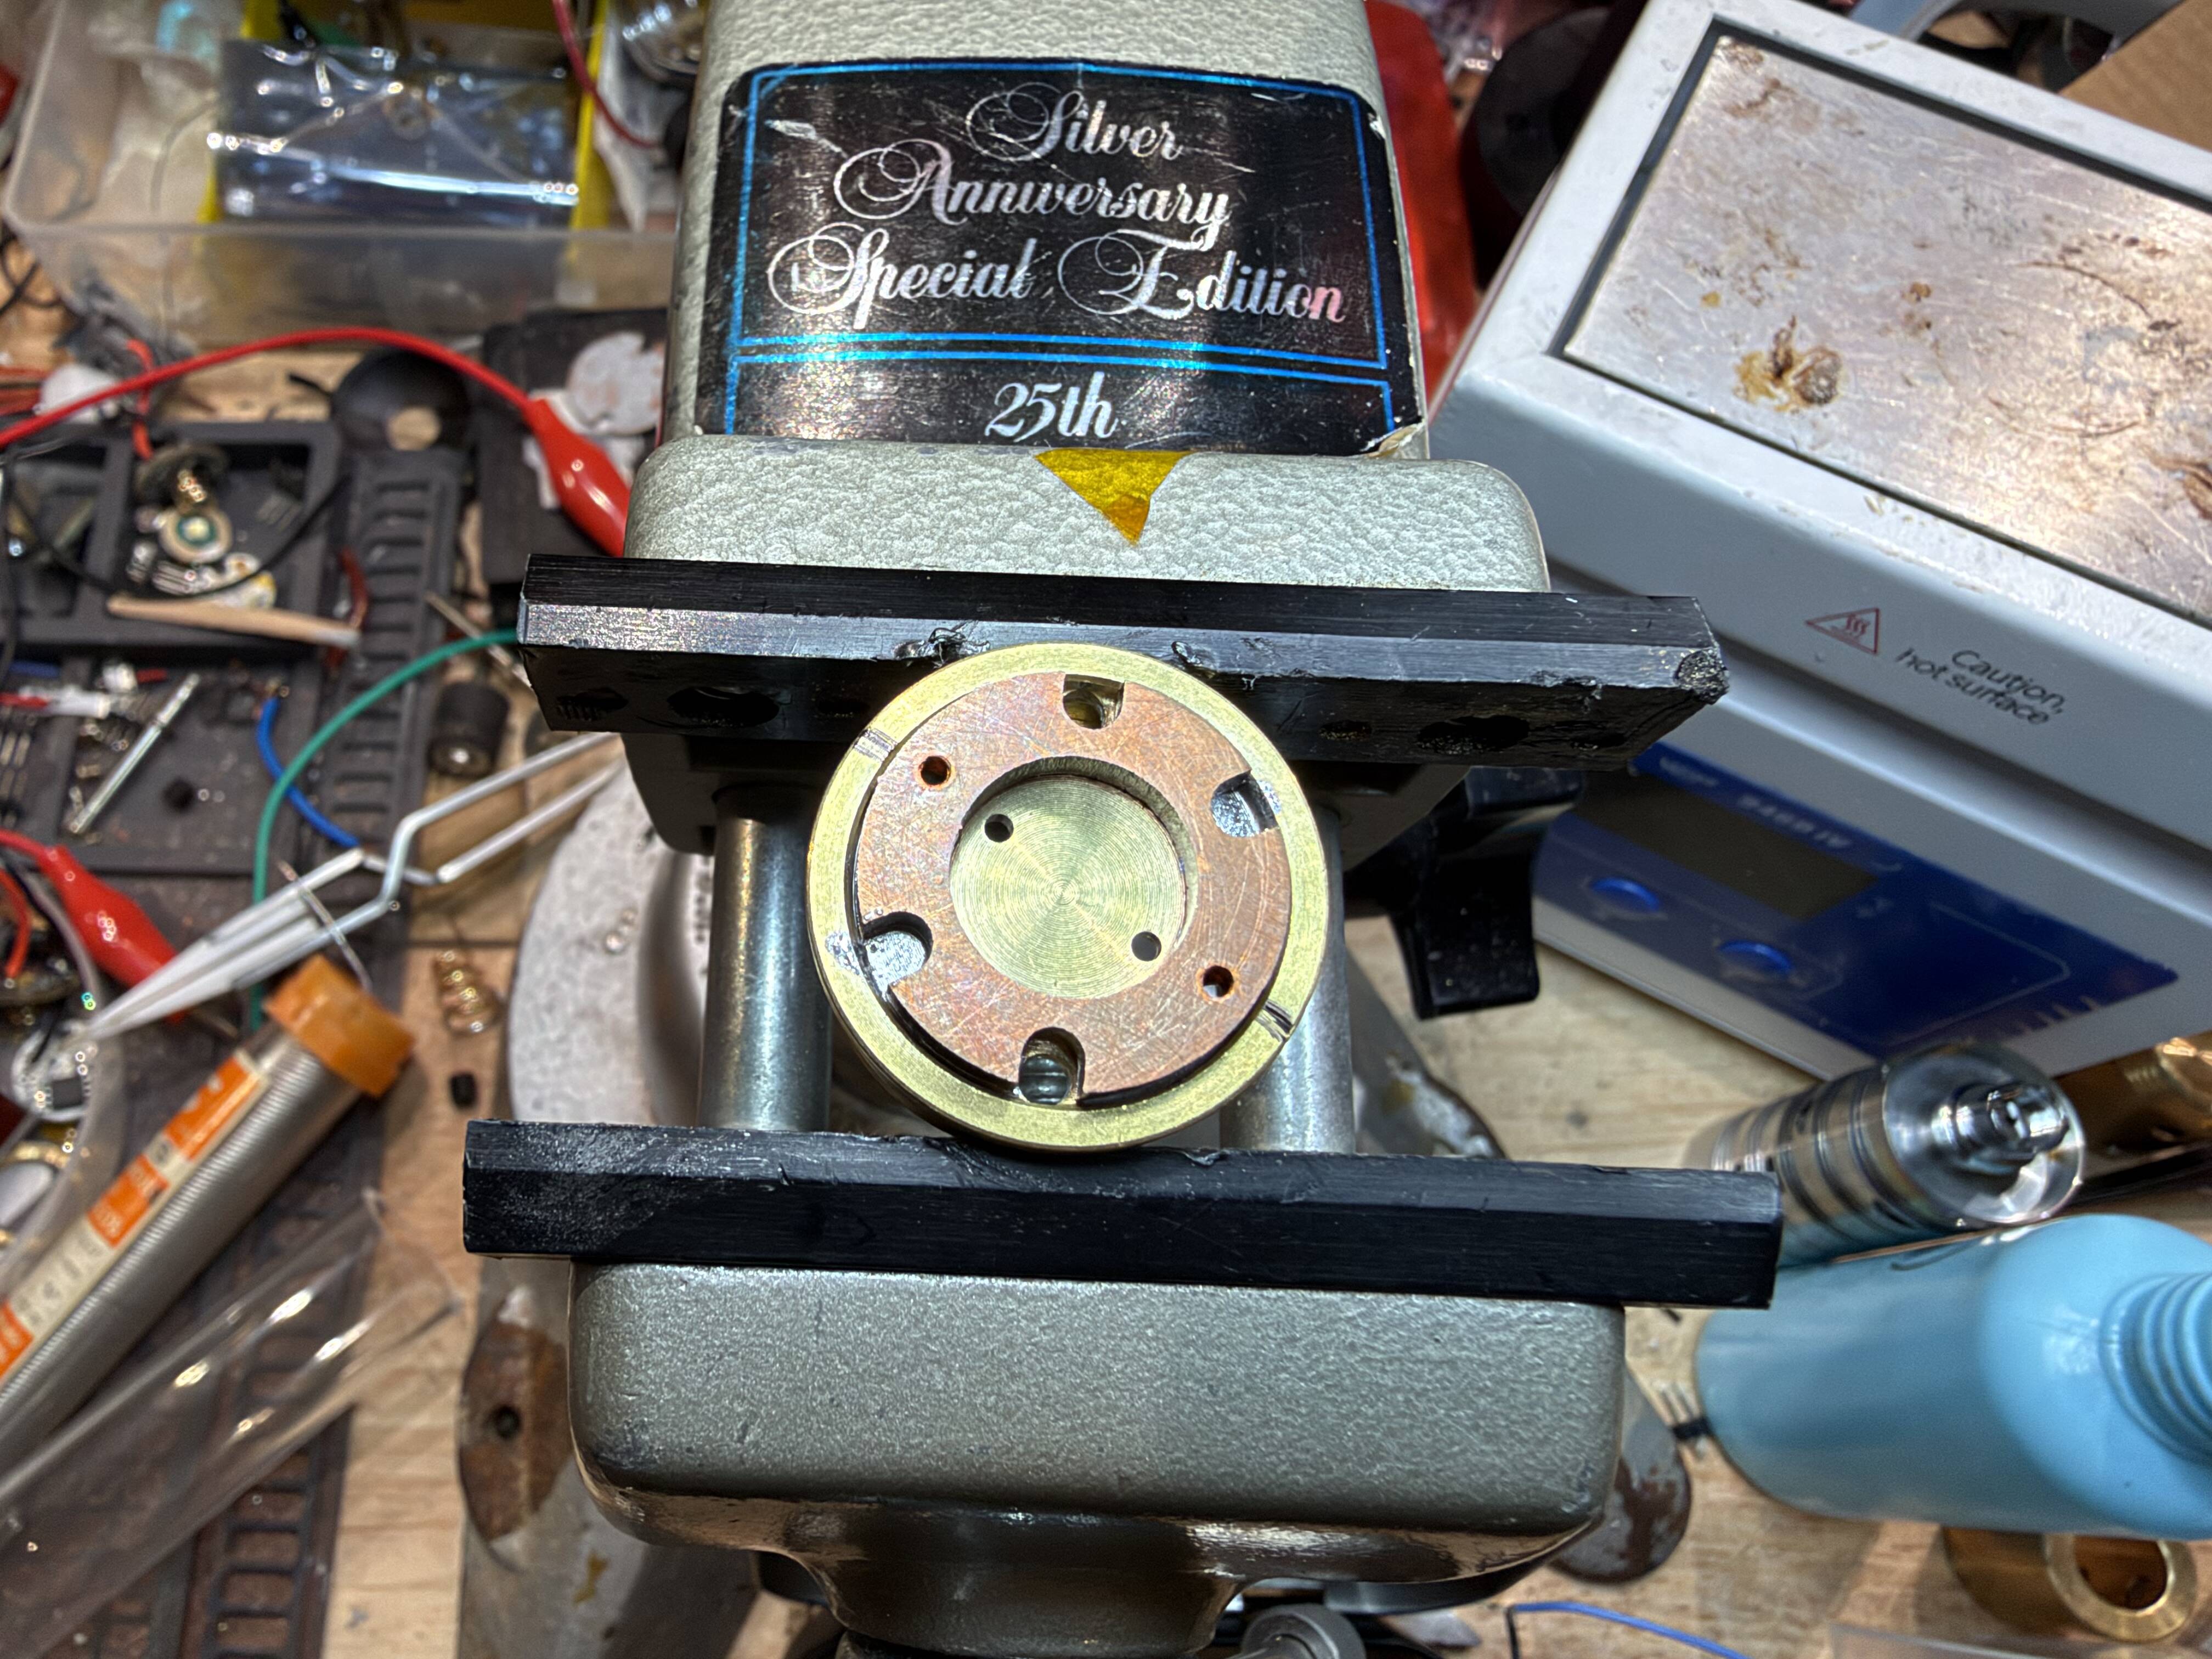
so… @QReciprocity42 I went full we tall and flooded the cavity with kafuter, lol. It didn’t settle properly and I need to fill in some uneven surfaces. Do you think a bit of heat would help level it out when fresh?
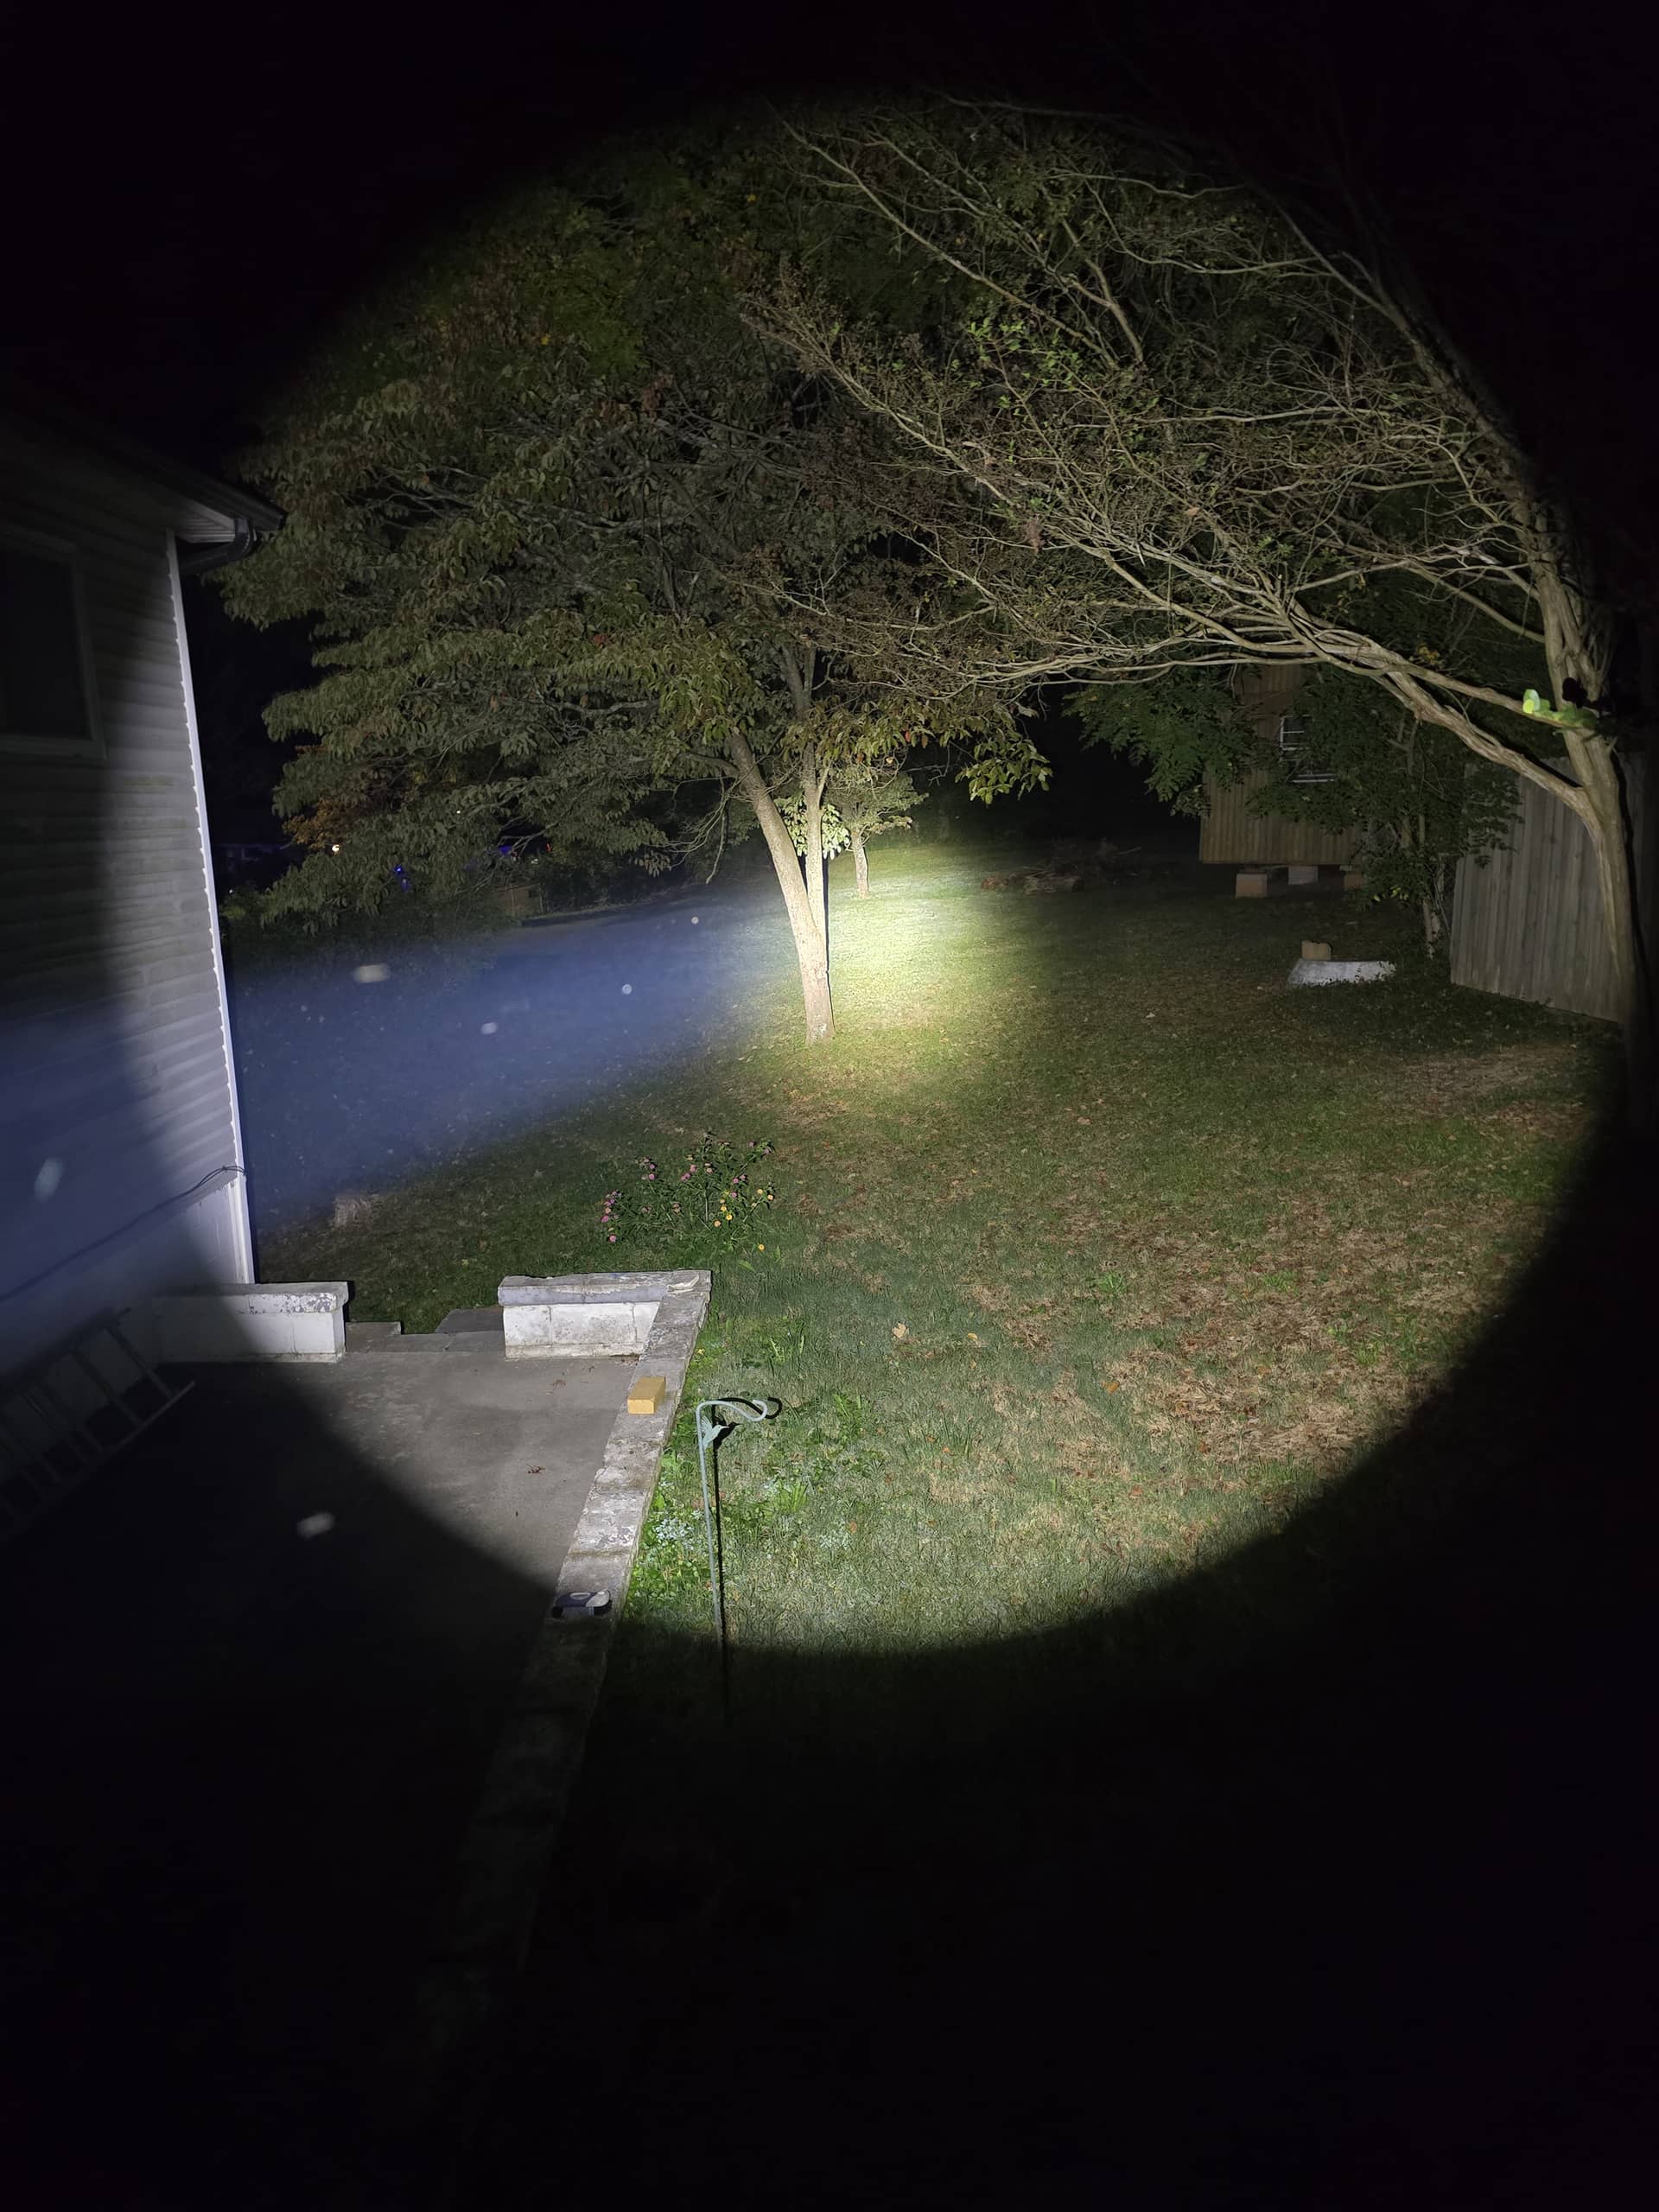
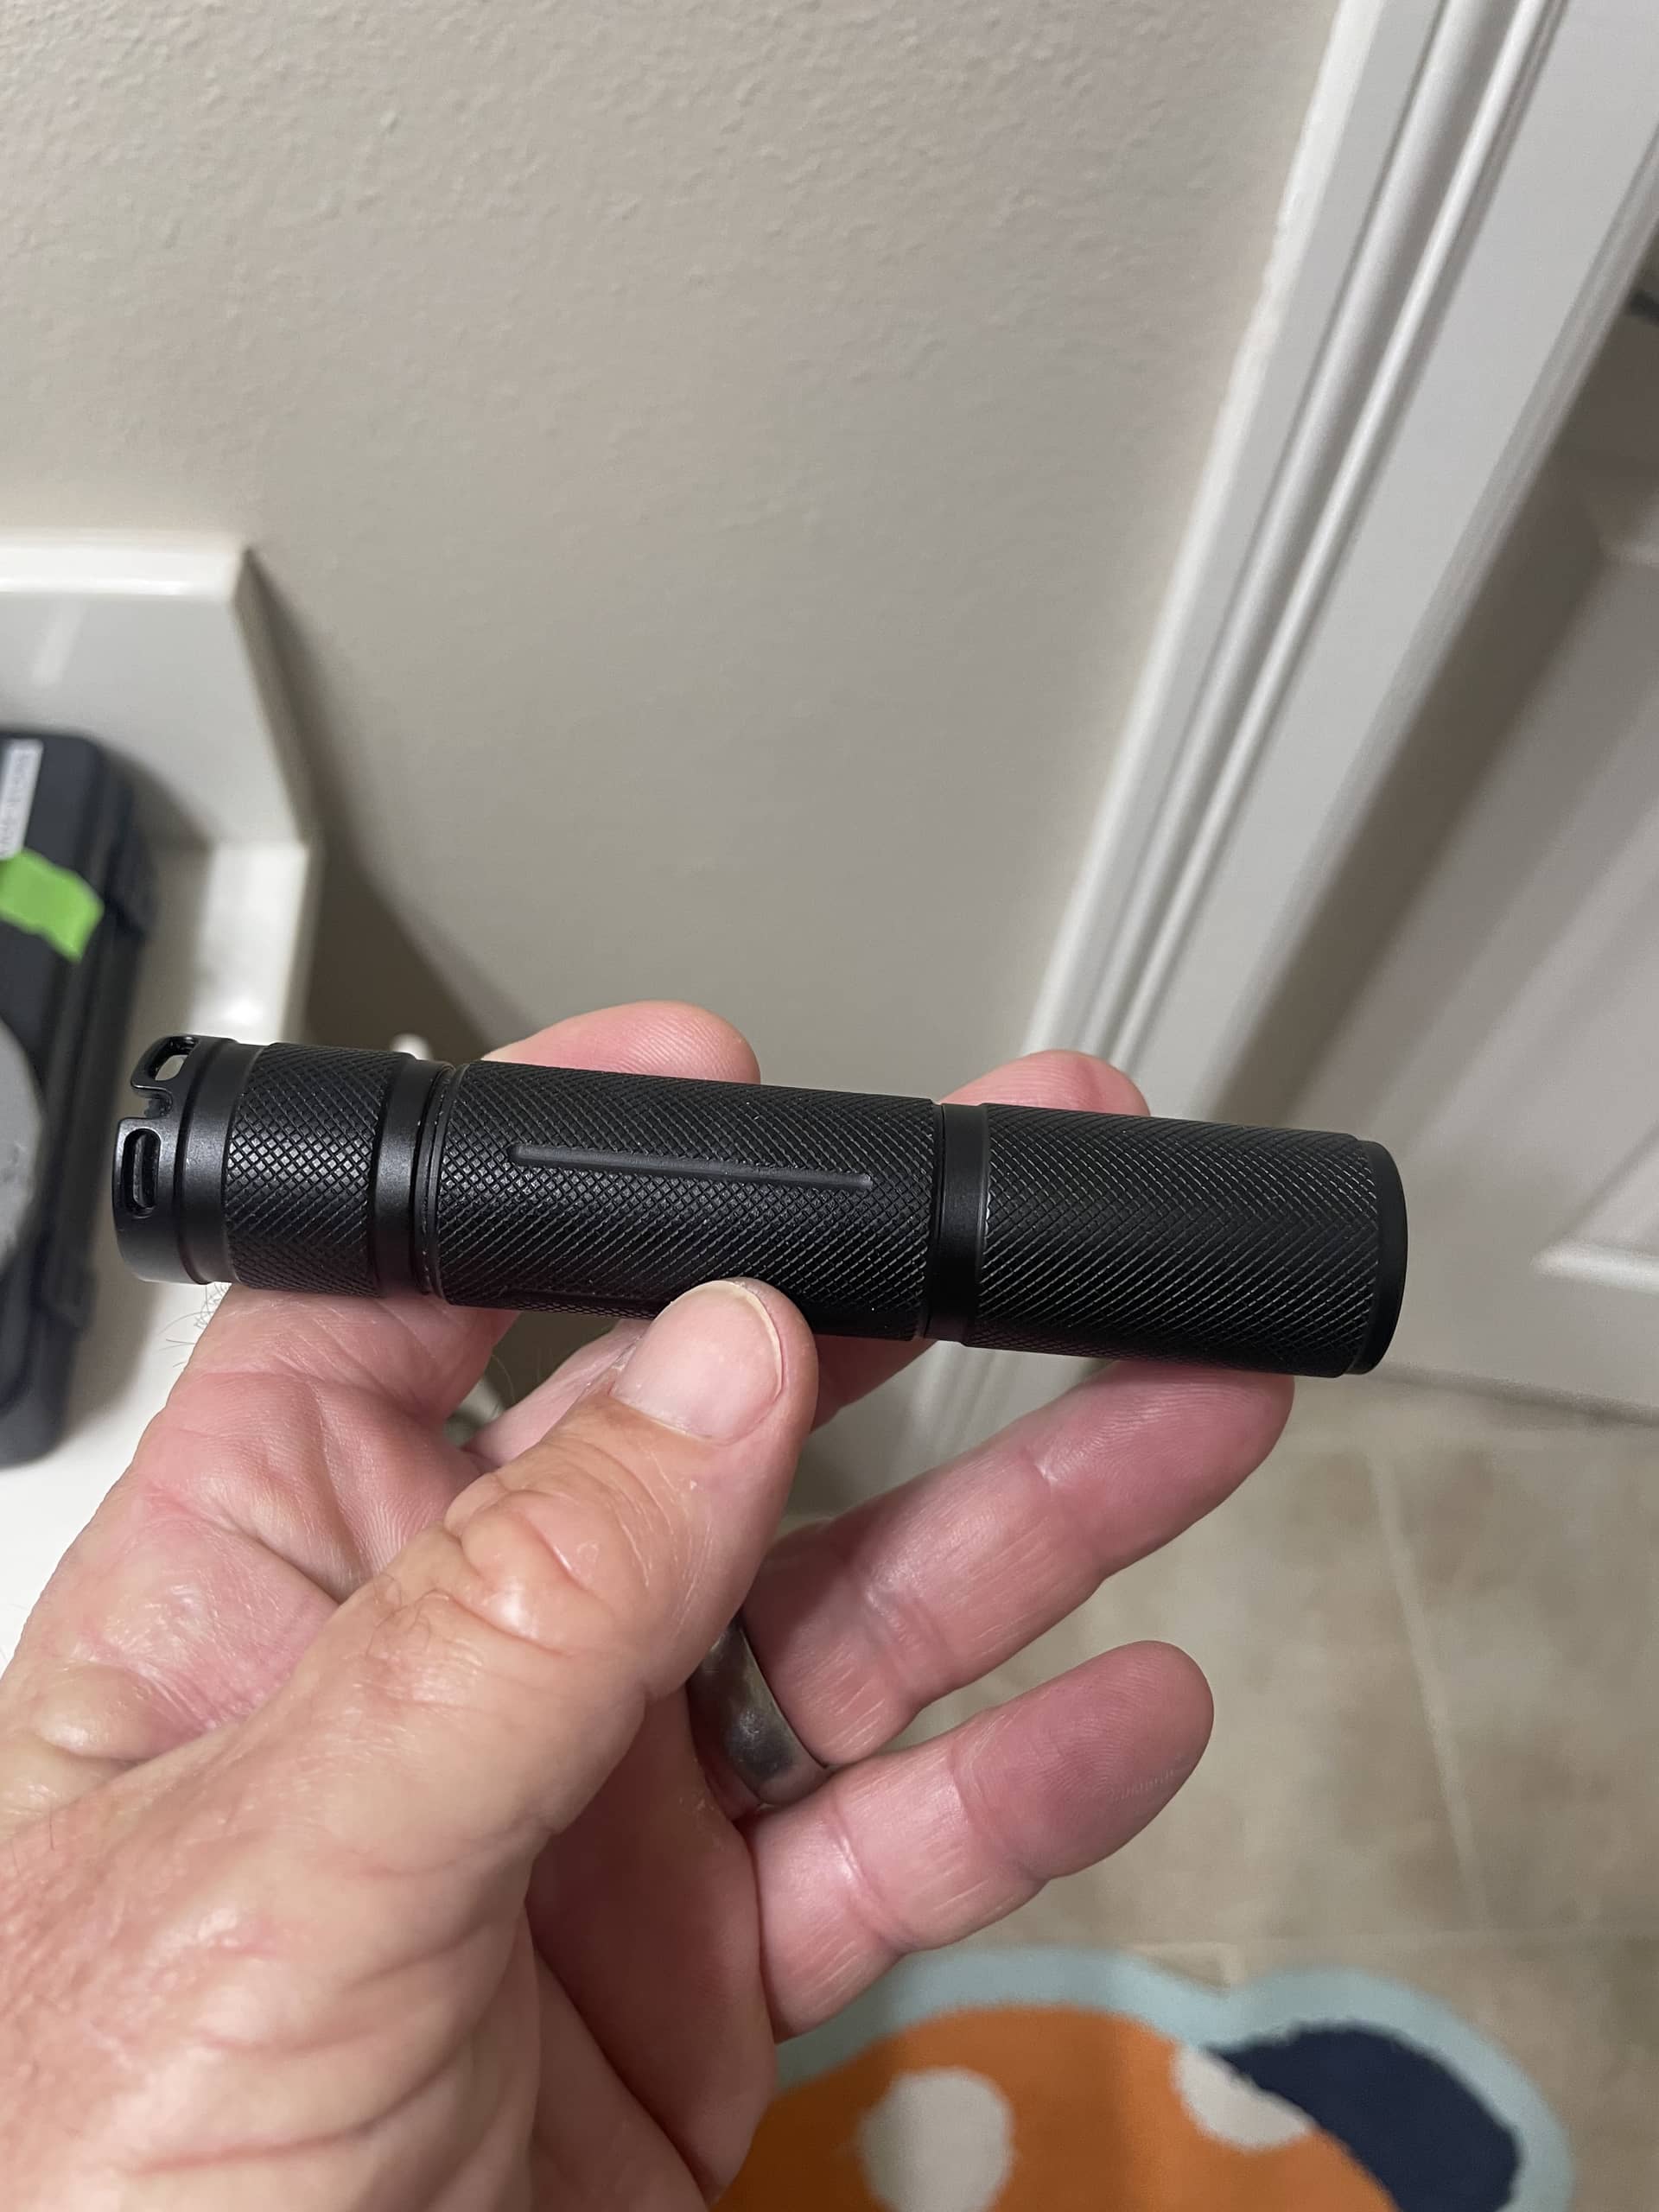
**Welp, I can safely say that NOW it is truly potted! The hotspot shrunk by 15ish% vs stock, BUT the hazing I put on the reflector negated any useful increase in throw. The spill is noticably brighter, with the throw being equivalent to the stock version. Based on headcannon, I believe that if I didn’t haze the reflector, and the kafuter was about 1mm less tall, the throw would increase by roughly 25% of what it is now, along with a lower CCT. It’s sitting around 3400k CCT right now, with a fair bit of yellowish undertone, very reminiscent of the 5mm yujis.
***Strangely enough, the smaller hotspot and increased spill actually makes this light BETTER for indoor navigation vs the floodier/brighter stock version. The more defined narrower spot is good for pointing, while the spill still illuminates the area without much glare. I’ll have to test outside, eventually.
Color wise, definitely! Beam pattern and overall beam distribution…maybe? I really regret hazing up the reflector, lol…so much light is being “caught” on it and diverted as spill…
On the plus side, I don’t mind treating it as a beater now, as even water ingress under the lens probably won’t make it to the emitter. I might run a thin bead of kafuter along the lip of the reflector as well, just to “fully” seal it, but I don’t think it’s necessary as the base of the reflector should already be sealed to the pcb and inner rim.
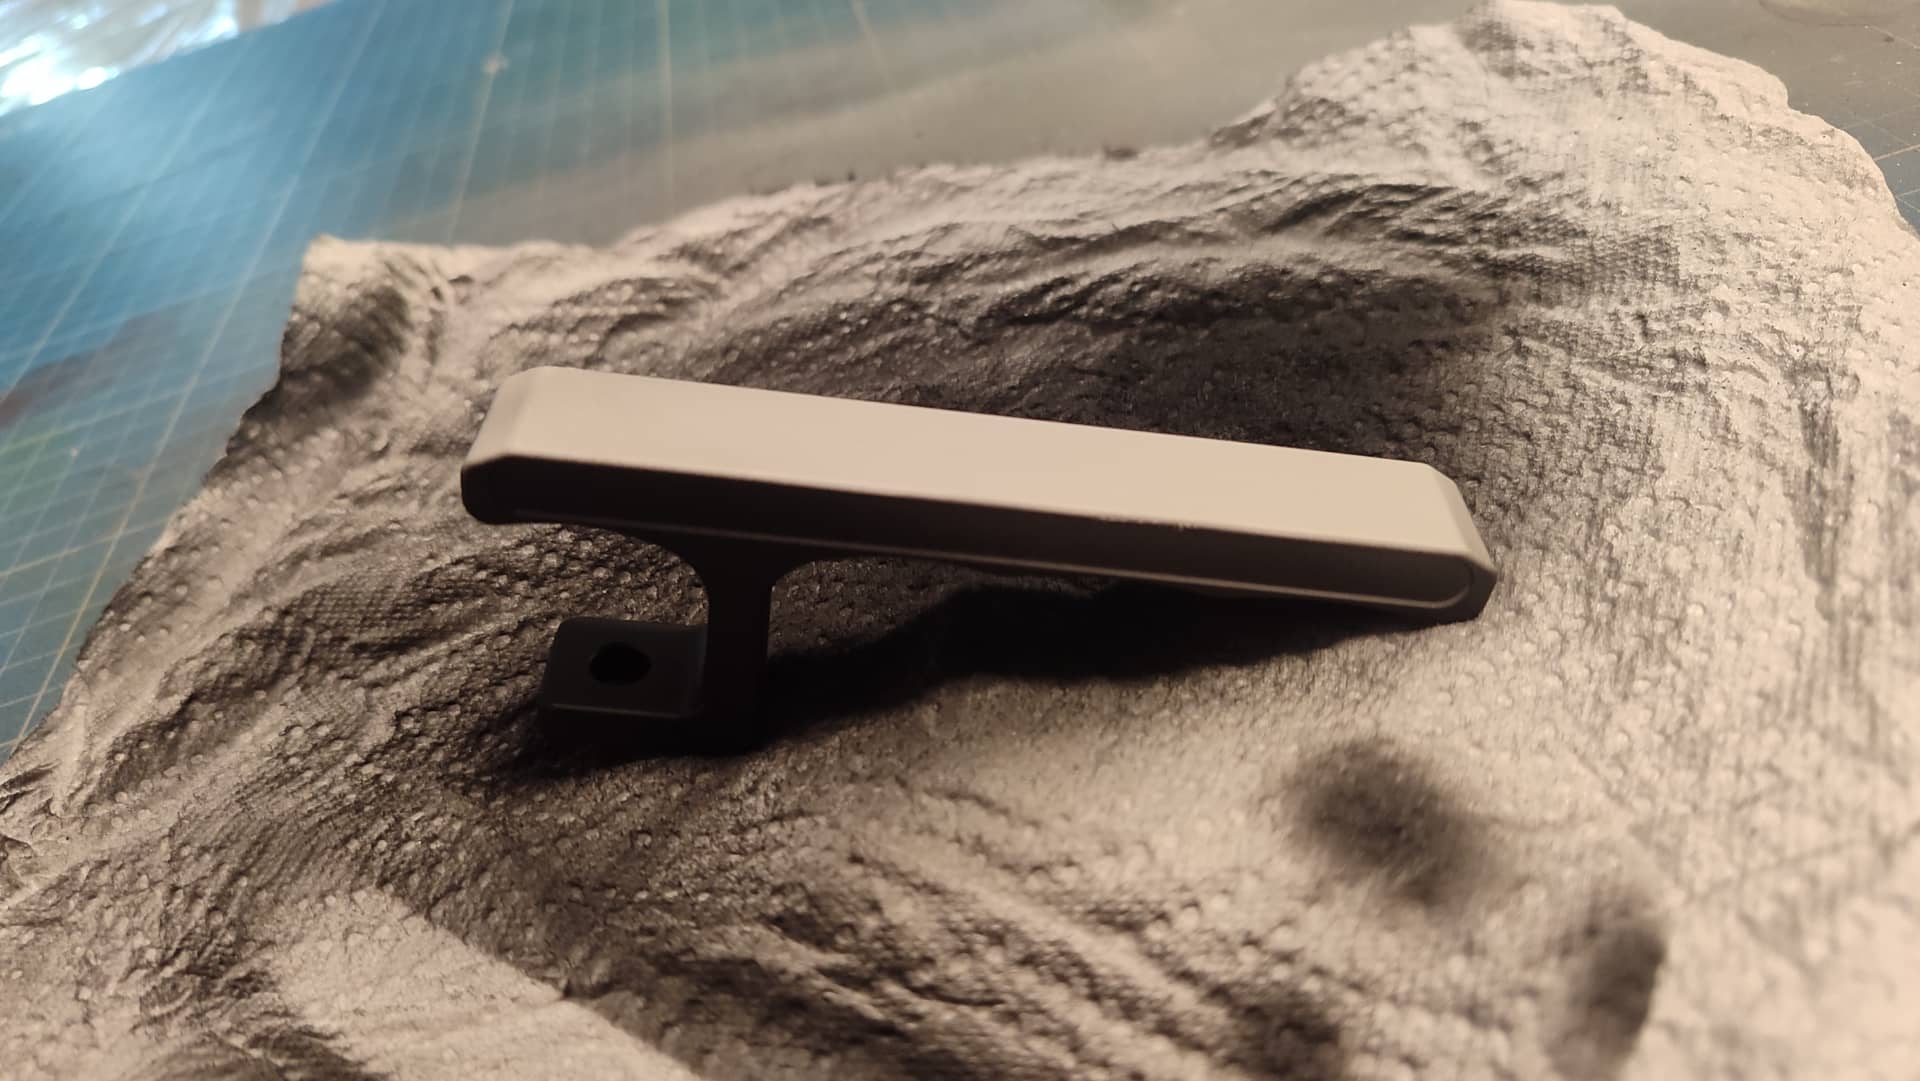
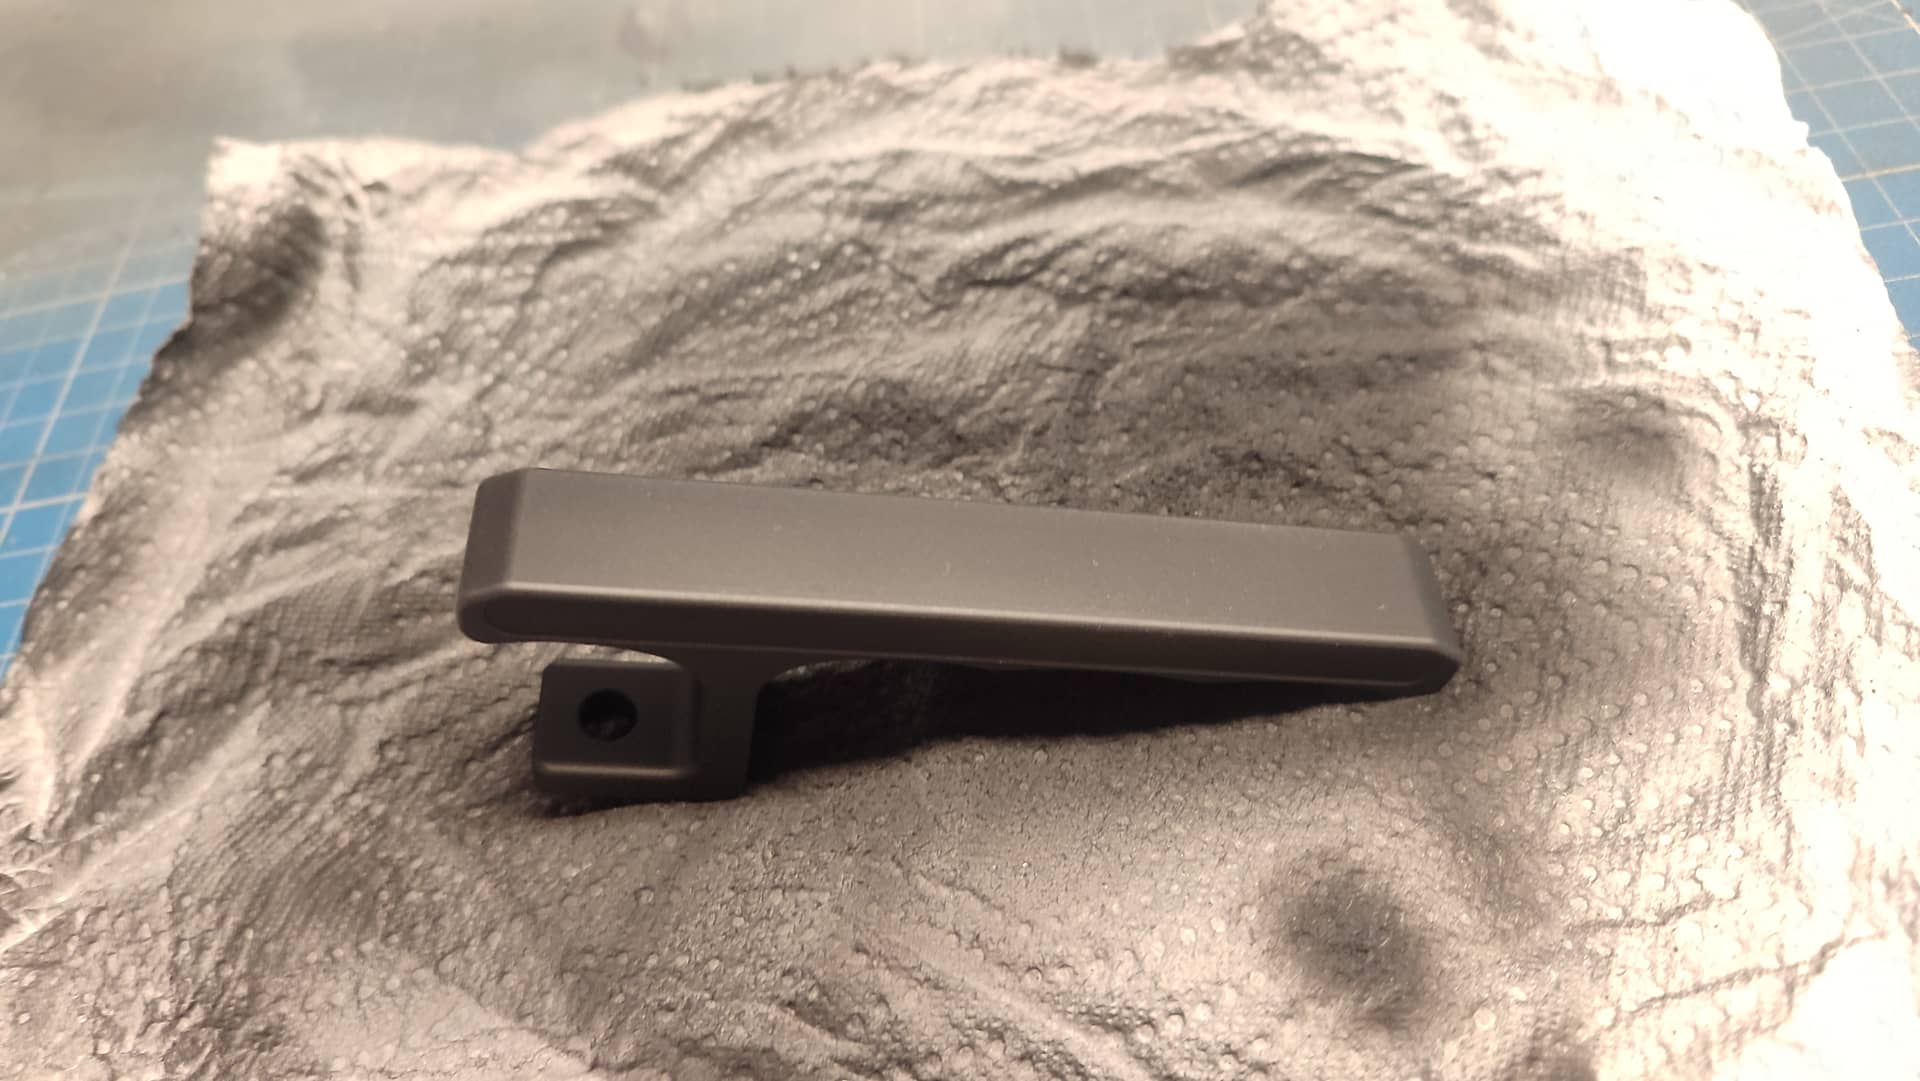




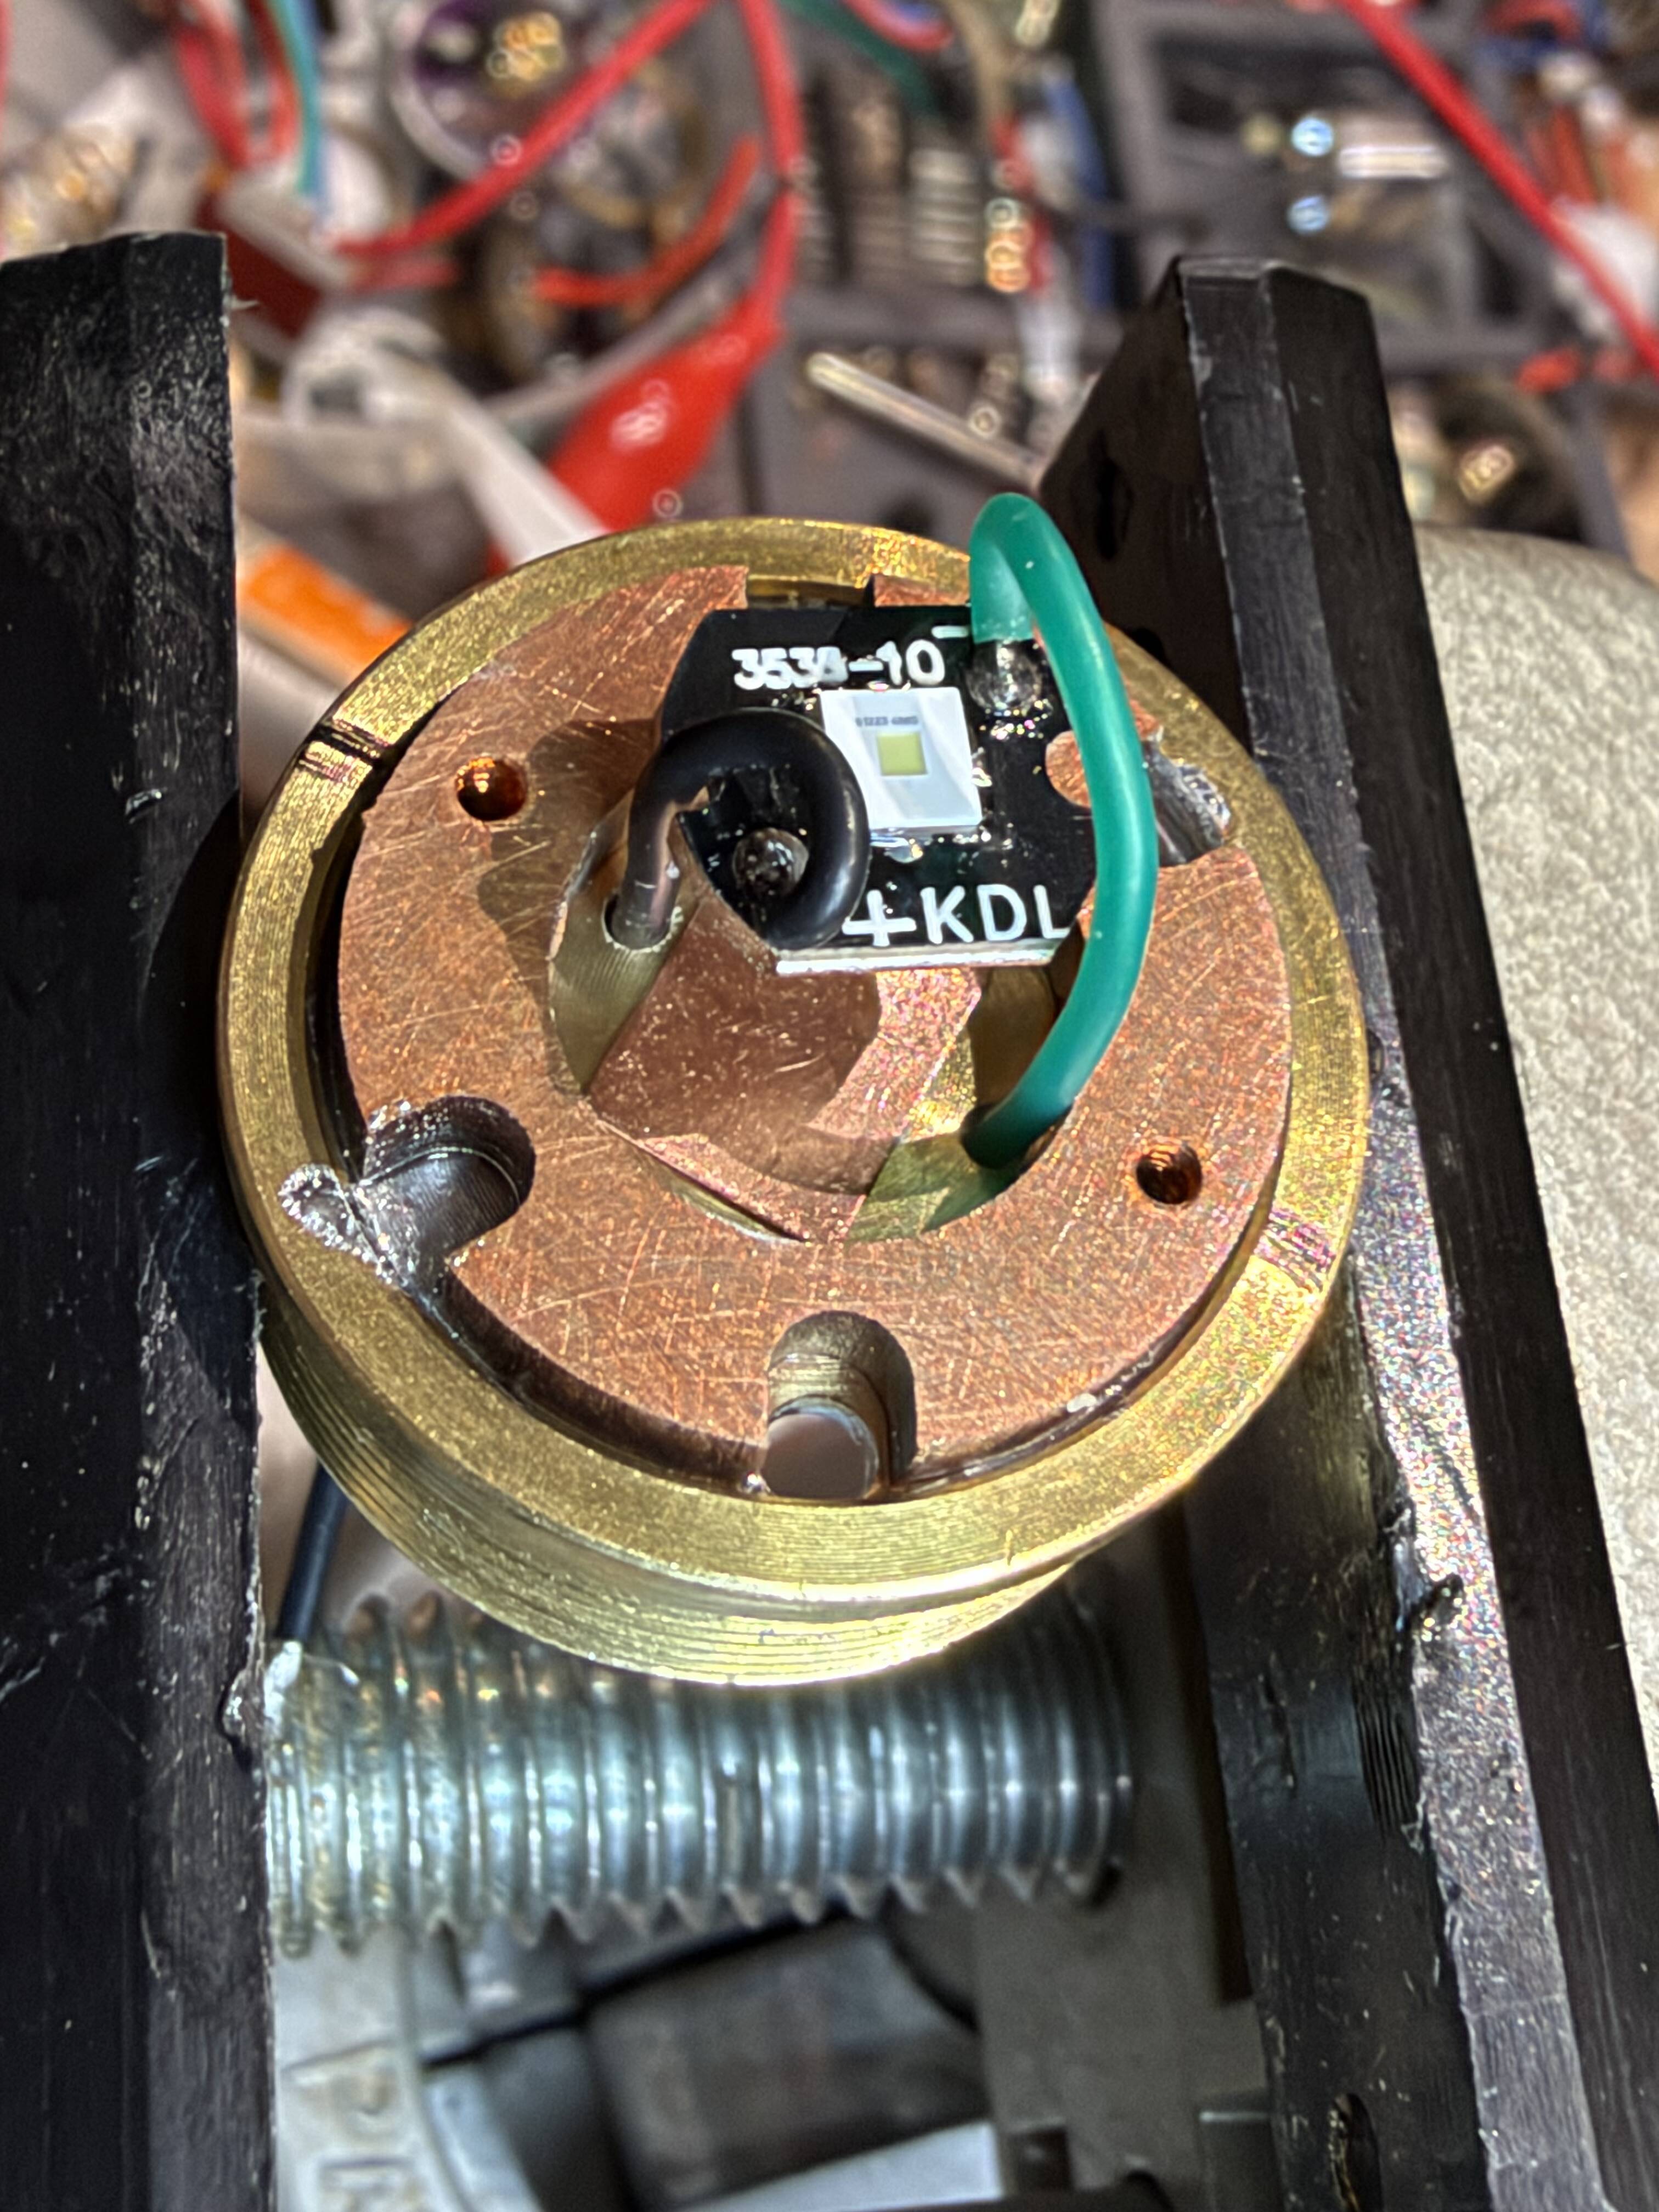
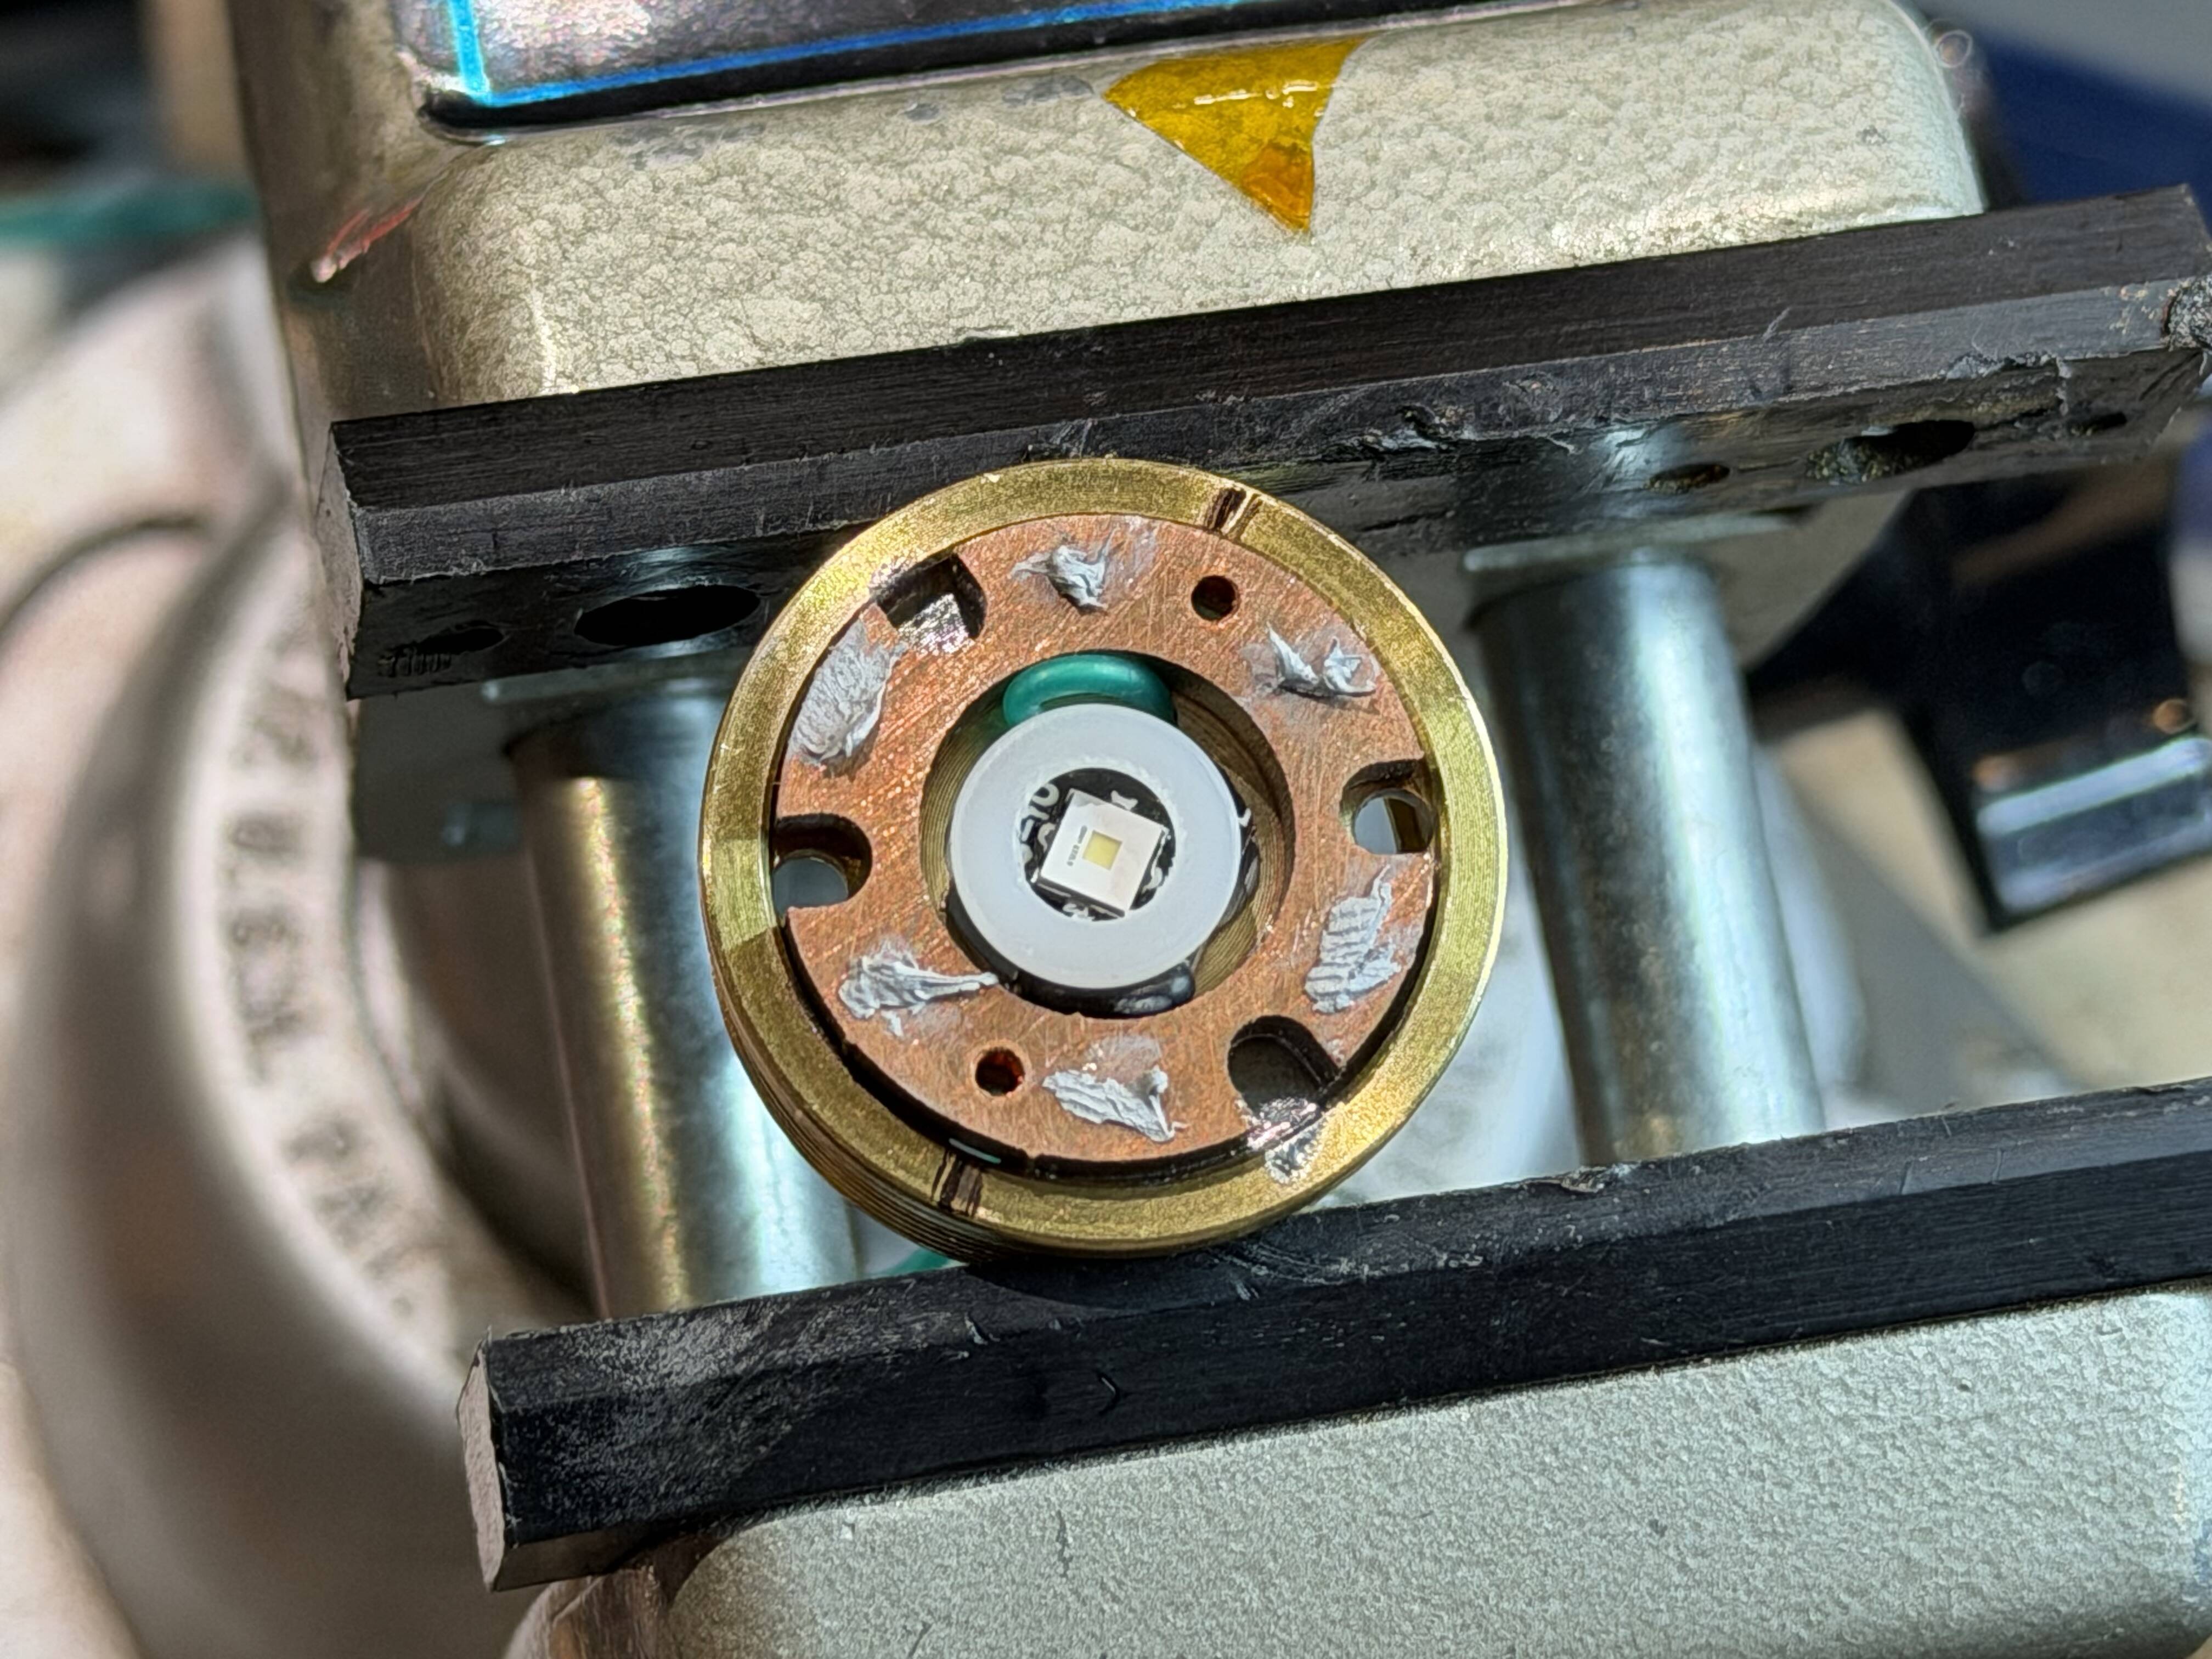
 )