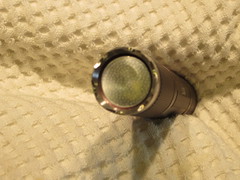
This time I did use the broiler, 20 minutes vs 1:45 in the oven. I must say this little project breathed some new life into my least liked flashlight, the Yezl Z1 - Poor finish, ringy beam, flickers, sometimes won't switch modes. So I figured it wouldn't be a great loss either way, plus I saw how edc's UF2100 (the Yezl's doppelganger) turned out and I liked it. And better pictures from my wife's new digital camera instead of the iPhone:
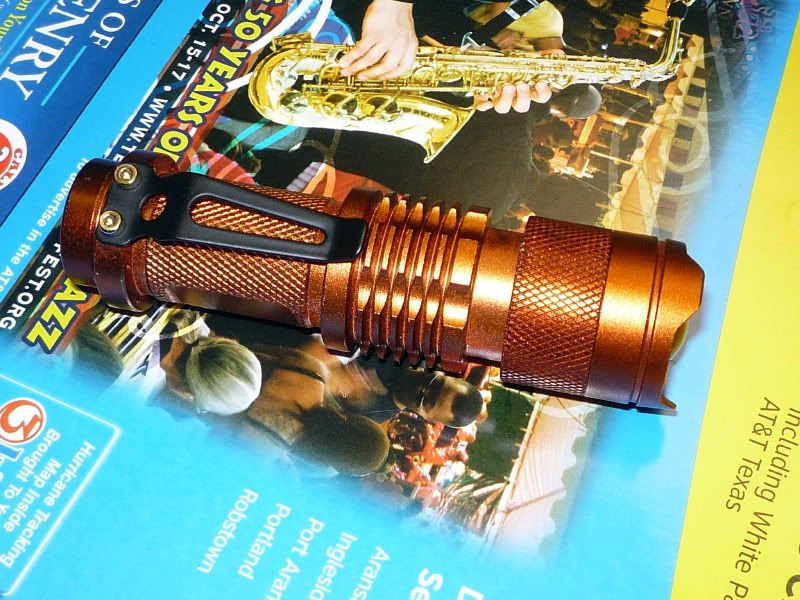
Color is really a cross between gun metal and antique bronze, depending on the light. While I had this thing apart, scrubbed everything clean, sprayed a bit of anti-corrosive lube spray into the switch, lubed the O-rings and threads, tightened everything down and added diffusion film to the lense (courtesy of Chicago-X):
I've always liked the size and form of the Yezl, now it looks nice and works nice too. No longer my least favorite, now middle of the pack.
You could do it over a gas stove too. It would only take minutes to do. Don't over cook it though. I haven't cooked my dqg yet. I am still trying to resist the temptation.
It's press fit. By pushing hard on the tailcap you might push the whole assmbly out. The boot will be severely damaged (could use a better color boot anyway) and maybe the switch too. You will probably need to glue it back in after cooking.
Just had to do one more... I put it in the electric toaster oven with a pad of foil under all parts and BROIL for 25-30 minutes. Put parts as close to top elements as you can.
I did tractor supply 3xD zoomie w/ torch and it came out GOLD (was orange but changed fast, too much heat)- terrible, I hate it. I think it will get stripped...
I took the clip off the sipik68...didn't bake the tail and couldn't get the lens out of the bezel so it's black for and aft with a black clip ..I think it's balanced better with touches of black all over it rather than just the tail and clip black ..i like it better than stock :P :)
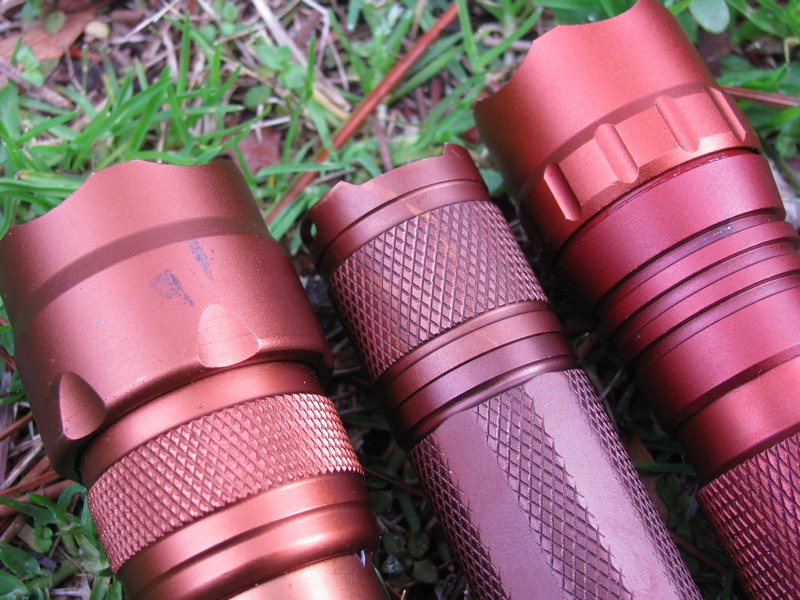
Well, I finally read this thread and had to give this a shot. I tried the Uniquefire 2100 from Dino Direct, a Ultrafire 502B from T Mart, and the fourth is a 501B that I was never crazy about. The third light is an unbaked 502B to show as a comparison. Got three totally different colors, though they could all be considered different shades of copper. I'll replace this with a better picture at some point, but I wanted to share. They were still warm when I took this.
Later on I took this picture of the group:
These are cheap lights, even among budget lights, and a few flaws showed up that were probably always there but were harder to see before:
The 501B and 502B were not favorites of mine, but I think they are much improved with their new colors. I never thought the 501B was a good looking light, but the lighter color shows off some of the design details and it looks a lot better now. The 2100 is one I liked already, but I really like the chocolate or espresso tint that it has now.
One of the easiest mods ever. You do have to be able to take the light completely apart and put it back together, but that's about it. I screwed the pieces back together before baking and kept checking on them every few minutes. The 501B baked the longest, at maybe 45 minutes, then the 502B was about 30 minutes and the 2100 was about 20. But after a certain point I don't think they were changing any more.
What is great about it is that it works best with budget lights. And if you have a bunch of lights already sitting around, mostly all in black, then this is a great way to get a little diversity in the colors without even having to buy anything. BLF rules!