I got off to a late start this year, what with Jack, along with half of the parts I ordered for the build, going MIA.
The missing parts were one thing, but I've only myself to blame for Jack's absence. He'd made off in last year's build, with a bag of loot, & plans for a peaceful retirement...
After some good times & bad decisions, Jack ended up getting stranded in a remote area, with just a few bucks to his name. Eventually, all that really mattered to him was his military training, & primal instinct for survival. He needed just the basics - light, fire, & shelter.
I'm going to try & make a replica of what got him through the tough times, & allowed him to survive the elements in comfort for the past year or so.
Also, I want the build to be useable & practical, so people other than small dolls (sorry Jack) can take it camping, etc.
Jack's Survival Shack
(2018 BLF DIY contest - aka, the year of the lantern)
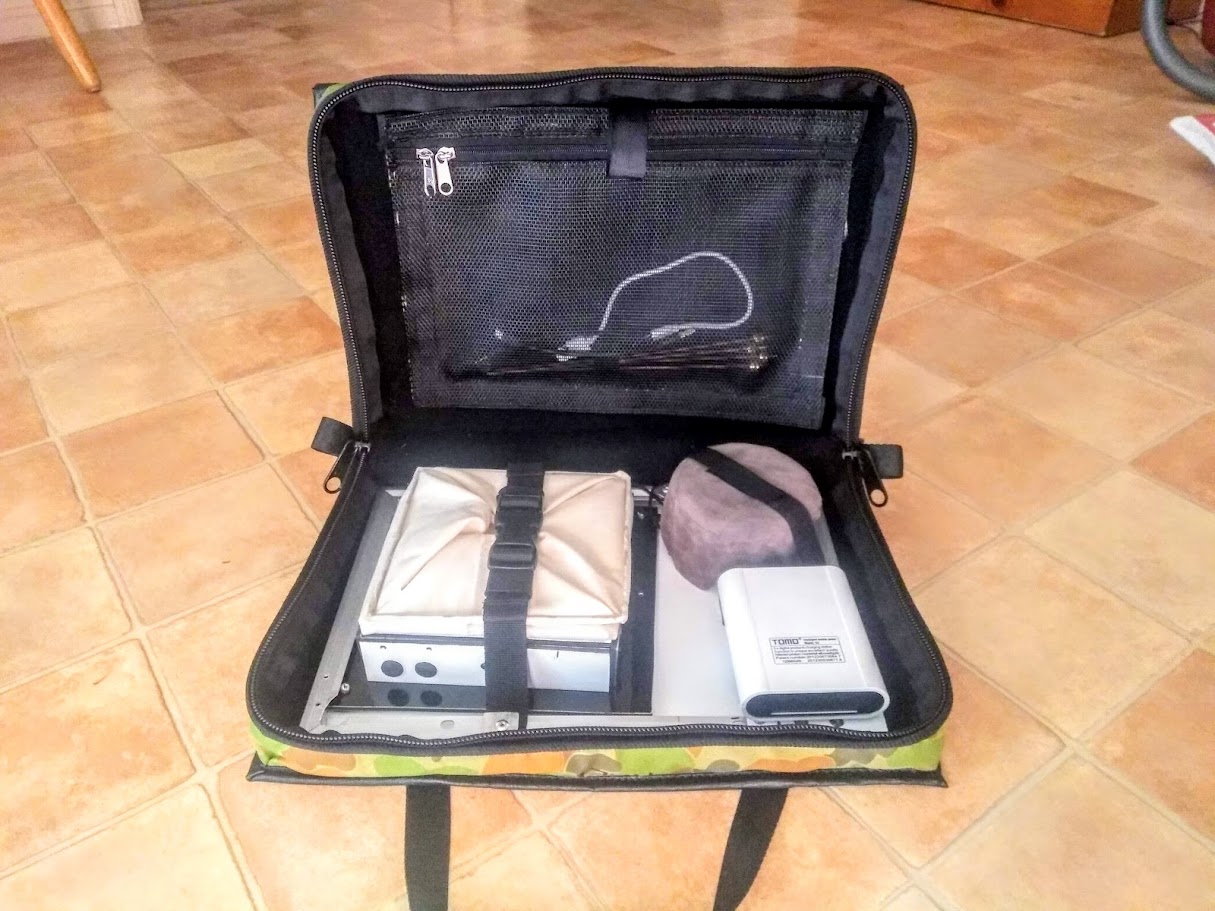
The backbone of the build (& the roof of the Survival Shack) is comprised of a solar panel measuring about 240*340mm, which will be supplying the power to several outlets in the Shack. I've never played with solar before, but was able to get a little info from a thread here at BLF to point me in the right direction (I think!).
I started out with the panel, & a rough layout of some of the components;

I got a hold of some nice composite sheeting off-cuts from work, which is basically a sandwich of two thin aluminium sheets with a plastic center. It's light, strong, & easy to work with. In fact, so easy, Jack was able to start cutting out pieces before I knew it...
The first job was to start work on the Lantern head, which will be detachable from the shack;

The Lantern head will have 9* Nichia 219A's, which should give a nice warm light. The 219's were flowed onto 20mm stars, which will each be attached by machine screws to the faceplate. Fortunately, the composite sheet allows me to self-tap the screws in, so I didn't have to thread 18 mounting holes....

The lantern head will house the cells & electronics; at this point, I have attached four 18650 cell holders to the backside of the faceplate. I'll come back to the electronics & wiring later in the build.
A slightly larger square of the composite was cut out, which will form the top of the lantern head assembly. I didn't have any C channel handy, so I made some C shape brackets out of some flat stock, which were then drilled & tapped, so as to attach the face & head plates.

With the two main plates attached, a set of small side plates were also cut out, & the brackets were drilled & tapped. At this point, it would have been smart to mark all of these pieces, but unlike Don's build, Jack just decided to take apart everything & dump it in a pile.... So I had a Rubik's cube on my hands, trying to align all of the brackets & holes again...