I think you are referring to the SP33 now, since you cant really remove the reflector of the SP36 without damaging it, since it is screwed from below.
THIS was how you opened the SP36
Nope not really much force was needed, nor did I use any heat….
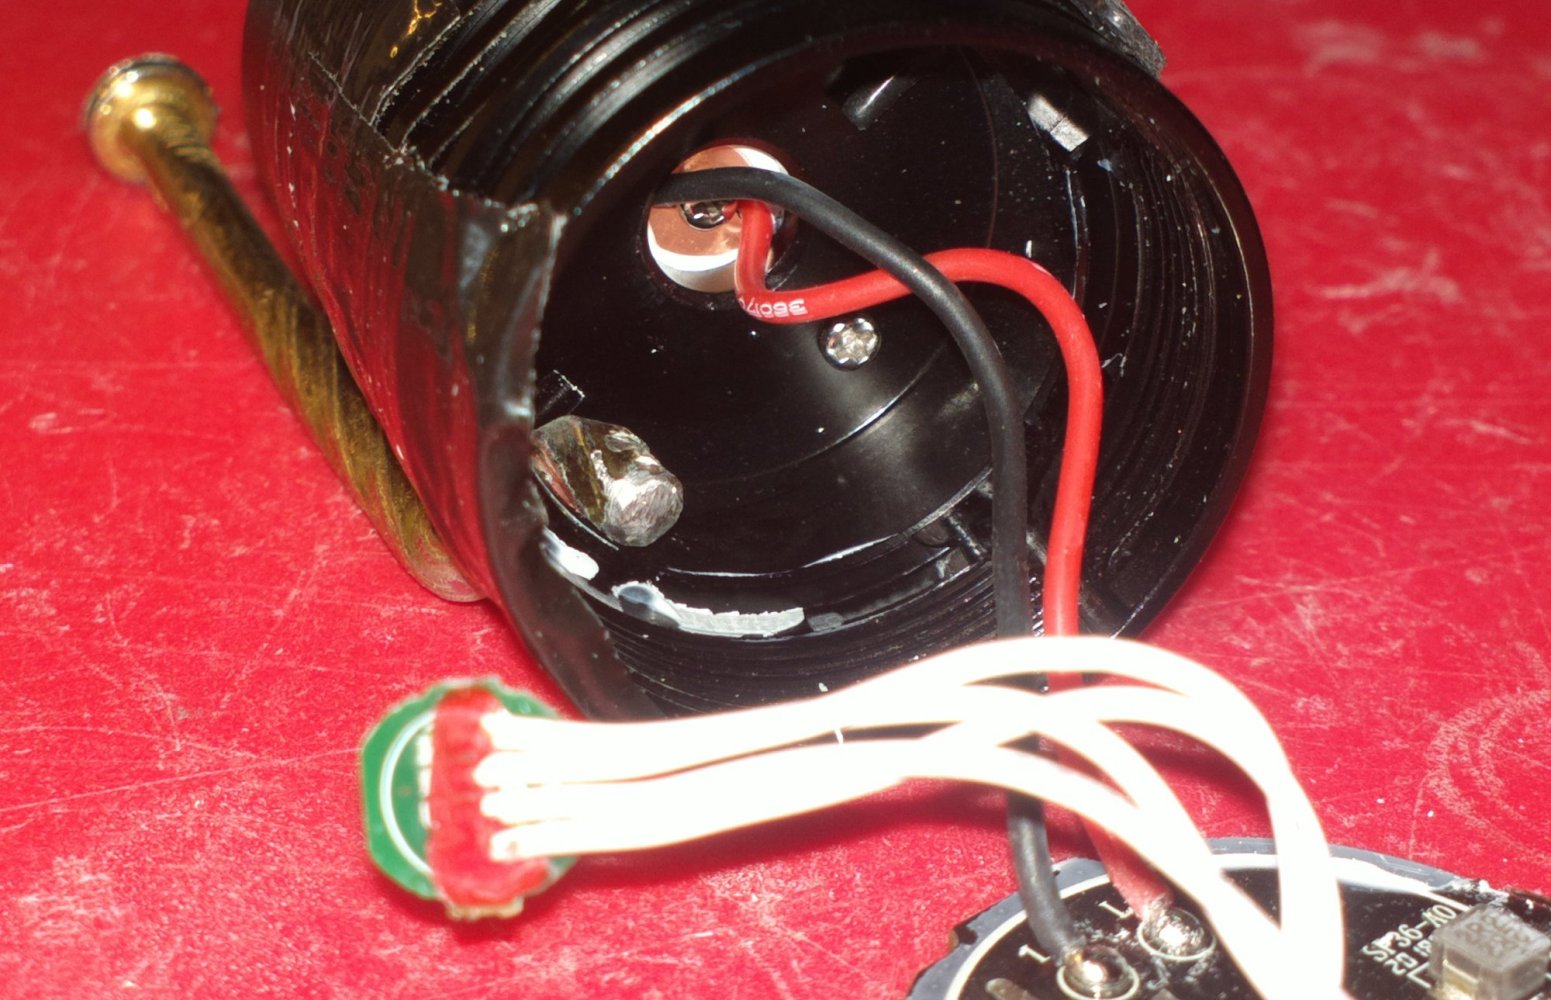
I removed the switch and pressed directly down as close to the driver ring as I could get, if you look between L- and L+ you can see the copper shinning thru the masking where the pick made contact. It didn’t take what I would call excessive force, even though I was pumped up for a fight!
First I pressed slow and steady I heard a faint pop, then during the second press it popped out cleanly. Lucky the driver wasn’t glued and then press fit, witnessed by the glue around the outside edge on the driver board, so initially the driver had to be kind of sloppy/loose to the diameter of the driver pocket. The glue couldn’t penetrate the ano and the single point of pressure peeled the two surfaces away from each other.
I thought about taking one of my long punches and striking it with my small brass hammer, but the angle was to drastic and didn’t want to take a chance of knocking something off the board, ripping the contacts off the board along with what ever SMD got ripped off and launched…I thought it thru and decided, it wasn’t an option after all.

You can see around the drivers face what glue was left behind on the driver shelf, it flicked off with out much resistance also. I have had better battles with pressed in drivers then what this one gave me really, I was totally surprised, shocked, ecstatic and relieved at how easy it was to be honest.
Kawi, Similar set sold at Harbor Freight for $1.99
Check them out, hopefully, maybe, if your lucky, they are not soft, you don’t want them to bend, the good ones are Hardened, you have to use a diamond hone, finishing stone, grinder or sander disc/belt to sharpen them, a file will not do it effectively. The Craftsmen picks I have are old and are the hardened type, so I can use them as scribes to do layouts, quite happy with them all these 20+ years….that ad was just to give a visual of the set I have. So check them out and report back it’s only $2.00 bucks! ![]()
I have tried it similar but without a result. Which tool did you use to get the driver out? Can you make a picture?
I am thinking about bending a nail to use a hammer and the nail throu the switch hole.
Thanks, I knew your way. But this is too risky for me.
I wanted to ask Kawiboy, but I made it not very clear.
Now I did a second test with good result:
I used a nail and the driver popped out after the first hammering.
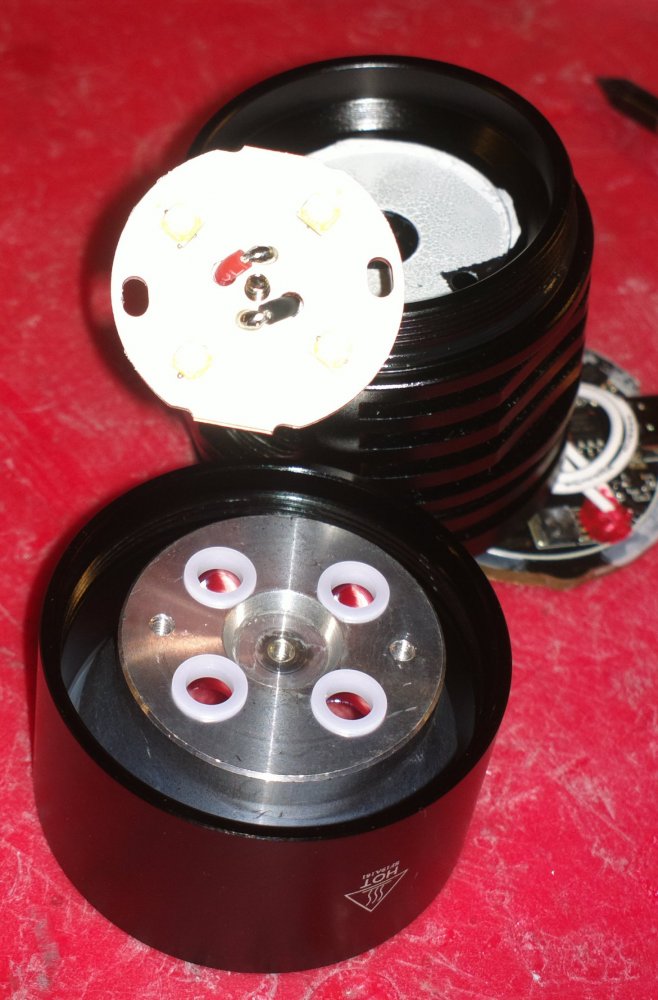
Teaser Picture:
”
It seems like it should also be possible to pull the driver out by putting a hook through the two middle holes in the driver and pulling, but I haven’t gotten that to work. Nothing thin enough to fit through those holes seems to be strong enough to work.
Yes I was thinking about this too. And I had the same problems like you, finding something for this job.
It have to be strong enough and deep enough.
The Driver is 2.5mm thick and the holes have a diameter of 0.8mm.
Perhaps it is possible to drill the holes a bit bigger. It seems that this holes are no vias. One is in the LED+/Bat+ area next to many vias and the other is at the LED- area next to the AMC7135.
From the “What did you mod today”-thread:
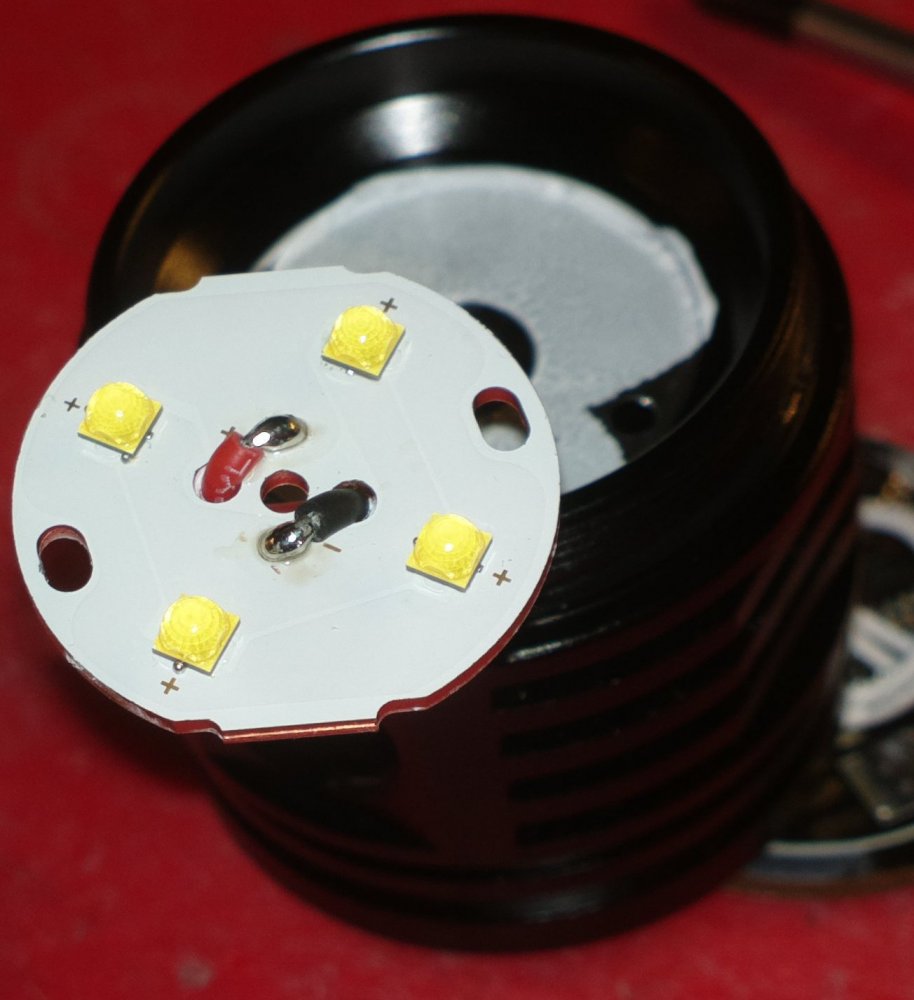
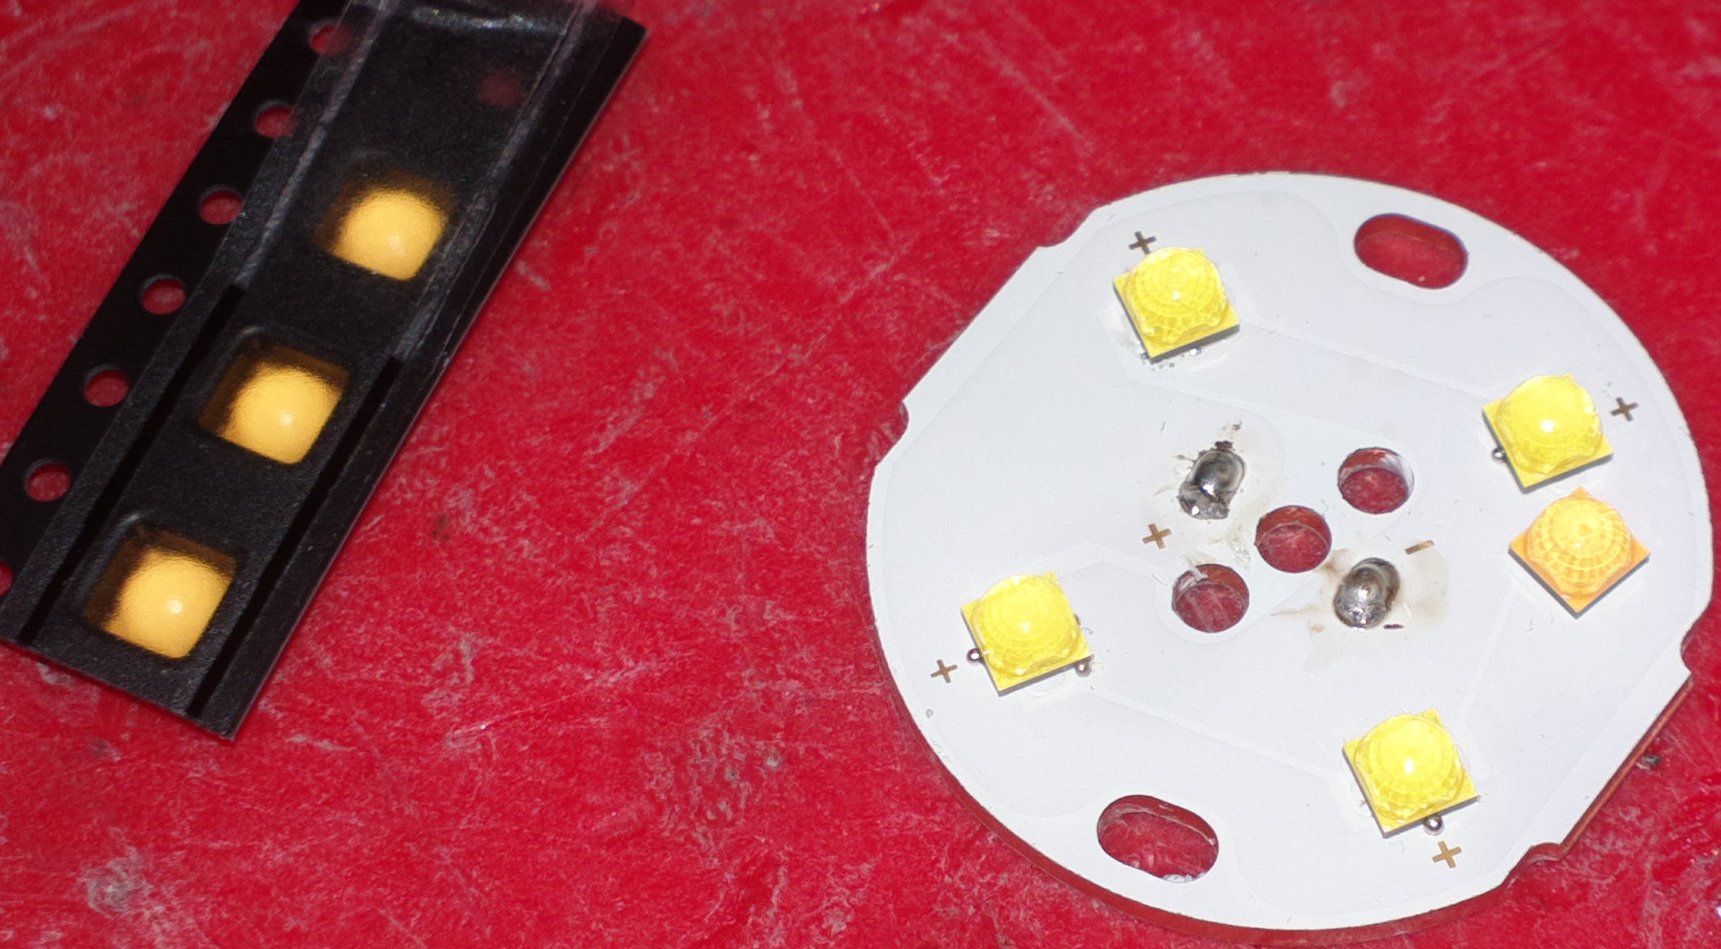
Changed the LEDs in my Sofirn SP36 to XP-L2 4000K 90CRI with perfect color rendering.
Lumenmeasurement with Sony VTC6 at startup:
- Before: 6350 Lumen
- bridged springs with AWG20: 6950 Lumen
- new XP-L2’s: 5950 Lumen

More pictures: Sofirn SP36 - "BLF Q8 Mini" | Taschenlampen Forum
There is in plain a 3x led Warm version without usb charging port?
guys, sofirn shoot a video to show how to set step down time of SP36 NarsilM, please help check if it's correct.
It's too complex to me.....

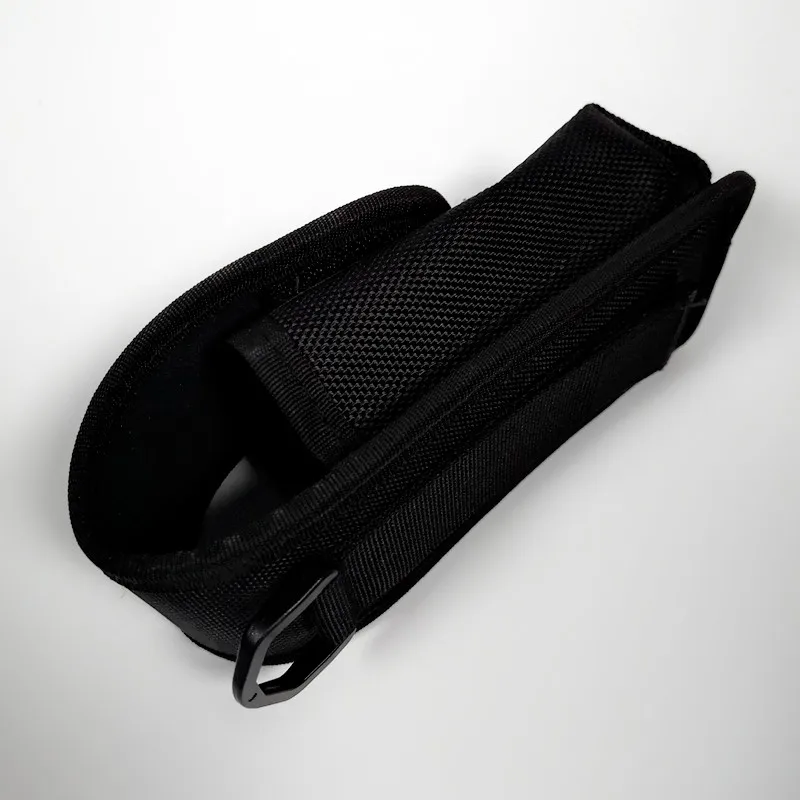
SP36 holster
I bought this holster from the Sofirn Aliex store (large size) as recommended for the SP36. It is made of thick material (nylon I believe) and has a velcro belt strap that is easy to use and stays attached well when walking. A plastic d-ring is also included with the large version, I have not used this yet but is appears strong and well shaped.
The SP36 fits well in the holster and the cover flap closes snugly with strong velcro. I like that you can insert the light either direction depending on preference and still have a secure fit.
I usually store my SP36 in the holster and if I need to bring it somewhere I feel comfortable putting it in a center console or glove box and the holster is thick enough to prevent and scratches or damage.
For $4.56 and free shipping I am happy with it.
Please made a 3x Led High-Cri Warmer version without usb-c
Maybe the Lumintop FW3A would be the right thing for you. ![]()
Seems OK for me
Well, he is in RAMPING mode (that’s important to get the right setting table)
- hold the switch to go into settings. Here 4sec. (On lamps from Texas Ace you must hold 16sec)
- Wait till the lamp does a doubleblink followed by 3 blinks. That is the stepdown menue.
2.1 klick 3 times to choose timed stepdown
2.1.1 in timed stepdown the lamp waits for clicks. I think he clicked 2 or 3 times to set it for 1,5min or 2min stepdown - the lamp blinks menu #4 = strobe settings. Here he does nothing.
- The lamp does 4 quick blinks to signal configuration is done.
But I dont know what he is saying.
What is the problem to understand, Barry?
It is basically walk through this table.
It helps when you have the table in front of you when you try to set up sth. Or you write down the exact click sequence before you try.

Why only 3 LEDs?
Do you know this version? Sofirn SP36 BLF 4x Sumsung LH531D 5650LM Anduril-Taschenlampen-Treiber Leistungsstarker LED Sale - Banggood Deutschland sold out-arrival notice-arrival notice
I think I know the trick, I counted all the blinks not the “2 short blinks+1 long blink” because my mind become slow when I count how many blinks after the 2 short blinks.
I think it’s better to count all the blinks for me. (2+1)3 blinks for ramping; (2+2)4 blinks for “set moonlight level”; (2+3)5 blinks for “timed stepdown”…… correct?
Thanks,but still too cool white.
And don’t need charging port
This light iswaterproof like the Q8?
That’s how I count it too. The two blinks at the beginning make it look to me like it goes 3, 4, 5 instead of 1, 2, 3. So it’s easier for me if I add 2 to everything.