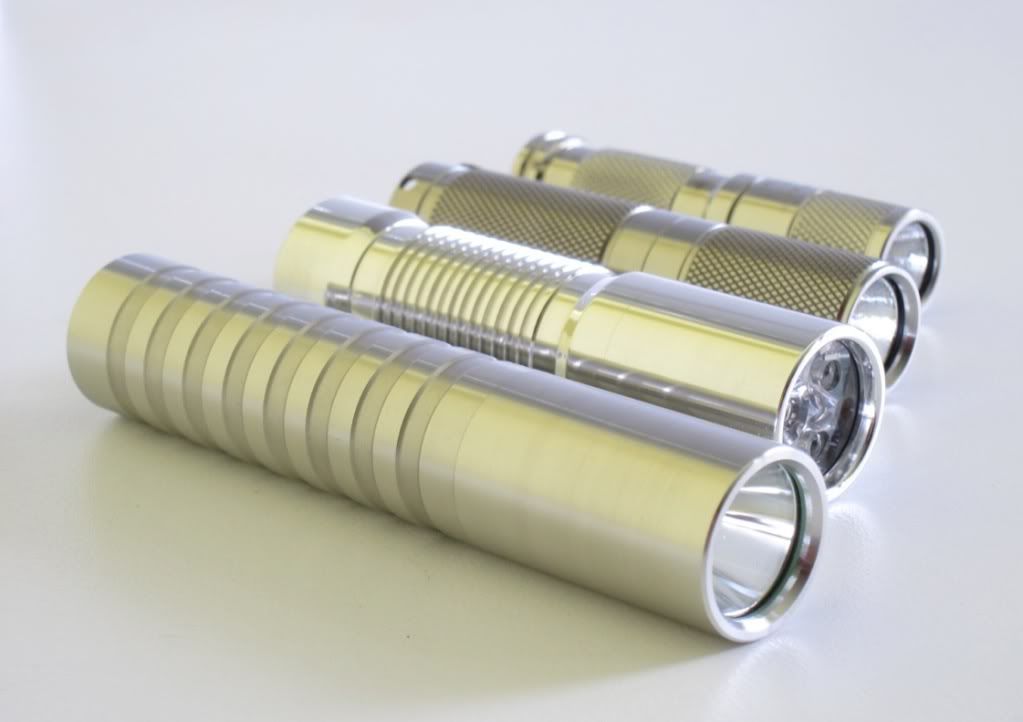
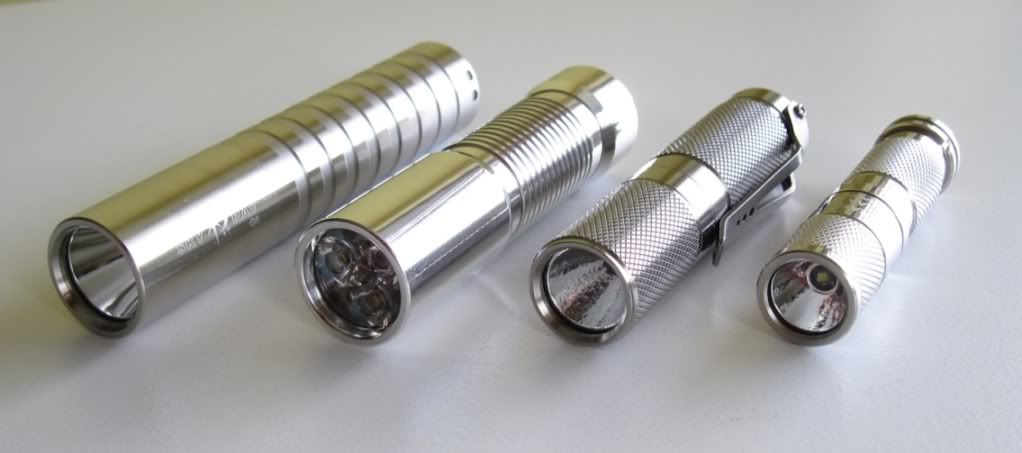
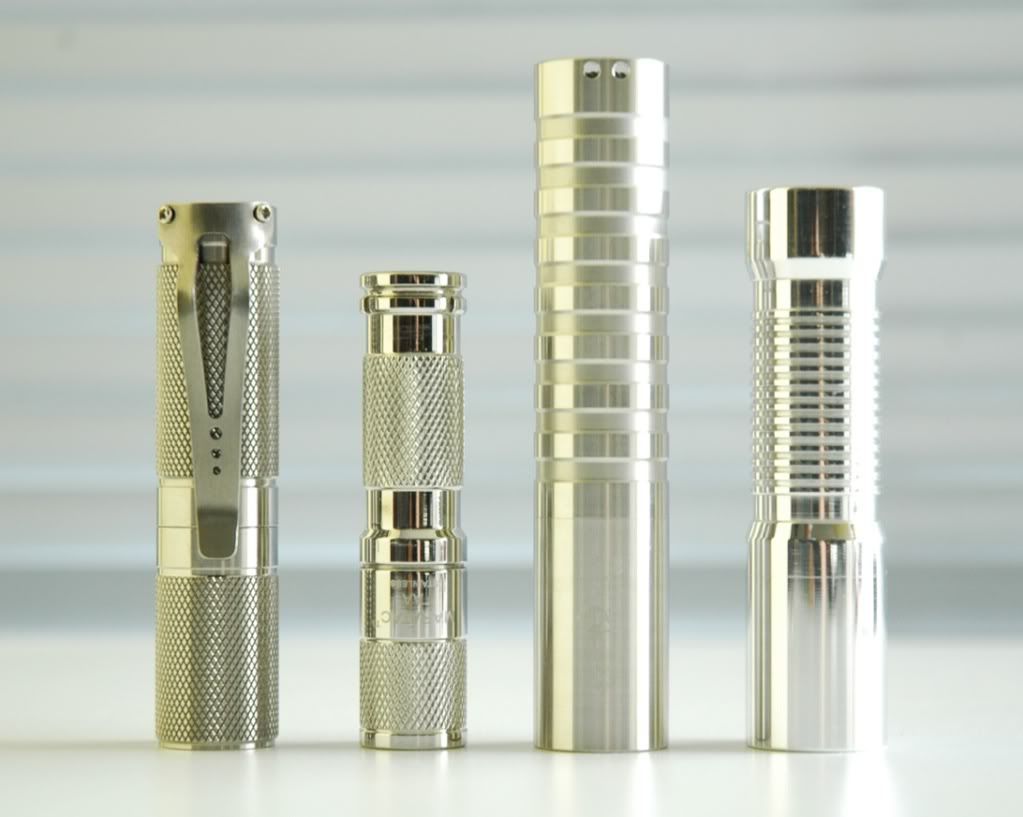
This is an amazing flashlight. In the past, one could only dream of so much light in such a nice compact host.
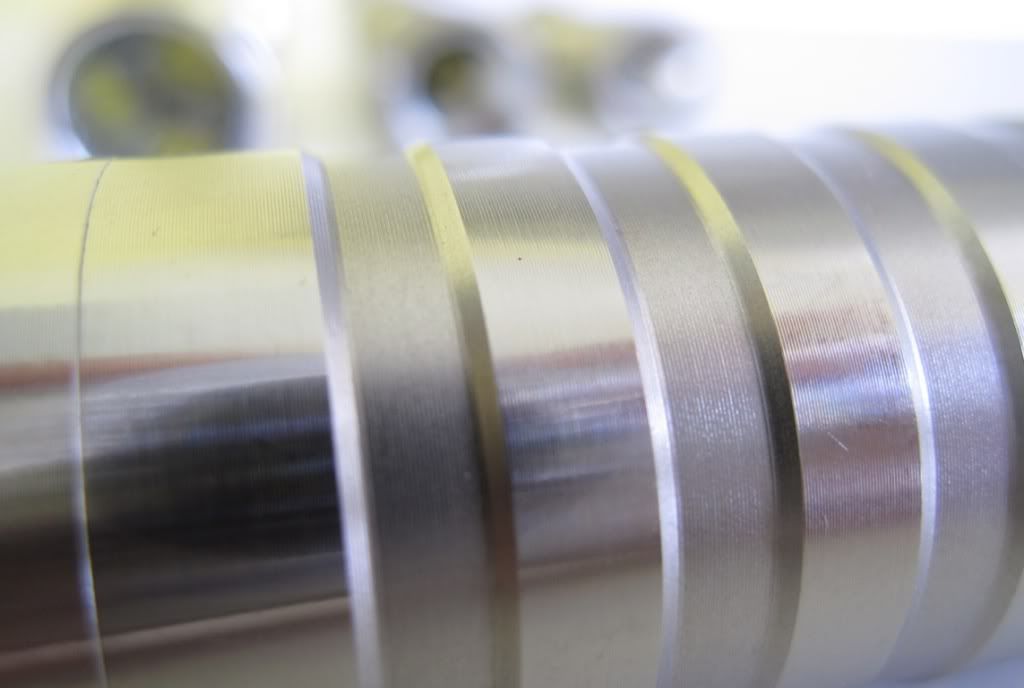
This one deserves a glamor shot:

We begin the tour with a the tailcap tear-down. We have a switch module, a standard 14mm switch-rubber, and the typical lock-ring, although installed form the outside of the light as there is no tailcap present.
Tailcap parts:
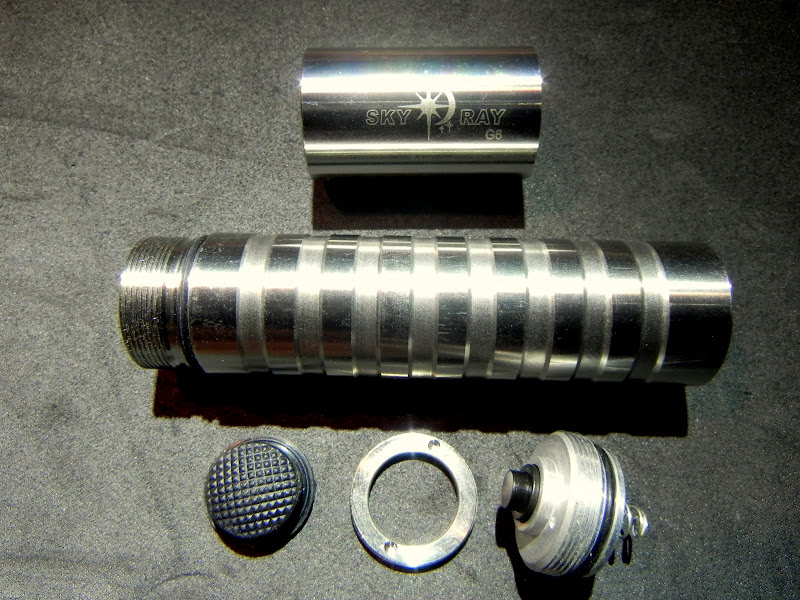
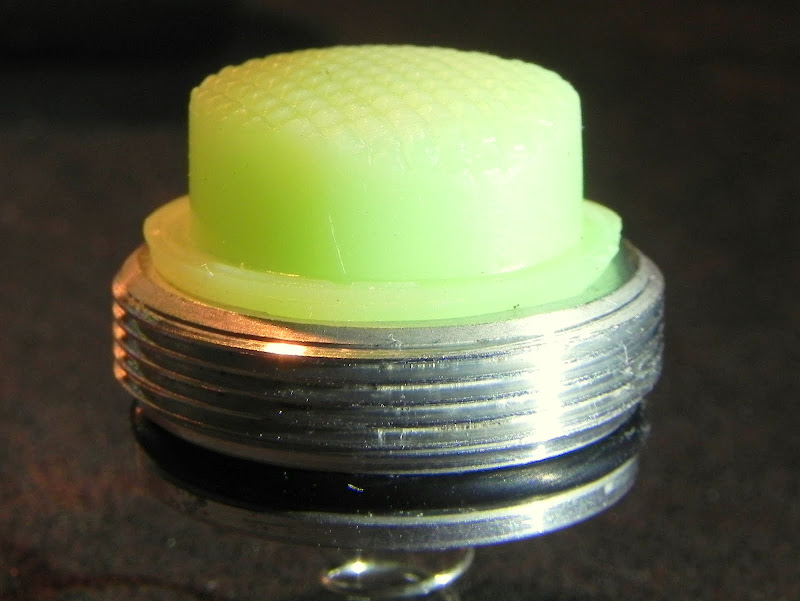
The switch rubber is a little taller than most tailcap rubbers. Also notice the shallow drilled holes in the lock-ring.
Switch rubber and lock-ring:

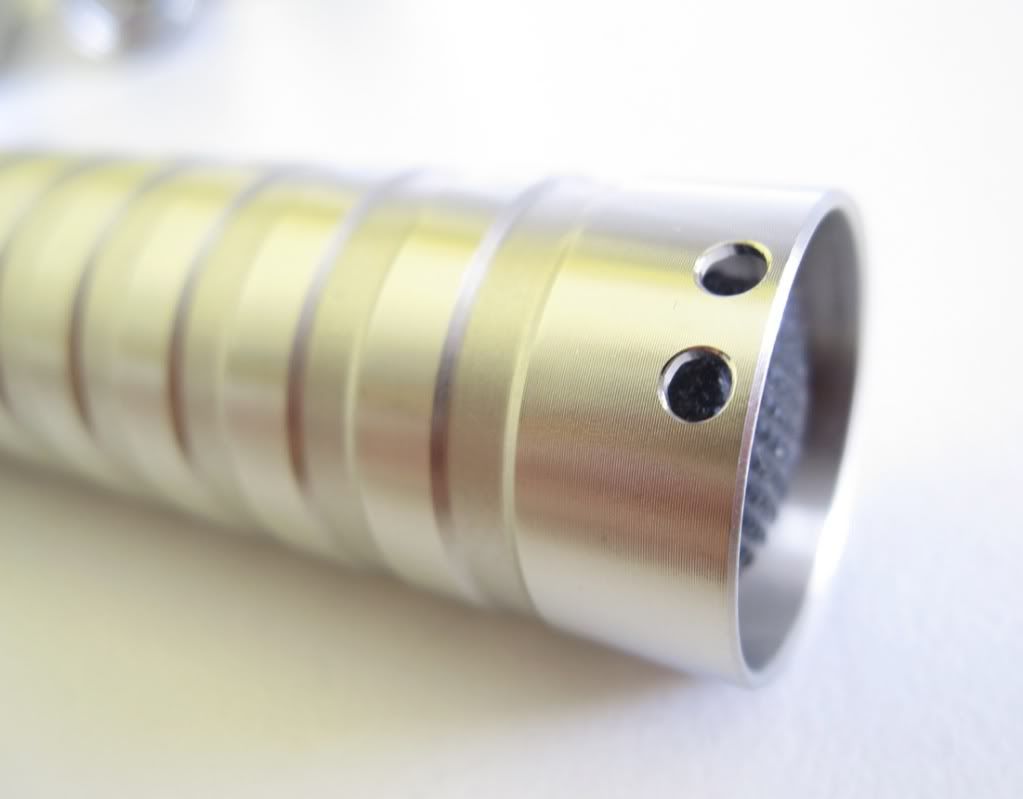
Switch module threads in the body. Fine pitch and well cut. Could be cut slightly less deep for longer batteries.
Tail end of body:

This is the button side of the switch. A very nice fit.
Switch view 1:

The spring on the battery side of the switch could be a bit more robust. Also notice the crimp to hold the switch in the housing. This is a very small switch of unknown amperage rating.
Switch view 2:

The head is self-contained. Everything is threaded together with the pill. Here are the 2 views of the head assembly.
Head Assembly - reflector end:
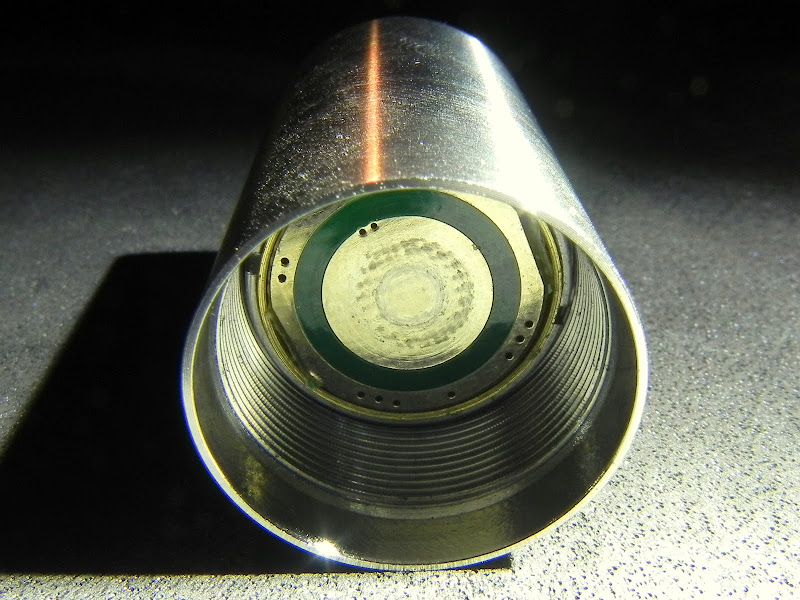
Head Assembly - driver end:
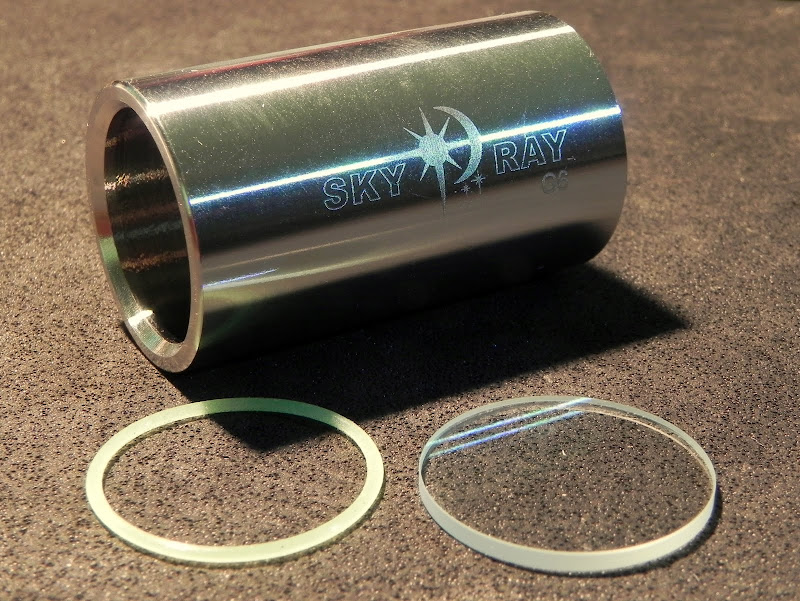
The GITD o-ring sits nicely in a cut groove in the head. The lens is a 20mm diameter glass lens. I cannot see any evidence of a special coating on the glass.
Head and lens:
Here is the non-descript driver. Notice the lack of a driver spring.
Driver image:
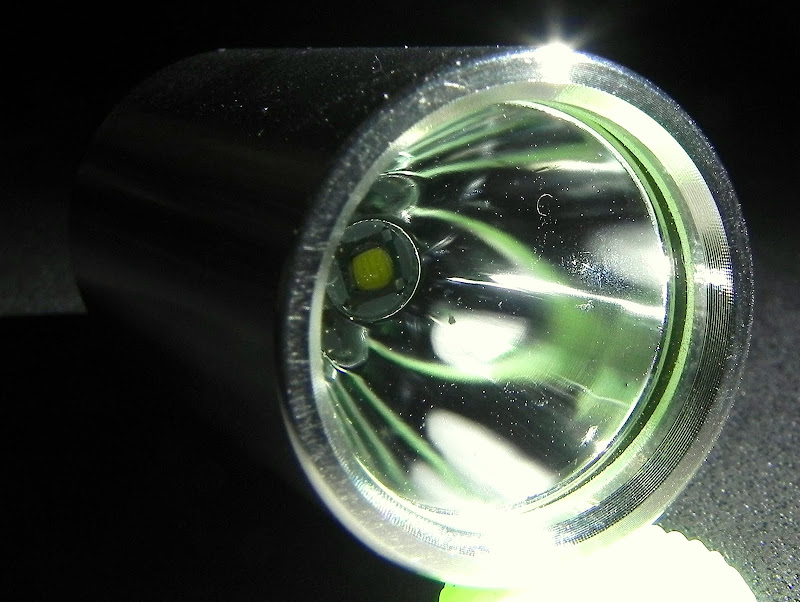
The XP-G R5 emitter is mounted with ample heat sink compound, not silicon glue. Also notice the very detailled design of the insulator. This is in fact what aligns the reflector to the emitter. Definitely a well thought out feature.
Emitter w/ insulator:

The reflector is very clean, very smooth, and has a very nice mirror finish. I had to blow it clean with compressed air to maintain this wonderful finish.
Reflector:

The head really is a quality design and build. Notice the index on the reflector near the emitter hole that mates to the insulator in the previous image. The plating on the reflector is a bit rough on the backside. Some cleaning up can be useful if you're willing to handle the part that much. I wanted to protect its finish as much as possible.
Head parts:

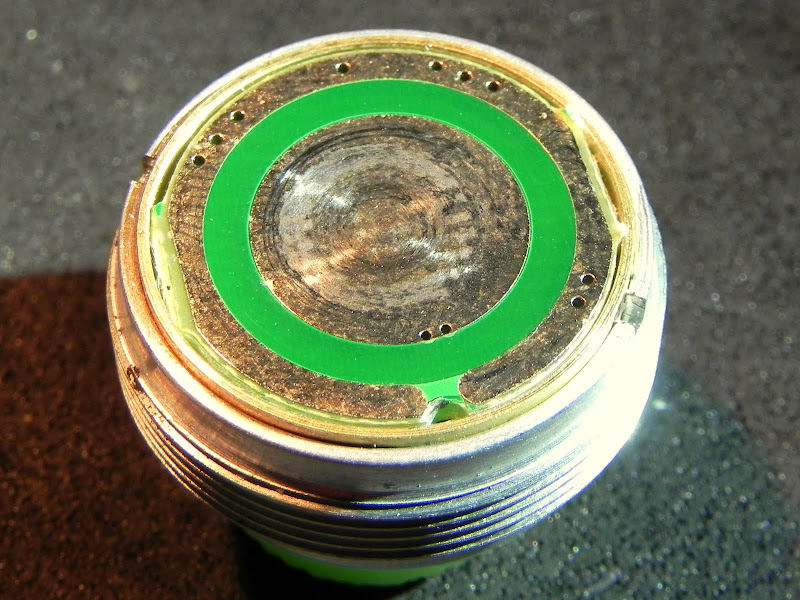
This is an attempt to show the installed interface of the head components.
Assembled head:

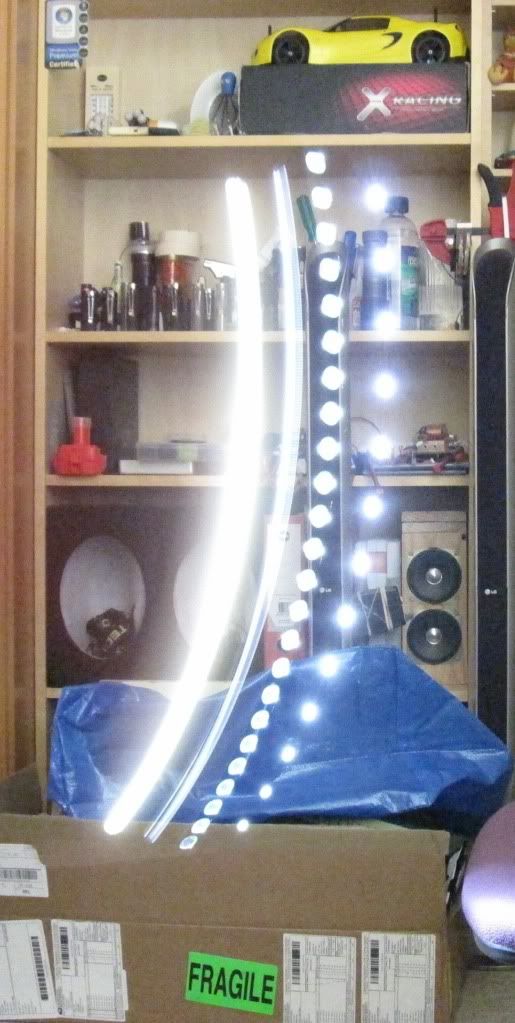
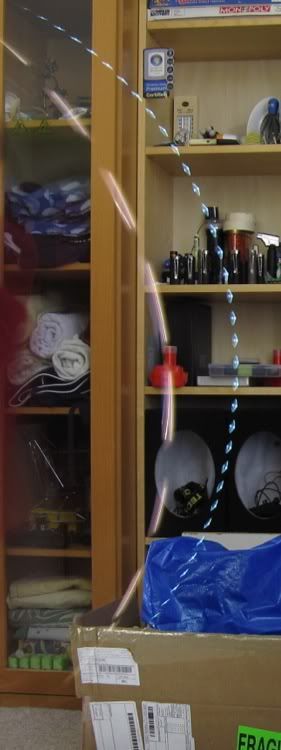
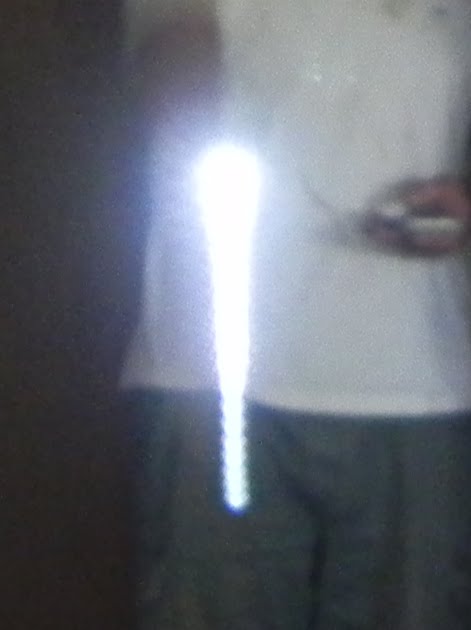
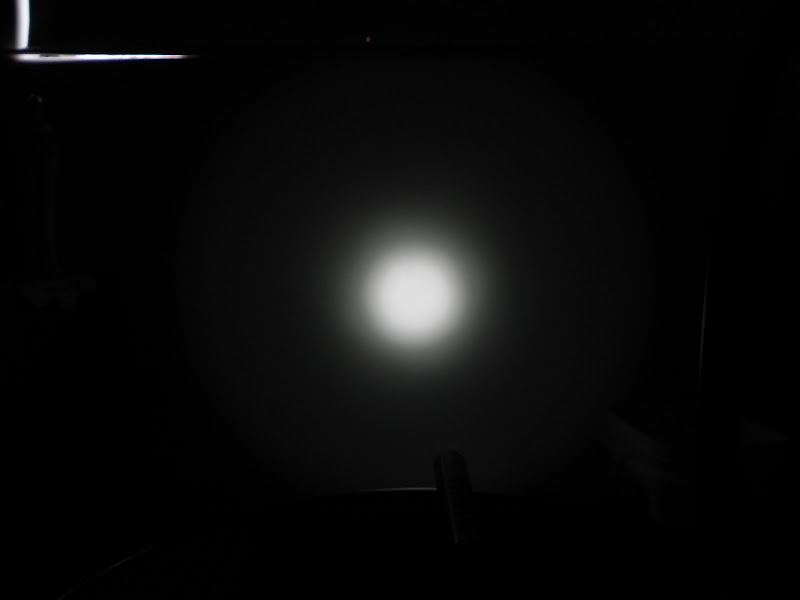
And for the all important beam shots. All are taken at 1 meter, 1/60 second, f2.8, and ISO160:
Control:

Low beam - 100ma
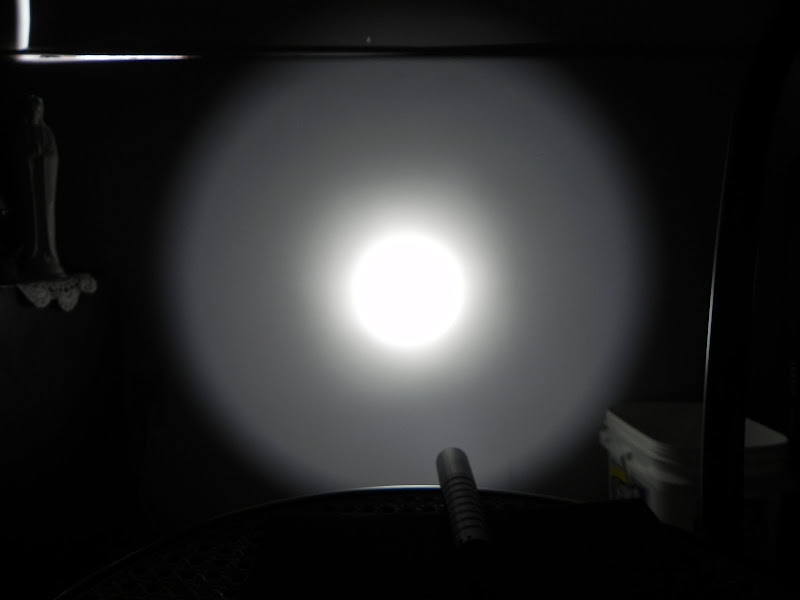
Medium beam - 500ma

High beam - 1000ma
Stay tuned to the GITD tail-cap install