Acebeam K40M MT-G2 Q0
graciously provided by banggood.com for review
Many pictures include links to a larger size or have mouse-overs for more details or comparisons
MFG specifications:
| Brand/Model | Acebeam K40M |
| LED | MT-G2 Q0 |
Lumens |
3000 Lumens |
Beam Intensity |
65000 cd |
Working voltage |
9V~ |
| Batteryconfig | 3x18650 |
| Switch | Tail-cap |
| Modes | 6 |
| Blinkies | Strobe |
| Mode changing | Mag.Control |
| Anodizing | HAIII |
Tailstand |
Yes |
| Lock-out | No |
| Momentary On | Yes |
| Lens | Coated |
| Reflector | Smooth |
| Waterproof | IPX8 |
| Shop: | Banggood.com |
| (provided for review) | Thank you!! |
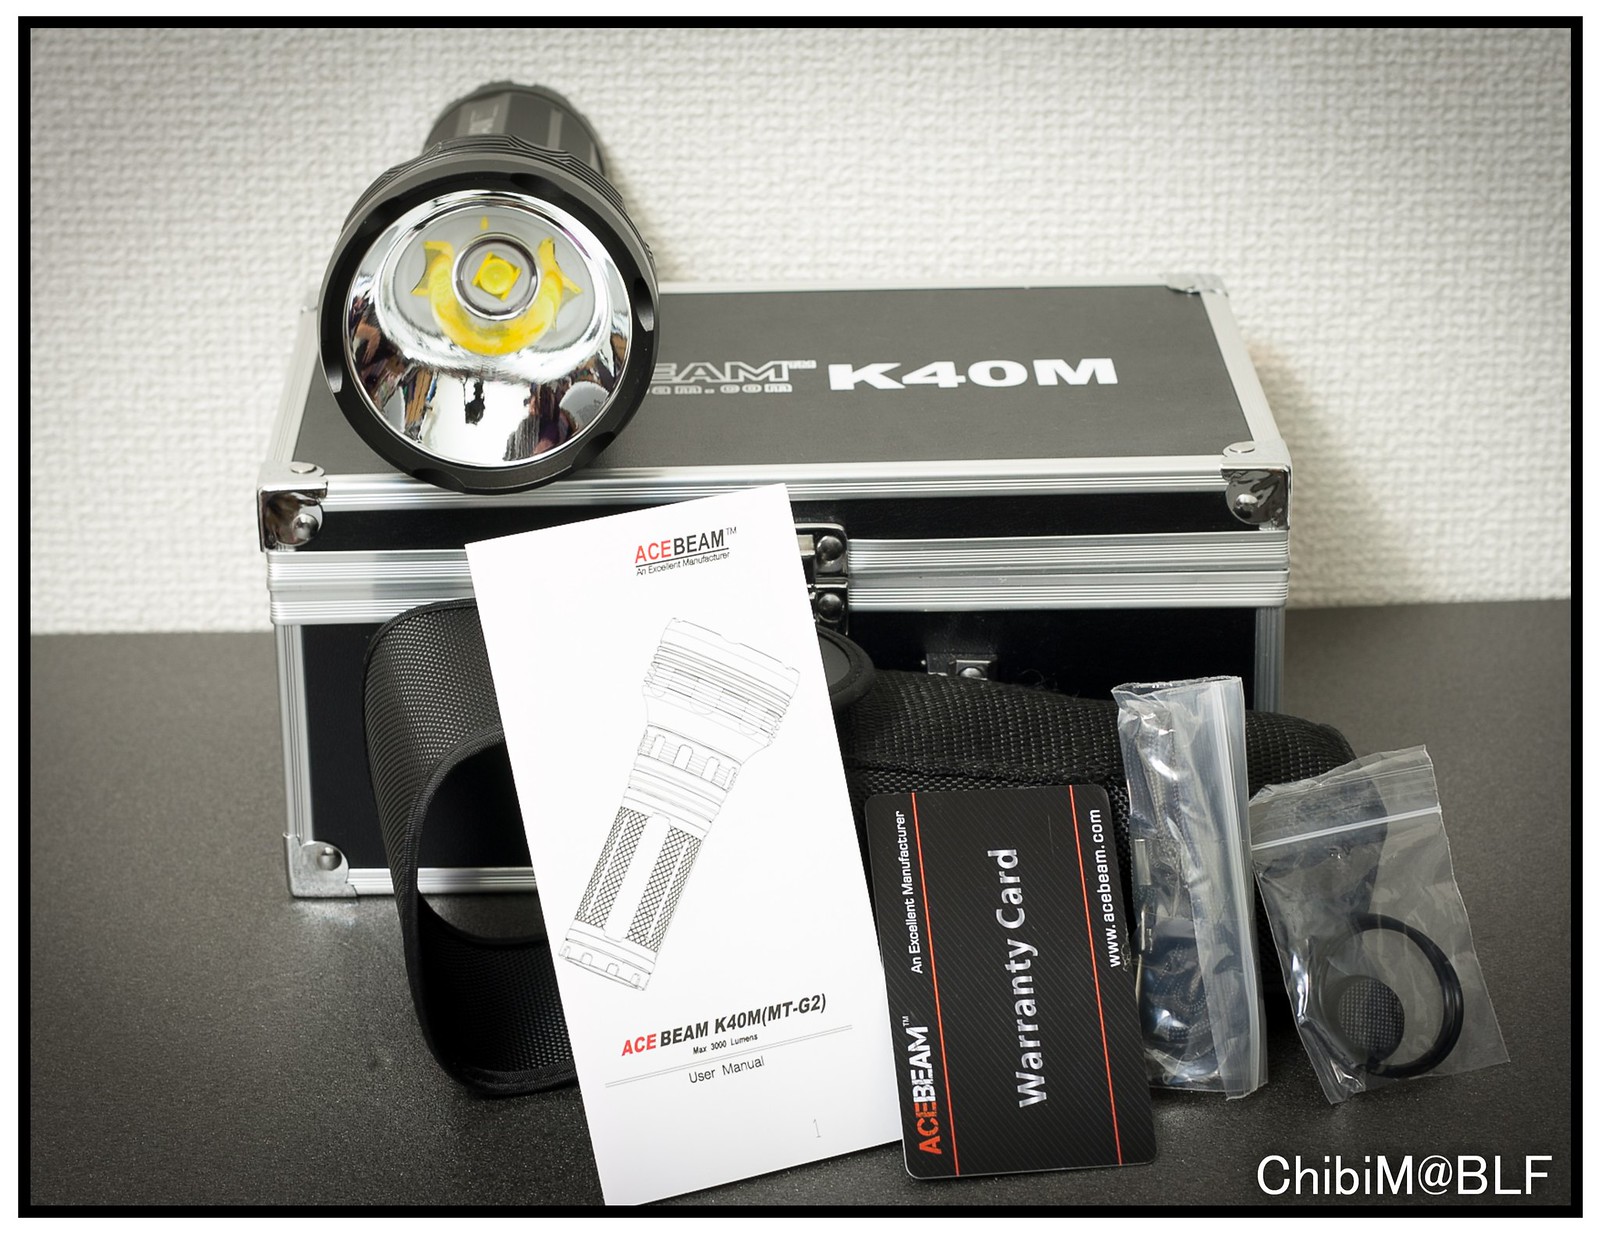
What you get:
- Hard case
- K40M flashlight
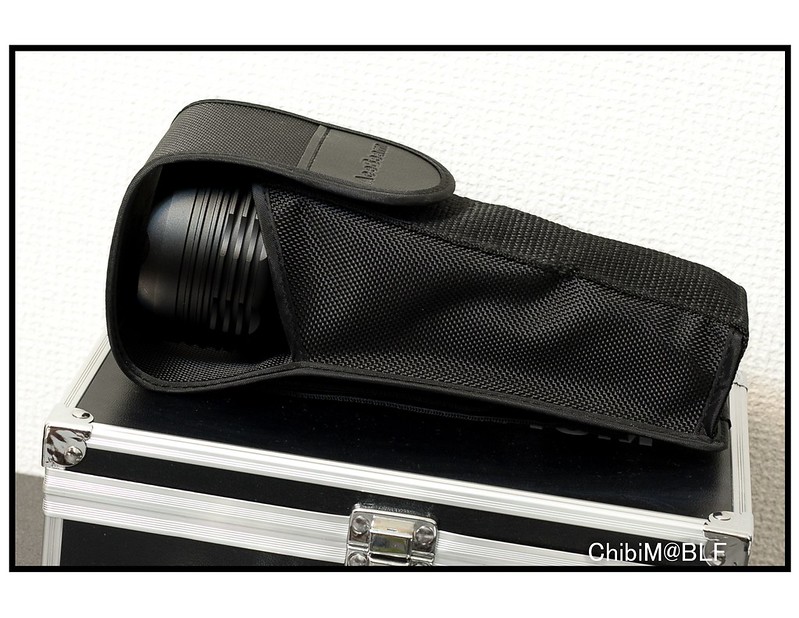
- Holster
- Neck strap
- Extra O-rings
- Papers: Manual and warranty card
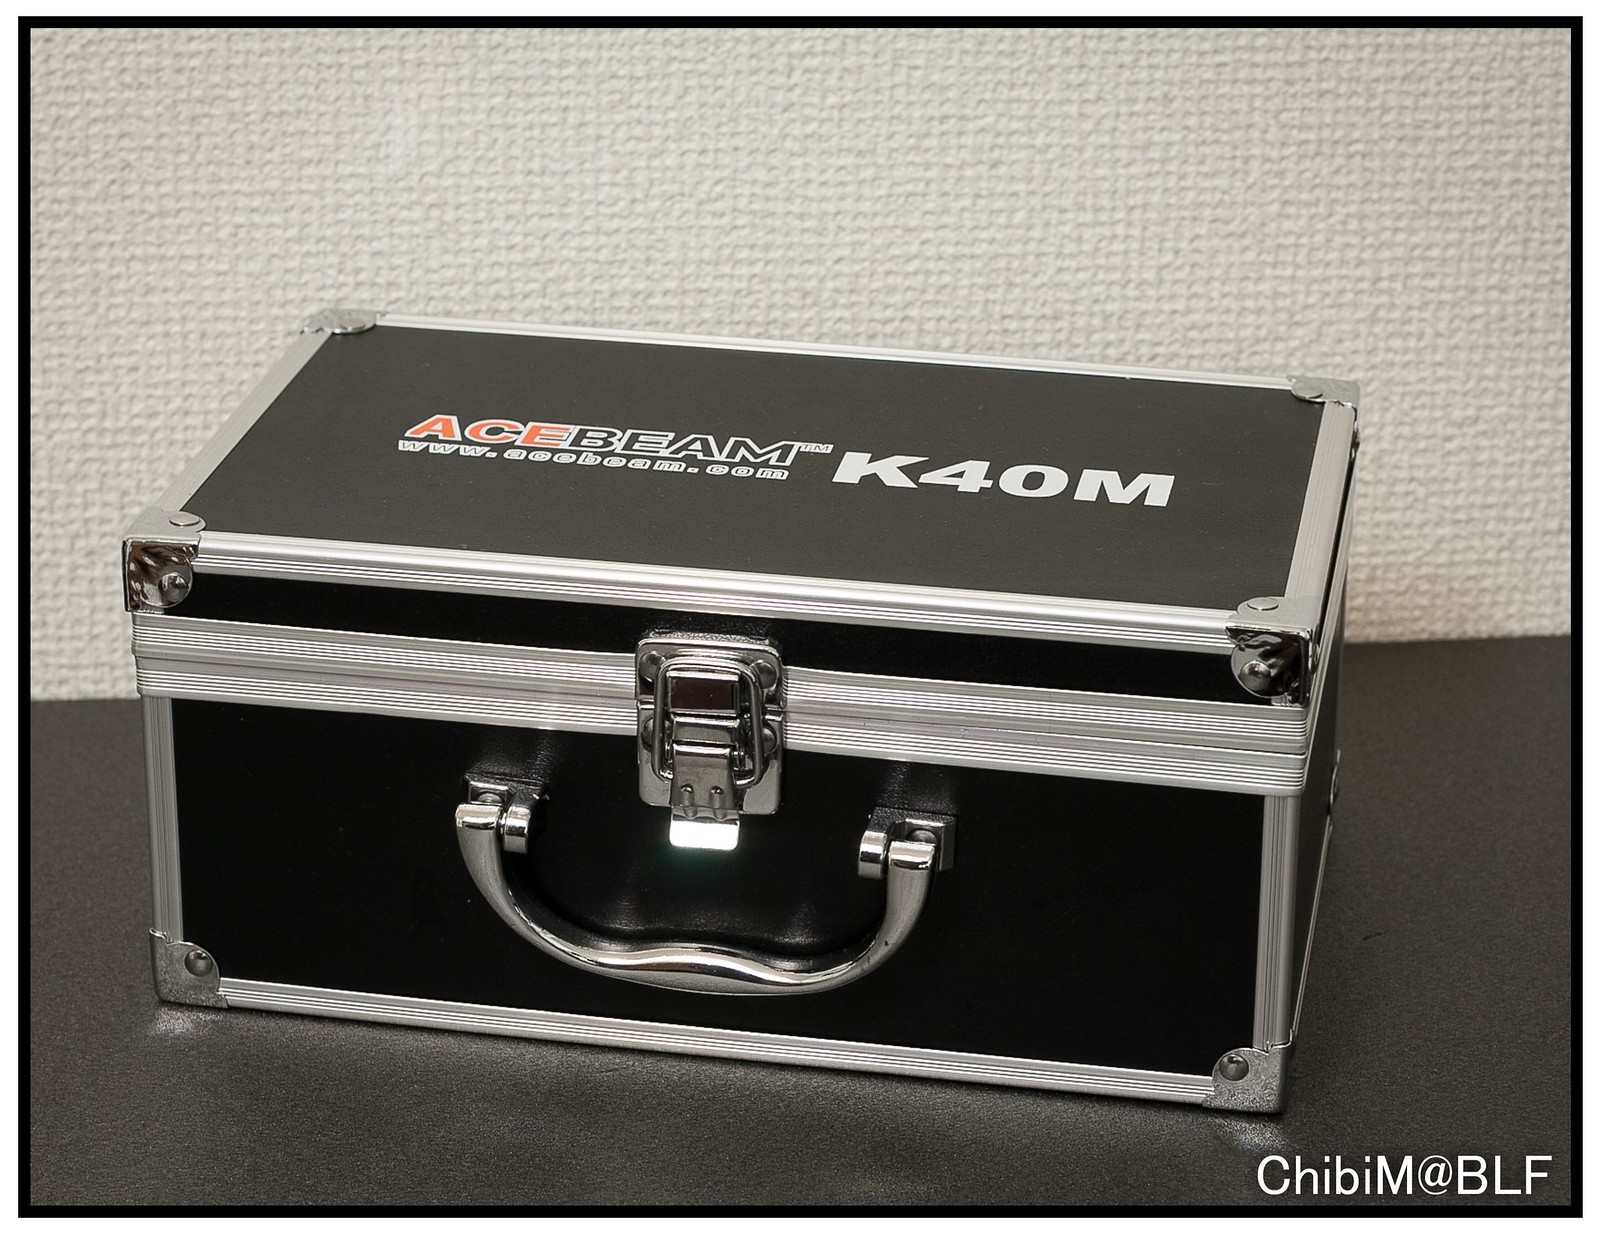
The K40M comes in a nice hard carrying case.. of better quality than the UltrafireM51.
It included the K40M, holster etc.. and has even some cutouts to include 3 (spare)18650 batteries...
The padding is pretty stiff and hard, almost plastic feeling, which will protect the light and I believe the case as well. The included holster, spare O-rings and papers finish it off.

The holster is great, and fits the K40M perfectly. Unfortunately due to the weight of the head, the light will tilt when attaching it to your belt facing it up. You could choose to carry it head down, but you`ll need to be careful opening the holster, because it could fall out.
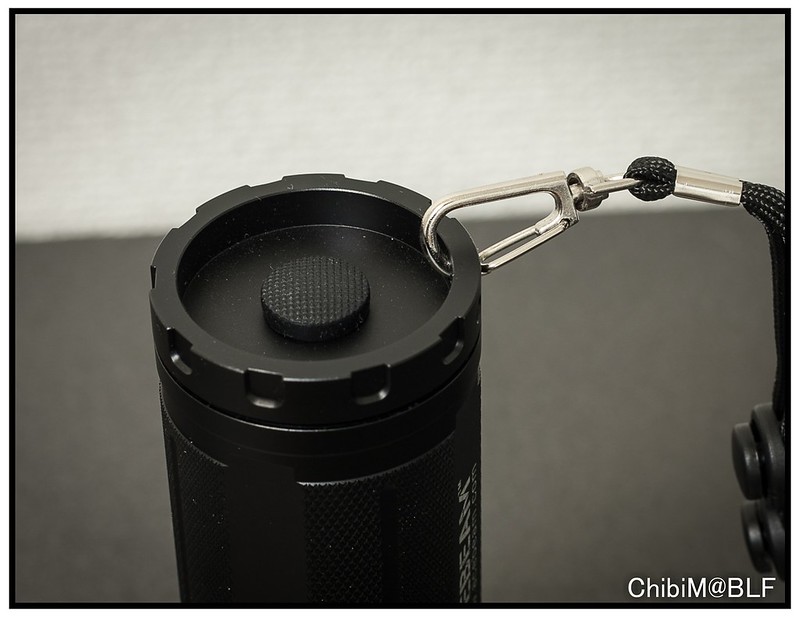
At first inspection I thought it included a Lanyard, but its more of a neck cord.
It can be attached with a clip, but if you want, you can attach any kind of (para)cord, as it has 2 holes next to each other.
It attaches with a claw clip, which will damage the anodizing already after a few uses.. or even by just attaching the clip to the tail cap
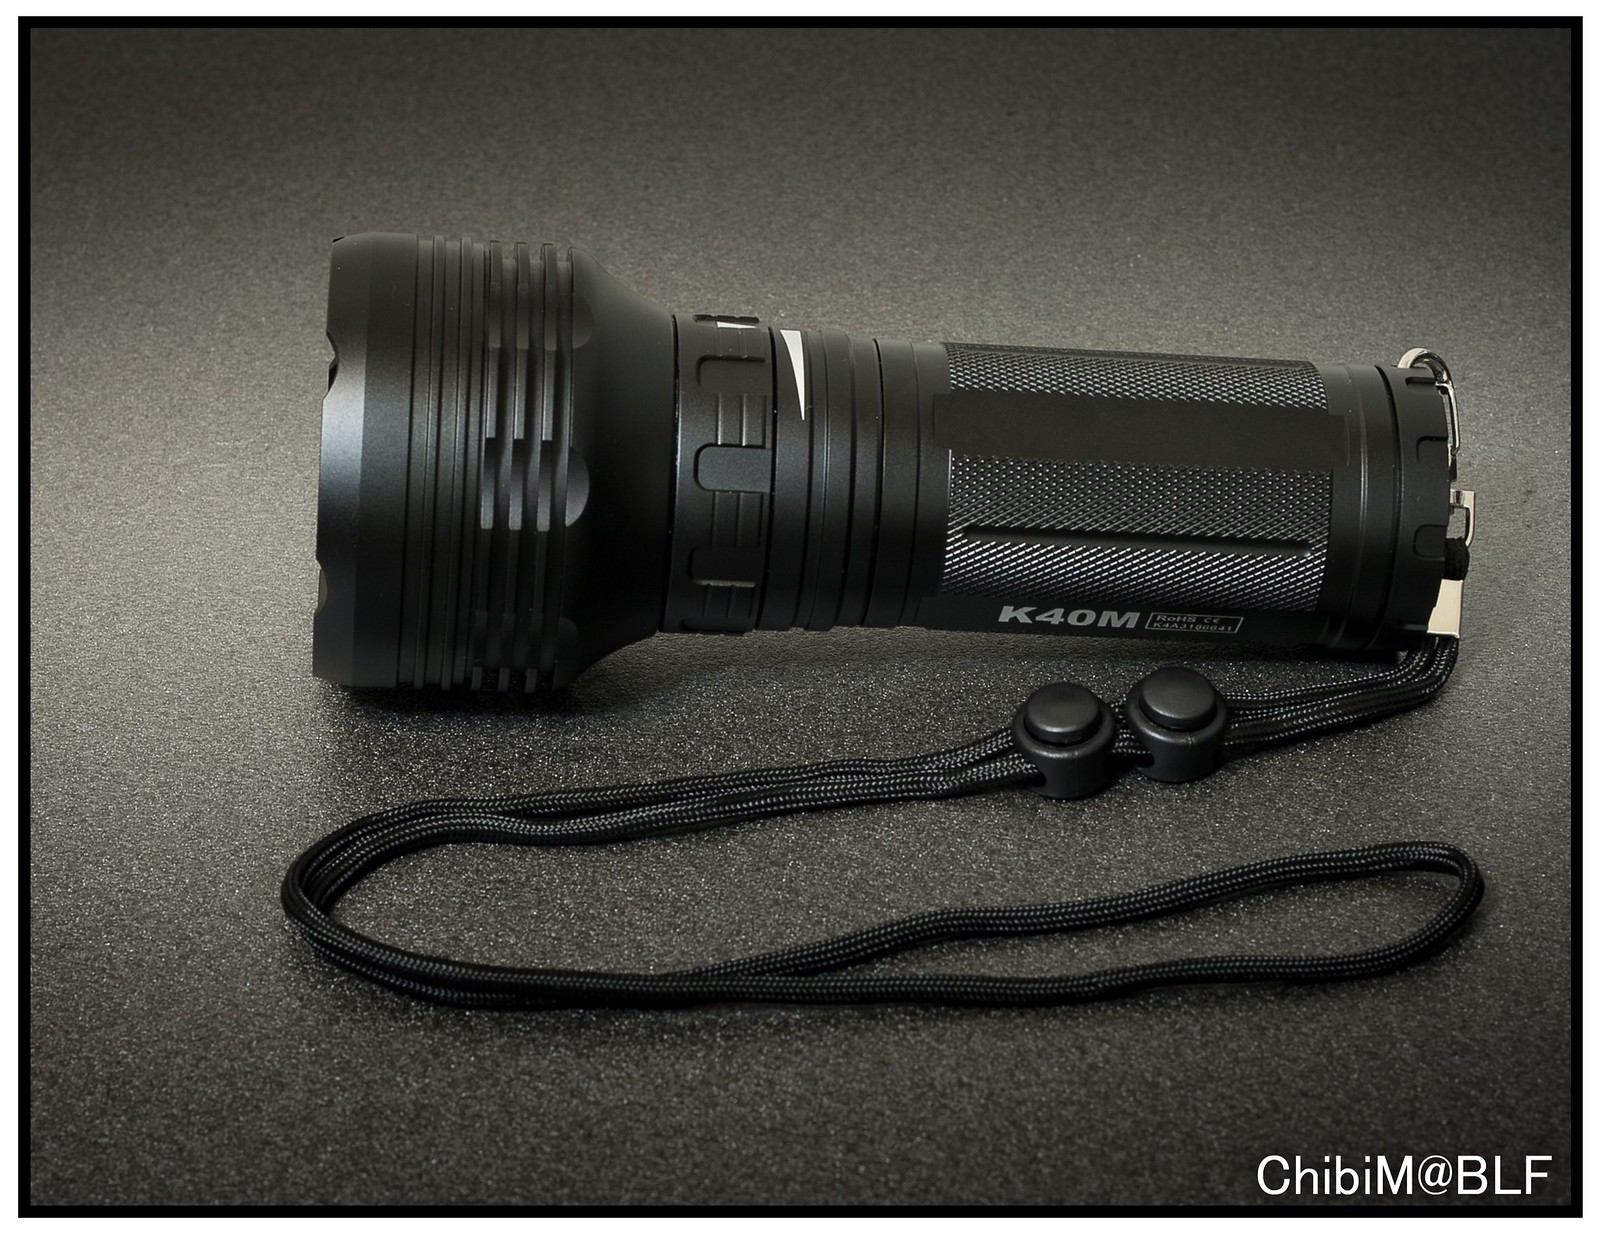
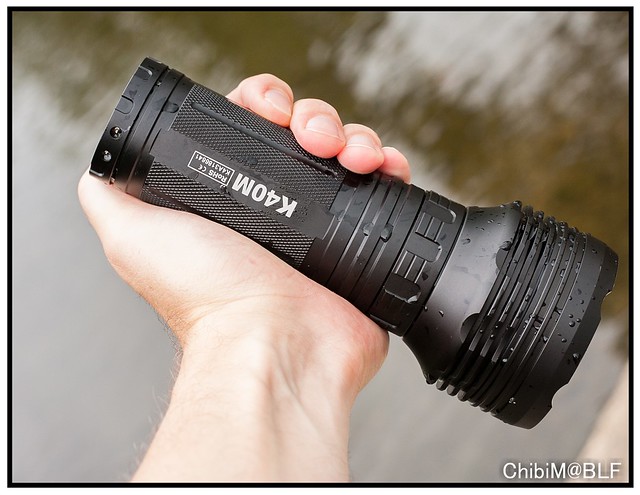
Handling
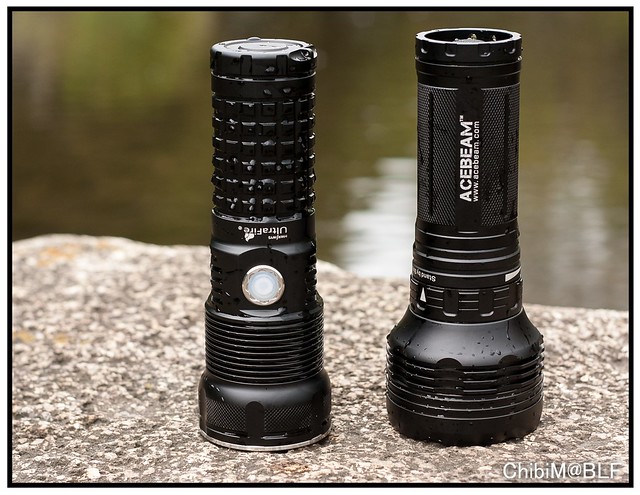
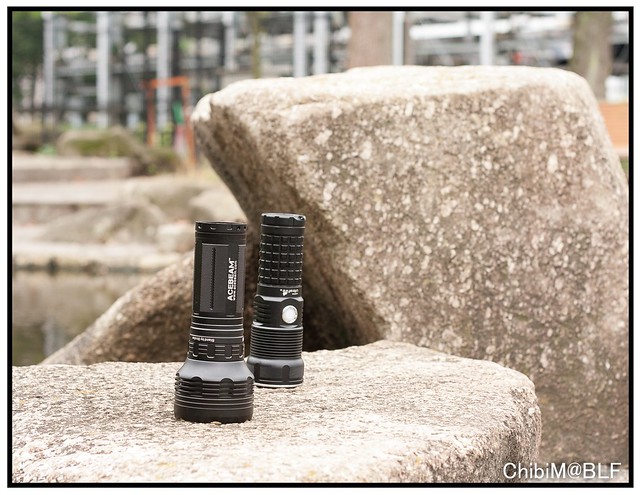
The body of the K40M is about the same diameter as a regular “soupcan” light, like the SRK, supfire M6 etc.
It`s therefore not very easy to hold for people with smaller hands.
Using the tailcap switch (which I usually really like on lights with electronic side switches/control rings) included using the magnetic control ring, you really need to use 2 hands to operate it.
Which could be a Con for some.
The Ultrafire M51 on the contrary is controllable by just 1 hand.
In one of my next posts, I will compare the 2, K40M and M51 and the choice (apart from price) would not as easy as it seems. With the M51 having to offer a few characteristics, that the K40M is missing.
The balance of the K40M is a little heavy headed, so it feels a bit unbalanced compared to other lights.
Knurling
The manual states: Tactical knurling for firm grip.
My hand says: so so knurling for so so grip.. or in other words.. not so much knurling for not too much grip.
No, the K40M doesnt feel smooth.. and no it won`t slip easily out of your hands. But for this size light, and for the way of using this, I would choose a heavier knurling, and especially thinking using this is the Law enforcement and search and rescue, it would probably mean, the light would possibly be used wearing handgloves.
In which case they need more grip!
But the knurling that is done, is done very well.. No mismatch/no missing parts.
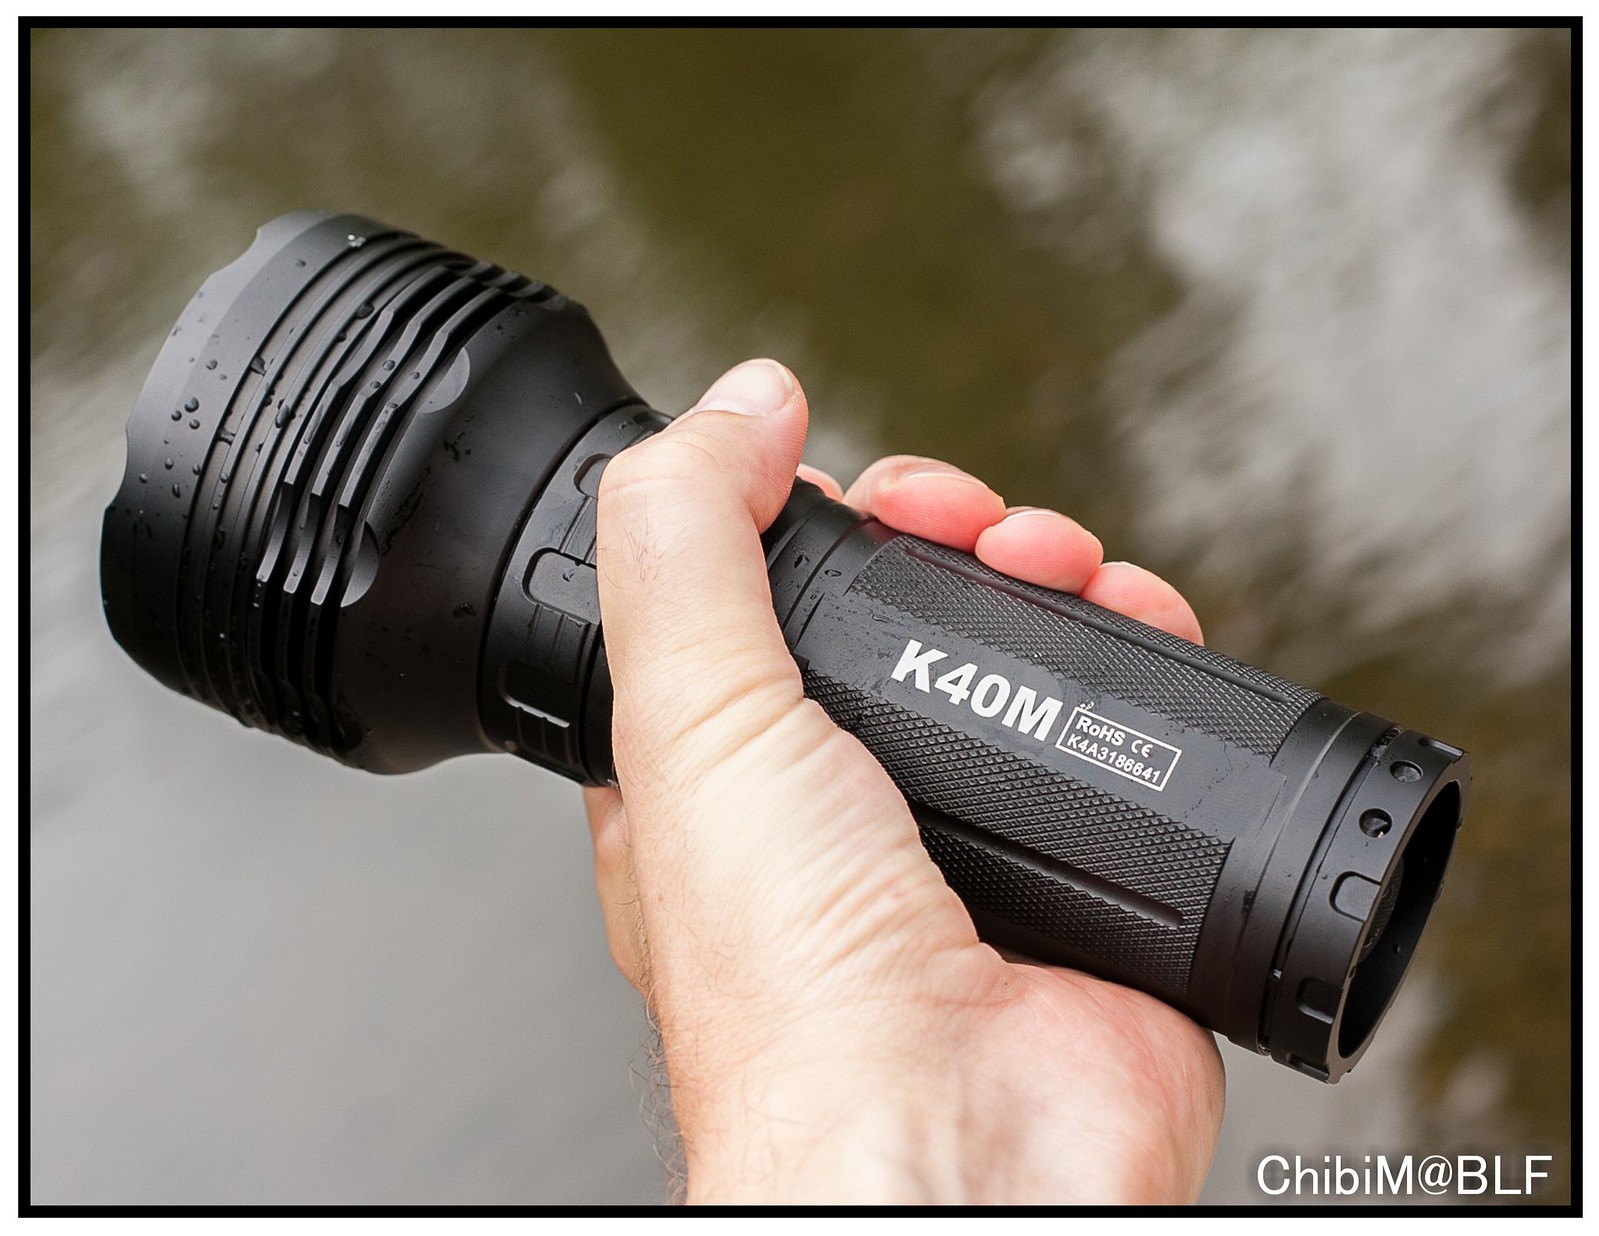
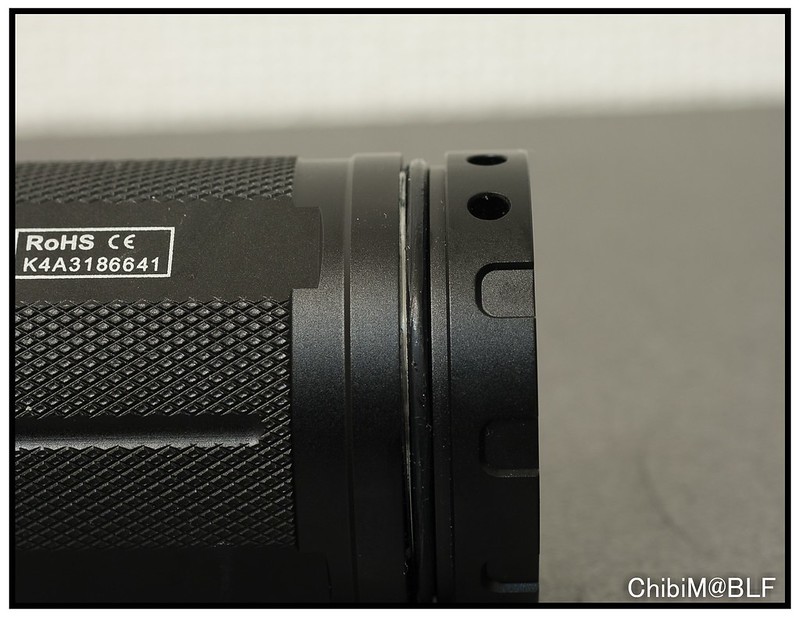
Anodizing, threads and prints
The anodizing is done properly across the light. Every spot and corner is anodized ,just like you would expect from this high quality flashlight.
I couldn`t find any blemish, nor any missing anodizing.
It`s a great looking light, and during my holidays, everyone who saw it at my parent`s house, just had to touch it!!!
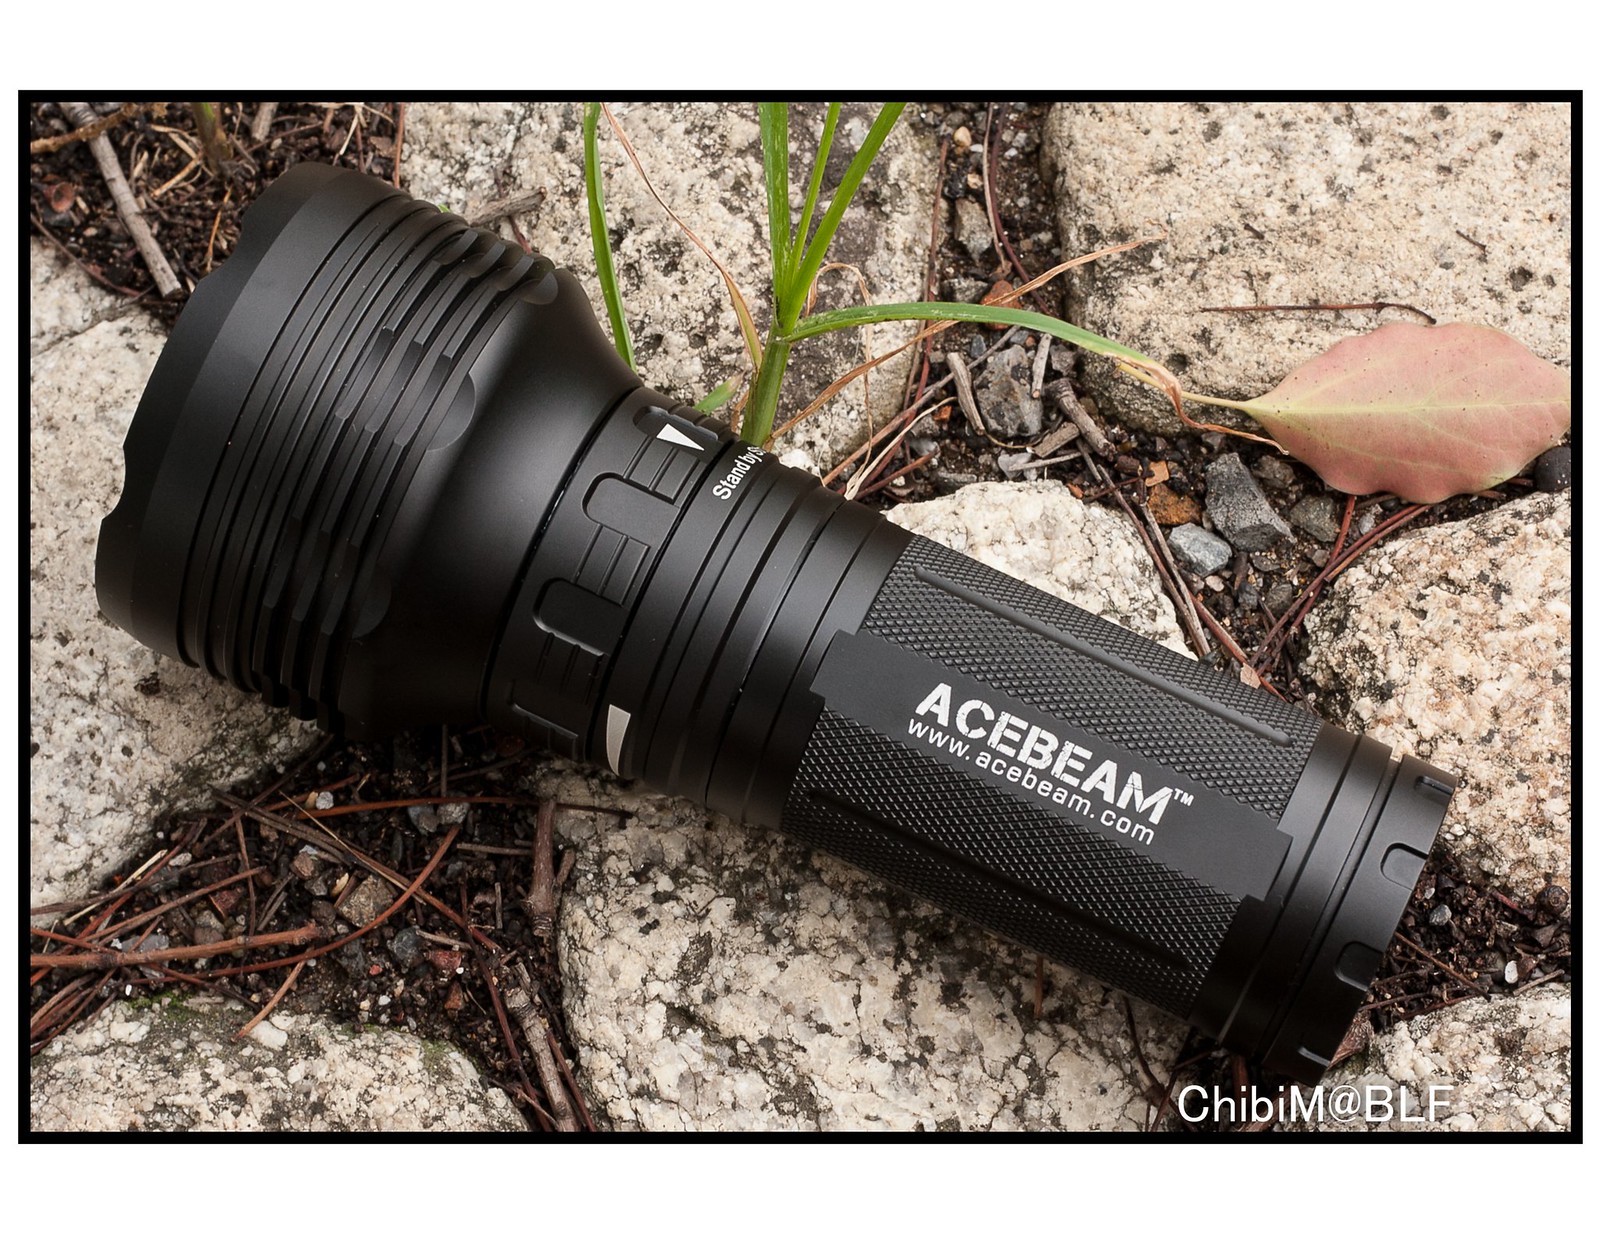
My first impression was very positive, except for the prints.. The Acebeam letters are printed pretty badly.
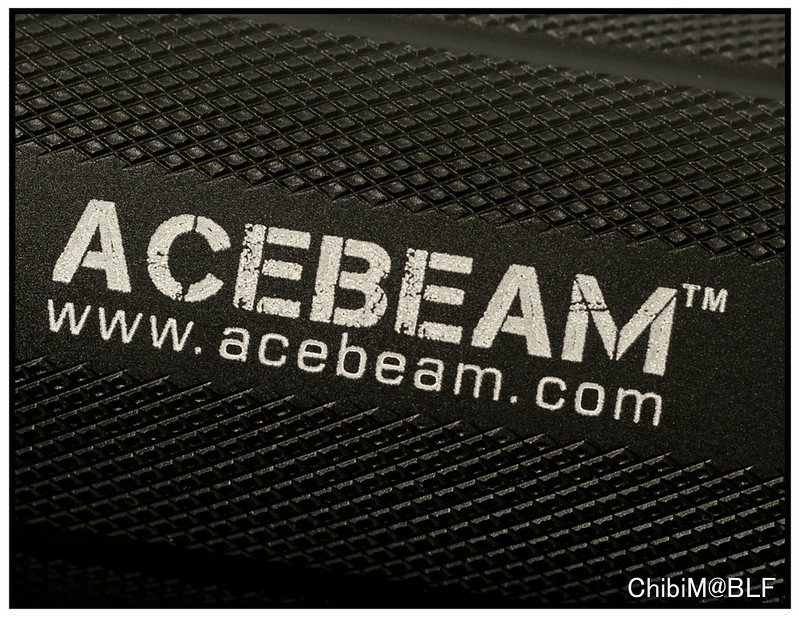
The difference in colors above is not a difference in anodizing, just the lighting.
But after posting this picture in the K40M community thread, people told this was done on purpose.
Because It`s the exact same as their Acebeam LOGO.. which can be seen here:

Although its a 1 on 1 copy, the logo on the flashlight itself doesn`t look so nice..
I assume most people would think the prints are done badly....Just as I thought..
especially if they haven`t seen Acebeam`s official logo
Maybe this wasn`t Acebeam`s best choice!
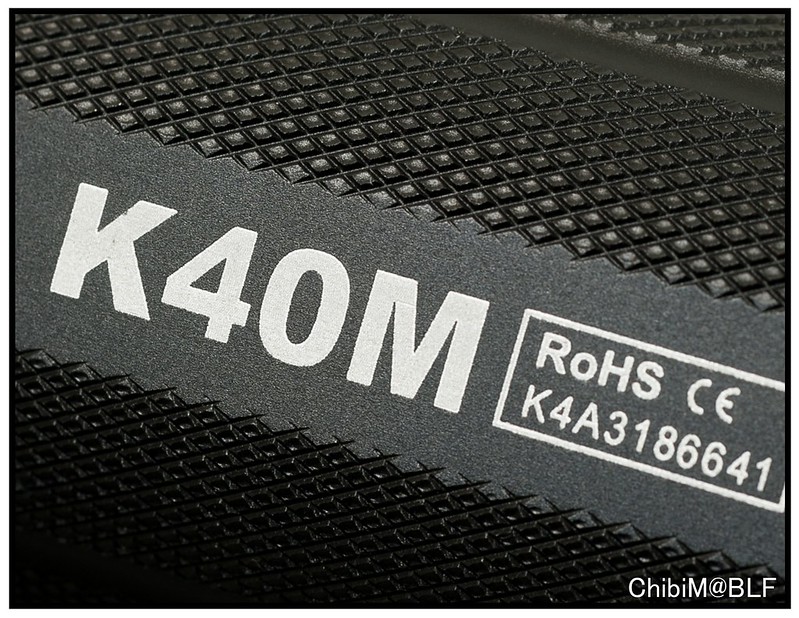
The Letters on the other side are nice crisp and clear!
Another thing that could be improved would be the brightness indicator from Low to Max.

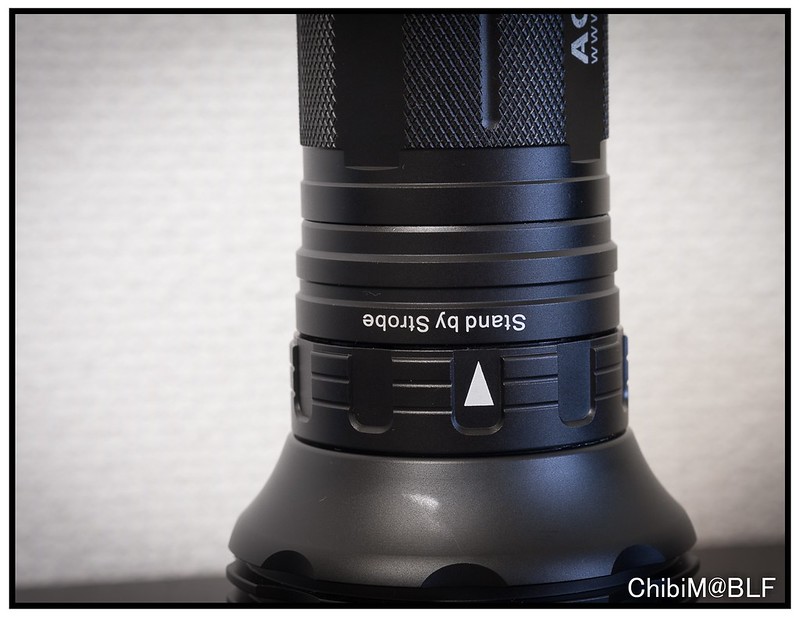

as it doesn`t cover all the output levels. There is a indicator, but only for the lower levels 1-3.
Then there is a empty spot,4-6 until it reaches the Standby and then Strobe.
The words Standby and Strobe are so close together, that someone who doesn`t read English could think its 1 sentence.
A few dots would have helped, or even symbols!! See pictures above.. click for larger size.
Threads are good... period
Buttons/Magnetic control ring
The K40M has a Power Switch at the tail in the form of a forward clicky. Which indicated it can be used as a Momentary On.
The Magnetic control ring has indents for every level of brightness, starting from the lowest to highest. Until it reaches the Standby indicator, followed by Strobe.
When you hold the light with 1 hand, you probably would be able to change the output, but it doesnt work so smooth. At the same time it`s very very hard to activate the tail cap switch with 1 hand. You better use 2 hands to Power the light as well as changing its brightness.
Changing the brightness using the control ring feels very solid. A big plus for Acebeam who has done very this well. Operating the ring feels very smooth, and each indent has a very clear difference in output.
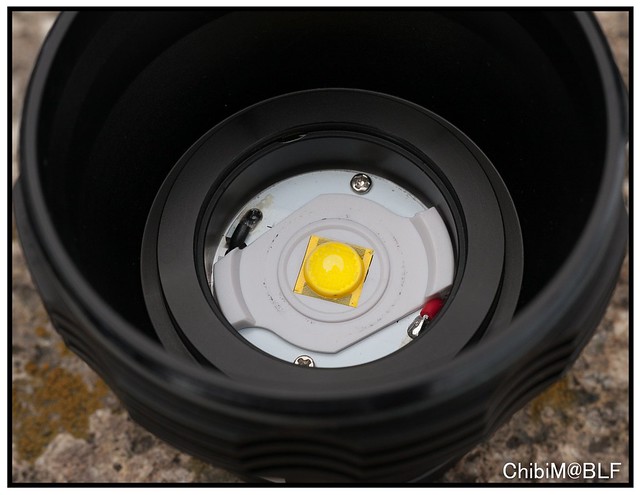
Lens, bezel and reflector
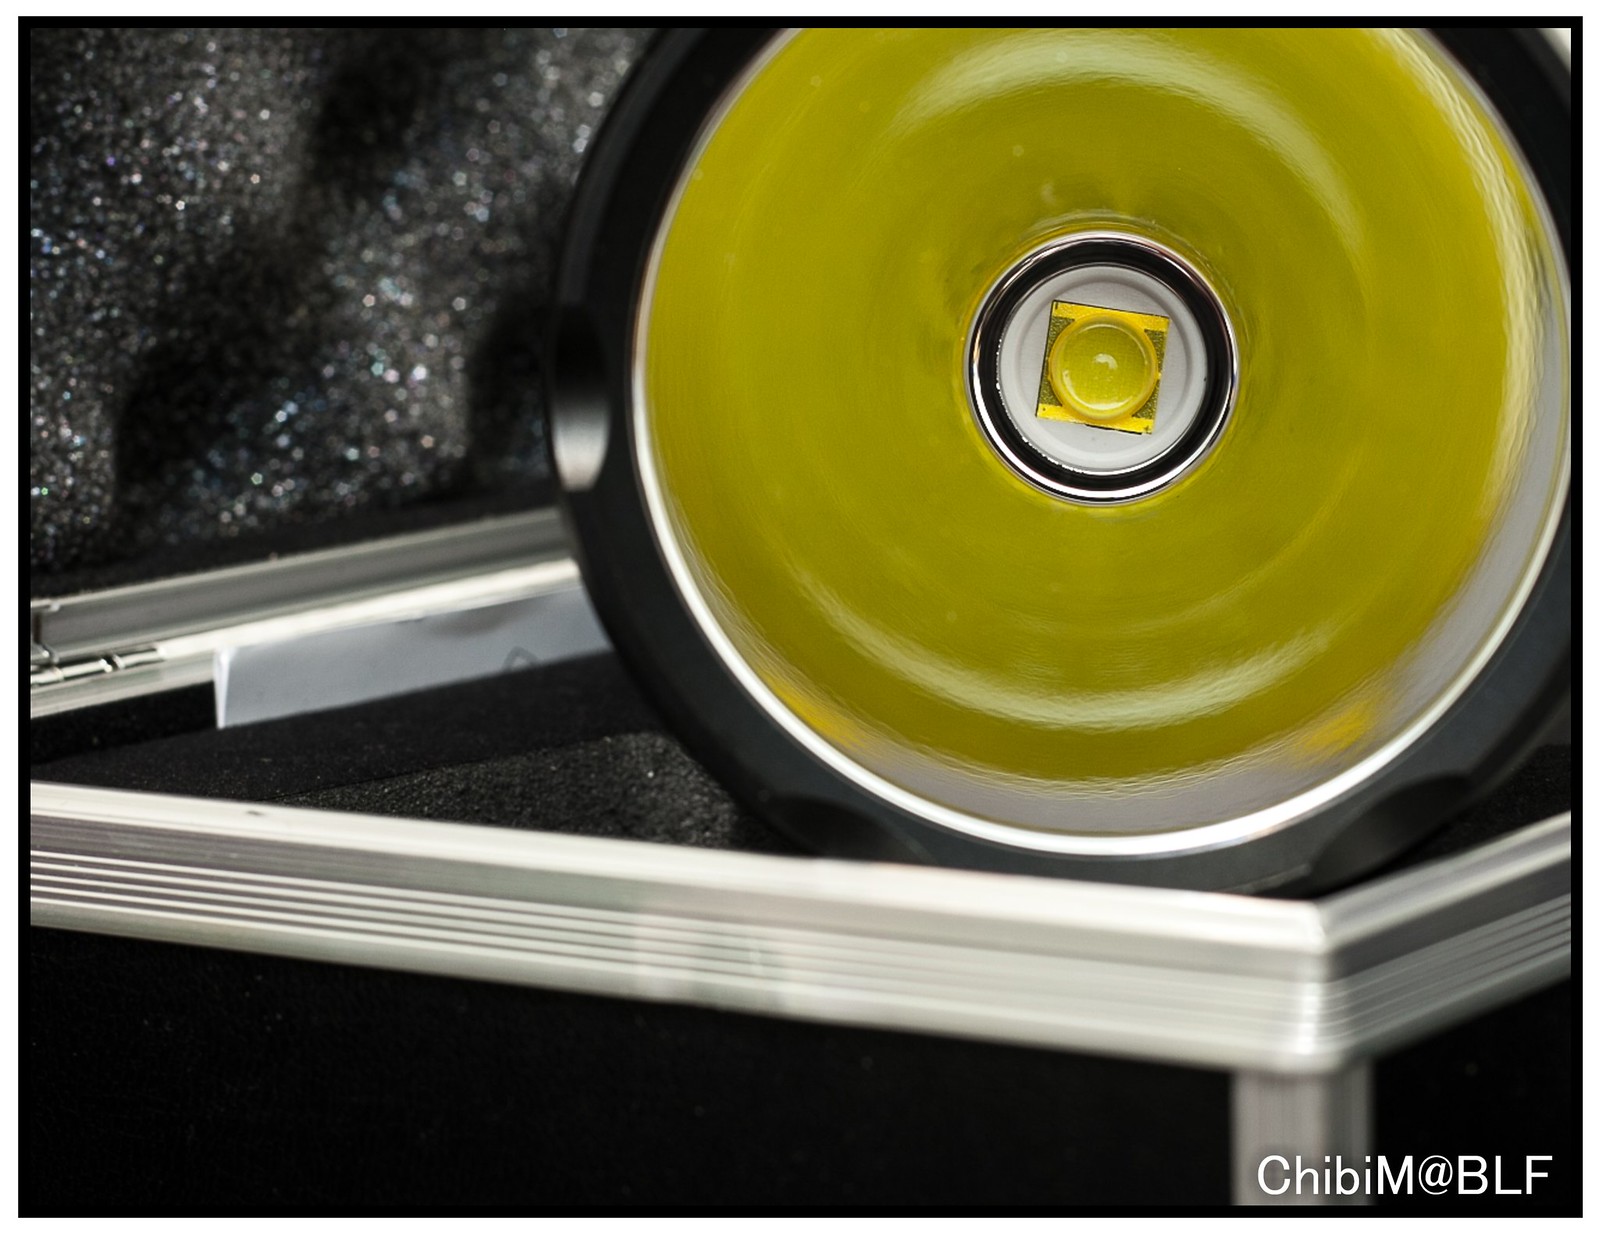
In the following picture you can see that it has a smooth reflector, for improved throw.
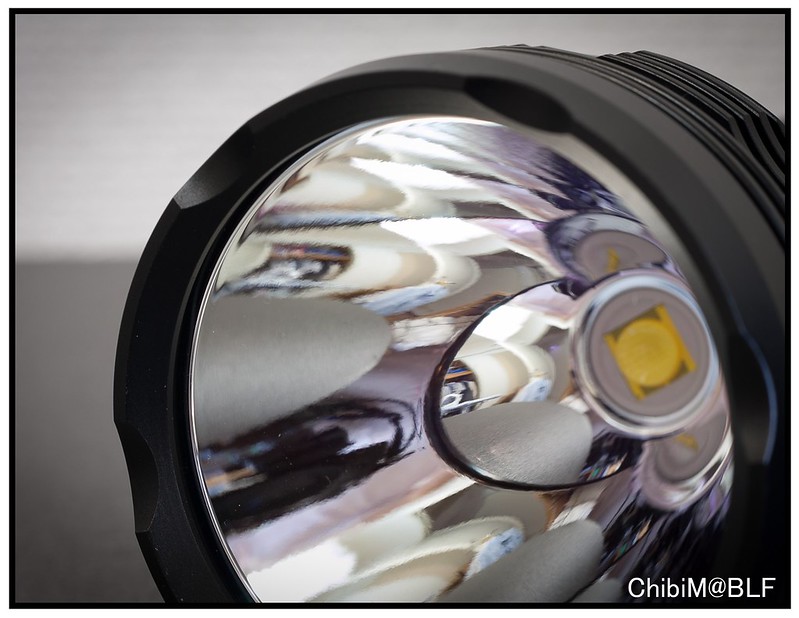
although the reflector is smooth, it isn`t super duper smooth. Look at the mouse over for a better close up.
You can see rings,or some kind of artifacts. Probably due to it being made of aluminum.
Funny to say, but I have seen more pure smooth plastic reflectors than aluminum.
- Diameter outside 70mm
- Diameter inside 63mm
- Depth 52mm
The lens is coated, about 3.6mm thick, and is described as ; Ultra clear tempered glass lens with anti-reflective coating.
The manual doesn`t tell anything about the bezel, but its clearly not made of Stainless steel.
During my photoshoot, and water test, I bumped it into some rocks, which left some blemish in its anodizing, and in its aluminum of the bezel. So it`s not as tough as a stainless steel bezel.
The bezel (as well as all other outer main parts) can be unscrewed, and has NO GLUE.
(note that the driver IS GLUED, and can`t be taken out easily)
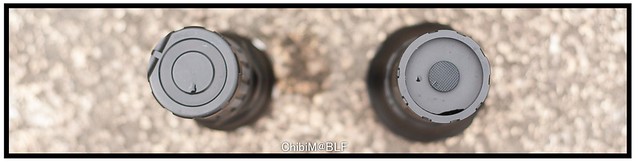
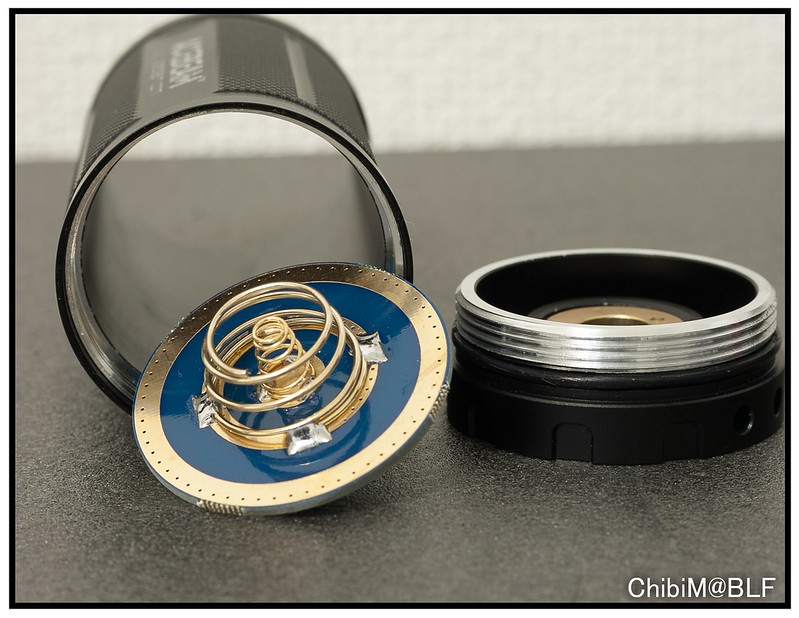
Battery carrier and tailcap switch:
Its has a battery carrier with 3 batteries in series!
Which can accommodate unprotected as well as protected cells.
Unprotected cells are not recommended with batteries run in Series.
Plus they sit kind of loosely in the carrier.
Protected NCRB are very tight fit... Maybe its because I had made a short using trying to measure tail cap current, and got the springs damaged... and discolored..
Fortunately I had Unprotected cells, so they quickly stopped making contact... and saved me a light ;)
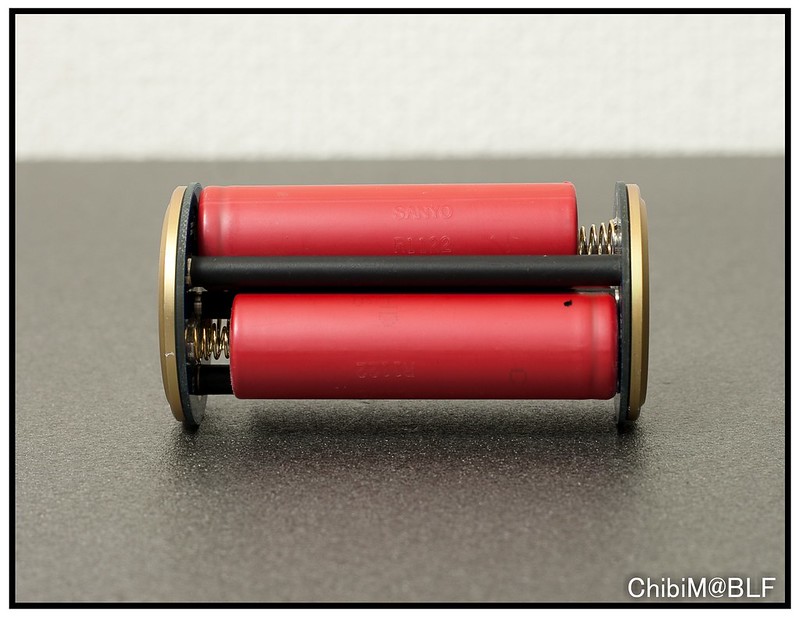
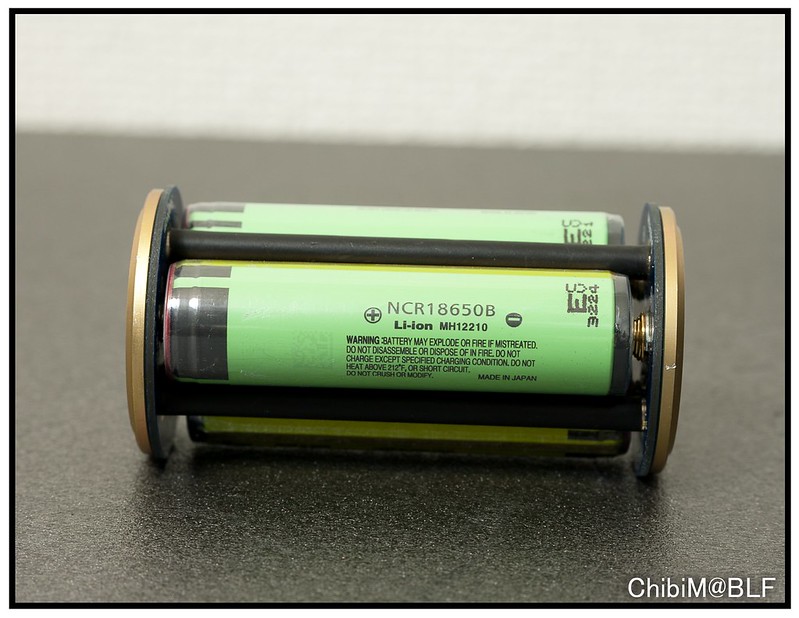
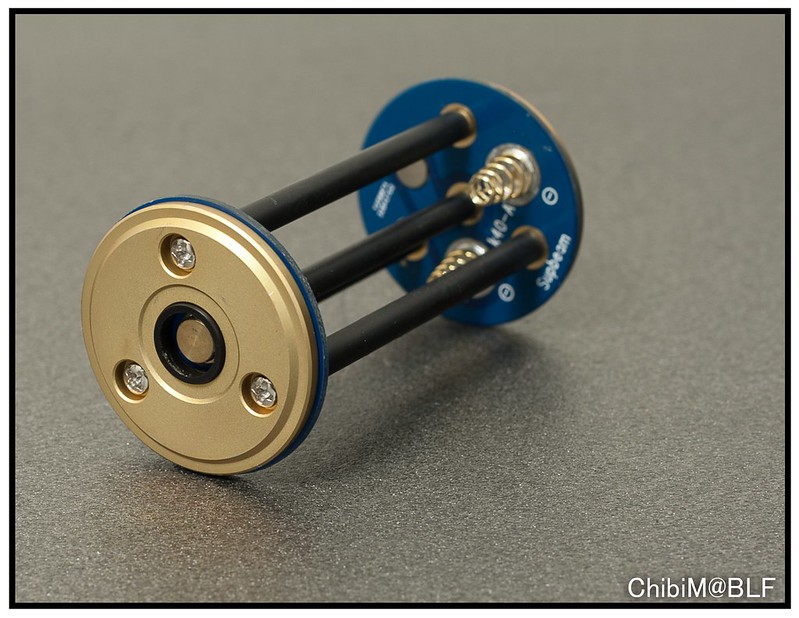
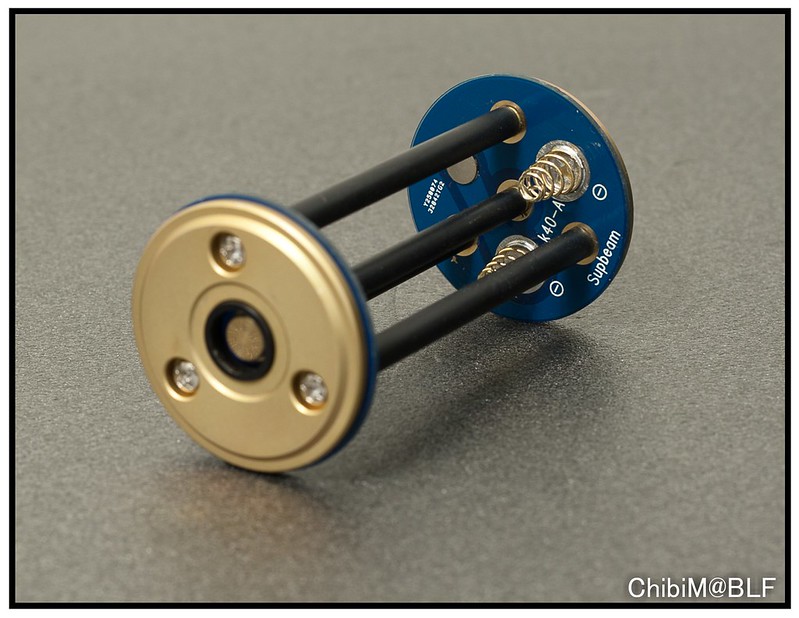

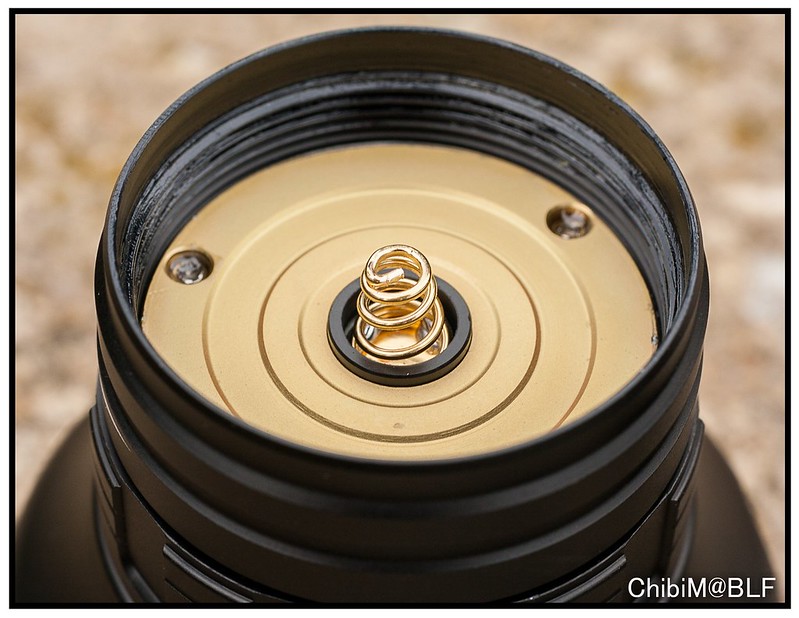
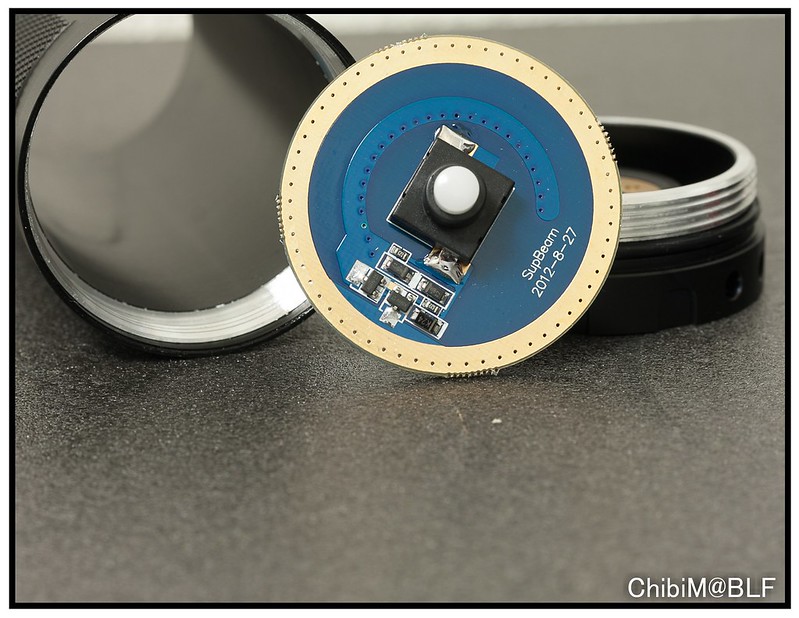
And due to the little buttons on the driver, the driver can be used with FLAT TOP cells.
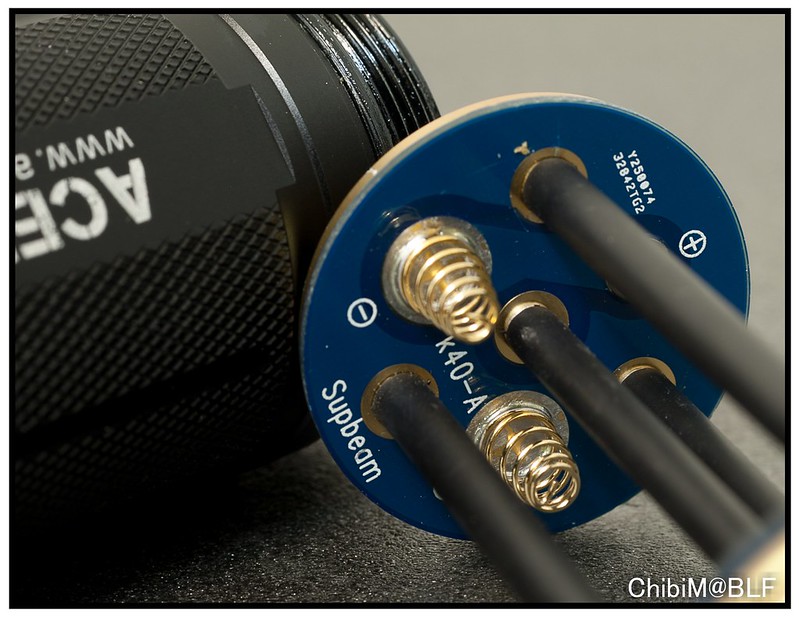
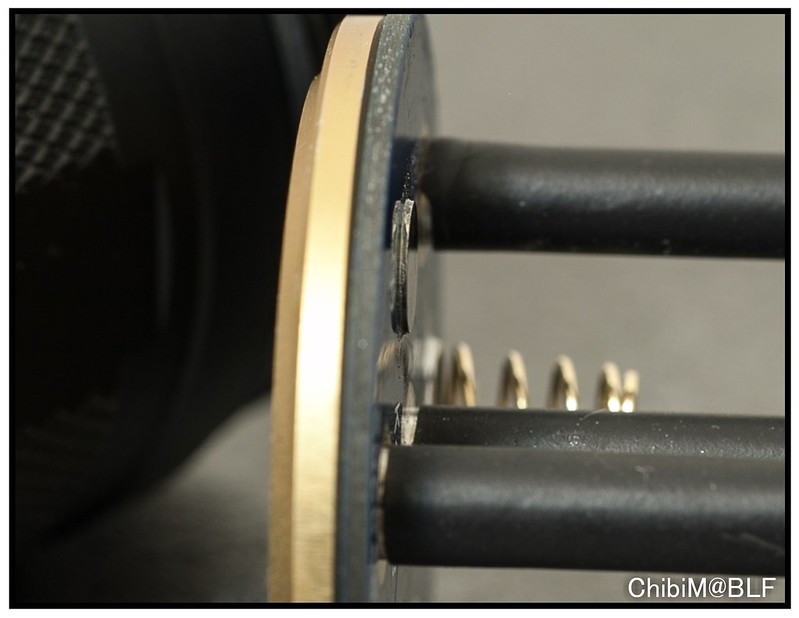
The Postive contact touches a beefy coiled spring on the driver side.
The Tailcap can be unscrewed and has NO GLUE..
see pictures of the tailcap. This picture , another one and HERE, plus this one
Dimensions and weight:
Length 185mm
Diameter head 76mm
Diameter body 49mm
Weight empty 497 grams
Weight loaded 642 grams
The K40M consists of 2 main pieces..
The Head and the body.
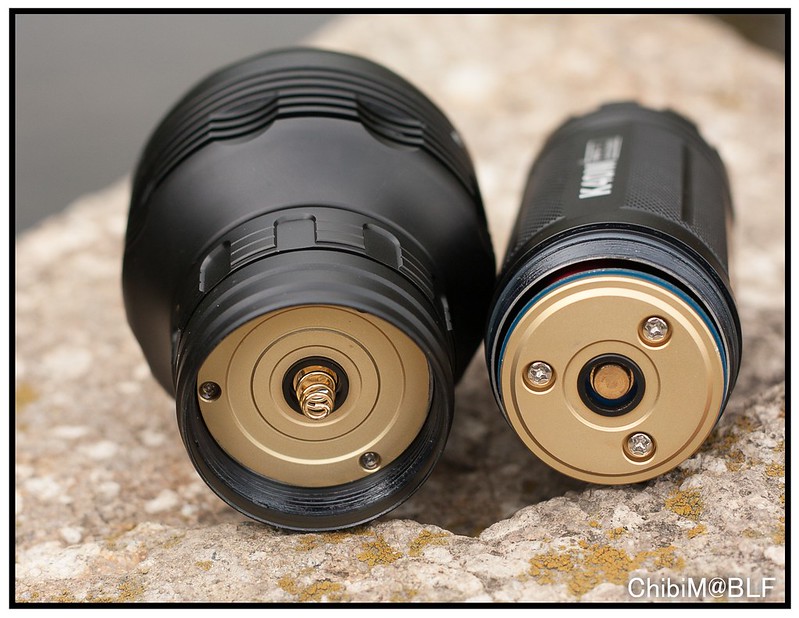
The head weighs 320 grams
The body + batteries weighs 322 grams
UI and modes
The K40M has 6 main modes, a Standby and a Strobe mode.
Starting from the left of the control ring, you`ll have
Levels 1-6, a Standby mode, and at last a Strobe mode.
Nothing hidden. Very very easy to understand and operate!! Again a big Plus for the K40M.
Anybody can use it!!
When left in the Standby mode, you have instant access to:
- Turbo (dial left)
- Strobe (dial right)
- Low, if you dial it counter clockwise quickly which wouldn`t show any light in higher modes.. unless you`re turning the ring slowly
Blinkies
- Strobe
PWM
NONE!!! that I could detect
Lock out
No, and it doesn`t need one.. Because it has a clicky switch on the bottom for complete off.
As well as a Standby mode, for instant access to High and Strobe.
Performance
Measured with 3x NCR18650B panasonic 3400mAh protected.
Ceiling bounce in lux
|
Level 1 |
Level 2 |
Level 3 |
Level 4 |
Level 5 |
Level 6 |
Lux |
0 |
3 |
60 |
154 |
263 |
426 |
% |
0.?% |
1% |
14% |
36% |
61% |
100% |
Lumens mine |
? |
21 |
420 |
1080 |
1830 |
3000 |
Lumens Manual |
0.9 |
42 |
430 |
1150 |
1900 |
3000 |
Lux ceiling bounce
Level 1: 0 lux
Level 2: 3 lux
Level 3: 60 lux
Level 4: 154 lux
Level 5: 263 lux
Level 6: 426 lux
which equals in %
Level 1: 0%
Level 2: 0.7%
Level 3: 14%
Level 4: 36%
Level 5: 61%
Level 6: 100%
Lumens in table, if 100% is 3000 lumens
Level 1 is in my understanding and comparisements NOT 0.9 lumens, but a Few lumens
Current Draw
I got a spark and the springs on the battery carrier overheated, which resulted in no contact with my unprotected batteries, while trying to get a reading at the tailcap.
Now the springs are shorter,so I will only use protected batteries.
I think that I was lucky not using protected batteries, as something more serious could have happened.
So, if you get one of these, DON`T try to measure current on the pos and neg of the battery carrier at the tailcap.
Just read that you should be able to measure it with the the probes touching the threads/body of the light instead of the battery carrier.
So I have no numbers!!sorry
Runtime
I had done 3 full runtime tests.. 1 in Level 6...
1 in Level 5 which failed because I forgot to set up the electronic remote control switch of my camera on timer.. and the 3rd one, Level 4, I had set up the remote control for TOO few interval pictures..so stopped taking pictures before it ran dead.
At the time of writing I`m doing another Level 5 runtime test.
Tested with a set of Panasonic 3400mAh protected cells.
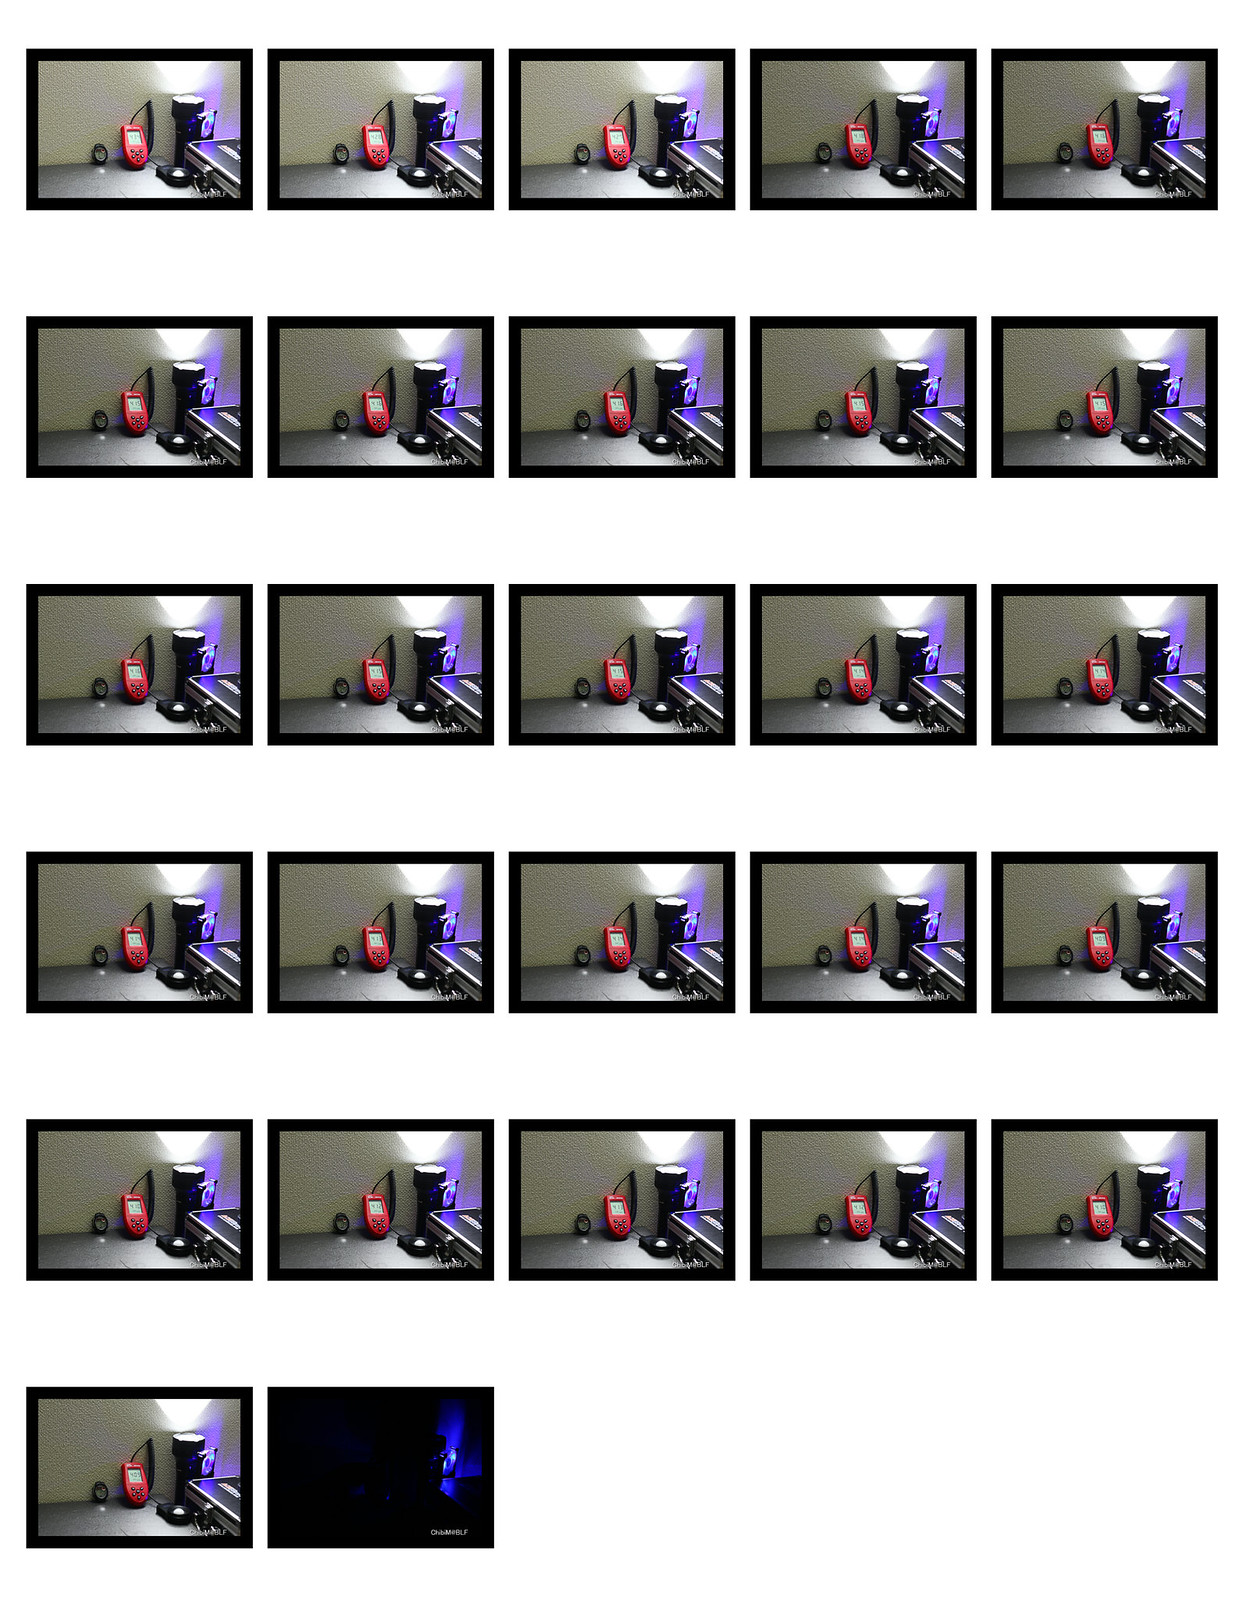
I took pictures of the output in Lux (ceiling bounce) in 5 minute intervals.
See the pictures below
Level 6: max:
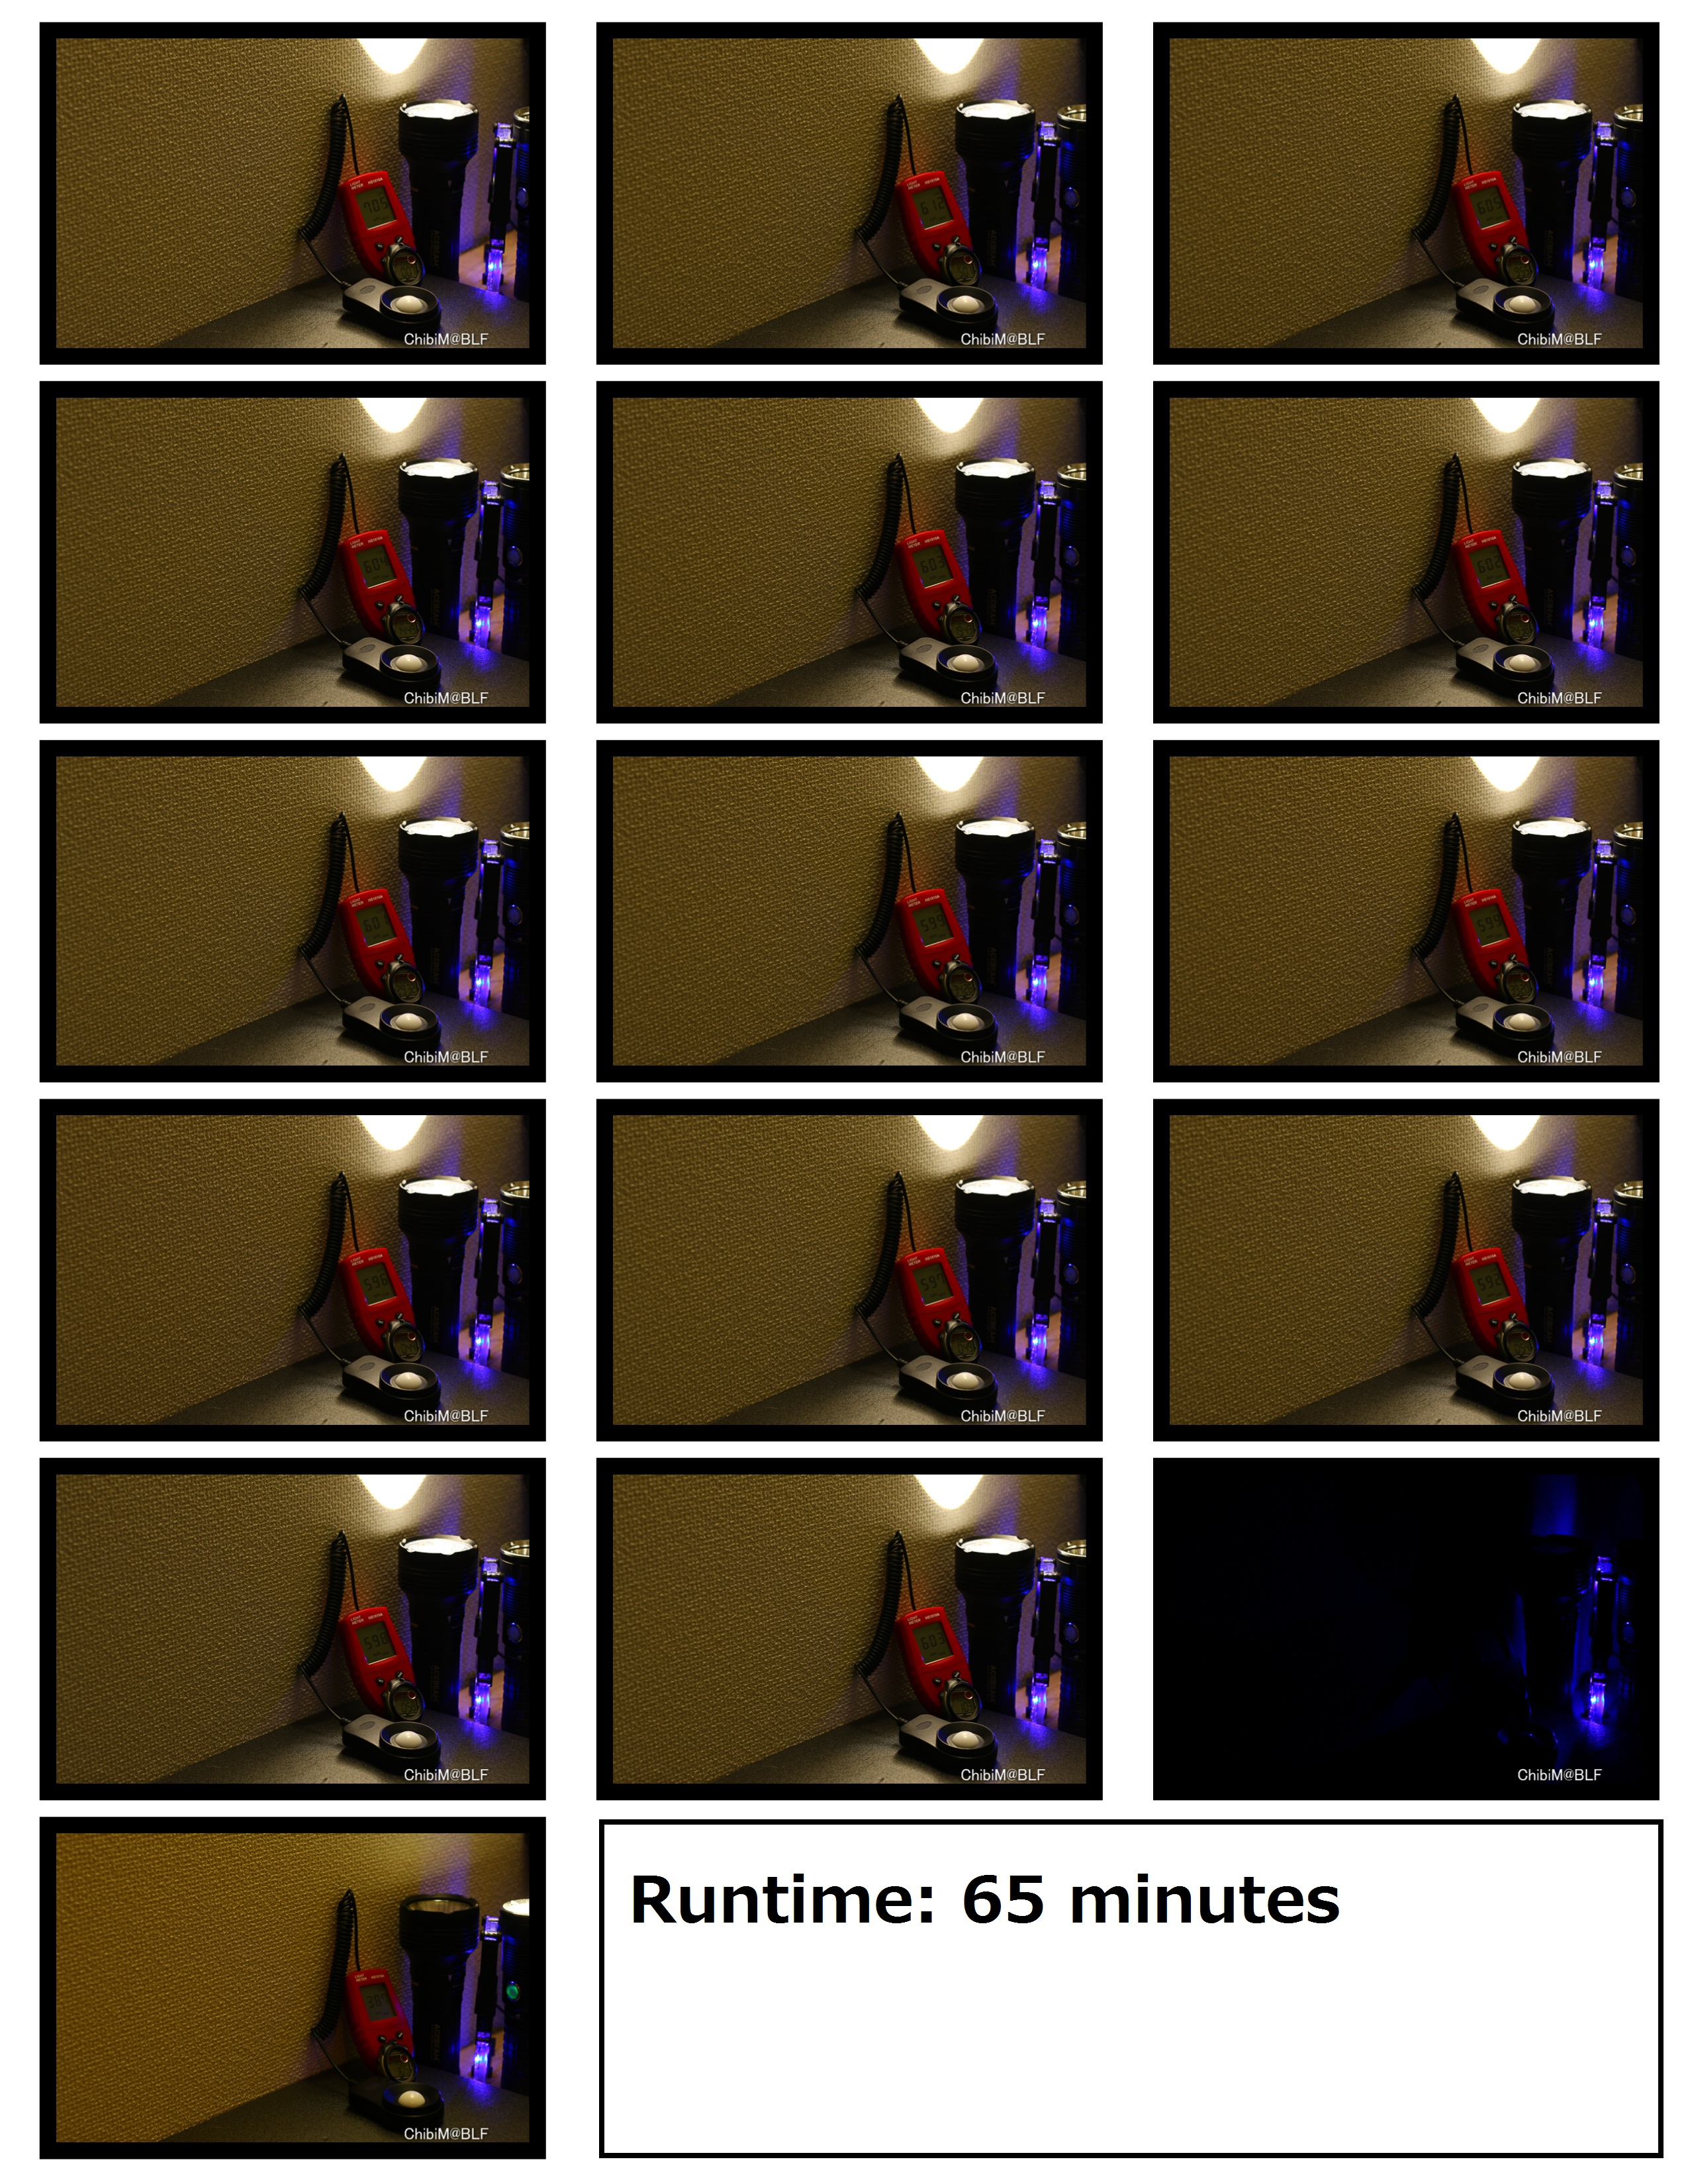
Click above for LARGE size
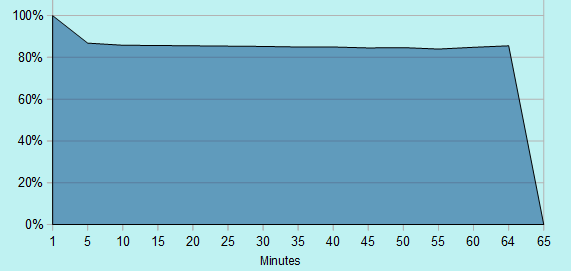
A runtime of 65 minutes..
Using 2 small laptop cooling fans
The output drops quite a bit within the first few minutes..
Just before the 1 hour mark, the K40M starts to blink as a Low Voltage warning.
And at 1 hour and 5 minutes the light turned off automatically. (65 minutes)
All batteries were just below 3V.
The BT3100 charger didnt want to charge them... but when you select Discharge Refresh it started to charge.
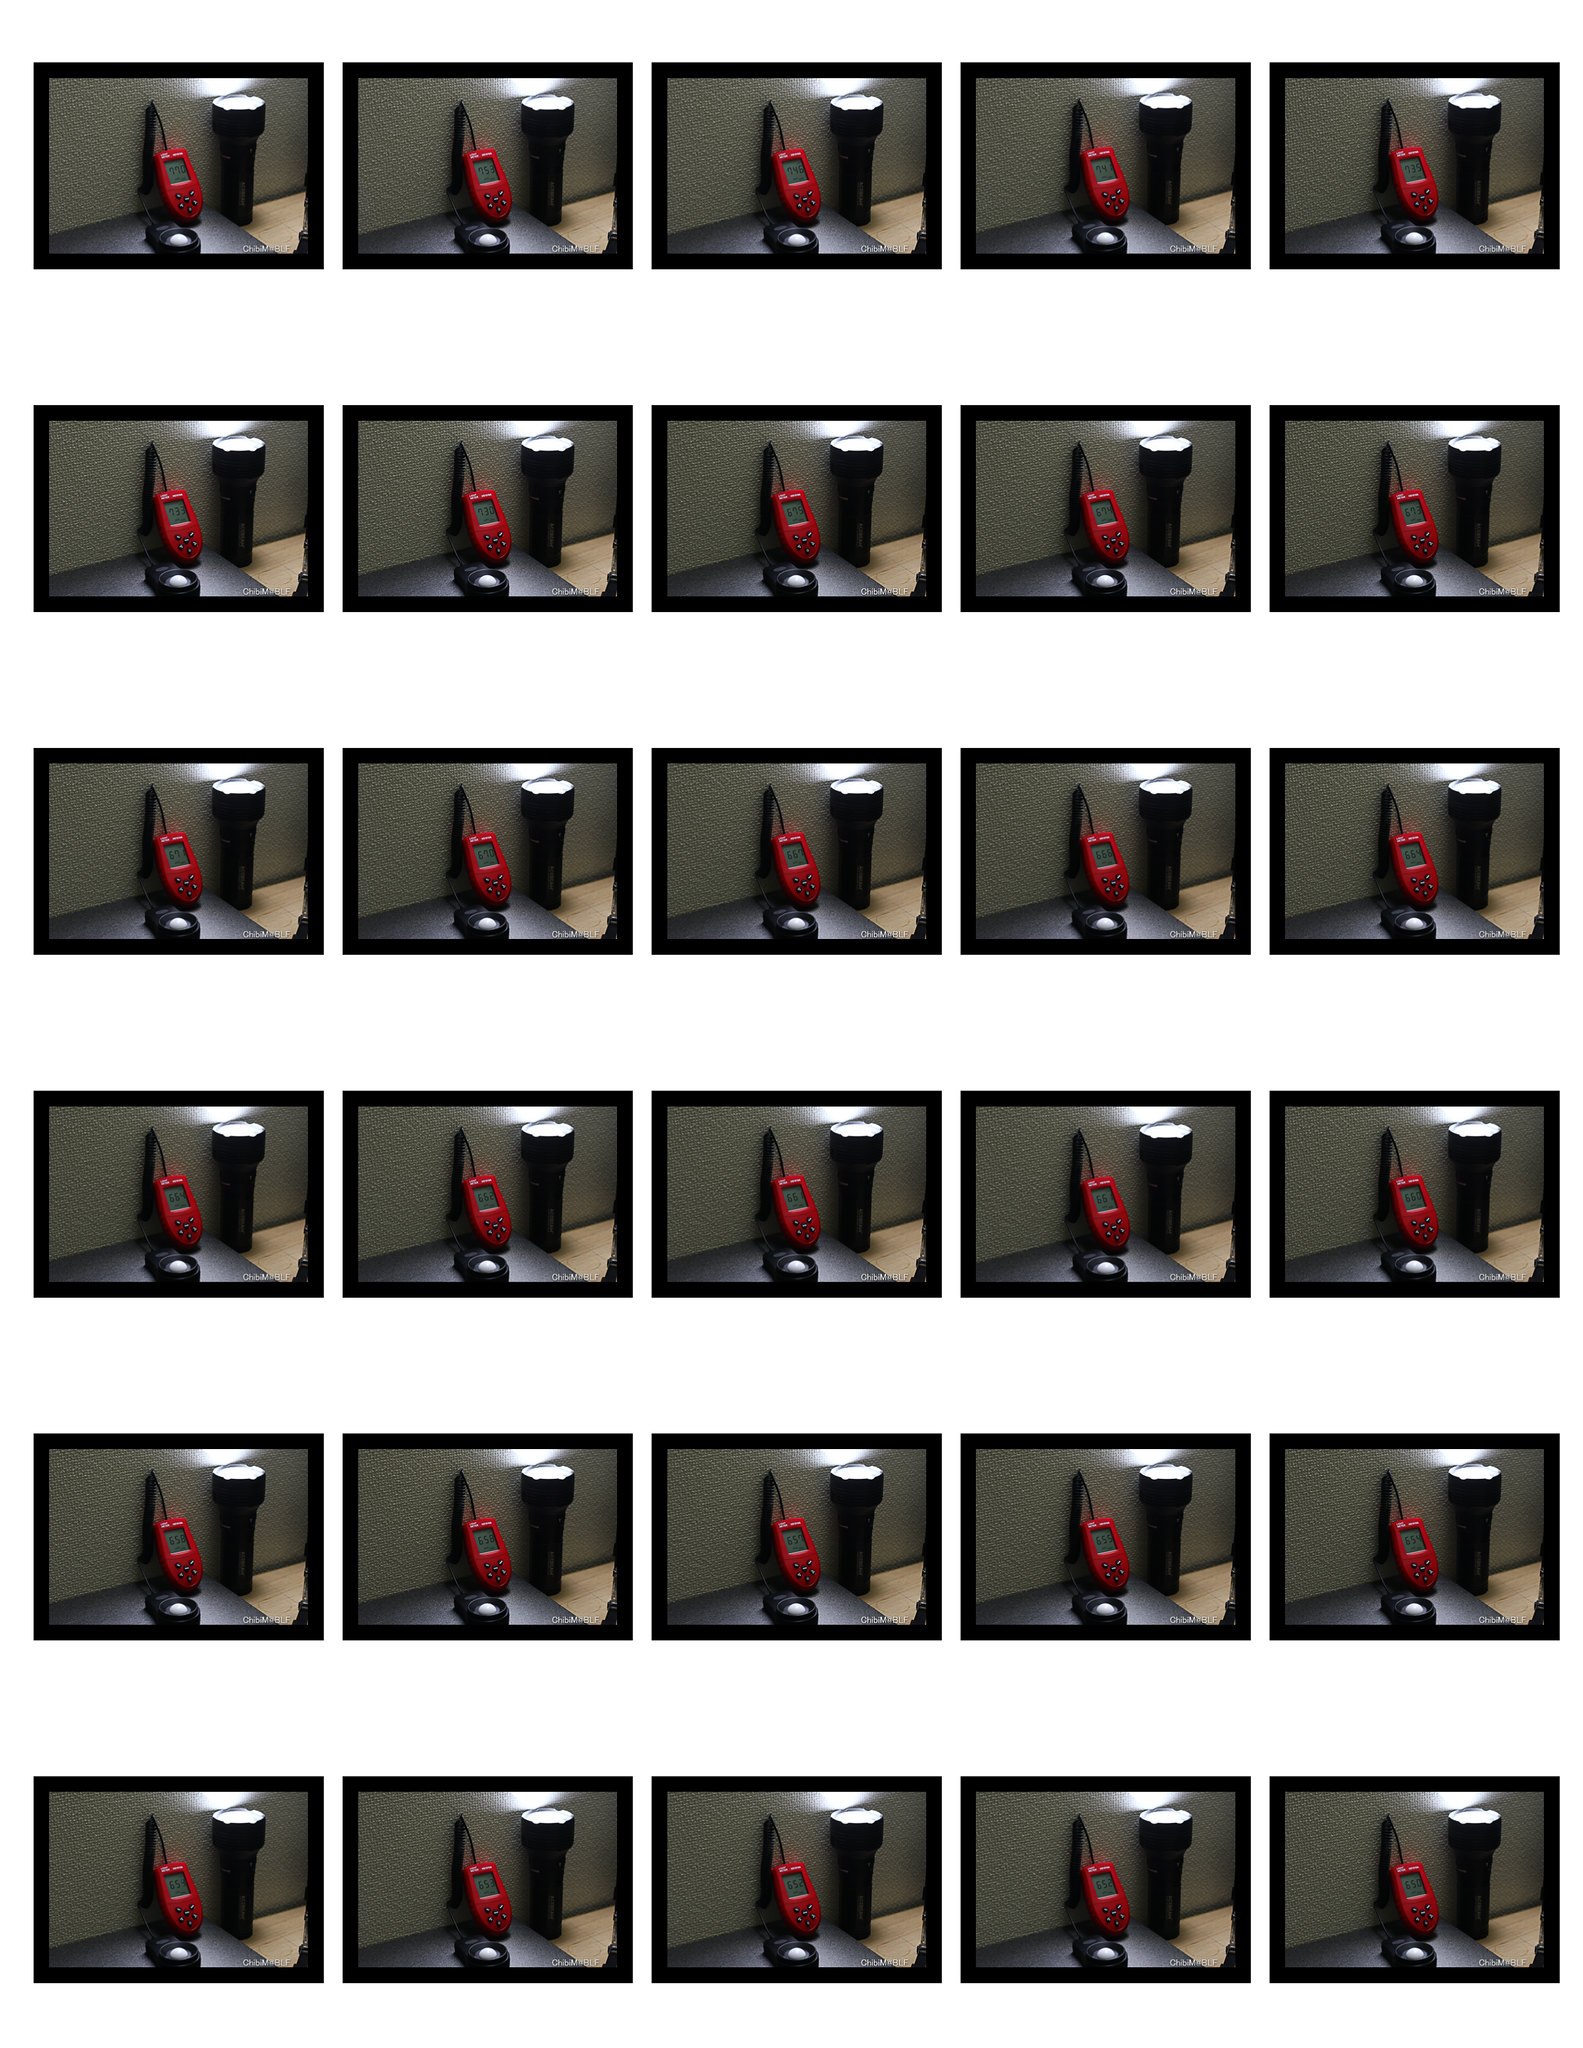
Next: Special close up of the first 9 minutes without cooling
Interval pictures at 10 seconds
click on picture for Large size
This time still used the unprotected Sanyo 2600 cells.

And all the info in an easy graph:
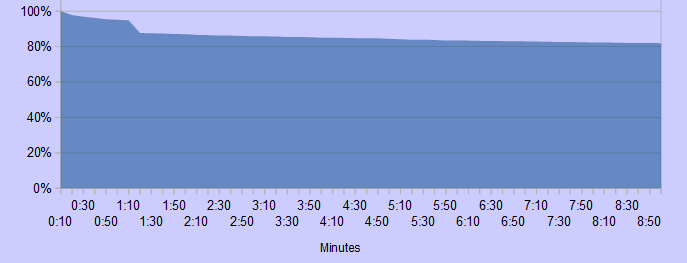
The output has a drop of about 20% in 10 minutes time.. Compare with output difference before with Pana 3400 cells. The 9 minute test was done WITHOUT cooling.
Level 5:
Click for larger pictures
Another graph to understand the runtime a little bit better:
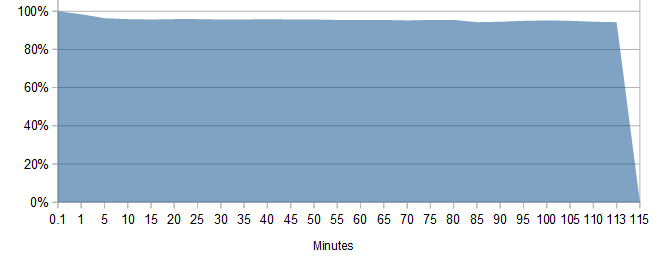
Runtime is 115 minutes, which equals to 1 hour and 55 minutes
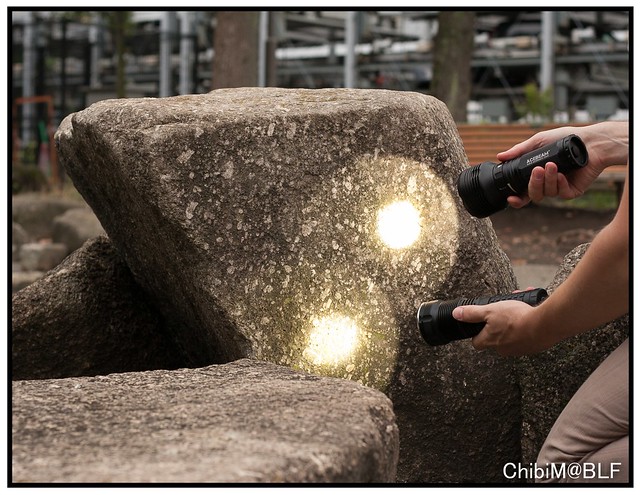
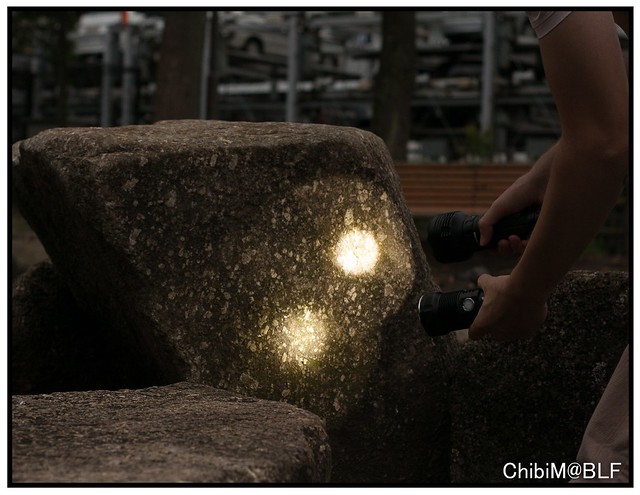
THROW: Measured at 5 meters in Level 6
- 62500cd within 5 seconds
- 57250cd after 30+ seconds
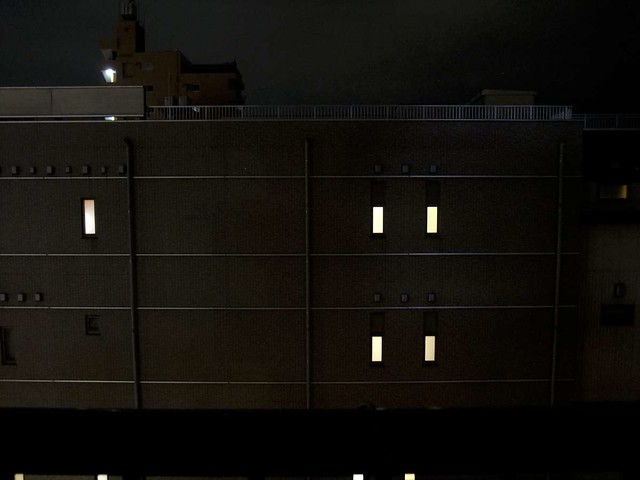
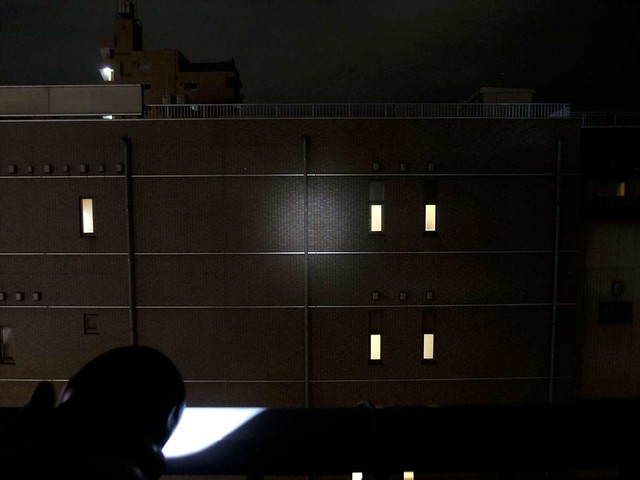
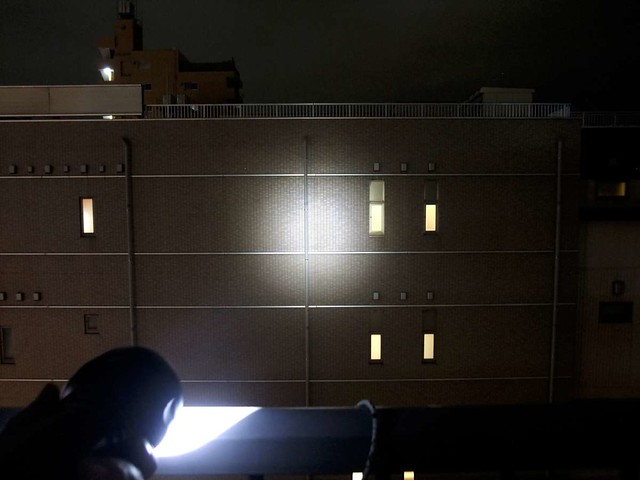
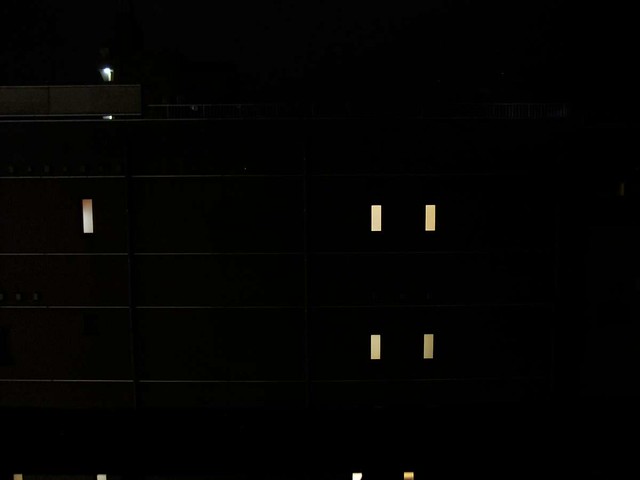
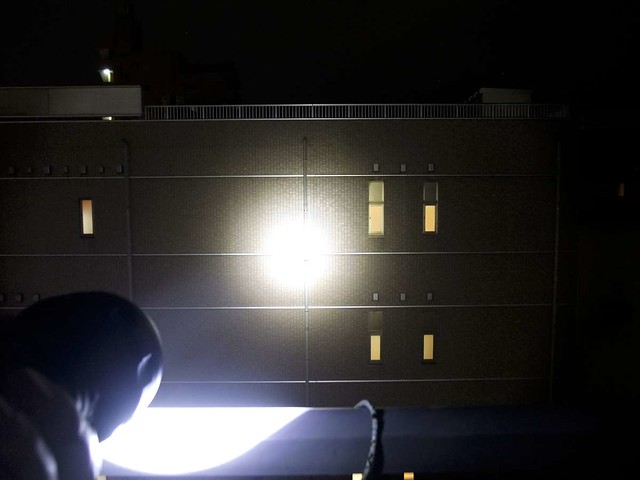
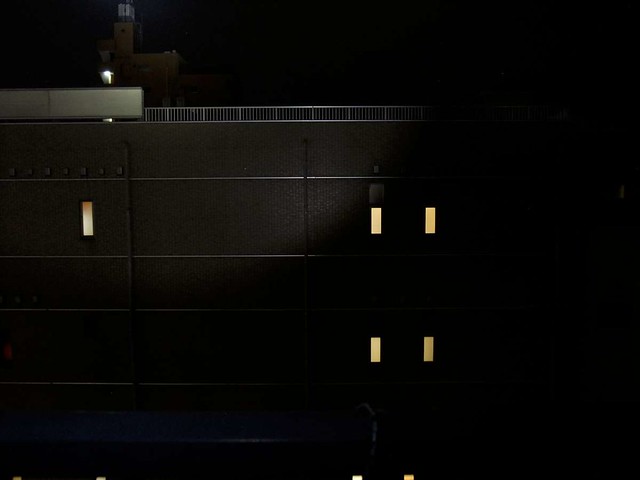
Beam shots:
Taken with a Fujifilm F200EXR on Manual setting ISO400 f3 ½ second
Click on pictures for little larger size
Control shot:
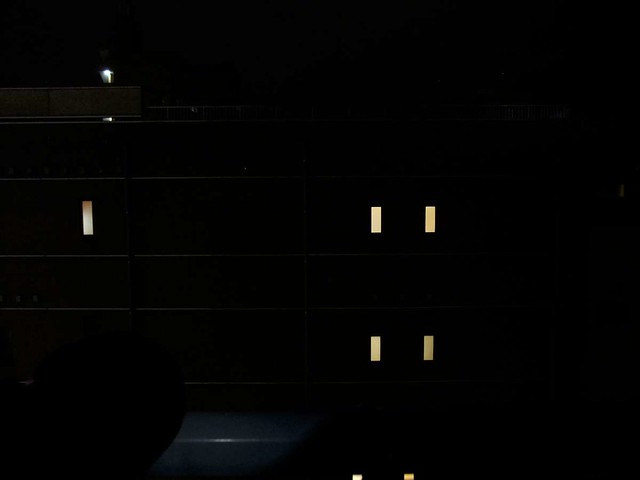
Level 1:
Level 2:
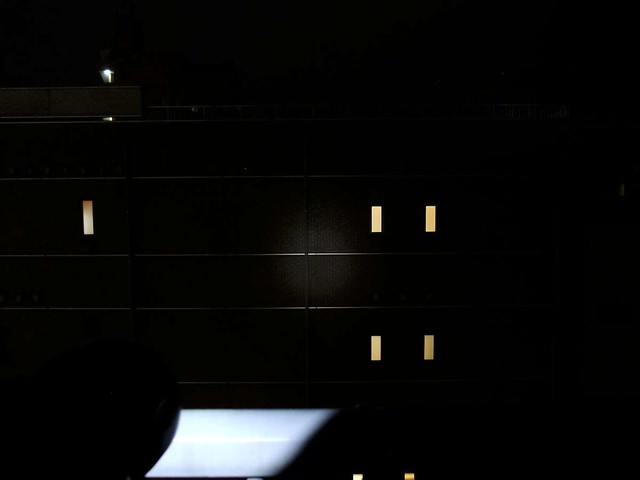
Level 3:
Level 4:
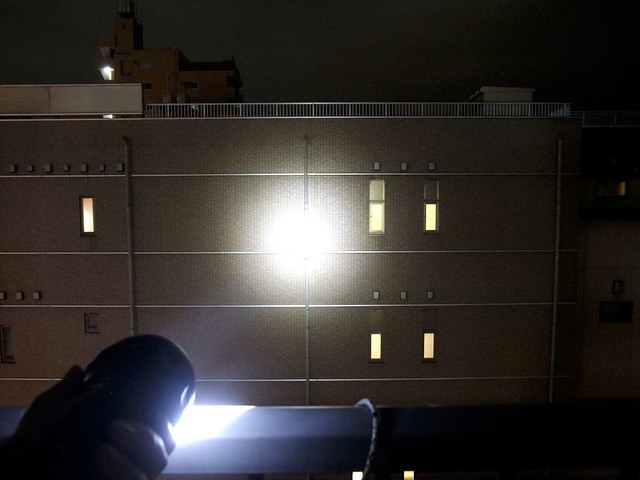
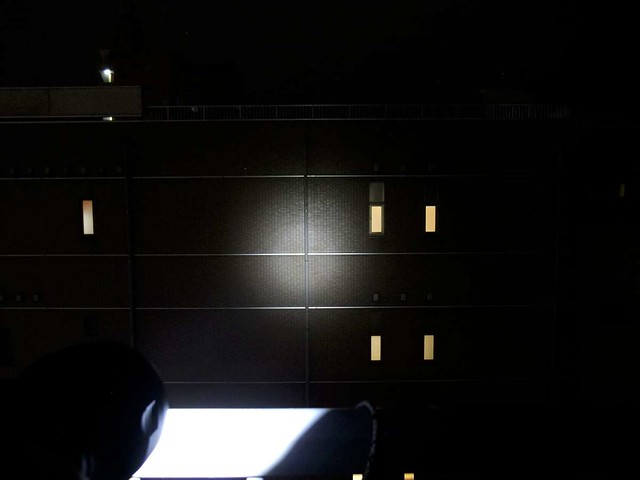
Level 5:

Level 6:
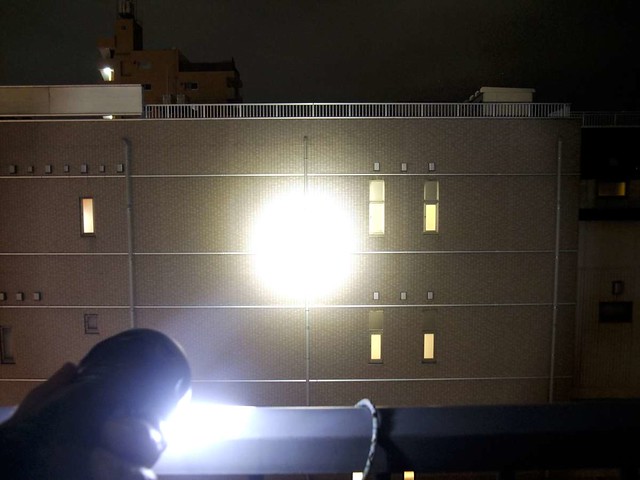
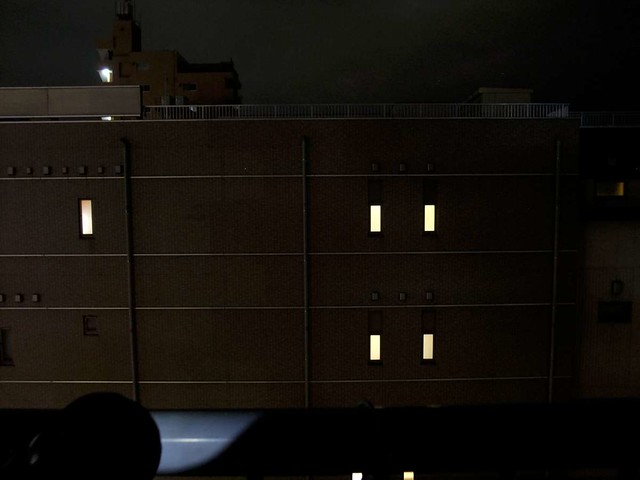
More shots, now taken on Manual setting ISO400 f3 1/5 second (to lessen the overexposure)
Control shot:
Level 1:
Level 2:
Level 3:
Level 4:

Level 5:

Level 6:
Conclusion
PROS
- Great value for the money at banggood
- 6 output modes
- Magentic control ring with indents to adjust brightness
- The Low is low enough (for me) on this type of light
- Not glued
- Tailcap switch for permanent Off
- Standby mode, so a 1 handed operation is doable (not that great)
- Low voltage warning
- Throws fairly well stock!
- Carrier can hold Flat and Button top cells...
CONS
- 20% output drop within 10 minutes (although impossible to see by eye, because it goes slowly)
- Grip (the knurling is very well done, but not very aggressive, could be slippery in some circumstances)
- 2 handed operation is almost inevitable.. Very difficult to control the light with only 1 hand
- No stainless steel bezel
- Smooth reflector is not completely smooth, but has some sort of rings (spots)
- Weight is a little balanced towards the front, but if you have nothing to compare it with, it isn`t so obvious
- Indicators for brightness levels are missing, and Standby and Strobe are too closely printed
Small photo gallery:

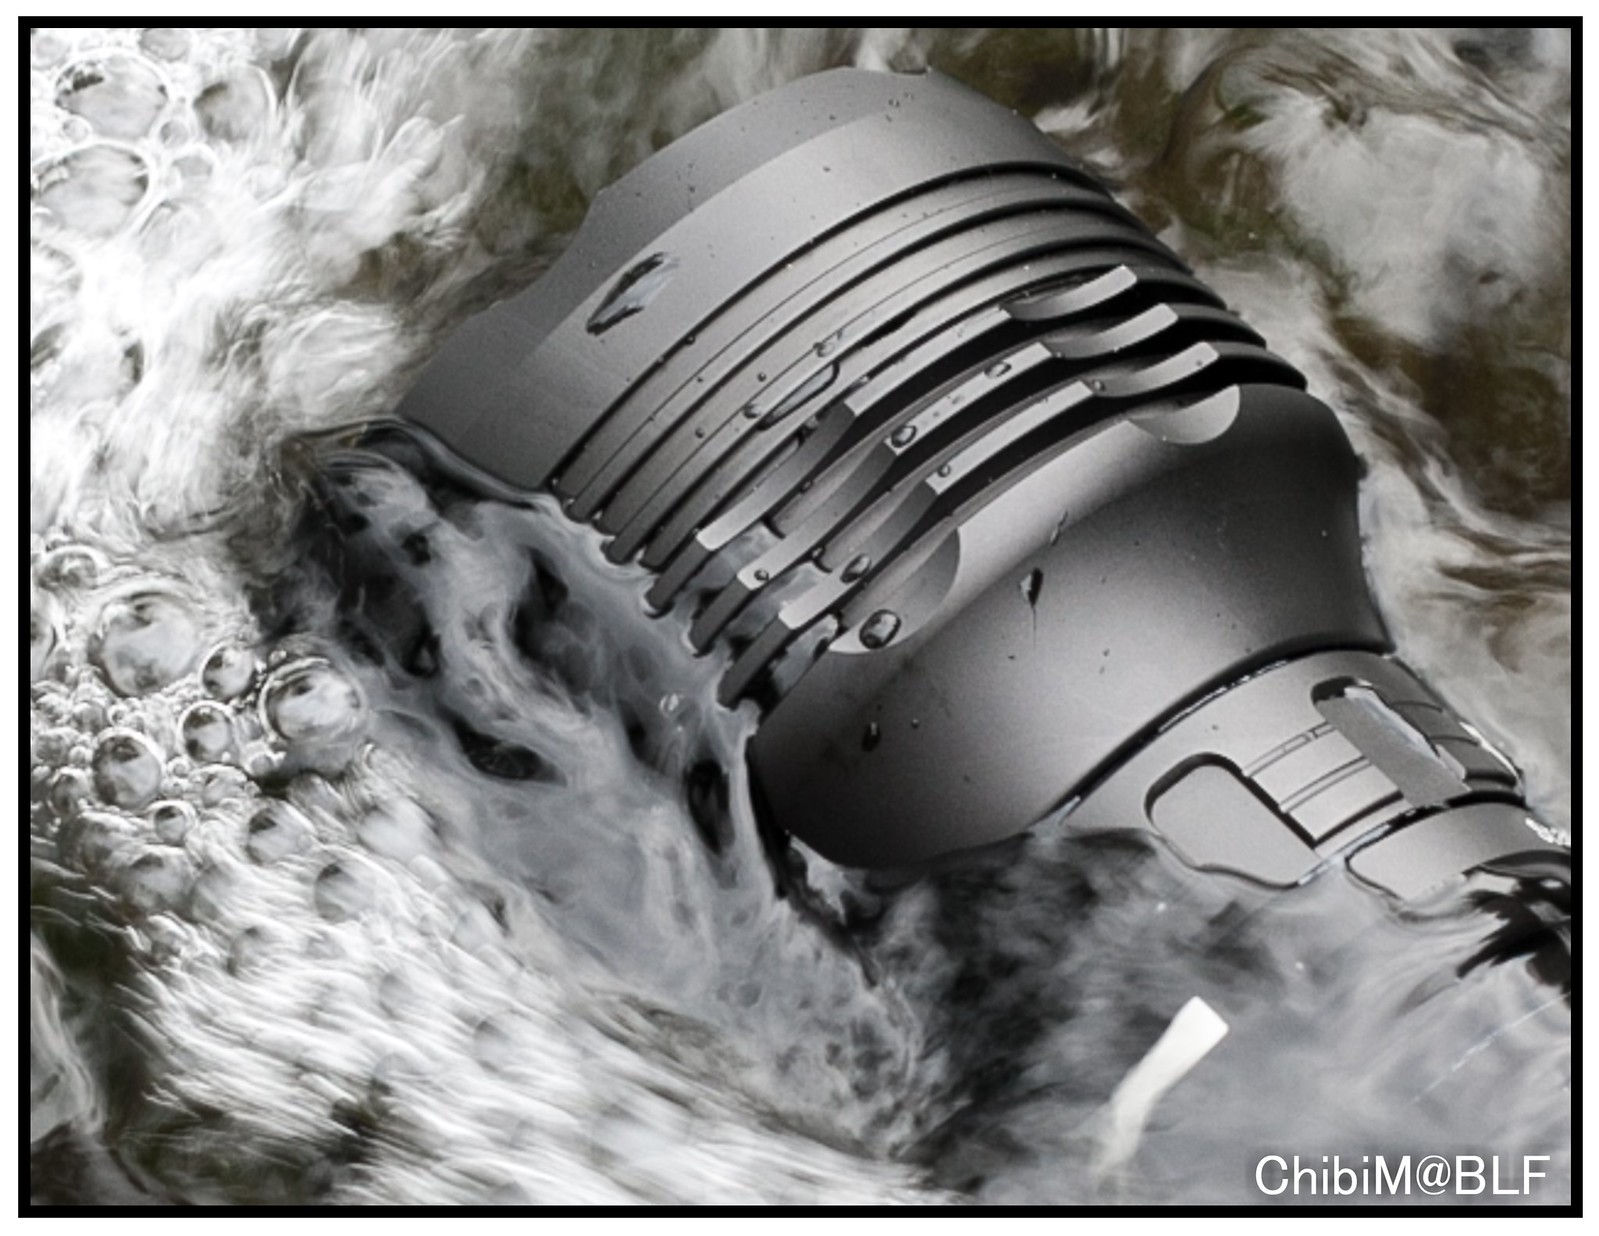
It did survive the 1 minute water test ;)

Useful links:

