The olight SR Mini new version upgrade as follow:
1.The material of side button is rubber.
2.The new version with the key lock function,press the button 3 times in rapid succession under the flashlight closed,so locking the flashlight.Press the button 3 times in rapid succession under the flashlight opened to unlock.
3.No longer provides its own flat-head or attack head replacement options.
4. The screw of head pressure ring (or attack head) is star hexagon screw instead of inside hexagon screw.
since the MAP police is everywhere pm me for price and code
I bought one of the new SR Minis a week ago, the fornt bezel is still removable and there is still a 2nd bezel in the package. I think going gear wrote that the SrMinis are now with fixed front bezels but i cant confirm that.
Trying to get around to writing a review for one of these. It’s not going to be positive. Sorry M4d M4x I wish I knew the light’s problems before I bought it.
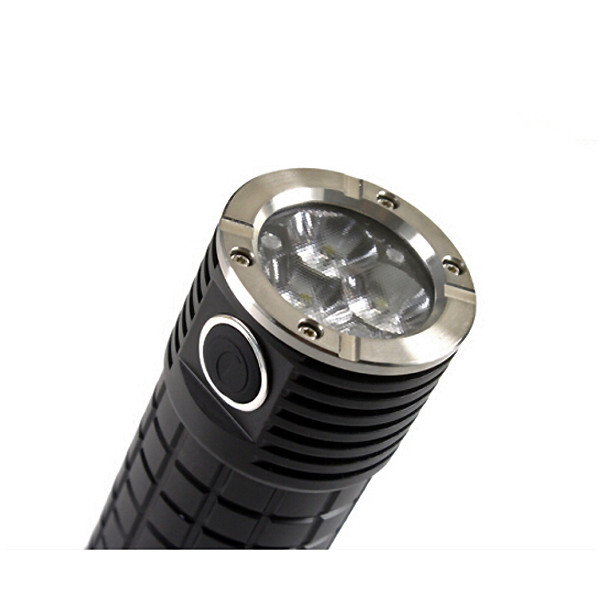
Is that normal that one of the three round lenses is kind of matt on the outer side, it looks like somebody touched the inner lens and leaving a fonger mark but im not sure, it could be a reflection from an inner part touching the lens. I mean the lens element were the power switch is, not the other two. When you look closely its kind of greyish matt on one side, the other two are ok but it could be normal. The thing is i dont have the tool to remove the front bezel, the included tool fits the 4 extra screws inside the package but not the ones already installed which is a shame, bad quality control again here. If somebody received the new version, are those torx screws ?
from the screws? the screws look identical to the ones on your picture above but this included tool does not fit, it only fits the 4 extra screws, this is strange. I want to install the 2nd bezel and i want to check if there is a fingerprint inside the lens or just a reflection from a greyish part inside. To me those factory installed screws look like torx with a star shape but im not sure.
The first pictures shows this greyish part in one of the lenses, is this normal?
the bezel is mounted with torx screws (as in the description for the new models)
the other four and the tool are hex nut. (i think that the manufacturer was faster changing the lights than the acessories)
i see the gray-ish part…
but without having it in the hand and playing around i won´t guess whats wrong.
could be so much
suggestion:
i am sure a mechanic will borrow you the torx for some minutes if you go there
just open it a turn and use a normal flat screw driverat home to remove then (be sure you have one that fit
then inspect the gray
and close it using the hex nut/tool afterwards
ive orderd a torx set from amazon, i hope one is small enough to fit. You mean use a flat screwdriver to lever up the lens? I hope i dont scratch it. Is it possible to remove the lens just with the fingers? Do i need to twist the lens or just pull it out straight? The greyish part looks strange to me, i hope this isnt mould or other organic stuff. I thought this is the reflection of the grey part on the pcb but when your SRMini dont have this problem it cant be a reflection. In the beginning i thought its moisture because it looks like moisture but this would disappear soon.
no - I meant that you use a borrowed torn for loosening the torx and the flat to screw it out at home so you do not have to disassemble the light where ever you use the torx…
a possibility could be a Hornbach or obi
but you already bought tools so that’s not necessary any more…
This grey part was like a talcum powder, maybe from rubber gloves but when i wiped it away the clear lens is still a bit mat, so its permanent. The PCB board is still loose