I have done this mod two times now because after modding it is a great flashlight to give to non-flashoholics: lots of wow for the output and throw, they love zoomies anyway, and USB-charging inbuilt so it needs not giving a charger as well.
And I wanted for some time to post a mod with every step included with lots of pictures, because in modding threads the for experienced modders basic steps are often left out (I do), and perhaps this encourages people who are new to modding a bit. The mod is not extensive, i.e. I keep the original driver in, stick to replacing the led with a dedomed XP-G2 and beefing up several critical positions in the electrical path from battery to led to lower the resistance and thus increase the current and output of this direct drive flashlight.
The Supfire A2 is an elegant tube-style 18650 zoomie with an electronic switch that in build quality and also optically is very well done, but the driver is rather clumsy with low frequency PWM and the outdated hig-med-low-strobe-SOS user interface. I still keep the stock driver in the light because that will keep the USB-charging intact and it keeps the mod simple, and for non-flashoholics it works well enough, they are even very impressed by it. So these are the only parts I'm going to use:
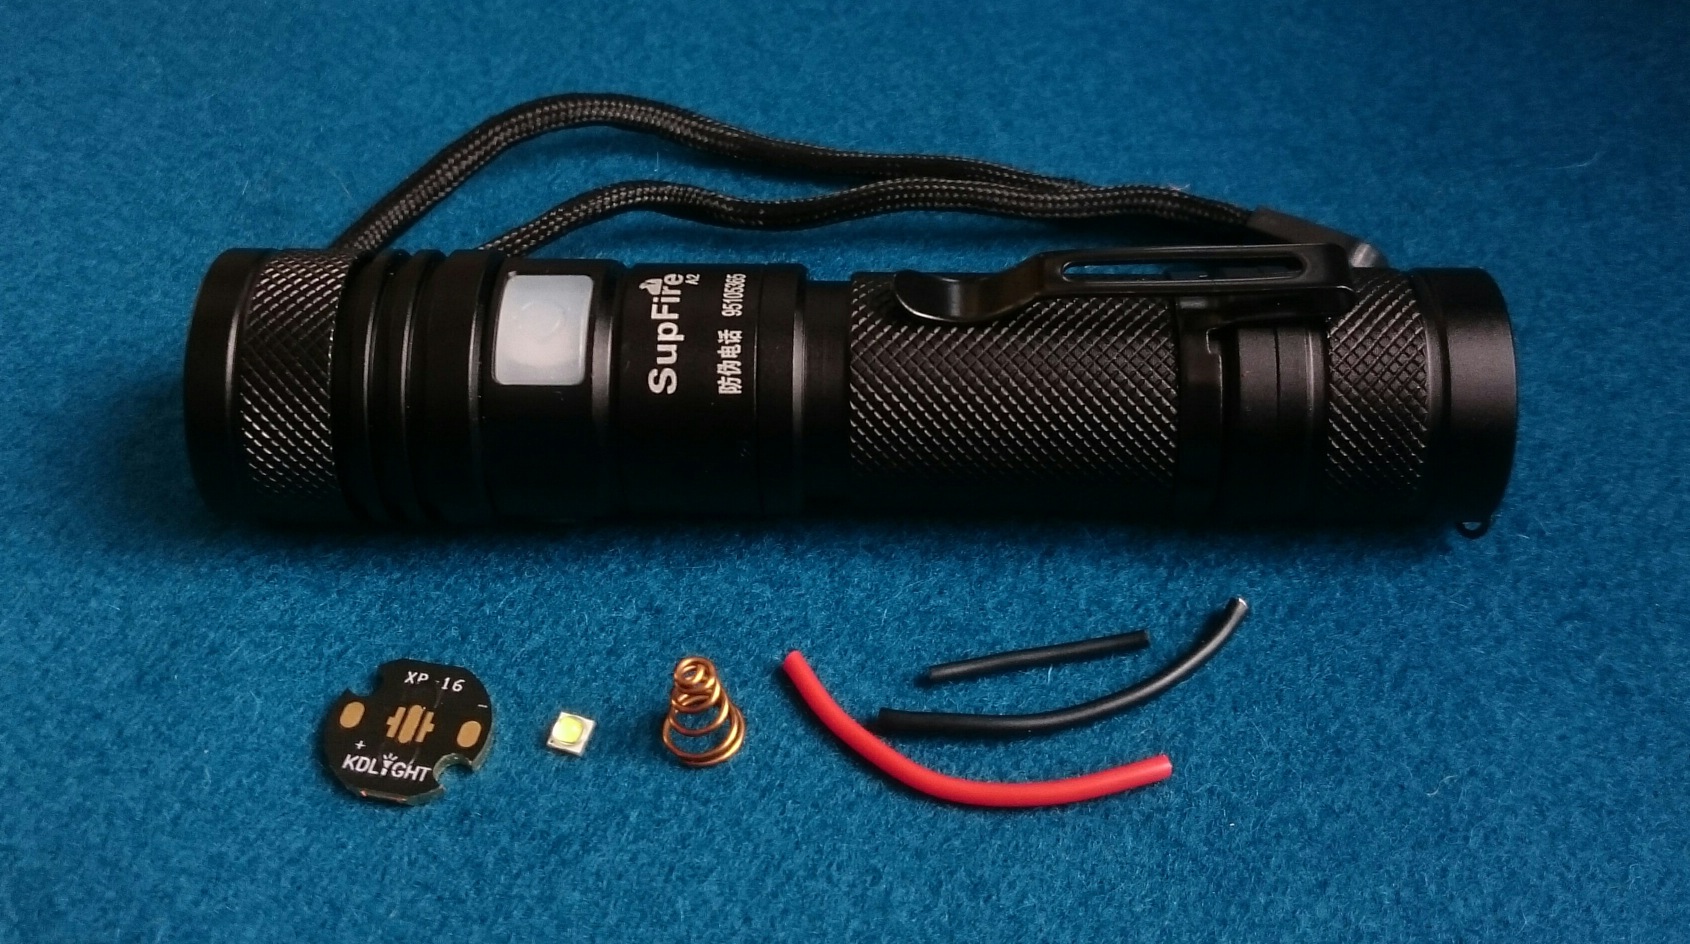
-Supfire A2 flashlight (I bought three at Hobbyking, that came at $14.50 a piece shipped)
-a 16mm diameter DTP XP-board from Kaidomain.com ($1.50)
-a XP-G2 S4 3D led from intl-outdoor ('new production type' , $2.98)
-a 'carobronze' spring from Fasttech ($0.12 a piece)
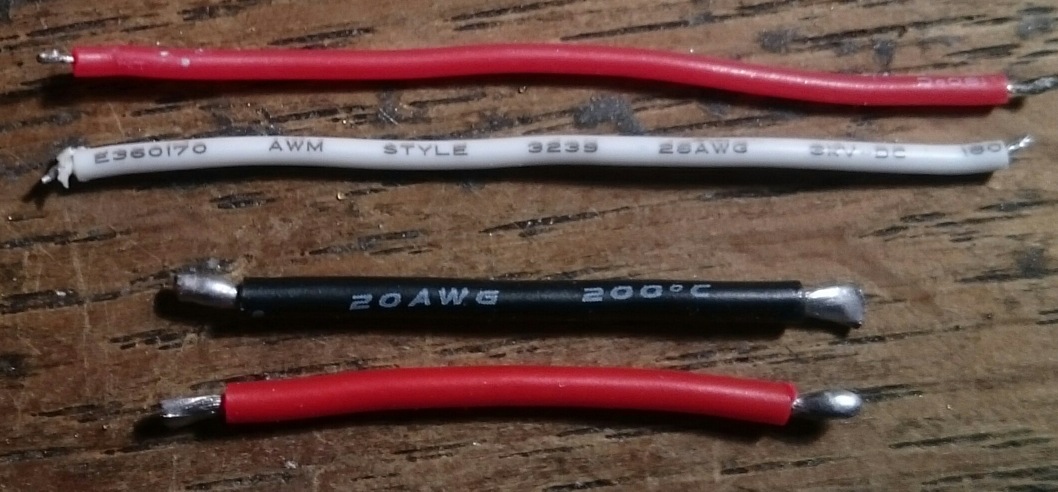
-some pieces of silicon wire, 20AWG for the ledwires, 22 AWG for a spring by-pass ($0.10 ?)
Total just under $20
That is all, it must be a simple mod. But look at the tools I used for this mod! I made a nice collage and will explain what is in there:
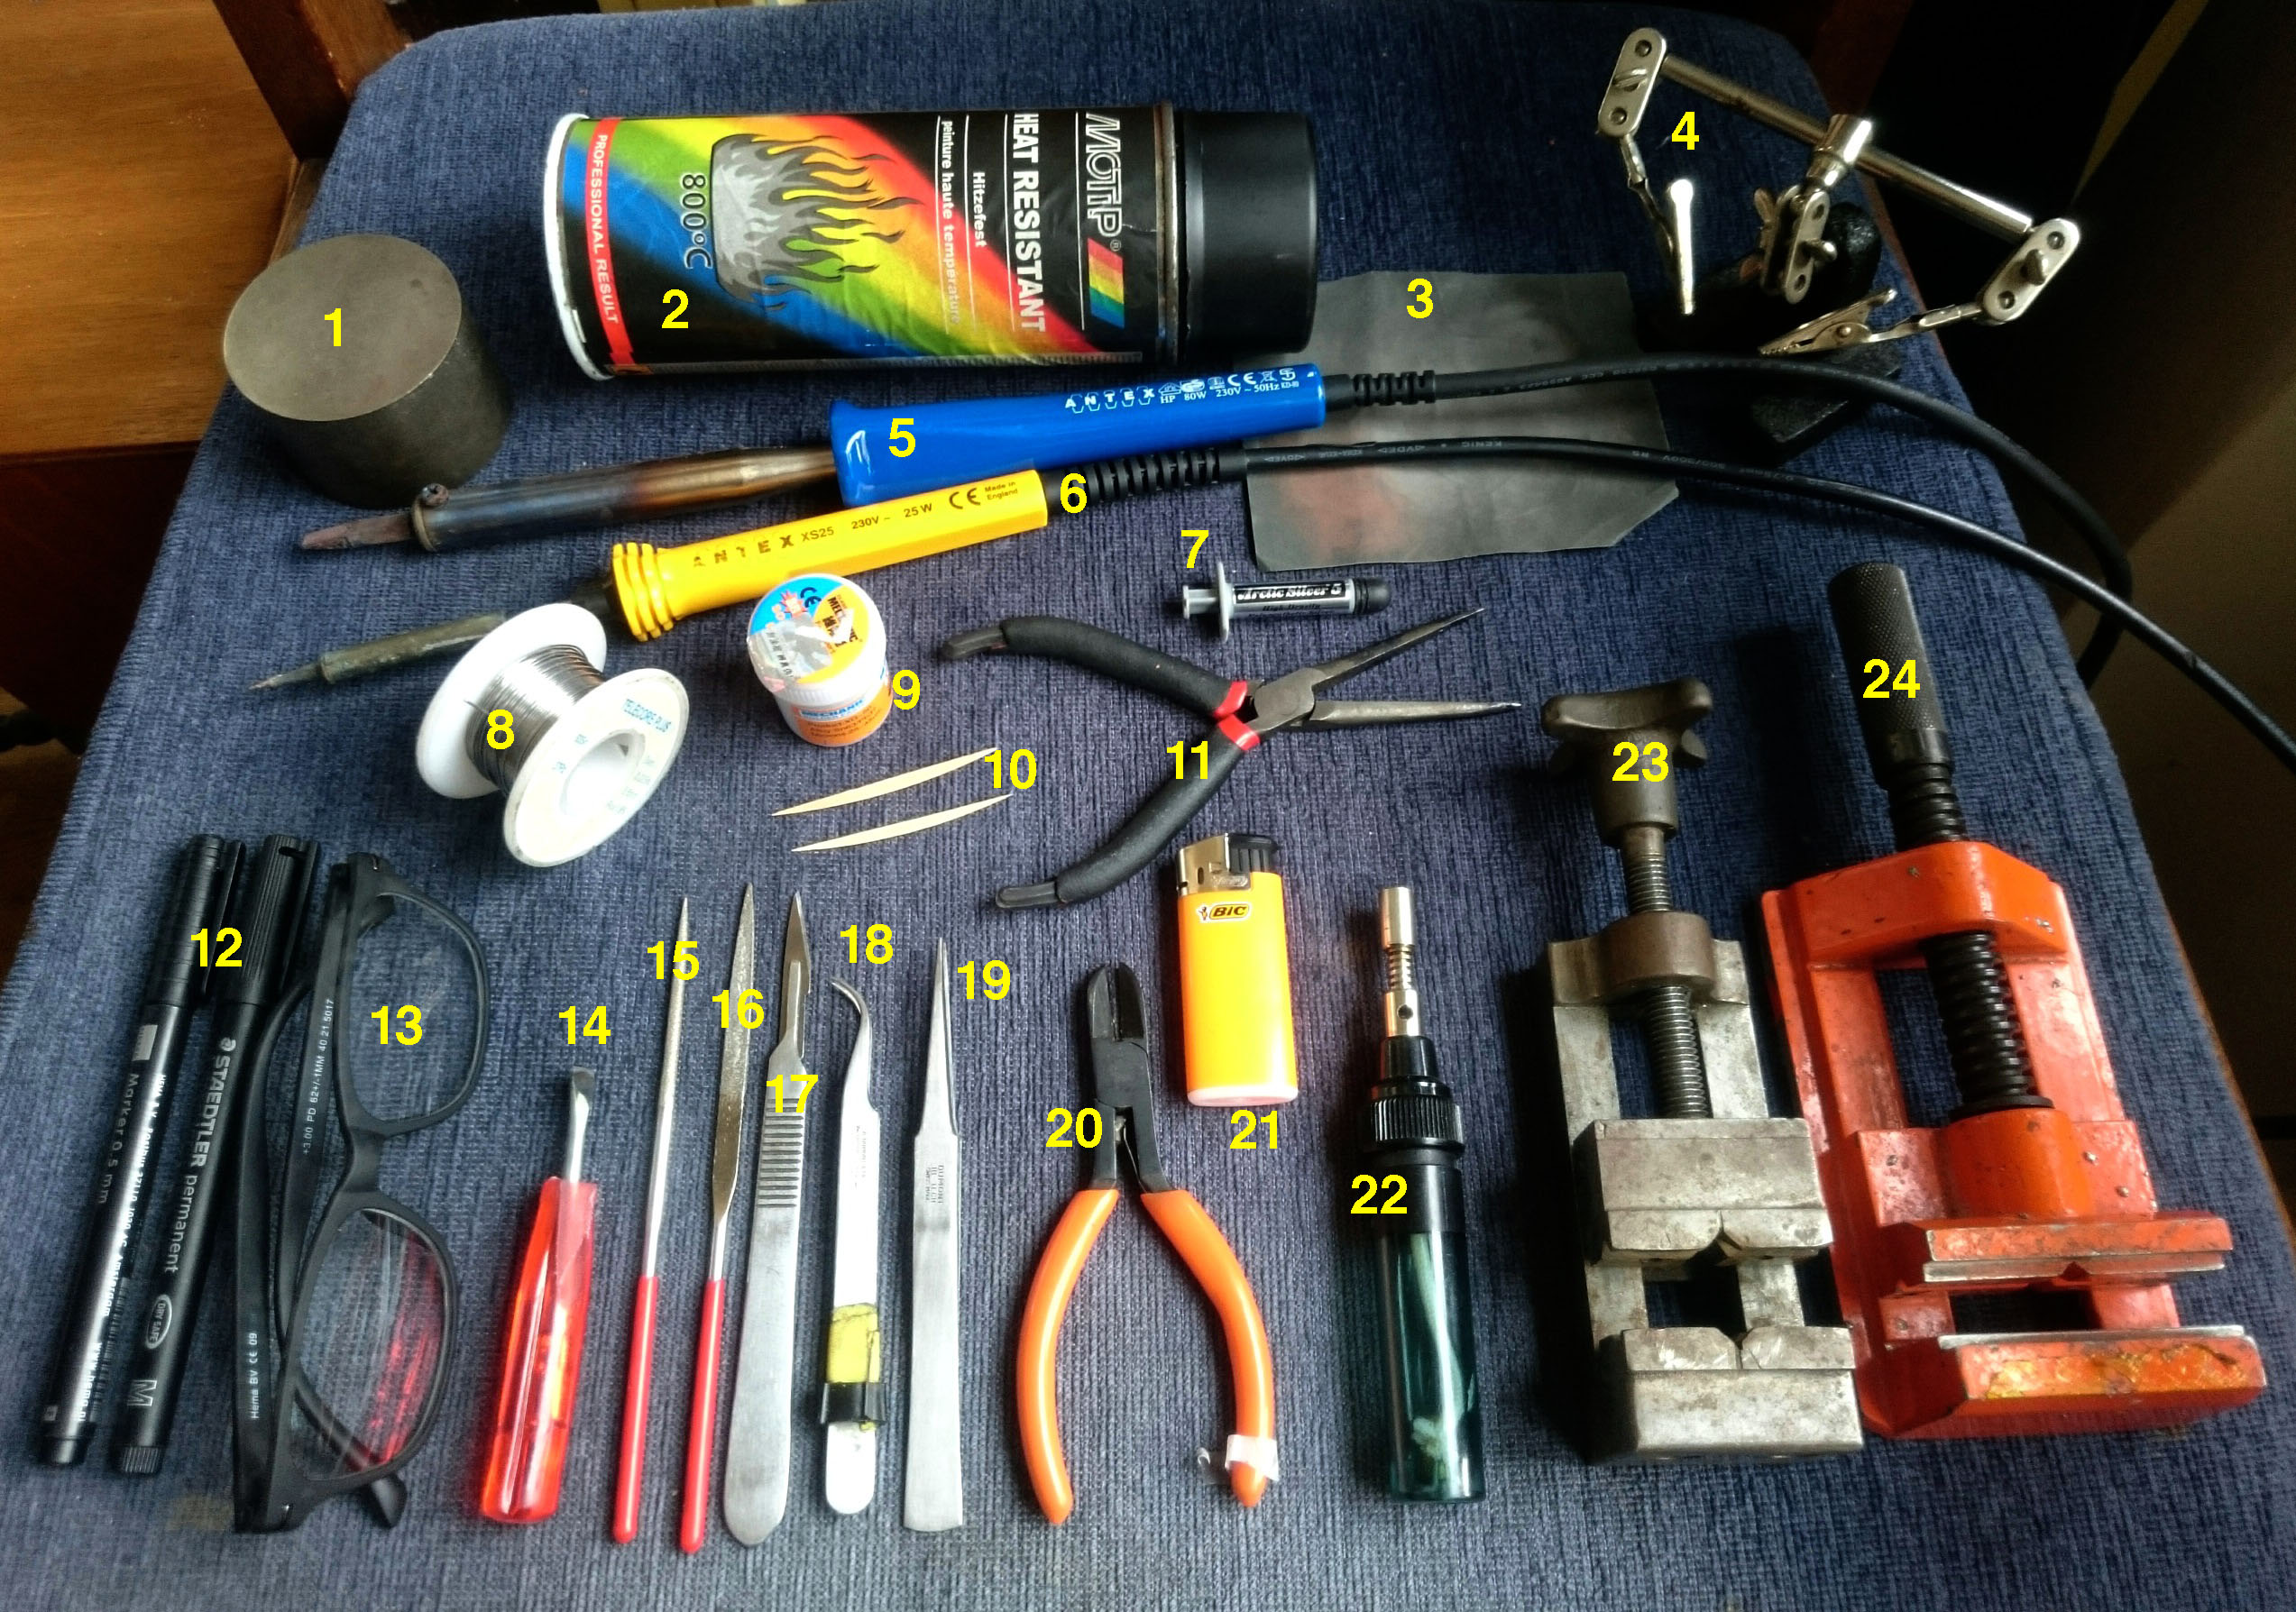
1) chunk of cast iron, I made the top perfectly flat to an almost mirror finish (but the shine has worn off and little scratches appear), it is my base for anything I want to sand really flat
2) heater paint, for anything I do not want to reflect light. It does not give a perfect flat finish, but works reasonably well
3) 400 grit sand paper. I always use 3M paper, it sands way better than anything else I have tried before
4) rather old and deformed helping hands, I should buy better ones, but these still work ok
5) 80W chisel tip solder iron, aka 'The Beast' , bought it a year ago and I love it, it is sooooo hot, can solder almost anything chunky, perfect for DTP copper boards. Causes deep skin burns too! :-(
6) 25W fine tip solder iron, for all electronics. While modding I keep both irons at hand
7) Arctic Silver 5 thermal paste. I know there are newer thermal pastes that transfer heat better, but I think this stuff is very pleasant to apply which is more important to me
8) 63Sn/37Pb 1.8% flux 0.6mm resincore solder wire, bought in China, have it so long that I forgot where
9) 63Sn/37Pb 25-45micron solder paste (from Fasttech, perfect stuff)
10) tooth picks for applying solder paste or thermal paste, I use matches as well
11) needle nose pliers. I filed the tips a bit sharper so it fits almost all holes. For unscrewing all sorts of rings and pills
12) fine tip permanent markers. In this mod I blackened the led around the die with one.
13) +3 reading glasses. Good for close-up work. but since a few years need reading glasses anyway
14) old screwdriver that I ground into a very sharp chisel. To remove edges off screw holes and other irregularities in flashlight pills
15) and 16) small round and flat diamont files
17) scalpel
18) and 19) quality tweezers that have stood a lot of abuse!
20) small diagonal cutter
21) lighter
22) small blowtorch (I think from Fasttech)
23) antique iron vice
24) aluminium vice. I found that aluminium is more grippy on stuff than iron, without cutting into the object so much
These are the tools for this mod, and in general the majority of modding tools that I use for flashlights. A few things that I regularly use and are not in the picture: small bandsaw, drill press, disc sander, home-made heatblock for reflows (but in this mod I just used a blowtorch), a quality stereo microscope (I did use it in this mod actually, for the hot dedoming of the led), big block of steel used as anvil to hammer things flat.
_________________________________________________
On to the mod.
The Tail
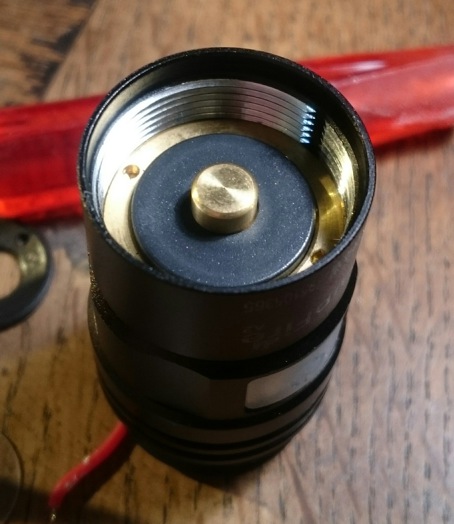
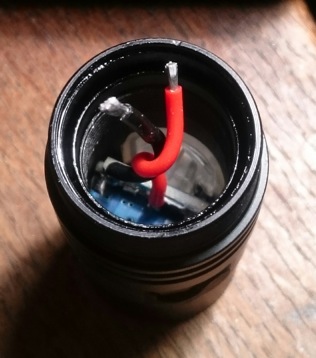
I first improved the tail, which in the stock light it is all pressed connections from battery to the base of the tail, with an iron spring.
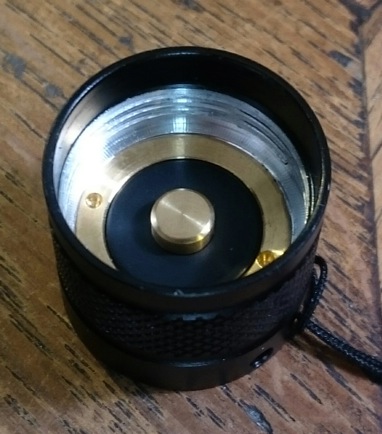
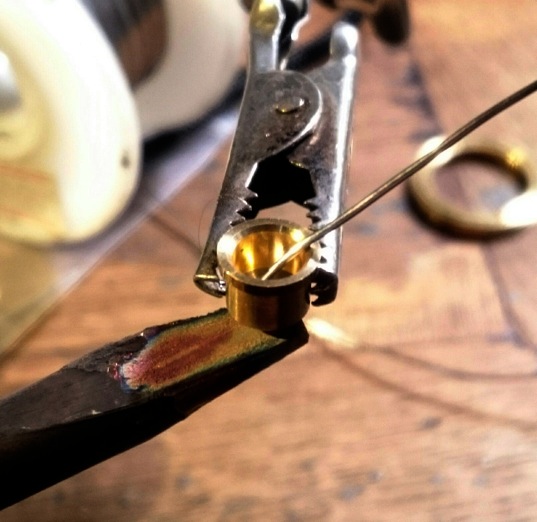
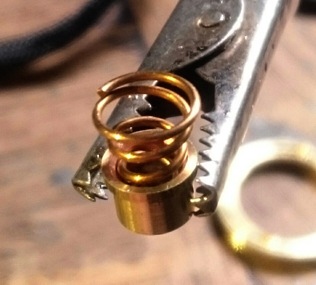
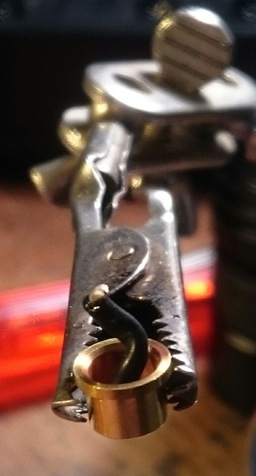
I have replaced the steel spring with a carobronze spring that has three times less resistance, and also soldered the spring into the brass cup, to remove at least one 'loose' connection.
I use The Beast to fill the bottom of the brass cup with solder, and then solder in the spring. I sanded the base of the spring clean and a bit flatter, then the tail was re-assembled.again.
The pil with the led
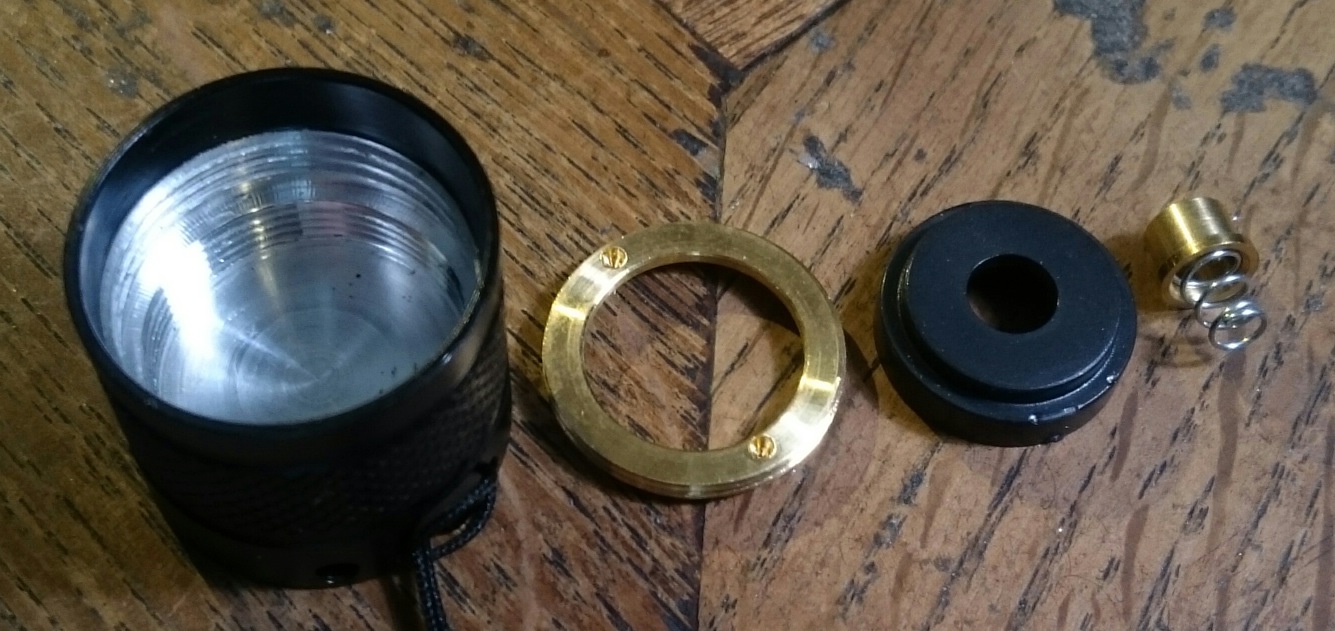
This Supfire A2 has a screw-in pill but it does not hold the driver, the driver is deeper in the head and is connected to the pill with two rather long and thin ledwires.
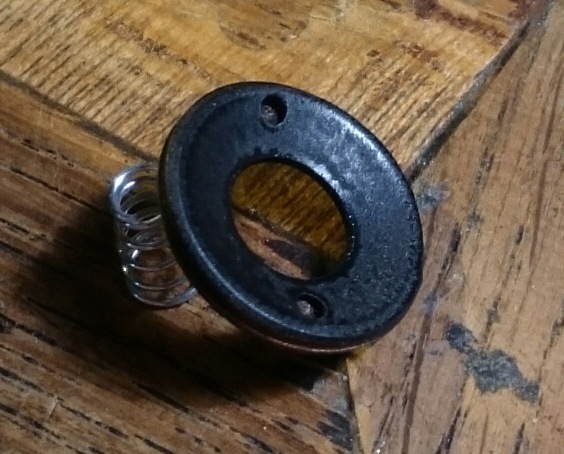
I like that there is a ring that screws the ledboard down, but I want it black instead of light brown to obtain a clean beam. So I sanded it rough and applied two layers of heater paint, baking the paint with a blowtorch under the ring.
Not perfect, but way better. This is the assembly of the ledboard, that clear stiff plastic ring btw is perfect for screwing down the above ring with force without causing shorts with the solder blobs from the ledwires:
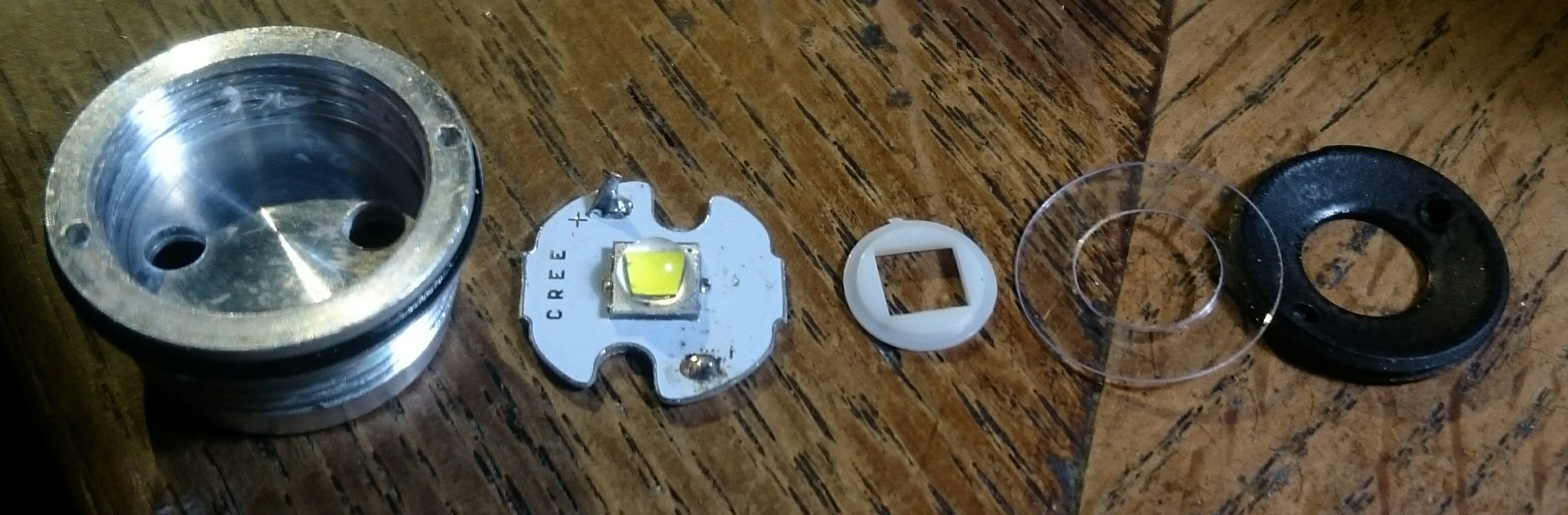
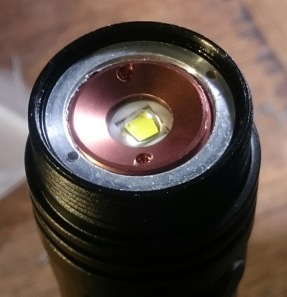
But the XM-L2 led on the aluminium has to be replaced with a dedomed XP-G2 on a DTP copper board. The led centering piece is not going to be re-used.
The reflow of a XP-G2 S4 3D on the 16mm Kaidomain board:

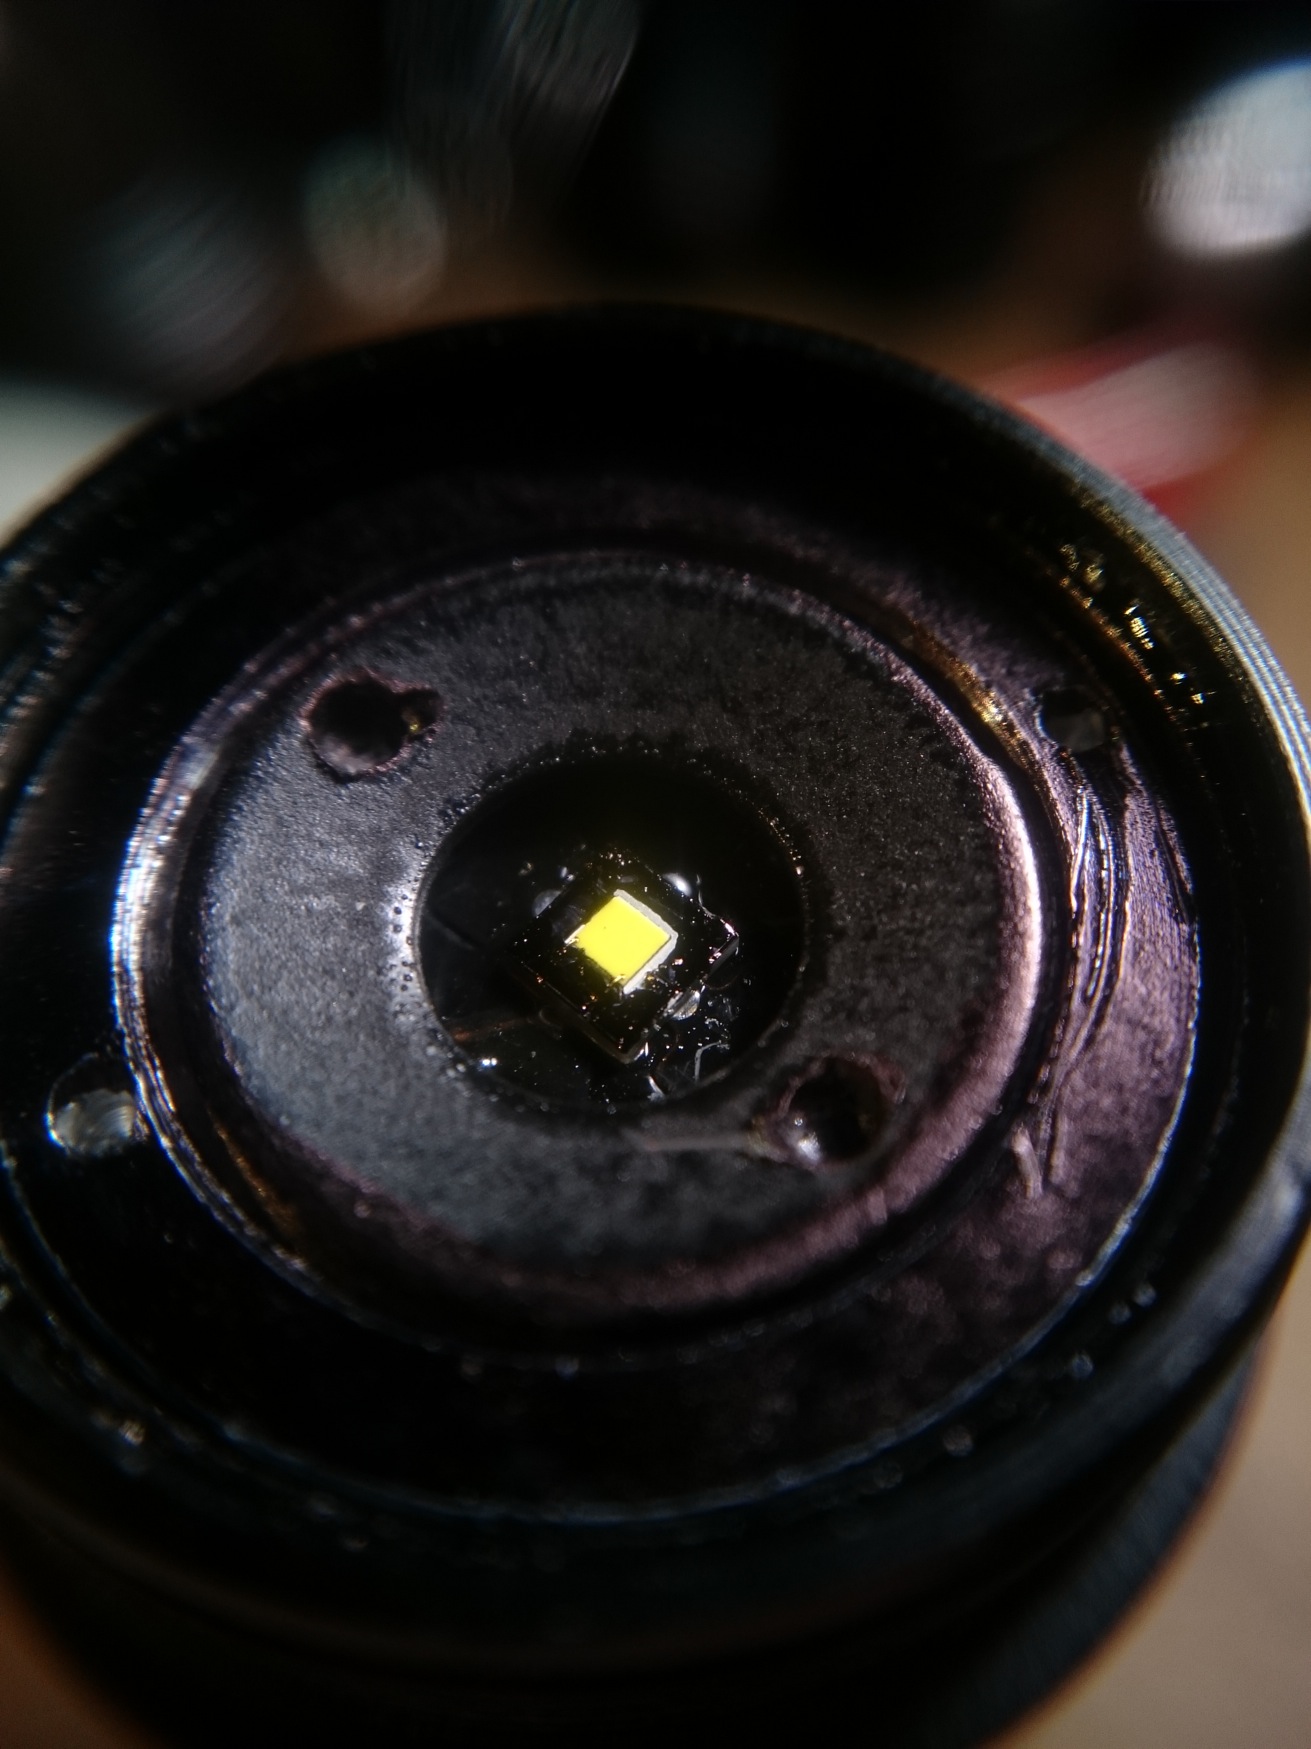
Direct after reflow I dedomed the led still hot with a scalpel under a stereo microscope. I have no video of that but you can find older examples of it on my youtube channel. The dedome went not perfectly, a small edge of the phosfor came off, so there will be a blue stripe in the beam (which does not affect the use of the flashlight and is perfectly ok for a muggle  ) . With a marker I blackened as much as possible around the die, to get an as clean as possible projection of the die in spot modus of the flashlight.
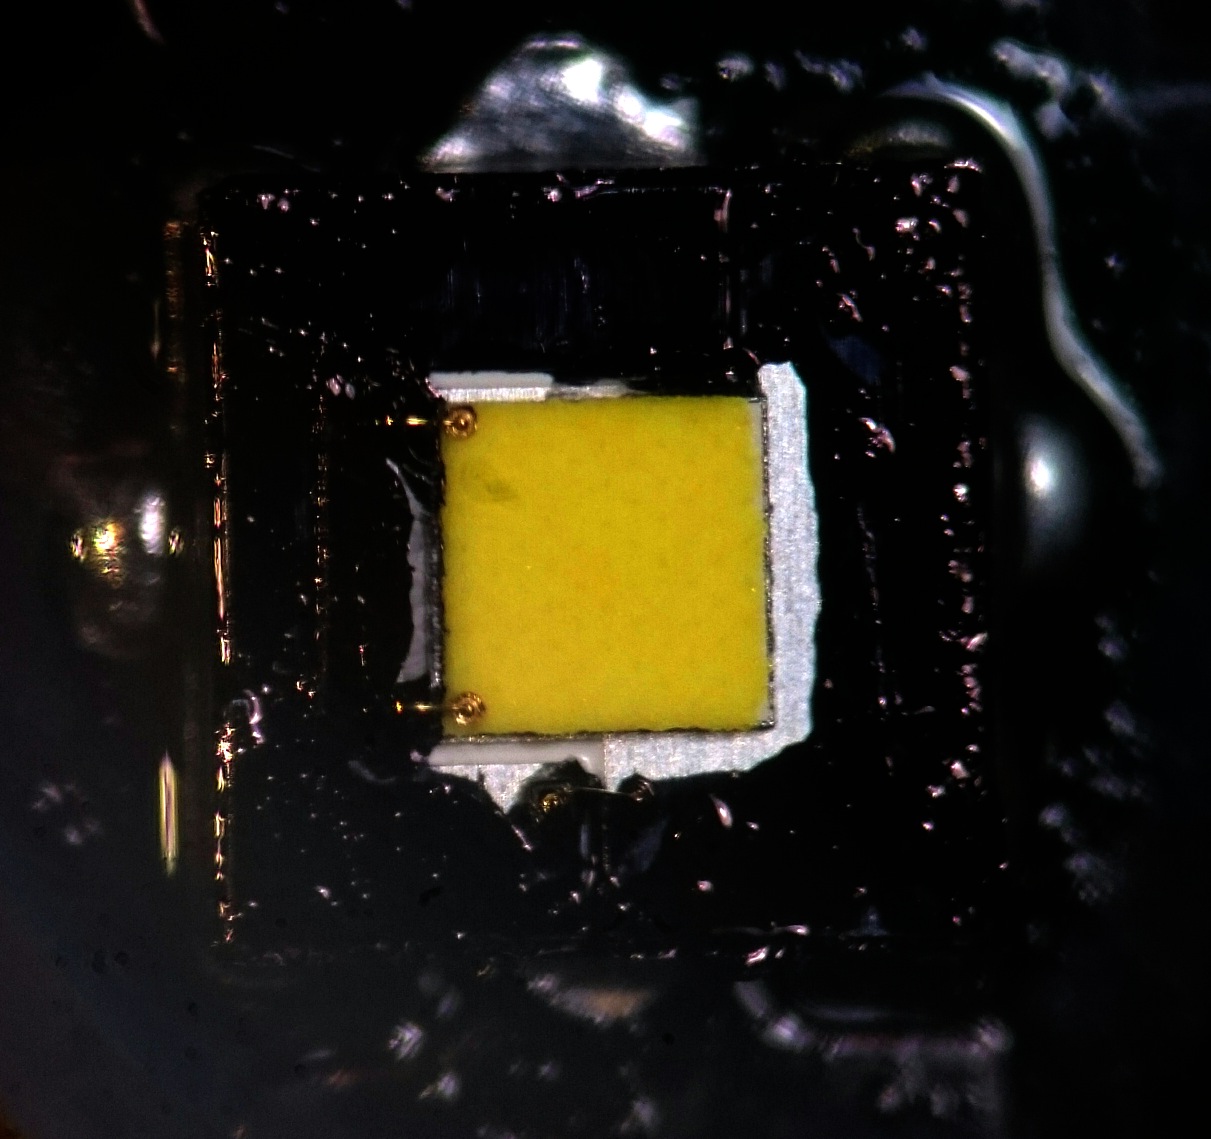
For the keen eye, you can see that this is the new production type of XP-G2, it has a slightly bigger die with the many more dots. (throw will be a bit less than the old style, but the tint is better)
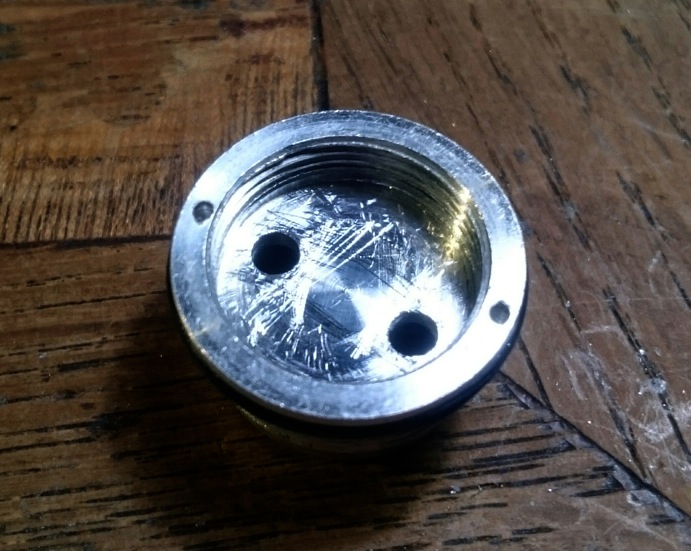
This is the pill after I treated it with the screwdriver-chisel to cut off anything sticking out. It looks horrible but the ledboard will be much closer in contact with the shelf now, with a thin layer of Arctic Silver in between.
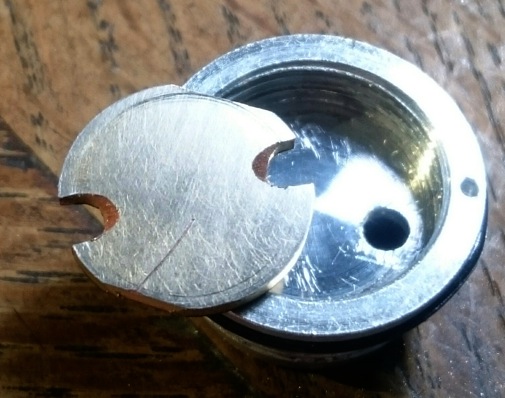
On the backside of the ledboard, the wire openings were filed at an angle with a round diamont file, because the holes in the pill were closer together than the wire openings in the ledboard. Now the 20AWG ledwires will fit without lifting the ledboard.
The driver.
The driver is behind this brass ring/plastic thingy, the assembly is an exact copy of the tail, but this time for lowering resistance I'm going to solder a direct wire (20AWG) from the middle of the brass cup to the driver, electrically bypassing the spring.
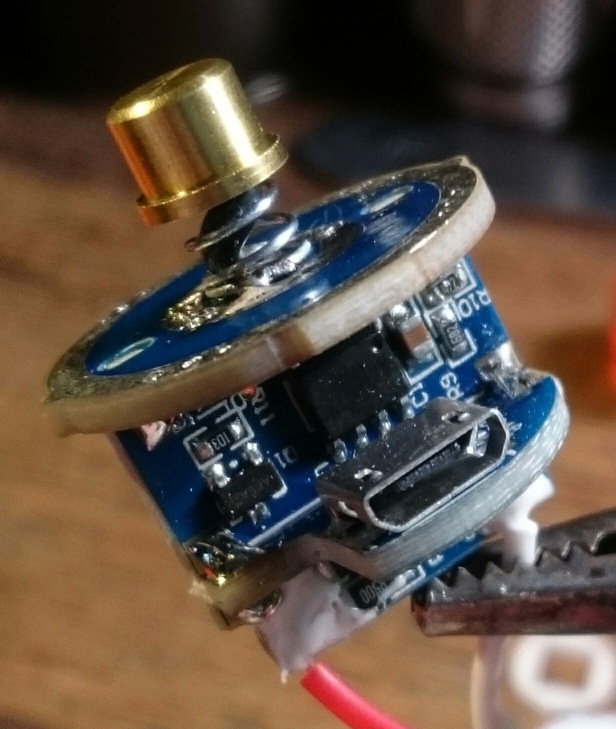
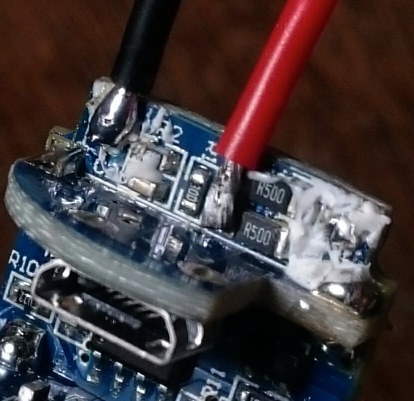
You can also see the thin ledwires with some white stuff over the solder connections. I have removed the white stuff to unsolder these wires and solderded thicker and shorter ledwires. This is the other side of the driver for who is interested:

The old ledwires together with the new ones, these will conduct way better!
And soldered in position. Hey, the red wire has shifted to the other side of those two R500 resistors 
The driver was put back into the flashlight head, making sure that the switch position was nicely opposite the push button, and fixed with the plastic thingy and brass ring. The ledwires were pre-twisted backwards so that after fixing them to the ledboard, the pill could be screwed in while unwinding the ledwires first instead of twisting them to death.
The ledwires were guided through the holes in the pill to the ledboard and I used The Beast to solder the ledwires to the ledboard, doing my best to make the solder blobs a bit flattened to allow the black fixing ring to screw as low on the ledboard as possible (sorry, forgot the picture of that :-( ). Here's the head with ledboard, clear washer and fixing ring in place. I blackened the top side of the pill as well with the marker.
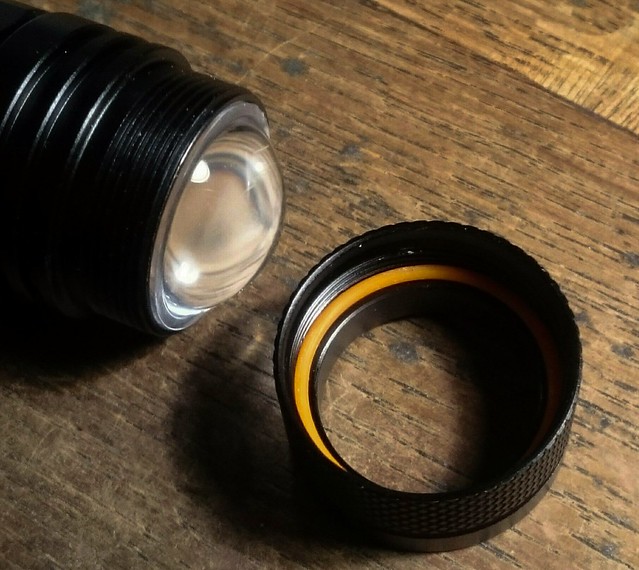
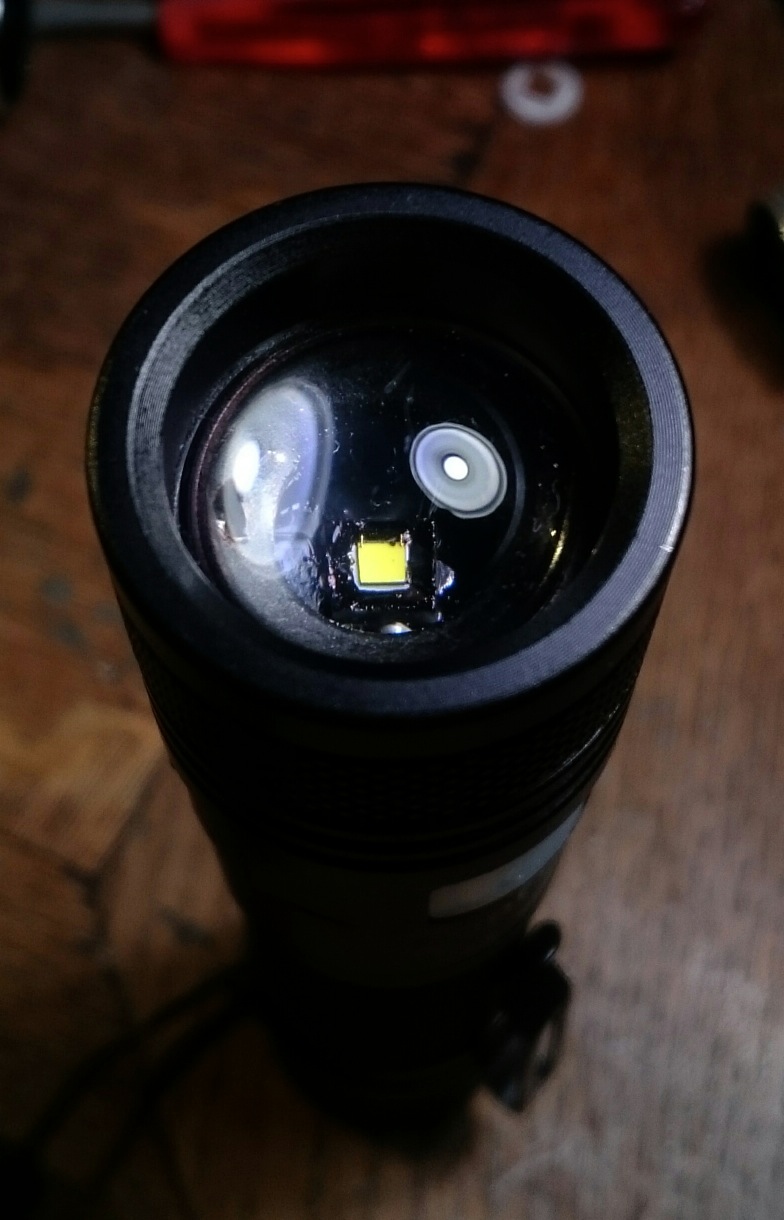
And the resulting head with lens in place. I added a 26mmx1mm o-ring over the lens for improved waterproofing compared to the stock light that has no o-ring here. The slider has no added resistance because of this, probably air can still escape via the switch cover that is pretty loose pressed in place from the inside. Rain will be alright but do not submerge this flashlight! (as is true for all zoomies btw).
Mod done!
Beamshots
Flood position and spot position (same wall, automatic exposure). The tint is really good, a clean white with very ok red reproduction, as good as you can have in low CRI. The flood is very even and nice wide, as I'm used to with Supfire zoomies.

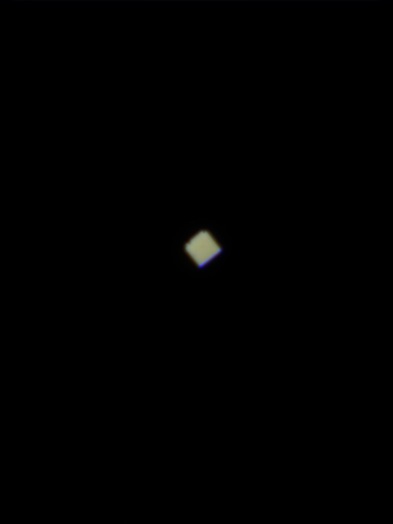
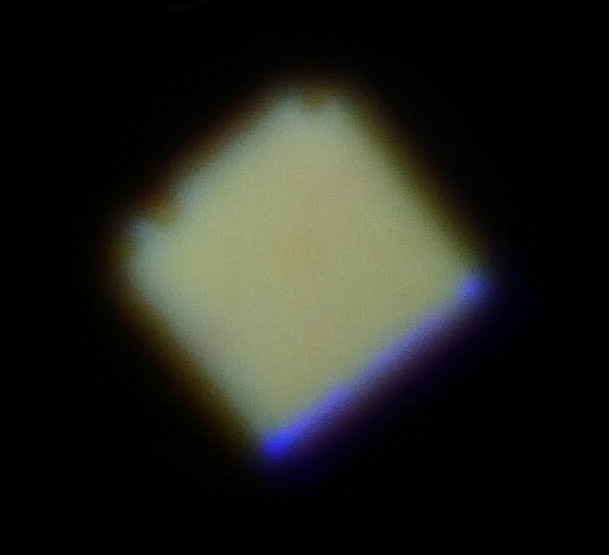
The spot zoomed-in, you can see the damage to the phosfor as a blue edge. The light stops just before sharp focus of the die because of the somewhat thicker ledboard but that is just how I like it :-)
I will make some outdoor beamshots as well later, the flashlight works really well outdoors.
The numbers.
For who can interprete them, here are some numbers on a almost freshly charged Samsung 30Q 18650 battery. They will not amaze the record-hunters of BLF, but for a general use small flashlight, they are really good:
*light output on flood: 800 lumen at 3 seconds, 760 lumen after 30 seconds (just 5% drop in 30 seconds tells me that the heatsinking is good)
*light output on spot: 300 lumen after 30 seconds (but it is all in that small spot :-) )
*throw on spot modus: 53 kcd after 30 seconds. (for who remembers it: same as Jacob A60 in stock form)
*current draw: 3.9A on a fresh Samsung 30Q battery, measured with a clamp meter with the tail of the flashlight removed
The light gets hot in a while, I advice the final user to switch it off, or go to a lower mode, when it gets too hot to hold by the head. So it is not fool-proof for every muggle!
I hope that you enjoyed this mod-post, and perhaps it inspires to repeat this mod or do another one :-)

