I have some free time coming up over the holidays and would love to get started modifying some of my lights. Time is a limiting factor though, so the point of this thread is to seek some advice as far as a soldering iron, tools, etc.
I would be super appreciative if someone could send me some links to read up on basic stuff. For example, I know that there is a difference between FET and 7135, but I don’t really know how they work or what emitters and applications for which to use them. I also don’t know the basics as far as things like connecting the driver and LED, what a spring bypass is, etc etc.
I do know how to solder. and I’m currently reading through the wiki info from r/flashlight.
If it helps, the things I want to do currently are:
swap the emitter on my convoy S2+
swap the emitter and driver on my C8
swap the emitters on my astrolux S42
Tinker with a cheap orange zoomie that I bought last year (it was my first light so…I can’t give it up)
I don’t have any soldering supplies whatsoever. I was planning on getting everything from Richard anyways so that works! I think what I’m really looking for is the knowledge about how to connect them.
I would suggest that you go to the sub-forum on here and start reading everything you can. There is a ton of great information there. For a soldering station I would suggest getting a Hakko clone. Like this one. The main advantage is that cheap tips can be found all over and they last a long time. Same thing for the soldering Iron part, replacements can be found on-line for 6 to 7 dollars when that part wears out. Robot or human?
Don’t forget to buy some good, thermal paste/grease because it makes a huge difference. Less is more when using it. Always use as thin a coat as possible. My next suggestion and possibly the most important is to get some good flux. I use Kester 186 and it’s miles ahead of most other flux, get it in a syringe or put in in a syringe after buying it. It can be found cheap on e-bay.
So you’ve soldered before, but haven’t in a while? This, like any other skill, is perishable. I’d suggest getting more components than you need, because soldering stuff to driver boards and reflowing LEDs are fairly finicky procedures. I am positive there are tons of people here that will help you, but it is a matter of practice.
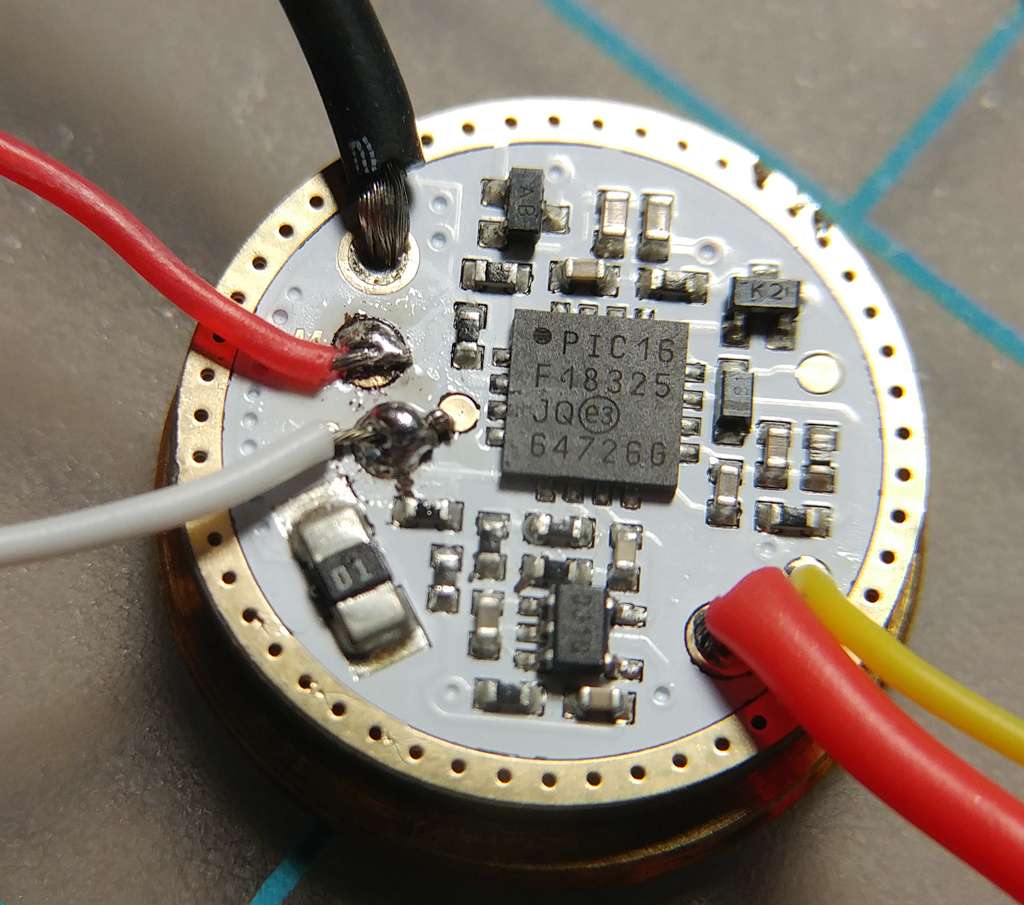
This is my current project, the smaller wires attach to a spot less than 1mm in diameter.
I prefer to buy LEDs already on a MPCB, but have done reflowing before. I just use my soldering iron, so I can localize the heat better.
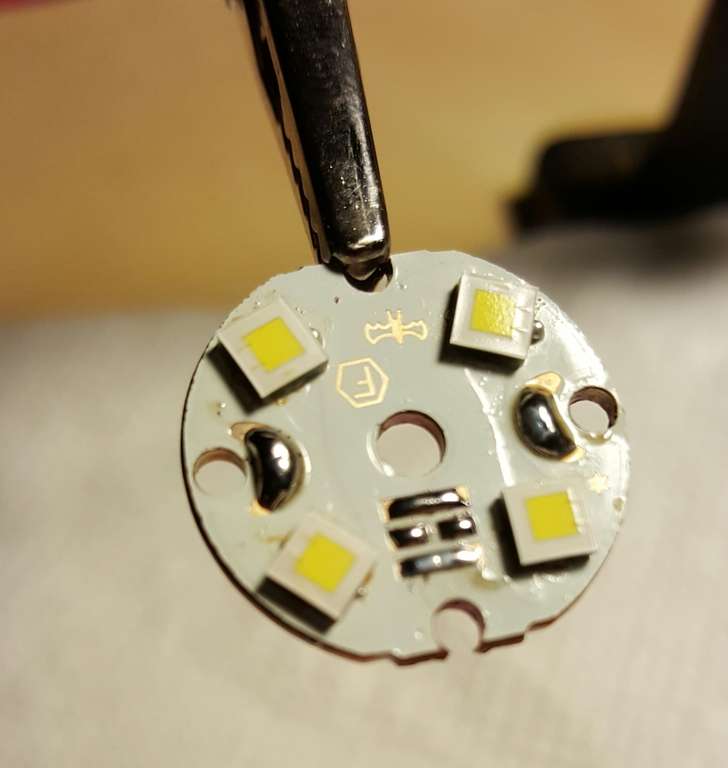
This quad was done with solder paste, I only use it for LEDs. Everything else just gets regular solder
Wear a glove or something like that in the hand that is not handling the soldering iron if it’s going to be anywhere close to it , that reduces the likehood of burns.
By no means I am a master in modding, but I would suggest you to pretin both the wire and pad before soldering them.
In your first picture, the soldering of both the red and white wires looks very poor and must be due to not having them pre tinned.
The exposed wire seems like it’s jammed into the solder blob!
This isn’t the best image, but all connections are solid. All locations and wires are chemical cleaned/ tinned prior to connection, so it’s all good. The larger wires are soldered on the backside of the board. What looks like excess wire on the skinny white one is just an extra dot of solder from me making the connection. It fell off the board after I took the photo.
I’ll take another photo when I finish the wiring of the driver, will be fun to get this one together.
Well, like others have said, in this hobby, high quality solder skills is a big plus. If not already competent in soldering, practice first before doing an expensive component…
That cheap light you got would be a good practice start. Un-solder star and driver, then re-solder, do that a few times. That should let you know if you’re ready for the ’big time or ready to try a re flow.
Imo, flux is the key to a good solder joint. Use enough flux to get a puddle instead of a blob. Flux lets the solder ‘flow’ and puddle, encompassing the complete wire/component connection. A good quality solder paste has enough flux to do a good job.
When pre-tinning components/wires (always pre tin) pay attention to stripping wires precisely…
Proper heat application is also a key to good solder joint. Use just enough heat to get good flow/puddle, thus allowing good solder penetration. Avoid the ‘blob job’, strive for a shinny smooth ’mesa type puddle completely encompassing the pad and wire, but not overflowing the pad.