
I’ve changed my plan to be another lantern sort of a project. Mostly wood as in previous years.
I was in the shopthis morning and will post the first pictures shortly. For now this is just so everyone knows I am now ‘on task’. I will also notify the of this topic I just started.
—
BLF Member Map Add your name and location.
- LEDs & Other Stuff - - UI CheatSheets - - Mods & Builds -
Have you voted yet?
First images.
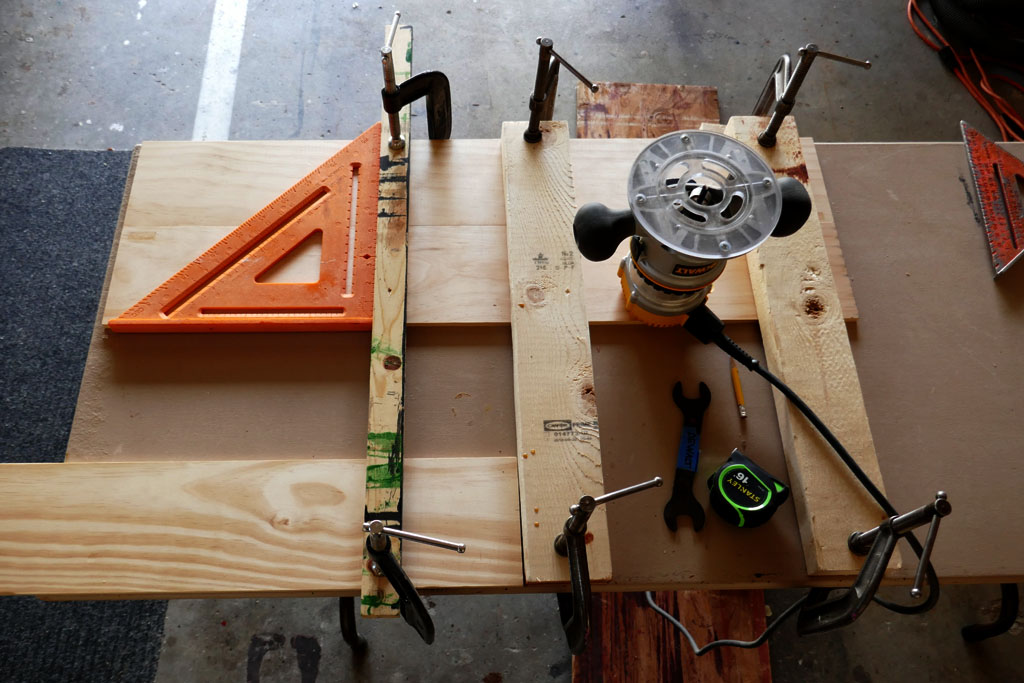
Wood, specifically pine in a select grade. Nice knot free stock. This section is starting with two 3/8” thick x 5-1/2” wide (basically 10mm x 14cm) boards. They are clamped down to the worktable in the first picture by the two wider boards (2×4’s) to the right. The narrower board is a guide strip held perpendicular to the wood stock.
I cut three spacer strips to allow easy routing of the grooves to be cut with the router. The bit is a 1/4” (6.35mm) carbide straight/end cut bit.
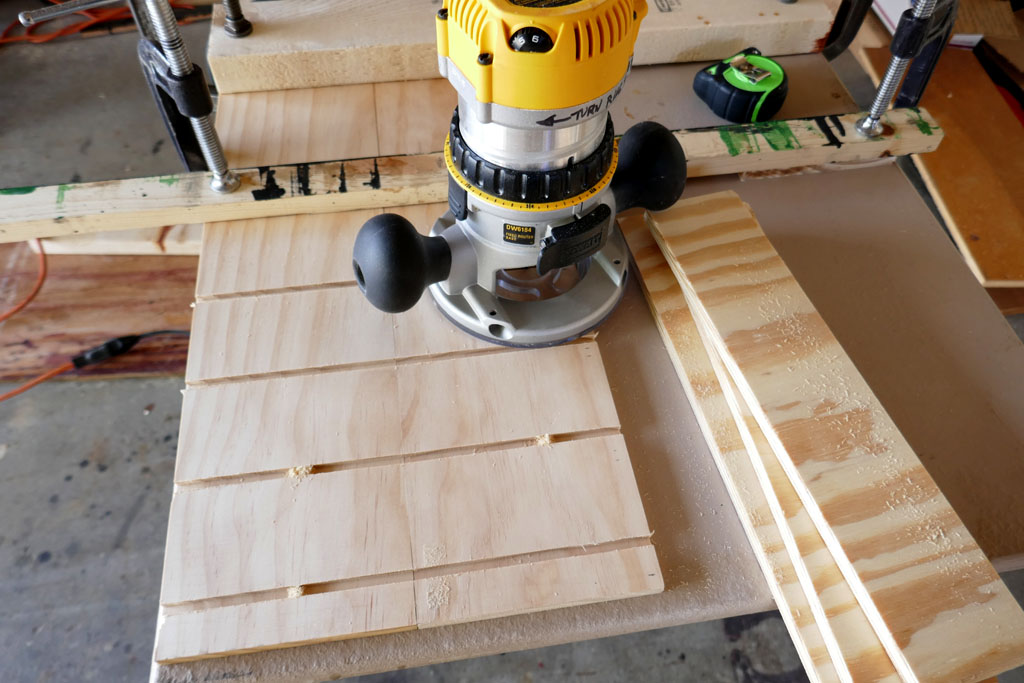
One set of grooves completed, all grooves spaced 2-7/8” (about 73mm) apart.
Then I switched the boards about and cut more grooves at a spacing of 1-1/4” (about 32mm). The very observant may notice an extra groove… I made an error in groove spacing in the image above. I recut the boards and made these wider spaced grooves all over again, but did not photograph that step. The extra groove at the right end here will be chopped off and become kindling.
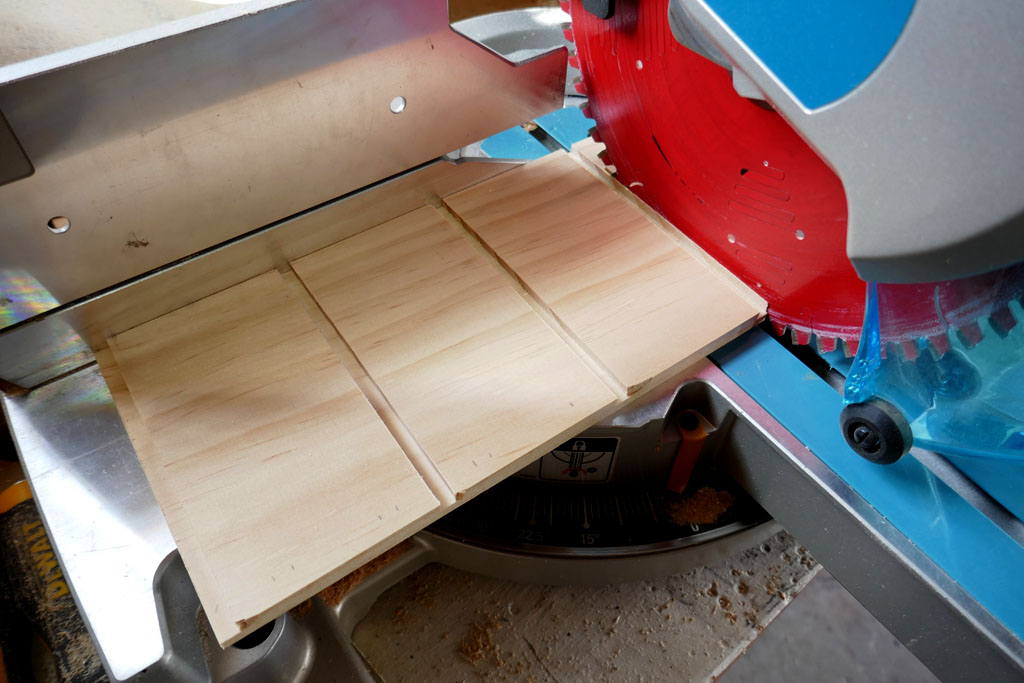
Each set of grooves was then trimmed to length using the mitre saw. The cuts were made very close to the side of the last groove, close enough to leave a small extra amount of wood that will be later sanded to precise length once things are fitted together.
Next strips were rip sawn off the grooved lengths. Done on a table saw.
I only need 16 of each but cut extras, just in case.
That’s all for now. Each strip needs to be fitted and sanded with fine, 220 grit, sandpaper. Back later, maybe even tonight.
BLF Member Map Add your name and location.
Wow! Nice start! I’m interested in seeing where this is going!
Reason is not automatic. Those who deny it cannot be conquered by it. Do not count on them. Leave them alone.
-Ayn Rand
… a Jenga lantern? A miniature light house?
A miniature Jenga lighthouse! Last one to move a board without the light going out WINS!
Reason is not automatic. Those who deny it cannot be conquered by it. Do not count on them. Leave them alone.
-Ayn Rand
Not a jenga, but that would be cool.
BLF Member Map Add your name and location.
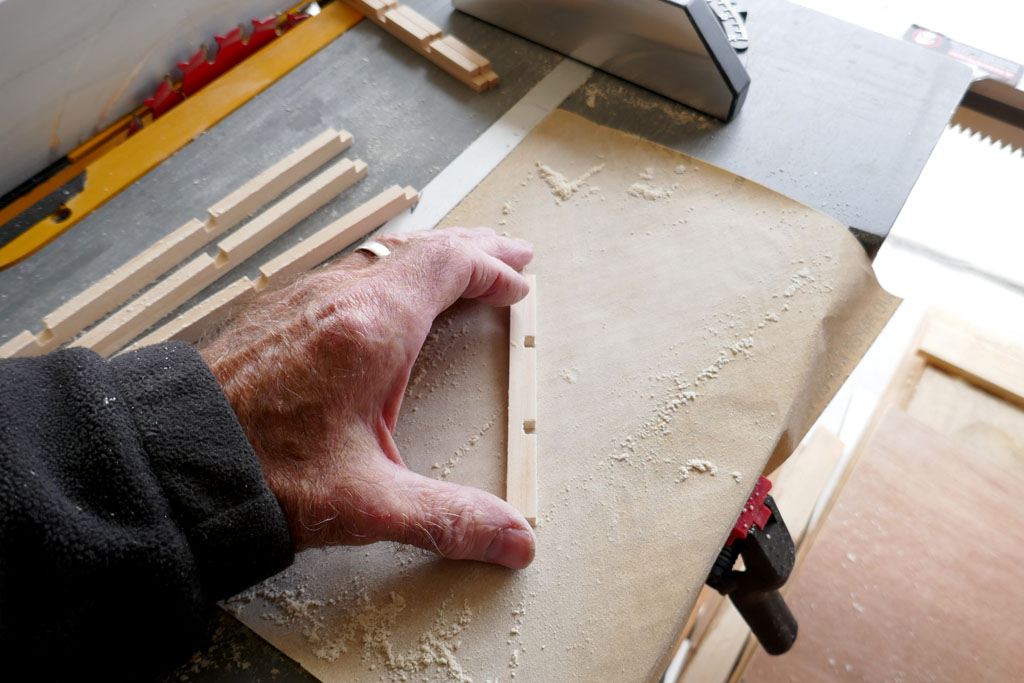
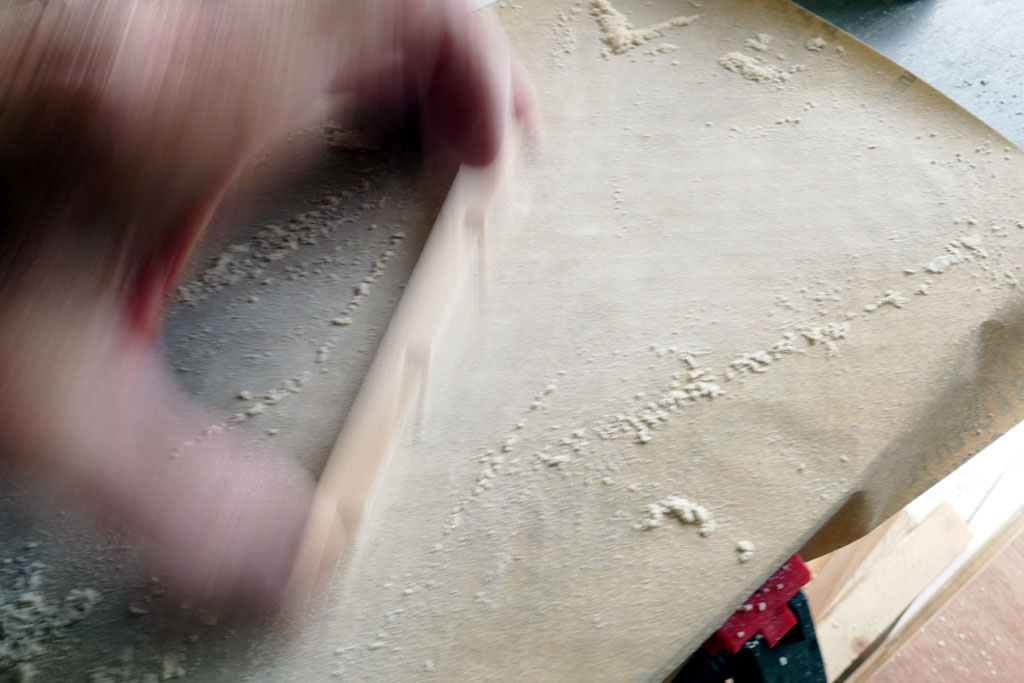
Sanded the strip sides. Sandpaper sheet held down with miter guide and a couple of clamps. Complete with an action shot…. those are hard to do when you only have 2 hands and no helper.
BLF Member Map Add your name and location.
That awkward moment when a grown man posts a picture of himself vigorously rubbing his wood.
Why, yes, my sense of humor is only about 8 years old. Why do you ask?
How do you always get these pics of yourself so quickly? It’s seriously impressive Toykeeper.
Also, my sense of humor is always changing everyday. So, technically, it’s still a newborn
My very own high current Beryllium Copper springs: http://budgetlightforum.com/node/64047
Liitokala Aliexpress Stores Battery Fraud: http://budgetlightforum.com/node/60547
I’m glad that’s not what happens in real life (Sawdust)

LOL
BLF Member Map Add your name and location.
That’s odd. No sawdust?
Have you tried using sandpaper?
Unfortunately yes—— I’m a Carpenter
Looking good! (and shuddering at the thought of sandpaper… ouch!)
Subscribed. I’m curious to see which beauty you’ll build this year.
BLF Q8 Janus --- Emisar D4 RGBW --- Green Lantern and HAL 9000
My 6th Annual Scratch Made Light Contest Entry
Nice start, Don
Looks good, I like woodwork!
link to djozz tests
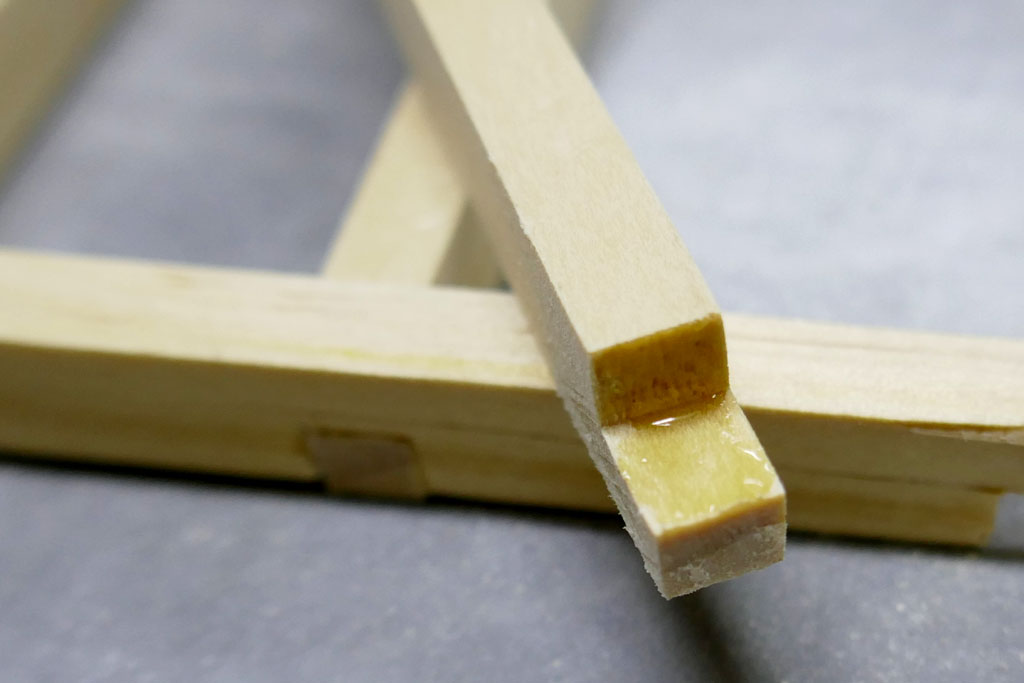
The ‘sticks’ are called kumiko, in Japanese woodworking. These fit together to make a grid. I have played a little fast and loose with these as the do not have the interlocking that is traditional, but the end result is more or less the same. Traditional Japanese woodworking relies on precise fit and parts that fit together in a manner where one piece holds another in place. Very little glue and no mechanical fasteners like nails and screws.
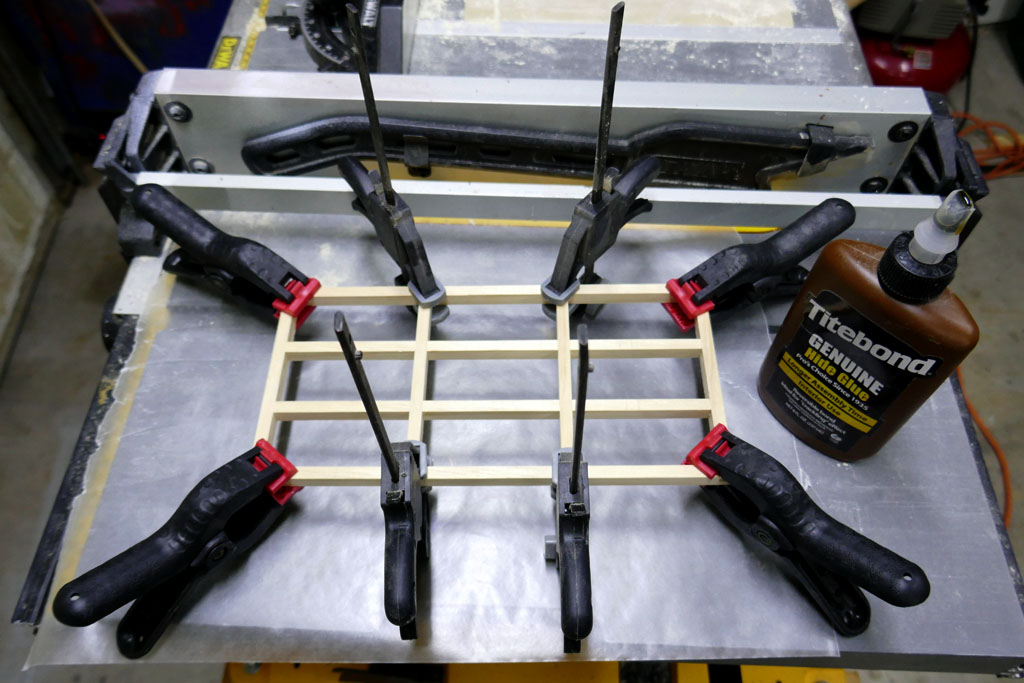
I am gluing some of the joints around the perimeter. I am using liquid hide glue, a modern development of traditional hide glue. Traditional hide glue has to be heated to make it flow for use. This version stays liquid in the bottle, can be used at room temperature. Hide glue was the glue traditionally used for furniture. It can be removed by steaming or soaking parts in water. Hence, this project cannot receive an IP rating as immersion in water with soften the glue and it might fall apart.
Hide glue also has a longer open or worktime than the popular and good yellow glues.
There is a saying in woodworking that one can never have too many clamps.
One down, three more to go. In a few hours I’ll do another frame and so on.
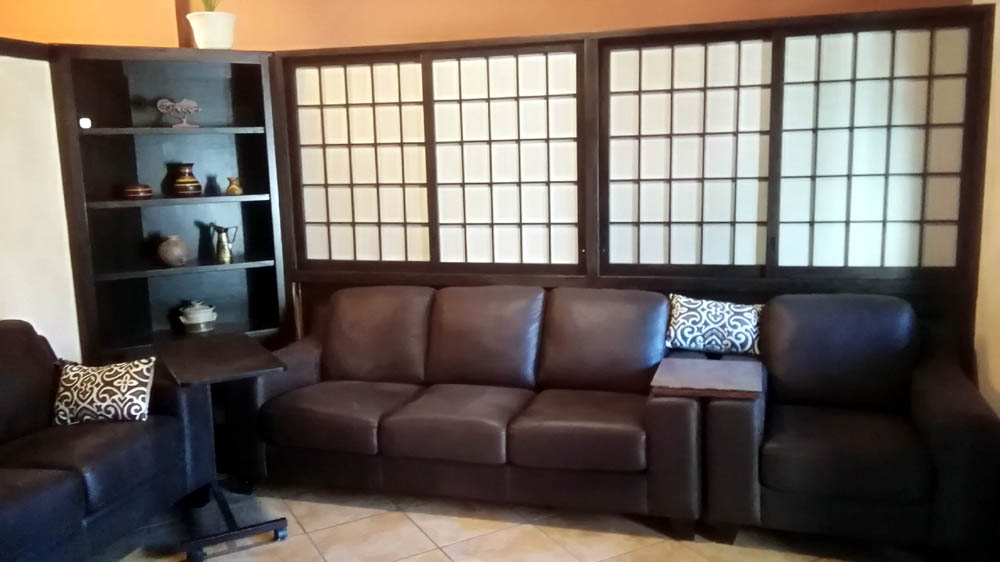
The design is known as shoji (Japanese). Those who have been around here for a while may remember the shoji bookshelf doors from about a year ago…. link to a sidestep in a flashlight project topic, and a photo of the finished unit.
That’s not the best photo.
BLF Member Map Add your name and location.
Four sides to the light…
BLF Member Map Add your name and location.
Are you going to paper those? Is it rice paper?
Reason is not automatic. Those who deny it cannot be conquered by it. Do not count on them. Leave them alone.
-Ayn Rand
I’ll be using a laminated paper made for shoji screens. The lamination makes it much more resistant to finger punctures and staining. Leftover material from the bookshelving doors.
BLF Member Map Add your name and location.
Oh! Cool!

Reason is not automatic. Those who deny it cannot be conquered by it. Do not count on them. Leave them alone.
-Ayn Rand
Big ring on top?
TBD
BLF Member Map Add your name and location.
FYI, the laminated paper is this one….
…and to affix the paper to the frame I’ll be using this tape.… Genuine Japanese product, not a word of english on the package
BLF Member Map Add your name and location.
subscribed
looking forward to this.
That Canadian flashlight guy & Lantern Guru -Den / DBSARlight
What’s the transmissivity of the paper? Do you know even rough numbers?
Not a clue off hand. However, I will keep the question in mind and will measure the difference when I get to the stage of mounting the material on the grid frames.
BLF Member Map Add your name and location.
Looking groovy Don.
djozz quotes, "it came with chinese lettering that is chinese to me".
"My man mousehole needs one too"
old4570 said "I'm not an expert , so don't suffer from any such technical restrictions".
Old-Lumens. Highly admired and cherished member of Budget Light Forum. 11.5.2011 - 20.12.16. RIP.
Pages