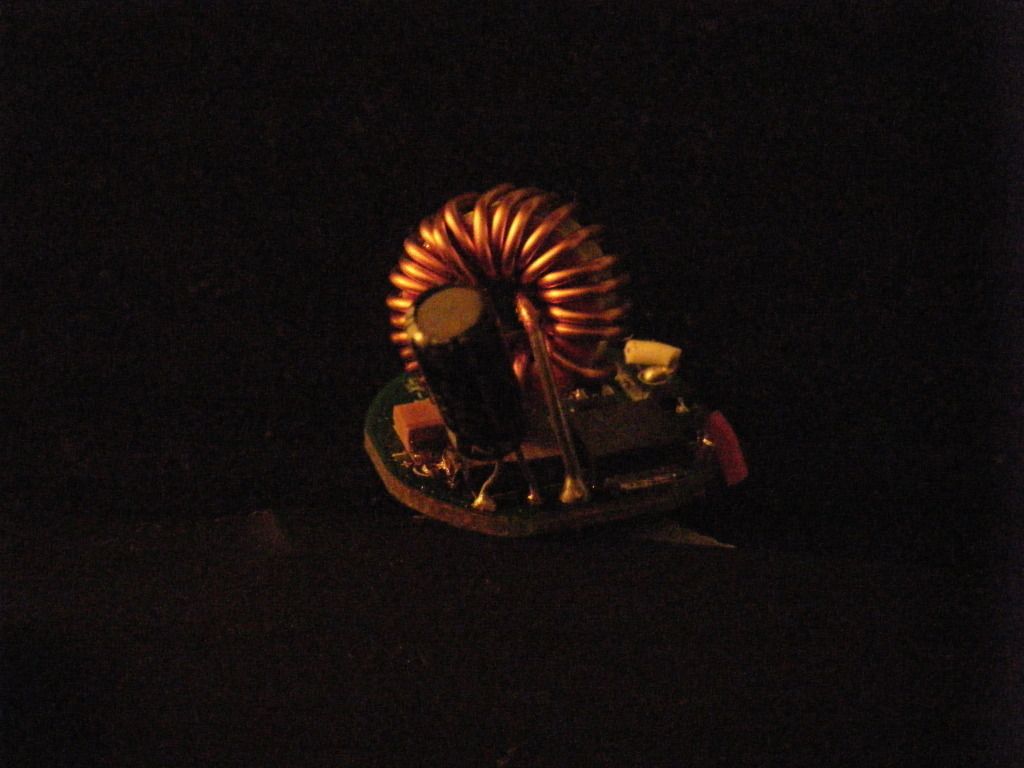
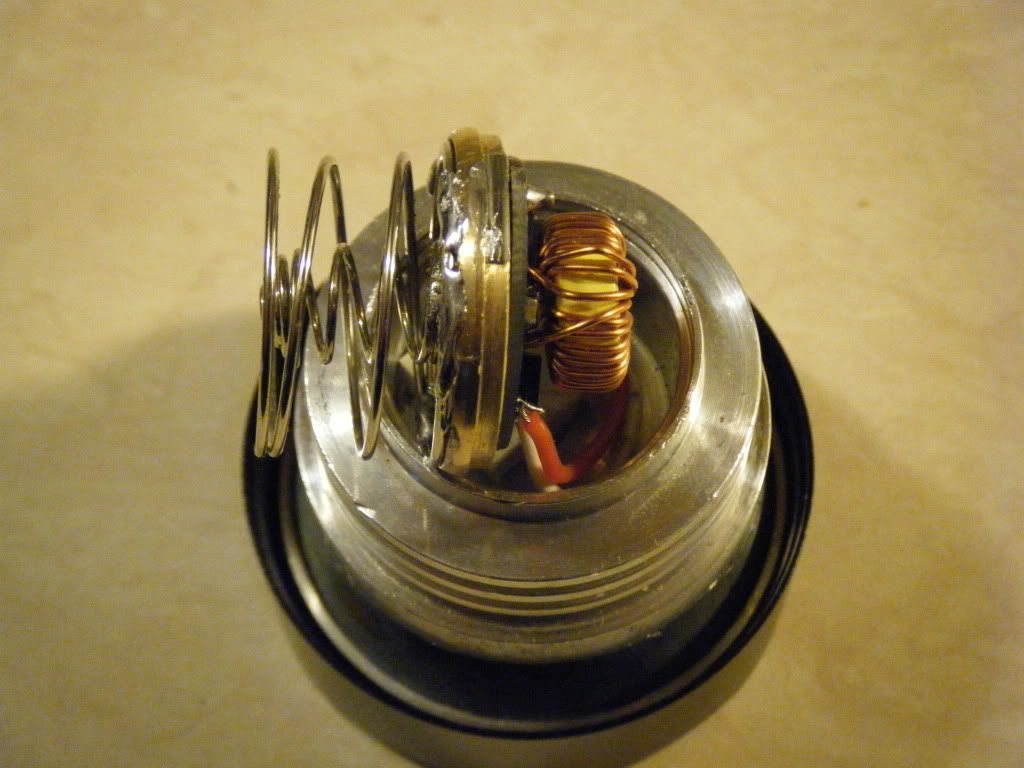
I guess 9 months ago, I left this unattended on full power and as a result, it melted the tin and 2 components fell off. It still worked 20 seconds after I found it and installed new batteres as old ones were empty. But, when shaked the light the pieces fell off.
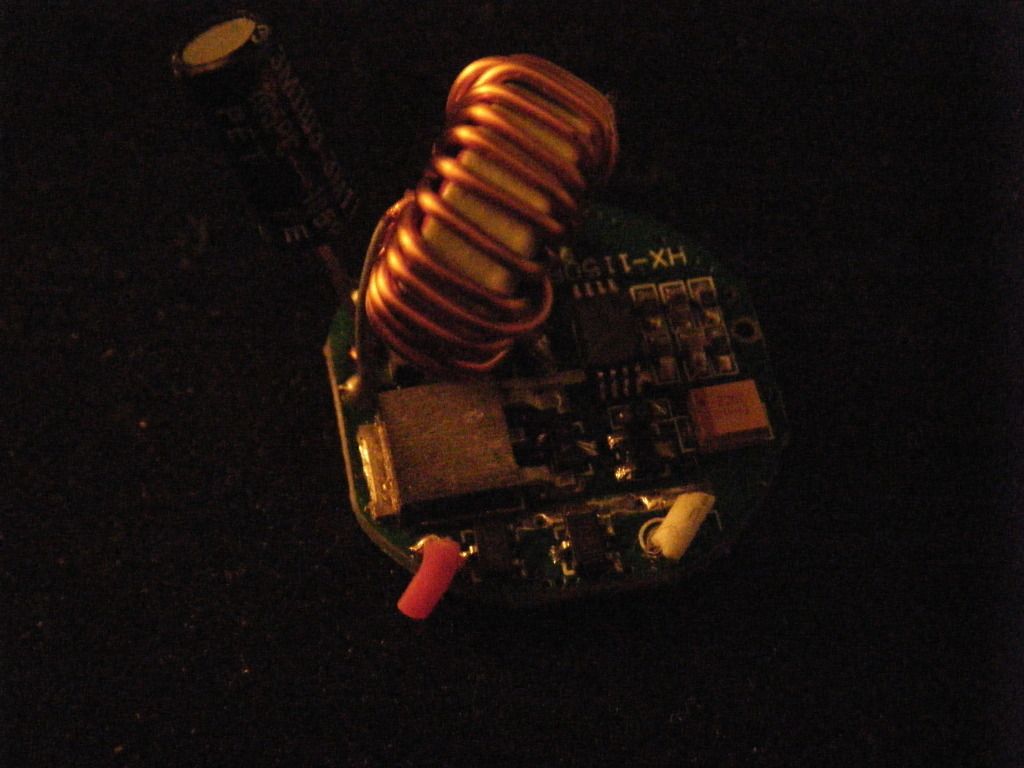
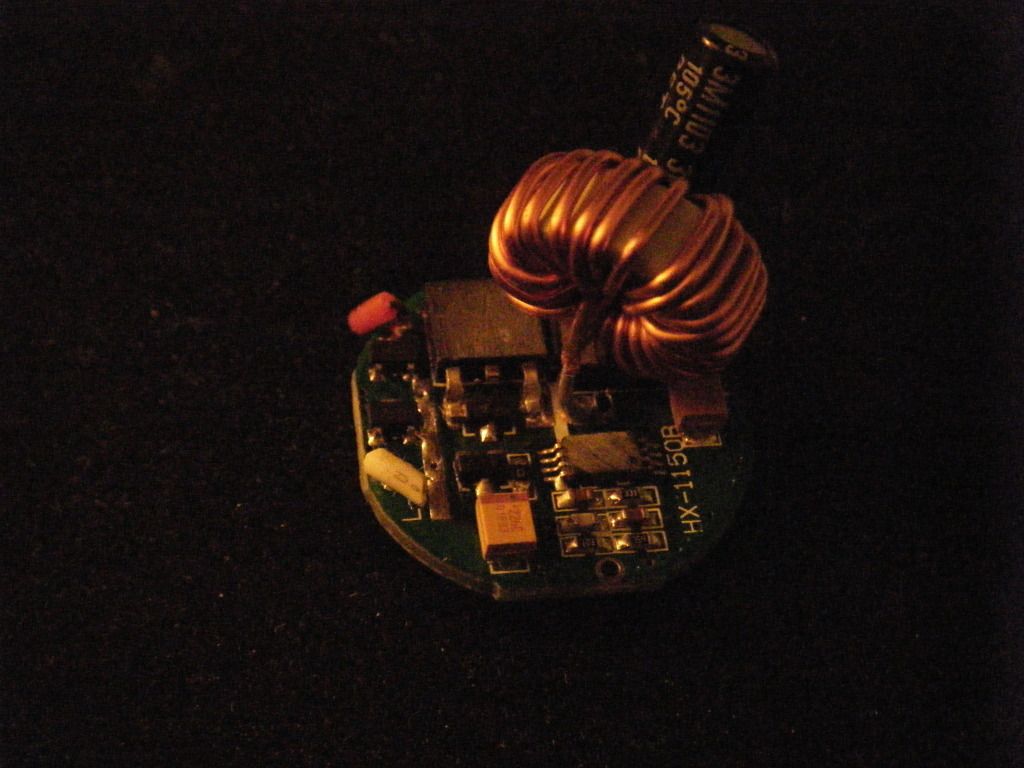
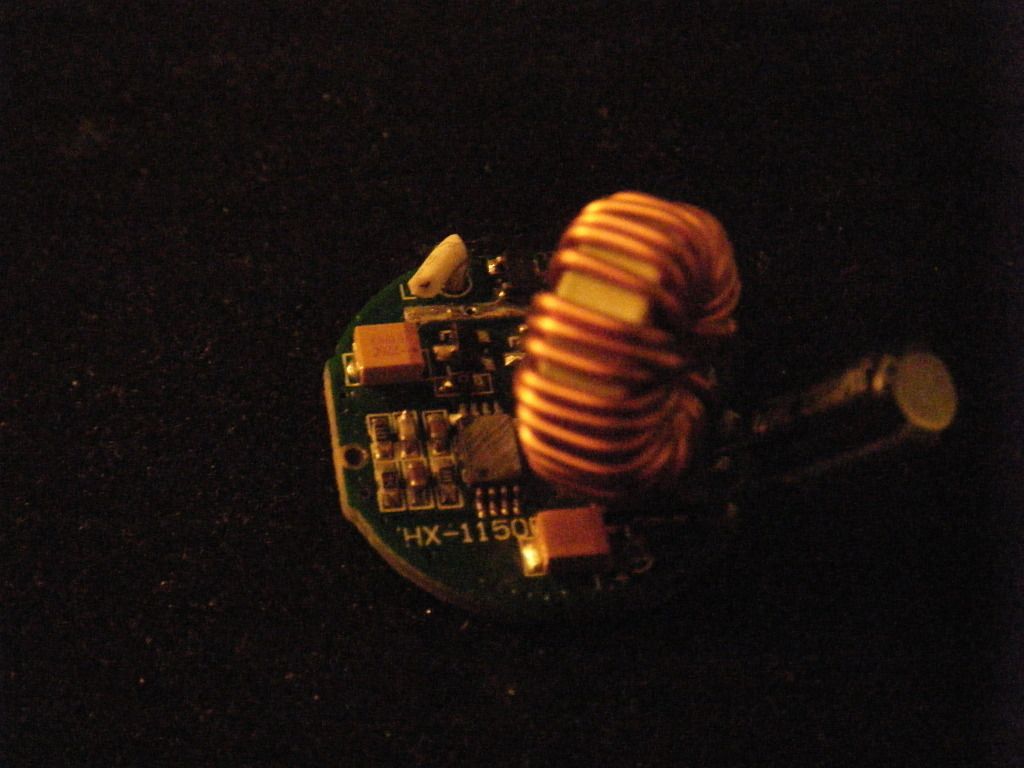
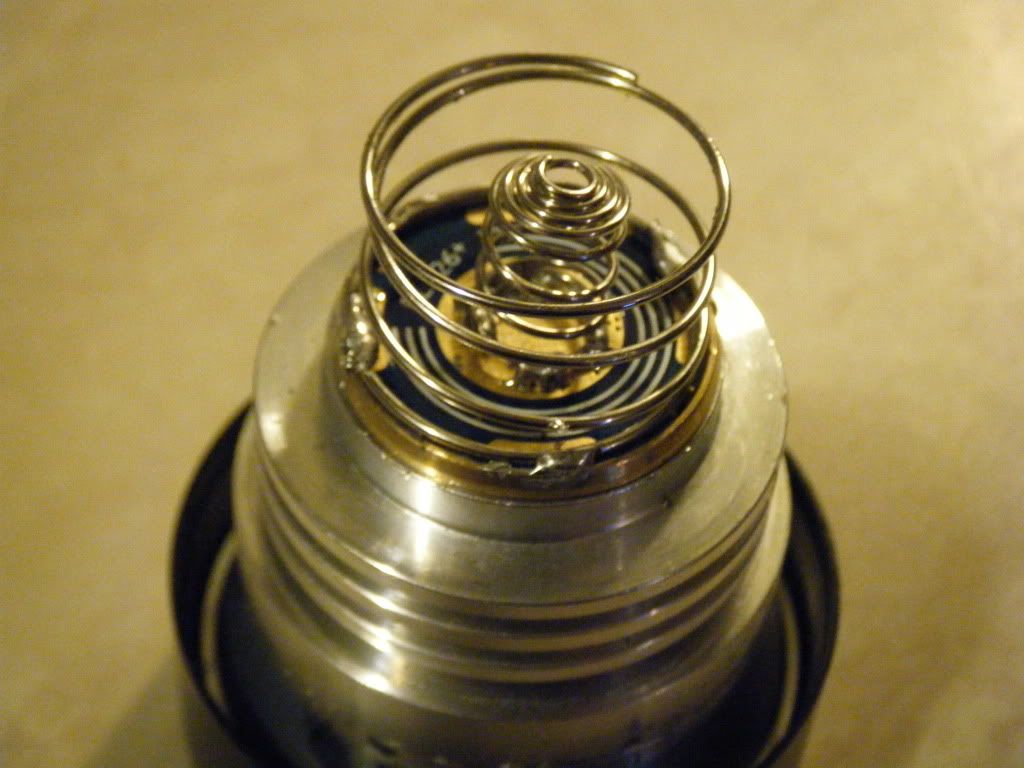
Here are pictures: How do I attach them correctly? I haven't found good pictures of the original pcb. I just tried to soldier them like in the picture and also in another way but nothing happened. Can someone open his or her light and take a picture.
CLARICIFATION: the last picture was taken 9 months ago and now I see I soldiered wrong. The positive is not supposed to touch the contact just above the plus sign.
But, can someone please show a real picture of the pcb and maybe I can save this.
Thanks. It was actually BLF where I found info about this skyray and bought it. It was very good in one forest trip I had. Then I was cleaning in my room and left this on. I used it to look behind a big wooden drawer.
You should probably consider just replacing the driver with another one that fits in the necessary dimensions and has an appropriate Vin, Iout for your light. Which SkyRay do you have? (How many cells, how many emitters?)
THis is one of the first ones with a black bezel. It is 3 emitters and 2x18650. It is the one in this thread: https://budgetlightforum.com/t/-/2390
Your picture shows clearly how one of these components are directed so it helps alot. I must soldier tomorrow again, now im tired. I also dont have a tin-sucker or what they are called and I need to get one.
Chicago X, thanks, and thanks to everyone saying welcome to BLF! :D
Also, people who wondered what would happen to the original 1st gen skyray 3x Xm-L T6 if it is left unattended, I guess this is what happens. It gets so hot that the solder starts to get soft and components fall off. And this is if the batteries dont go kamikaze.
You don't really need a solder-sucker. The manual pump ones ($10) are not that good, and the good electric ones are expensive! ($200)
Since the pad is near the edge of the board, you can just melt the solder and wipe it off with a dry cloth. Don't leave the heat on too long or you can cause the metal track to lift off the board. Wipe the solder off gently as soon as it has melted.
If you are new to soldering, maybe you could get a piece of prototyping strip-board from your local electronics shop, and practice on that?
Also, buy proper old-fashioned tin/lead solder. It is heaps easier to work with, and produces a nicer joint than the new lead-free stuff.
For surface mount soldering, some flux paste is helpful, but very expensive for a one-off repair!
I soldered it back together but it still wont work. I have soldered stuff before too and I spent almost 2 hours with this now but i cant get it back. I took the two 18650 batteries and direct drove the leds and they lit up so they still work.
I guess I have to get a new driver. I believe when I first soldered this that I broke the black component because it got a bit too hot and it is now about 1mm curved and not totally straight.
Do you think this will do as a new driver: http://www.manafont.com/product_info.php/flashlight-component-triple-t6-cree-circuit-board-driver-p-7973?rp=522815
The electrical specs are exactly what you described; 3XML powered by 2xLi-Ion. If the dimensions are right, I say go for it. It's worth trying a $6 driver to fix a ~$50 torch, in my opinion.
That Manafont driver you listed does not physically fit into the Skyray 3800 it's to tall. I used this one to repair a broken driver on a 3800.
Size wise it fits perfectly in the original Skyray triple. Just remove the old driver, the springs and the brass ring this driver fits perfectly in the factory brass ring. With two Panasonic 18650s it pulls 3.5 amps on high, 2.45 on medium and .350 on low. So 2.35 amps per emitter on high, about 2400 real lumen. The thermal protection kicks in on high after about 4-5 minutes and starts to ramp it down. The best thing about it is 3 modes with no useless flashing modes.
I was really impressed how perfectly it fits the Skyray. I am probably going to convert mine now to get rid of the flashing modes and gain the thermal protection.
Just an FYI since it's rated for 18 volts I stuck 4 18350s in it and it pulled 2.35 amps at 16.8 volts so 3.13 amps per emitter with 4 18350s perfect to max out a triple XML.