Yes it is a very tight spot. I would say that in it’s stock form, it would be good for wildlife spotting, but after I hacked it, it will be better for all round and the spot will be much larger than before, but I won’t know for sure till tonight.
This thing must not have a fast pwm either. When I went to take a photo of it turned on, with my camera, all I could see was the flickering. First time I have seen that with my camera.
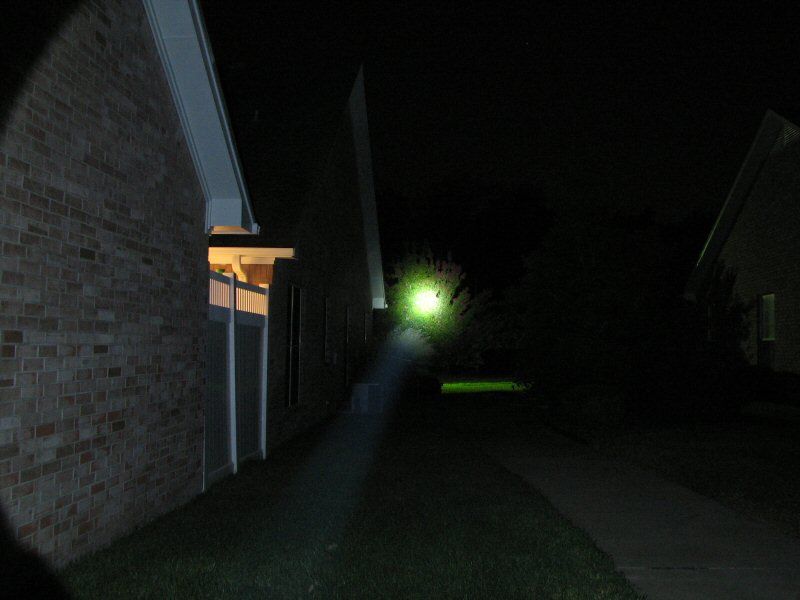
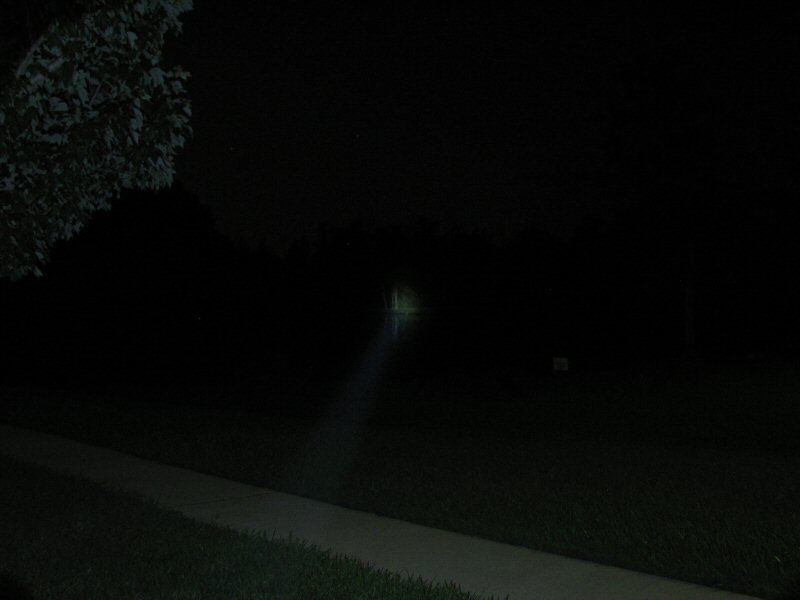
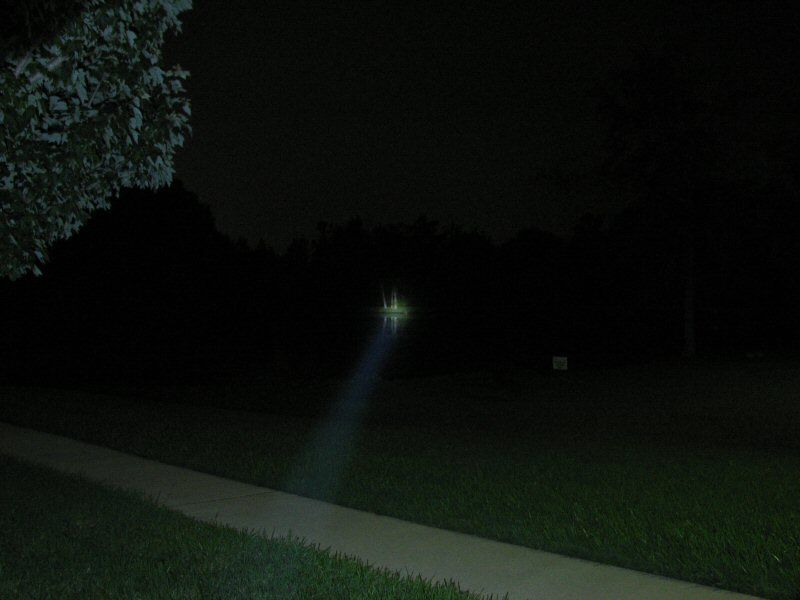
All of the mouseovers are done the same way. The first photo (mouseout), is the original light. The second photo (mouseover) is the modified light.
All of the settings are the same as in the original photos found in post #14.
Side of house at one second shutter speed.
Side of house at two second shutter speed.
Pond shot at 1 second shutter speed.
Pond shot at 2 seconds shutter speed.
As you can see, it's not a thrower any more. It's got a larger spot, that is good for about 40-50 yards and it has a lot more spill. That's the way I prefer it. Also you can see how the Nichia does a much better job at color reproduction. At least I think so.
What I really like about this light, is the weight. With batteries, it weighs in at a mere 14 ounces! It also fits in the cup holder, in the car. I set the light, head first, in the cup holder and it fits perfectly! What more could you ask for?
I sort of hate to give it up, but of course, no one may want it, then I will have to keep it. I will put it up for sale soon and see if anyone does want it.
what a huge difference in colour rendition! That immediately makes it a much better light IMO and the more practical less “WWII searchlight” beam is a big plus too. Any pictures of the new LED in the host?
Just out of curiousity, is it me or does the beam shape of the original LED change over distance? It looks like it gets narrower just after it goes over the water in the last shot then gets slightly wider. Pretty cool if it does.
Yes, pulse driven. PWM on this light is bad. Like I said, when I tried to take a photo of the emitter, when the light was on, I got an eye full of fast strobe, through the camera lens. I’m used to the newer 7135 drivers and I’ve never seen something like that before. I think this thing is pulsing fairly slowly (relatively speaking), to see it with my camera.
From Illumination supply. He has bare leds too, as well as some 3ups. I plan on at least one maglite mod this fall, with a Nichia 219. Once I saw one inside and saw the way it showed realistic colors on everything, I fell for it right away.
From what I recall the really slow PWM was about 244-250Hz. However, even while using 976Hz on my own custom 7135 driver, my Fuji camera can still “see” the PWM pulses.
I shined this thing into my integrating sphere with the LED analyzer doing its anal thing. It is cranking out 160 lumens on high and 40 lumens on low.
The “PWM” on the B&D driver is horrid! It’s around 60 Hz. I’m not sure that I’d even call it PWM. It’s more of a pulse drive. It is there even on high. The PWM does not appear particularly annoying to the naked eye. I never really noticed it until I fed it to my sphere. Even with the funkadelic driver, this is one of my favorite lights. B&D should hire OL and let him show them how things should be done.
The “PWM” shows up very well in the lumen plots due to the 60 Hz frequency being aliased down to an even lower frequency by the digital light sensor chip. Here is a plot starting out on low and switching to high.
60Hz. So that’s what all the big caps are for; To smooth out the 60hz ripple. It must work or that would make a seizure light. Wow, some electrical engineer should ‘come up to speed’ and join the 21st century. Amazing that rolls off a production line today.
….but hey, It works!
No, it looks like they are driving the LED with fairly short high current pulses at 60 Hz. There does not appear to be any smoothing of the drive waveform. I have not opened the light up to actually monitor the signals. (I looked at it by shining the light into a white LED (used as a photo detector) and monitoring the waveform on a ’scope).
I’m just guessing those sawtooth waves would be much deeper without a cap to sustain the current between pulses. Looks like the sample frequency is high enough to see such.
I used a 60hz (unfiltered) DC power supply once to power an LED. It was bad enough to make my teeth hurt!
Looking at the light pulses produced from that B&D driver on an oscilloscope shows that there is no light emitted between the individual pulses.
Those are not actually sawtooth waves. They are an aliasing artifact of how the sample rate of the light sensor interacts with the “PWM” frequency. They mix together and produce what amounts to a beat note that shows up as a low frequency signal.
The light sensor is sampling at around 20 Hz (120 msecs * 31 / 69). 60 Hz PWM or AC ripple in the light shows up quite well in the resulting signal. The plot in Any interest in a LED/Battery analyzer device? shows the effect with an AC line powered LED bulb.